18 Simple Ponytail Ideas Beyond the Basic
The basic, low-effort pony has kept our hair out of our faces for decades. It is reliable, but it can also feel incredibly uninspired. When you wear the exact same style to the grocery store, the gym, and the office, it ceases to feel like a choice. It becomes a default.
Last spring, I caught my reflection in a coffee shop window and realized my hair looked exactly like it did in my middle school yearbook photo. It was a wake-up call. A ponytail does not have to be a sign of giving up on your style for the day. With small adjustments, this utility look turns into a deliberate style statement.
The following options require very little extra time but offer a massive return on investment for your overall appearance.
The fast-paced nature of mornings means no one has forty minutes to spend on intricate braiding sequences. This guide provides realistic, highly visual options that elevate your everyday look using items you already own. You will find ways to manipulate texture, hide mechanics, and create structural interest without needing a cosmetology license.
1. The Wrapped Base
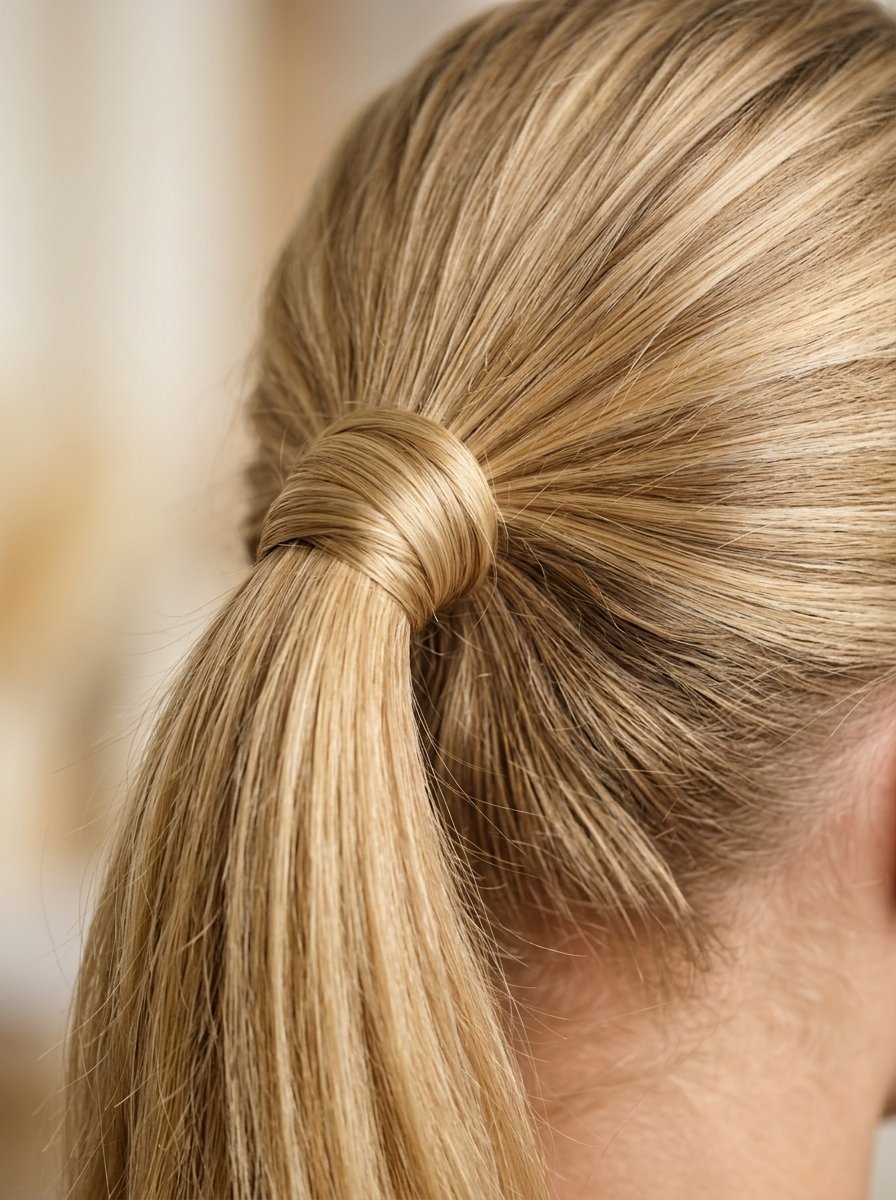
The visible elastic band is the top reason a style looks accidental rather than intentional. Covering that elastic instantly changes the vibe.
- Gather your hair into a mid-height position.
- Secure it tightly with a thin elastic band.
- Pull a small strand of hair from the underside.
- Wrap that strand around the band until hidden.
- Tuck the remaining end into the elastic or pin it.
This adjustment takes roughly twenty seconds. In my experience, using a bobby pin coated in dry shampoo keeps the wrap from slipping throughout the day. It creates a seamless look that looks polished at work.
2. The Double Volume Trick
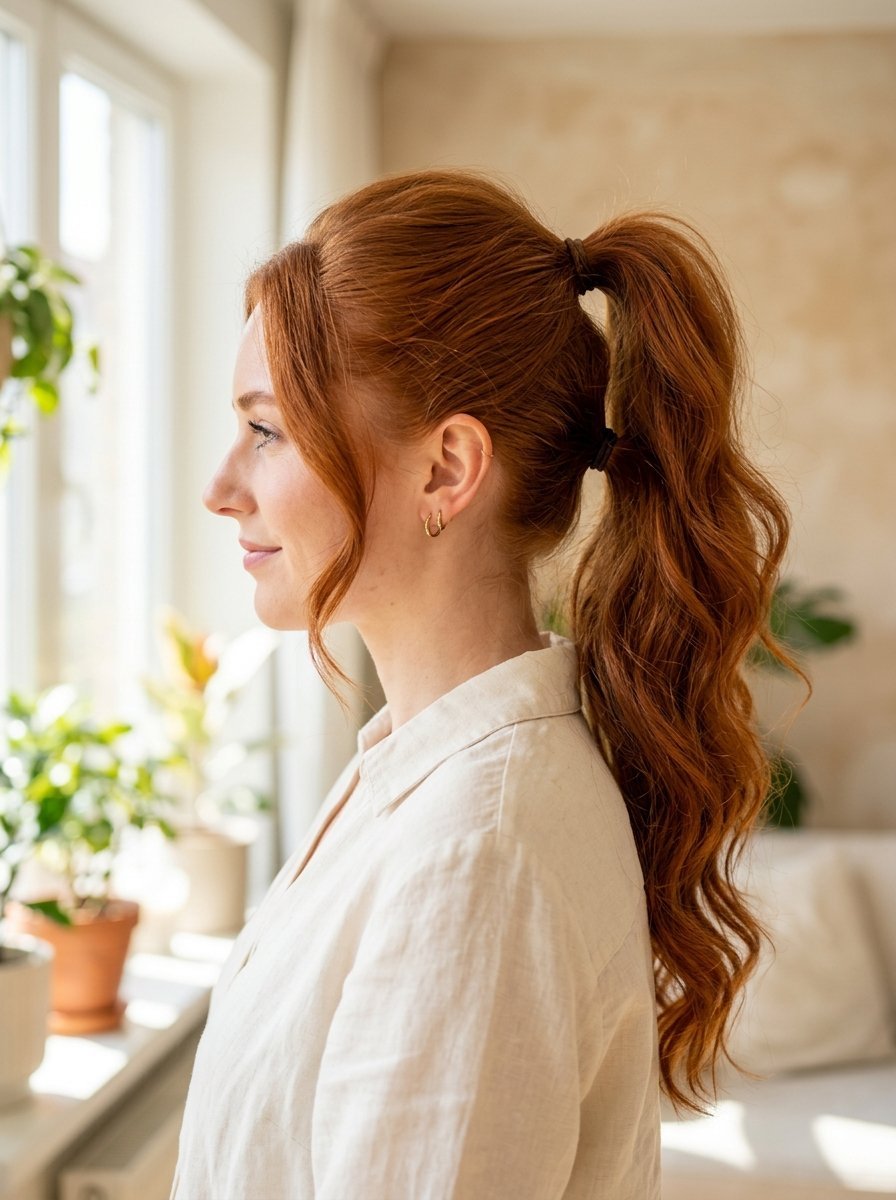
Long hair often drops under its own weight, causing the back of the head to look flat. This method solves that issue by splitting the load.
- Divide hair horizontally from ear to ear.
- Clip the top section out of the way.
- Tie the bottom section into a secure base.
- Drop the top section down over the first base.
- Gather both sections together and tie with a second band.
The bottom tier acts as a shelf that props up the top tier. I noticed this approach prevents that annoying afternoon sagging. Your style stays bouncy because the weight is distributed across two anchoring points.
3. The Textured Messy Pony Hairstyle
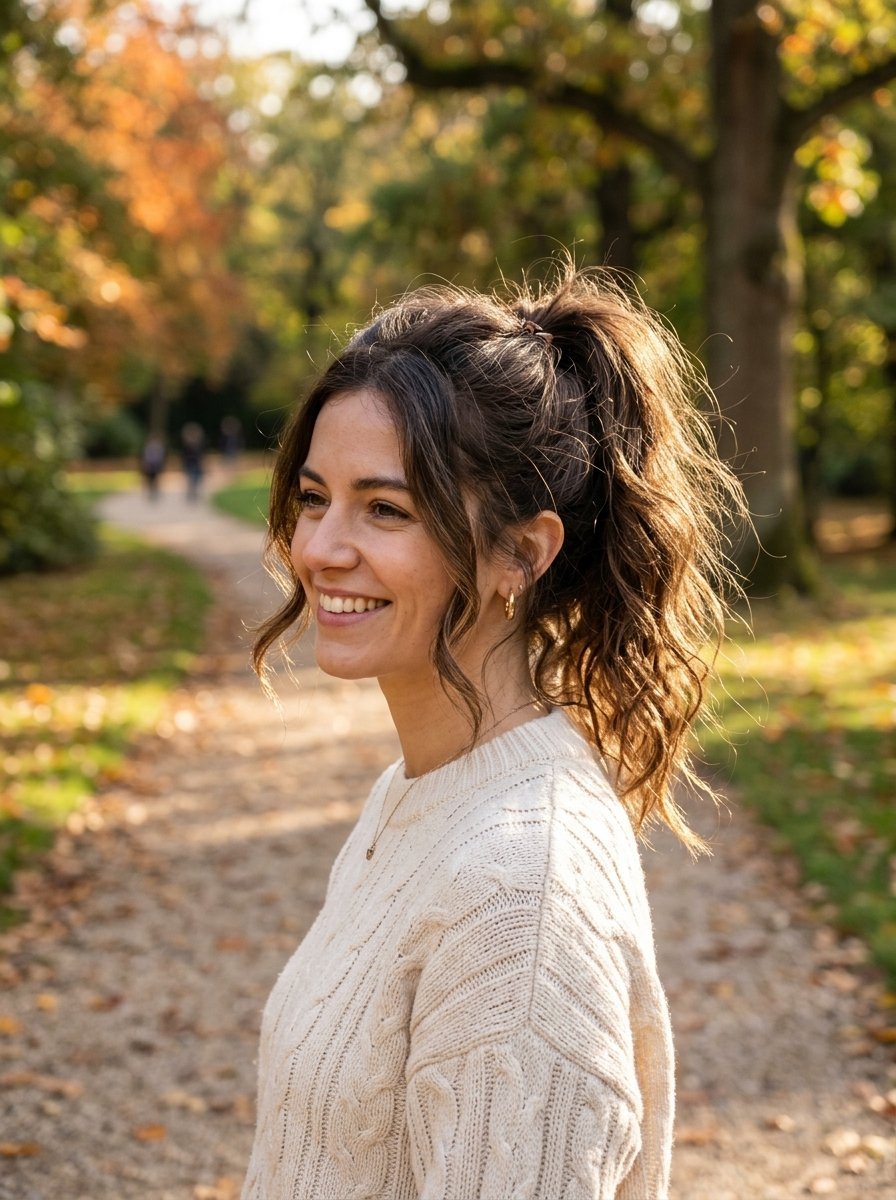
A structured look can sometimes feel too severe or formal for casual outings. This version embraces deliberate imperfections.
- Spritz dry texture spray from roots to mid-shaft.
- Rough dry with your fingers to create separation.
- Gather hair loosely at the crown using your hands.
- Secure with a band, letting natural bumps remain.
- Gently tug at the crown to create height.
Avoid using a brush for this style because bristles remove the separation you need. The goal is a relaxed, lived-in texture that looks effortless. It works exceptionally well on second-day hair when natural oils provide built-in grip.
4. The Deep Side Part
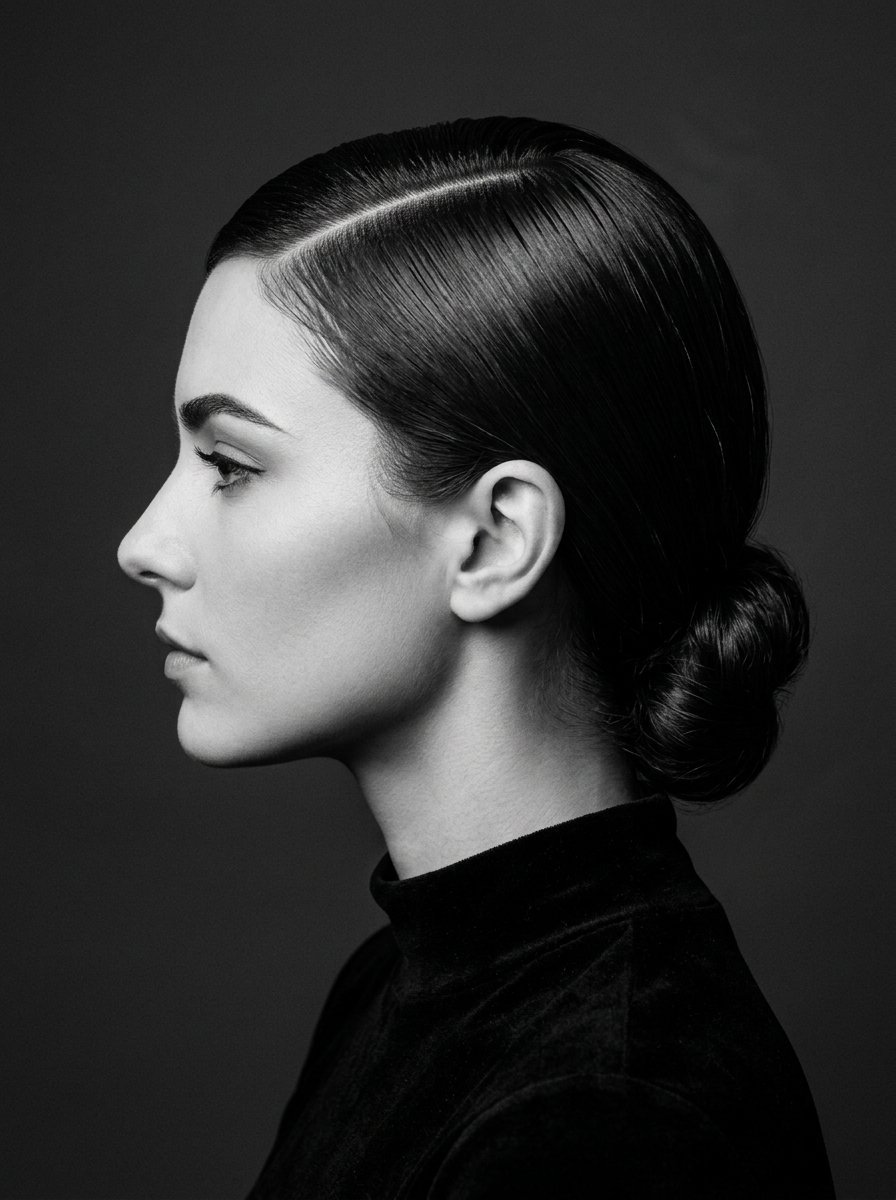
Altering your parting line alters how your entire face is framed. A deep side part introduces asymmetry that feels instantly modern.
- Use a fine-tooth comb to create a sharp part.
- Align the part with the arch of your eyebrow.
- Comb hair sleekly across the forehead.
- Gather everything into a low position at the nape.
- Secure tightly and smooth flyaways with a light pomade.
This option works beautifully for professional settings. The sharp line adds structure to your look. It provides a clean, architectural feel that balances casual outfits.
5. The Twisted Side Panels
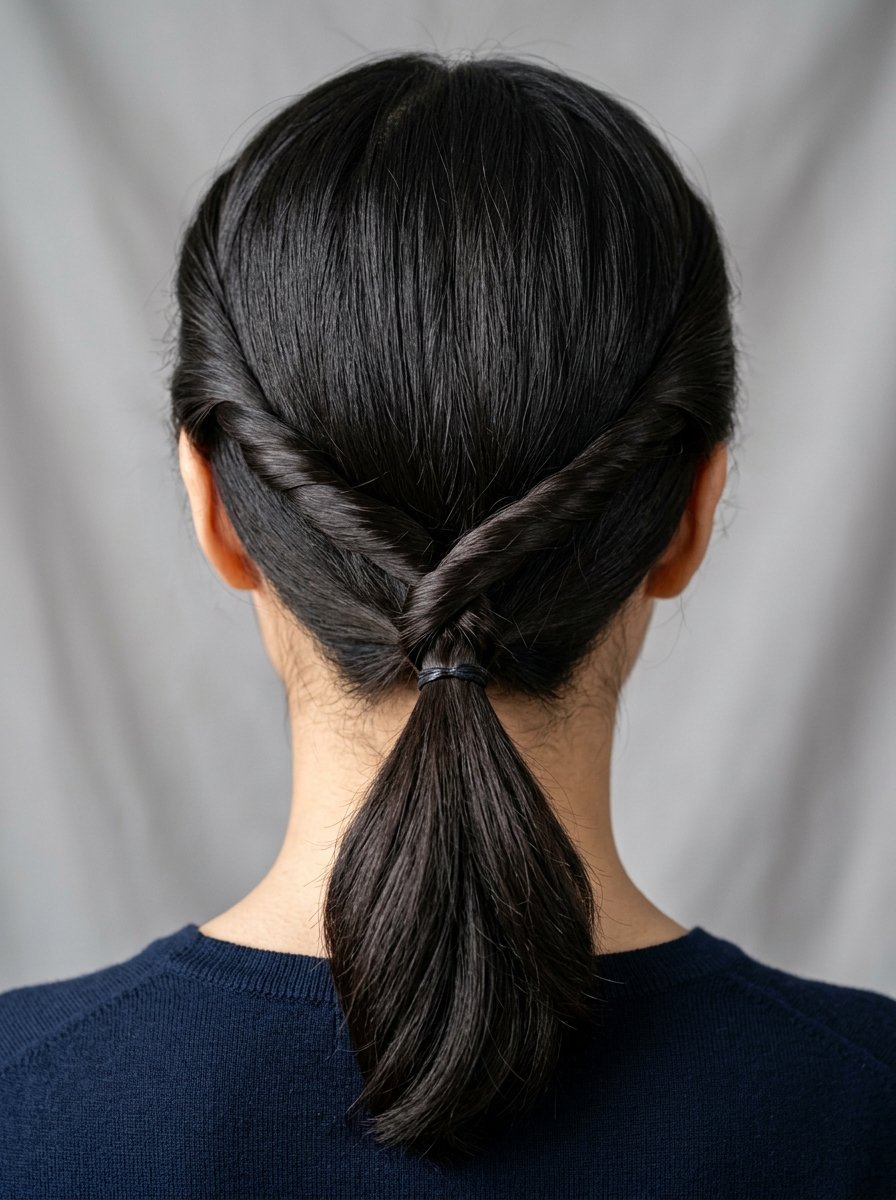
This variation introduces a romantic element without requiring complex braiding skills. It uses simple twists to add dimension.
- Leave two-inch sections free at the front of your face.
- Pull the remaining back section into a standard base.
- Take the left front section and twist it backward.
- Wrap it over the top of your elastic band.
- Repeat the twist with the right side and secure underneath.
The twists soften the profile view of your head. I have seen this style hold up remarkably well during outdoor events where wind ruins traditional looks. The twists keep shorter layers secure.
6. The Low Bubble Accent
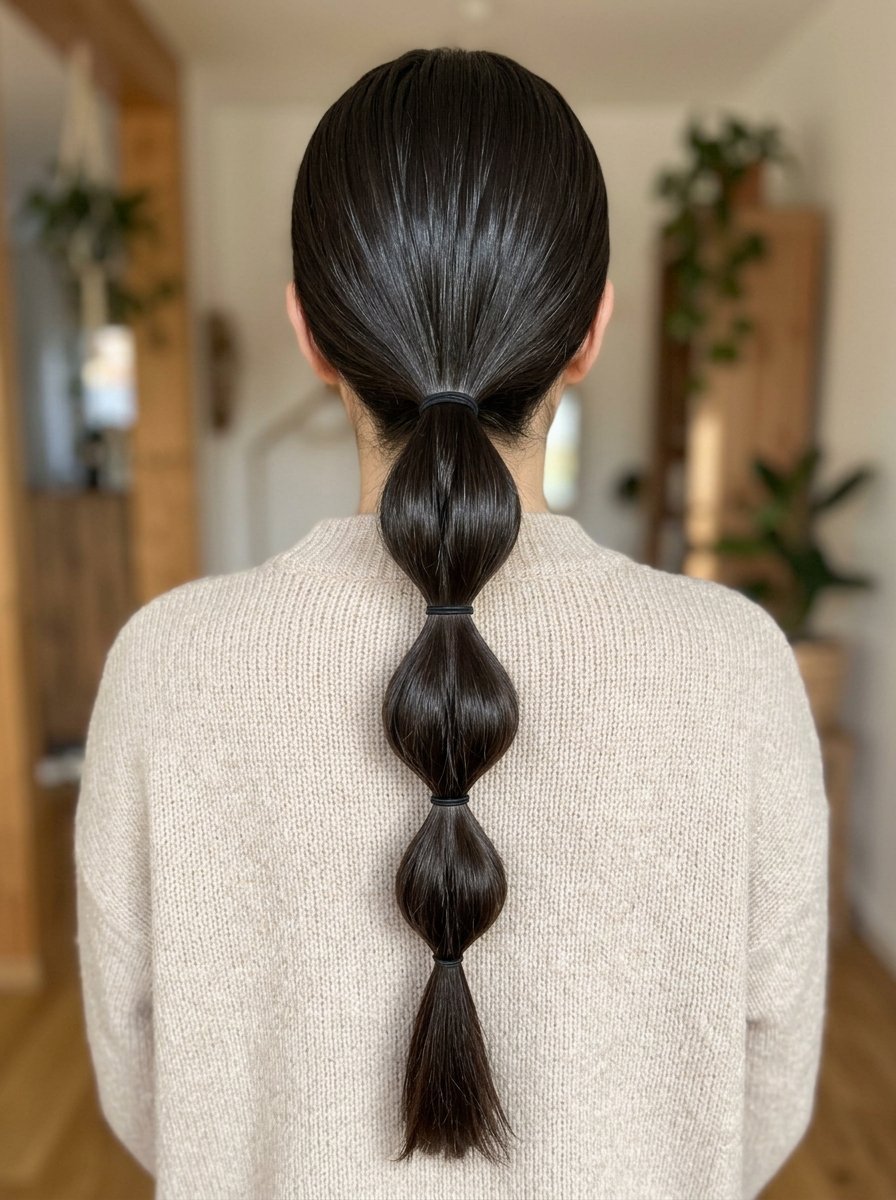
The bubble style updates the length of your hair rather than just changing the base. It creates a segmented look that draws the eye down.
- Gather hair into a low position at the base of the neck.
- Place another elastic two inches further down the length.
- Gently pull the hair between the bands outward to puff it.
- Repeat the process down the length based on your hair span.
- Keep spacing even for a balanced look.
This option is highly effective for thick hair that tends to become unmanageable when left loose. It contains the volume while showcasing the length. It looks intricate but uses simple mechanics.
7. The Pierced Ribbon Finish
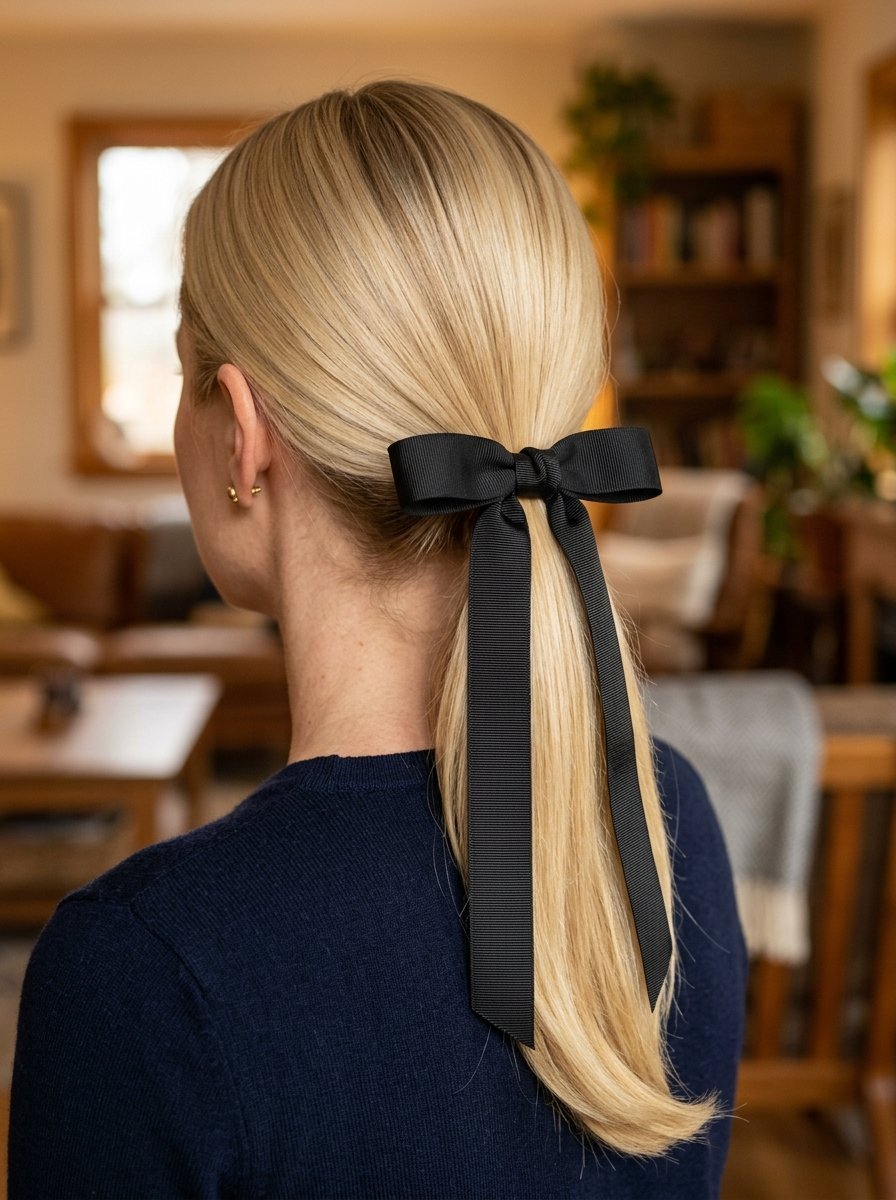
Accessories can change the entire mood of an outfit. Replacing standard ties with simple fabric strips adds a classic touch.
- Secure your hair into your preferred base height.
- Thread a piece of black grosgrain ribbon through a hairpin.
- Slide the pin down through the center of the elastic.
- Tie the loose ends of the ribbon into a crisp knot.
- Let the ribbon tails hang slightly longer than the hair.
Velvet or grosgrain fabrics grip the hair better than silk alternatives. This minor addition pairs exceptionally well with simple sweaters. It feels intentional and classic without feeling overly dressed up.
8. The Crown Volume Bump
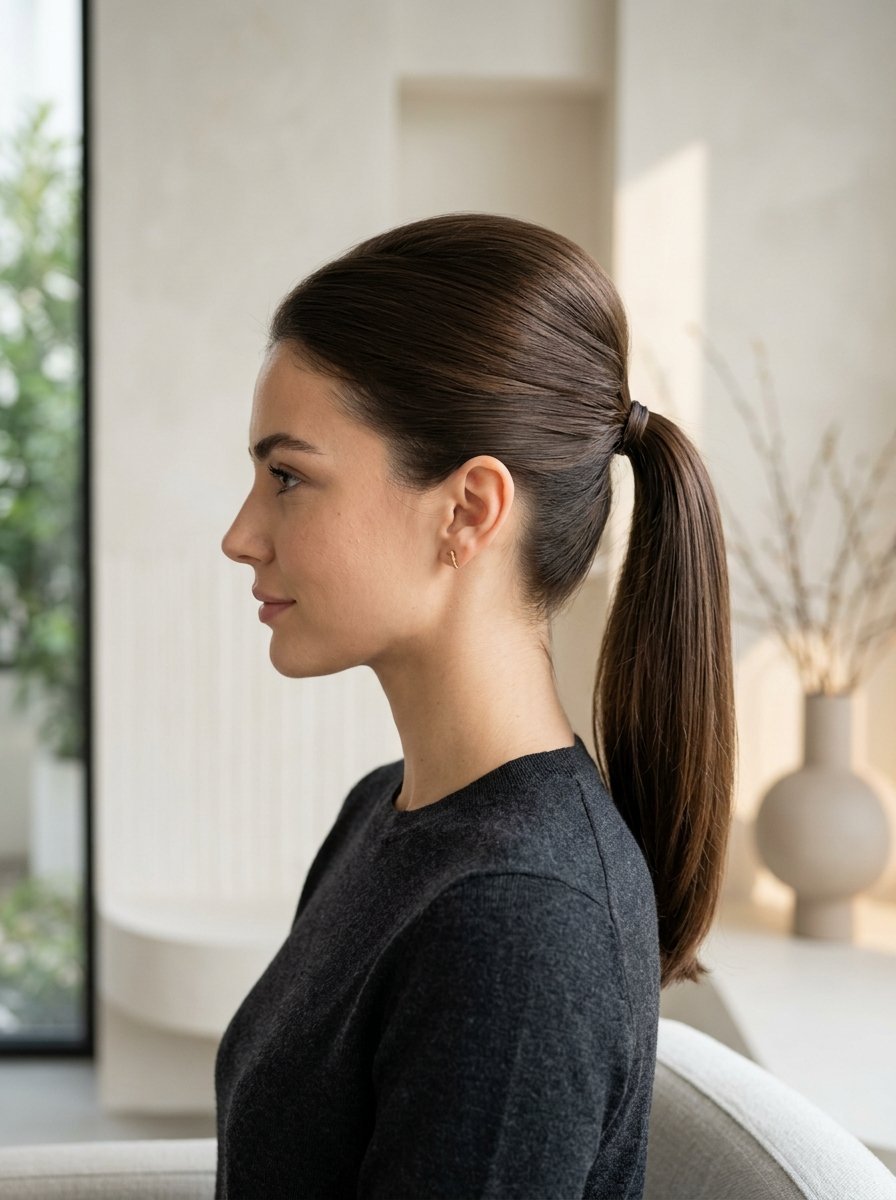
Adding height at the back of the head creates a flattering silhouette that elongates the neck line.
- Separate a section of hair at the crown area.
- Lightly backcomb the underside of this section.
- Smooth the top layer over the teased portion.
- Gather all hair into a mid-height position.
- Secure carefully to avoid crushing the volume.
A small amount of height prevents the hair from looking plastered to the skull. I suggest using a tail comb to gently lift the section back up if it flattens during securing. It balances out features beautifully.
9. The Disguised Scarf Wrap
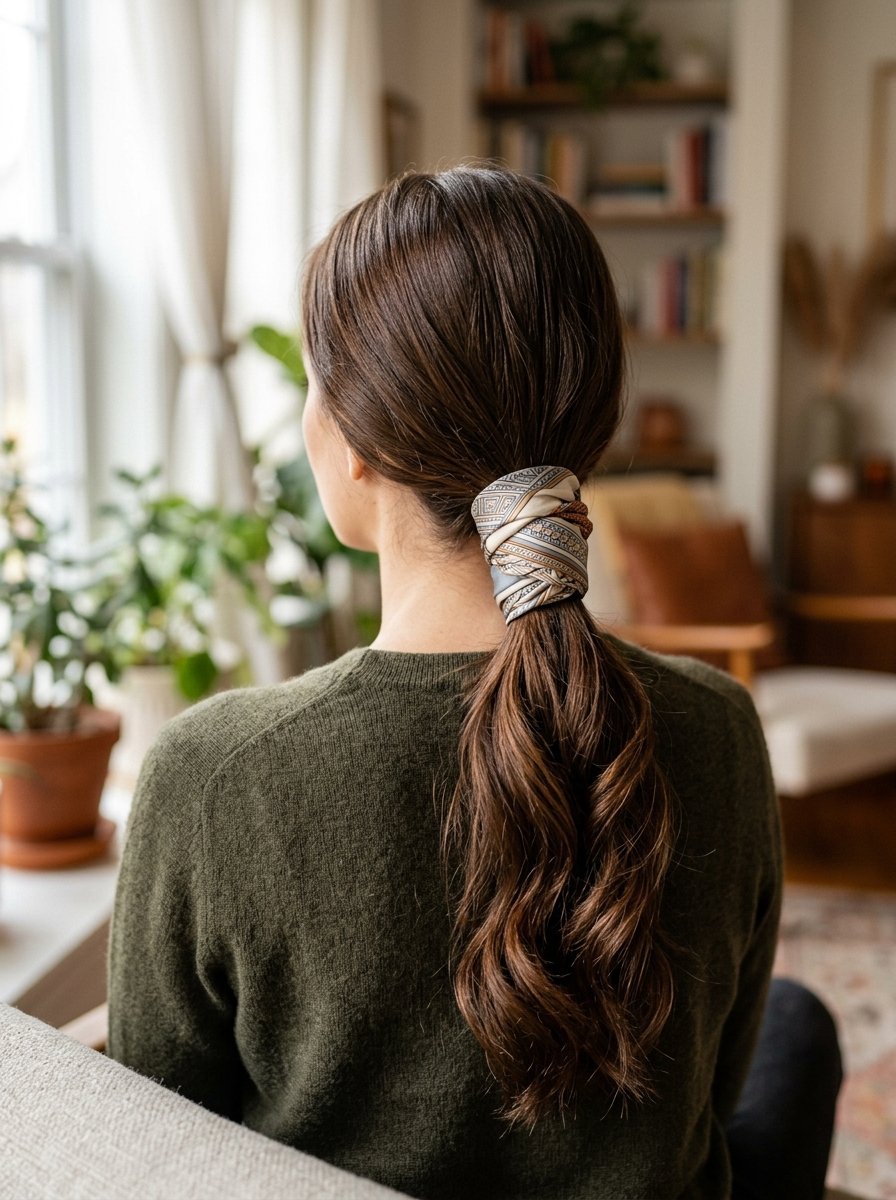
Silk scarves add color and movement to a style. This technique anchors the fabric so it will not slide off your head.
- Tie your hair into a standard mid-height position.
- Loop a small silk scarf through the elastic band before tying.
- Wrap the scarf around the base twice to hide the band.
- Knot the scarf underneath the base.
- Let the fabric panels blend into the hair length.
The elastic anchor keeps the slippery silk fabric from sliding down throughout the day. This option adds a breezy, casual element to summer outfits. It gives the illusion of thicker hair.
10. The Wispy Face Framing Look
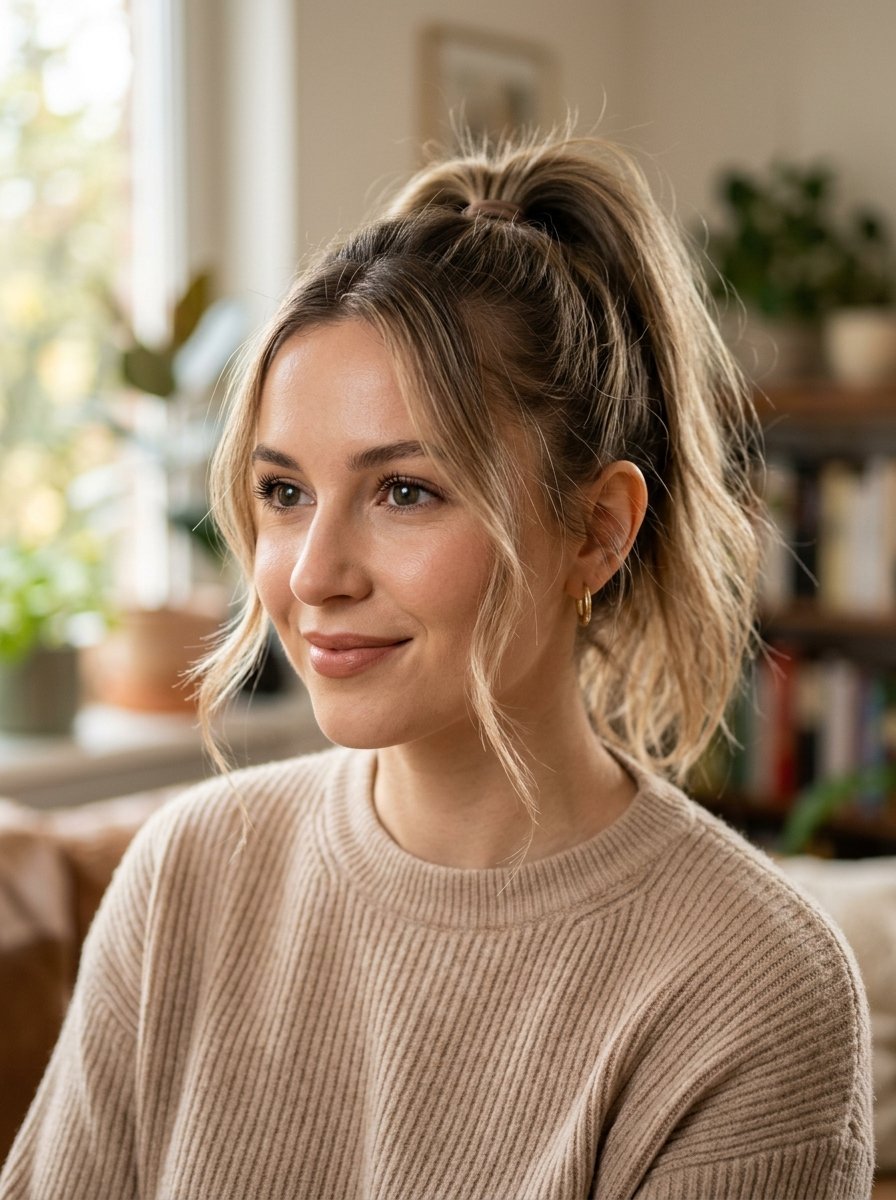
Pulling every strand back can expose the face in a way that feels harsh. Leaving deliberate pieces out softens the look.
- Secure your hair into a comfortable high position.
- Use your thumb pads to gently rub the hairline area.
- Pull down baby hairs and fine strands near the ears.
- Use a straightener to add a slight bend to these pieces.
- Apply a touch of hair oil to the ends for definition.
The goal is softness, so avoid pulling thick chunks of hair forward. These fine strands frame the face and mimic natural movement. It creates a relaxed appearance that feels approachable.
11. The Sleek Low Shine Look
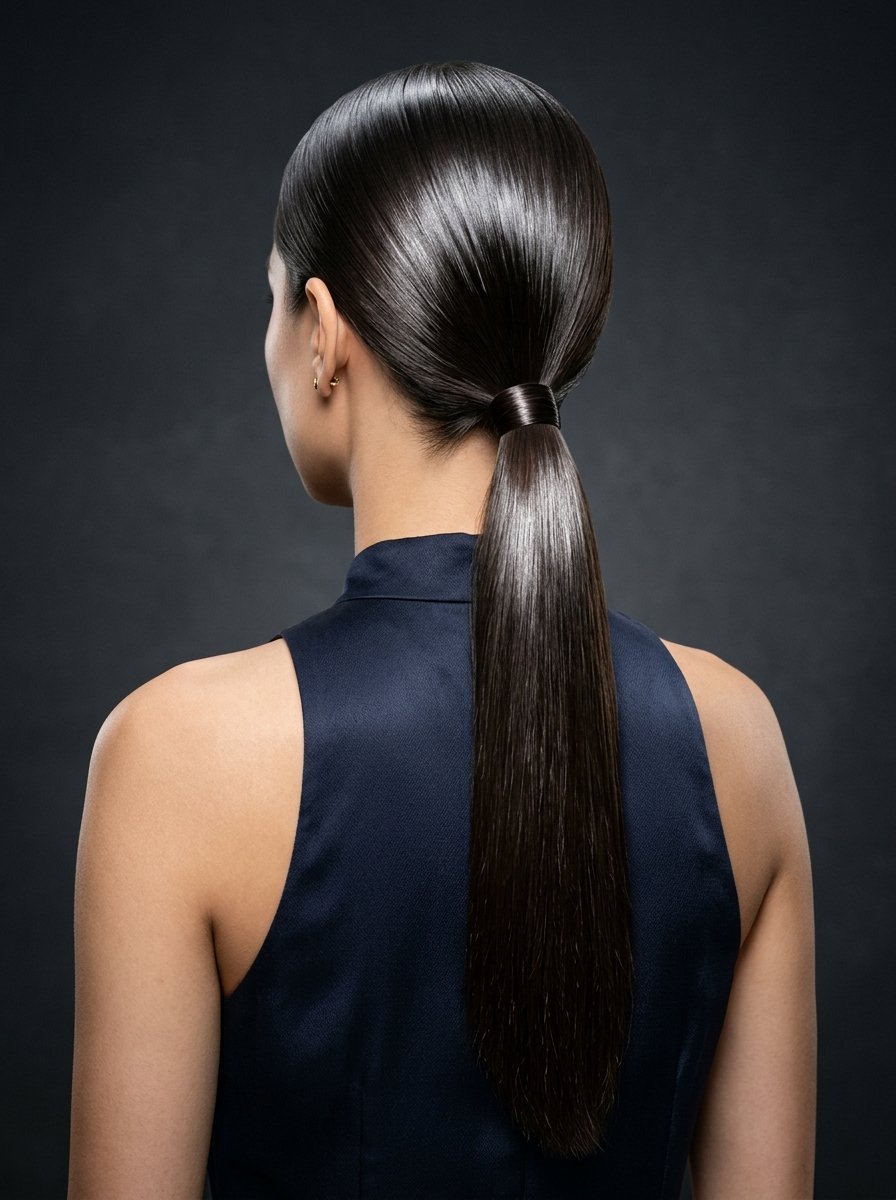
A high-shine finish gives an impression of absolute polish and control. It works perfectly for evening events or sharp tailoring.
- Apply a generous amount of leave-in cream to damp hair.
- Blow-dry hair straight down using a paddle brush.
- Gather into an ultra-tight position at the absolute nape.
- Secure with a strong hook elastic.
- Run a flat iron over the length and apply shine spray.
This style depends entirely on precision. Every hair must be smoothed down flat against the scalp. It projects confidence and sophistication while keeping hair completely controlled.
12. The Triple Band Segment
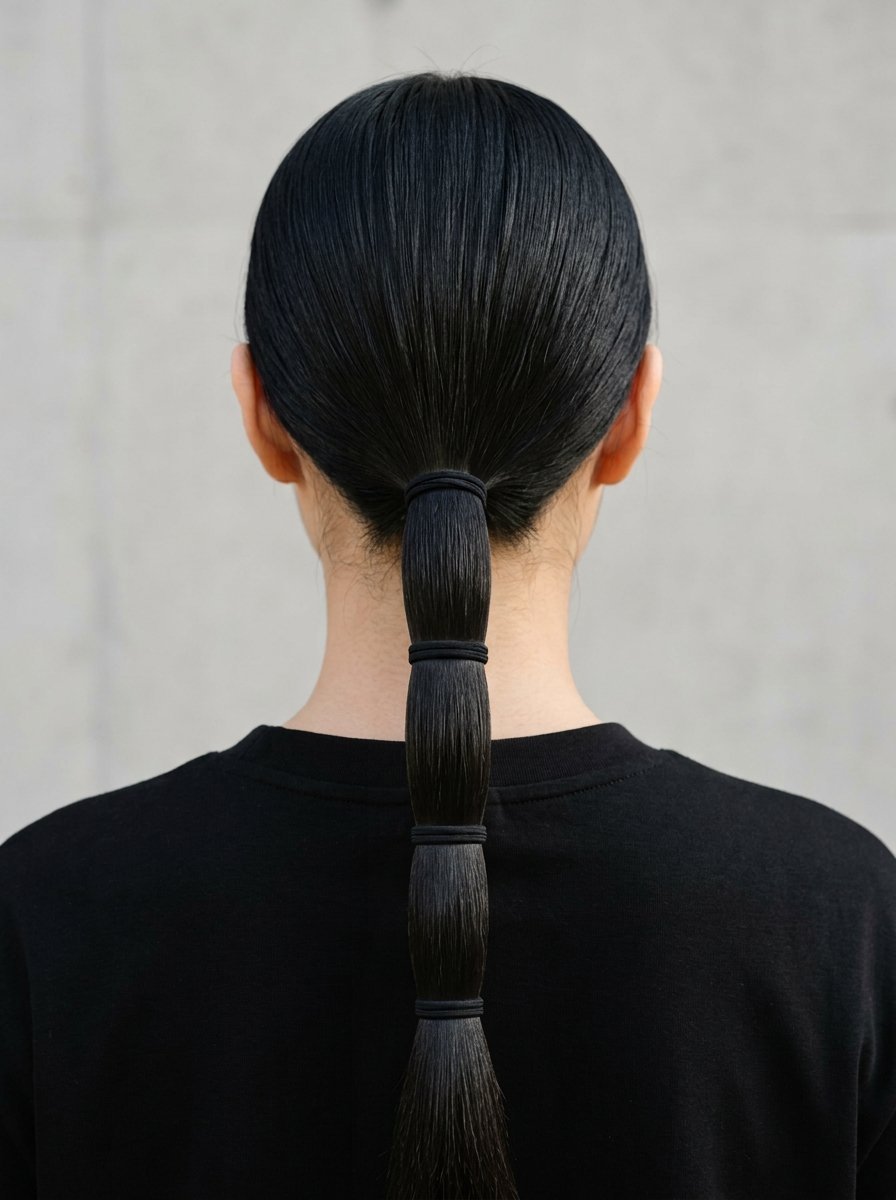
This approach uses geometric spacing to create visual interest along the length of a long style.
- Tie hair into a high position at the crown.
- Place a second band three inches down the shaft.
- Place a third band another three inches down.
- Keep the hair between bands completely flat and smooth.
- Ensure all bands match your hair color exactly.
Unlike the bubble look, this variation stays sleek rather than puffed. It creates a clean line that works well with modern clothing designs. It is ideal for straight, heavy hair types.
13. The Half-Up Illusion
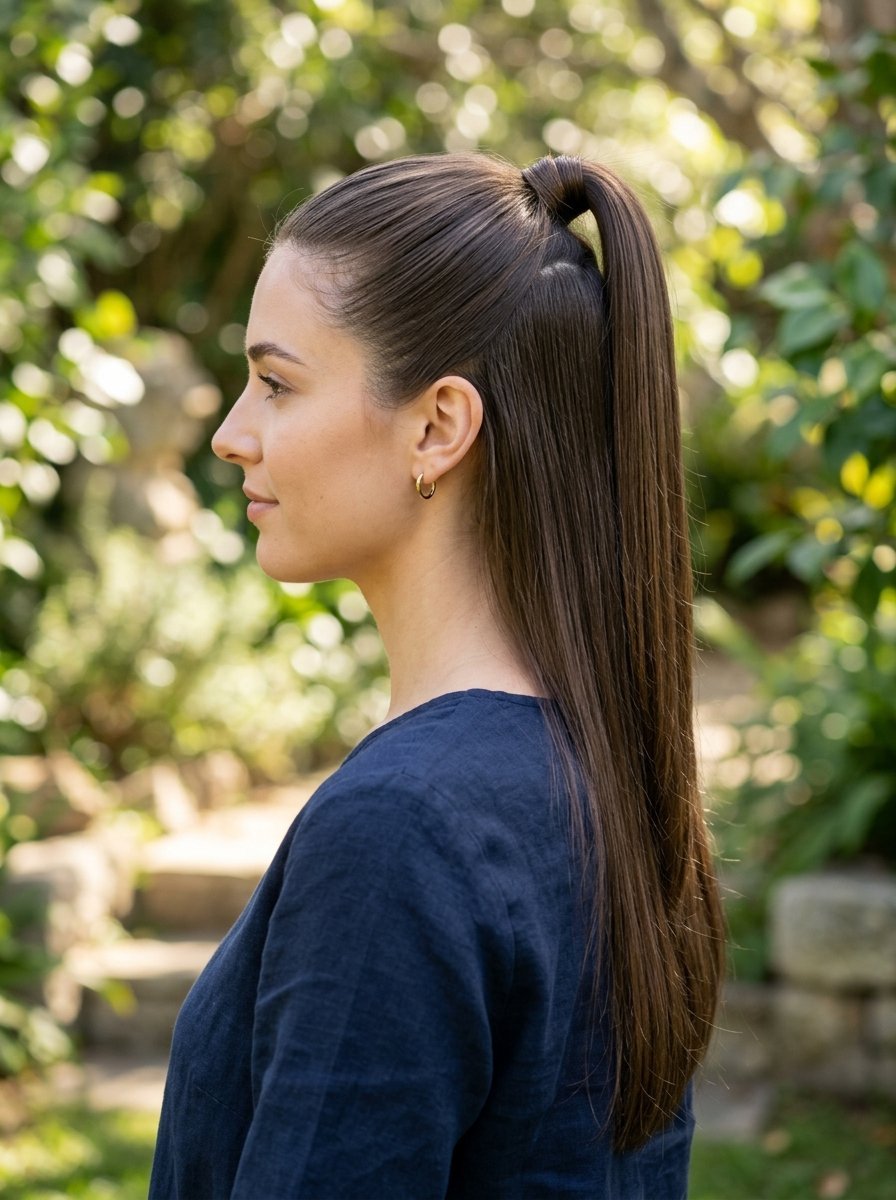
If you struggle to decide between wearing hair completely up or fully down, this option offers a functional middle ground.
- Section off the top third of your hair.
- Tie this top section into a high crown position.
- Let the remaining bottom two-thirds hang completely free.
- Pull the tie tight to create a lifted effect at the eyes.
- Blend the length of the top section into the lower hair.
This style provides the face-lifting benefits of a high look while retaining the framing qualities of long loose hair. It stays secure because the weight of the bottom section does not pull on the elastic.
14. The Braided Band Accent
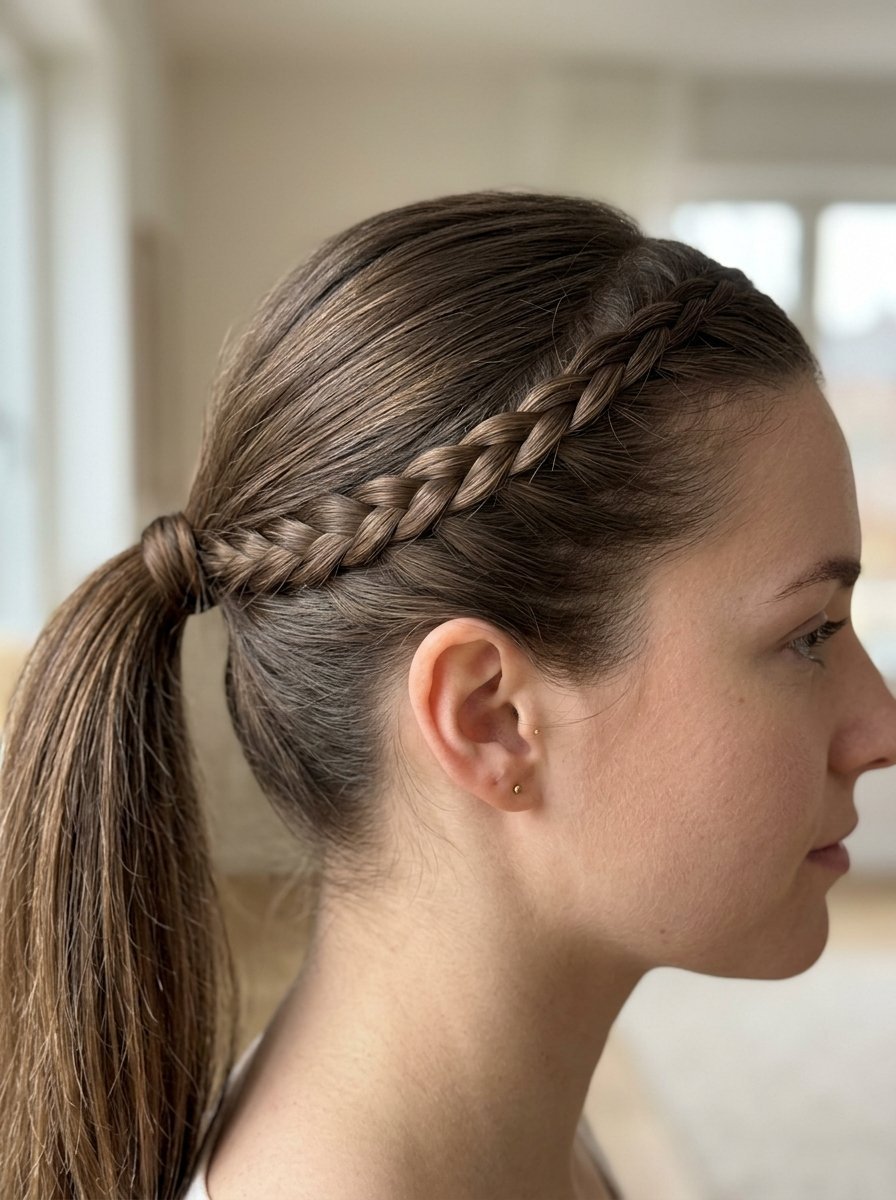
A subtle braid adds texture to the scalp portion of your style without requiring you to braid the entire length.
- Create a small side part at the front hairline.
- Braiding a three-strand plait along the hairline toward the ear.
- Secure the end of the small braid with a clear thread.
- Gather all hair, including the braid end, into a mid-level base.
- Tie securely and remove the temporary clear thread.
The small braid adds a handcrafted detail to an otherwise simple look. I find this approach keeps growing-out bangs secure without needing plastic clips. It introduces a subtle pattern to the hair surface.
15. The Inverted Topsy Flip
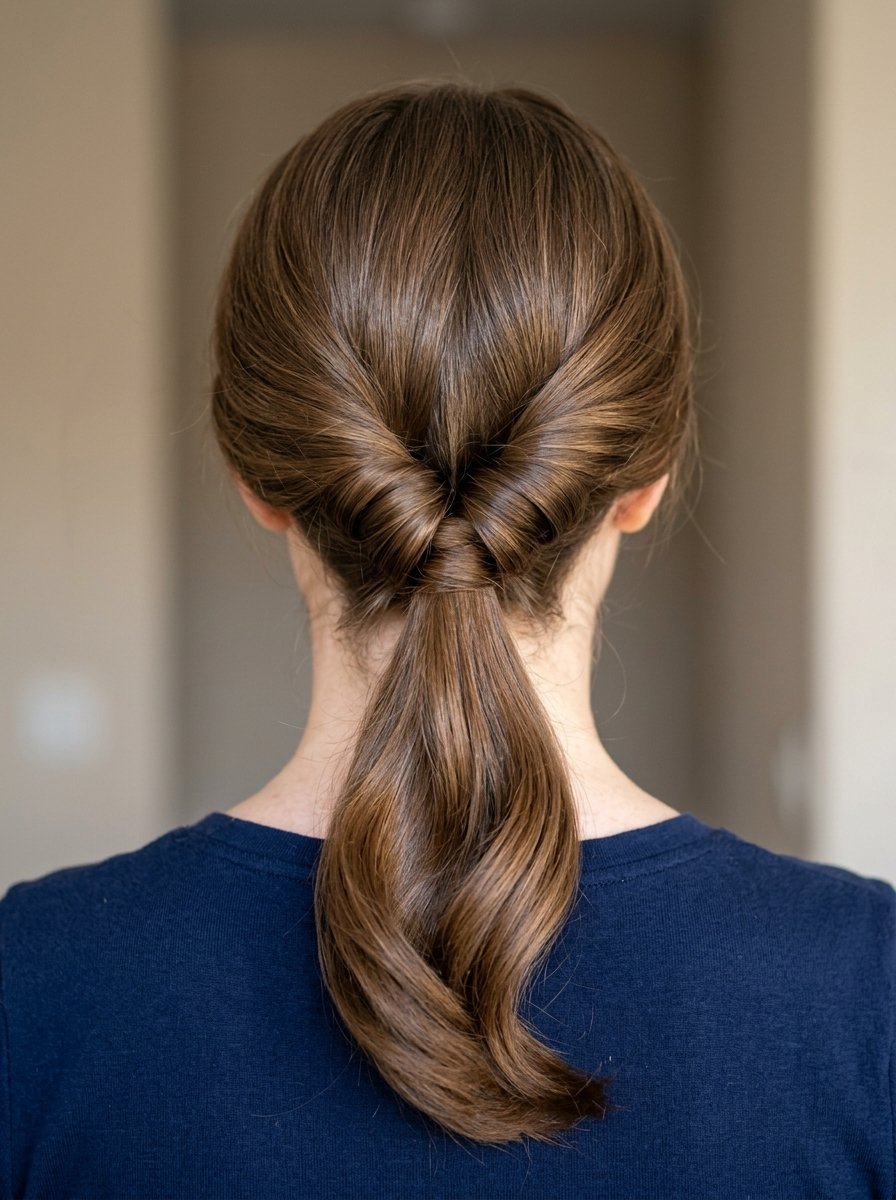
This classic technique creates a beautiful, rolled texture at the base of the neck without pins.
- Gather hair into a loose low position.
- Create a split in the hair just above the elastic band.
- Flip the length up and push it down through the split.
- Pull the length down completely to tighten the twist.
- Adjust the side rolls to ensure symmetry.
The flip creates a nested detail that looks complex but takes seconds. It hides the mechanical fastening completely within the hair fold. It offers an elegant option for days when comfort is key.
16. The High Swing Runway Style
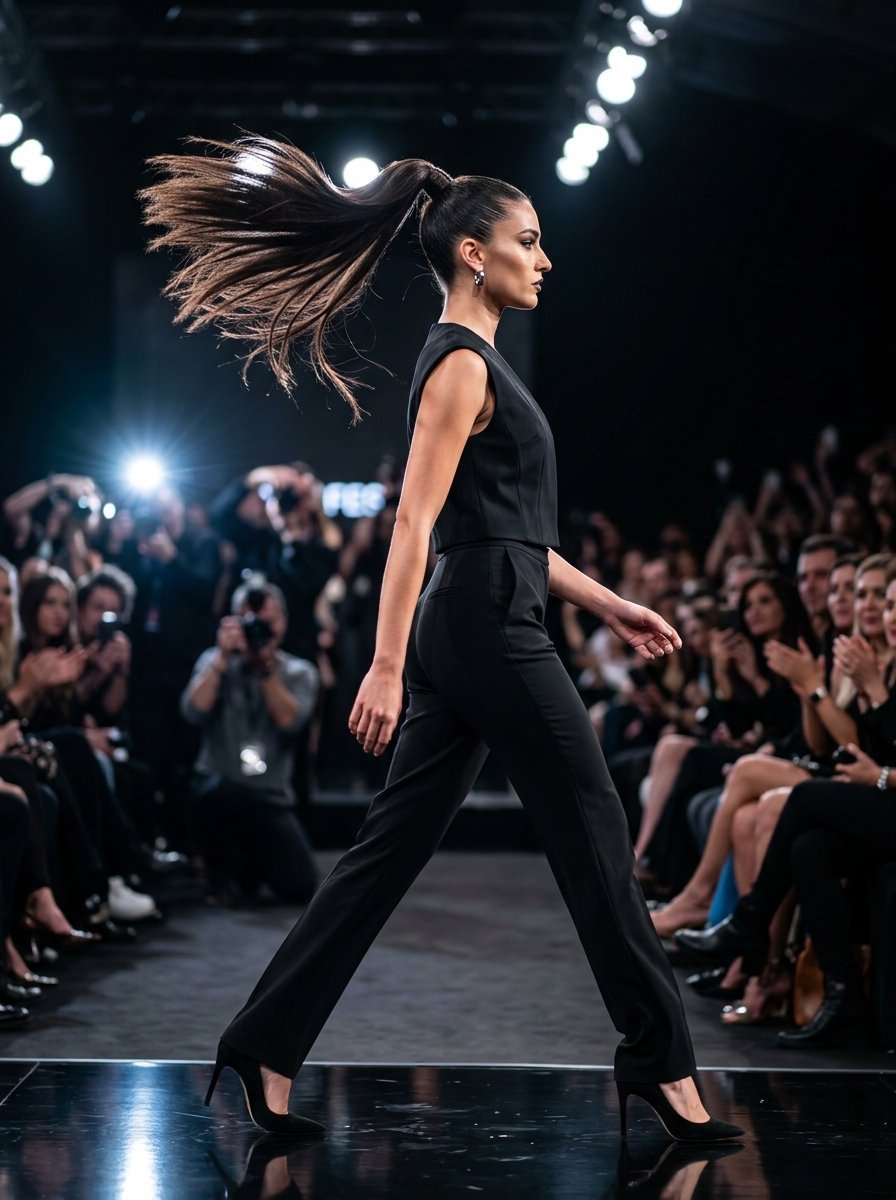
A high position creates a dramatic line that moves beautifully when you walk. It channels a sporty energy.
- Tilt your head backward completely while gathering hair.
- Collect all strands at the high point of the skull.
- Secure with a thick, heavy-duty band to support the weight.
- Wrap a small section around the base to add structural height.
- Let the length swing freely behind you.
Tilting your head back prevents bagginess at the nape of the neck when you stand upright. This position highlights your jawline and cheekbones. It feels powerful and modern.
17. The Crimped Texture Paneling
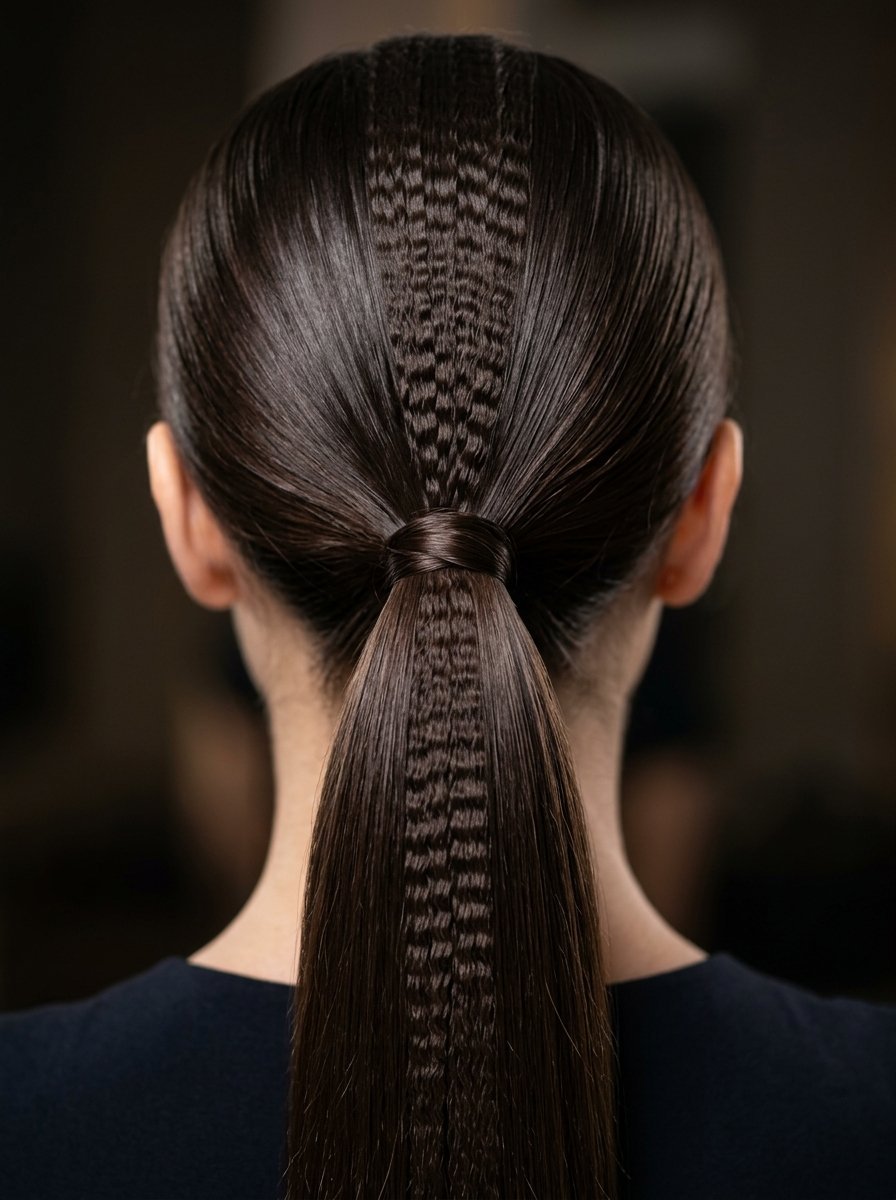
Mixing textures within a single style creates a high-fashion contrast that looks custom-designed.
- Take a two-inch vertical section from the center of your hair.
- Use a mini crimping iron on this section from root to tip.
- Leave the rest of your hair completely straight.
- Gather everything into a mid-height position.
- Secure tightly to showcase the textured stripe.
The contrast between the crimped panel and the sleek sides adds immediate visual depth. It plays with light differently across the surface of the head. It shows a level of styling intent that stands out.
18. The Asymmetric Low Sweep
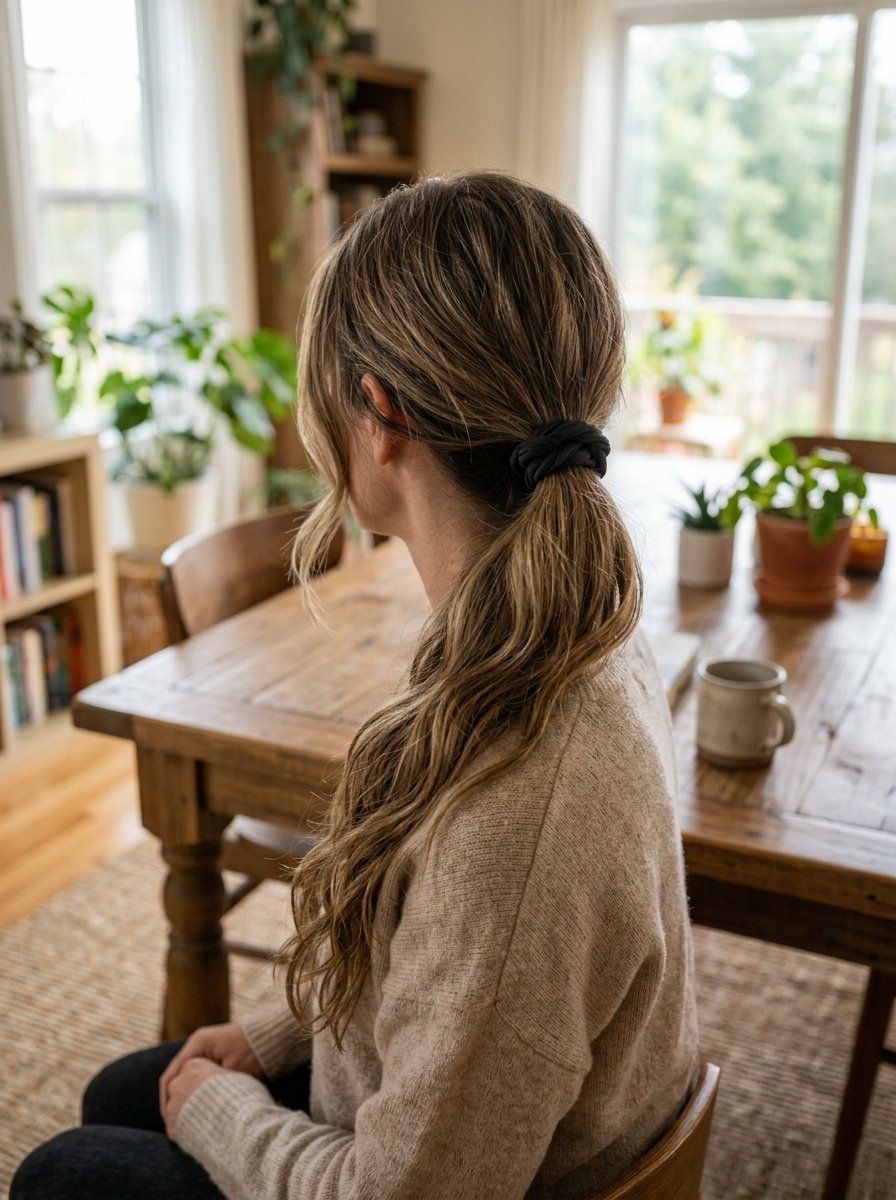
Shifting the placement off-center changes the balance of your silhouette and adds a casual, modern feel.
- Gather your hair behind one ear rather than straight back.
- Keep the sweep low and close to the neck line.
- Secure with a simple, unadorned band.
- Let the length rest over your shoulder toward the front.
- Smooth the opposite side flat against the head.
This position feels relaxed and effortless. It works wonderfully with asymmetrical necklines or off-the-shoulder tops. It frames the neck beautifully while remaining functional.
Comparison of Key Styles
| Style Name | Effort Level | Best Hair Type | Key Tool Needed |
| Wrapped Base | Low | All types | Bobby pin |
| Double Volume | Medium | Long, heavy hair | Two elastics |
| Sleek Low Shine | High | Straight or smoothed | Shine spray |
| Inverted Flip | Low | Medium to long length | None |
Frequently Asked Questions
How can I make my style look thicker without extensions?
The double volume method splits your hair into two sections, placing one directly above the other. This creates a structural shelf that prevents the hair from flattening out. Using a dry texture spray through the length before styling adds separation between strands, making the overall mass appear much larger than it is.
What elastics prevent damage and snapping?
Avoid any bands with exposed metal joins as they catch and cut the hair shaft. Small silicone bands work well for clear styles but can pull during removal. Fabric-covered nylon bands or elastic cords that you tie yourself offer the best security with minimal friction on the hair cuticle.
How do I stop a high style from sliding down?
Gravity naturally pulls heavy hair downward over hours. To anchor a high style, secure it with two bands instead of one, or use a bungee-style hook elastic that tightens precisely to your hair volume. Inserting two bobby pins vertically downward through the elastic base into your hair anchors the structure directly to your scalp.
Will these styles work on shorter hair lengths?
The low variations, such as the wrapped base, the deep side part, and the asymmetric sweep, work perfectly on bob or lob lengths. If shorter layers fall out at the back, use a clear setting gel or small snap clips that match your hair color to secure the underside sections cleanly.
How do I get rid of bumps on the top of my head?
Bumps happen when hair is pulled at uneven tensions. To fix this, use a boar bristle brush to smooth each section toward your gathering hand before applying the band. If bumps appear after securing, use the tail end of a metal comb to gently slide under the bump and distribute the slack smoothly toward the back.
Executive Summary
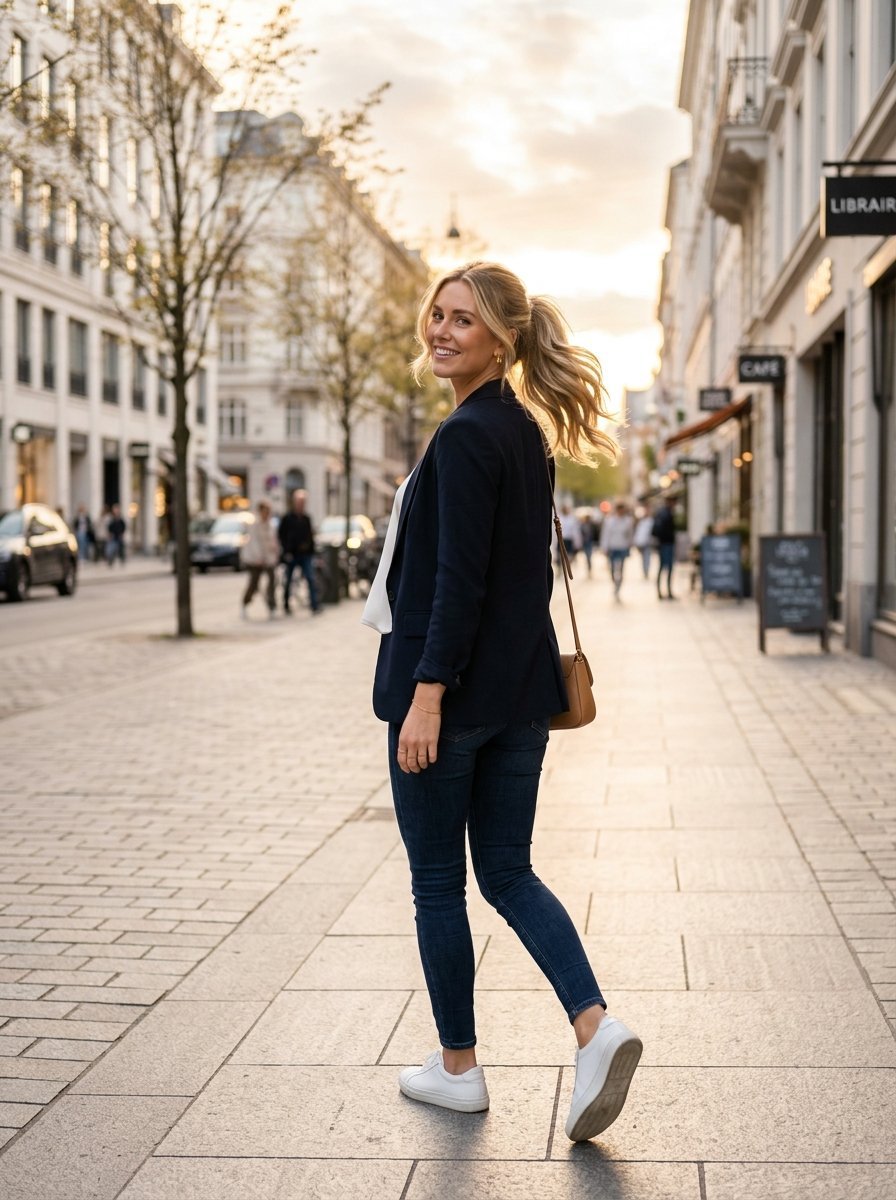
Transforming your everyday look does not require complicated routines or expensive product investments. By changing your parting placement, using simple structural tricks like section splitting, or hiding your mechanics with a hair wrap, you turn a functional default into a deliberate style choice. These eighteen ideas offer quick, realistic updates that fit seamlessly into busy mornings while providing a polished appearance that lasts all day. Choose one variation tomorrow morning to break your styling routine and discover how versatile a simple look can be.

Sarah Mitchell — Founder & Editor-in-Chief
Sarah Mitchell is the founder and editorial voice behind Hair Level Up. A licensed cosmetologist with more than 15 years of experience, she has styled A-list celebrities for editorial shoots and red carpets, with work featured in Vogue, Elle, and Harper’s Bazaar. Early in her career, she trained under the legendary hairstylist Oribe in New York, an apprenticeship that still shapes her editorial eye today. Sarah founded Hair Level Up in 2020 after one bad haircut convinced her that women deserved a destination that felt like a magazine, taught like a stylist, and inspired like an art gallery. She oversees every story from concept to publication, guided by a simple belief: a good story teaches you something, but a great one makes you feel beautiful while it does.