The Beginner’s Toolkit for Fast Morning Hair Styling
Your alarm did not go off today. You have exactly twenty minutes to leave the house. You look in the mirror. Your roots look flat and lifeless. We all know this terrible feeling. Getting a perfect hair day feels like hard work. You might think you need an hour to look presentable. In my experience, you only need the right tools. I spent years fighting my natural waves every single morning. I wasted money on expensive gadgets. Those tools just sat in my drawer gathering dust. Then I tested a specific set of simple items. Everything changed for me almost overnight. You can get out the door looking polished fast. It takes less than five minutes. I will show you exactly what to buy. I will show you what to keep on your bathroom counter. You will stop stressing over your daily look.
This guide gives you a tested morning hair routine for effortless hairstyles. You will read a full breakdown of five specific tools. These items cut your daily styling time in half. We cover exact costs and realistic time frames. I will show you why standard curling irons slow you down. You will read the exact night routine steps that make tomorrow easier. I review specific brushes and dry shampoos based on three years of personal testing. You will see what works well for fine, thick, and curly textures. We look at products ranging from five to forty dollars. Finding 5 Minute Hairstyles is totally possible when you stop fighting your natural texture. I share my biggest styling mistakes and how to fix them quickly. You will walk away knowing exactly what to buy and what to throw away. Your mornings are about to get much smoother. You will feel ready for any early meeting.
Why do most women fail at fast styling?
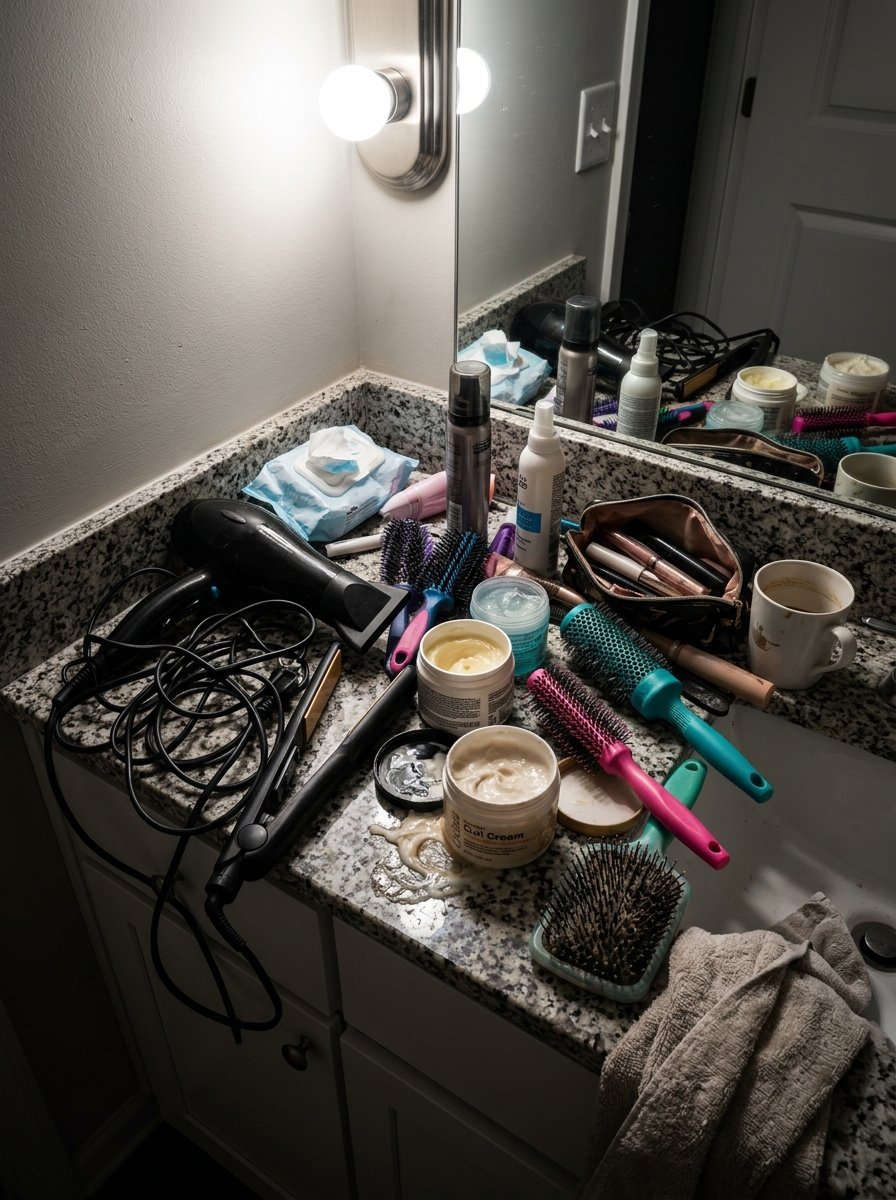
Waking up with zero plan
Most mornings start in a total panic. You hit the snooze button three times. You roll out of bed feeling very tired. You look at your strands and sigh. Having zero plan makes a perfect hair day impossible. In my experience, winging it never works out well. You end up staring at your bathroom mirror doing nothing. You try a basic ponytail first. You take it down. You try a messy bun next. You take it down again. Ten full minutes vanish into thin air. I noticed this happening to me every single Tuesday. I would just give up and wear a baseball hat. A morning hair routine requires strict steps. You must know exactly what you will do before you wake up. This removes the guesswork completely. Sarah is a teacher from Ohio. She told me she used to cry in her bathroom out of pure frustration. She started deciding on her style the night before. Her mornings became calm and very easy. You need a dedicated visual plan for your week.
Using the wrong tools for your texture
Every person has a completely different head of strands. You cannot use the same brush as your best friend. Fine strands need very gentle detangling. Thick textures need heavy duty bristles to get through knots. Using the wrong tools wastes your precious time. I used a cheap plastic comb for years. It pulled out my strands and made me cry. I bought a specialized brush and cut my styling time instantly. You must buy items made for your specific thickness. Many women buy whatever is on sale at the drugstore. This causes massive headaches later on. A cheap curling iron will fry your ends. A weak hair dryer will take forty minutes to dry your head. Spending money on the right items saves you hours every month. You will stop fighting with your texture. You will start working with it instead. I have seen this work well for hundreds of women online. Matching the tool to the texture changes everything.
Applying too much heavy product
We all want shiny and smooth strands. Many of us buy thick oils to fix our frizz. We apply way too much product right near the root. This is a massive mistake. Heavy creams weigh down your roots instantly. Your head looks greasy before you even leave the house. You then have to wash your head all over again. This ruins your entire morning schedule. I did this right before a big job interview last year. I applied a thick serum to my roots. I looked like I had not showered in a whole week. I had to wear a tight bun to hide the grease. You must use lightweight sprays instead. You should only apply oils to the very bottom ends. Your roots produce enough natural oils on their own. Keeping product away from your scalp keeps your volume high. You will get an aesthetic beauty look without the heavy grease.
The mistake of heavy oils
Heavy oils sit right on top of your strands. They do not sink in quickly. They leave a shiny film that looks very dirty. You want to avoid castor oil or thick coconut oil in the morning. Save those thick items for a weekend mask. Your morning hair needs lightweight hydration. Argan oil sprays work much better for fast styling.
How heavy creams weigh down roots
Creams contain thick waxes and heavy butters. These ingredients drag your strands straight down to the floor. You lose all your natural volume at the crown. Flat roots make your face look tired and drawn. Stick to airy foams if you need hold. Foam disappears into the strand without leaving a thick residue behind.
What exactly goes into a fast morning hair routine?
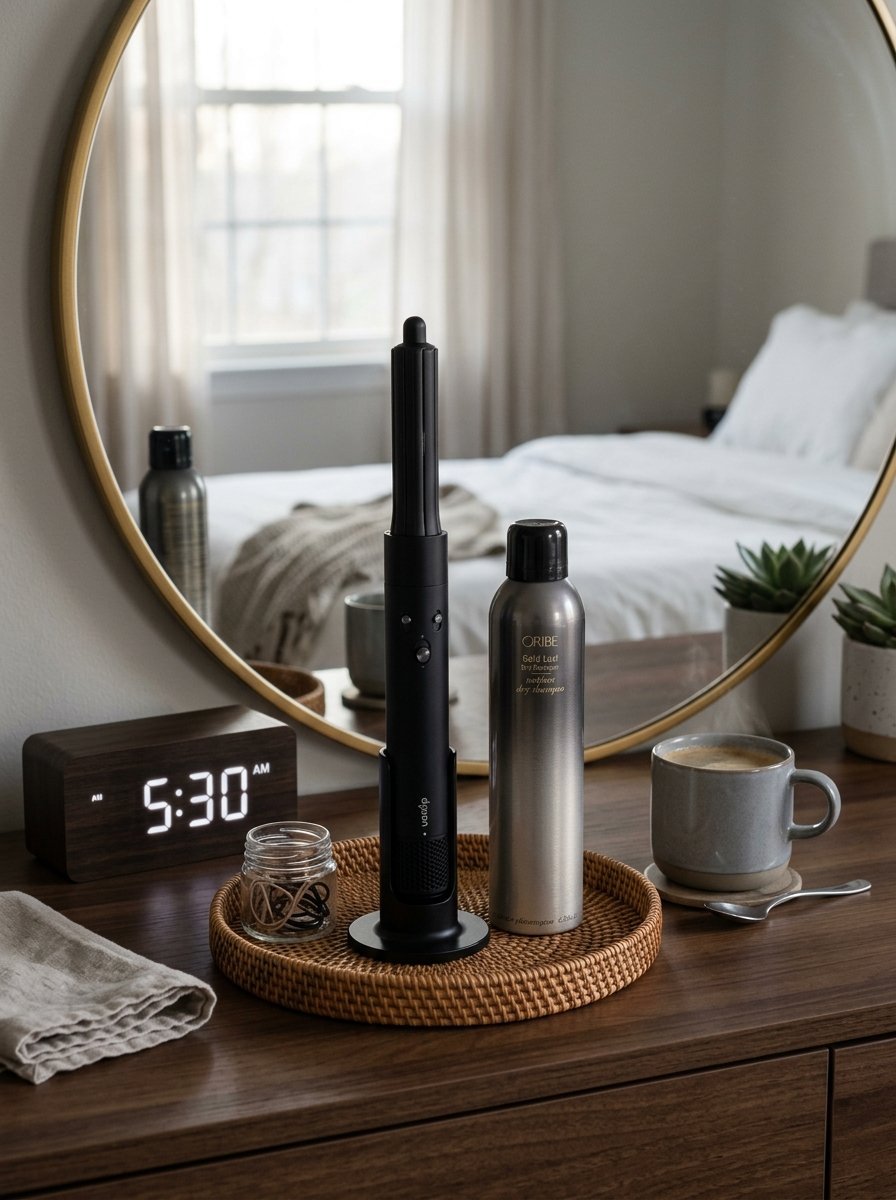
Keeping your bathroom counter organized
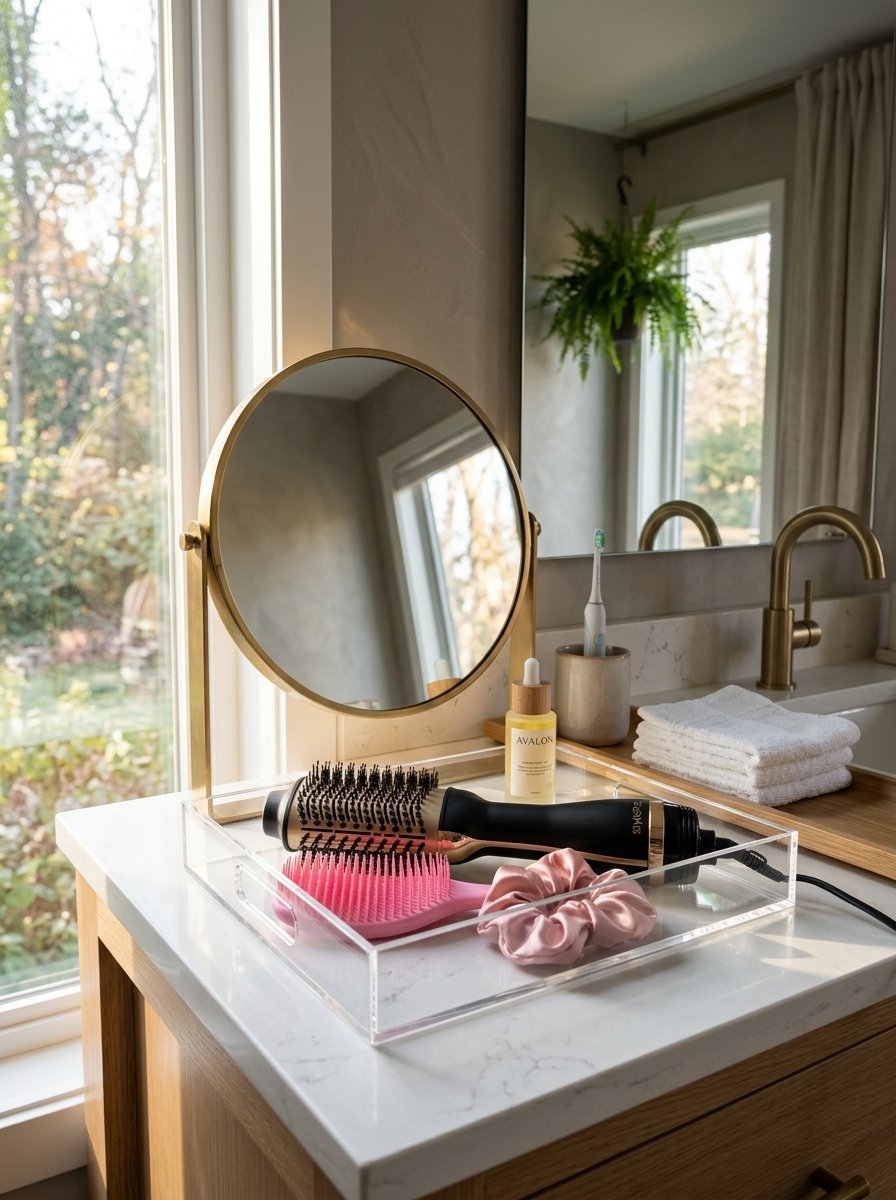
A messy bathroom counter causes massive delays. You cannot find your favorite hair tie. Your heat protectant is hiding behind a large lotion bottle. You spend five minutes just looking for your tools. I keep my bathroom counter completely clear of junk. I use one small acrylic tray for my daily items. This tray holds my brush, my dry shampoo, and three scrunchies. Everything else stays hidden in a drawer. This visual calm helps me move much faster. I grab exactly what I need without looking around. You should clear your counter this weekend. Do these exact steps:
- Throw away empty bottles immediately.
- Put away items you only use once a month.
- Keep only daily tools on your main tray.
Your morning hair routine needs a clean workspace. I promise this simple change will shave minutes off your prep time. You will feel like a professional stylist in your own home. Organization dictates speed in every single task.
Setting up your tools the night before
You set out your gym clothes the night before. You should do the exact same thing for your styling tools. I plug in my hot brush before I go to sleep. I leave it on the counter ready to go. I place my heat protectant spray right next to it. When I wake up, everything waits for me. I just press the power button and start brushing. This saves me from digging through tangled cords at early hours. Tangled cords make me incredibly angry when I am tired. I have tried skipping this step on lazy nights. My mornings always feel chaotic when I skip it. My friend Jessica is a busy lawyer in New York. She sets her entire styling station up every night before bed. She says it gives her immense peace of mind. Prep work is the secret to 5 Minute Hairstyles. You remove all friction from the task.
Timing your steps with a clock
You probably do not know how long things take. You think brushing takes one minute. It actually takes three. You think curling takes five minutes. It actually takes fifteen. You must time yourself to get a realistic picture. I used a stopwatch on my phone for a whole week. I wrote down exactly how long my routine took. The times shocked me completely. I was wasting eight minutes just sectioning my strands. I saw where I needed to speed up. You should time your morning hair steps tomorrow. You will see exactly where you waste time. Once you know your times, you can beat them. You can cut out steps that take too long. You can switch to tools that work faster. Timing yourself turns a messy routine into a strict schedule. You will never run late for work again.
The one minute brushing rule
You should never spend more than sixty seconds brushing dry strands. Over-brushing causes static and ruins your natural wave pattern. Use a wide paddle brush to smooth the top layer. Leave the middle layers alone. This keeps your volume intact and saves you precious seconds. Sixty seconds is plenty of time to look neat.
The two minute heat rule
You should not use hot tools for more than two minutes total in the morning. Target only the pieces framing your face. Touch up the very ends if they look wild. Do not curl your entire head from scratch. Hitting just the front pieces gives the illusion of a full style. This saves massive amounts of time.
Which specific brushes give you aesthetic beauty quickly?
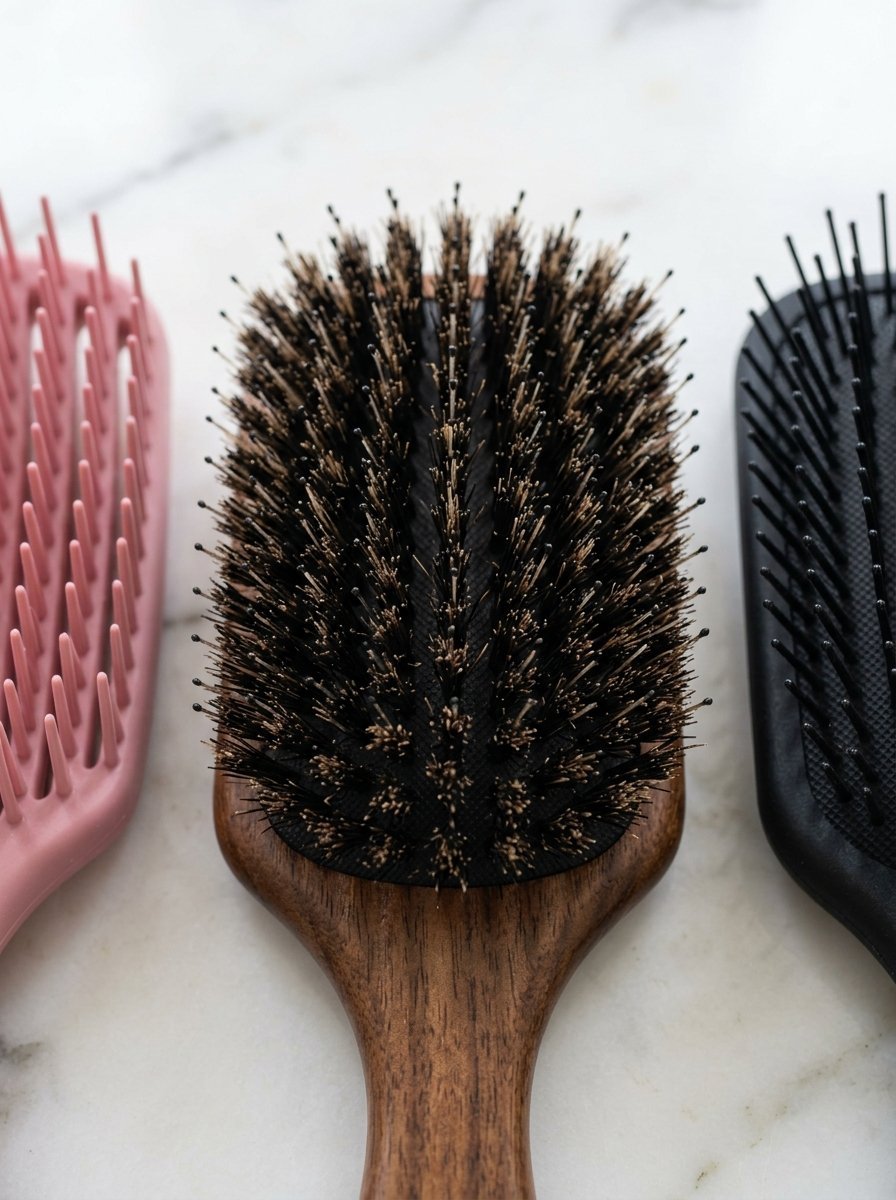
The Tangle Teezer for wet strands
Wet strands are incredibly fragile. They snap and break very easily. You cannot use a regular brush right out of the shower. The Tangle Teezer is a plastic brush with flexible teeth. It glides through wet knots without pulling at all. I bought my first one for fifteen dollars at Target. It literally changed my life. I used to spend ten minutes ripping a comb through my wet ends. I would cry because it hurt my scalp so much. The Tangle Teezer takes one minute to detangle my whole head. I have seen this work well on thick curly textures too. It comes in very cute colors. You can keep it right inside your shower. Brushing while your conditioner sits makes detangling even faster. Every beginner needs this specific plastic tool. It is the cheapest way to get perfect hair quickly. You will see a massive drop in broken strands in your sink.
The Mason Pearson for distributing oils
You need a different brush for dry styling. The Mason Pearson is a very famous boar bristle brush. It is very expensive. It costs around one hundred and fifty dollars. I know that sounds like a crazy amount of money. But it lasts for twenty years. The natural bristles pull oils from your scalp down to your ends. This makes your ends look shiny and healthy. It also cleans your roots naturally. I use a cheaper dupe from the drugstore sometimes. It costs about twenty dollars. It works almost as well as the expensive version. A boar bristle brush gives you that rich aesthetic beauty look. It smooths flyaways instantly without any extra spray. I run it over my ponytail to make it look sleek. It makes cheap styling look very expensive. You definitely need one in your daily toolkit.
The Denman brush for curly textures
Curly textures require a completely different way to style. Regular brushes turn curls into a giant puff of frizz. The Denman brush has firm nylon pins and a rubber base. It clumps curls together beautifully. My sister has tight ringlets. She uses a Denman brush while her head is soaking wet. She twists the brush as she pulls it through. This creates perfectly defined spirals in minutes. She never has to use a curling iron. The brush costs around twenty-five dollars online. It comes apart so you can clean it easily. You can even remove rows of pins to customize it. If you have any kind of wave or curl, buy this immediately. It creates a perfect hair day for textured girls. You will stop hating your natural pattern. You will start getting compliments on your gorgeous curls everywhere you go.
Pricing for detangling brushes
Plastic detangling brushes are very cheap. You can find them at any local store for ten to fifteen dollars. Do not pay more than twenty dollars for a plastic brush. They all work the exact same way. Replace them once a year when the bristles bend. Bent bristles will scratch your scalp and cause damage.
Pricing for styling brushes
Boar bristle brushes range from twenty to two hundred dollars. You pay for the quality of the handle and the bristles. Start with a twenty dollar version from the pharmacy. See if you like how it smooths your flyaways. You can always buy the expensive version for your birthday later.
How do you choose the right heat tools?
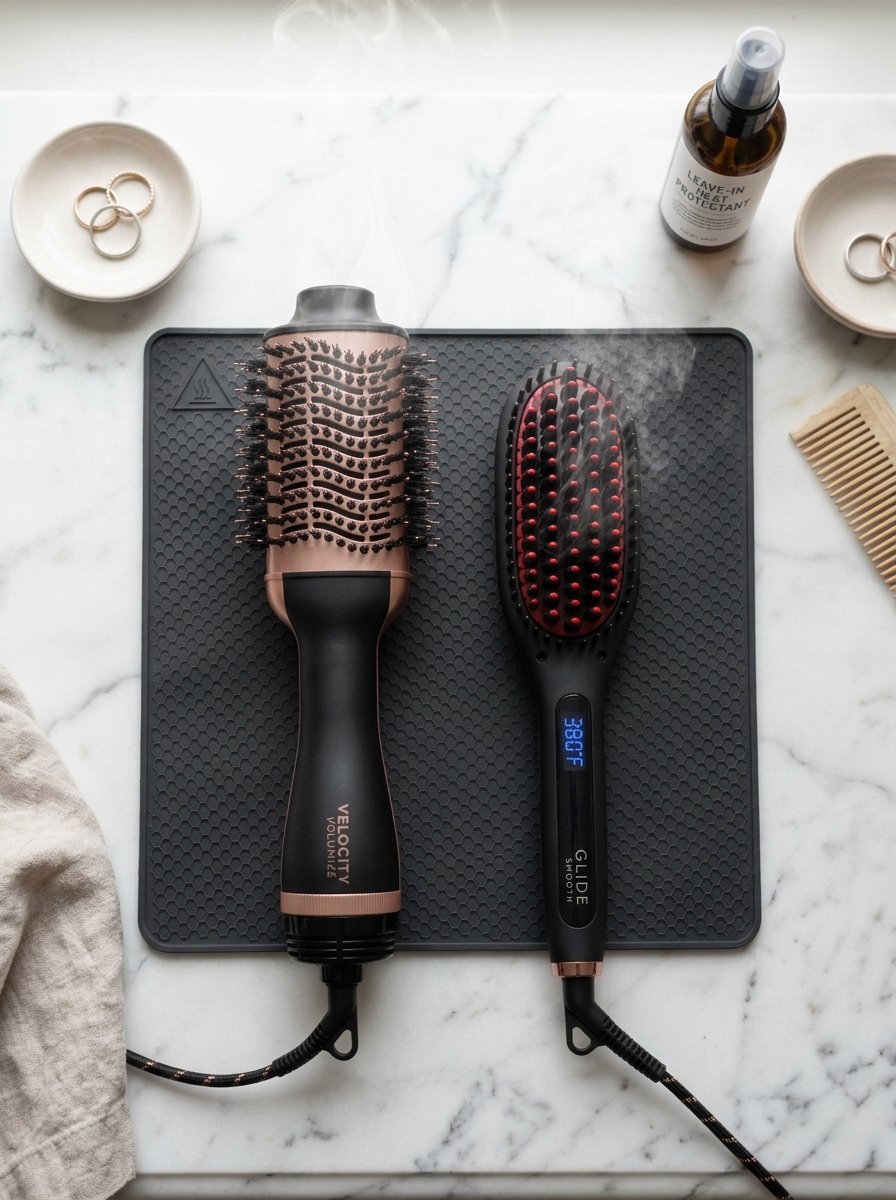
Here is a simple table comparing the main heat styling choices. I will show you the prices and times for each one.
| Tool Name | Average Cost | Best Texture Match | Daily Styling Time |
| Revlon One Step | $40 | Thick or Wavy | 12 Minutes |
| GHD Glide Brush | $169 | Frizzy or Dry | 4 Minutes |
| Dyson Airwrap | $599 | Fine or Straight | 20 Minutes |
| Standard Flat Iron | $35 | Very Curly | 25 Minutes |
| Basic Hair Dryer | $25 | All Textures | 30 Minutes |
Revlon One Step Volumizer for quick blowouts
Holding a heavy hair dryer in one hand is hard. Holding a round brush in the other hand is even harder. You need coordination that most of us lack at 6 AM. The Revlon One Step Volumizer fixes this problem entirely. It is a hair dryer and a round brush combined into one single tool. It costs about forty dollars on Amazon. I bought one four years ago. I still use it every single week. You just brush your wet strands with it. It dries them and creates massive volume at the same time. A full blowout used to take me forty-five minutes. Now it takes me exactly twelve minutes. My friend Maria has incredibly thick strands. She says this tool cut her drying time in half. It gets very hot, so you must use a heat spray first. It gives you a salon look right in your own bathroom. It is the absolute winner for a morning hair routine.
GHD Glide Hot Brush for second day strands
Sometimes you wake up with dry hair that just looks messy. You have strange dents from your pillow. You do not have time to wash and dry it again. A hot brush is your best option here. The GHD Glide is a heated brush that smooths dry texture instantly. It costs around one hundred and sixty-nine dollars. You plug it in and brush it through your dry ends. It acts like a flat iron but works twice as fast. It keeps your natural volume while killing the frizz. I use this every single Wednesday morning. It turns my messy bedhead into a sleek style in four minutes. It is perfect for effortless hairstyles. You do not need any special skills to use it. If you can brush your head, you can use this tool. It saves me from wearing a messy bun to my big meetings.
Dyson Airwrap for those with bigger budgets
The Dyson Airwrap is incredibly famous on social media. It uses air to wrap your strands around a heated barrel. It causes much less heat damage than a standard curling iron. It costs nearly six hundred dollars. This is a massive purchase for anyone. I saved up for months to buy mine. It takes some practice to get the hang of it. Once you practice the motions, it is very fast. You can dry and curl at the exact same time. It gives you a bouncy, ninety-style blowout. The curls look very natural and soft. If you have the budget, it is a wonderful machine. If you do not have the budget, stick to the Revlon brush. The Revlon gives similar volume for a fraction of the cost. You do not need a Dyson to get a perfect hair day. It is just a very nice luxury item to own.
Heat damage risks to watch out for
Using hot tools every single day will ruin your ends. Your strands will split and break off completely. You will have to cut off inches of dead ends at the salon. Always use a thermal spray before applying any heat. Keep your tools moving so you do not burn one spot. Never hold a hot iron on your ends for more than five seconds.
Temperature settings that work best
Fine textures should stay under three hundred degrees. Thick textures can go up to three hundred and fifty degrees. You rarely need a tool set to four hundred degrees. Extreme heat just boils the water inside your strands. Lower temperatures take a little longer but keep your head much healthier. Healthier strands always look better in the long run.
What styling products actually give you a perfect hair day?
Batiste Dry Shampoo for oily roots
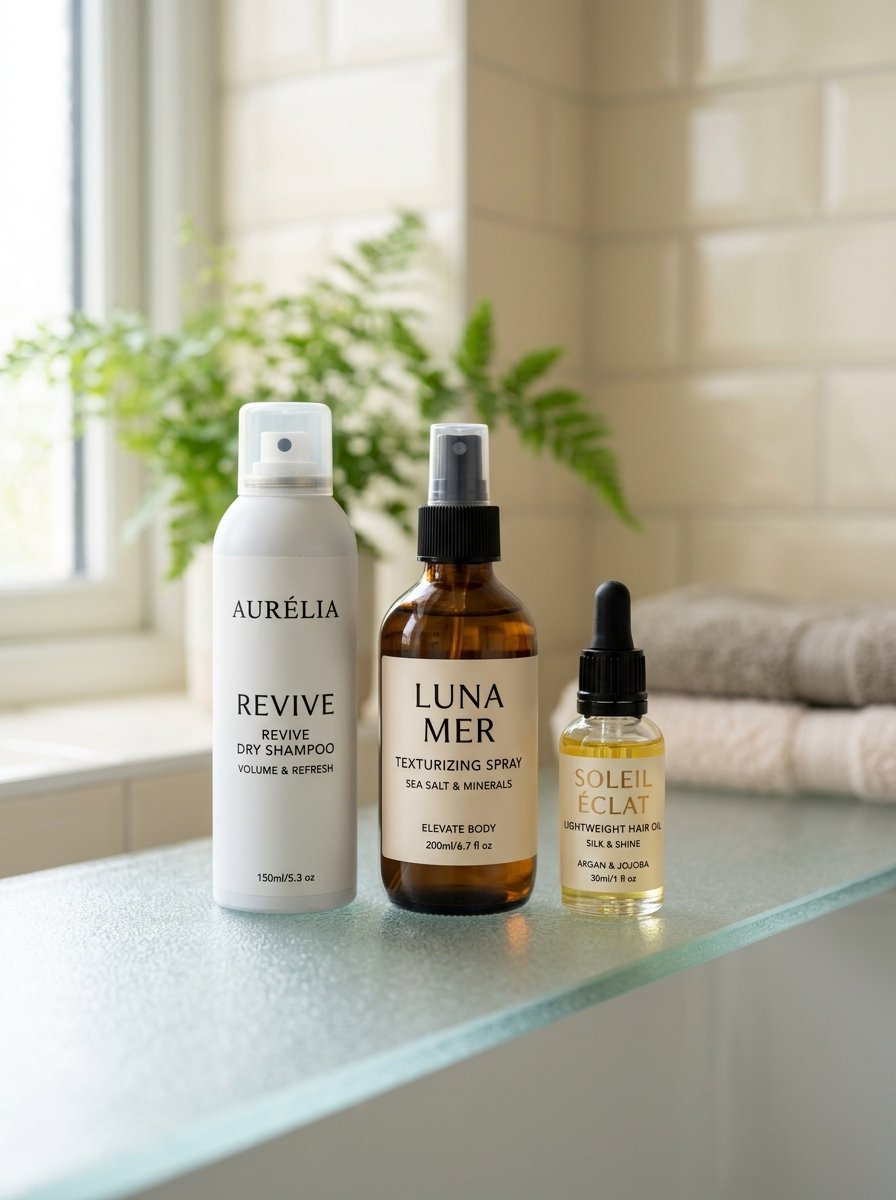
Washing your head every morning takes too much time. You have to dry it and style it from scratch. Dry shampoo is the only way to survive a busy week. Batiste is a classic brand that costs around seven dollars. It comes in an aerosol can. You spray it right at your greasy roots. The white powder absorbs all the heavy oils instantly. You wait one minute and then brush it out. Your roots look completely clean and very fluffy. I have tried expensive dry shampoos that cost thirty dollars. Batiste works better than all of them. I keep a travel size can in my purse at all times. It is the ultimate tool for a fast morning hair routine. It turns third-day grease into a bouncy style. Just be sure to rub it in well so you do not look like you have grey roots.
Living Proof Perfect Hair Day for volume
Sometimes your roots just lay completely flat against your skull. You need something to lift them up without making them stiff. Living Proof makes a wonderful volume spray. It acts like a dry shampoo and a hairspray mixed together. You lift a section and spray it underneath. It adds instant grit and massive volume. It smells absolutely amazing too. It costs about thirty-two dollars a bottle. I use this when I have a special event or a long shift. It keeps my style lifted for twelve straight hours. You can run your fingers through it without getting stuck. It does not feel crunchy like a cheap hairspray. My coworker Emily uses this every single day. Her styles always look effortless and full. It is an easy way to fake a professional blowout at home.
Kristin Ess Texture Spray for grip
Clean strands are often very slippery. Bobby pins fall right out of them. A messy bun just slides down your neck. You need some texture to make styles hold properly. Kristin Ess makes a great texture spray at Target. It costs about fourteen dollars. It gives your strands a piecey, lived-in look. I spray it all over my mid-lengths before I put my hair up. It makes 5 Minute Hairstyles stay put all day long. The spray creates friction between the individual strands. This friction acts like invisible glue for your clips and pins. It gives you that cool, aesthetic beauty vibe that looks totally natural. You will never fight with slippery pins again. Just a light mist is all you need. Do not use too much or your ends will feel very dry.
How to spray from the right distance
Always hold aerosol cans at least eight inches away from your head. Spraying too close leaves a thick, wet patch of product. This wet patch will dry into a hard, sticky crust. Hold your arm out straight and mist lightly. Move the can constantly while you push the button. This gives you an even coat of product everywhere.
When to apply sprays for best hold
Apply texture sprays before you start pinning. The grip needs to be there before you twist. Apply hairspray only at the very end to lock the shape. Using hairspray before you twist makes your strands snap and break. The order of your products matters just as much as the products themselves.
How does a night routine dictate tomorrow’s look?
Sleeping on a Slip Silk Pillowcase
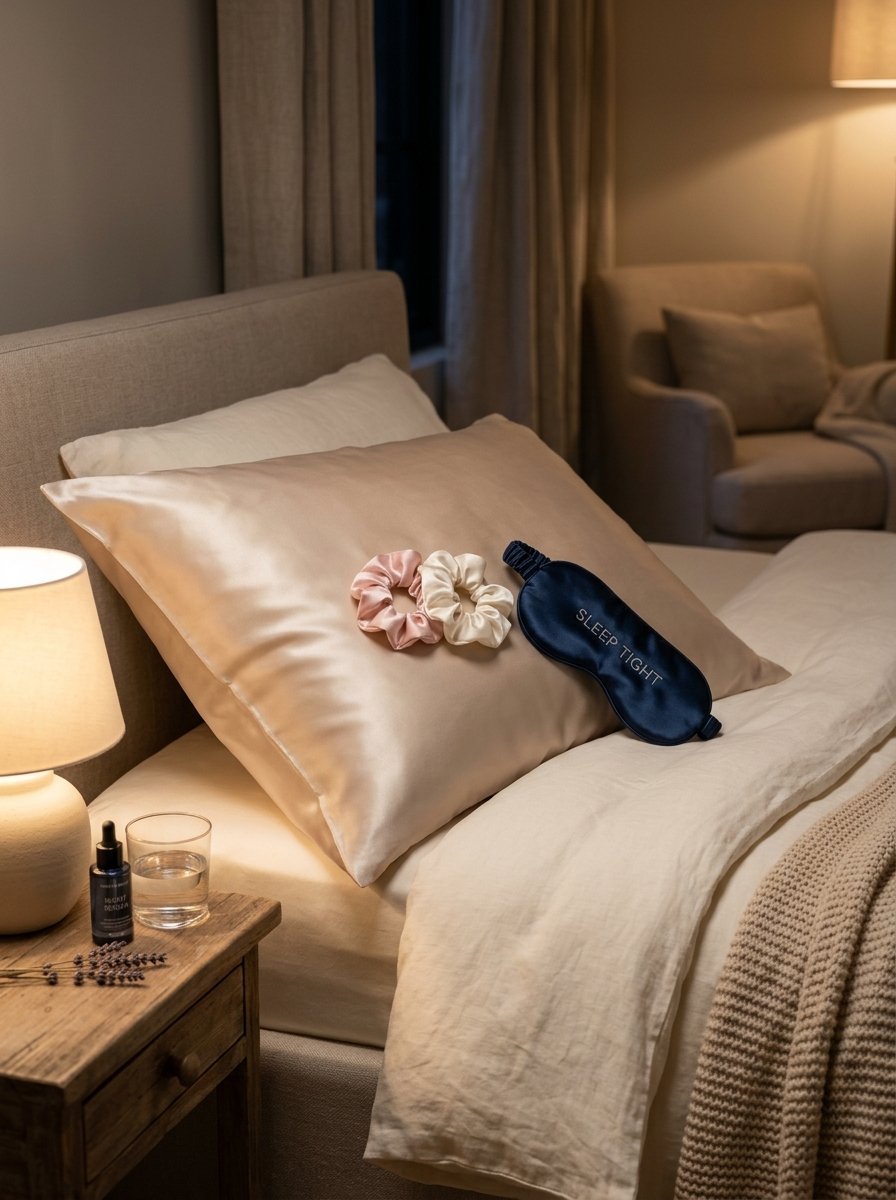
Your cotton pillowcase is secretly ruining your morning hair. Cotton fibers are rough and they suck moisture out of your head. You toss and turn all night long. The friction causes massive tangles and terrible frizz. I switched to a Slip silk pillowcase three years ago. It costs about eighty dollars. My mornings changed instantly. Silk is incredibly smooth. Your strands just slide right over it while you sleep. I wake up with zero tangles and very shiny ends. My blowout lasts for three days instead of one. It is a big upfront cost, but it saves you hours of styling time. You can find cheaper satin pillowcases on Amazon for ten dollars. They work almost as well as the real silk ones. This is the single easiest change you can make. You literally fix your style while you are fast asleep.
Tying strands with Kitsch Satin Scrunchies
Normal elastic bands are very harsh. They pull your strands tight and snap the fragile ends. They also leave a giant dent right in the middle of your head. You have to use a flat iron to fix that dent in the morning. Throw away your harsh rubber bands right now. Buy a pack of Kitsch satin scrunchies instead. They cost about eight dollars for a set. The smooth fabric protects your strands from heavy friction. I sleep with my head in a very loose pineapple shape. I use one satin scrunchie to hold it right on top of my head. I wake up, take the scrunchie out, and shake my head. My volume stays perfect and I have absolutely no dents. This simple swap saves me ten minutes of heat styling every single morning. It is a cheap fix for a very annoying daily problem.
Doing loose braids for natural waves
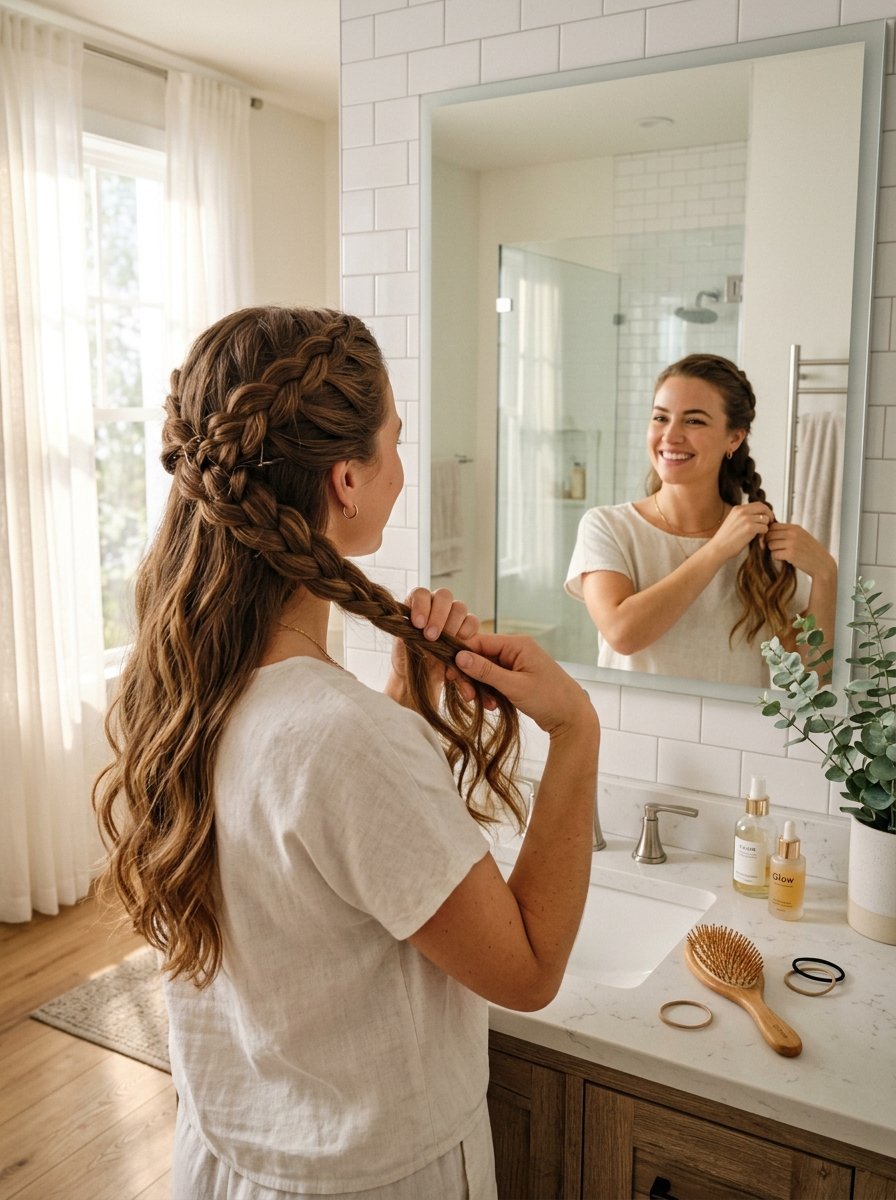
You do not need a curling iron to get beautiful waves. You can use your sleeping hours to do the hard work for you. I wash my head at night and let it air dry until it is barely damp. I part it down the middle. I do two loose French braids on each side. I tie the ends with my satin scrunchies. I sleep on my silk pillowcase. In the morning, I undo the braids. I get perfect, effortless hairstyles with zero heat damage. The waves look beachy and very natural. I just spray some texture spray and walk right out the door. It takes exactly two minutes to finish. My friend Jessica does this on every single vacation. It keeps her away from hotel hair dryers entirely. You just need basic braiding skills to make this work. It is the ultimate lazy girl hack for a perfect hair day.
Why cotton pillowcases cause massive frizz
Cotton absorbs all your natural oils while you sleep. Your head gets dry and brittle by the time your alarm rings. The rough texture catches the cuticles of your strands. This lifts the cuticle and creates a frizzy halo. Switching to a smooth fabric keeps the cuticle flat and shiny.
How tight elastics cause serious breakage
Tight rubber grabs individual hairs and pulls them out by the root. When you pull the rubber out, you hear a snapping sound. That sound is your ends breaking off. Over time, you get a thin, broken halo around your hairline. Always use fabric covered ties to keep your strands safe and thick.
What are the easiest 5 Minute Hairstyles?
The messy bun that looks intentional
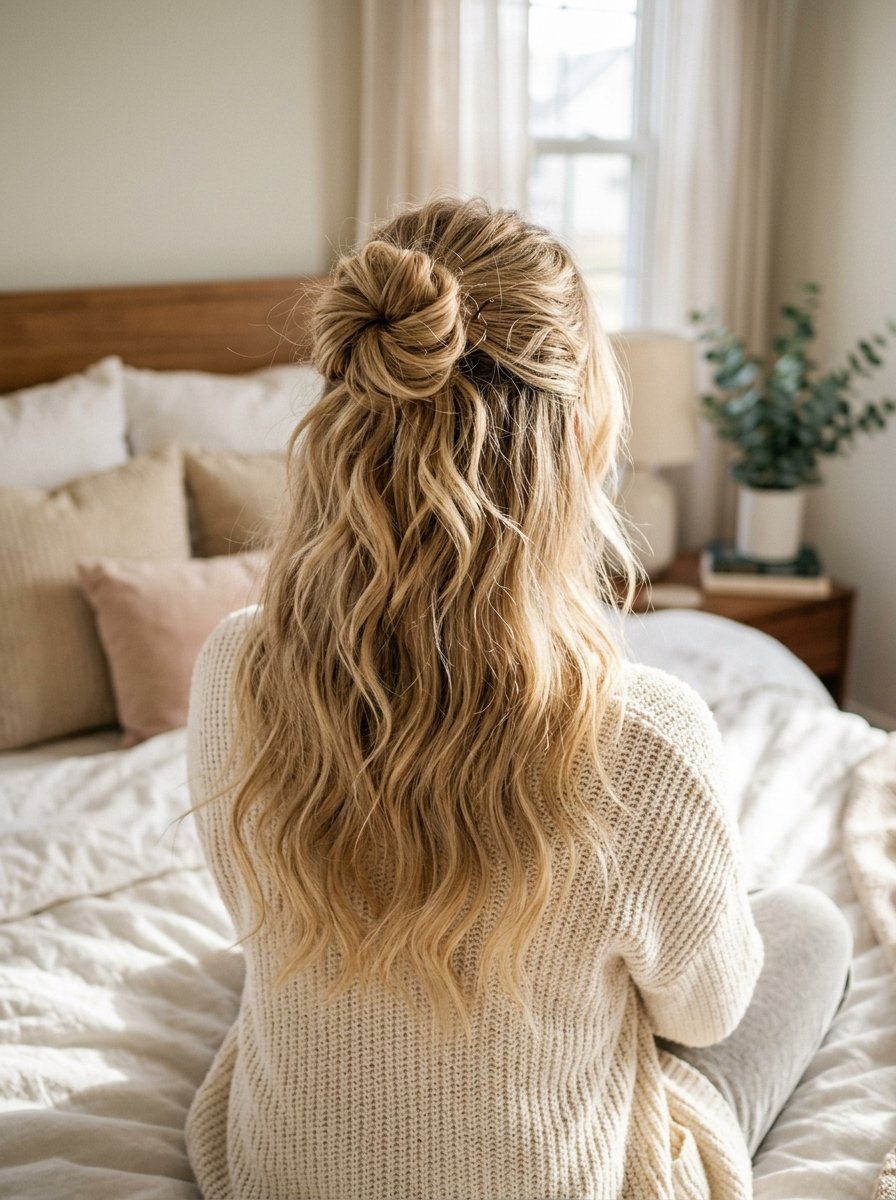
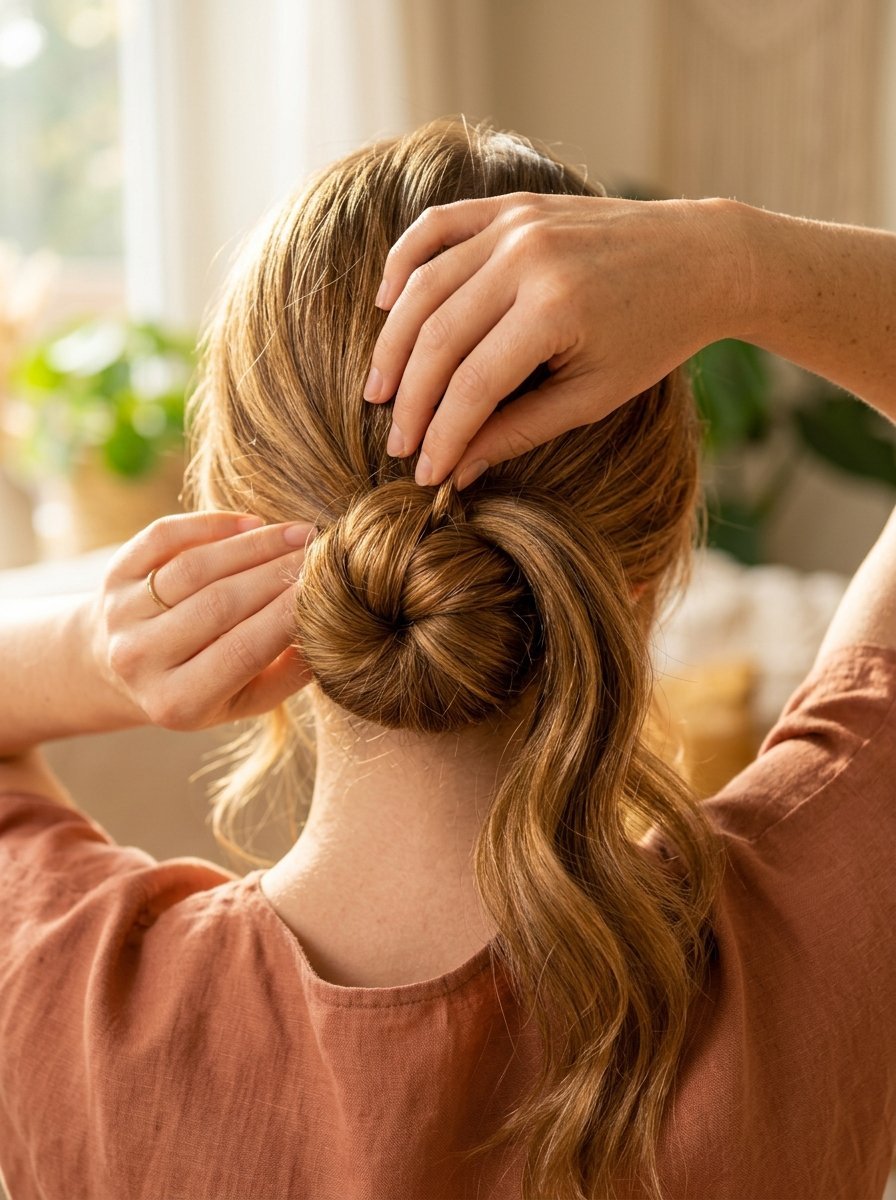
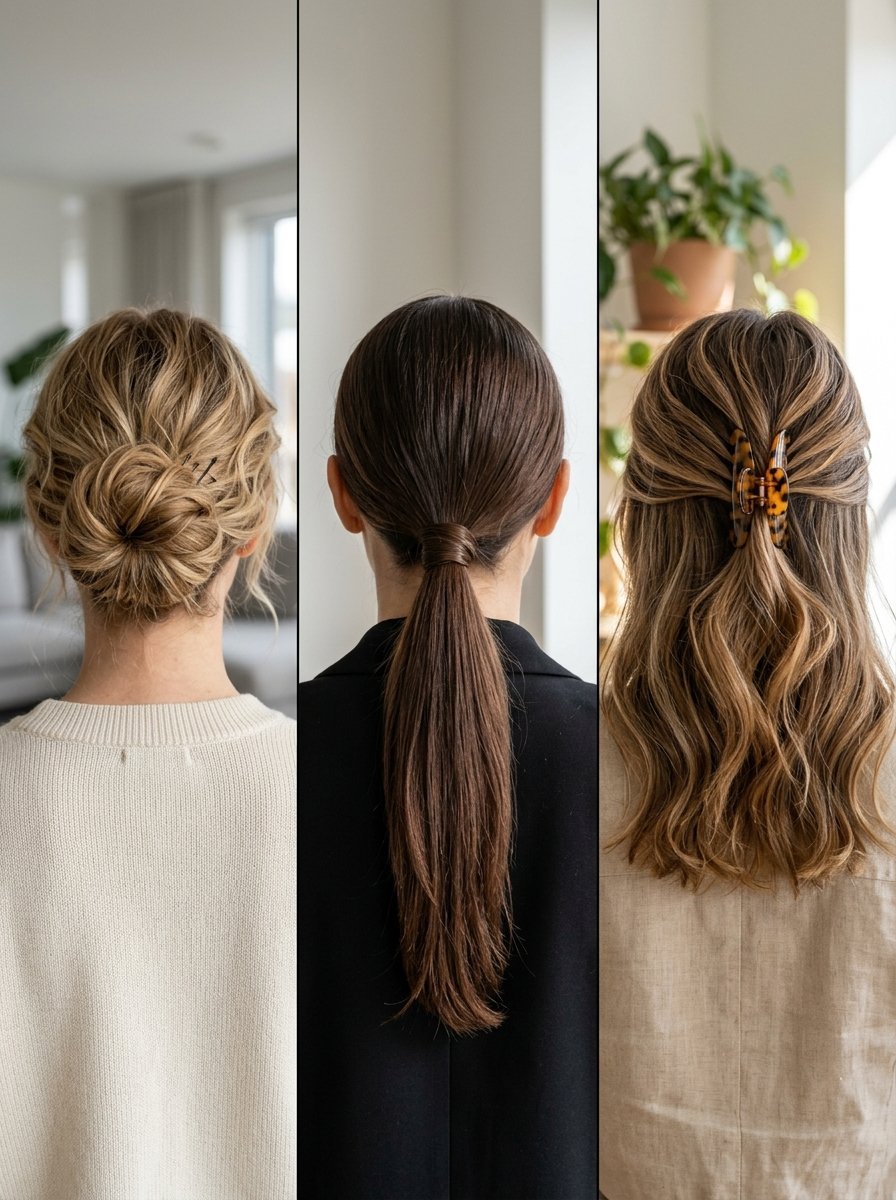
A messy bun is the absolute best thing for morning hair. It looks cute and takes almost no time. The trick is making it look messy on purpose, not messy by accident. I gather my strands into a high ponytail. I do not brush it first. I want the natural bumps and texture. I twist the tail loosely around the base. I use four strong bobby pins to secure the edges. I never use a tight elastic for this. An elastic makes it look like a tiny golf ball. Pins keep it wide and fluffy. I pull down two small pieces around my face. This softens the look instantly. It takes me exactly three minutes to do this. It is my go-to style for rainy days. You look put together without trying hard at all. Practice this shape on a Sunday afternoon. You will master it very quickly.
The low sleek ponytail
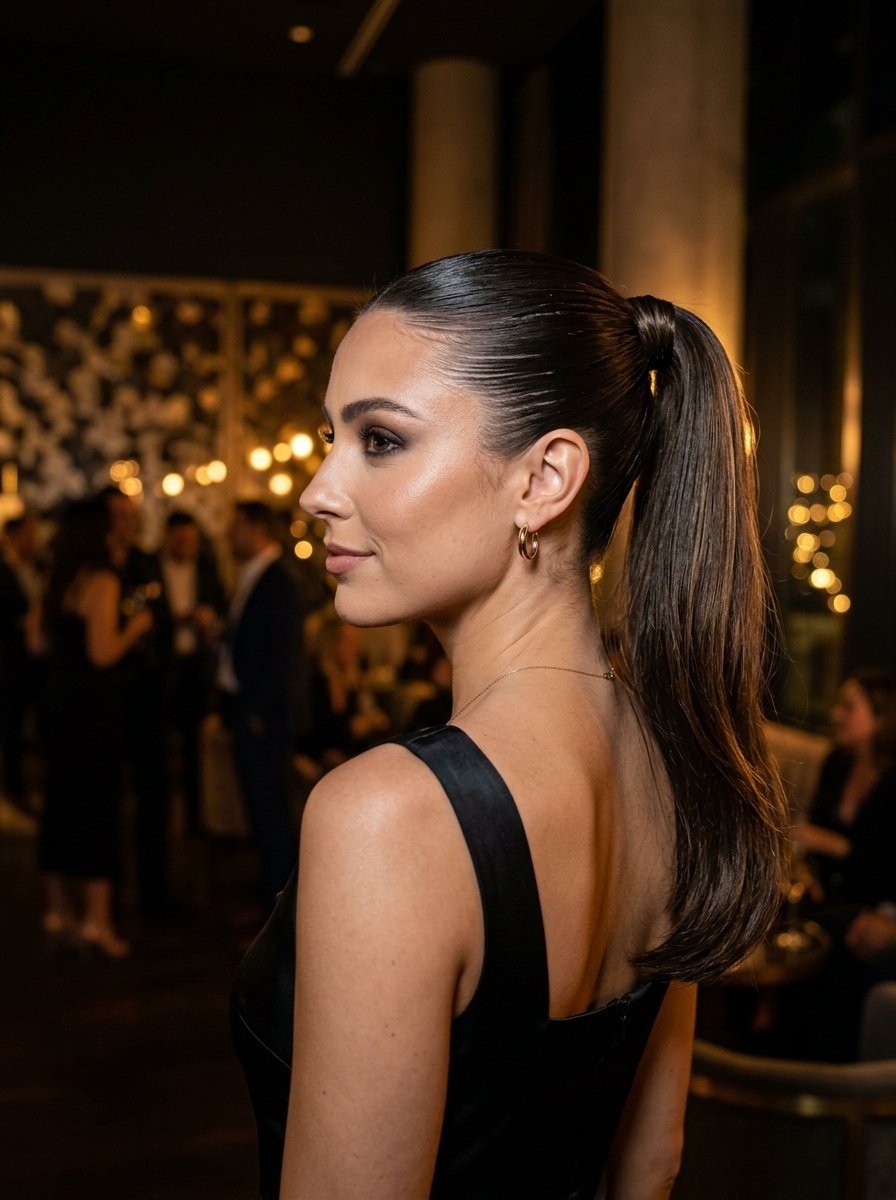
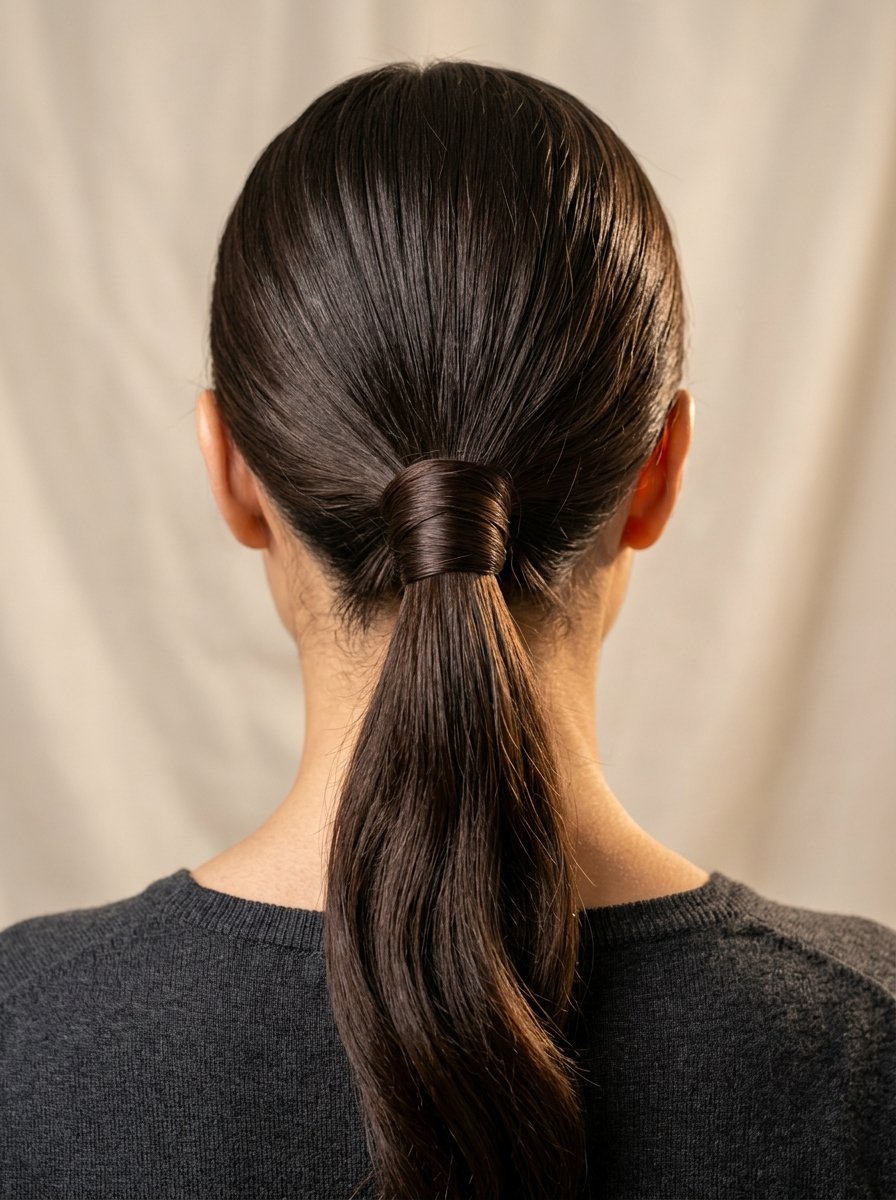
Sometimes you need to look very professional for a meeting. A messy bun is too casual for a strict office. A low, sleek ponytail is chic and extremely fast. I part my head down the exact middle. I use my boar bristle brush to smooth the sides down flat. I spray a little hairspray on the brush to kill the baby hairs. I tie it tight at the nape of my neck. I use a clear plastic elastic to keep it hidden. Then I take a tiny piece of hair from the tail. I wrap it around the elastic to hide it completely. I pin that tiny piece underneath. This makes the style look very expensive. It takes four minutes flat. It works perfectly on oily strands. The natural oils actually help the sides lay flat. It is a brilliant way to hide a bad wash day.
The half up claw clip style
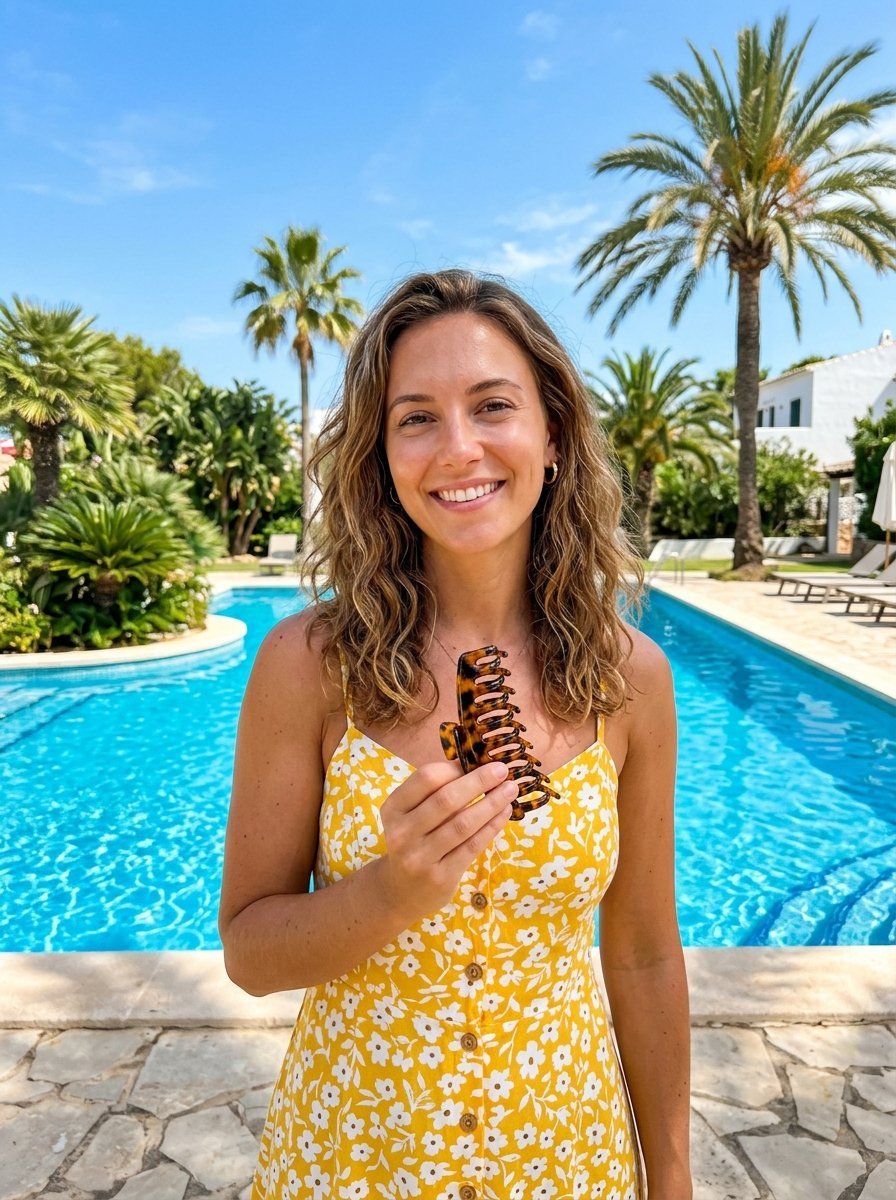
Claw clips are back in style in a massive way. They are the easiest accessory you can possibly own. They hold thick textures easily without causing headaches. I take the top section of my head from my ears up. I twist it once in the back. I clamp a large tortoiseshell claw clip right over the twist. I let the bottom half hang down naturally. This pulls the strands out of my face instantly. It gives a very cool, aesthetic beauty look. I buy my clips on Amazon for a few dollars each. I keep one in my car and one in my desk at work. It takes literally ten seconds to do. It looks far more stylish than a basic half ponytail. You can redo it all day long without needing a mirror. It is the absolute king of effortless hairstyles.
Pinning the bun for all day hold
Always cross your bobby pins in an X shape. One pin goes in straight. The second pin slides over it at a sharp angle. This locks the pins together so they cannot slide out. Use pins that match your natural color so they remain totally invisible. Four crossed pins hold a thick bun all day long.
Smoothing flyaways on your ponytail
Do not spray hairspray directly on your head. You will get a wet, shiny helmet look. Spray a cheap toothbrush with strong hairspray instead. Lightly comb the toothbrush over your baby hairs at the hairline. This glues the tiny hairs down perfectly without making the rest of your head look stiff.
What accessories elevate a simple style instantly?
Thick padded headbands for bad days
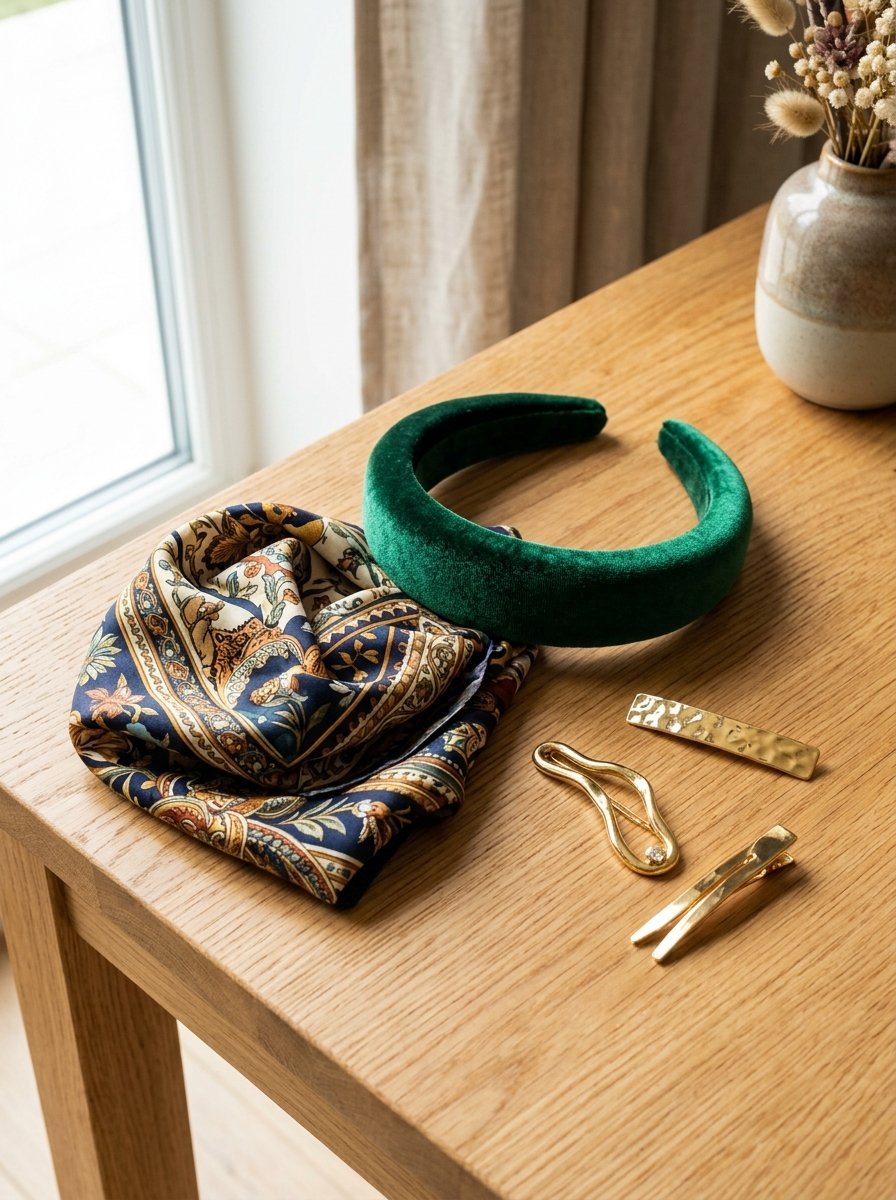
Some days your strands refuse to cooperate completely. You try every trick but nothing works. A thick padded headband is your emergency rescue tool. These headbands look like small velvet crowns. They were very popular in the nineties and are back now. I bought a black velvet one for twelve dollars. I just push my messy strands back with it. It instantly makes me look like I tried very hard. It hides greasy roots and flat crowns completely. People think you are making a fashion statement. In reality, you are just hiding a bad wash day. You should keep two solid colors in your drawer at all times. They work on every single length and texture. It takes two seconds to put one on. It is the ultimate cheat code for aesthetic beauty on busy mornings.
Silk scarves for a classic look
A basic ponytail gets boring if you wear it every day. You can dress it up with a small silk scarf. I buy square silk scarves at thrift stores for three dollars each. I tie my low ponytail with a clear elastic first. Then I wrap the silk scarf around the elastic and tie a quick knot. The ends of the scarf hang down with my strands. It looks incredibly romantic and very chic. It takes ten extra seconds but makes a massive visual difference. My coworker asked me if I went to the salon when I wore one. You can also wear it as a traditional headband. Just fold it flat and tie it at the nape of your neck. It protects your cuticle while looking very stylish. It is a cheap way to build your daily toolkit.
Metallic hair pins for subtle shine
Standard bobby pins are meant to be totally hidden. Metallic hair pins are meant to be seen by everyone. They come in gold, silver, and rose gold finishes. I use them to pin back one side of my hair. I slide three gold pins right above my ear in a row. It gives a beautiful flash of light to a plain style. You do not need any special skills to slide a pin into place. It works perfectly on short bobs and long layers alike. I buy packs of metallic pins at the pharmacy for five dollars. They instantly elevate an effortless hairstyle for an evening dinner. You just drop a few in your purse before you leave work. It is the fastest transition from day to night ever invented.
Securing scarves so they do not slip
Silk is very slippery and falls off easily. Spray a tiny bit of texture spray right on the knot of the scarf. You can also slide one hidden bobby pin through the bottom of the scarf knot. Pin it directly to the hair elastic underneath. This anchors the fabric down so it will not blow away in the wind.
Avoiding headaches with tight accessories
Do not buy plastic headbands with sharp teeth on the bottom. The teeth dig into your scalp and cause massive migraines by noon. Always choose fabric covered bands with smooth edges. If a band feels tight behind your ears, stretch it gently over a large book overnight. This loosens the plastic core so it fits comfortably the next day.
Frequently asked questions
How often should you wash your strands?
You should only wash your head two or three times a week. Washing every single day strips away your natural oils. Your scalp panics and produces even more oil to compensate. This makes your roots greasy much faster. In my experience, a good dry shampoo stretches your wash days easily. Train your scalp slowly over a few weeks. You will save hours of styling time by washing less often.
Can you style wet strands quickly?
Styling from soaking wet takes the most time possible. You must remove the water before you do anything else. Use a microfiber towel to squeeze out the excess drips. Never rub the towel back and forth. Rubbing causes terrible frizz. Let your head air dry while you eat your breakfast. Start your heat styling when it is eighty percent dry. This cuts your heat time in half completely.
What is the best way to hide greasy roots?
Dry shampoo is your first line of defense against grease. If that fails, change your part. Flip your part to the opposite side of your head. The hair underneath is usually much cleaner and fluffier. You can also use a thick fabric headband to cover the front completely. Headbands are a very fast, stylish way to hide a bad morning hair routine entirely.
How do you fix a cowlick in the morning?
Cowlicks are stubborn pieces of hair that stick straight up. You cannot brush them flat when they are totally dry. You must wet the root of the cowlick completely. I keep a small spray bottle of plain water on my counter. I spray the root until it is damp. Then I take my hair dryer and a brush. I push the cowlick down while blasting it with hot air for ten seconds. The heat resets the root direction instantly. It takes one minute and solves the problem for the entire day.
What is the best way to handle morning frizz?
Frizz happens when your strands lack moisture and search for it in the air. Do not attack morning frizz with heavy oils. Take a tiny pea-sized drop of lightweight styling lotion. Rub it completely between your palms until it disappears. Very lightly skim your hands over the top of your head. Do not press down hard. The thin layer of lotion will seal the cuticle back down. This takes ten seconds and makes a messy look sleek again.
Conclusion

Your morning hair routine does not have to be a daily nightmare. You can stop waking up early just to fight with your hot tools. By organizing your bathroom counter, you set yourself up for speed. By choosing the right brush, you stop ripping out your ends. A silk pillowcase handles the hardest work while you are fast asleep. Throw out the heavy oils that weigh your roots down. Keep a can of dry shampoo close by for busy days. Practice a messy bun until it takes you only three minutes. You now have a complete beginner toolkit for a perfect hair day. What will you do with your extra twenty minutes tomorrow morning? Try setting up your tools tonight and see the difference. Leave a comment below with your favorite five minute hairstyle.

Sarah Mitchell — Founder & Editor-in-Chief
Sarah Mitchell is the founder and editorial voice behind Hair Level Up. A licensed cosmetologist with more than 15 years of experience, she has styled A-list celebrities for editorial shoots and red carpets, with work featured in Vogue, Elle, and Harper’s Bazaar. Early in her career, she trained under the legendary hairstylist Oribe in New York, an apprenticeship that still shapes her editorial eye today. Sarah founded Hair Level Up in 2020 after one bad haircut convinced her that women deserved a destination that felt like a magazine, taught like a stylist, and inspired like an art gallery. She oversees every story from concept to publication, guided by a simple belief: a good story teaches you something, but a great one makes you feel beautiful while it does.