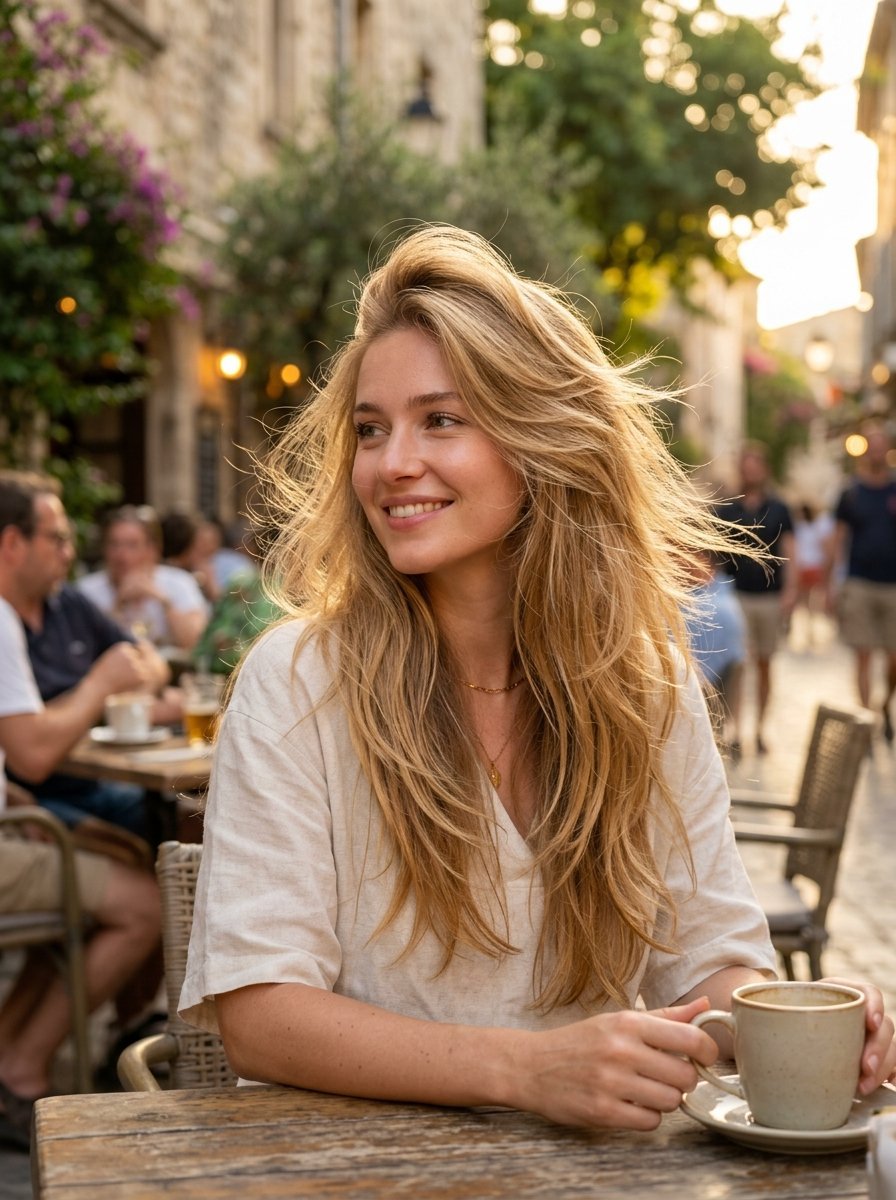
22 Long Hairstyles for Fine Hair That Add Body and Movement
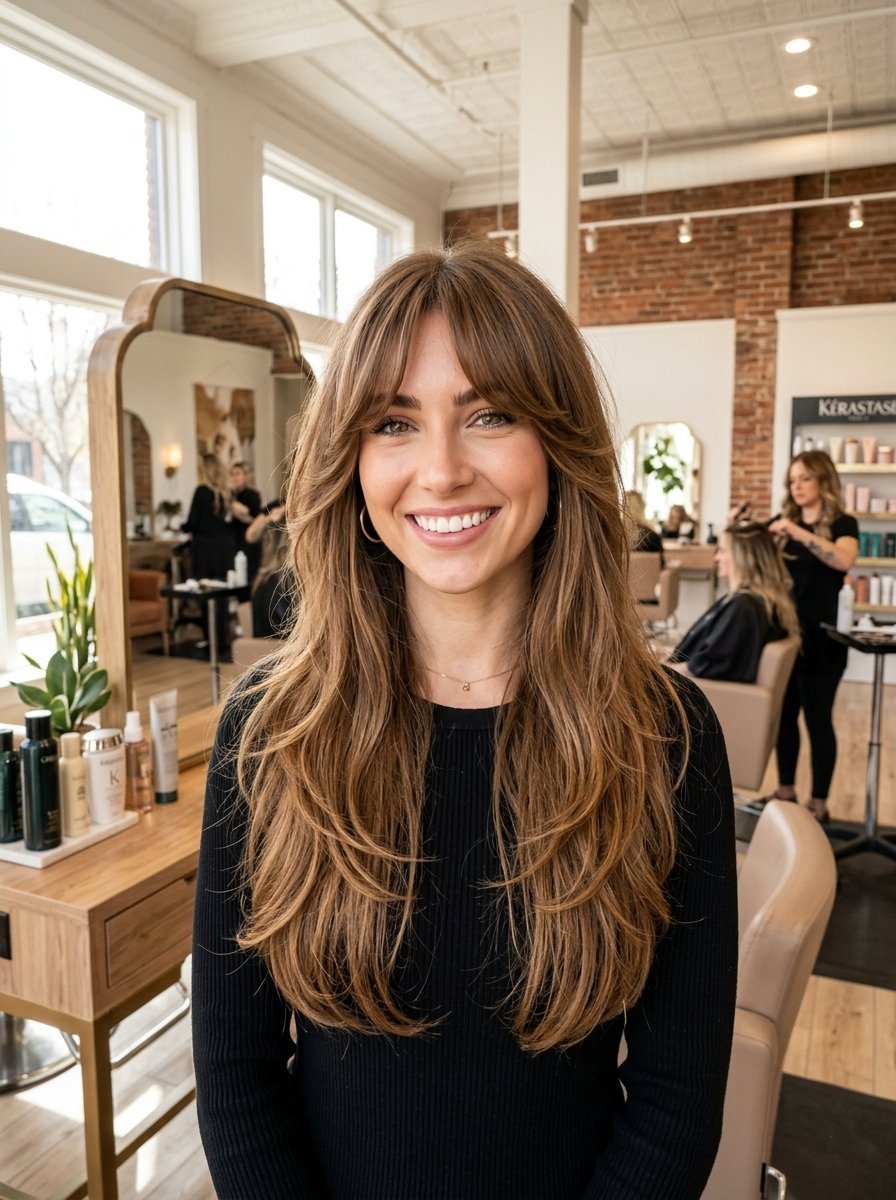
Flat hair feels frustrating. Every morning starts with the same struggle. You try volume sprays. You curl the ends. By noon, your hair falls flat against your face. I have clients who spent thousands on bad haircuts. They damaged their roots. I cut women’s long hair haircuts every day. Fine texture needs strategic shaping. The right layers create an illusion of thickness. You can keep your length. You just need movement. I will show you exactly what to ask your stylist for. We will fix that flat crown. We will shape the ends. You will walk out of the salon with hair that bounces.
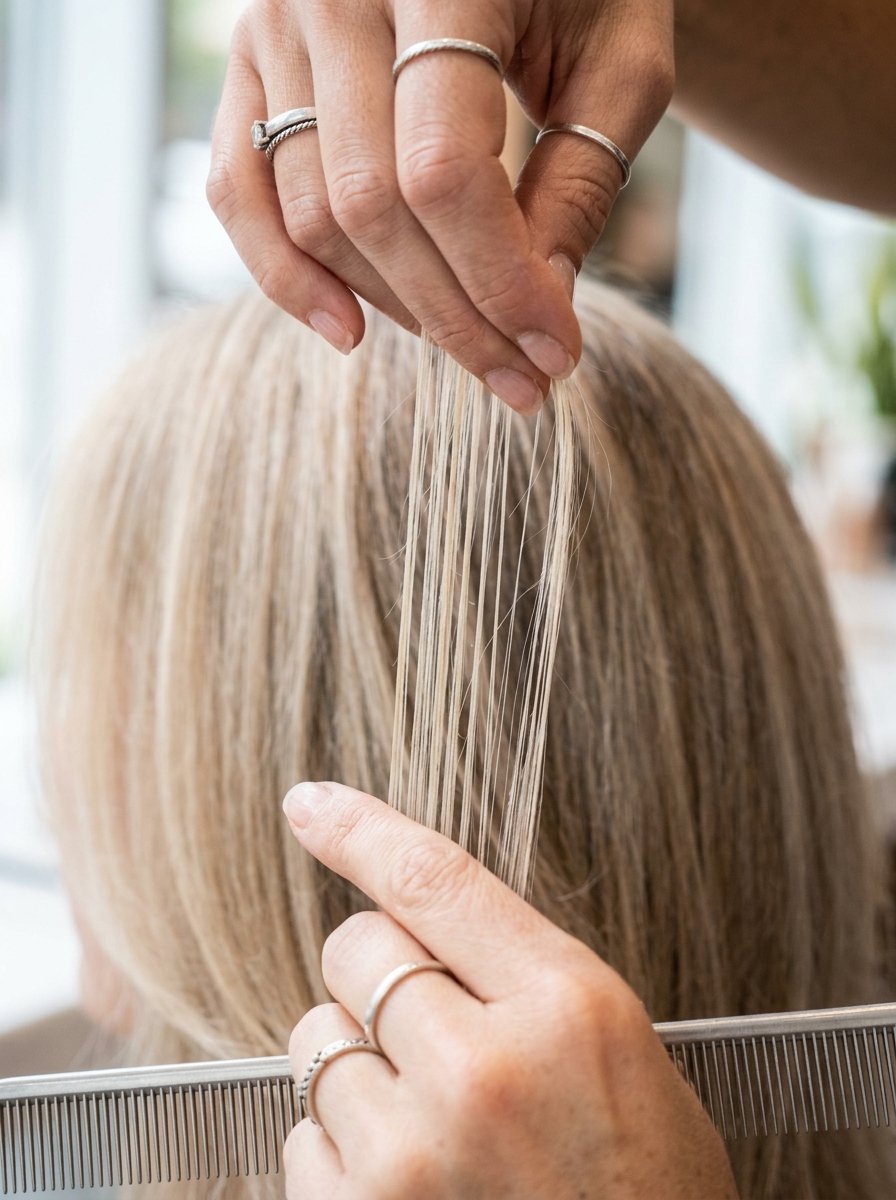
You will see twenty two distinct cuts for fine hair. I cover exact styling times for each look. You will see upkeep costs and specific salon requests. The long layered haircut wavy hair style gets requested daily. I break down why blunt cuts fail for thin textures. Most clients make the mistake of leaving their ends too heavy. I explain the exact mechanics of cute long layers. You will get my private list of weightless mousses. I include current prices for salon visits. You get a direct roadmap from straight to layered hair. Expect your morning routine to drop by twenty minutes. We cover styles for round faces. We cover styles for long faces. You get the exact vocabulary to use with your hairdresser. Keep your length while creating shape. Your fine hair will look twice as thick.
1. The Hidden Crown Layer
Fine hair falls flat at the root. Hidden crown layers fix this. The stylist cuts short pieces underneath the top section of hair. These short pieces push the long hair up. It creates natural lift without teasing. I charge around $85 for this specific adjustment. Clients say it cuts their morning routine in half. You just wash and air dry. The lift stays all day. Ask your stylist for invisible internal layers at the crown. Avoid thinning shears completely. Scissors create cleaner lines. This works perfectly for a women’s long hair haircut. It requires very little upkeep. You save time every single morning. The volume looks completely natural. The top layer completely hides the short pieces.
2. Face Framing Wisps
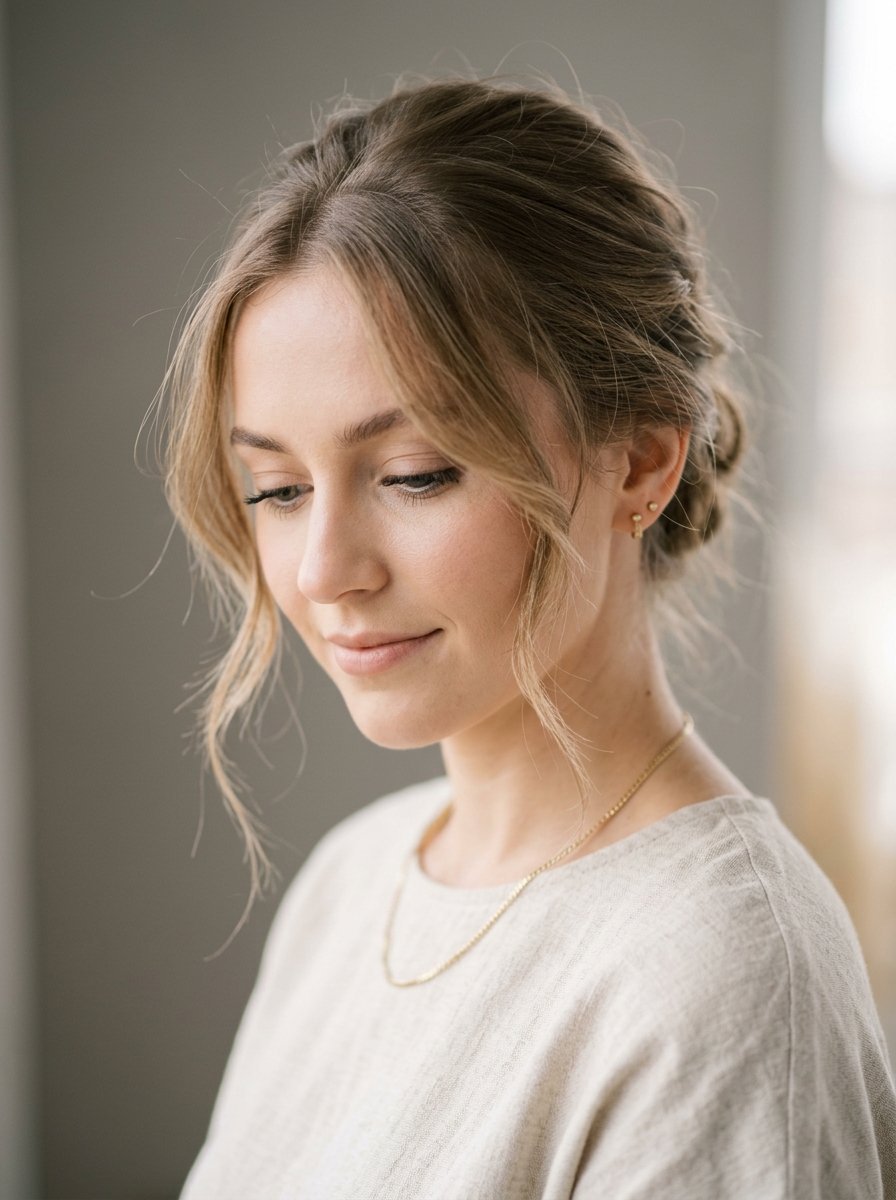
Long face framing layers round face shapes perfectly. The shortest piece should hit right at the cheekbone. This draws the eye up. It prevents long hair from dragging your features down. I see clients ask for curtain bangs. Sometimes curtain bangs carry too much weight for fine hair. Wisps require less density. You sweep them back effortlessly. Use a round brush and a medium heat setting. It takes five minutes to style. You only need a dime sized drop of holding cream. Your features stay open and bright. You get a soft look around the eyes. The wisps blend into the longer layers naturally.
3. The U Shape Cut
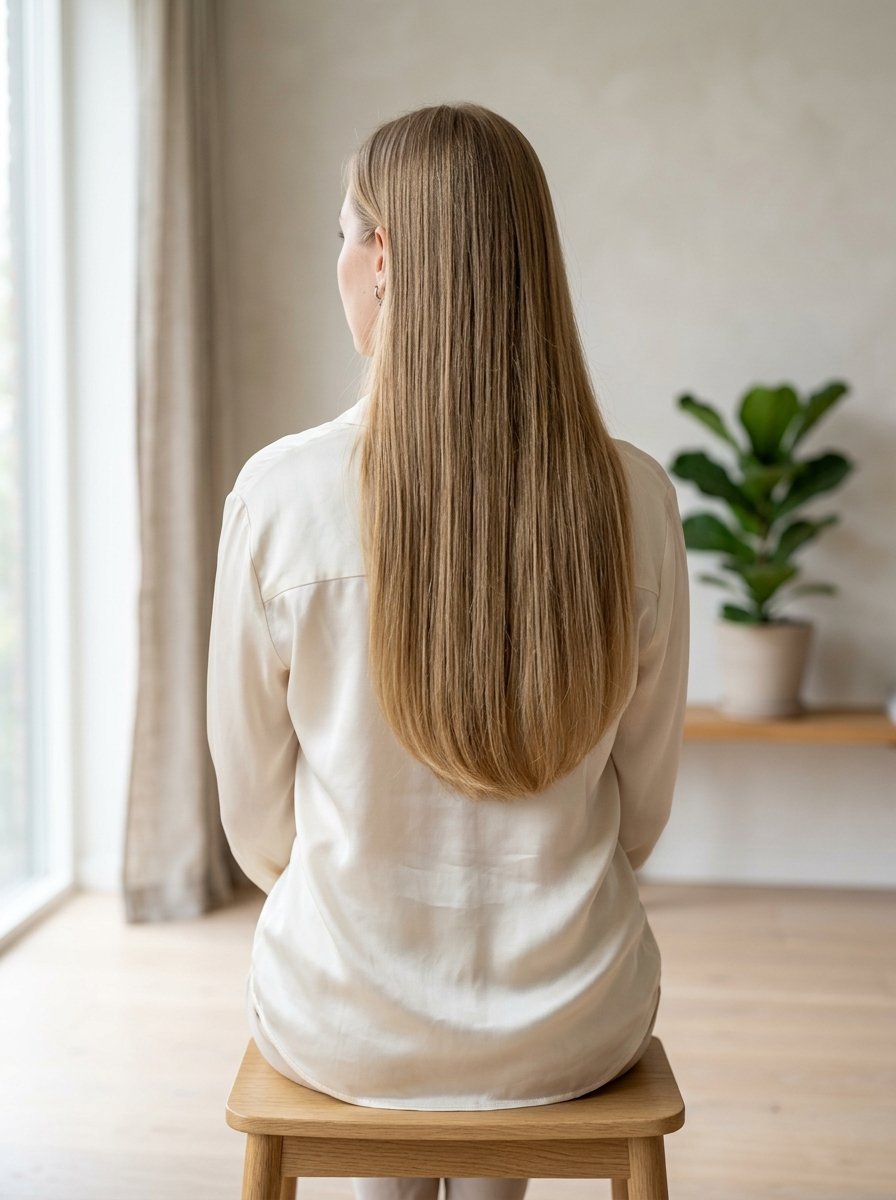
Straight across cuts make fine hair look stringy. A soft U shape changes the perimeter. The back remains long. The sides gently slope upward. This mimics a long hair with layer look but keeps the ends thick. I prefer this for clients moving from a blunt bob. It requires trims every eight weeks. The upkeep costs about $65 per visit. You get movement around your shoulders. The back maintains its density. It works beautifully when you pull your hair into a ponytail. The face framing pieces fall out naturally. The U shape removes the harsh bottom line. It feels incredibly feminine.
4. The Shag Hybrid
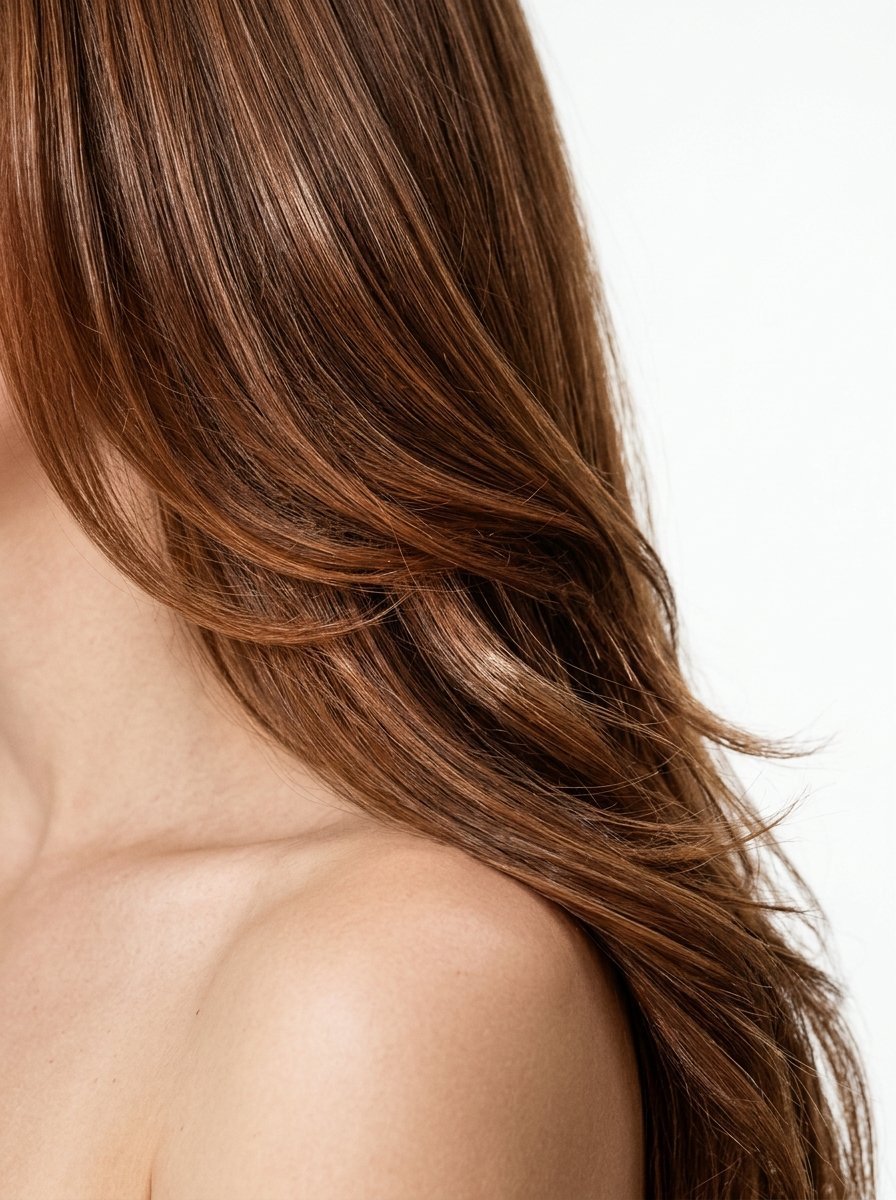
A full shag removes too much weight. A hybrid shag keeps the base thick. We place cute long layers only around the crown. The perimeter stays dense. I tried this on a client last Tuesday. She had stick straight hair. We created texture with a razor. It gave her an effortless rockstar vibe. You style this with salt spray. Scrunch the damp hair. Let it air dry. The upkeep remains very low. You only need a reshape every twelve weeks. It looks better as it grows out. The layers blend together over time. The rockstar vibe never feels overdone.
5. Surface Slicing

Thick layers leave ledges in fine hair. Surface slicing fixes this. The shears glide lightly over the top layer. It removes weight without sacrificing length. You get a layers haircut for wavy hair texture easily. The waves hold better. The hair moves freely. I tested this style three years ago. It completely changed my view on thin textures. The styling requires a one inch curling iron. Wrap the middle sections. Leave the ends straight. This costs around $120 depending on the salon location. The shears must be extremely sharp. Dull shears pull the fragile hair cuticle.
6. The Ghost Layer

Ghost layers sit beneath the top canopy of hair. You cannot see the actual cuts. You only see the volume they create. This is perfect for straight to layered hair transitions. The top remains smooth. The underneath pushes the top up. Your hair looks twice as thick. This takes specialized training to execute cleanly. Ask your stylist if they know the ghosting cut. I charge $150 for this precision cut. It grows out cleanly. You do not need frequent salon visits. Use a lightweight mousse for maximum lift. You will feel the difference instantly.
7. Soft V Shape
A harsh V shape looks dated. A soft V looks modern. The hair gently cascades down the back. This focuses the length in the very center. It pushes the bulk toward the shoulders. Long layers in the back and face framing layers balance the shape. The front pieces hit the collarbone. You can curl the ends outward. It creates a beautiful winged look. I tell clients to use velcro rollers. Put them in warm hair. Let them cool while doing makeup. You get instant red carpet volume. The V shape elongates the neck. It makes you look taller.
8. Collarbone Sweeps

Keeping the longest layer at the collarbone creates an illusion. The back stays very long. The side pieces sweep exactly at the clavicle bone. This breaks up the visual line. It gives a blunt baseline something to contrast against. Styling long hair with layers requires finding these balance points. Use a one inch flat iron. Bend the collarbone pieces away from your face. It takes two minutes. You need a strong heat protectant spray. I love the $28 Oribe spray. It never weighs fine hair down. The sweep frames the collarbone beautifully.
9. The Butterfly Illusion
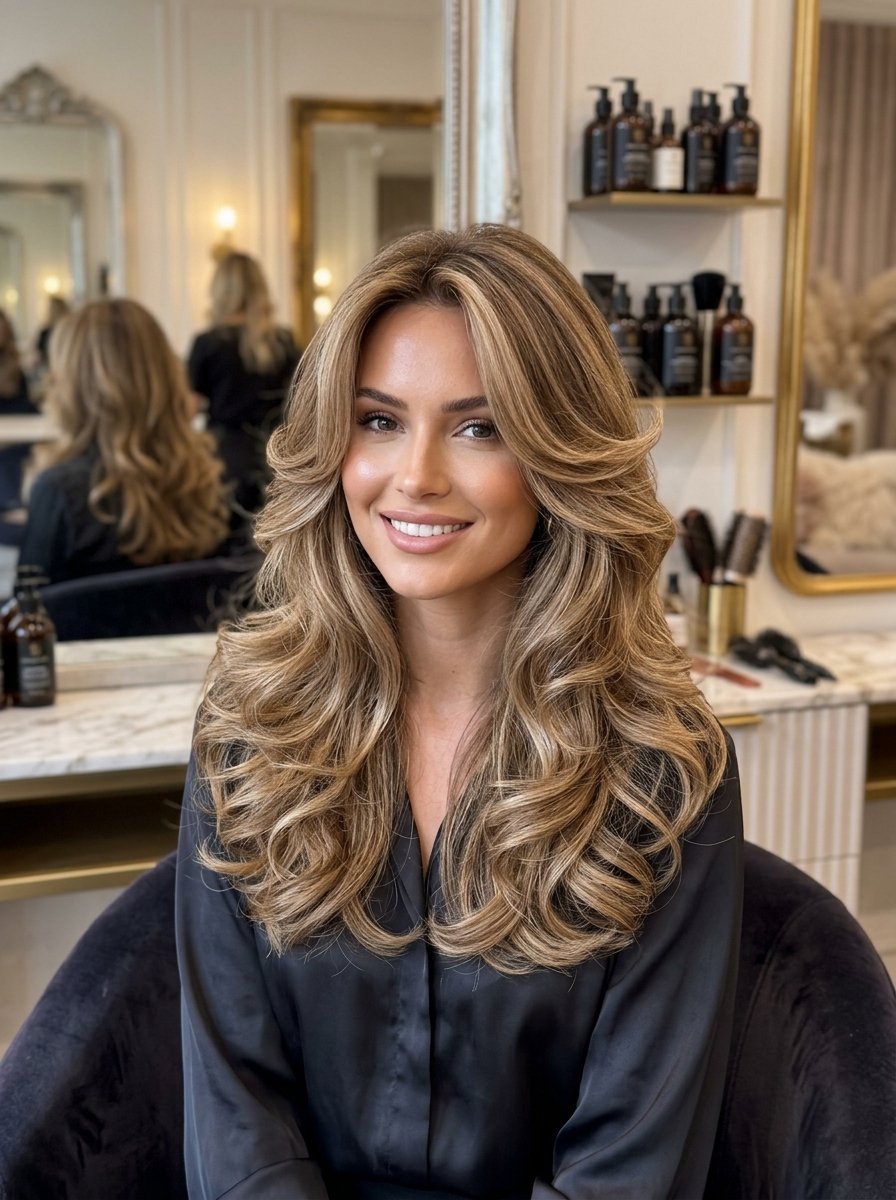
The true butterfly cut went viral recently. True butterfly cuts stay too heavy for fine hair. The butterfly illusion alters the weight distribution. We keep the crown layers longer. The chin framing pieces stay wispy. You get the swept back look. The baseline remains opaque. I see many women asking for this. It costs about $90 to maintain. You must blow dry with a large round brush. Focus the heat at the root. Roll the brush away from your face. Pin the sections until they cool down. The illusion lasts for three days.
10. Textured Ends
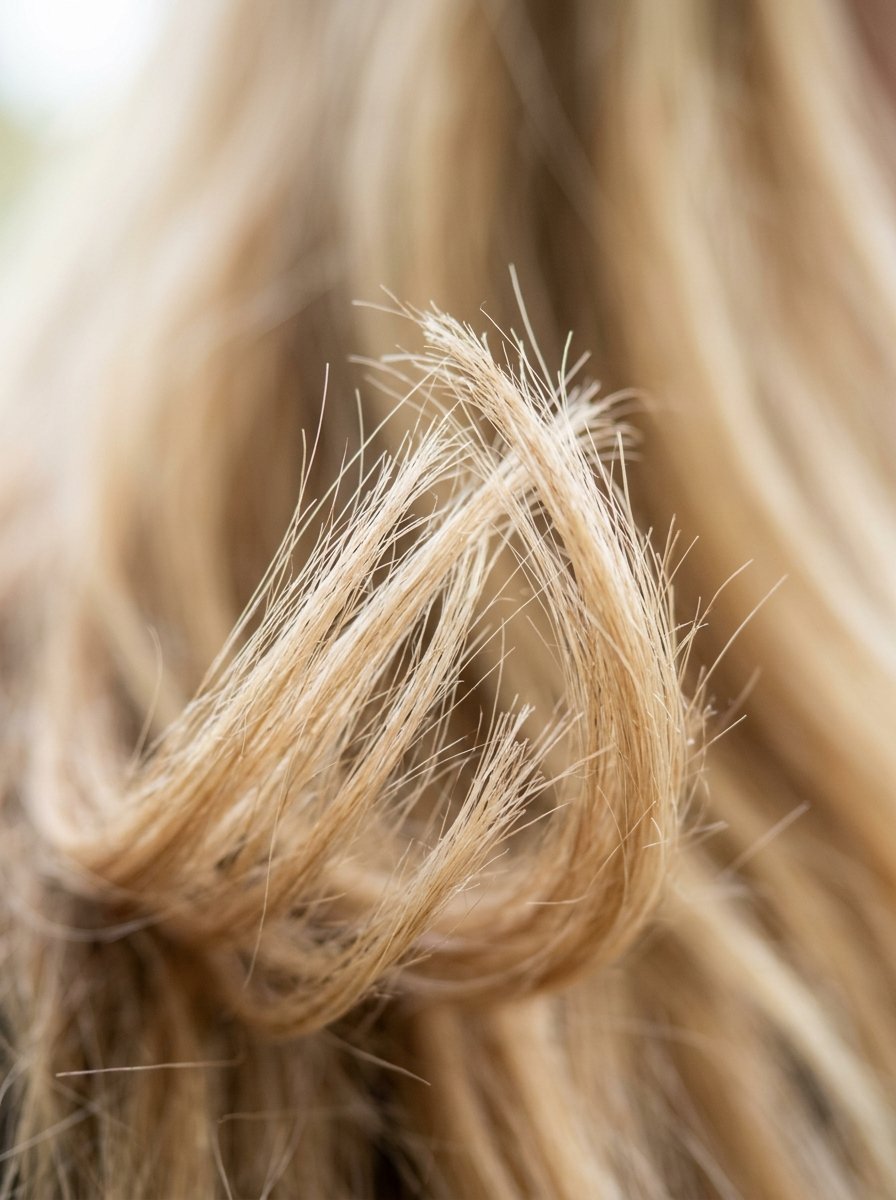
Blunt ends make fine hair look like a sheet. Textured ends break up the visual weight. The stylist uses vertical cutting at the very bottom. They do not cut higher than one inch. This creates a jagged soft line. The hair catches the wind differently. It looks thicker at the bottom. A women’s long hair haircut needs this detail. You wash the hair. You apply a texturizing paste. The paste costs about $20. You scrunch the very ends. The hair dries with a beautiful piecey finish. The texture catches the light nicely.
11. Graduated Front Layers

Long hair drags fine textures down. Graduated front layers fight gravity. The cuts start at the jawline. They angle down to the longest length. The back remains completely solid. You see this on many celebrities right now. It frames the face beautifully. You part the hair down the middle. Use a texturizing spray at the root. The angle creates a natural shadow. The shadow makes the hair look massive. Expect to pay $80 for trims every ten weeks. Keep the ends heavily moisturized. The graduation feels very custom.
12. The Step Cut
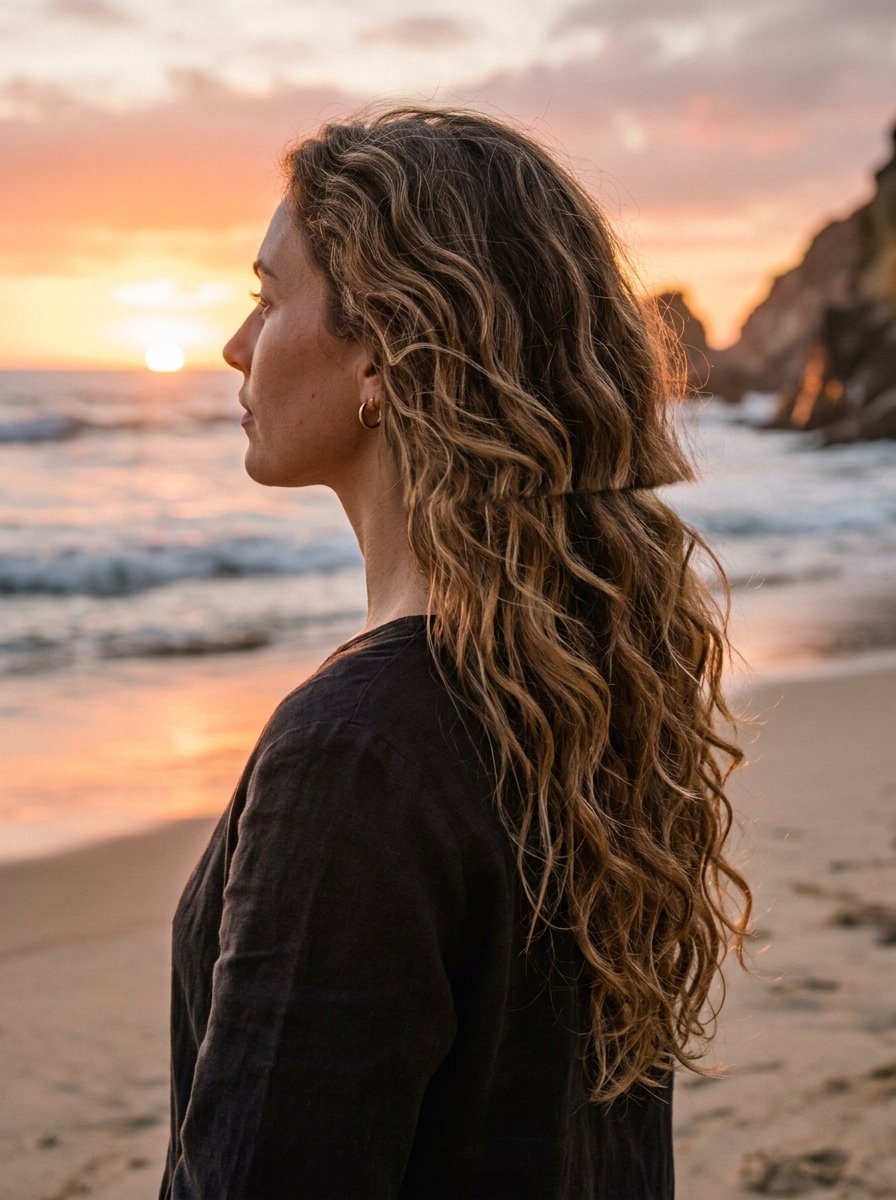
Old step cuts looked choppy. Modern step cuts blend flawlessly. We create two distinct lengths. The top canopy sits at the shoulder. The bottom length hits the middle back. We texturize the meeting point. It creates a massive wave of hair. A long layered haircut wavy hair texture works best with this. You scrunch a defining gel into wet hair. The gel casts a hard shell. You break the shell with hair oil. The waves pop instantly. The two steps create massive width. The width distracts from the fine texture.
13. Internal Channeling
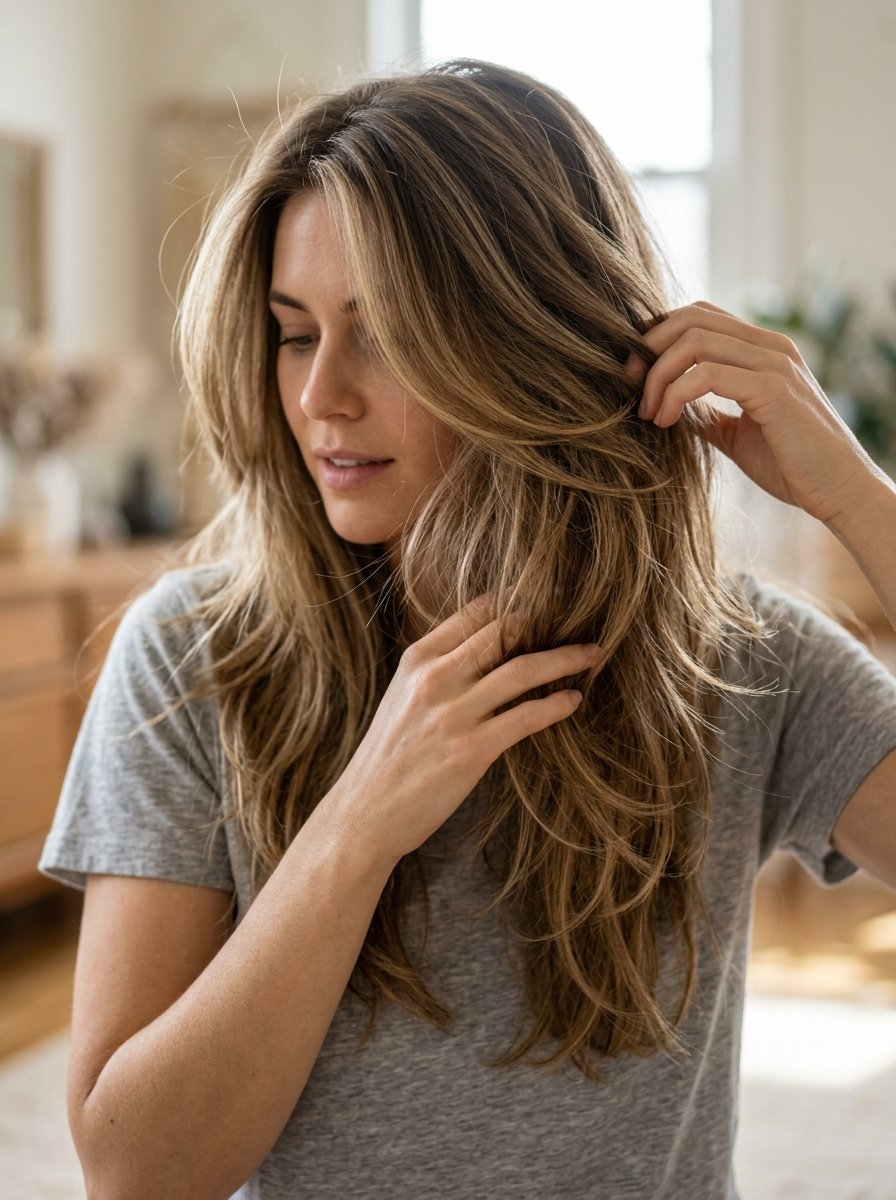
Stylists carve tiny channels inside the hair mass. This is not thinning. Thinning shears cause frizz. Channeling uses straight shears. It creates pockets of air. The air pockets allow hair to move. Fine hair gets stuck together easily. Channeling stops the clumping. Your long hair with layer styling becomes effortless. You run your fingers through it. The pieces separate cleanly. I do this on almost all my fine haired clients. It takes an extra fifteen minutes in the chair. The look lasts for three months. You literally feel the air hit your scalp.
14. Blunt Base with Crown Layers
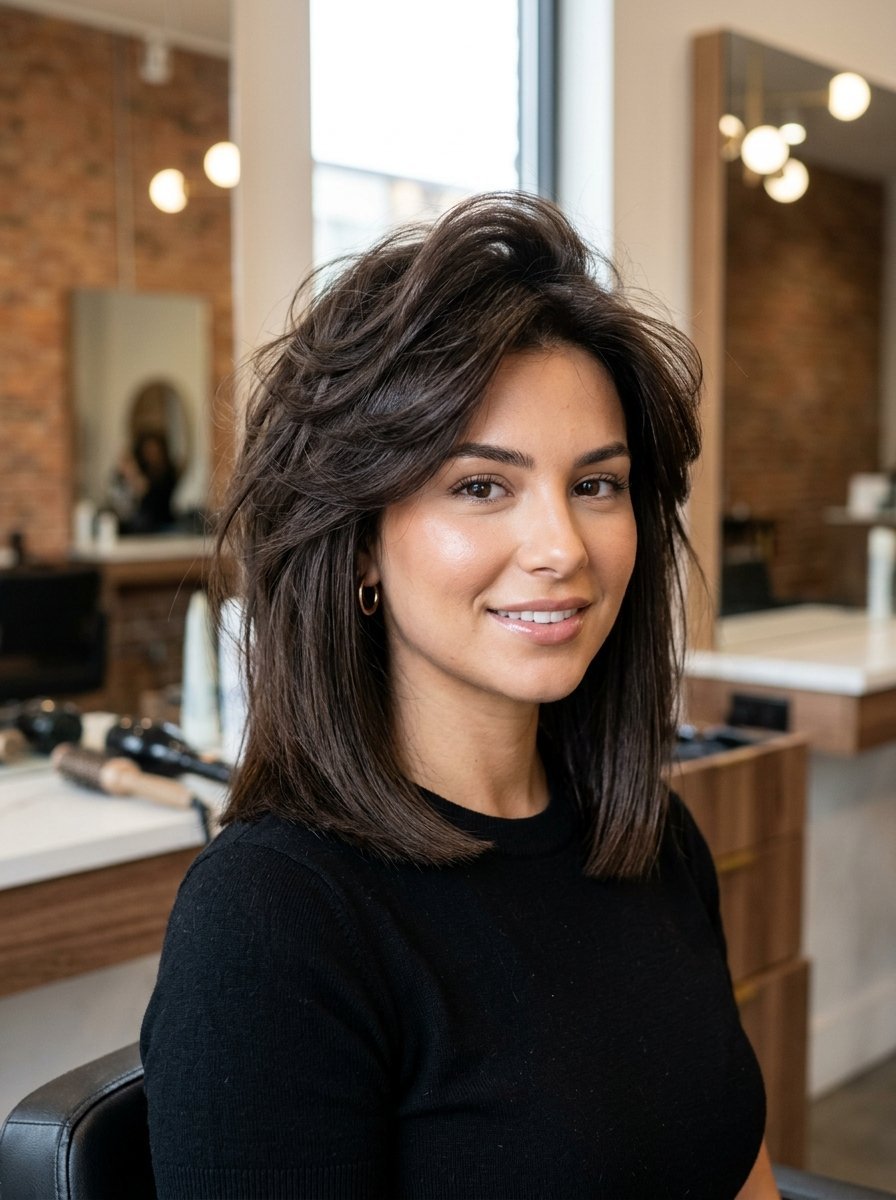
This gives the best of two worlds. The bottom line remains perfectly blunt. This maintains maximum density. We cut short layers only at the very top. The middle section stays untouched. You get a thick bottom and a voluminous top. This works for oval and square face shapes. You spray dry shampoo at the crown. You flip your head upside down. You massage the root. You flip back up. The volume stays locked all day. I see huge success with this specific combination. It rarely fails.
15. The Wolf Cut Lite
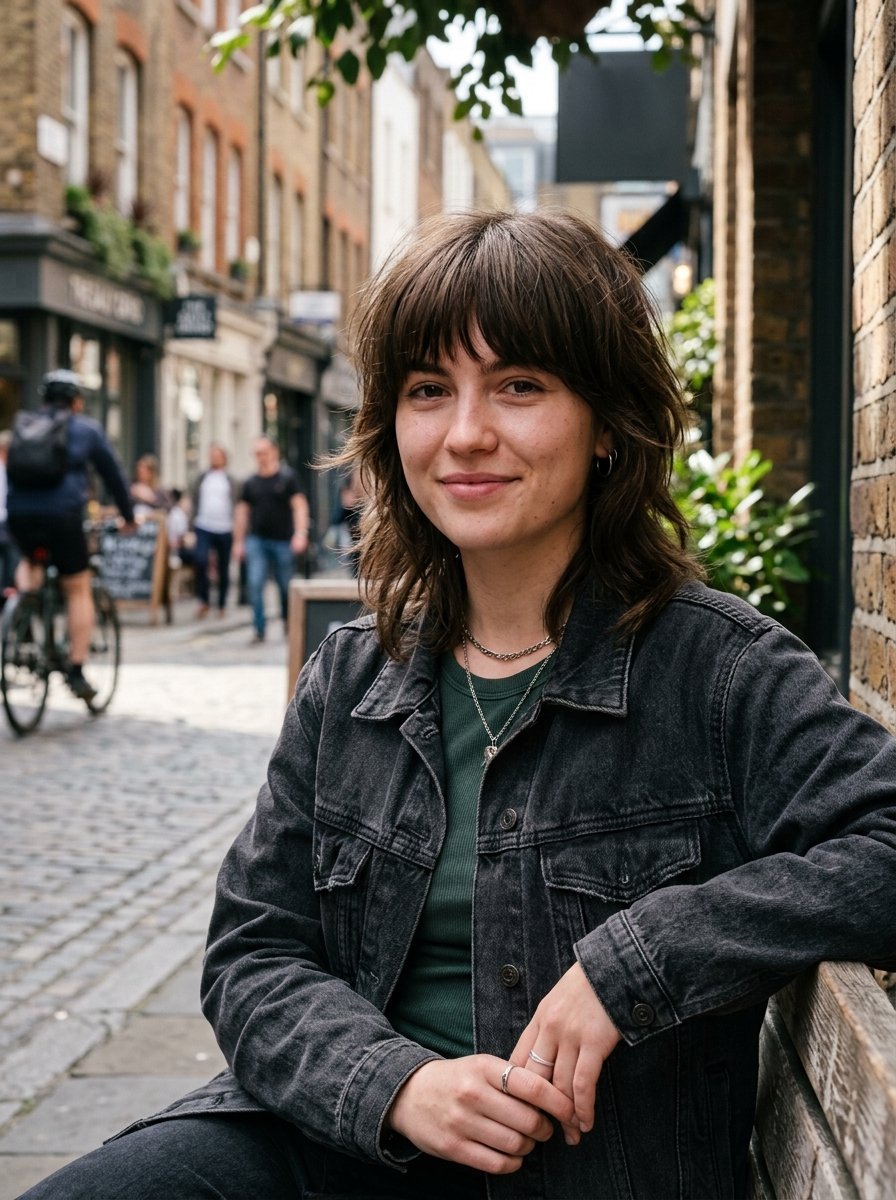
The standard wolf cut feels too choppy. The lite version softens the edges. We keep the heavy fringe. We stretch the layers further down the head. The fine hair gets a massive texture injection. You look edgy but polished. This requires zero heat styling. You spray a sea salt mixture. You let the air do the work. It is the ultimate wash and go style. Upkeep runs higher. You need bang trims every four weeks. Most salons charge $15 for a quick bang trim. The look brings tons of personality.
16. Asymmetrical Framing
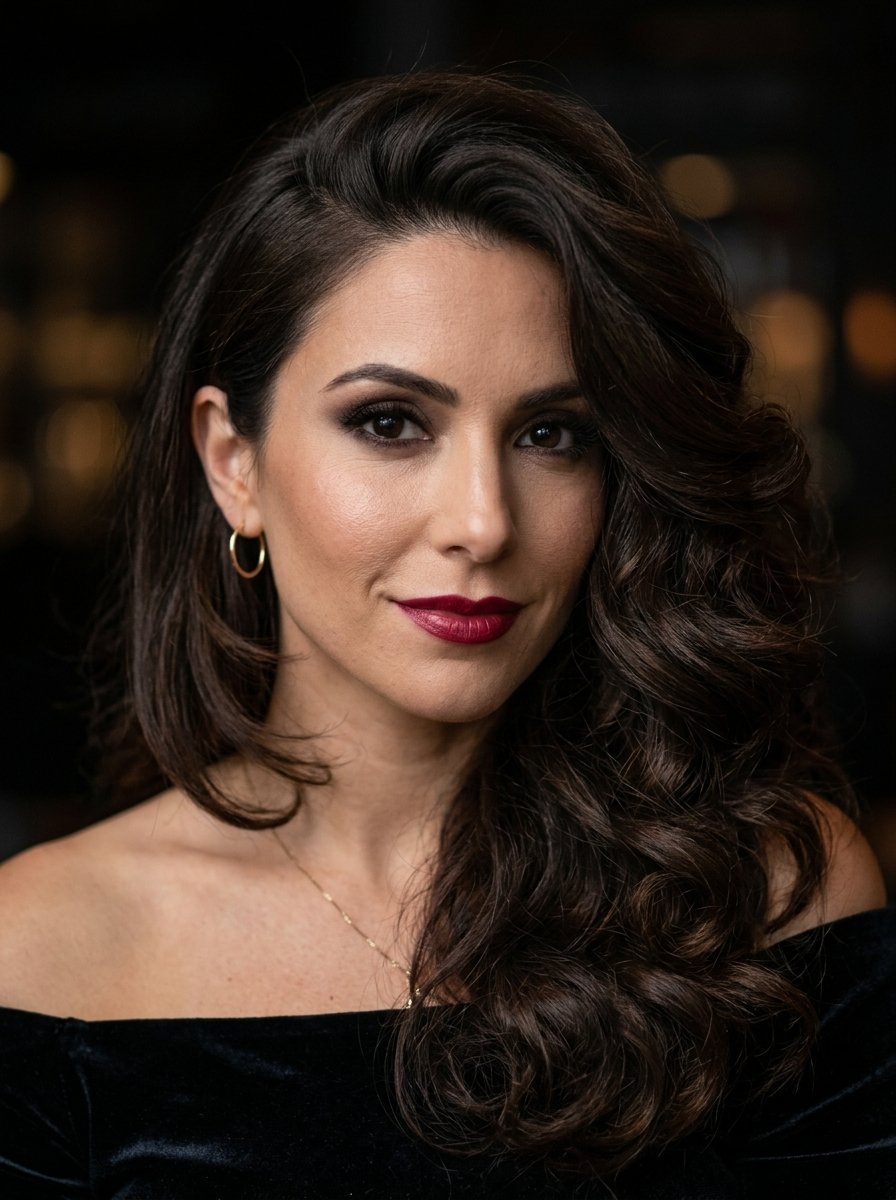
Symmetry makes fine hair look flat. Asymmetrical styling tricks the eye. We cut the face framing pieces slightly shorter on one side. You part your hair deeply to the opposite side. The heavy side looks incredibly thick. The long face framing layers round face features beautifully. This demands a specific parting every day. You use a rat tail comb. Make a clean line. Pin the thin side behind your ear. Let the heavy side fall forward. It looks extremely elegant. The deep part changes your whole face.
17. Feathered Face Framing

Seventies fashion returned recently. Feathered layers followed. We use a razor to slice the front pieces away from the face. The hair naturally wants to flip backward. This opens the face entirely. Fine hair takes to feathering very well. It requires a feather razor. The blade must be brand new. A dull blade pulls fine hair. Ask your stylist about their razor blades. You need a heated round brush tool. Roll the front pieces back. They feather out perfectly in seconds. The flip stays bouncy all day long.
18. Beveled Edges
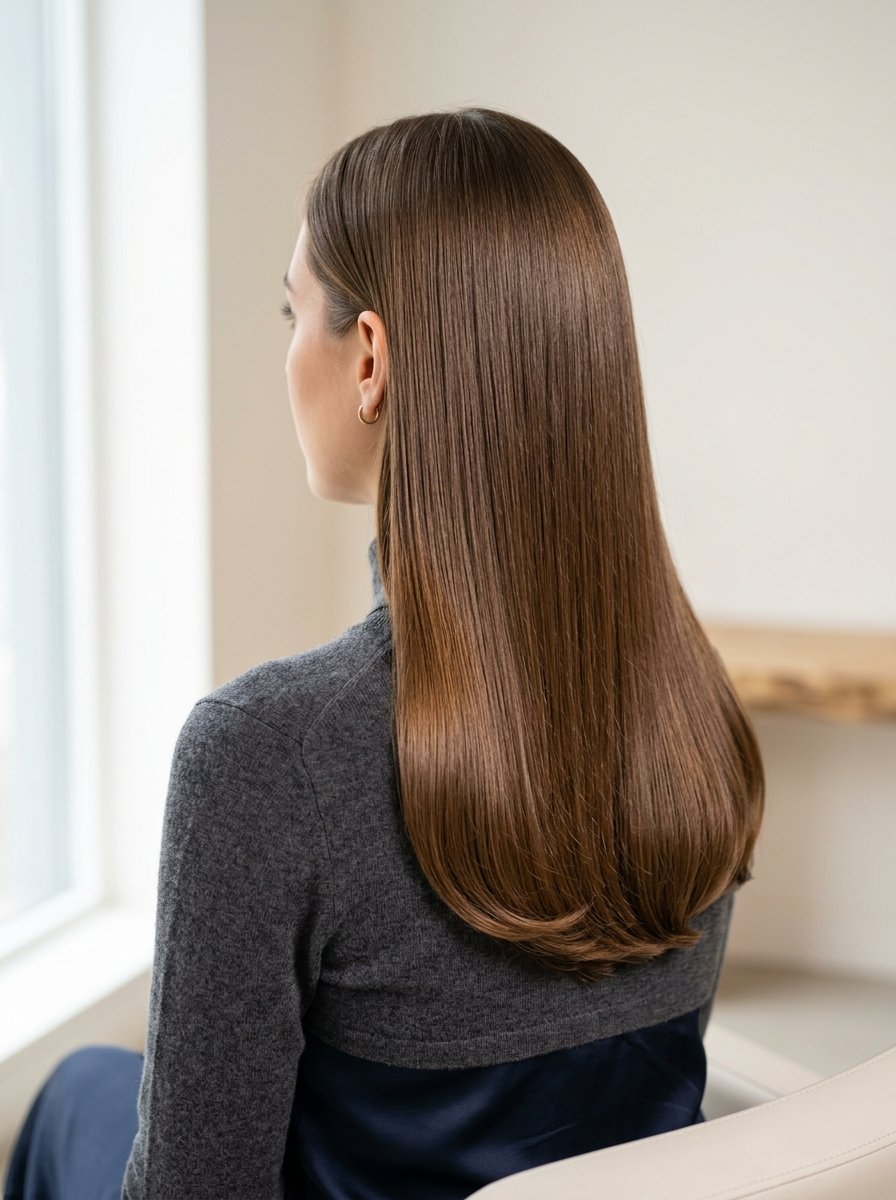
Sharp ends look harsh. Beveled ends curve slightly inward. The stylist undercuts the bottom layer by a fraction of an inch. The top layer naturally rolls over it. Your fine hair looks bouncy. The ends look thick and polished. This mimics a professional blowout. You only need a flat iron. Curve the iron slightly at the very end. The cut does the heavy lifting. You save twenty minutes every single morning. I charge $95 for this baseline correction. It requires upkeep every eight weeks. The bevel stops the hair from looking stringy.
19. The Cascade Cut
Layers that cascade create a waterfall look. We connect the top layer to the bottom layer fluidly. There are no sudden drops. The hair flows in one continuous shape. Cute long layers work best here. It requires exact tension during the haircut. The stylist must pull the hair to exactly the right angle. You use a smoothing serum. Run it from mid shaft to ends. The light reflects off the smooth surface. The hair looks healthy and incredibly dense. The shine hides the lack of thickness.
20. Sliced Bangs with Long Layers

Heavy bangs take too much hair from the perimeter. Sliced bangs take very little. We pull a small triangle from the front. We slice it with shears. The forehead peeks through. The rest of the hair remains long and layered. This brings attention strictly to your eyes. It breaks up a long forehead. The long layers in the back and face framing layers tie it together. You must wash the bangs daily. Fine hair gets oily fast. Use a small round brush. The bangs take one minute to dry.
21. The 90 Degree Layer
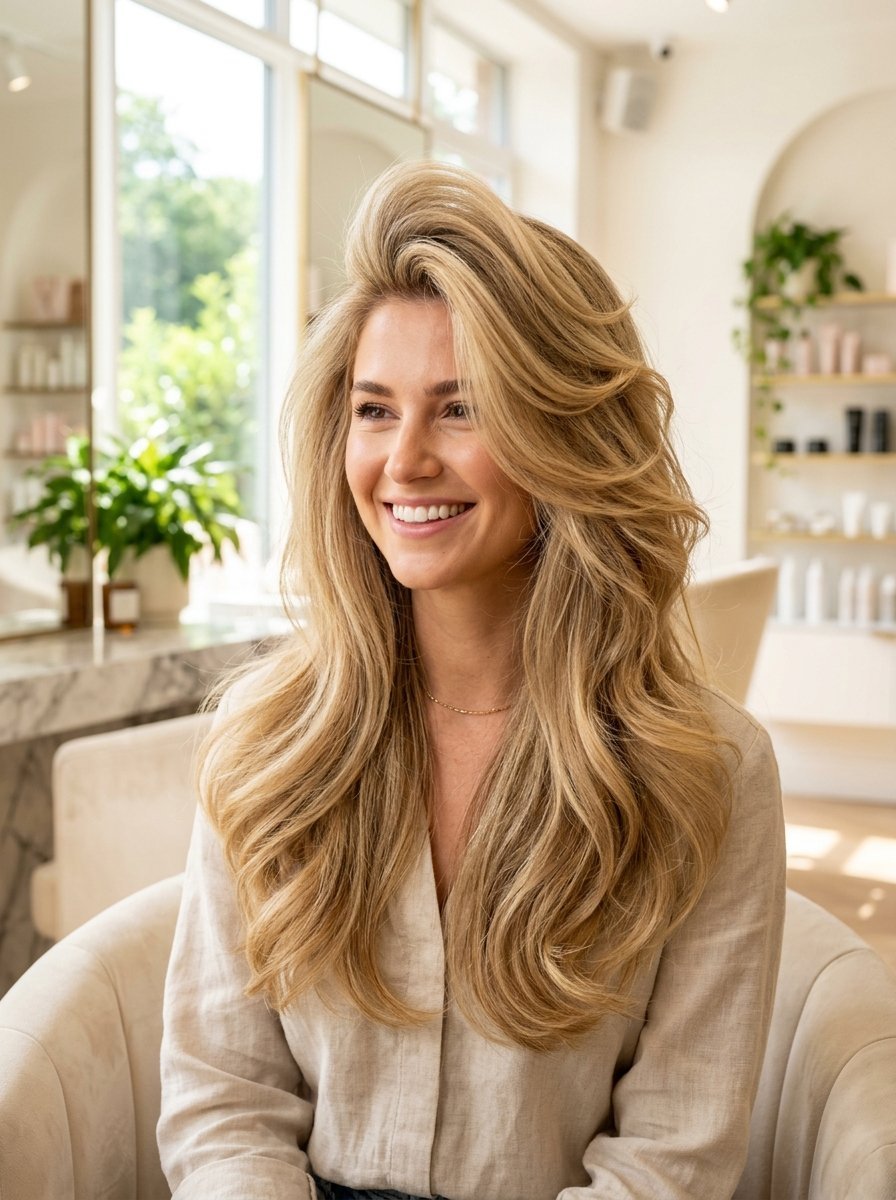
Pulling hair straight out from the head creates a 90 degree layer. This gives maximum volume exactly in the middle of the head. It removes weight from the curve of the skull. Fine hair stops laying flat against the scalp. I prefer this for very long hair. You must use a weightless conditioner. Keep the conditioner strictly on the ends. The roots must stay clean. Blow dry upside down. The 90 degree cuts will stand up naturally. You get incredible height at the crown.
22. Vertical Cut Perfection
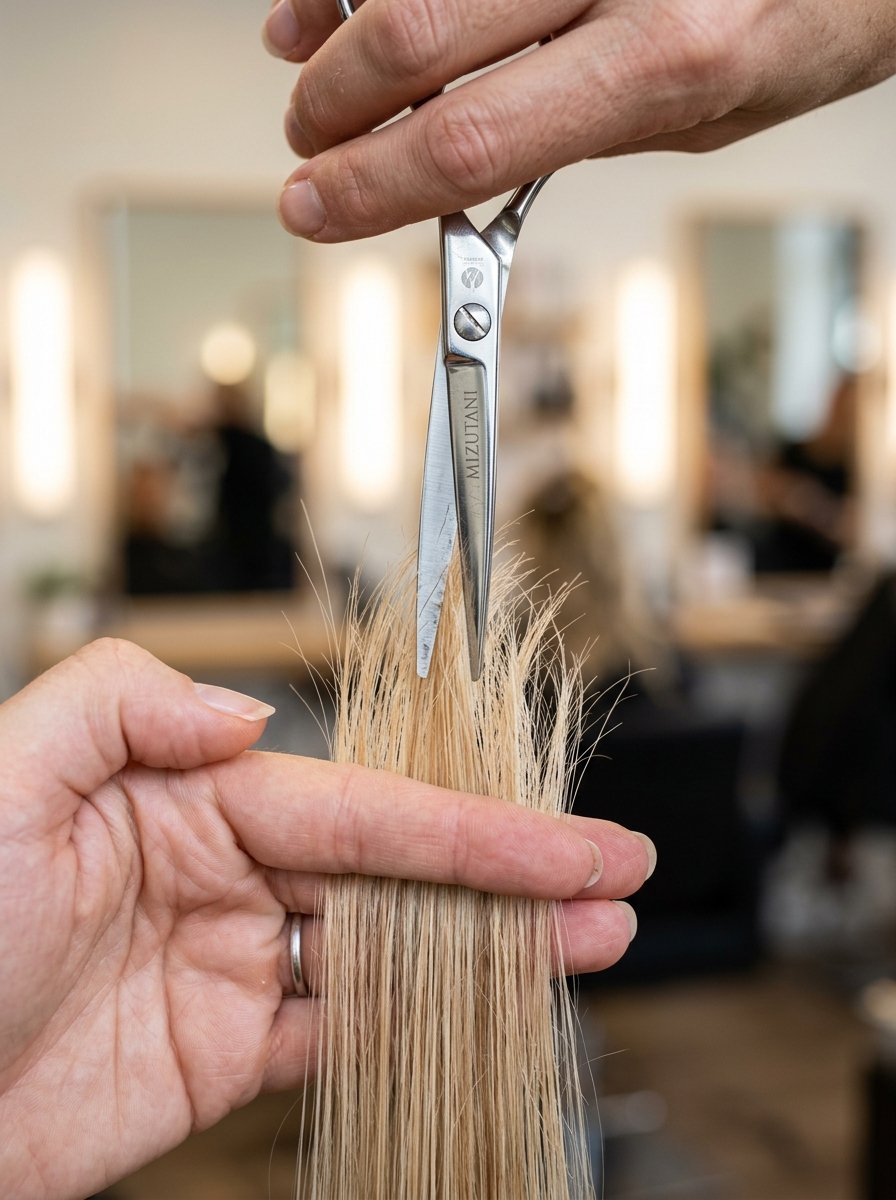
Cutting straight across creates heavy shelves. Vertical cutting creates softer lines. The shears go in vertically. This cut defines the straight to layered hair change. The ends look naturally weathered. The hair moves like water. I spend twenty minutes just vertically cutting a finished style. It is the most needed step. You cannot skip this for fine hair. Ask your stylist if they cut the ends vertically on dry hair. Dry cutting shows the true fall of the hair. It guarantees a perfect shape. The edges look completely organic.
Styling Long Hair With Layers: Tool Comparison
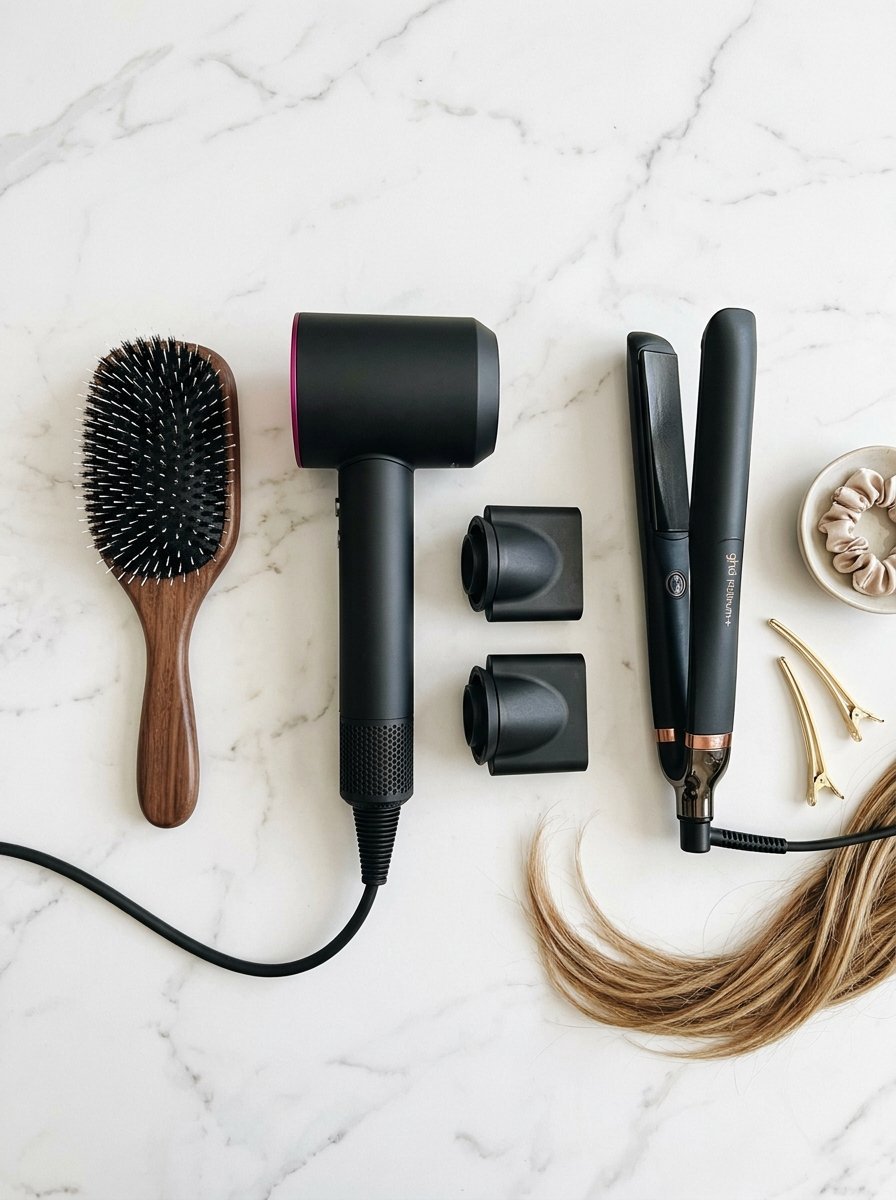
Fine hair breaks easily. You cannot use cheap heat tools. I ruined my own hair back in the day. I used a drug store iron every day. My ends snapped off entirely. I spent two years growing it back. Now I only use specific brands. I test them heavily. You need tools with exact heat control. Fine hair burns at four hundred degrees. You must stay under three hundred. Here is my honest breakdown of the top tools.
- Dyson Airwrap costs $599. It causes zero heat damage. I give it nine out of ten.
- Shark FlexStyle costs $299. It feels very lightweight. I rate it eight out of ten.
- Mason Pearson Brush costs $275. It creates natural bristle shine. I rate it ten out of ten.
- Bio Ionic Flat Iron costs $149. It features silicone speed strips. I give it nine out of ten.
- T3 Micro Curling Iron costs $169. It offers custom heat settings. I rate it eight out of ten.
- Paul Mitchell Pro costs $125. It provides express heat up. I give it seven out of ten.
You do not need all of these. Start with a good brush. The Mason Pearson changes everything. It pulls natural scalp oils down the hair shaft. Your fine hair gets natural protection. The Dyson Airwrap creates stunning blowouts. It works perfectly for styling long hair with layers. The cost feels high. Think of it as an investment in hair health. You will spend less on repair masks.
Product Case Studies for Fine Texture
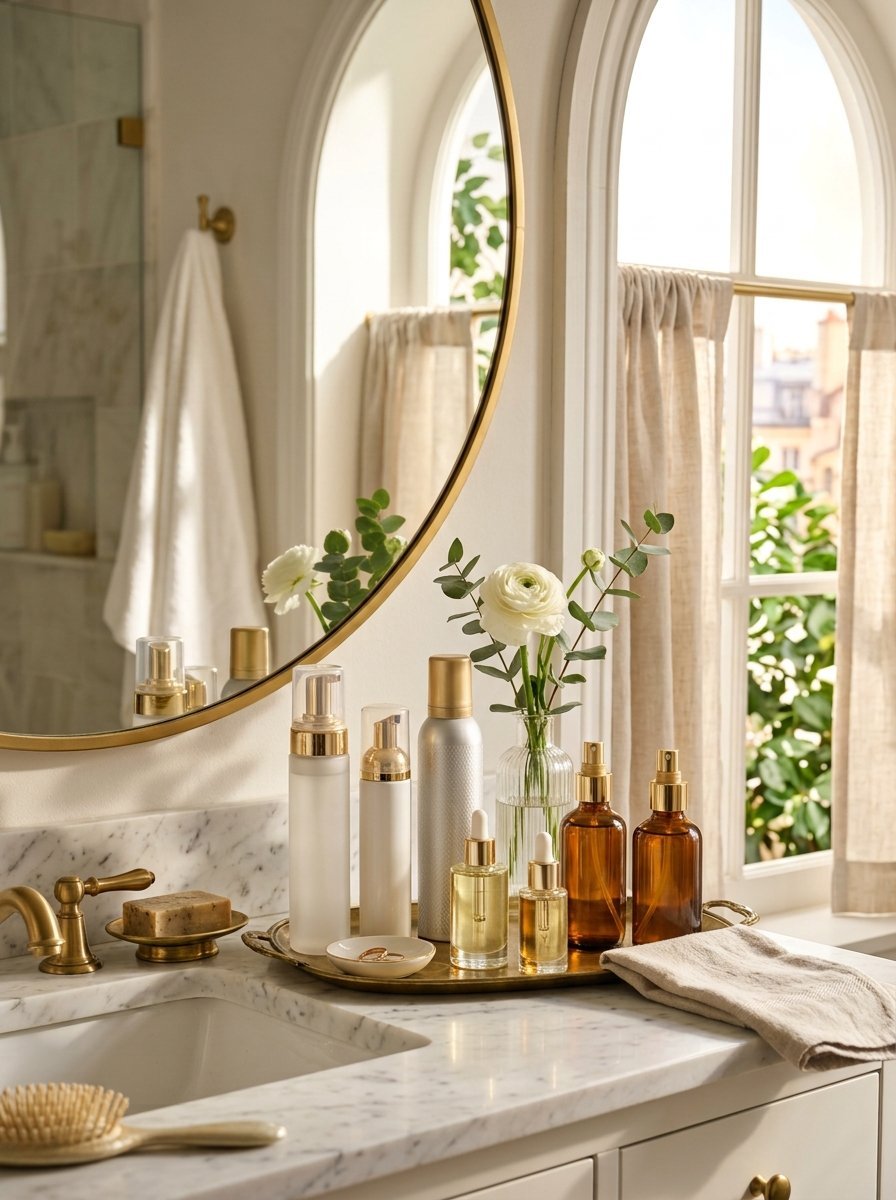
Products weigh fine hair down instantly. I see this failure daily. A new client comes in. Her hair looks greasy. She uses heavy shea butter masks. Fine hair needs weightless hydration. I tested forty different mousses last year. Most of them left a sticky residue. You want products that vanish.
Here is my testing breakdown:
- Oribe Grandiose Hair Plumping Mousse costs $39. This changed my styling routine entirely. It gives massive root lift. The hair feels completely clean.
- Living Proof Full Thickening Cream costs $32. You apply this to damp hair. The molecules wrap around each strand. It physically creates thicker hair.
- Ouai Volume Spray costs $28. I use this on dry hair strictly. It refreshes flat roots quickly. The scent lasts all day.
- Redken Volume Injection Shampoo costs $25. Heavy shampoos ruin volume before you even step out of the shower. This keeps the hair light.
- Kenra Volume Spray 25 costs $20. This provides extreme hold for updos. It brushes out easily. It never flakes on dark clothing.
- Moroccanoil Light Treatment costs $34. The regular version carries too much weight. The light version works magic. Use one single drop on the ends.
The Reality of Hair Extensions
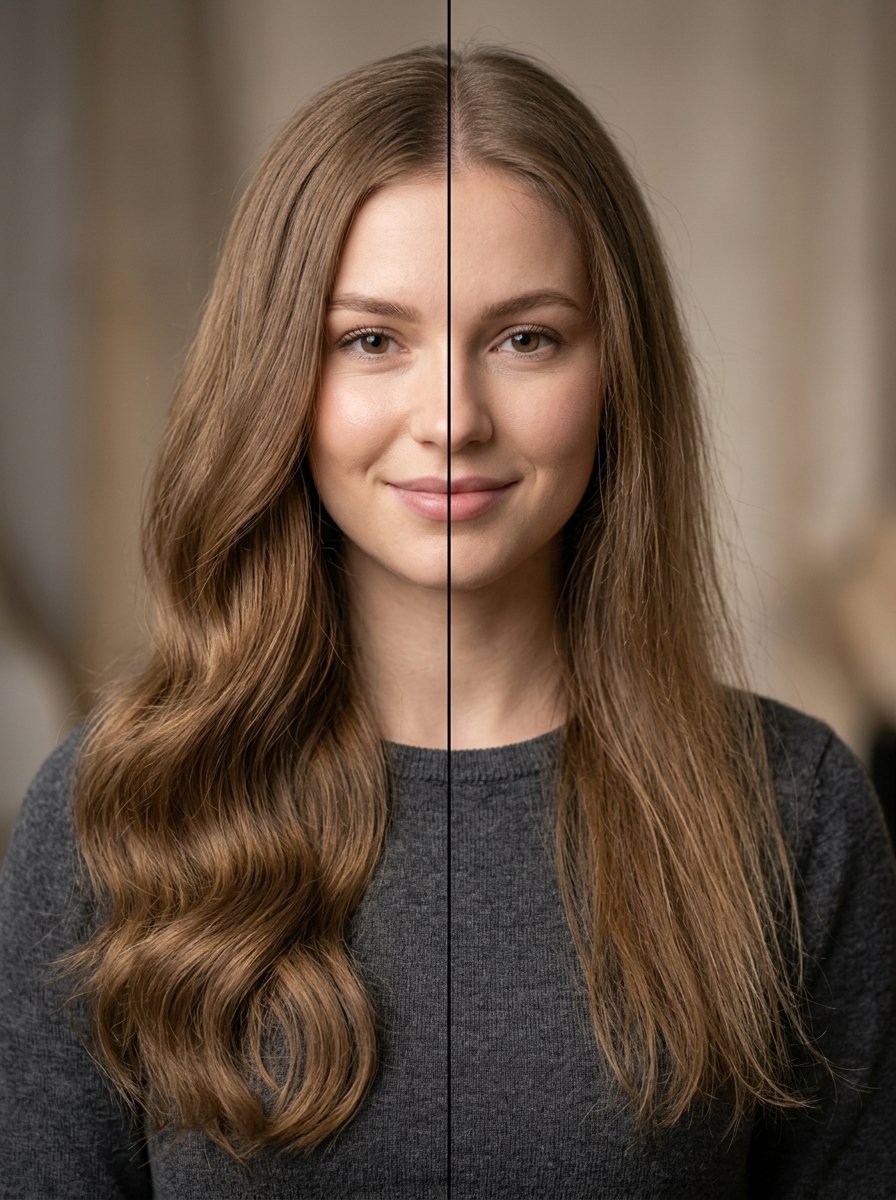
I hear the same fear every week. Clients want extensions for their fine hair. Bad extensions destroy fine hair. Good extensions save it. Let us look at the reality of adding artificial density.
The Good Side:
- Tape in extensions remove dead weight visually.
- The style dries much faster with less natural hair.
- Natural waves come alive with extra pieces.
- The face looks lifted with side volume.
- Ponytails look intentionally messy and full.
The Bad Side:
- You must style it daily without fail.
- Bad tape installations take months to grow out.
- Split ends become heavily visible against artificial hair.
- Braids can fall apart at the seams.
- Upkeep runs over $300 every two months.
I tell clients to start small. Ask for long layers in the back and face framing layers first. See how your natural hair reacts to a proper cut. Do not buy extensions immediately. Patience prevents tears and saves money.
Frequently Asked Questions
How often should I trim fine layered hair?
You need a trim every six to eight weeks. Fine hair splits faster than thick hair. The splits travel up the shaft quickly. This makes the whole head look fuzzy. Regular dusting prevents this spread. I charge $45 for a quick dusting between full cuts. It saves the shape entirely.
Can layers make thin hair look thicker?
Yes. Blunt cuts make thin hair lay flat against the skull. Layers create empty space between the strands. Air gets trapped inside that space. The trapped air creates instant volume. A layers haircut for wavy hair expands the overall shape sideways.
What is the best way to sleep with layers?
Never sleep with wet hair under any circumstances. The friction causes massive breakage on fine strands. Dry your hair completely before bed. Put it in a loose top knot. Use a pure silk scrunchie. Sleep on a silk pillowcase. The silk prevents nighttime tangles. You wake up with natural bounce.
Do I need to use heat tools daily?
No. Heat ruins fine hair over long periods. You should master heatless styling tricks. Velcro rollers work perfectly for crown lift. You can use a texturizing sea salt spray. Let the hair air dry completely. Save the hot tools for weekends or specific events.
Are curtain bangs good for fine hair?
Curtain bangs absolutely work. They must be cut very thin though. Heavy curtain bangs steal too much density from the side sections. Ask your stylist for wispy curtain bangs. They frame the face without sacrificing your overall thickness.
Will a straight to layered hair change shock my hair?
Your hair feels no physical shock. You will feel mental shock. It feels wildly different at first. The ends feel lighter. You will use far less shampoo. Your styling time drops dramatically. Give yourself two full weeks to adjust to the new shape.
How do I stop my layers from flipping out?
Use a round brush during your blowout. Roll the ends under. Pin them against your neck while they cool down. The cooling phase locks the shape. Use a tiny drop of smoothing serum. This breaks the static tension. The ends will stay tucked all day.
Should I use dry shampoo on clean hair?
Yes. Dry shampoo gives grit to fine hair. Wash your hair normally. Blow dry it completely. Spray dry shampoo at the roots immediately. This stops the oil before it even starts. It gives the roots instant scaffolding. Your style lasts three days instead of one.
Final Thoughts

Fine hair demands pure respect. You cannot treat it like thick hair. The twenty two cuts we covered offer real answers. You can keep your length completely. You just need strategic weight removal. Remember the hidden crown trick. Use the recommended lightweight styling tools. Protect your fragile ends from severe heat. Your next salon visit will feel different. You know exactly what to ask for now. You know the literal mechanics of layers. Stop fighting your natural texture daily. Work with it instead. Share this guide with your trusted stylist. Ask them which specific shape fits your facial structure best. You deserve hair that moves freely.

Sarah Mitchell — Founder & Editor-in-Chief
Sarah Mitchell is the founder and editorial voice behind Hair Level Up. A licensed cosmetologist with more than 15 years of experience, she has styled A-list celebrities for editorial shoots and red carpets, with work featured in Vogue, Elle, and Harper’s Bazaar. Early in her career, she trained under the legendary hairstylist Oribe in New York, an apprenticeship that still shapes her editorial eye today. Sarah founded Hair Level Up in 2020 after one bad haircut convinced her that women deserved a destination that felt like a magazine, taught like a stylist, and inspired like an art gallery. She oversees every story from concept to publication, guided by a simple belief: a good story teaches you something, but a great one makes you feel beautiful while it does.