Easy Hairstyles for Beginners: 7 Styles in 5 Minutes Each
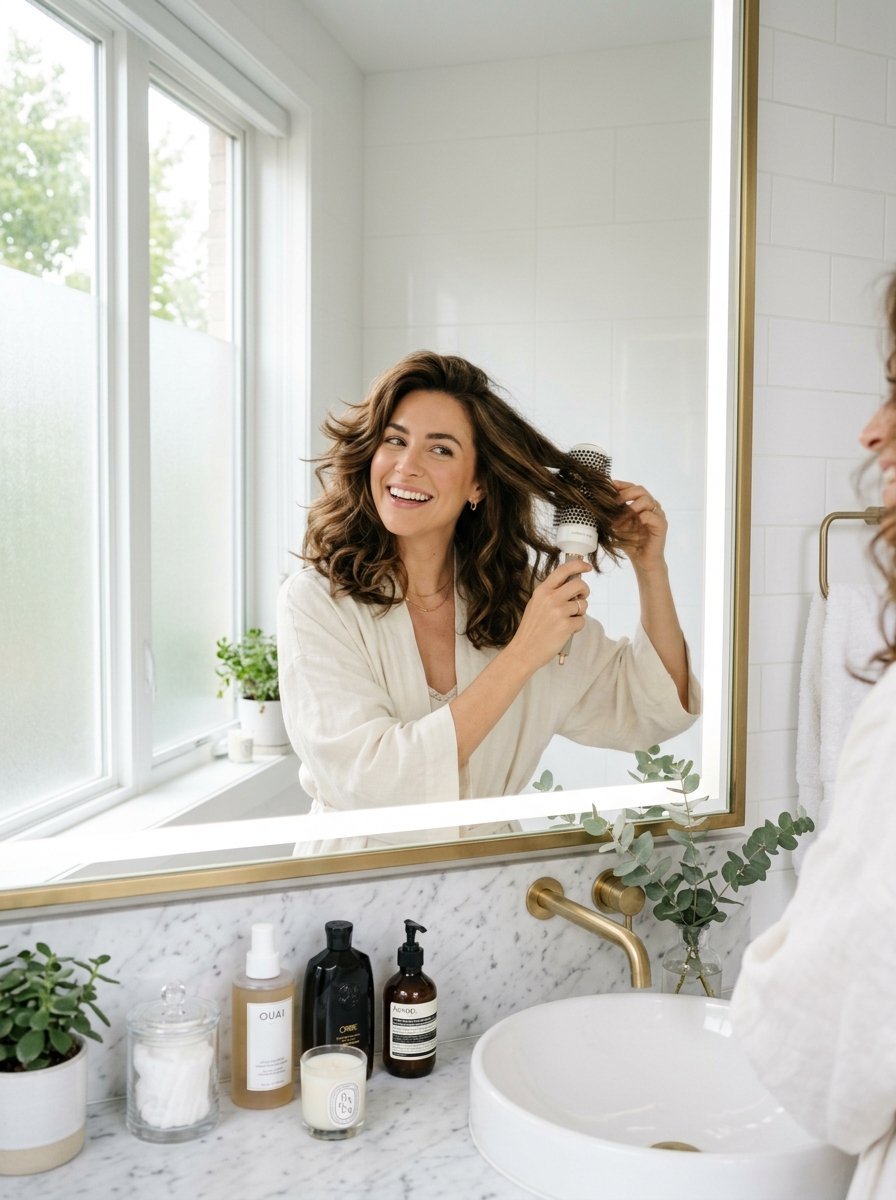
I style models for commercial advertising campaigns daily. Time is rarely on my side. We shoot Bubblizz sunscreen ads or Ark Fans promos back to back. I usually get exactly five minutes to fix a model’s hair. This intense pressure taught me a secret about looking good. You do not need professional training for a stylish hairstyle. You just need the right steps. I wasted hours in the past trying complicated tutorials. My arms would ache from holding sections of hair. The final look always appeared messy and rushed. Now I rely on a strictly timed system. I use these exact methods on busy mornings at home. You can look completely put together without the stress.
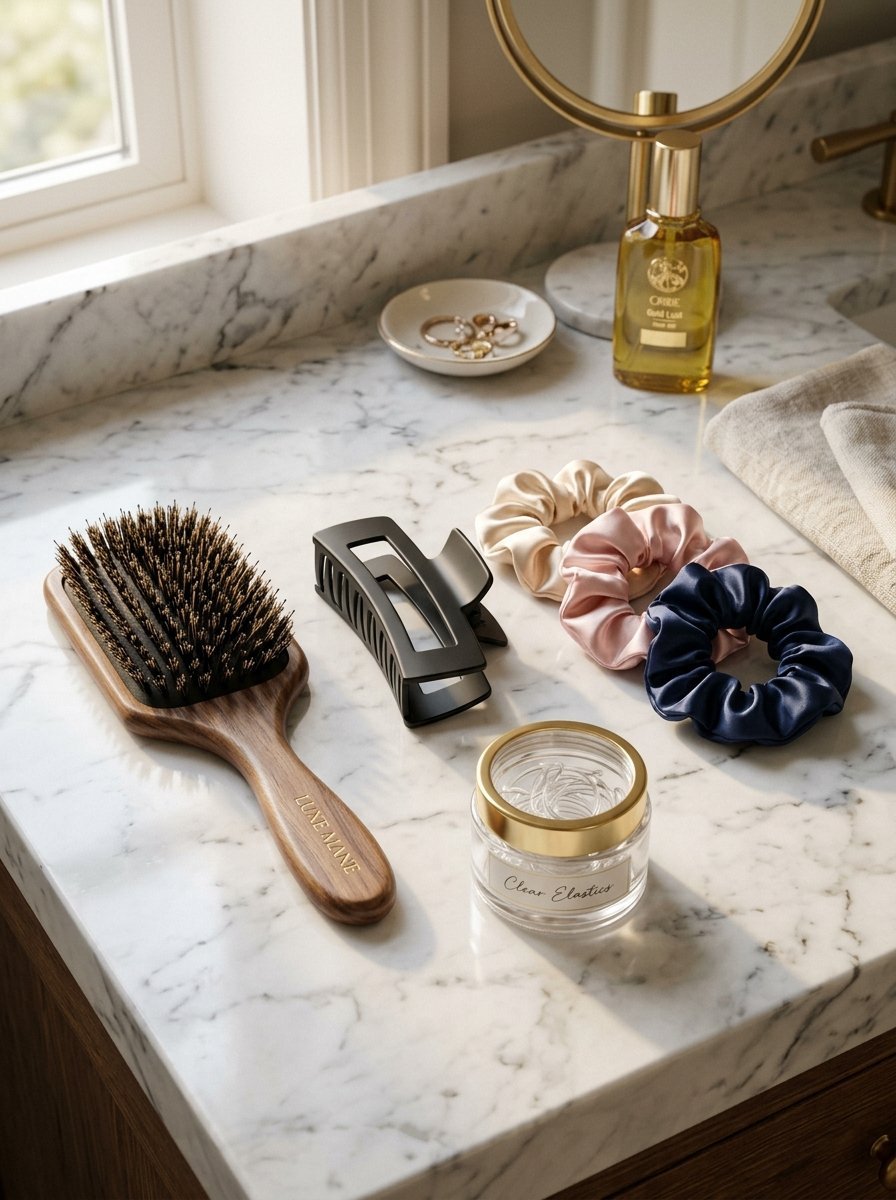
You will master seven easy hairstyles for beginners today. Each look takes exactly five minutes from start to finish. I tested these moves on different hair types on set. We will cover looks for layered cuts and single-piece outfits. I will share the exact tools I use in my professional kit. You will see current prices for clips and sprays. This guide skips the complicated braiding and endless pinning. We focus entirely on fast and beautiful looks. You can recreate that perfect Pinterest hairstyle effortlessly. I will show you exactly what works for real life.
1. The Effortless Claw Clip Twist
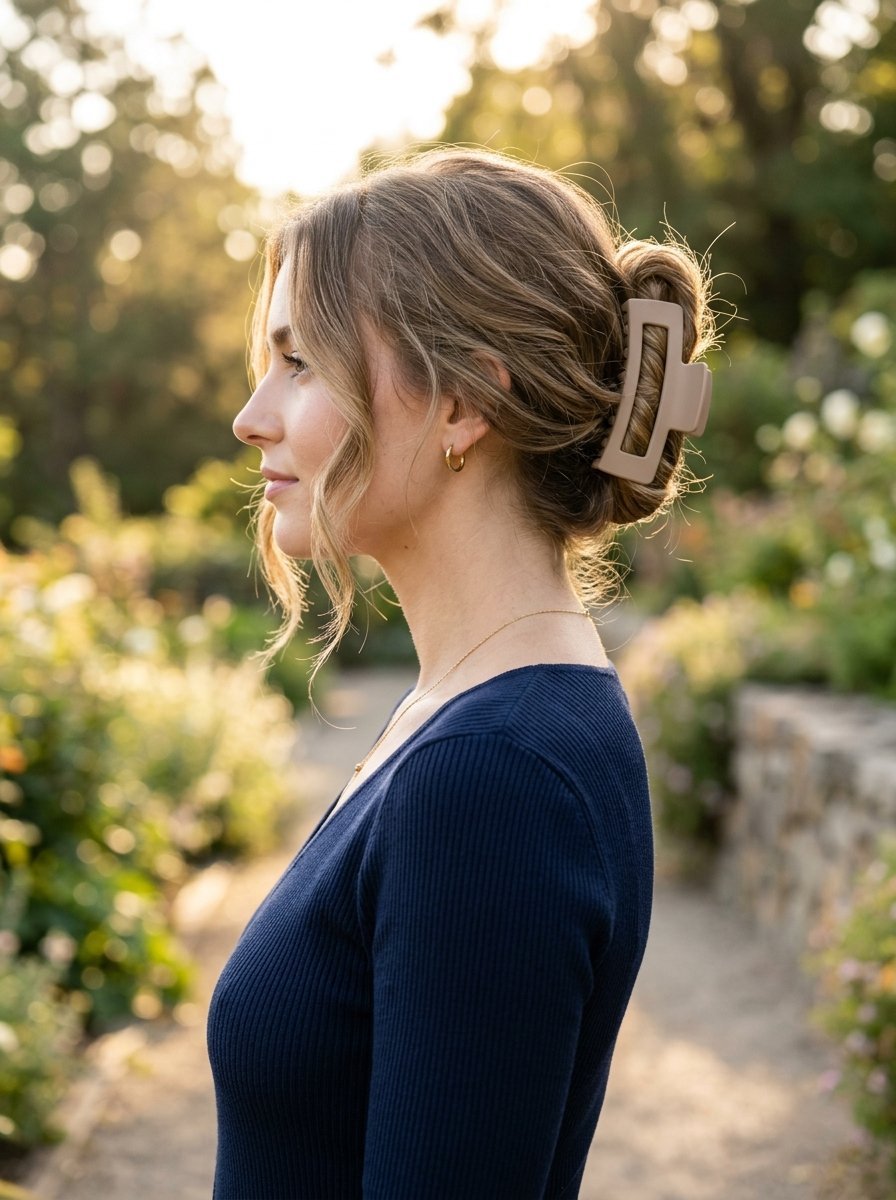
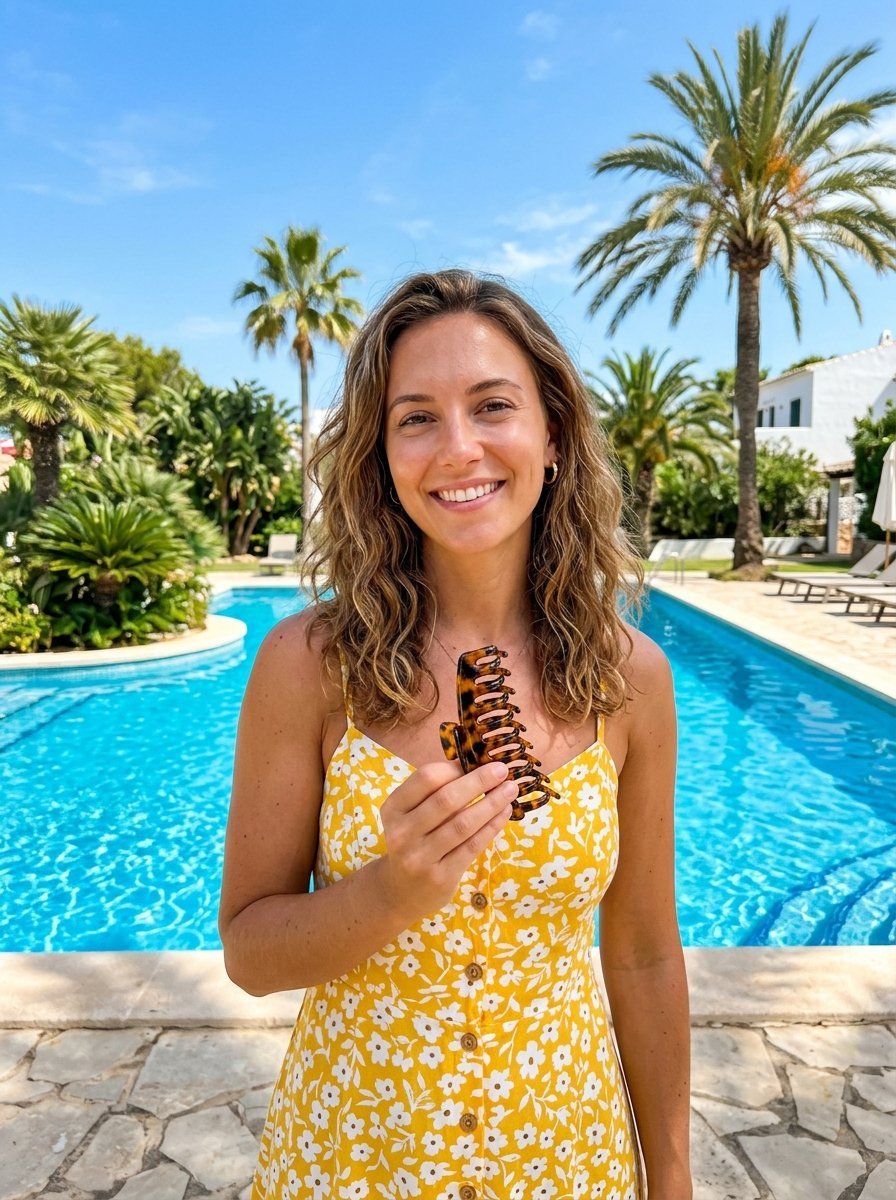
I rely on this look heavily during busy commercial shoots. We recently filmed a summer campaign for Bubblizz sunscreen outdoors. The model needed her hair completely off her face. I had exactly three minutes before the cameras rolled. I grabbed a large matte claw clip from my bag. I twisted her hair up tightly. The look came together perfectly. We finished the shoot two hours early. The brand loved the casual and relaxed aesthetic. This remains my favorite stylish hairstyle for quick changes.
You can wear this anywhere and everywhere. It works perfectly as a hairstyle for one piece. The dress takes center stage while the hair stays out of the way. I see this exact look constantly on social media feeds. It defines the modern Pinterest hairstyle.
Follow these exact steps for the perfect twist:
- Brush your hair back into a low ponytail shape
- Do not tie the hair with a band
- Twist the entire length of the ponytail tightly
- Pull the twisted hair straight up against your head
- Fold the top ends down if your hair is long
- Open a large claw clip fully
- Clamp the clip securely over the twisted section
- Pull a few small front pieces out around your face
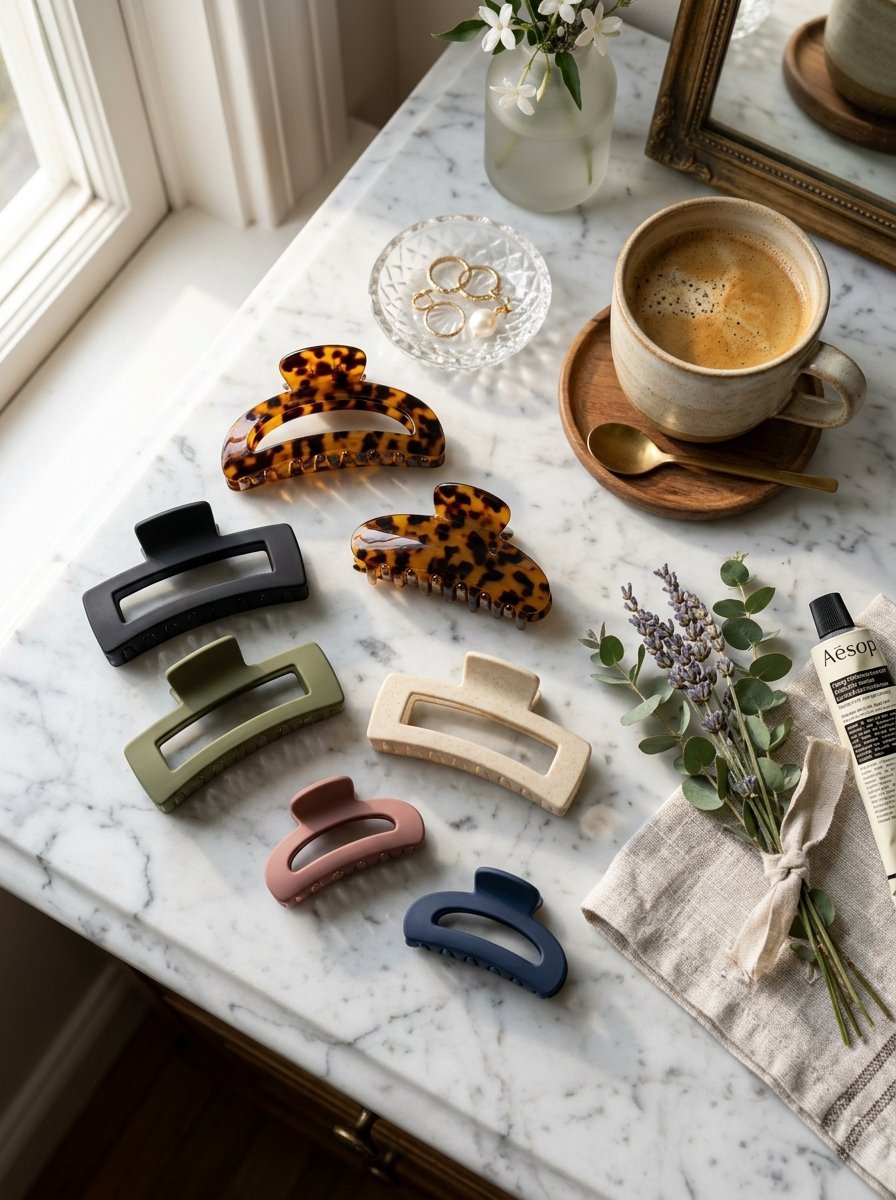
I prefer Framar matte claw clips. A set costs roughly $12 on Amazon. They grip thick hair without sliding. They do not slip down your head. I tested them on a ten-hour shoot last month. The model never needed a single adjustment.
Using high-quality claw clips ensures your style stays secure throughout the entire day.
Beginners make a common mistake with the twisting step. They twist the hair too loosely. The clip will fall out immediately. You must twist the hair until it feels tight against your scalp. Another mistake involves using a tiny clip for thick hair. You need a large clip with strong metal springs.
This style flatters asymmetrical outfits. It works beautifully as hairstyles for layer cut hair. The shorter layers fall naturally around your face. You do not need heavy hairspray. The messy look holds charm. I wear this look at home constantly. I wear it to meetings. It never fails me.
2. The Polished Low Bubble Braid
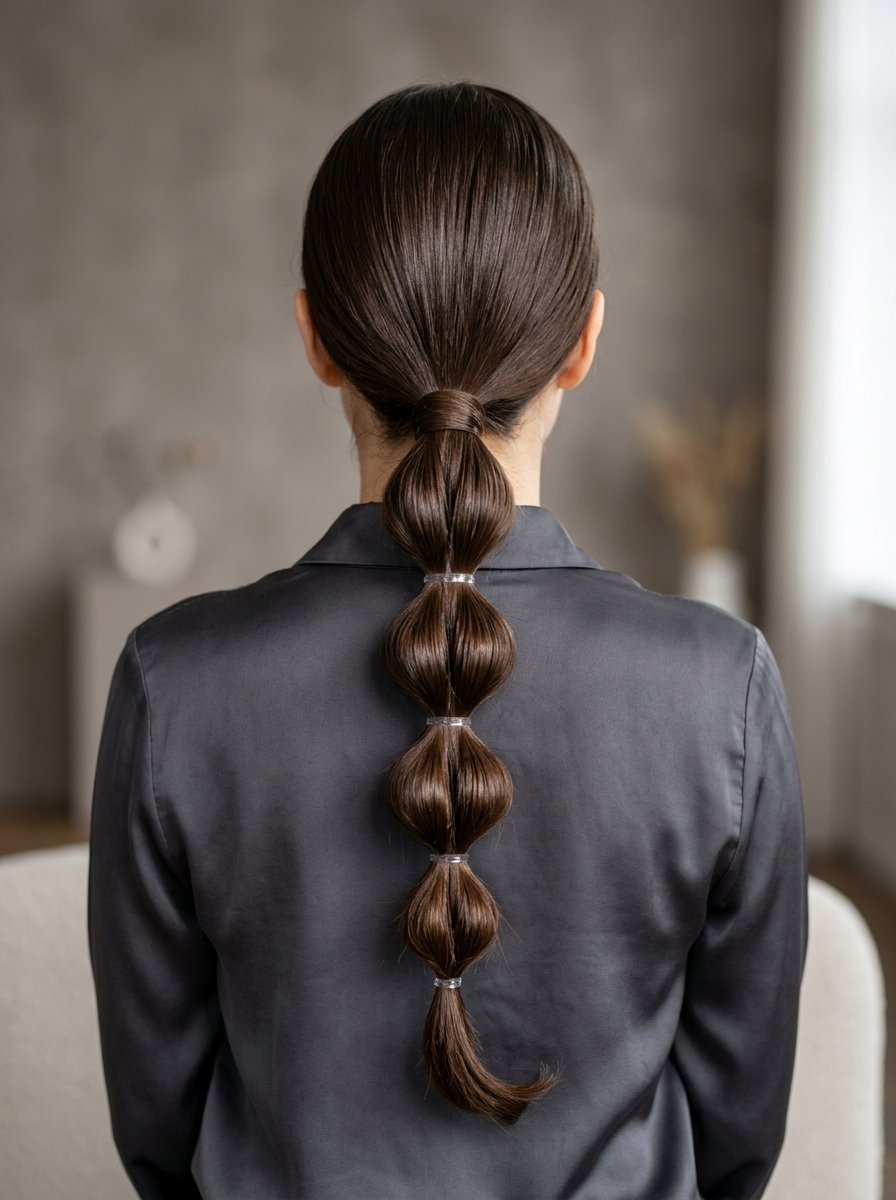
I discovered this look while styling a campaign for Ark Fans. The model had to stand in front of a strong breeze. We needed a style that would survive heavy wind. A regular ponytail looked too basic for the camera. I created a low bubble braid instead. The photos turned out perfectly. The hair stayed completely controlled.
This is the perfect hairstyle for one piece dress outfits. It adds beautiful detail without distracting from your clothes. It feels much fancier than a regular braid. You only need clear elastic bands. I use Goody brand clear bands. A pack of 250 costs around $4.
You can master this in under five minutes. Follow these directions carefully:
- Brush your hair completely smooth from root to tip
- Gather everything into a low ponytail at your neck
- Secure the base tightly with a regular hair tie
- Place a clear elastic two inches below the base
- Gently pull the hair between the ties outward
- This pulling creates the round bubble shape
- Place another elastic two inches lower down
- Pull the hair outward again to make the next bubble
- Repeat this pattern until you reach the very ends
- Leave one inch of hair straight at the bottom
People make one specific error here constantly. They make the bubbles too small. You need to pull the hair outward aggressively. The bubbles should look round and very full. Flat bubbles make the style look unfinished and rushed.
I use this often for clients wanting free hair styles with a twist. The hair stays out of your face entirely. You still get the length and movement of wearing it down. It gives the illusion of incredibly thick hair.
You might need some grip spray. Fine hair can slip out of the clear bands quickly. I spray Oribe Dry Texturizing Spray before placing the elastics. It costs $49 but lasts for many months. The grip stops the bands from sliding down.
This look survives terrible weather conditions easily. I tested it during a humid outdoor shoot in Florida. The hair stayed exactly in place all day. You can wear this to a formal wedding. You can wear it to the grocery store.
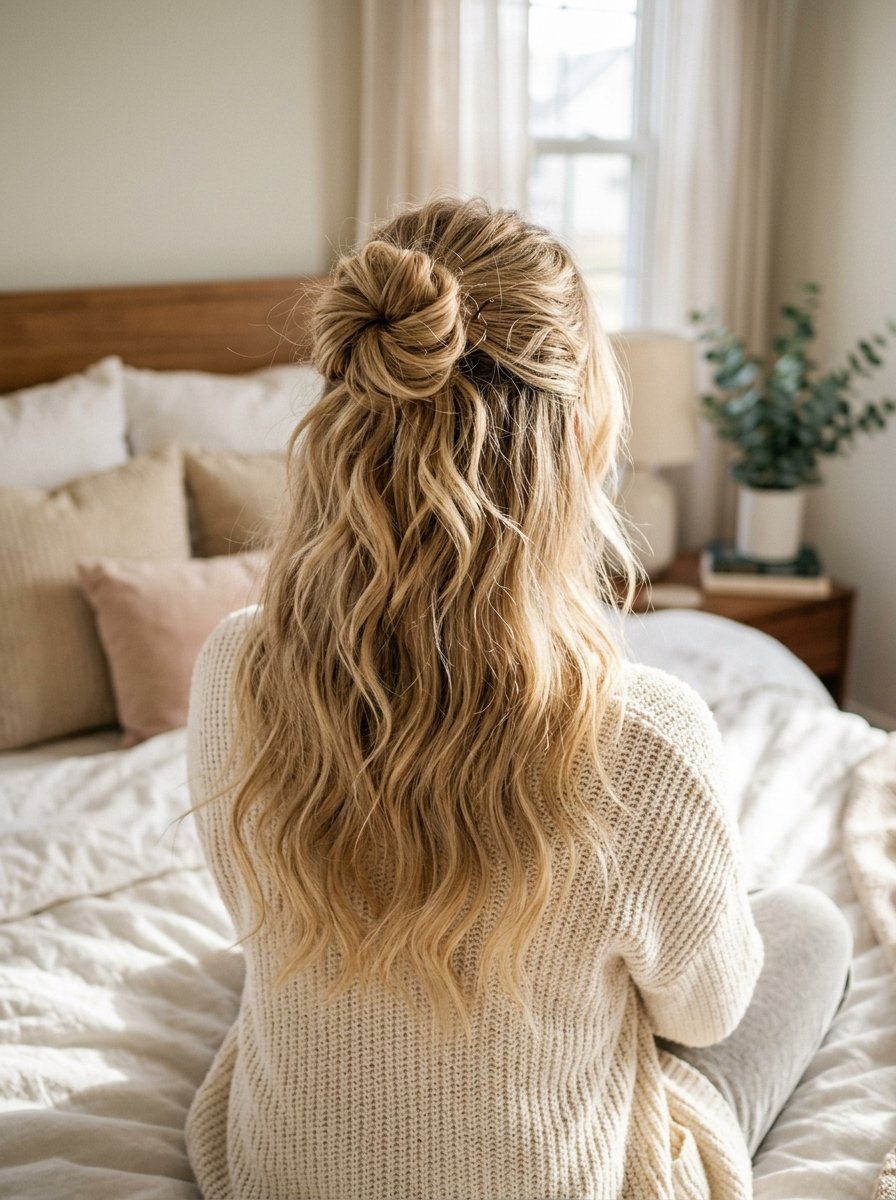
3. The Messy Half-Up Top Knot
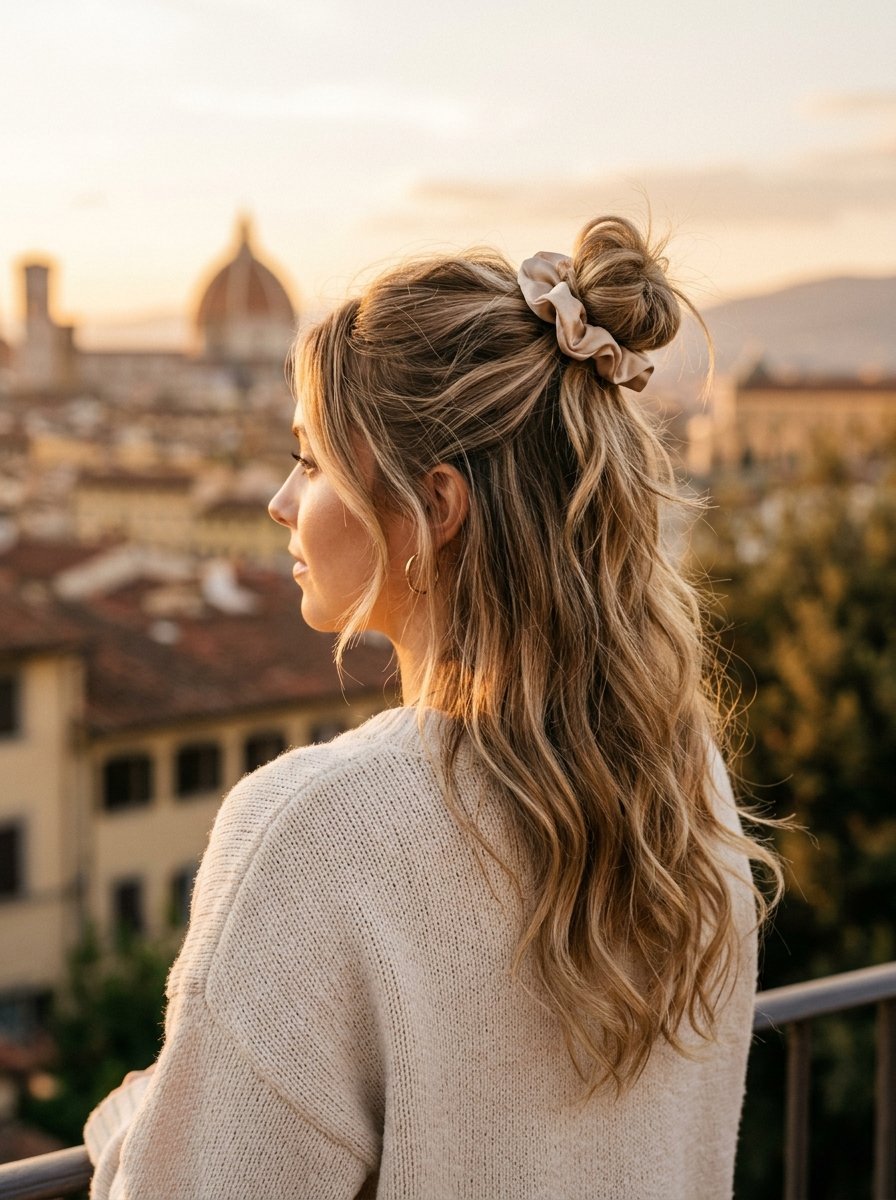
Sometimes you want your hair hanging down freely. Sometimes you need it out of your eyes. The half-up top knot solves this exact problem perfectly. I use this when creating a free hair hairstyle for lifestyle photo shoots. It looks very natural and unforced.
I learned the power of this style during a content marketing project. We needed photos that looked highly authentic. We did not want heavily styled hair for the models. The half-up knot delivered exactly what we needed. It looks like you did it blindly without a mirror.
You will need a strong hair tie and some bobby pins. I prefer Slip silk scrunchies for this job. They cost $39 for a set of three. Silk prevents breakage and friction. They glide out easily without tearing your hair.
Here are the exact steps for the perfect knot:
- Slide your thumbs above your ears on both sides
- Draw a line straight back to gather the top half
- Pull this section straight up toward the ceiling
- Twist the hair tightly into a loose rope shape
- Wrap the twisted hair around its base to form a bun
- Secure the bun tightly with your silk scrunchie
- Pull a few pieces out of the bun to make it messy
- Let the bottom half of your hair fall naturally
This works beautifully as hairstyles for layer cut hair. The top layers go securely into the bun. The longer bottom layers hang down freely. It shows off the haircut perfectly from every angle. The layers frame your neck and shoulders softly.
Beginners often place the bun too far back. The bun should sit very high on top of your head. You want to see the bun clearly from the front. If you place it on the back of your head, it pulls your profile downward.
I usually curl the bottom half of the hair slightly. A quick wave makes the whole look polished. You can use a curling iron on the front pieces alone. The whole routine takes exactly five minutes.
You spend zero money at the salon. You get a perfect Pinterest hairstyle at home. This look pairs wonderfully with casual clothes. I wear it with oversized sweaters. I wear it with light summer dresses. It fits every single season perfectly.
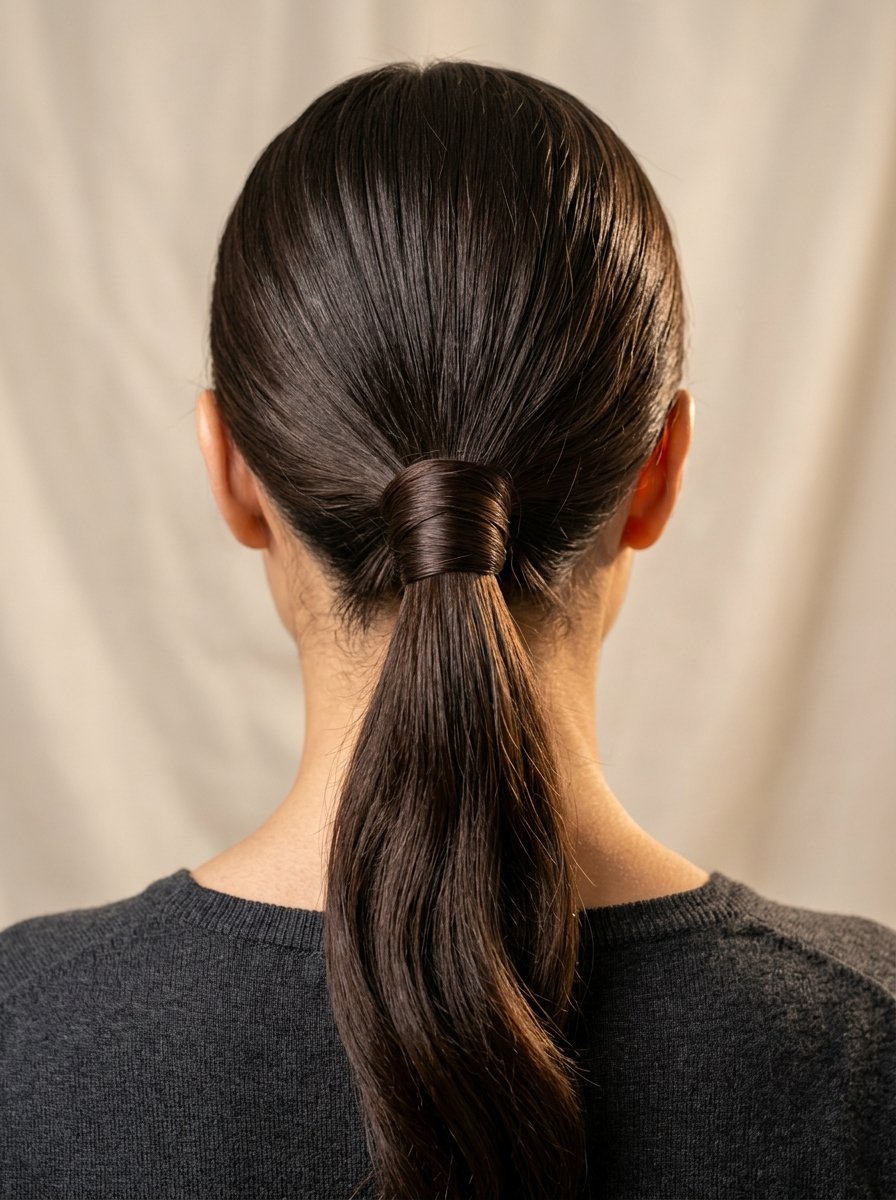
4. The Sleek Face-Framing Ponytail

A ponytail does not have to look boring or lazy. You can make it look highly professional easily. I used this exact style on a model for a corporate branding video. We needed her to look extremely sharp. A messy bun would look terrible for corporate branding.
This style pairs perfectly with formal wear. It makes an excellent hairstyle for one piece outfits. The clean lines of the hair match the clean lines of a simple dress. It draws attention directly to your eyes and cheekbones instantly.
You need a very good brush for this. I use a Mason Pearson bristle brush daily. It costs $175 online. It represents a large financial investment. You can also buy a Denman brush for $25. Both smooth the hair cuticles perfectly.
Create the sleek ponytail using these exact steps:
- Part your hair perfectly down the middle
- Section out two one-inch pieces at the front of your hairline
- Clip these two front pieces out of the way entirely
- Spray strong hairspray directly onto your bristle brush
- Brush the rest of your hair into a mid-level ponytail
- Secure the ponytail with a very strong elastic band
- Unclip the front pieces you saved
- Let the front pieces frame your face straight down
- Smooth any flyaways on the ponytail base with more hairspray
The most common failure involves large bumps. Beginners rush the brushing phase terribly. You must brush the hair totally flat against your scalp. Hairspray on the brush acts like wet glue. It lays every broken baby hair down.
This look demands high shine. I apply a tiny drop of Moroccanoil Treatment. It costs $34 for a glass bottle. I rub it on my palms and lightly touch the ponytail lengths. The hair catches the light beautifully on camera.
This remains a favorite easy hairstyle for beginners. You do not need to braid anything. You do not need to twist anything. You only need to brush carefully and firmly. It takes less than five minutes of brushing.
You look like you spent hours getting ready. The sleek finish tricks people entirely. I have seen this work perfectly on thick hair. I have seen it work on very fine hair. It never looks outdated or old.
5. The Hidden Bobby Pin Sweep
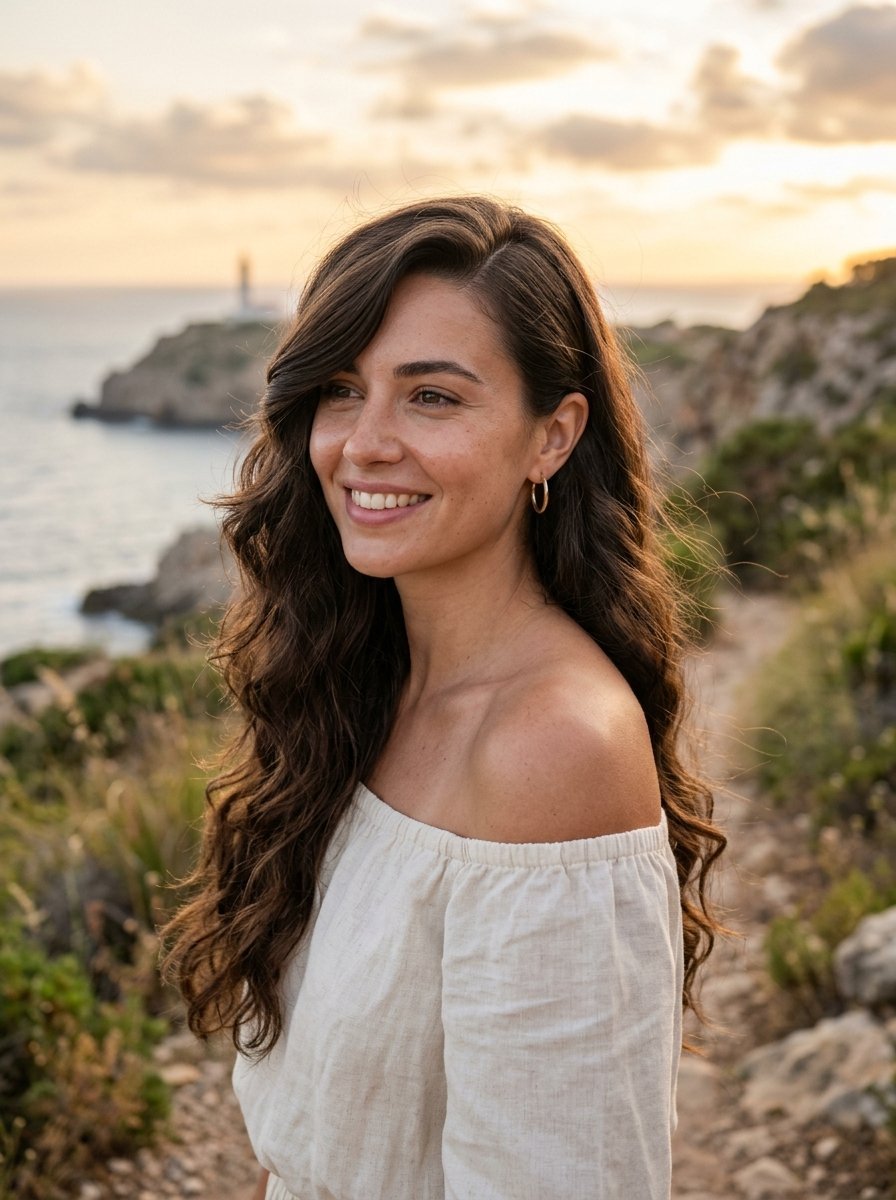
Sometimes you want a completely free hairstyle. You want all your hair hanging down. But hair blowing in your face drives you crazy. The hidden pin sweep fixes this annoyance immediately. I rely on this for wind-blown outdoor photography.
I worked on a spring clothing catalog last year. The wind blew constantly on the beach. We needed free hair styles that would not blow into lip gloss. I used this trick on every single model. The clients loved the photos and hired me again.
You only need metal bobby pins. Do not buy cheap pins from the drugstore. They bend easily. They lose their rubber coating fast. I buy MetaGrip premium bobby pins. A tub of 300 pins costs $11 at beauty supply stores. They grip the hair tightly.
Execute the hidden sweep exactly like this:
- Create a deep side part on your preferred side
- Take the front section of hair on the heavier side of the part
- Comb this front section completely smooth
- Pull this section flat across your forehead and over your ear
- Lift a large chunk of hair right behind your ear
- Pin the front section flat against your head underneath that chunk
- Slide two bobby pins in an ‘X’ shape for maximum hold
- Drop the chunk of hair over the pins to hide them entirely
People usually push the pins in the wrong direction. The wavy side of the bobby pin goes against your scalp. The flat side faces out. The waves grip the hair tightly. This single tip changes everything about styling.
This style flatters asymmetrical outfits perfectly. It works perfectly as hairstyles for one piece dress designs with one shoulder strap. It keeps the visual balance right. It takes maybe two minutes to complete.
You get the look of a haircut without using scissors. It gives you a faux side-bang temporarily. It looks incredibly romantic in photos. This remains a highly requested Pinterest hairstyle in my chair.
The cost rounds down to pennies per wear. The pins last forever if you do not lose them. You avoid heat damage completely. You use no hot tools at all. Your hair stays healthy and strong. Read the American Academy of Dermatology guidelines regarding safe hair tension.
6. The Twisted Crown Halo
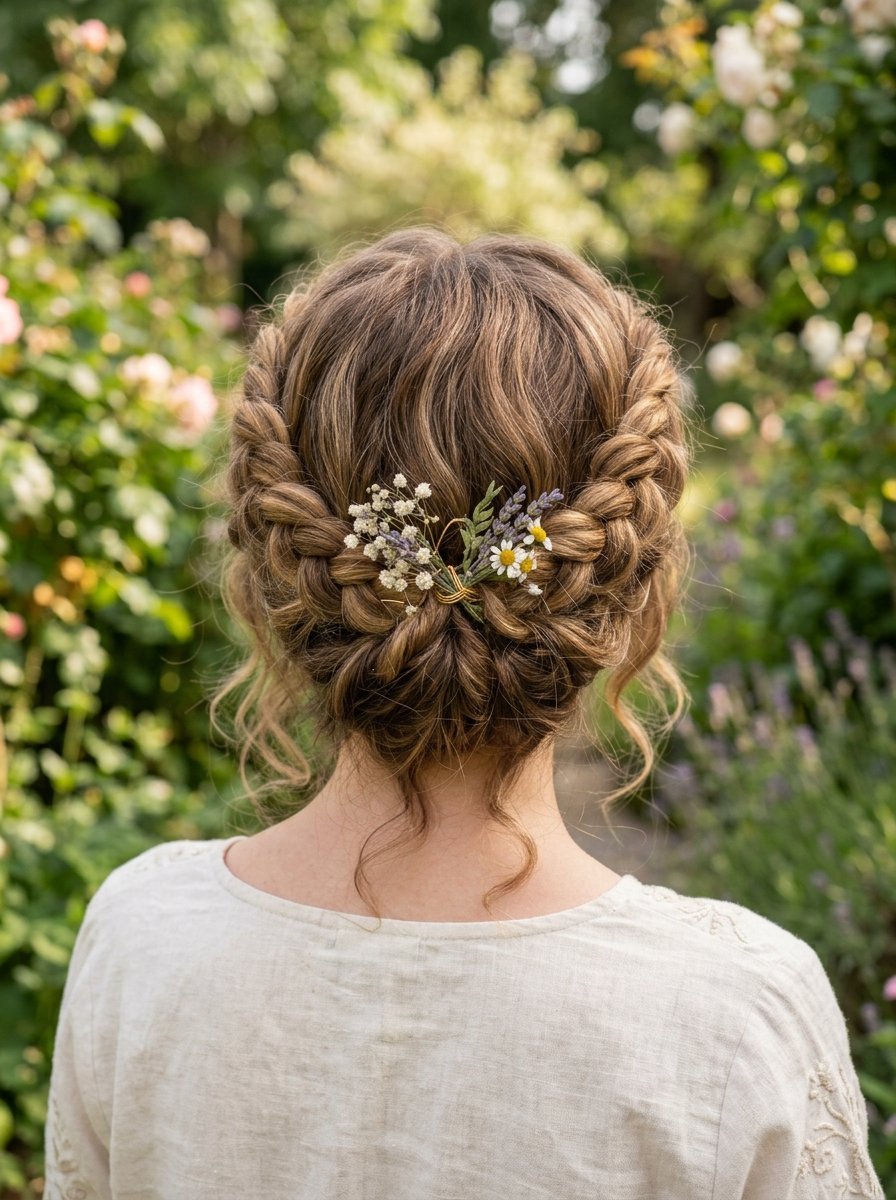
You want to look like royalty in five minutes. The twisted crown provides that feeling quickly. I created this look for a frantic wedding shoot. The bride wanted an intricate look. She had no time for a professional stylist to arrive.
This look tricks the eye completely. It appears highly complicated. It actually uses basic twisting motions. You do not need to know how to French braid. This makes it a perfect easy hairstyle for beginners.
You need small clear elastics and strong texturizing spray. The texture keeps the twists from unravelling. I use Kenra Platinum Texturizing Taffy. A small jar costs $24. You only need a tiny dab on your fingertips.
Build your crown with these precise directions:
- Part your hair perfectly down the middle
- Grab a two-inch section of hair directly above your right ear
- Twist this section backward toward the back of your head
- Have a friend hold it, or clip it temporarily with a pin
- Grab a two-inch section directly above your left ear
- Twist it backward to meet the first twist exactly
- Tie both twists together at the back of your head with a clear elastic
- Gently pull on the edges of the twists to make them look thicker
- Spray the entire crown heavily with hairspray
Beginners pull the twists too tightly at first. A tight twist looks very thin and flat. You must gently massage the outer edges of the twist. Pulling the hair slightly outward creates beautiful volume. We call this “pancaking” in the professional styling world.
This complements bohemian clothing styles beautifully. It works well as hairstyles for layer cut hair. The layers stick out slightly from the twists naturally. This adds great texture. It looks perfectly undone.
I see this style constantly at outdoor summer festivals. It keeps heavy hair off the neck. It photographs beautifully from every single angle. You can dress it up easily with small pearl pins.
It saves you a long trip to a salon. A professional updo costs over one hundred dollars usually. You can create this for free at home. You only spend five minutes in front of the mirror.
7. The Volumized Braided Ponytail
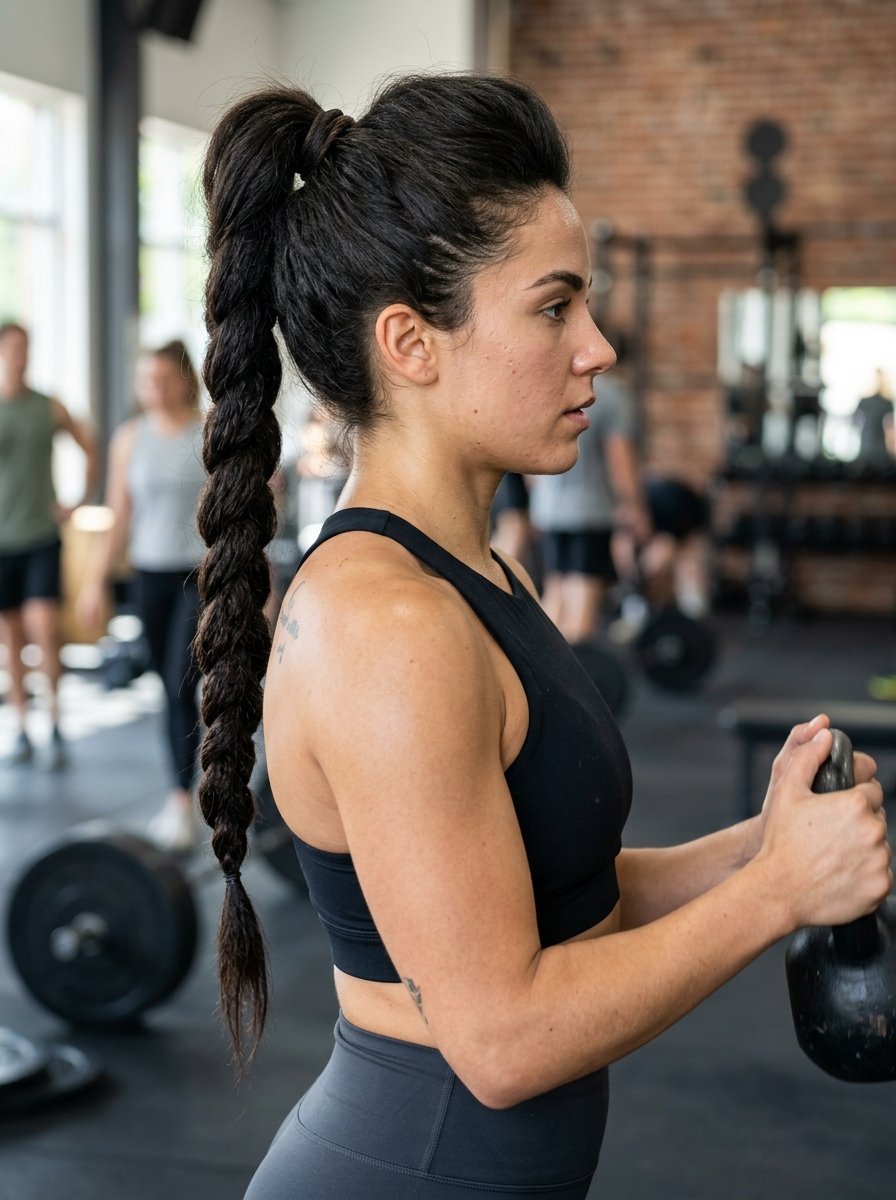
Fine hair sometimes looks incredibly flat in a standard ponytail. I faced this exact problem on a commercial shoot for eMZee cosmetics. The model had very fine hair. We needed her hair up entirely, but we needed extreme volume.
I combined a simple braid with a high ponytail. The braid adds extreme thickness. It creates a stylish hairstyle that commands immediate attention. You get the height of a ponytail. You get the heavy texture of a braid.
You will need a strong hair elastic and a clear band. If your hairline looks thin when pulled back, use powder. I use Color Wow Root Cover Up. It costs $34 online. You brush it onto your scalp directly. It makes your hair look incredibly thick.
Follow these exact movements for maximum volume:
- Flip your head completely upside down
- Brush all your hair into a high ponytail on top of your head
- Secure it tightly with a thick elastic band
- Take a one-inch piece of hair from the very bottom of the ponytail
- Wrap this piece around the elastic to hide it and pin it underneath
- Braid the remaining ponytail hair normally down to the ends
- Secure the bottom of the braid with a clear elastic band
- Gently pull the sides of the braid apart to double its physical width
The wrapping step makes a massive difference visually. Showing a bare elastic band looks very messy. Wrapping a piece of hair over the band makes the style look expensive. It elevates a basic look instantly.
Beginners often start the ponytail too low on the head. For maximum volume, the ponytail base must sit very high. It should align directly with the top of your ears. This lifts your face visibly.
You can wear this securely to the gym. You can wear this out to a fancy dinner. It pairs excellently as hairstyles for one piece jumpsuits. The high placement lengthens your neck visually in photos.
This look survives intense cardio workouts. It survives twelve-hour airplane flights. I wear this every time I travel. My hair never tangles against the airplane seat. It remains perfectly intact for three days. Check our internal guide on saving damaged ends from friction for more travel care advice.
Frequently Asked Questions About Beginner Styling
How do I stop my hair ties from snapping?
I see this happen on set constantly. You buy cheap bands from the local drugstore. The glue seam breaks under simple pressure. You must buy bands without metal parts or glue seams. I prefer seamless nylon bands. They stretch widely and shrink back tightly. They cost roughly $8 for fifty pieces. Keep them away from direct heat to prevent the elastic from melting.
Why do my bobby pins constantly slide out?
You put them in completely backward. Most people place the flat side against their head. The wavy side must touch your scalp directly. The waves lock onto the hair strands securely. Never open the bobby pin with your teeth. Simply slide it into the hair as it is. Opening it ruins the metal tension completely.
Can I do these styles with soaking wet hair?
I never recommend styling soaking wet hair. Wet hair stretches easily and snaps under pressure. The tension from heavy twists and braids causes severe breakage. You can style damp hair safely. Let it air dry to eighty percent. Apply a leave-in conditioner first. I use It’s a 10 Miracle Leave-In. It costs $20. It provides a strong protective barrier against friction.
How do I hide thinning areas near my forehead?
Many women experience thinning directly at the temples. A high ponytail exposes these areas completely. I use matte eyeshadow or root touch-up powder. Take a stiff makeup brush. Tap matte powder matching your root color directly onto your scalp. Blend it outward gently. This creates the illusion of dense hair immediately. It washes out easily with regular shampoo.
How often should I wash my hair for the best styling hold?
Freshly washed hair feels incredibly slippery. It drops out of clips and braids constantly. Day-old or two-day-old hair holds styles much better. The natural scalp oils provide excellent grit. If you must style clean hair, use a texturizing spray first. Spray it heavily from roots to ends. This mimics the texture of day-old hair perfectly.
What is the absolute fastest way to add volume to thin hair?
Skip the teasing comb entirely. Teasing causes severe physical damage to the hair cuticle. Use a styling crimper on the roots hidden underneath your top layer of hair. I use a micro-crimper from Sam Villa. Press it at the root for exactly two seconds. The crimped texture pushes the top layer of hair straight upward. It creates massive volume that lasts for days.
How do I choose the exact right claw clip size?
Size depends strictly on your hair density, not length. Fine, long hair needs a medium clip with close teeth. Thick, short hair needs a jumbo clip with very wide teeth. If your clip feels heavy and pulls your scalp, it is too big. If your hair pops aggressively out of the metal springs, it is too small.
Why does my low bun always fall apart after one hour?
You likely skip the base elastic entirely. Do not just twist loose hair and pin it. You must secure a ponytail with a hair tie first. This tie acts as a solid anchor point. Pin your twisted hair directly into that base rubber elastic. The pins lock deeply into the rubber. The bun never moves again.
Do these exact styles work on naturally curly hair?
Yes. These exact steps apply perfectly to natural curls. Curly hair actually holds these styles far better than straight hair. The natural curly texture provides incredible grip for clips and pins. For the sleek ponytail, you will need a strong edge control gel instead of regular hairspray. I prefer Eco Style Olive Oil Gel. It costs $5 and lays edges perfectly flat all day.
How can I make my hair look shiny without looking greasy?
You apply heavy oil directly to your roots. Never apply shine serums above the height of your ears. Rub one single drop of lightweight oil between your palms. Gently glaze your hands strictly over the bottom three inches of your hair. The dry ends absorb the oil safely. Your roots stay completely clean and lifted.
What is the best brush for smoothing small bumps?
Plastic bristles scratch the scalp and create static electricity. You need a real boar bristle brush. The natural bristles distribute your scalp oils evenly. They pull tiny flyaway hairs down completely flat. I keep a small Spornette boar brush in my kit always. It costs about $15. It erases bumps perfectly in one single pass.
Can a beginner really do this in five minutes?
Yes. I timed these exactly. The first time might take you eight minutes. You have to learn the awkward finger placements. By the third attempt, your muscle memory takes over completely. You will stop looking in the mirror eventually. I regularly execute the claw clip twist on myself in under thirty seconds while walking directly to my car.
The Final Word on Quick Styling
I spent years working with highly complex styling tools on sets. I used hot rollers, expensive curling wands, and dozens of hot pins. The reality of daily life requires extreme speed instead. These seven easy hairstyles for beginners give you your time back.
You no longer have to sacrifice precious sleep to look highly polished. You can leave the house feeling confident every single day. The physical effort takes only five minutes. You do not need expensive salon visits anymore. A good brush and a few strong clips will last many years.
I strongly recommend starting with the simple claw clip twist tomorrow morning. Time yourself strictly. Notice how secure it feels throughout your entire day. Your hair stays completely out of your eyes. You look completely put together for any event.
What specific style will you try first tomorrow? Do you have a favorite free hairstyle that saves you time? Leave a comment below right now. I read every single one. I love hearing what works for your fast morning routine.

Sarah Mitchell — Founder & Editor-in-Chief
Sarah Mitchell is the founder and editorial voice behind Hair Level Up. A licensed cosmetologist with more than 15 years of experience, she has styled A-list celebrities for editorial shoots and red carpets, with work featured in Vogue, Elle, and Harper’s Bazaar. Early in her career, she trained under the legendary hairstylist Oribe in New York, an apprenticeship that still shapes her editorial eye today. Sarah founded Hair Level Up in 2020 after one bad haircut convinced her that women deserved a destination that felt like a magazine, taught like a stylist, and inspired like an art gallery. She oversees every story from concept to publication, guided by a simple belief: a good story teaches you something, but a great one makes you feel beautiful while it does.