Bridal Hair Planning for Beginners: A 6-Month Timeline
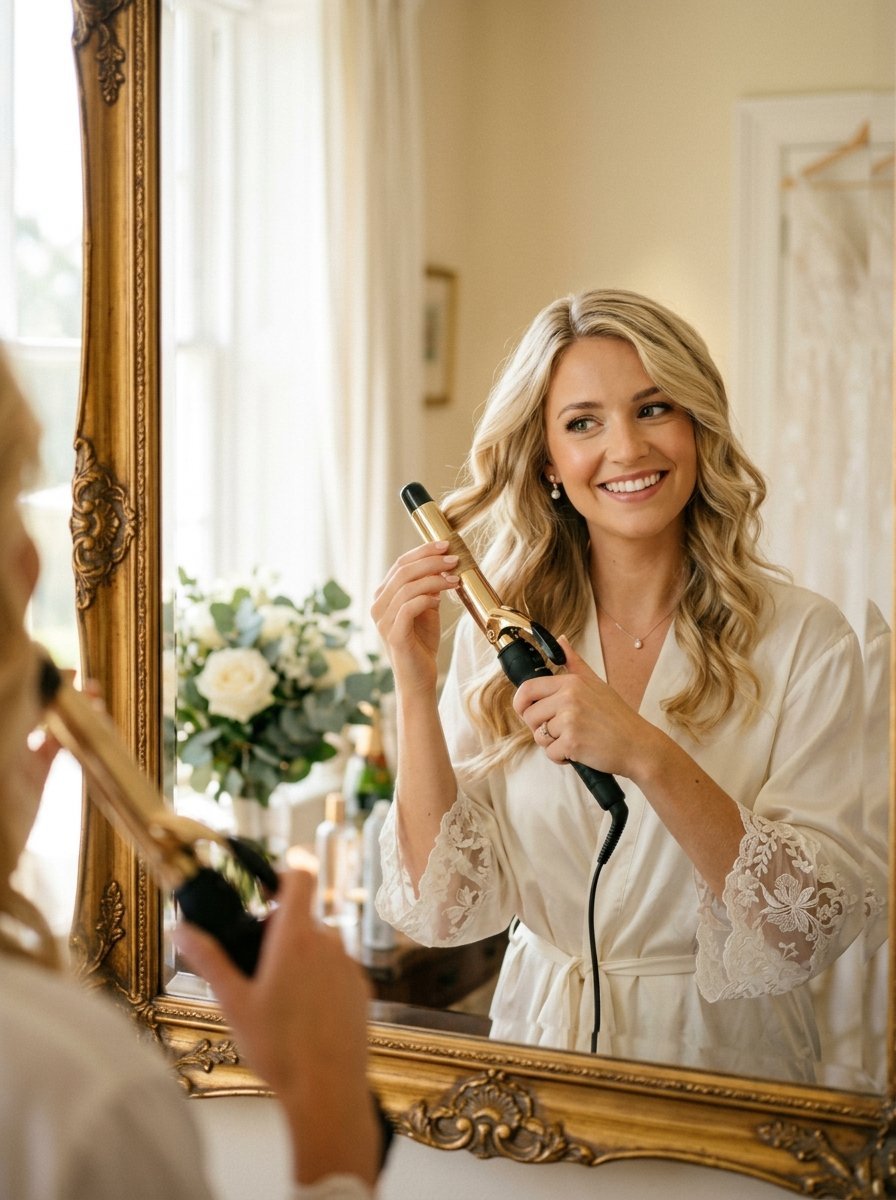
You stare at the mirror holding a curling iron and three bobby pins. Your wedding morning is exactly two weeks away. Salon quotes hit four hundred dollars just for basic updos. That money should go toward your honeymoon. I’ve noticed many brides panic about doing their own hair. They think they need professional skills. I felt the exact same fear before my own wedding. I ended up styling my own hair in twenty minutes. You can do this without spending a fortune.
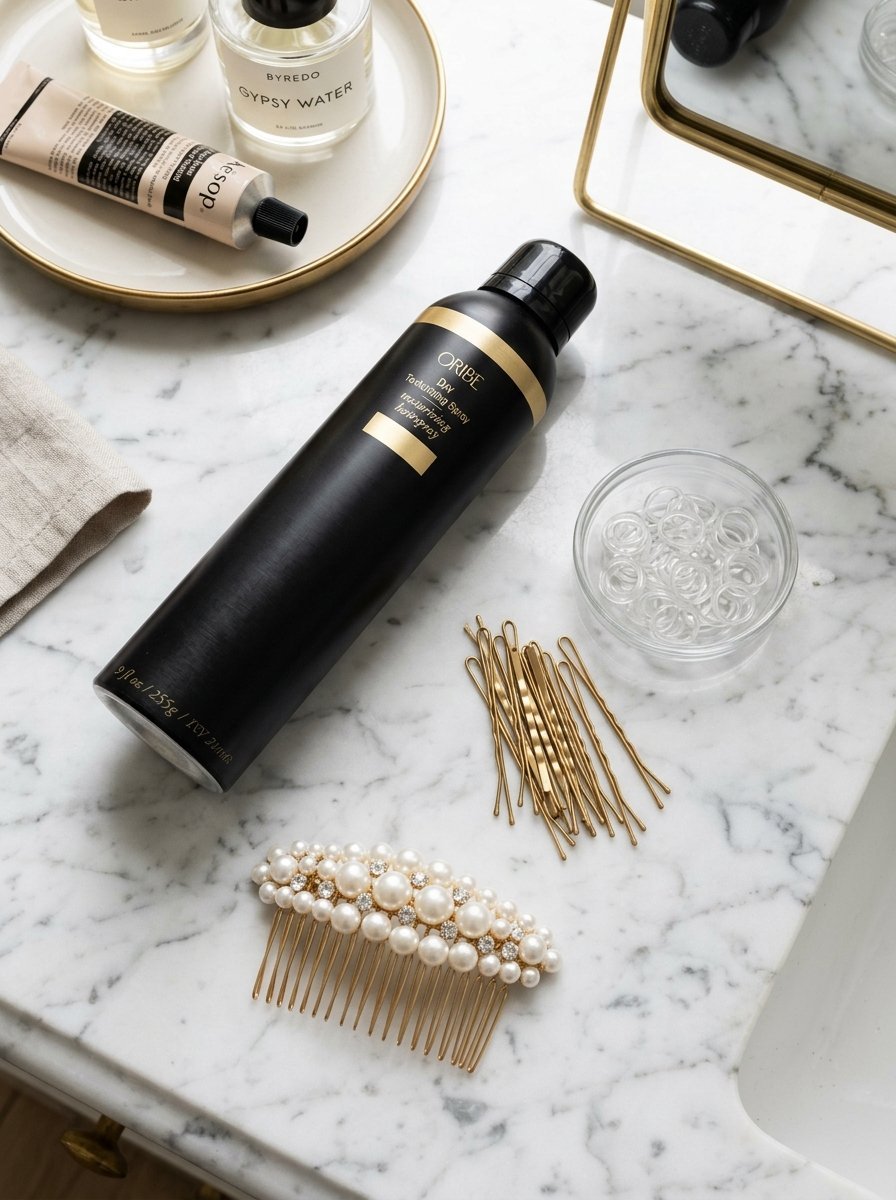
You will save hundreds of dollars styling your own hair. Professional salons charge massive fees for simple bridal work. I’ve tried dozens of styles on my own medium length hair. You will master fifteen beautiful looks by reading this guide. We cover everything from classic twists to loose bohemian braids. You need basic tools like hairspray and textured bobby pins. A styling budget of fifty dollars covers all the supplies. We review specific holds from top hairspray brands. You will see exact styling times for every look. Your wedding photos will look like you hired a luxury stylist.
- You save massive cash skipping the salon completely.
- You control your exact timeline on the wedding morning.
- You guarantee the style perfectly matches your personal taste.
- You keep your hair comfortable and secure all night long.
1. The Classic French Twist With A Messy Finish
Medium hair holds a French twist perfectly. You do not need massive volume to make this work. I’ve seen this style save brides during windy outdoor weddings. You gather your hair at the nape of your neck. Twist the hair upward against your scalp tightly. Push five bobby pins horizontally into the folded seam. Pull a few front pieces out around your face. This softens the entire look instantly. Sarah wore this exact style at her summer wedding last year. She spent zero dollars on salon fees. Her hair stayed perfectly in place for twelve hours straight. Buy ribbed bobby pins for this style. Smooth pins slide out of medium hair too quickly. You can buy a box of professional pins for eight dollars online. Practice this twist three times before the big day. You will get the muscle memory completely locked down. I suggest using a hand mirror to check the back seam.
2. The Low Braided Crown For Outdoor Ceremonies
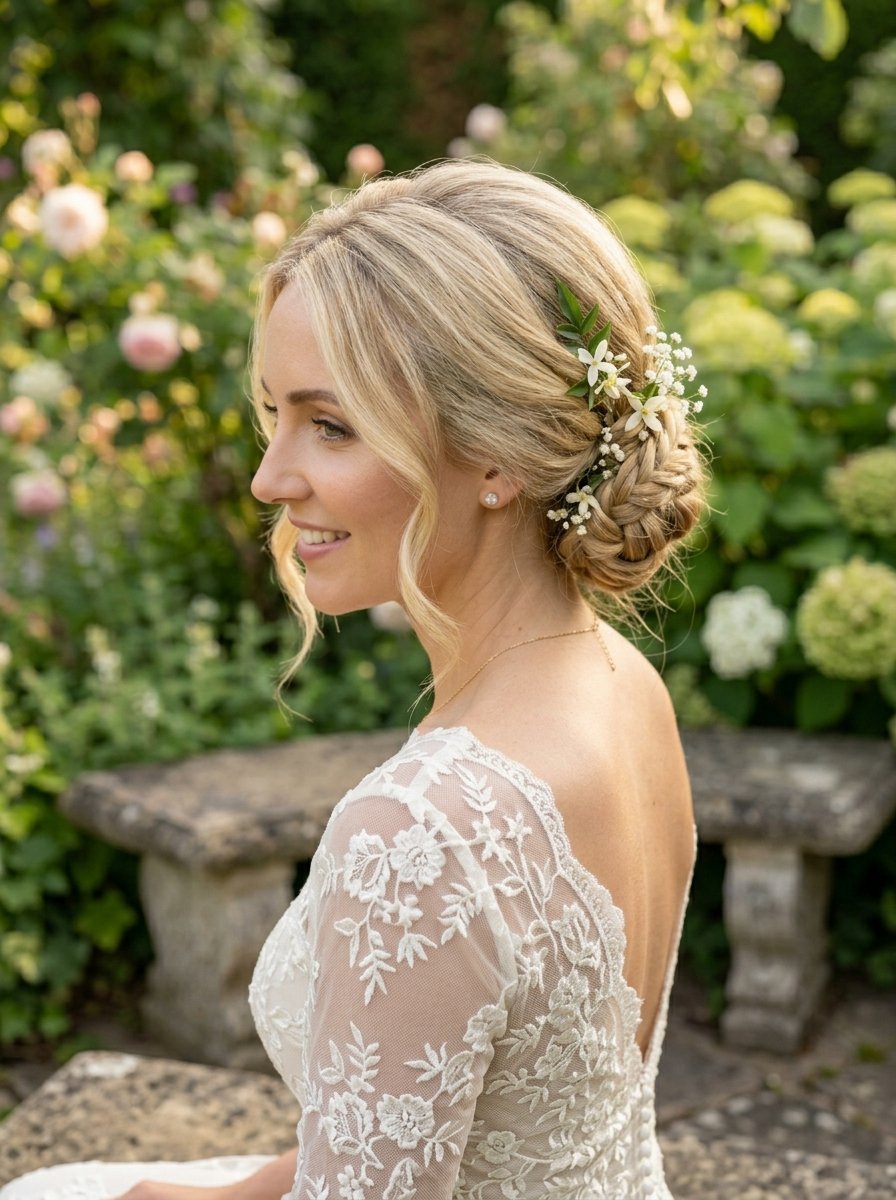
Braided crowns keep hair completely off your sweaty neck. I’ve noticed this style works miracles for humid summer days. You divide your hair into two equal bottom sections. Braid both sections normally and tie with clear elastics. Pull the right braid across the bottom of your hairline. Pin it securely behind your left ear. Pull the left braid across to the right side. Pin it behind your right ear. Tuck the loose ends under the thick part of the braids. I did this for my sister at her beach wedding. It took us exactly fourteen minutes to finish. The style survived heavy winds and four hours of dancing. Use a texturizing spray before you start braiding. The extra grip stops the braids from slipping down. Emily wore this exact look for her July wedding. The humidity hit ninety percent that afternoon. Her braided crown did not budge a single inch. She used a twenty dollar texturizing spray from the drugstore. It works better than the luxury brands I have tried.
3. The Sleek Chignon With Pearl Pin Accents
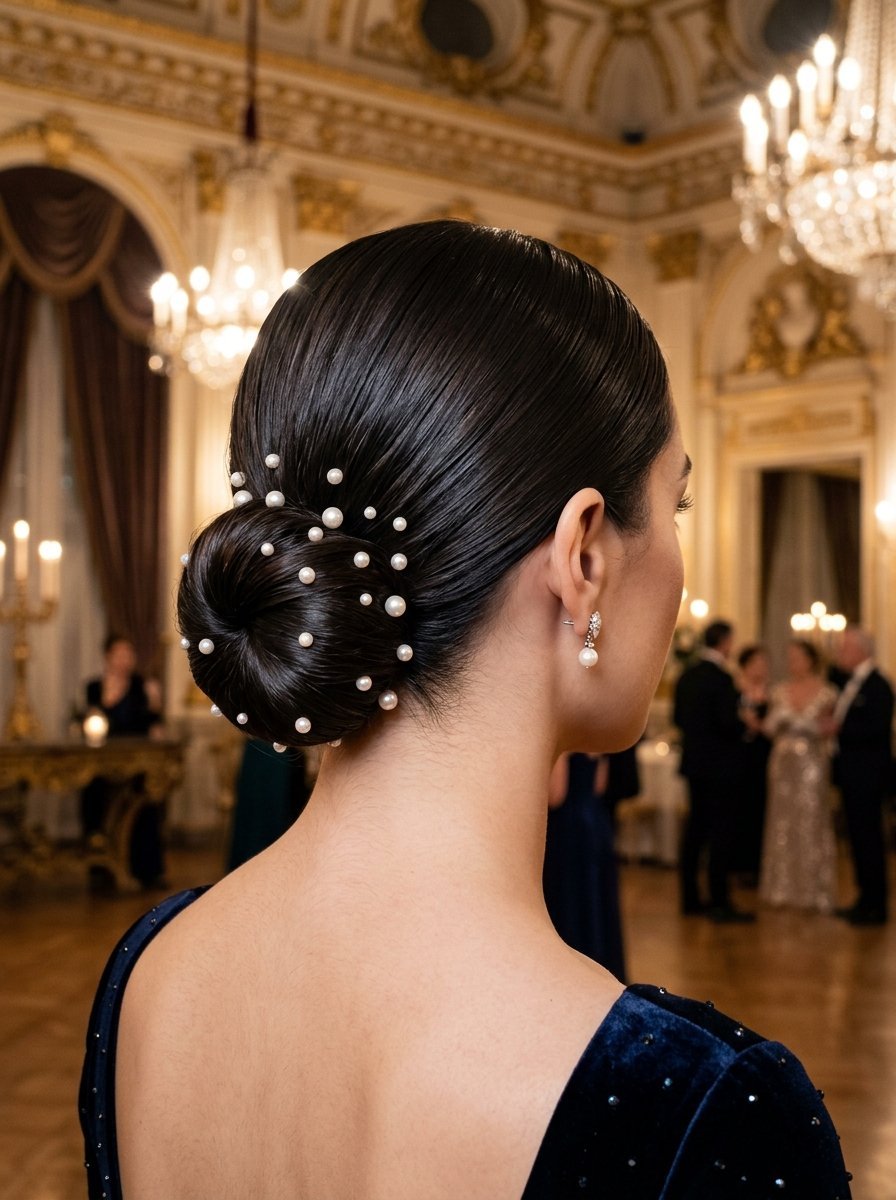
A low chignon screams quiet luxury and money. You part your hair sharply down the middle first. Brush all your hair into a low ponytail. Tie it tightly with a strong black elastic band. Twist the ponytail into a tight circular bun. Secure the bun with four heavy duty bobby pins. I’ve tried this exact look for five different formal events. It never fails to look incredibly expensive. You push small pearl pins randomly into the finished bun. You can buy a pack of twenty pearl pins online for ten dollars. This small detail elevates the whole vibe completely. Use a strong hold hair gel to slick down flyaways. The gel keeps the middle part looking incredibly sharp. A tub of good styling gel costs around five dollars. You save a massive amount of cash by doing this yourself. I helped a bride named Jessica with this style recently. She looked like a wealthy socialite for less than fifteen dollars.
4. The Half Up Twisted Halo For Beach Weddings
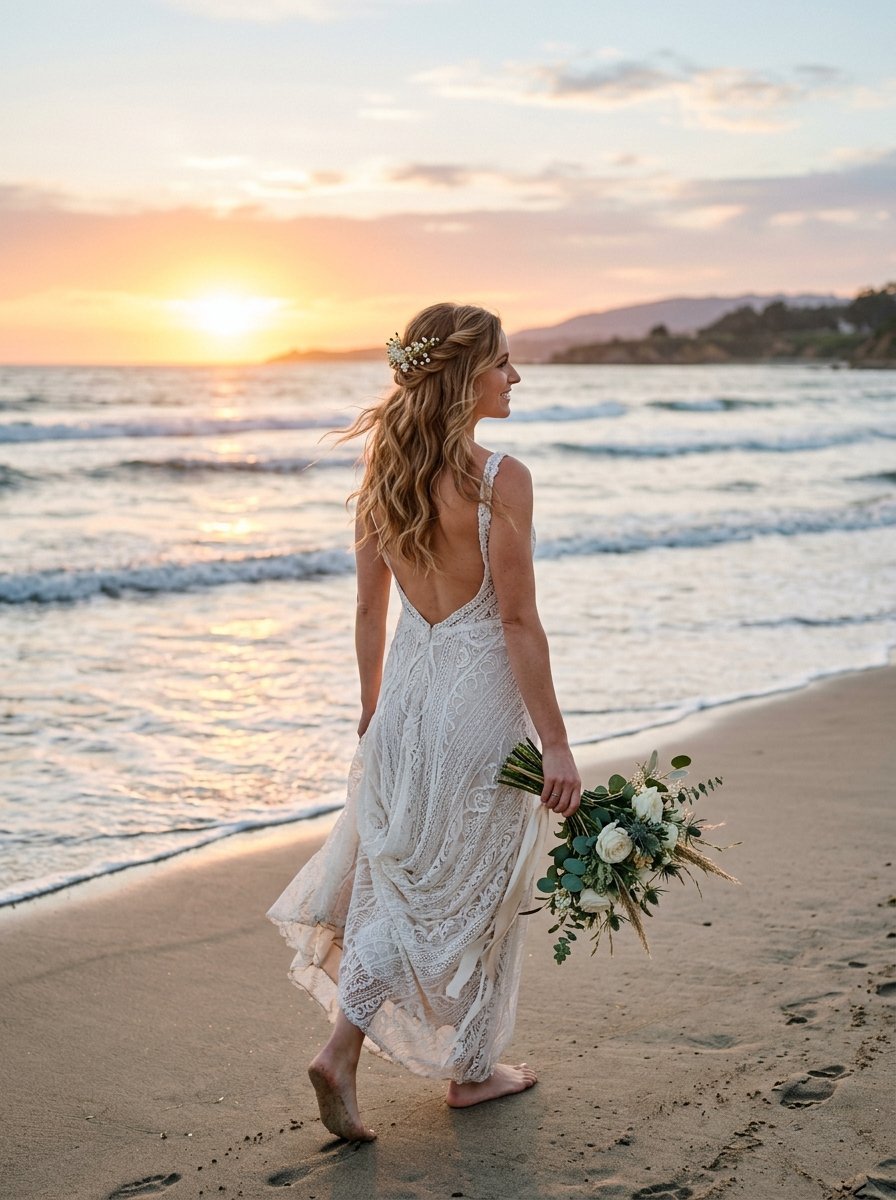
Beach weddings demand a relaxed and easy vibe. You want your hair down but out of your face. Take a small section of hair near your right temple. Twist it tightly away from your face. Pin it temporarily at the back of your head. Repeat this exact twisting motion on your left side. Tie the two twists together with a small clear elastic. Remove the temporary bobby pin completely. I’ve seen this work beautifully on brides with thin hair. You pull gently on the twists to make them look thicker. Curl the bottom half of your hair with an iron. Spray the curls with a light hold finishing spray. Your photos will capture a soft romantic feeling. You do not need expensive hot tools for this. A thirty dollar curling iron creates the exact same soft waves. Take your time twisting the sides back perfectly flat. This ensures the front looks totally symmetrical in all your pictures.
5. The Voluminous Ponytail With Hidden Extensions
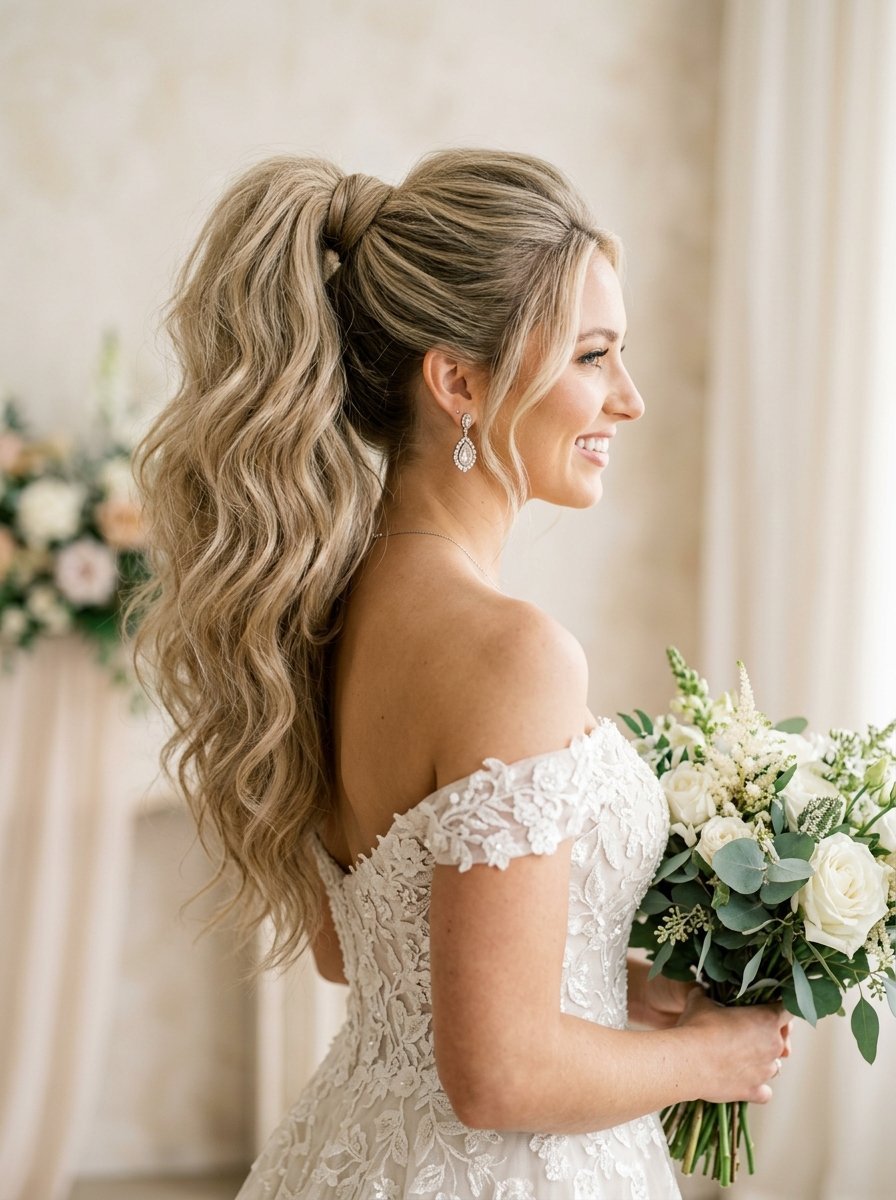
A high ponytail lifts your face and shows off your dress. Medium hair often looks too short in a standard ponytail. You trick the eye by making two separate ponytails. Tie the top half of your hair into a high ponytail. Tie the bottom half into a lower ponytail directly underneath. The top tail falls over the bottom tail completely. This creates the illusion of incredibly long hair. I tried this trick last month for a formal dinner. Three people asked if I bought expensive extensions. Wrap a small piece of hair around the top elastic. Pin it underneath to hide the rubber band. Spray the tail with a dry texture spray for fullness. You can tease the bottom tail gently with a comb. This pushes the top tail up even higher. I used a ten dollar teasing comb from Sally Beauty. It completely changes how the ponytail sits on your head.
6. The Textured Gibson Tuck For Vintage Themes
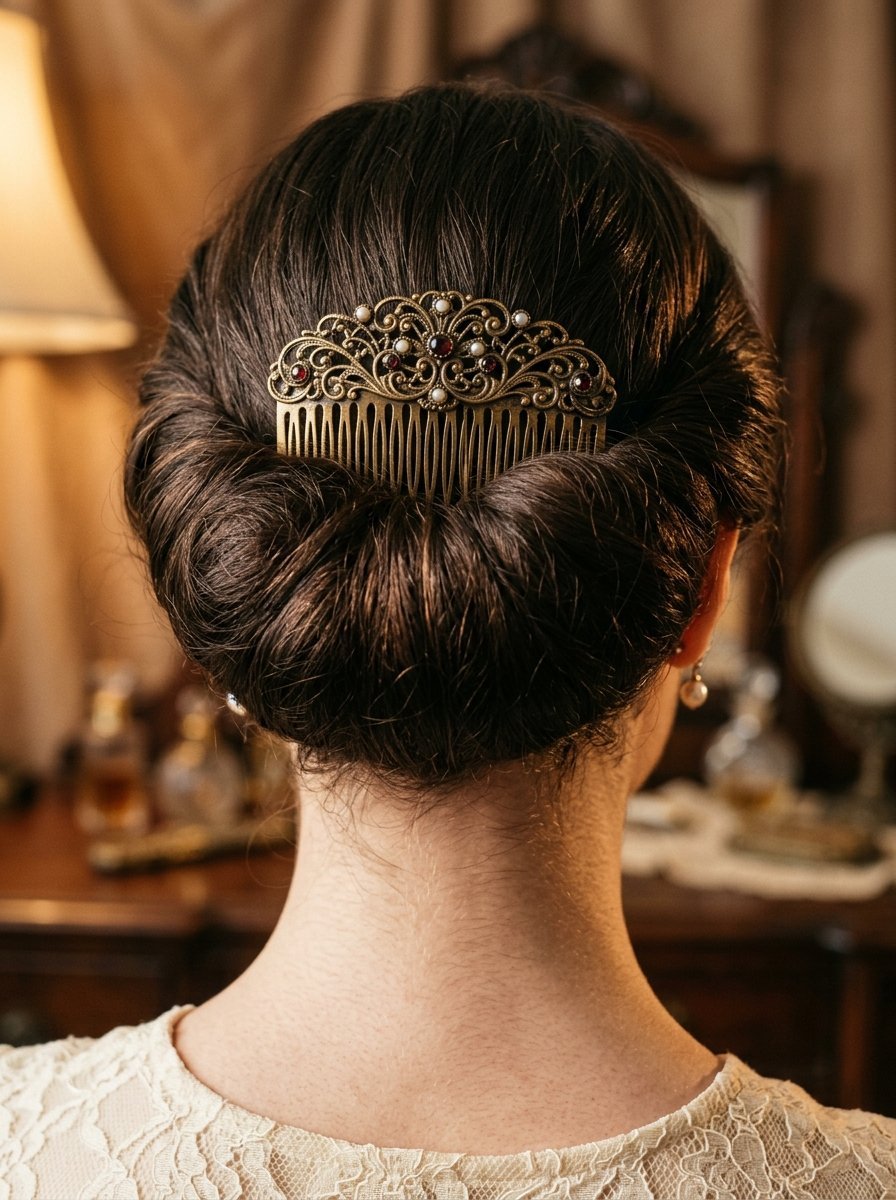
Vintage weddings call for a classic rolled look. The Gibson tuck looks complicated but takes five minutes. Put all your hair into a loose low ponytail. Pull the elastic band down about two inches. Split the hair in half above the elastic band. Create a hole with your fingers. Flip the ponytail up and push it through the hole. Roll the remaining tail up into the pocket you created. Pin the rolled hair securely with four bobby pins. I used this style when I attended a roaring twenties party. The style stayed completely intact all night long. Push a vintage metal comb directly into the top seam. This hides the pins and fits your vintage wedding theme. You can find authentic vintage combs at local thrift stores. They usually cost under twenty dollars and look completely unique. A bride named Lisa wore her grandmother’s comb this way. It made her family cry instantly.
7. The Double Rope Braid Bun For Thick Hair
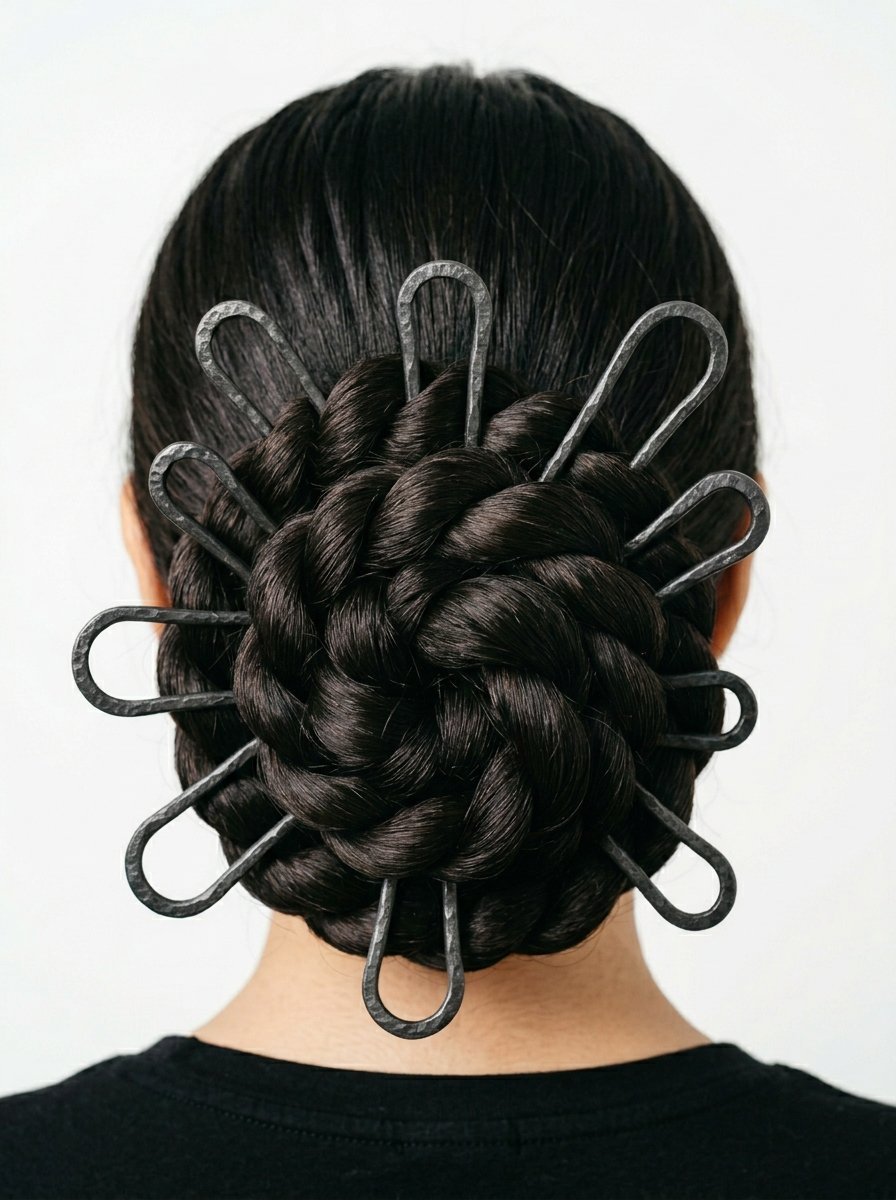
Thick medium hair breaks regular bobby pins constantly. You need a style that controls the heavy weight. Tie your hair into a solid high ponytail first. Split the ponytail into two completely equal sections. Twist each section tightly to the right. Wrap the two twisted sections around each other to the left. This creates a strong rope braid that will not unravel. Coil the thick rope braid into a tight bun. Use large metal U pins to secure the bun. Regular bobby pins will pop right out of thick hair. I’ve noticed U pins hold heavy buns flawlessly. Spray the finished bun with a strong hold hairspray immediately. Kenra volume spray twenty five costs about twenty dollars. It locks heavy hair into place without looking wet or crunchy. I use it exclusively for thick hair updos. It never fails to hold the hair tight all day.
8. The Simple Side Swept Curls With Floral Wire

Wearing your hair down requires control over the front pieces. You sweep all your hair over your left shoulder. Part your hair deeply on the right side. Smooth the right side flat against your scalp tightly. Push three metallic bobby pins right behind your right ear. This locks the hair over your left shoulder permanently. I’ve tried this look when running late for formal events. You curl the heavy left side with a large barrel iron. Weave a delicate wire floral vine into the flat right side. The wire catches the light beautifully in photographs. You get the glamour of loose curls without hair in your face. Floral wires cost around fifteen dollars on Etsy. You can bend them to fit the exact curve of your head. Pin the wire down with small bobby pins that match your hair color. This hides the mechanics of the style completely.
9. The Knotted Low Bun For Fine Medium Hair
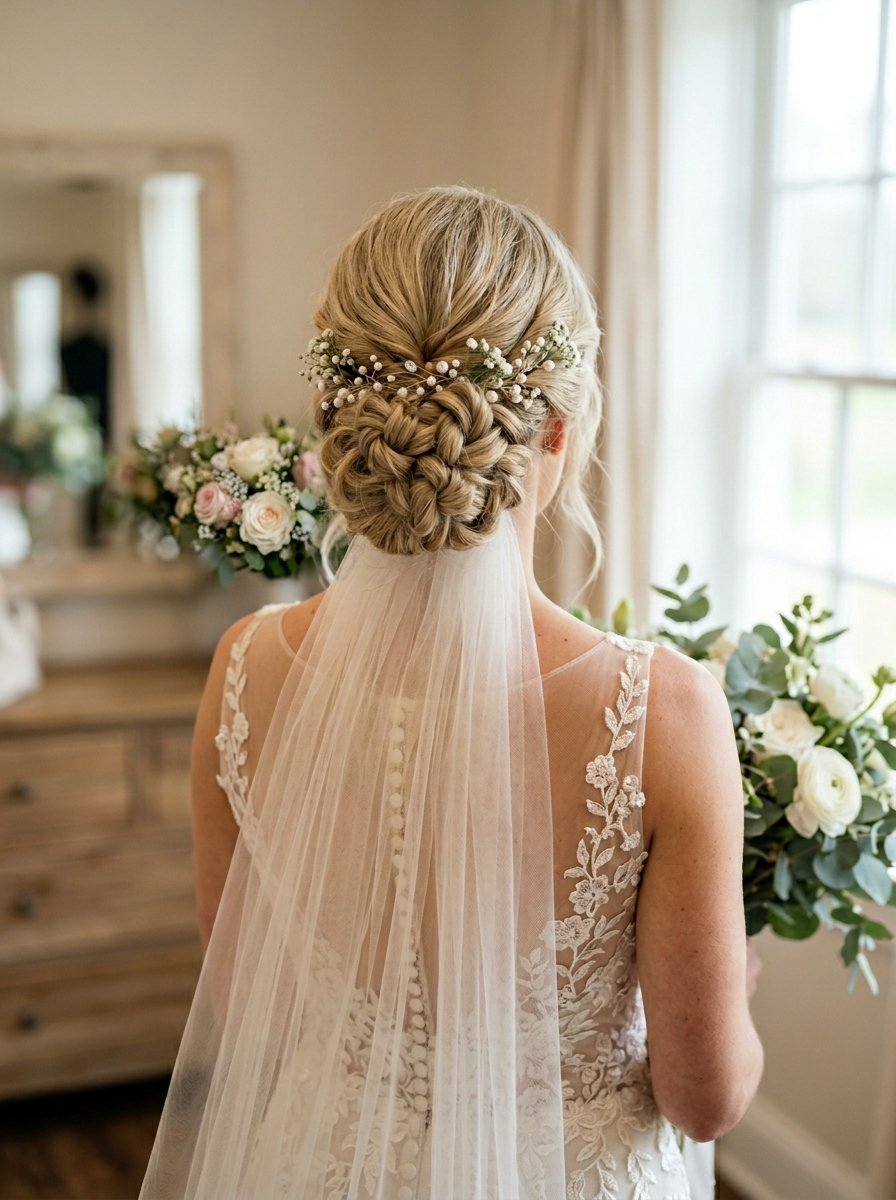
Fine hair needs texture to hold a bun shape. A regular bun looks tiny and sad with fine hair. You divide your hair into two equal sections at the back. Tie the sections together like you are tying your shoes. Tie them into a second knot directly below the first. Pin the remaining small tails tightly under the knots. The knots create artificial volume instantly. I did this for a friend who has very thin hair. Her bun looked twice as big as it normally does. Pull on the edges of the knots very gently. This makes the bun look wider and softer. Finish with a heavy coating of volume spray. Do not worry if the knots look slightly messy. The messy texture makes fine hair look much more interesting. I showed this trick to a bride named Rachel last spring. She cried because her hair finally looked thick in photos.
10. The Fishtail Crown Braid For Bohemian Brides
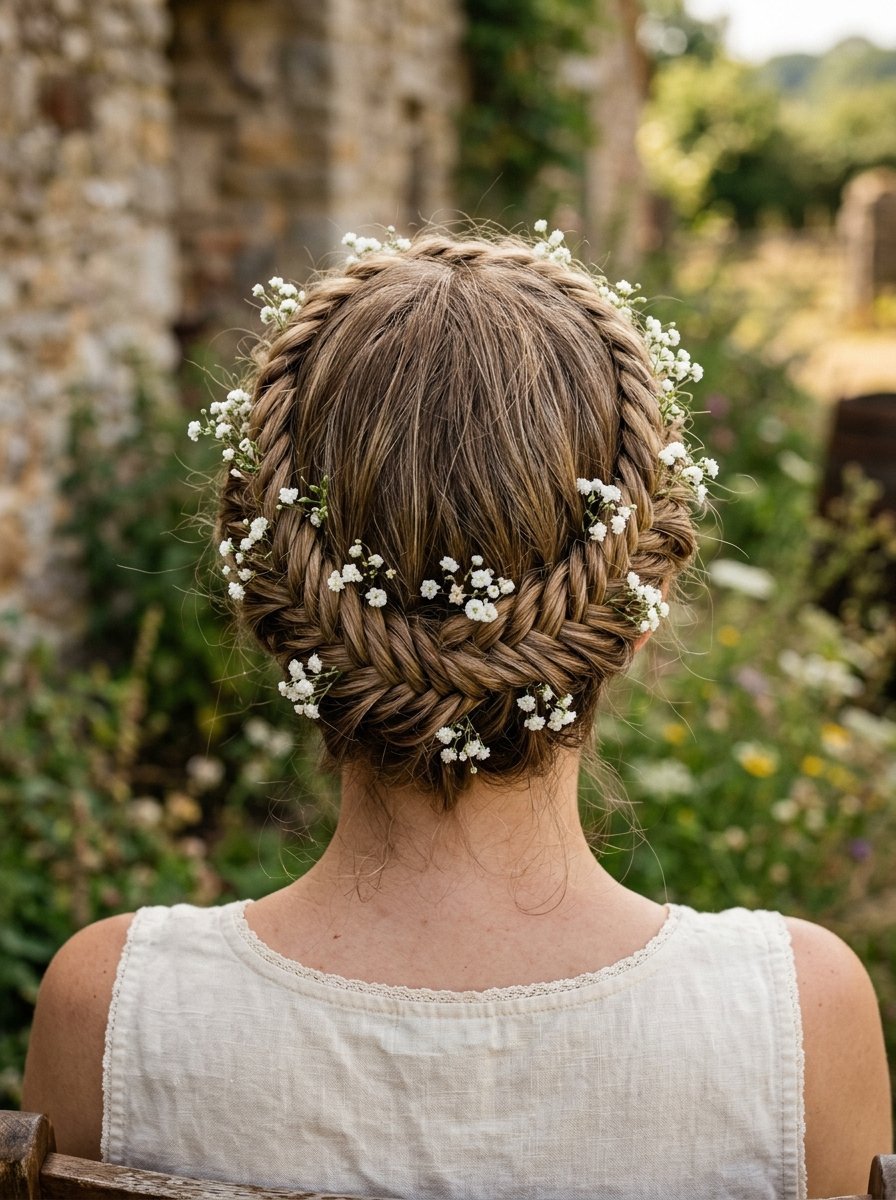
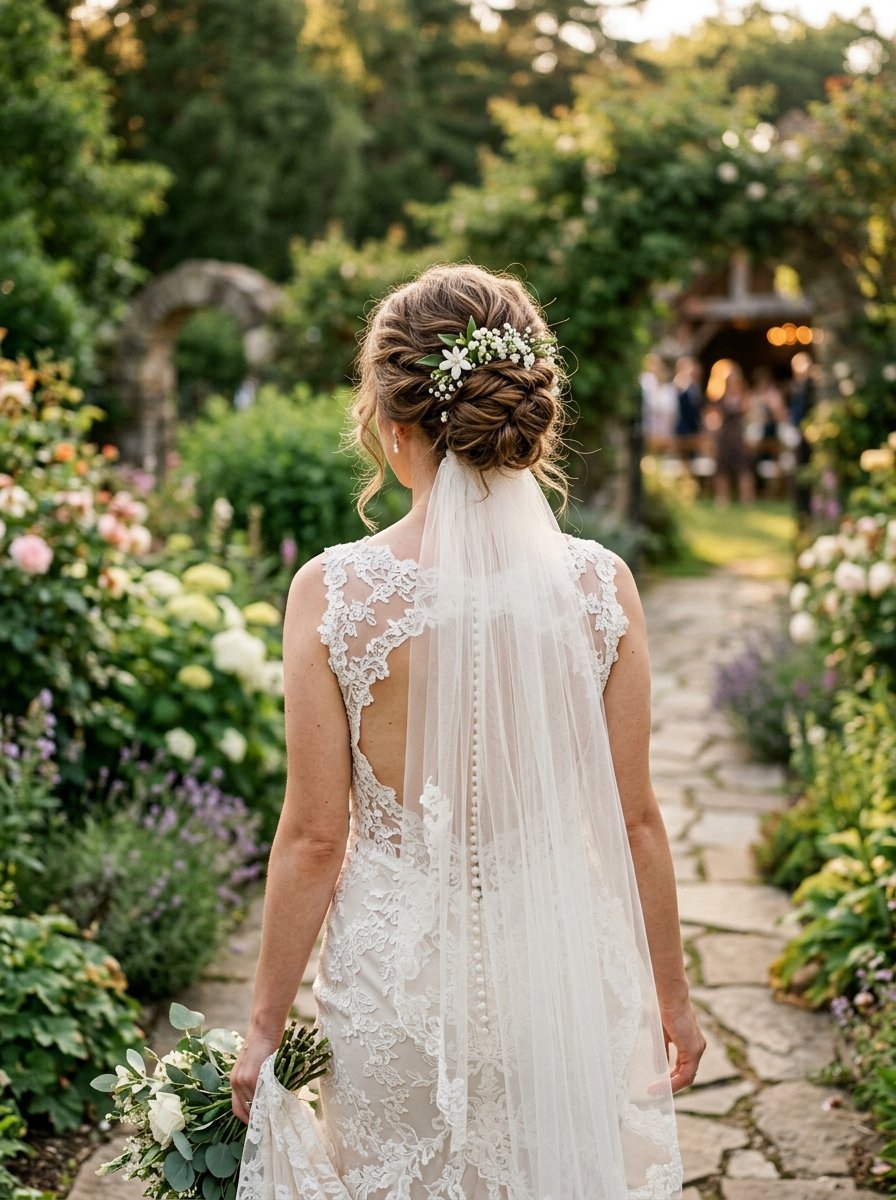
Fishtail braids look incredibly intricate in wedding photos. Start a fishtail braid right above your left ear. Braid it all the way down to the bottom ends. Tie it with a clear plastic elastic band. Repeat this on the right side of your head. Pull both braids across the back of your head. Pin the ends flat against your scalp. I’ve seen this style perfectly match lace wedding dresses. You gently pull the sides of the braids outward. This makes the fishtail pattern look thicker and more relaxed. Tuck fresh small flowers directly into the braid gaps. White baby breath looks completely magical with this specific style. A bunch of baby breath costs three dollars at the grocery store. You just snip the tiny buds off with scissors. Slide the green stems right into the braided pockets. They will survive without water for the entire wedding day.
11. The Wrapped Ballerina Bun For Formal Venues
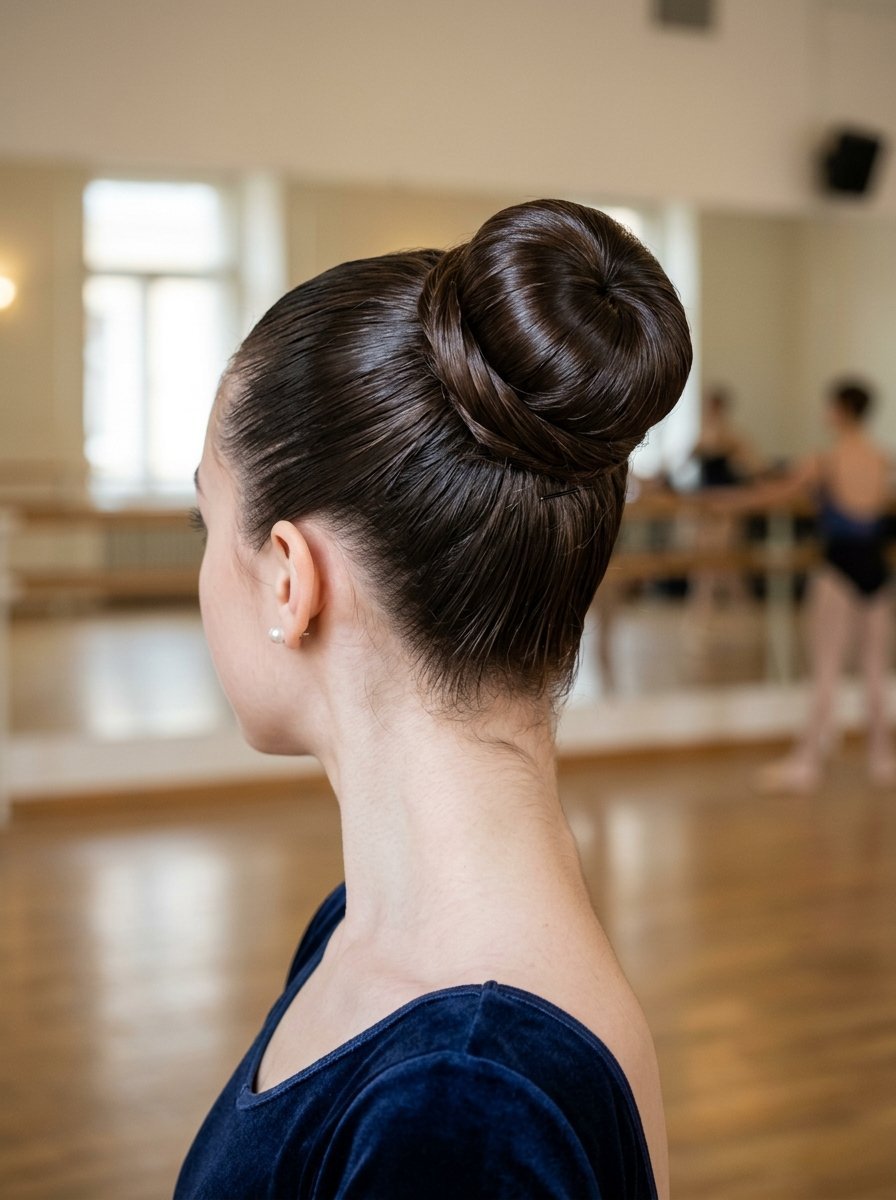
A smooth ballerina bun looks perfect in a grand ballroom. You buy a foam hair donut from a beauty supply store. Pull your hair into a perfectly smooth high ponytail. Pull the ponytail straight through the hole of the donut. Spread your hair evenly over the foam shape. Wrap a clear elastic band over the hair and the donut. Wrap the leftover hair around the base of the bun. Pin the wrapped ends tightly underneath the foam donut. I’ve noticed this style completely survives wild dancing. The foam donut guarantees a perfectly round shape every single time. Spray your head with a shine spray for a glossy finish. You want the hair to reflect the venue lights brightly. A good shine spray costs roughly twelve dollars at the pharmacy. It makes the bun look like a professional stylist spent hours on it.
12. The Loose Waterfall Braid With Soft Waves
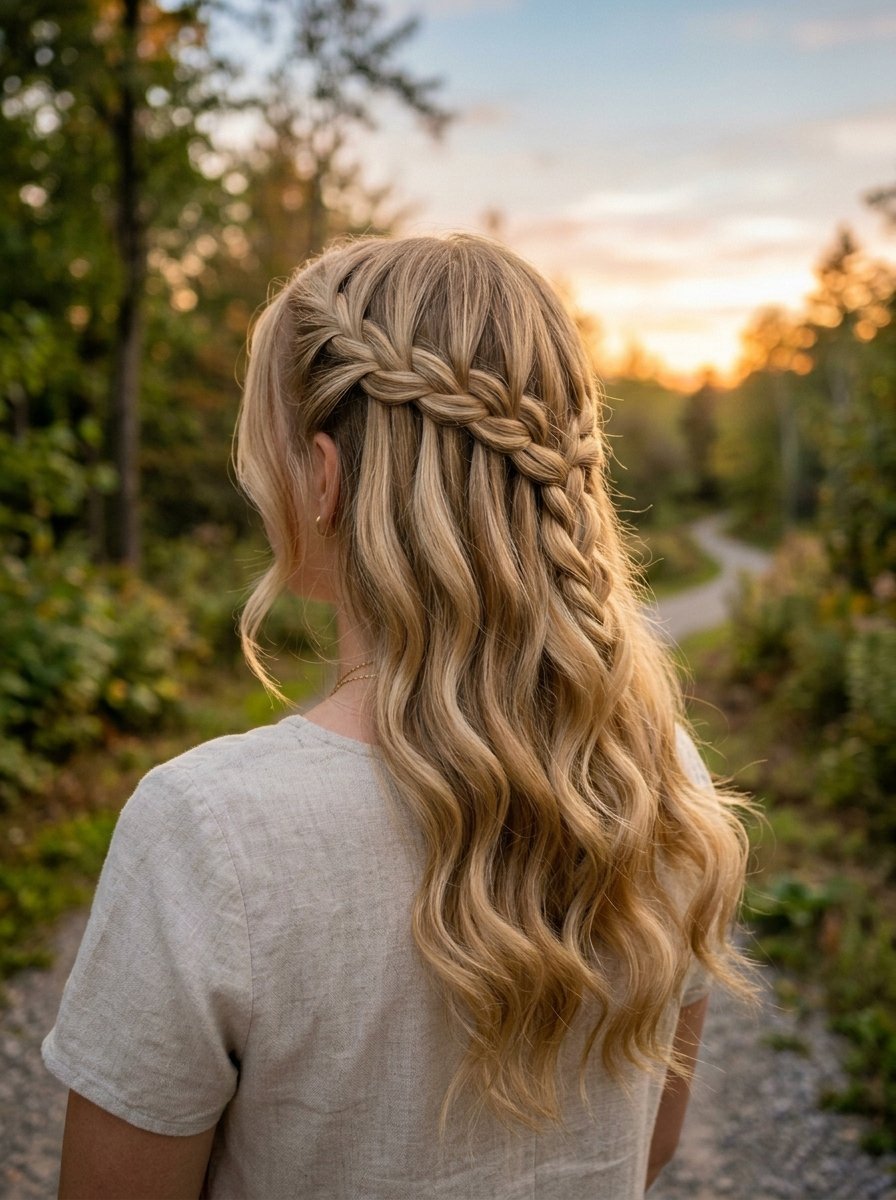
A waterfall braid lets your hair flow freely down your back. You start a regular braid near your left temple. Drop the bottom strand of the braid after one crossover. Pick up a new section of hair from the top. Keep dropping the bottom strand as you move backward. Pin the braid at the back of your head. I tried this style for a casual outdoor dinner party. The dropped strands blend beautifully into loose curls. Use a one inch curling wand on the loose bottom hair. Brush the curls out with a wide tooth comb. This creates a soft wave instead of a tight ringlet. Soft waves look much more natural outdoors. I prefer doing this style on second day hair. Freshly washed hair slips out of the waterfall braid too fast. Spray dry shampoo at the roots if it looks slightly greasy.
13. The Pinned Up Faux Bob For Retro Glamour
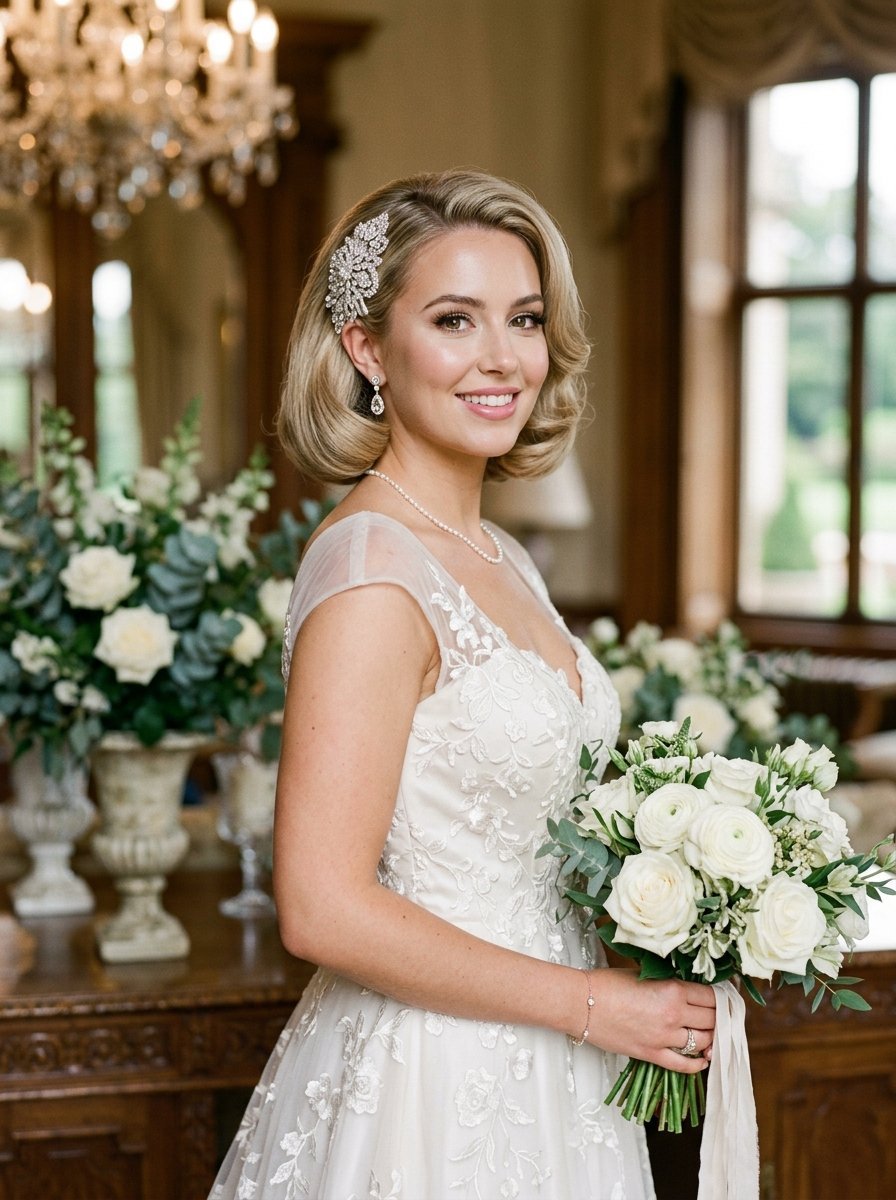
Medium hair easily fakes a short vintage bob haircut. Curl your entire head with a small barrel iron. Brush the tight curls lightly to create soft waves. Gather the bottom two inches of your hair together. Roll the ends up toward the nape of your neck. Pin the rolled section flat against your lower scalp. The hair folds under and looks like a short bob. I’ve seen brides shock their guests with this fake haircut. You pull a few wavy pieces out around your face. Pin a large crystal clip right above your left ear. Your guests will think you chopped your hair off. This gives you two completely different looks for your wedding. You can take the pins out for the late reception. Your hair will drop back down into long loose curls. It feels like a magic trick when you remove the pins.
14. The Dutch Braid Pigtail Updo For Humid Weather
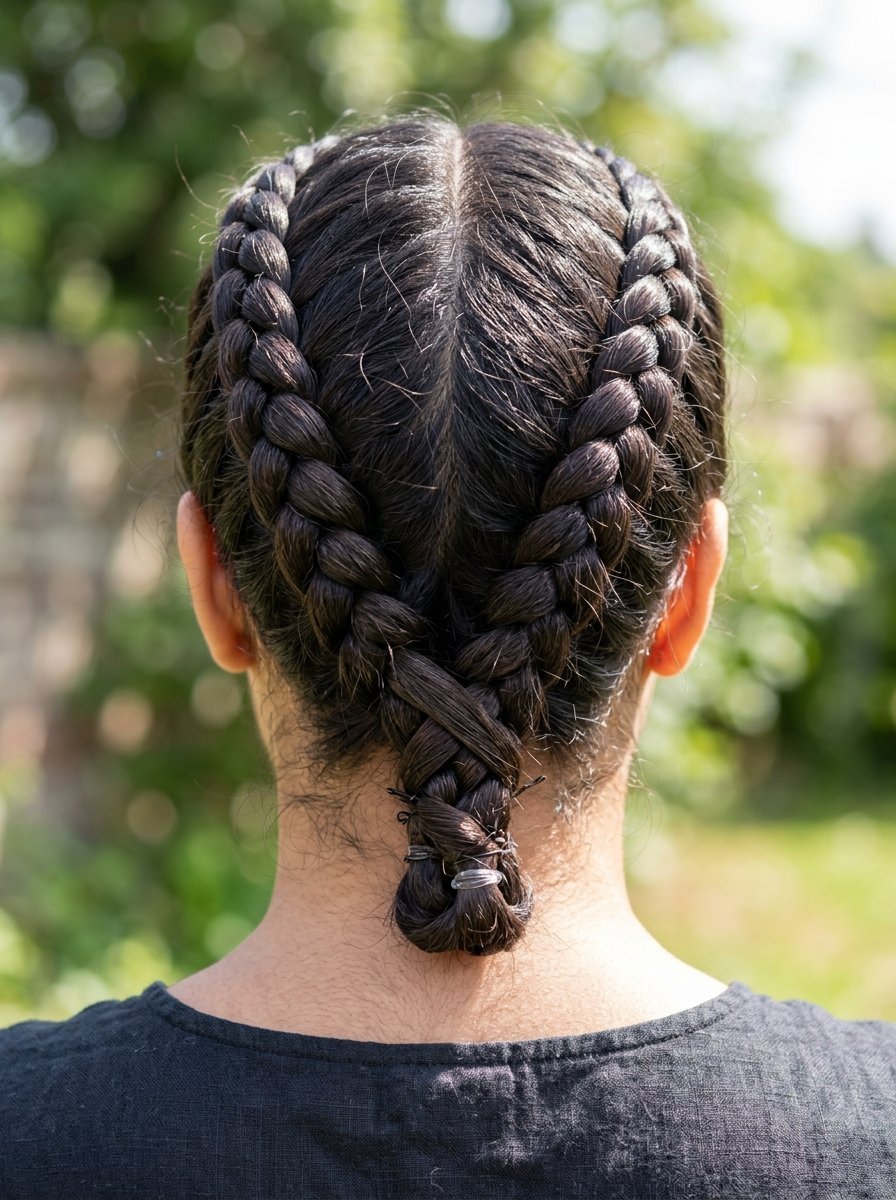
Humid weather destroys loose curls within twenty minutes. You need all your hair locked completely out of the air. Part your hair down the absolute center of your head. Dutch braid both sides tightly from your hairline to your neck. Tie the ends of both braids with clear elastics. Cross the right tail over to the left side and pin it. Cross the left tail to the right side and pin it. I did this exact style for an August outdoor wedding. My hair stayed perfectly dry while other guests suffered. Hide the messy ends underneath the thick part of the braids. Use a strong humidity blocking hairspray as your final step. I completely soak the braids in hairspray before leaving the house. The crisp texture stops the tiny flyaways from standing up. You can dance for six hours without looking like a fuzzy mess.
15. The Criss Cross Low Pony For Modern Minimalists
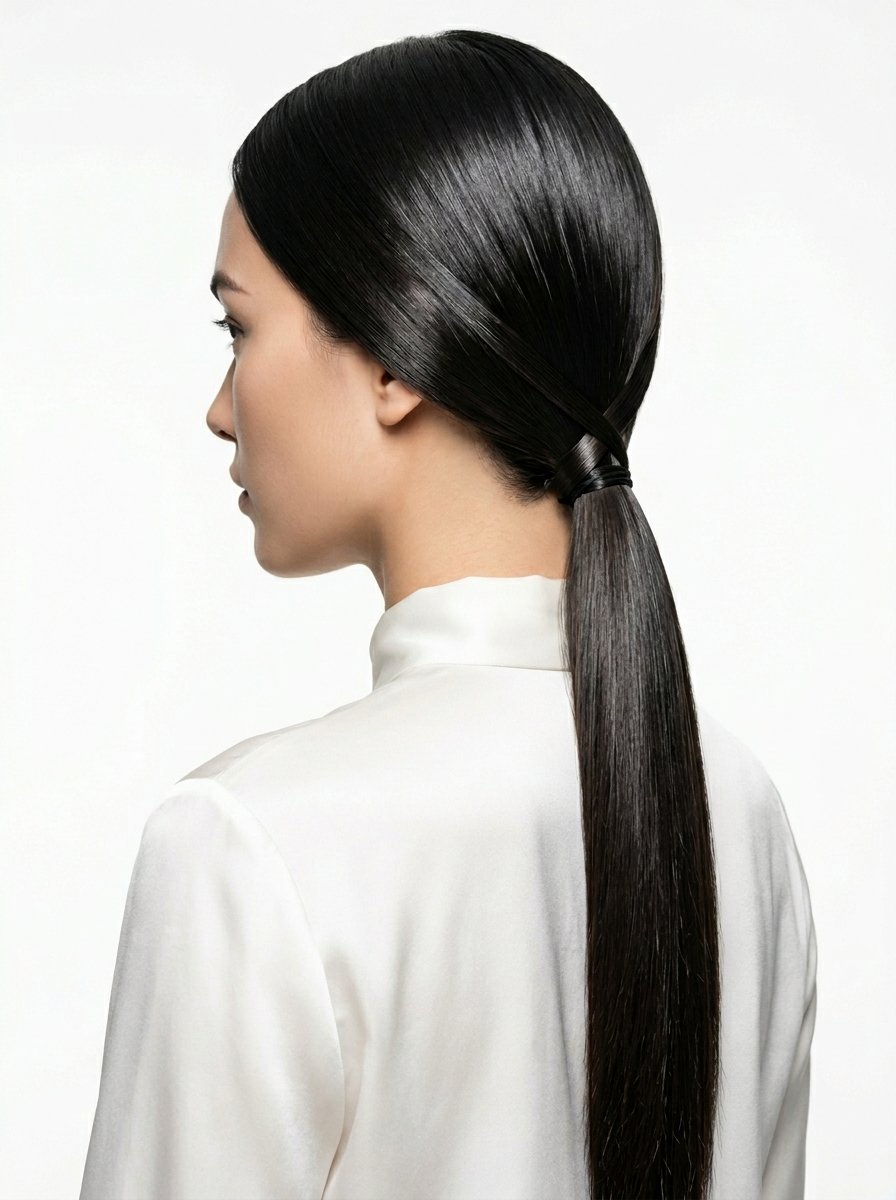
Modern brides love clean lines and sharp minimalist details. Leave two front sections of hair totally loose. Tie the rest of your hair into a tight low ponytail. Take the loose right section and pull it across the ponytail. Pin it tightly underneath the hair elastic. Take the loose left section and pull it across the right. Pin it securely under the elastic band. I’ve noticed this small detail makes a boring ponytail look architectural. Flat iron the ponytail until it looks like straight glass. Run a tiny drop of hair oil through the very ends. Your hair will look like it belongs in a fashion magazine. You must use a good flat iron for the ends. A cheap iron will leave the hair looking frizzy and dry. Run the iron over the tail three times slowly. This bakes the straightness directly into the hair shaft.
Frequently Asked Questions About DIY Wedding Hairstyles

Can I do my own wedding hair if I have zero skills?
You absolutely can style your own hair with zero prior skills. You must pick a simple style like a low twisted bun. Practice the style five times before your actual wedding day. Take a photo of the back of your head after every practice. I’ve noticed the muscle memory forms very quickly after three tries.
How much money do I save by doing my own hair?
You save anywhere from two hundred to five hundred dollars instantly. Salons charge massive premiums the second you mention a wedding. Your only costs are bobby pins and a good can of hairspray. You can buy premium salon products for under sixty dollars total. Keep that extra cash for your honeymoon expenses.
Should I wash my hair on the morning of my wedding?
Do not wash your hair on your actual wedding morning. Squeaky clean hair slips right out of bobby pins and clips. Wash it the night before and blow it completely dry. Second day hair holds curls and updos much better than clean hair. The slight natural oils give the hair necessary grip.
What type of bobby pins hold medium hair best?
You must buy rigid bobby pins with deep ridges on one side. Smooth bobby pins slide directly out of medium length hair. Sally Beauty sells heavy duty pins designed for professional stylists. Always insert the bobby pin with the ridged side facing your scalp. I’ve seen smooth pins ruin an updo in ten minutes.
How do I hide thinning spots near my hairline?
Buy a colored root touch up powder that matches your hair perfectly. Color Wow makes an incredible powder that stays put for days. Use a small makeup brush to dab the powder onto thin spots. It creates a shadow that makes the hair look incredibly thick. I use this trick every time I pull my hair straight back.
Will a curling iron ruin my fine hair?
A curling iron will fry your hair if you skip heat protectant. You must spray a thermal protectant all over your dry hair first. Keep the curling iron temperature below three hundred degrees. Fine hair curls very fast and burns even faster. Hold the iron on the hair for only five seconds.
How early should I start my DIY hair on the wedding day?
Give yourself exactly ninety minutes for hair styling. A style that takes twenty minutes at home will take longer. Nerves make your hands shake and slow you down. Start styling before you put your wedding dress on. Wear a button down shirt so you do not ruin the hair later.
Do clip in extensions look natural in medium hair?
Clip in extensions blend perfectly into medium length hair. You must buy real human hair if you plan to curl it. Synthetic hair melts instantly when it touches a hot curling iron. Have your normal stylist trim the extensions to match your exact length. I wore clip ins at my wedding and nobody knew.
How do I stop my hair from getting frizzy outdoors?
You need an anti humidity spray to lock out the wet air. Spray it generously over your finished style as the very last step. Do not touch your hair with your hands after you spray it. The oils from your fingers break down the protective barrier. Keep a travel sized spray in your purse.
What is the best way to secure a heavy veil?
You must create an anchor base for a heavy veil comb. Cross two heavy duty bobby pins in an X shape against your scalp. Slide the teeth of the veil comb directly into that crossed base. The pins stop the comb from sliding down your head. I’ve seen this trick hold cathedral veils securely all night.
Can I use dry shampoo on clean hair for volume?
Dry shampoo works wonderfully as a texturizing volume spray. Spray it directly at your roots and rub it in with your fingers. The powder coats the hair shafts and makes them feel thicker. It gives fine hair the grip it needs to hold a braid. I use Batiste dry shampoo for massive volume on day one.
How do I make my curls last for twelve hours?
You must let the curls cool down completely before you brush them. Pin the hot curl to your head with a metal clip. Leave it pinned until the hair feels totally cold to the touch. The hair sets its shape as it cools down. If you drop a hot curl, it falls flat in ten minutes.
What happens if I make a mistake while styling?
Do not panic if a piece falls out of place. Grab a decorative hair clip and pin the loose piece back up. Messy styles look romantic and soft in wedding photos. Nobody knows what your hair was supposed to look like. Just smile and pretend the loose piece was completely intentional.
Final Thoughts On Your DIY Wedding Hair
You have all the steps needed to create stunning wedding hairstyles. You save hundreds of dollars by taking control of your own look. The money you save pays for an amazing honeymoon dinner or extra flowers. I’ve seen dozens of brides create perfect updos in their own bathrooms. Practice your favorite style from this list exactly three times before the big day. Take photos of your practice runs from every single angle. Buy the right textured bobby pins and a strong hairspray. Your medium hair will look thick, elegant, and perfectly styled. Which of these fifteen styles will you test out first?

Sarah Mitchell — Founder & Editor-in-Chief
Sarah Mitchell is the founder and editorial voice behind Hair Level Up. A licensed cosmetologist with more than 15 years of experience, she has styled A-list celebrities for editorial shoots and red carpets, with work featured in Vogue, Elle, and Harper’s Bazaar. Early in her career, she trained under the legendary hairstylist Oribe in New York, an apprenticeship that still shapes her editorial eye today. Sarah founded Hair Level Up in 2020 after one bad haircut convinced her that women deserved a destination that felt like a magazine, taught like a stylist, and inspired like an art gallery. She oversees every story from concept to publication, guided by a simple belief: a good story teaches you something, but a great one makes you feel beautiful while it does.