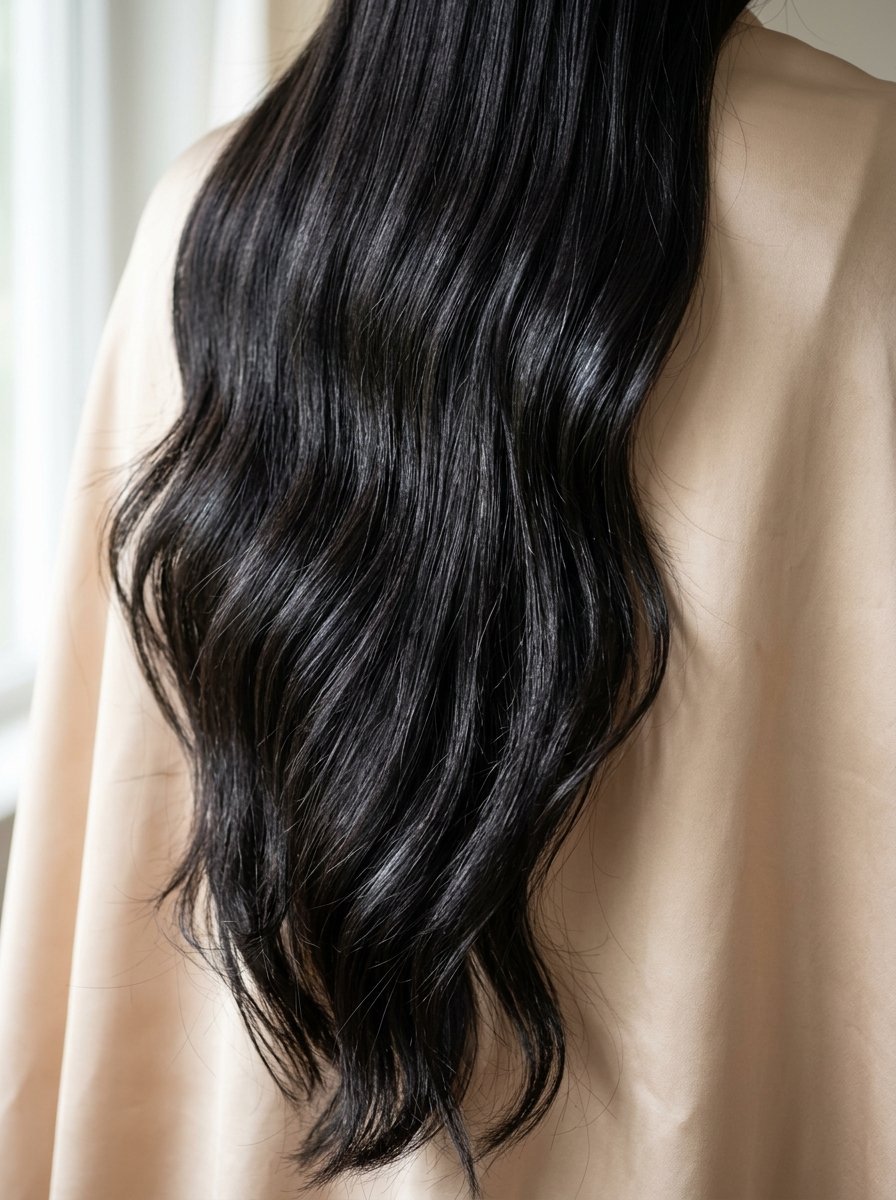
How to Trim Long Hair at Home Without Losing Length
Sitting in the salon chair often feels terrifying. You ask for a tiny trim. You walk out with five inches missing. I have sat in that exact chair and cried. Growing your hair takes years of patience. Losing that length in ten minutes feels terrible. You can take control of your own hair. Trimming your ends yourself is completely possible. I do this regularly in my own bathroom. It saves money and protects your peace of mind.
You will get the exact steps for safe home trims. This guide shows the dusting routine for split ends. You will see the right tools to buy. We will cover soft face-framing layers. You will read about the famous unicorn ponytail cut. Expect honest reviews of popular shears. I will share my biggest past mistakes. You can follow these exact steps today. Your hair will look healthy and full. You will keep every inch of your hard-earned length.
Why Salons Always Cut Too Much Off
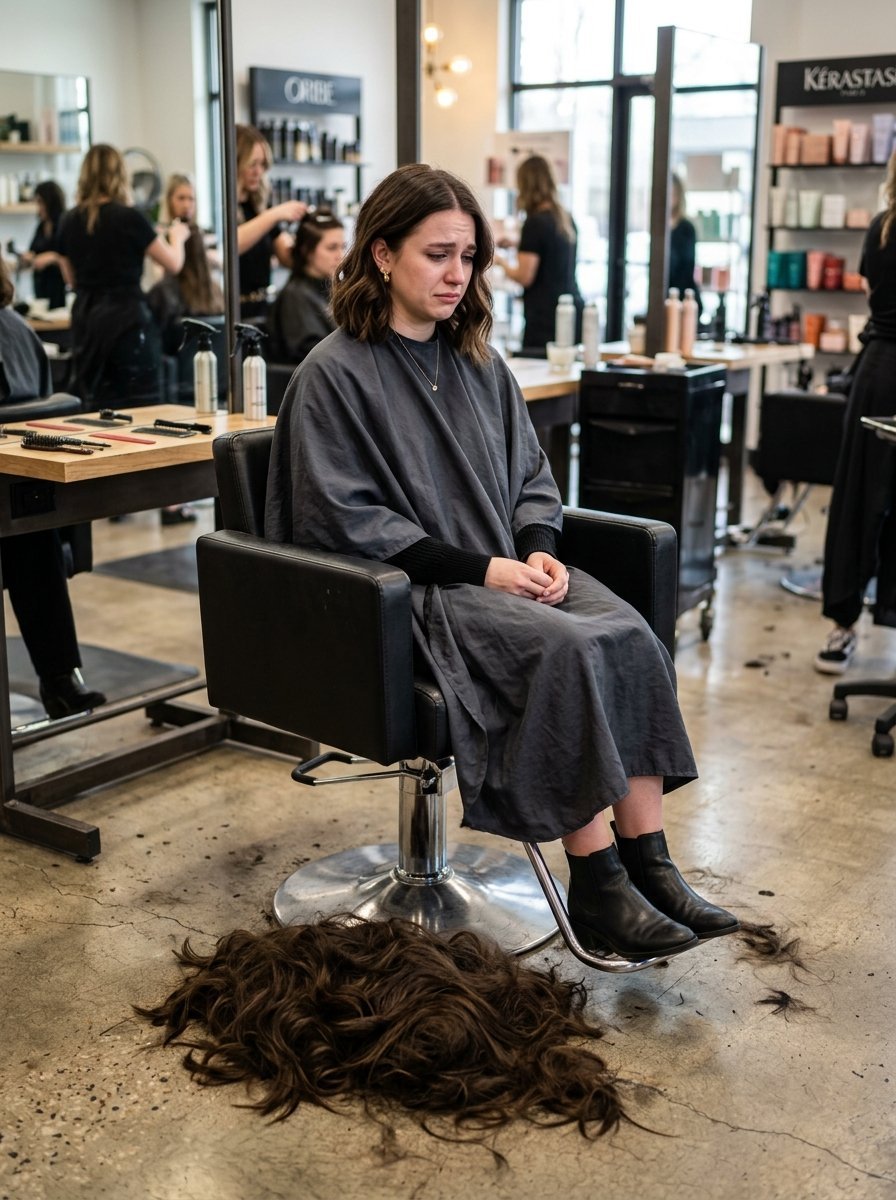
Many stylists view split ends as a massive problem. They want your hair to look perfectly thick. They cut past the damage to the thickest part. This creates a beautiful blunt line. But it destroys your length goals. I have noticed this pattern for years. A professional wants their work to look perfect. They prioritize a clean edge over your length preference.
You want a completely different look. You want healthy ends while keeping your length. This requires a micro-trimming routine. Some call this a search and destroy mission. You only snip the very tips. You only target the actual broken pieces. This takes time and patience. A salon stylist rarely has an hour for micro-trimming. Doing it yourself is the only guaranteed way.
The Exact Supplies You Need For A DIY Haircut
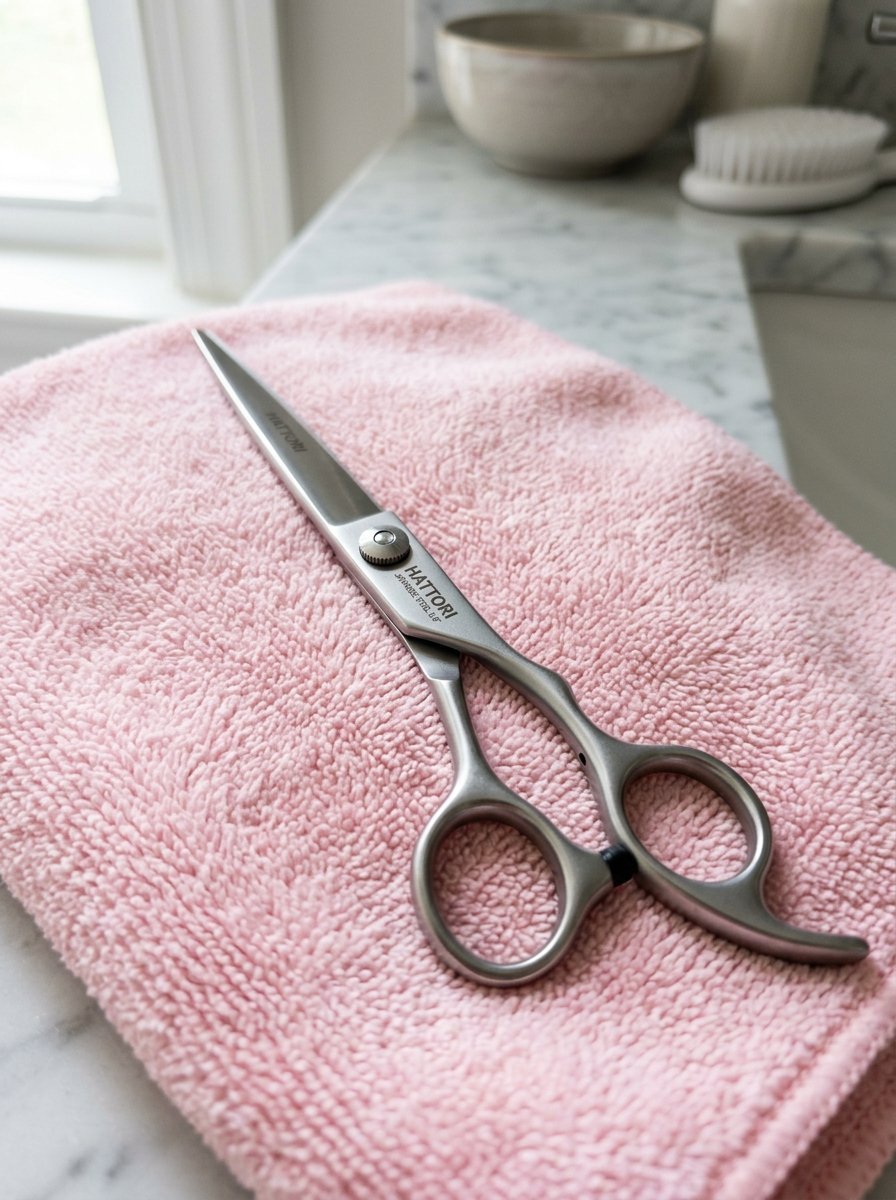
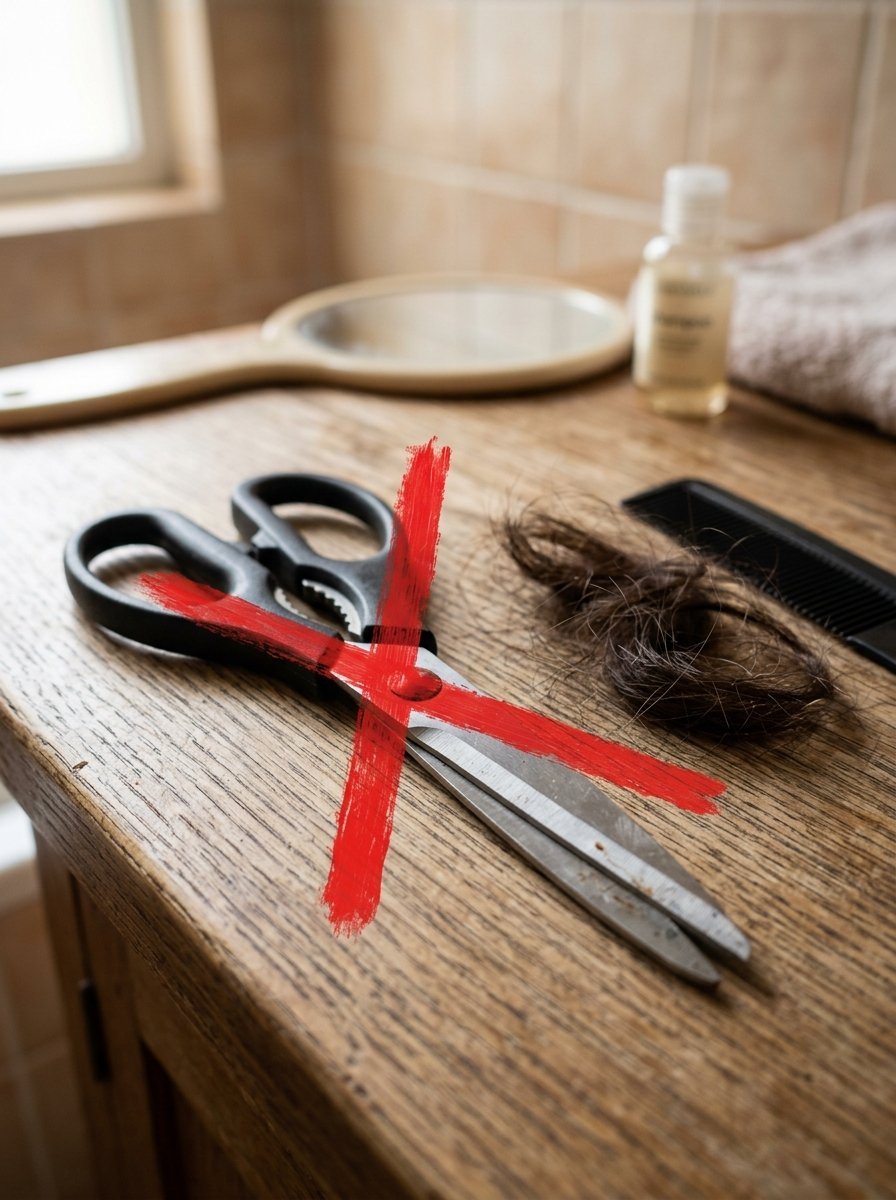
You cannot use kitchen scissors on your hair. I tried this once in high school. The dull blades crushed my hair cuticles. This caused massive split ends three days later. You must buy proper haircutting shears.
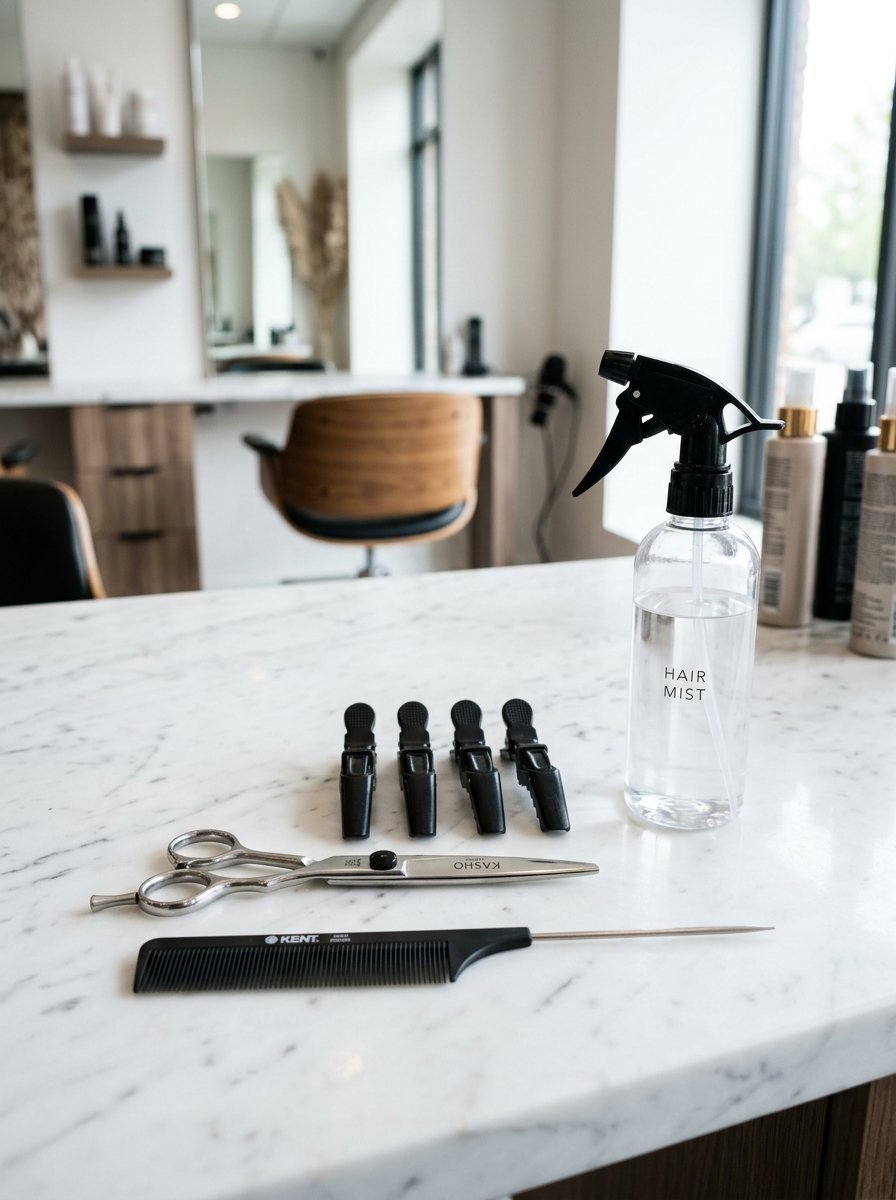
Here are the specific tools I trust.
- Equinox Professional Hair Scissors These cost around twenty dollars online. They feature razor-sharp Japanese stainless steel. The finger rest makes them easy to hold. I have used my pair for three years.
- Framar Crocodile Hair Clips You need strong clips to section your hair. Flimsy clips will let hair slip down. Slipping hair causes uneven cuts. Framar clips hold thick sections securely.
- Diane Fine Tooth Rat Tail Comb A comb with closely spaced teeth gives tension. Tension is required for a straight cut. The metal tail helps create perfect parts.
- A large handheld mirror You must see the back of your head. Guessing will ruin your haircut. Buy a cheap hand mirror.
- A spray bottle with water Cutting wet hair gives a sharper line. Some prefer cutting dry. Water helps if you have curly or wavy hair.
Preparation Steps Before You Cut Your Own Hair

Preparation dictates the final shape of your hair. You cannot rush this part. I always set aside a full quiet hour.
Wash your hair thoroughly first. Clean hair falls naturally. Product buildup changes how your hair sits. Dry shampoo makes hair clump together.
Pick between cutting wet or dry. Wet cutting works best for straight lines. Dry cutting works best for natural texture. I prefer cutting my hair completely dry and straightened. This shows exactly where the dead ends live.
Straighten your hair if you have waves. This makes every uneven piece visible. Brush it until no tangles remain. A single tangle will ruin your straight line.
Put on a light-colored shirt. Dark hair against a dark shirt hides the ends. A white or pastel shirt creates contrast. You will see every split end clearly.
How To Trim Long Hair At Home Without Losing Length
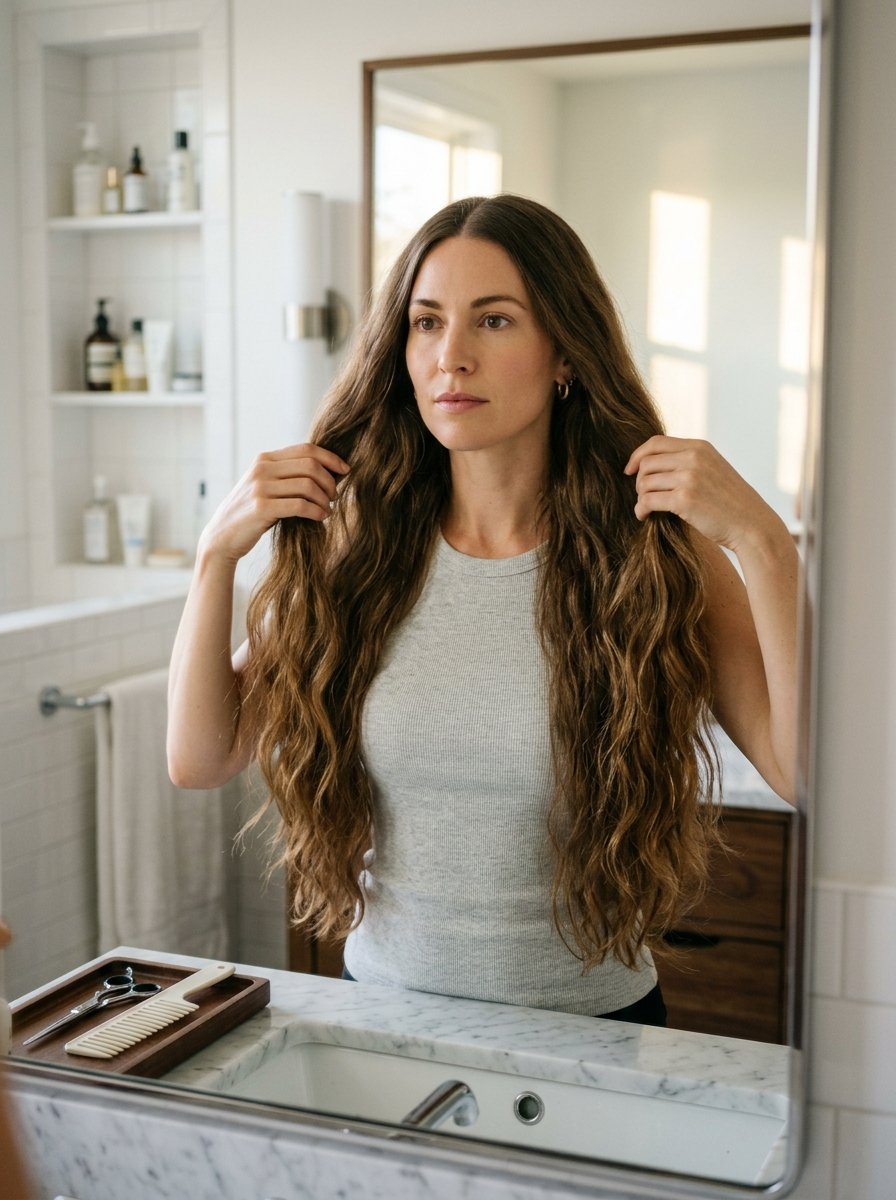
The dusting routine saves your length. You only remove the very tips of your hair. We are talking about a quarter of an inch.
Part your hair exactly down the middle. Comb everything straight down your back.
Pull all your hair forward over your shoulders. Keep your head facing perfectly straight. Looking down will change the angle.
Pinch a small section of hair on one side. Slide your fingers down the hair shaft. Stop one inch above the ends.
Look at the very bottom of the hair. You will see thin, see-through pieces. These are the dead ends.
Hold your scissors perfectly horizontally. Snip off just the transparent tips. Move to the next section.
Match the newly cut section to the next piece. Use the first piece as your guide. Work your way around to the other side.
This creates a slight V-shape in the back. Pulling hair forward naturally creates this shape. It looks soft and beautiful.
The Search And Destroy Method For Split Ends
Sometimes you do not need a full trim. You just have random split ends. The search and destroy routine fixes this perfectly.
I do this while watching television. You need good natural lighting for this.
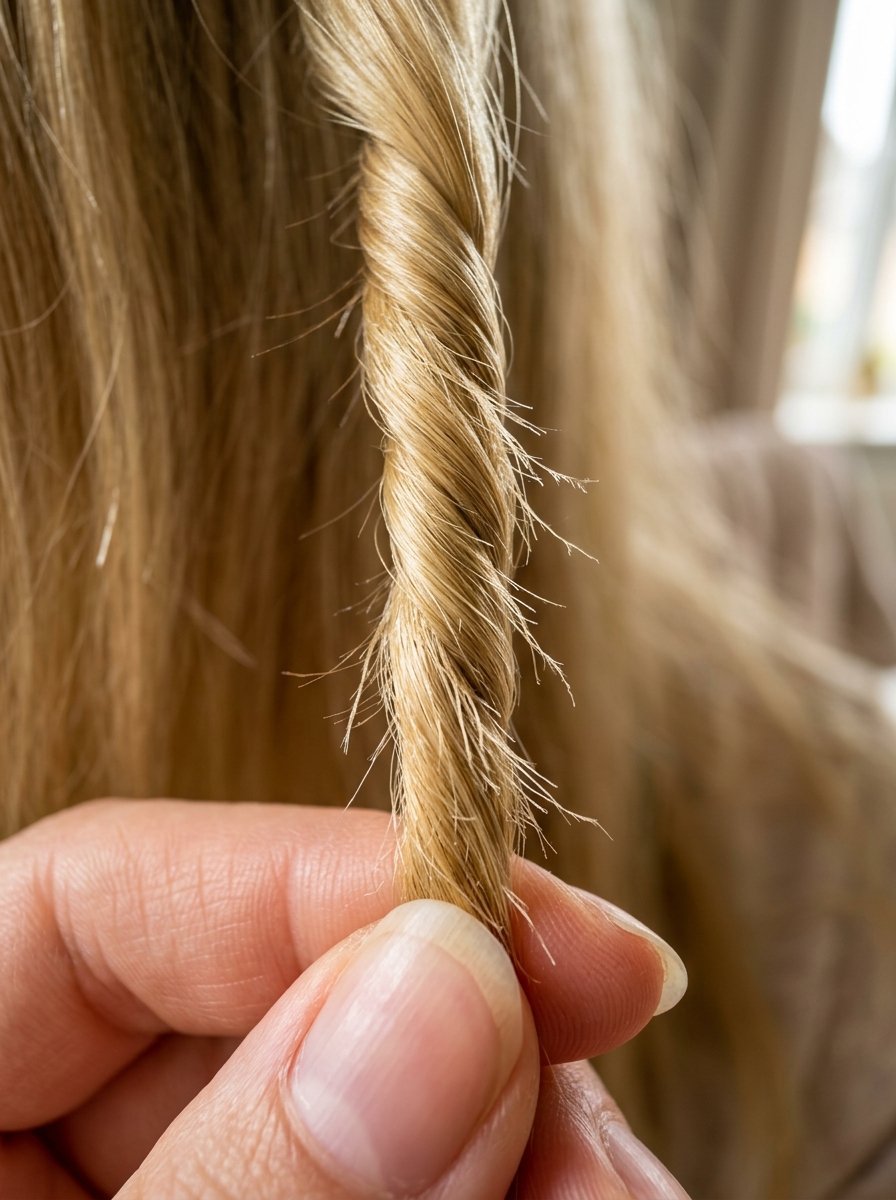
Take a tiny section of dry hair. Twist the section tightly all the way down.
Look at the sides of the twisted hair. Split ends will pop out along the twist. They stick out like tiny broken branches.
Take your professional shears. Snip only the pieces sticking out. Do not cut into the main twist.
This preserves your absolute maximum length. It cleans up the middle parts of your hair. A traditional trim only fixes the very bottom.
How To Cut Soft Layers At Home
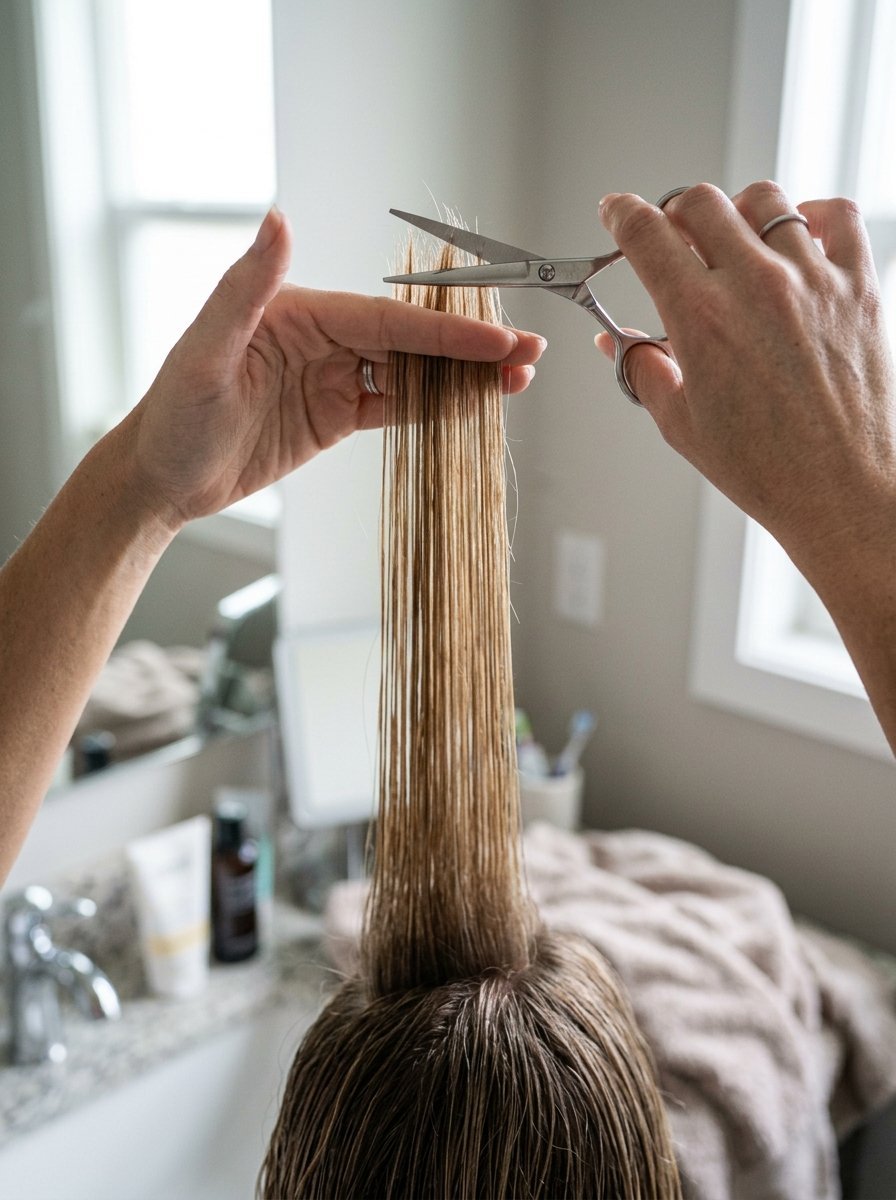
Flat hair feels heavy and lifeless. You might want some movement without losing length. Putting layers in feels scary but follows simple rules.
We will use the sliding routine for soft layers. This avoids blunt, harsh steps in your hair.
Section off the very top layer of your hair. Clip the rest of your hair away safely.
Take a front section from the top layer. Pull it straight up toward the ceiling. Keep your fingers clamped near the ends.
Do not cut straight across. Point your scissors down into the hair. Snip tiny V-shapes into the ends. This routine is called point cutting.
Point cutting creates invisible, soft layers. They blend perfectly into the rest of your hair.
I have seen many people cut straight across. This creates a terrible mushroom look. Always point cut your layers.
The Best Routine For A Layered Cut At Home
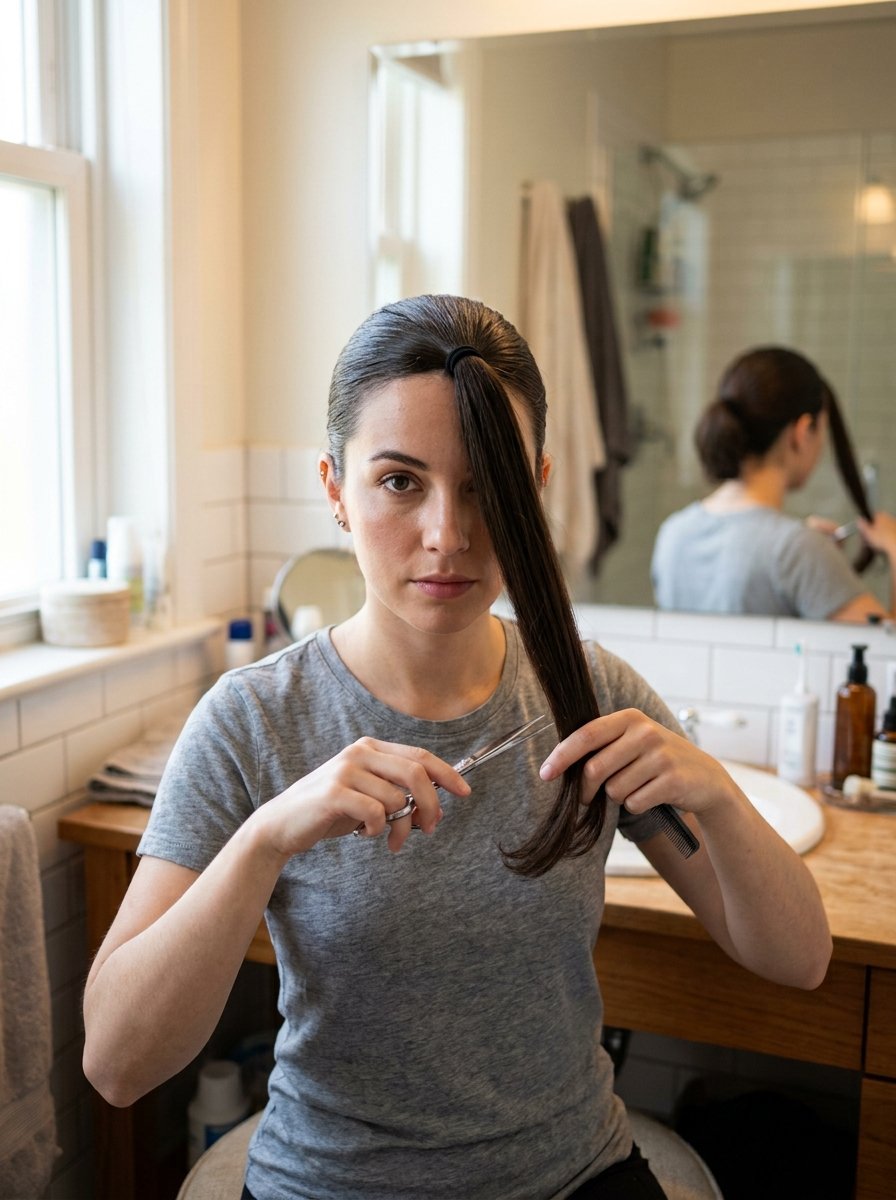
The unicorn ponytail trick went viral for a reason. It creates face-framing layers quickly. I have tested this multiple times with great success.
Brush all your hair forward. Gather it into a ponytail at your forehead. It should sit exactly on your hairline.
Make sure the ponytail is perfectly smooth. Bumps will create uneven layers.
Place a second hair tie near the ends. Slide it down to your desired length.
Hold your scissors vertically. Point cut into the hair below the second tie. Never cut perfectly horizontally.
Take the ponytail down and shake your hair. You will see beautiful, cascading layers. The back remains long and full.
This works best for wavy or curly hair. Straight hair might show tiny mistakes.
Haircuts For Medium Hair Tutorial

Medium length hair requires a slightly different routine. Shoulder-length hair shows mistakes more easily.
A layer cut for medium hair at home needs precision. You cannot use the unicorn ponytail here. It will make the front pieces too short.
Divide your hair into four quadrants. Two in the front and two in the back.
Start with the back sections. Comb them straight down. Ask a trusted friend to trim the back straight. Doing the back yourself at this length is risky.
Move to the front sections. Over-direct the hair across your face. Pull the right section toward your left shoulder.
Point cut the ends lightly. This creates a soft angle around your face.
Repeat on the opposite side. Pull the left section toward your right shoulder. Match the length to the first side.
This gives a gentle face-framing shape. It flatters collarbone-length hair perfectly.
Fixing Mistakes After A DIY Long Layers Haircut
Mistakes happen to everyone. I once cut a huge chunk by accident. Do not panic if things look uneven.
Uneven sides are the most common complaint. Do not keep cutting back and forth. You will lose all your length this way.
Check your posture in the mirror. Were you tilting your head? Stand perfectly straight and look again.
If one side is longer, point cut it slightly. Just soften the longer side until it blends.
Sometimes layers look too blunt. They sit like steps on your head.
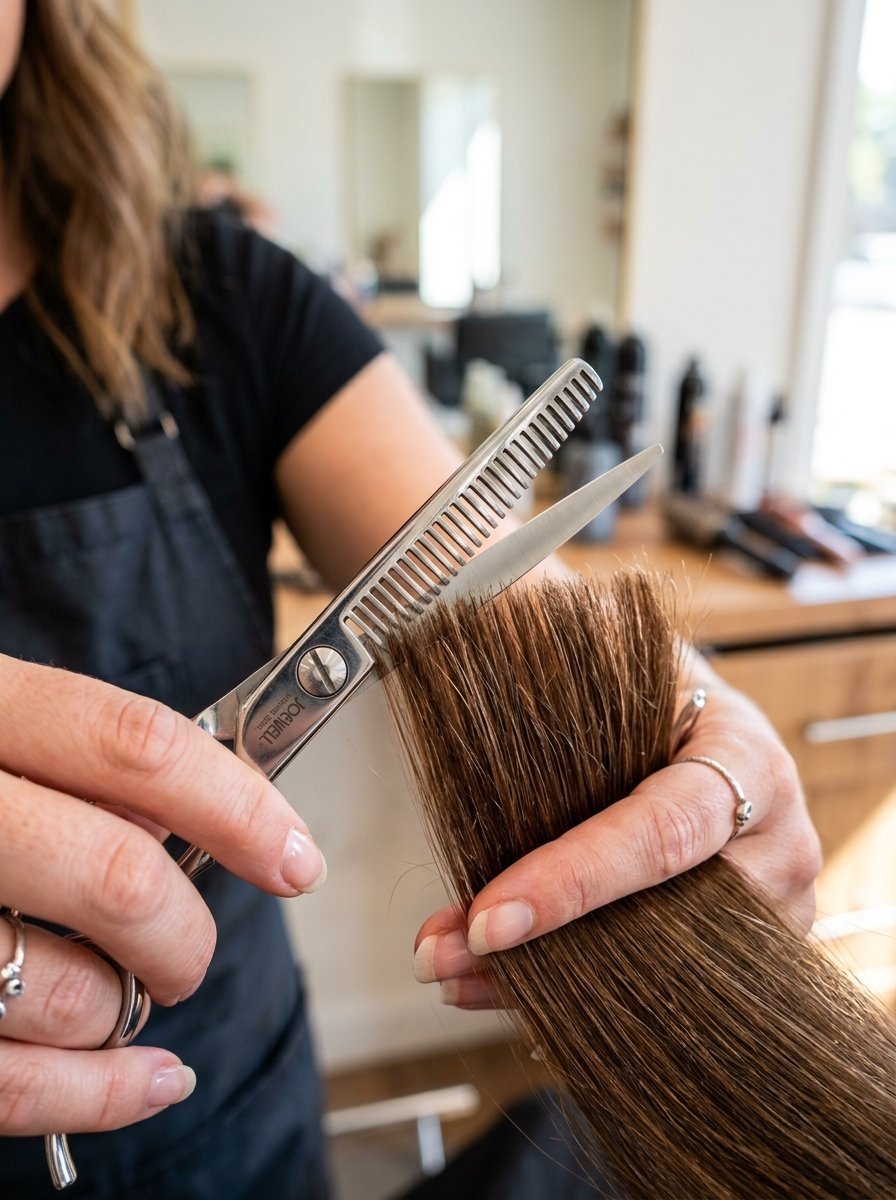
Fix blunt layers with thinning shears. Thinning shears have teeth on one blade.
Take the blunt section of hair. Clamp the thinning shears one inch from the bottom. This erases the harsh line instantly.
Equinox makes a great pair of thinning shears. They save many DIY haircut disasters.
Never use thinning shears near your roots. Only use them on the very ends.
Managing Expectations For Your Hair Journey

Your first home haircut might feel stressful. Your hands might shake the first time. This is completely normal.
Start by cutting much less than you think. You can always take more off tomorrow. You cannot put hair back on.
I like cutting one eighth of an inch first. See how it feels. It builds your confidence.
Track your hair growth with photos. Take a picture from the back every month. Wear the same shirt for consistency.
You will see the length returning. You will notice the ends looking much thicker.
Avoid heat styling right after your cut. Let your hair rest for a few days. Deep condition your ends to seal in moisture.
Understanding Your Hair Texture Before Cutting

Hair texture changes how your haircut behaves. Fine hair acts differently than coarse thick hair. You must know your type before holding scissors. I have very fine straight hair. My friend has thick tight curls. We cannot use the same trimming routine.
Fine hair shows blunt lines instantly. Every tiny mistake screams for attention. You must use the point cutting style on fine hair. Never cut fine hair in a straight line.
Thick hair hides mistakes beautifully. But thick hair can look bulky and heavy. Thick hair needs soft layering to move naturally. You might need to use thinning shears selectively.
Curly hair shrinks up when it dries. You might cut one inch of wet curly hair. It will shrink up to three inches when dry. Always cut curly hair completely dry. Cut it in its natural curl pattern. Snip individual curls where they naturally bend.
Wavy hair sits somewhere in the middle. It has a mind of its own daily. Straighten wavy hair if you want a blunt trim. Leave it natural if you want a soft layered look.
Knowing your texture prevents post-haircut tears. Respect what your natural hair wants to do.
The Exact Anatomy Of A Split End
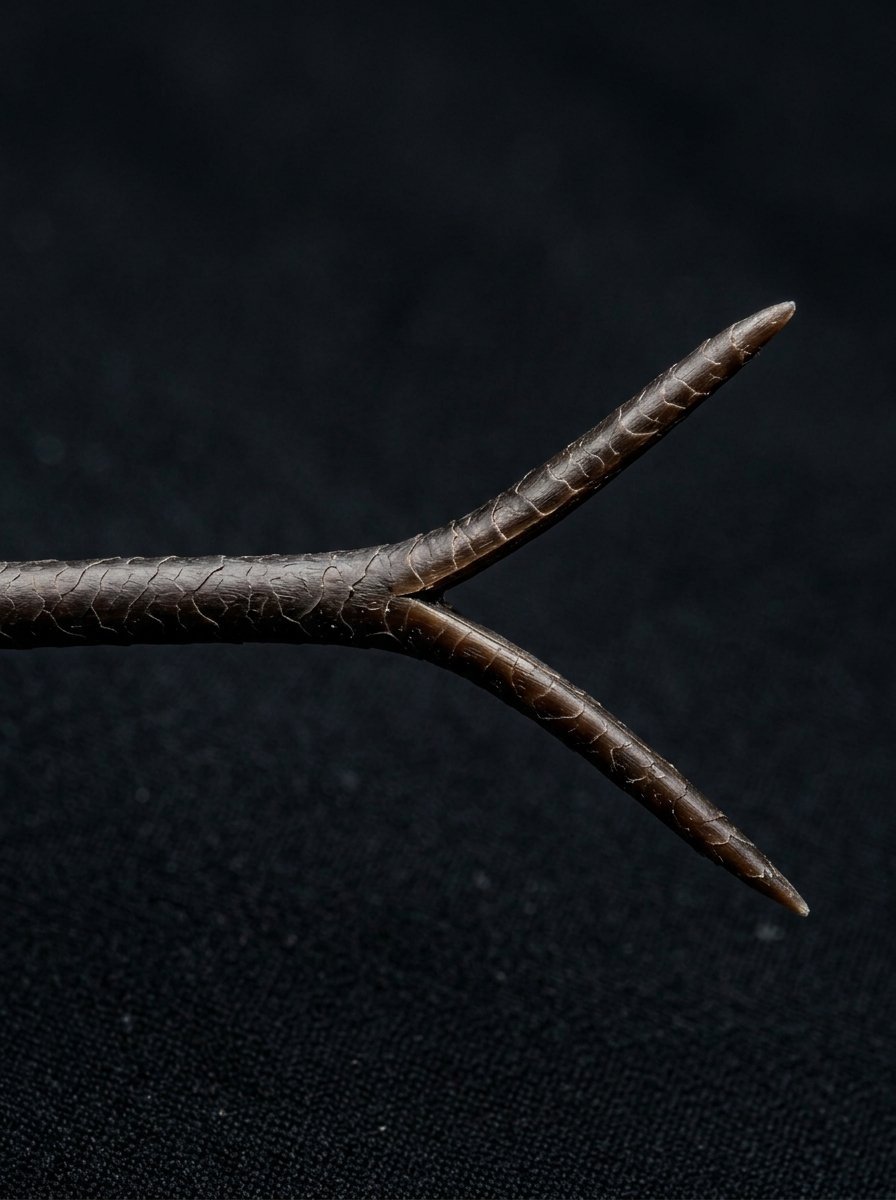
Many people do not know what they are looking for. A split end takes many different visual forms. You must spot them to save your length.
The classic split looks like a capital letter Y. The hair shaft splits straight down the middle. This is the easiest type to see and snip.
The tree branch split has multiple little breaks. One hair shaft splinters into three or four tiny pieces. This means severe weather or heat damage. You must cut above the highest splinter.
The white dot split is very sneaky. The hair has not split open yet. But the cuticle has ruptured completely. You will see a tiny white speck on the hair. If you pull it gently the hair snaps off. You must snip above that white dot.
The fairy knot happens constantly in curly hair. A single strand ties itself into a tiny literal knot. You cannot untangle a fairy knot. Brushing it will just break the hair. You must snip the knot away cleanly.
Looking for these specific shapes makes the job easier. It turns the search and destroy routine into a clear mission.
Comparing Top Hair Cutting Shears On The Market
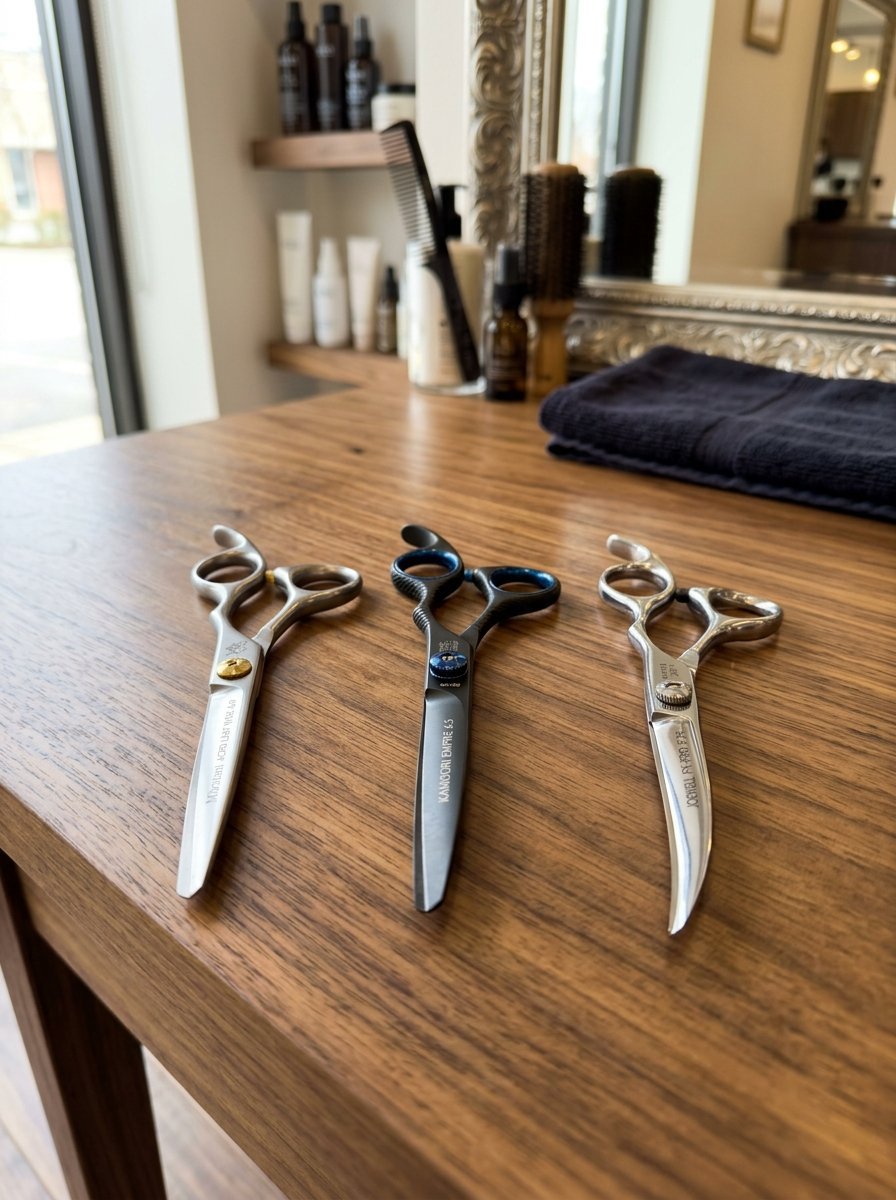
Good tools make a perfect haircut. I have tested many scissors over the years. I spent money on bad ones so you avoid them.
Here is my direct comparison of popular shears.
- Equinox Professional Razor Edge Series These cost around twenty to twenty-five dollars. They stay incredibly sharp for years. The weight feels perfectly balanced in your hand. I rate these as the absolute best for beginners. They slice through hair like warm butter.
- Tweezerman Stainless 2000 Shears You can find these in local drugstores for thirty dollars. They are very accessible if you need them today. The blades are slightly thicker than the Equinox. They work well for basic blunt trims. They feel a bit clunky for delicate point cutting.
- ULG Hair Cutting Scissors These are a budget option online for fifteen dollars. They work decently for the first three months. The metal is softer and dulls quickly. I noticed them pushing hair instead of cutting it later. I do not advise these for long-term use.
- Cricket Shear Xpressions These run around forty dollars at beauty supply shops. They come in fun colors and patterns. The Japanese steel holds an edge perfectly. They are very lightweight and cause zero hand fatigue.
Buy the best pair you can afford. Never use them to cut paper or fabric. Hide them in a drawer away from family members. Paper instantly ruins the micro-edge of the blade.
Step By Step Guide To The Front Framing Trim

Face-framing pieces change your entire look. They draw attention to your eyes and cheekbones. You can trim these without touching your back length.
Isolate the front pieces of your hair. Comb a section from your hairline to your ears. Clip the rest of your hair in a tight bun.
Part the front section perfectly down the middle.
Take a tiny piece from the very front. This is your shortest guide piece. Hold it exactly where you want it to fall. Most people pick the tip of their nose or chin.
Pinch that tiny piece and point cut it. This is your master guide.
Take the rest of the right side section. Comb it smoothly and pull it toward the middle. Pinch it along with your master guide.
Slide your fingers down to the guide length. Angle your fingers slightly downward. Point cut the hair below your fingers.
Repeat this on the left side section. Comb it to the middle to meet the guide. Angle your fingers down and point cut.
Let all the hair drop naturally around your face. You will see a beautiful swooping frame. The longest pieces blend right into your main length.
How To Check Your Haircut For Perfect Symmetry

Uneven hair drives everyone crazy. You will stare at it all day in the mirror. Checking your symmetry takes two extra minutes.
Wait for your hair to dry completely. Wet hair stretches unevenly and lies flat.
Stand perfectly straight in front of your mirror. Look straight ahead without tilting your chin.
Take the two longest pieces from the front. Bring them exactly to the center of your chest. Pull them straight down until they meet. Do the tips line up perfectly?
If one is longer, you need a tiny adjustment. Do not cut horizontally to fix it. Just point cut the longer side very gently.
Now turn around and use your hand mirror. Look at the back of your hair in the main mirror.
You want to see a gentle U-shape or V-shape. Look for any pieces that hang lower than the shape. Snip those stray hairs individually.
Take a selfie from the front and back. The camera sees things your eyes miss. Flip the photo horizontally on your phone. This breaks your brain’s symmetry bias. You will instantly spot any uneven lines.
Dealing With Different Types Of Hair Damage
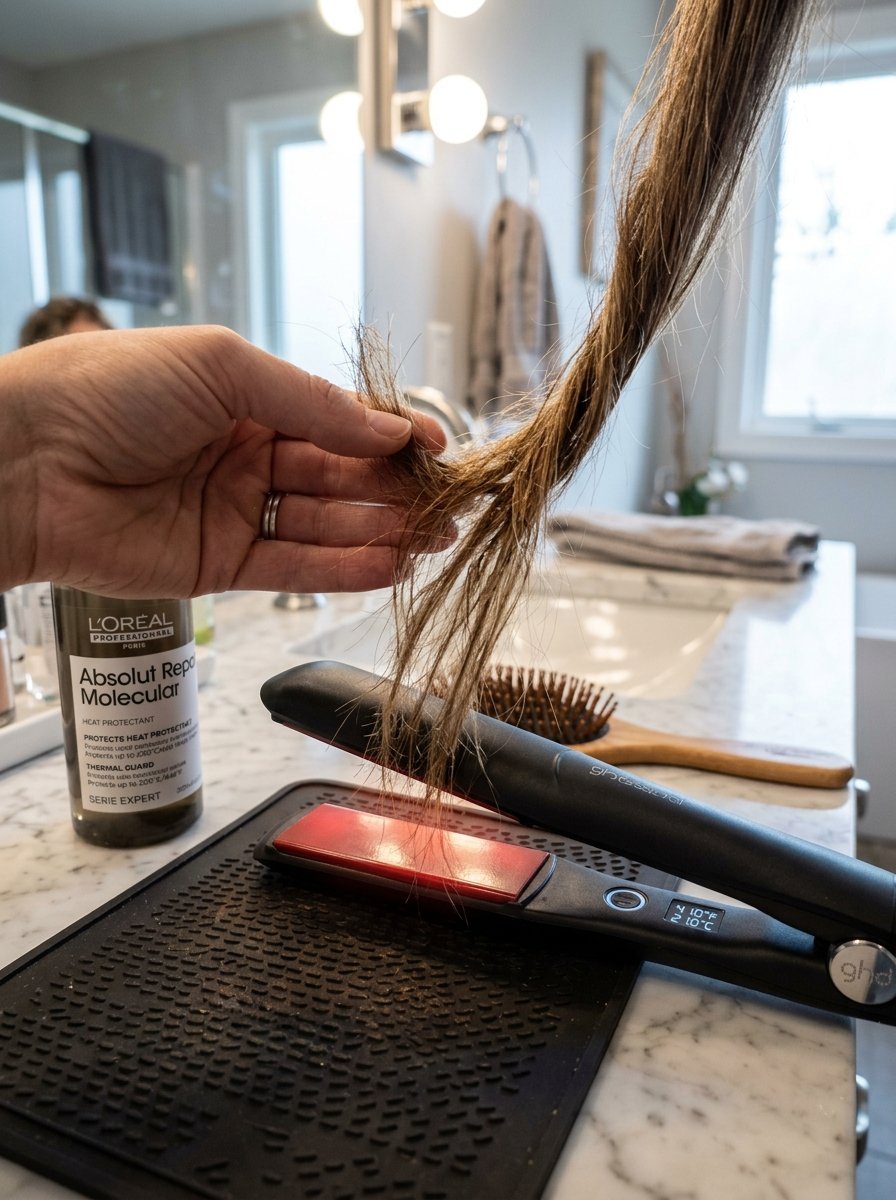
Trimming is only half the battle. You must stop damage before it happens. Different habits cause different types of broken hair.
Heat damage is the most common enemy. Flat irons bake the moisture right out of your strands. The hair becomes brittle and snaps easily. You must use a thermal protector spray every single time. Try air drying your hair two days a week.
Mechanical damage comes from rough handling. Ripping a brush through wet tangles destroys hair. Wet hair acts like a weak rubber band. It stretches until it breaks permanently. Always use a wide-tooth comb on wet hair. Start from the very bottom and work your way up.
Chemical damage comes from bleach and color. Bleach blows the hair cuticle wide open. This leaves the inner core exposed and vulnerable. You cannot trim away severe chemical damage completely. You must use protein treatments to patch the holes temporarily. Olaplex is a famous option for this exact issue.
Friction damage happens while you sleep. Cotton pillowcases grab your hair and cause rough tangles. Tossing and turning literally shreds the ends over time. Sleep on a silk or satin pillowcase. Keep your hair in a loose braid at night.
Real Life Success Stories Of DIY Haircuts
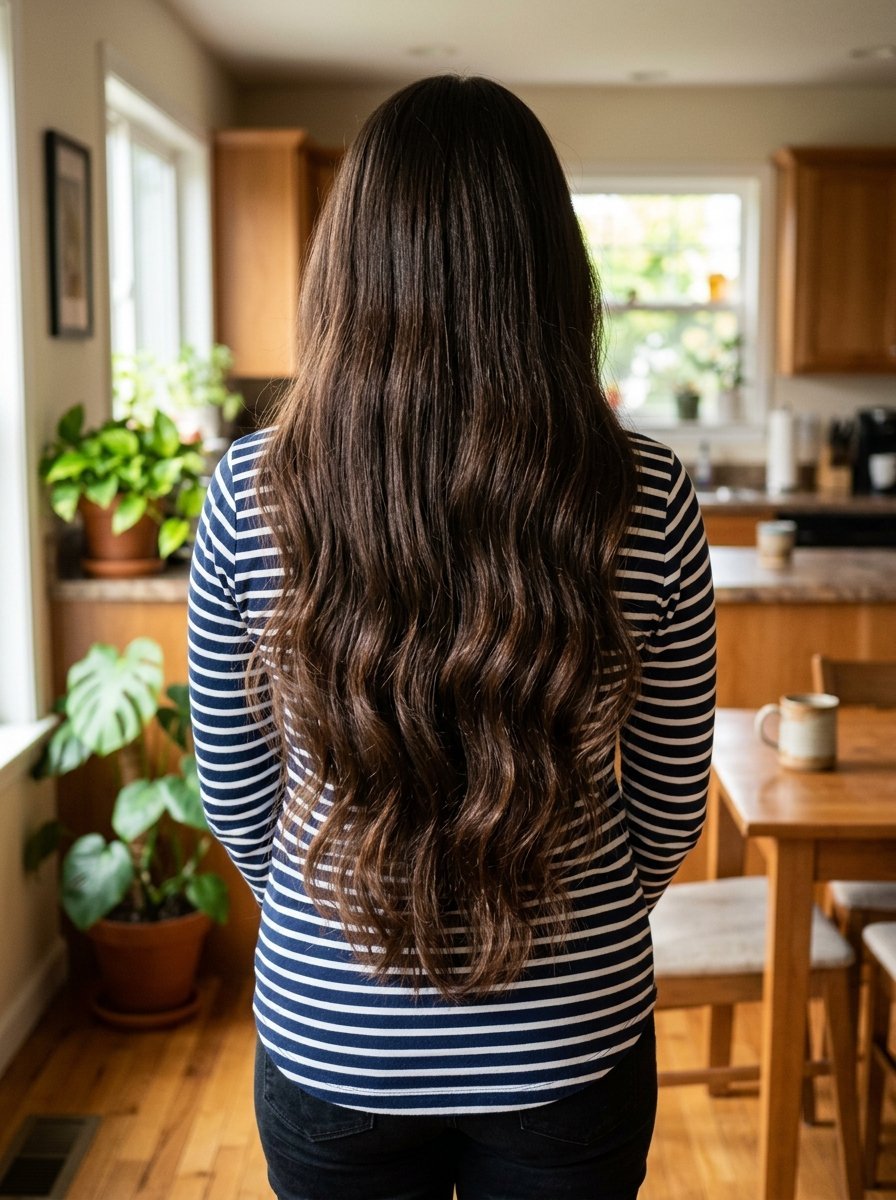
Hearing about others helps build your own courage. I have taught many friends how to do this.
My sister spent hundreds on salon trims for years. She has beautiful thick waist-length hair. Stylists always wanted to thin it out aggressively. She started using the dusting routine six months ago. Her hair is now longer than ever. She kept her natural thickness at the bottom. She saves roughly two hundred dollars a year now.
My coworker was terrified of scissors. She had severe anxiety about losing her mid-back length. I showed her the search and destroy routine. She bought good scissors and tried it while watching a movie. She texted me the next day thrilled with the result. Her hair felt silky again. The length looked exactly the same in photos.
A local friend tried the unicorn ponytail routine. She wanted bouncy layers for a wedding. She followed the steps carefully and took her time. The layers cascaded perfectly around her collarbones. Everyone at the event thought she visited a high-end salon.
These wins are completely possible for you. The secret is simply moving slowly and staying calm.
The Hidden Costs Of Salon Trims

Going to a salon costs more than just the haircut fee. The numbers add up incredibly fast over a year. Let us look at the real math involved.
A basic trim usually costs around fifty dollars now. Some cities charge closer to eighty dollars. You are supposed to go every eight weeks. That is six visits a single year.
Six visits at fifty dollars equals three hundred dollars.
You must tip your stylist twenty percent. That costs another sixty dollars a year.
You spend money on gas to drive there. You pay for parking in busy areas. You spend two hours of your precious weekend time.
Many stylists push expensive salon products on you. You feel guilty and buy a thirty-dollar shampoo.
Your DIY haircut setup costs thirty dollars total. You buy the scissors and the clips once. They last for years without replacement.
You can do your trim at ten o’clock at night. You can watch your favorite show while cutting. You keep all your money in your bank account.
Maintaining Your Hair Health After A Cut

A fresh trim feels amazing. You want that smooth feeling to last for months. Daily habits dictate how long those ends stay healthy.
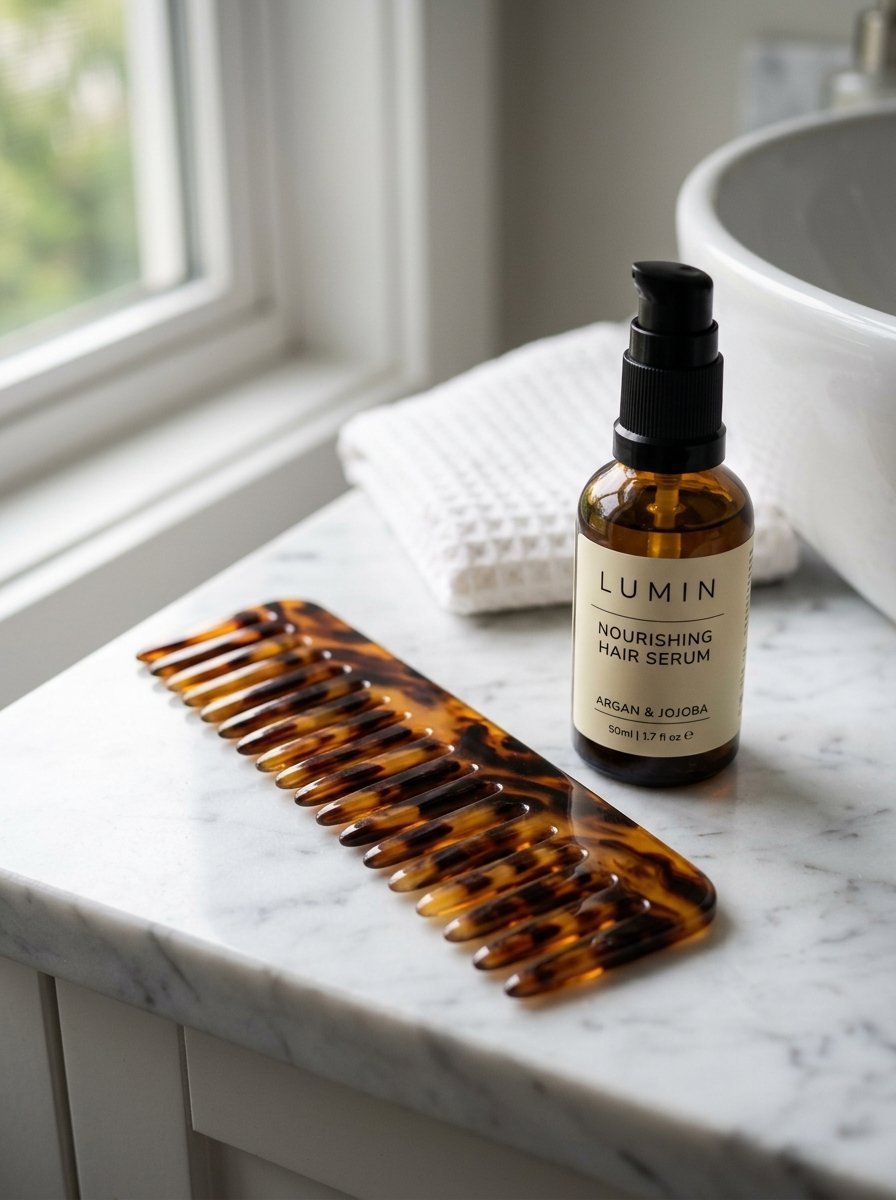
Oil your ends every single night. I use pure argan oil for this. Take two drops in the palm of your hand. Rub your hands together until they feel warm. Gently press the oil into the bottom two inches. Never rub or pull the hair aggressively.
Stop using tight elastic hair ties. They create extreme tension on the same spot daily. The hair eventually fatigues and snaps right there. Switch to silk scrunchies or large claw clips. They distribute the pressure safely.
Wash your hair less often if possible. Hot water and strong shampoos dry out your ends. The natural oils from your scalp need time to travel down. Try stretching your wash days using dry shampoo at the roots.
Trim on a strict schedule. Do not wait until your ends look like straw. A tiny micro-trim every eight weeks prevents massive splits. Waiting six months means you have to cut off an inch. Frequent tiny trims guarantee maximum long-term length.
How To Trim Dead Ends On Curly Hair Safely
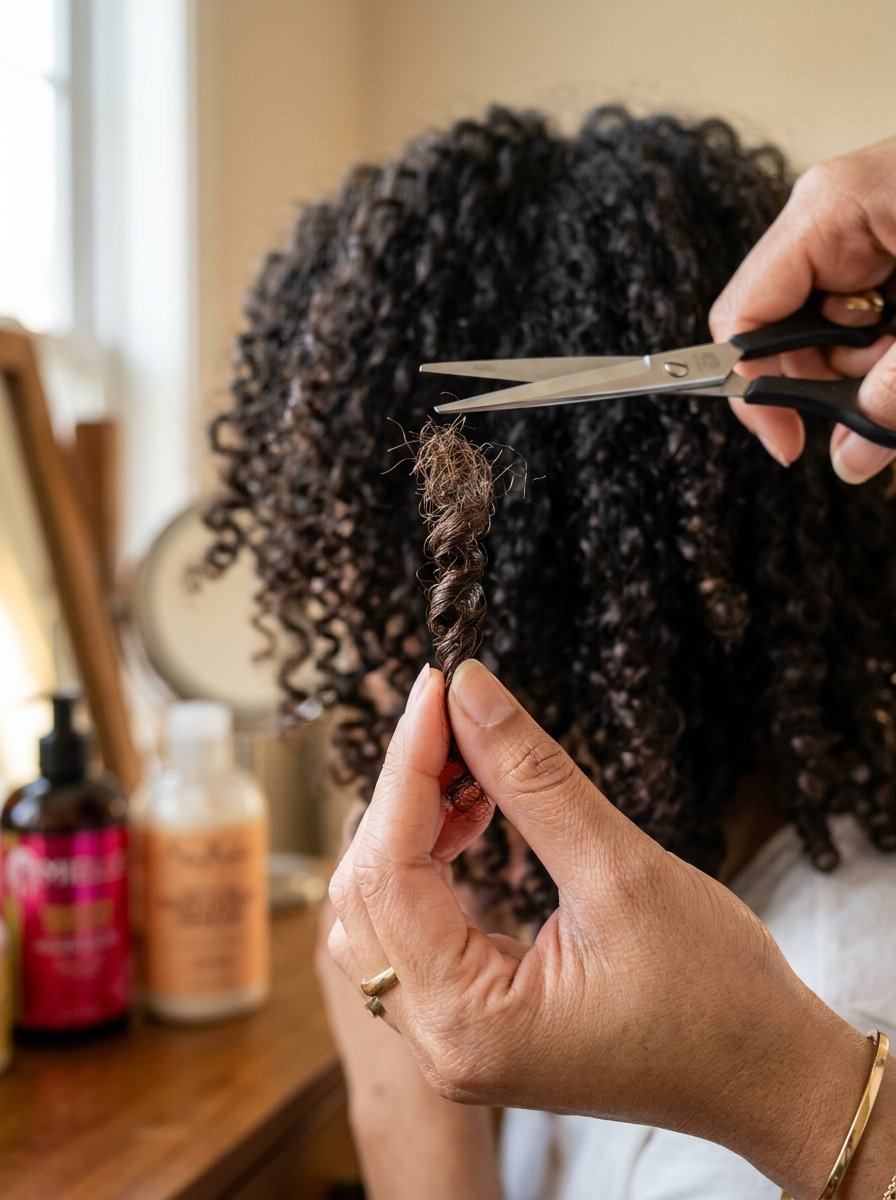
Curly hair requires a completely rare strategy. You cannot brush curly hair straight and chop it. This ruins the beautiful natural ringlets.
Wash and style your curls exactly as you usually do. Let them dry completely with your normal products in. You want to see how the curls live naturally.
Do not use a comb for this process. Combs separate the curl families and create frizz.
Take one individual curl grouping at a time. Pull it gently away from your head. Look closely at the very bottom tip.
You will see where the curl stops spiraling tight. The dead end will look straight, frizzy, or see-through. It hangs lazily off the bottom of the bouncy curl.
Snip that lazy piece right where the curl starts twisting again. Cut it at a slight angle.
Move around your head curl by curl. This takes considerable patience. It might take an hour to finish your whole head.
The result is a bouncy, healthy mane of curls. You keep all your hard-earned length and volume.
Common DIY Haircut Myths And Misconceptions
People spread terrible advice about home haircuts online. I want to clear up these false ideas right now.
Some say cutting your hair makes it grow faster. This is biologically impossible. Hair grows from the scalp follicles, not the ends. Cutting the dead ends simply stops breakage from traveling upward. Your hair retains length better, but it does not grow faster.
Many believe you need to cut an inch every month. That is far too much for most people. Hair only grows roughly half an inch a month. Cutting an inch means your hair is constantly getting shorter. A quarter-inch trim is all you usually need.
People think kitchen scissors are perfectly fine. We already covered this, but it bears repeating. Kitchen scissors destroy your hair cuticle completely. The damage will show up visibly within days.
Another myth is that splitting ends can be healed. No serum or mask can permanently glue a split end together. Products only coat the hair with silicones temporarily. The split is still there underneath the product. The only real cure is a sharp pair of scissors.
The Psychology Behind Cutting Your Own Hair

Taking scissors to your own hair feels intensely rebellious. Society tells us we must trust professionals with our appearance. Breaking that rule causes a lot of anxiety at first.
We attach massive emotional value to our hair length. A bad haircut can ruin your mood for weeks. It makes you want to hide in your house.
Learning to cut it yourself flips this power dynamic. You stop relying on someone else for your confidence. You take ultimate responsibility for your own look.
The first snip always makes your heart race. I remember my hands sweating the first time I tried. But seeing the clean, healthy ends changes everything.
The fear turns into extreme pride very quickly. You realize it is just hair and geometry. You start trusting your own hands and your own vision.
This confidence bleeds into other areas of your life. If you can master your own haircut, what else can you study? It is a tiny but powerful form of self-reliance.
A Quick Guide To Hair Growth Cycles
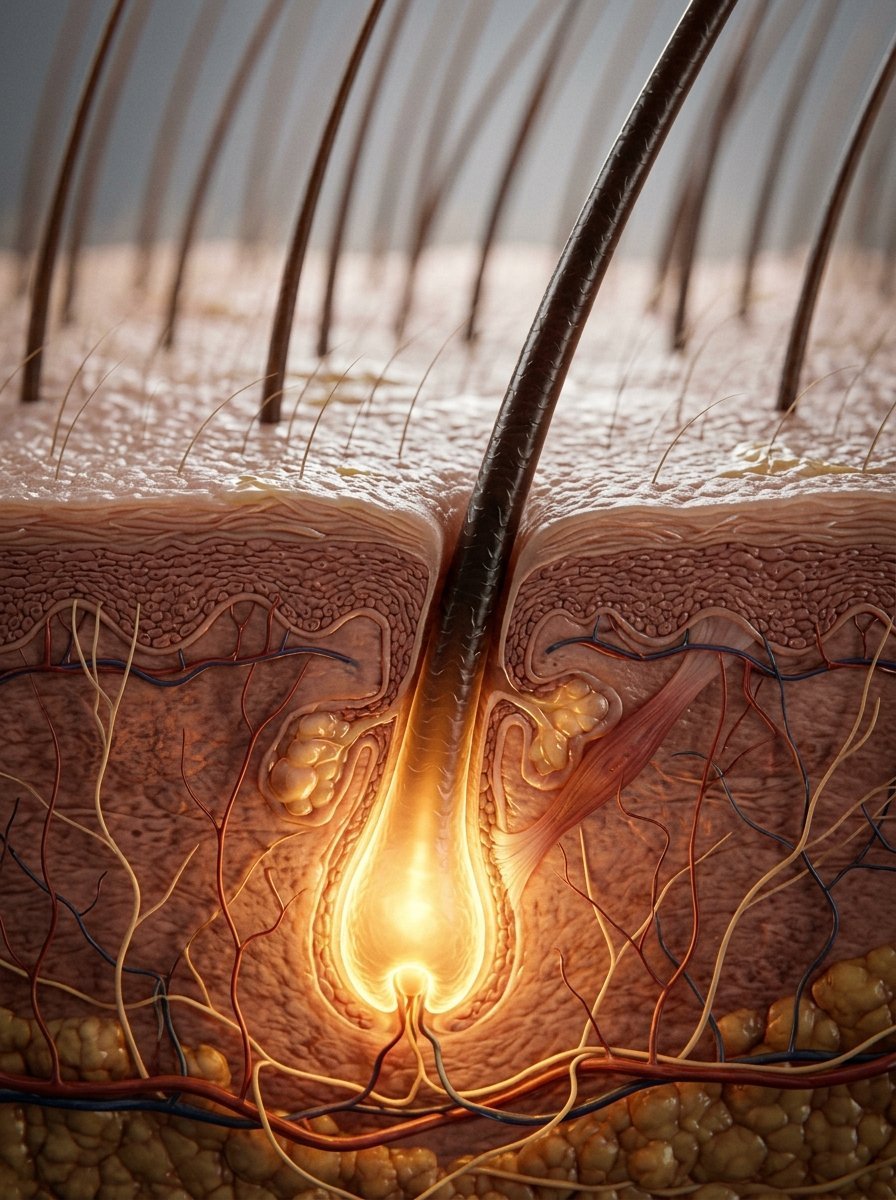
Knowing how hair grows helps you manage your expectations. You will stop stressing over tiny daily changes.
Every single hair on your head lives in a cycle.
The anagen phase is the active growth period. This lasts anywhere from two to seven years. Your genetics dictate how long this phase lasts. This dictates your absolute maximum possible hair length.
The catagen phase is a short resting period. The hair stops growing completely for a few weeks. The follicle shrinks back slightly.
The telogen phase is the shedding period. The hair falls out naturally. A new hair begins growing in the same exact spot.
You lose fifty to one hundred hairs every single day. This is completely natural and normal. Do not panic if you see hair in your shower drain.
Trimming your hair keeps the anagen hairs looking thick. It stops the oldest parts of the hair from breaking off prematurely.
Products That Keep Split Ends Away Longer

You want to protect your fresh new ends immediately. Good products act like a shield against daily wear and tear.
Leave-in conditioners are absolutely mandatory for long hair. They provide a slippery barrier against friction. I spray a detangling conditioner after every single wash. It makes the wet brush glide through effortlessly.
Silicones get a bad reputation online lately. But they are wonderful for protecting long, fragile ends. A good silicone serum coats the cuticle beautifully. It locks the internal moisture inside the hair shaft. Just remember to use a clarifying shampoo once a month. This removes any heavy silicone buildup.
Silk protein sprays help fortify the hair structure. They give a tiny bit of strength to the fragile tips.
Microfiber towels stop mechanical damage right out of the shower. Regular terrycloth towels have tiny loops that catch and rip hair. Microfiber is perfectly flat and gentle. Never rub your hair dry. Always squeeze the water out gently.
What To Do If You Cut Too Much Hair Off

Panic sets in quickly if the scissors slip. You might take off two inches instead of two millimeters. Take a deep breath and step away from the mirror.
Do not try to fix it immediately while panicking. Angry, scared cutting always leads to disaster. You will keep chasing the uneven line upward.
Leave the bathroom and drink a glass of water. Accept that the length is gone for now. It is incredibly frustrating, but it will grow back.
Return to the mirror when you feel calm. Look at the mistake objectively. If it is horribly uneven, you might need a tiny fix. Just point cut the longest pieces to blend them slightly.
Change your parting for a few days. Flipping your hair to the side hides many blunt mistakes.
Use curling irons or wands to mask uneven layers. Curls hide a bad haircut beautifully while it grows out.
Buy some hair skin and nail vitamins. They will not work overnight, but they help support new growth. Focus entirely on scalp health for the next three months.
How To Handle Your First Shower After A Trim

The first wash after a fresh cut feels different. Your ends will feel incredibly thick and healthy.
You might notice loose little hairs falling out. These are just the tiny pieces you snipped off. They often cling to the rest of your hair dynamically.
Use a very gentle shampoo for this first wash. Focus the suds entirely on your scalp. Let the bubbles rinse down the length naturally. Do not scrub the fresh ends at all.
Apply a heavy hair mask instead of a normal conditioner. Your freshly cut cuticles are open and ready for hydration. Slather the mask on the bottom four inches. Leave it there for at least ten solid minutes.
Rinse with cold water if you can stand it. Cold water snaps the cuticle shut tightly. It locks the moisture in and creates a brilliant shine.
Comb the wet hair slowly. You will notice the comb slides through much easier now. The ragged, grabbing split ends are entirely gone.
Taking Photos To Track Your Hair Progress

You see your hair every single day in the mirror. You will not notice it growing longer over time. Taking systematic photos proves your progress visually.
Pick a specific shirt for your hair progress pictures. A shirt with horizontal stripes works absolute wonders for this. The stripes act as an automatic measuring tape.
Stand in the exact same spot for every photo. Natural daylight from a window gives the most accurate color and texture.
Ask a friend to take the photo from behind. Have them hold the camera exactly at eye level. Looking down or up distorts the length completely.
Take one picture on the first day of every month. Put them in a specific hidden folder on your phone.
Compare month one to month six. You will be completely shocked by the difference. The dusting routine works slowly but the results are undeniable.
These photos keep you motivated when you get impatient. They prove that skipping the salon is working perfectly.
Frequently Asked Questions
How to long layer your own hair properly?
Section your hair meticulously into front and back parts. Bring the front sections far forward over your face. Hold the hair tightly at a forty-five-degree angle. Point cut the ends vertically with sharp shears. Never cut straight across horizontally. This creates a soft cascading effect down the front. The back pieces stay completely untouched. Your overall length remains exactly the same while gaining movement.
What is an easy layer cut at home for beginners?
The forehead ponytail trick is the absolute easiest method. Gather all hair smoothly at your front hairline. Tie it tightly with a secure elastic band. Slide another elastic down straight to the very ends. Point cut the hair sticking out at the bottom. Untie the hair and brush it out gently. You get instant face-framing layers in under five minutes.
Can I do a layer cut for medium hair at home safely?
Yes, but you must be incredibly careful. Avoid the viral ponytail tricks for medium hair. Use the over-direction routine instead for safety. Pull the side sections across your face tightly. Trim them vertically using the delicate point cutting style. Have someone else check the back sections for you. Medium hair shows uneven lines much faster than long hair.
Diy long layers haircut: is it worth the risk?
It is absolutely worth learning this skill. The financial savings alone make it a worthwhile project. You gain total control over your appearance and length. The risk is very low if you cut tiny amounts. You can always trim a quarter inch to start. Most bad DIY haircuts happen from rushing or panic. Moving slowly guarantees a safe and beautiful result.
How to cut soft layers at home without making them choppy?
Choppy layers come from cutting horizontal, blunt lines. You must master the point cutting style for softness. Pointing your scissors vertically into the hair creates a feathered edge. Thinning shears also help erase any accidental choppy steps. Only use thinning shears on the bottom inch of the layer.
How to cut layer cut styles for fine hair?
Fine hair requires fewer layers than thick hair. Too many layers make fine hair look stringy and thin. Stick to face-framing pieces only. Do not layer the back of fine hair at all. Keep the perimeter thick and blunt for maximum volume. Only point cut the front pieces very lightly.
Final Thoughts On Your DIY Haircut Journey

Taking control of your hair routine changes your life completely. You never have to fear a salon chair again. You hold the power and the scissors in your own hands.
Start your journey with tiny, cautious micro-trims. Practice the dusting routine every few months patiently. Watch your hair grow significantly longer and thicker over time.
Spend real money on good shears and a decent mirror. Take your time and play some relaxing music during the process. Treat this entire routine as a moment of self-care.
Your friends will ask who does your hair styling. You will get to smile widely and say you do. Keep practicing and trust your own steady hands. Your dream hair goals are completely within your reach right now.

Sarah Mitchell — Founder & Editor-in-Chief
Sarah Mitchell is the founder and editorial voice behind Hair Level Up. A licensed cosmetologist with more than 15 years of experience, she has styled A-list celebrities for editorial shoots and red carpets, with work featured in Vogue, Elle, and Harper’s Bazaar. Early in her career, she trained under the legendary hairstylist Oribe in New York, an apprenticeship that still shapes her editorial eye today. Sarah founded Hair Level Up in 2020 after one bad haircut convinced her that women deserved a destination that felt like a magazine, taught like a stylist, and inspired like an art gallery. She oversees every story from concept to publication, guided by a simple belief: a good story teaches you something, but a great one makes you feel beautiful while it does.