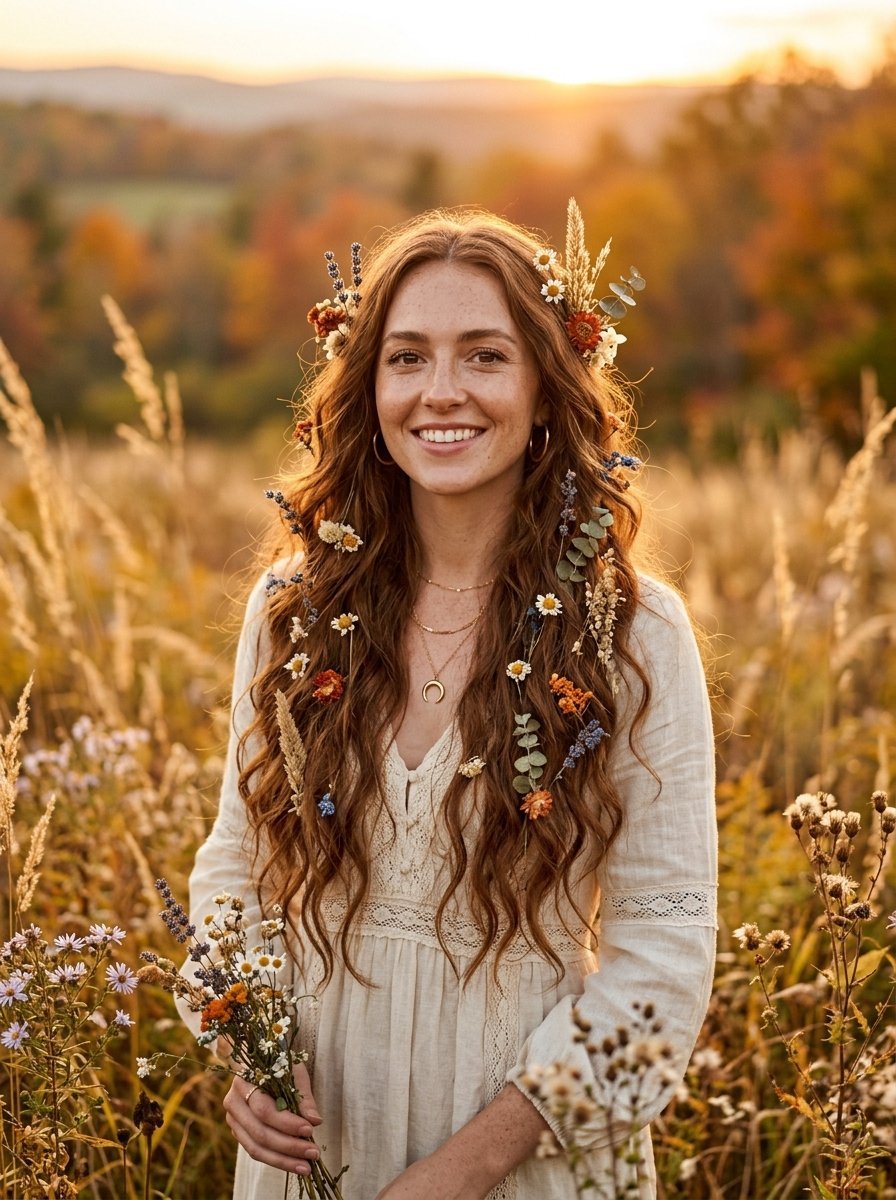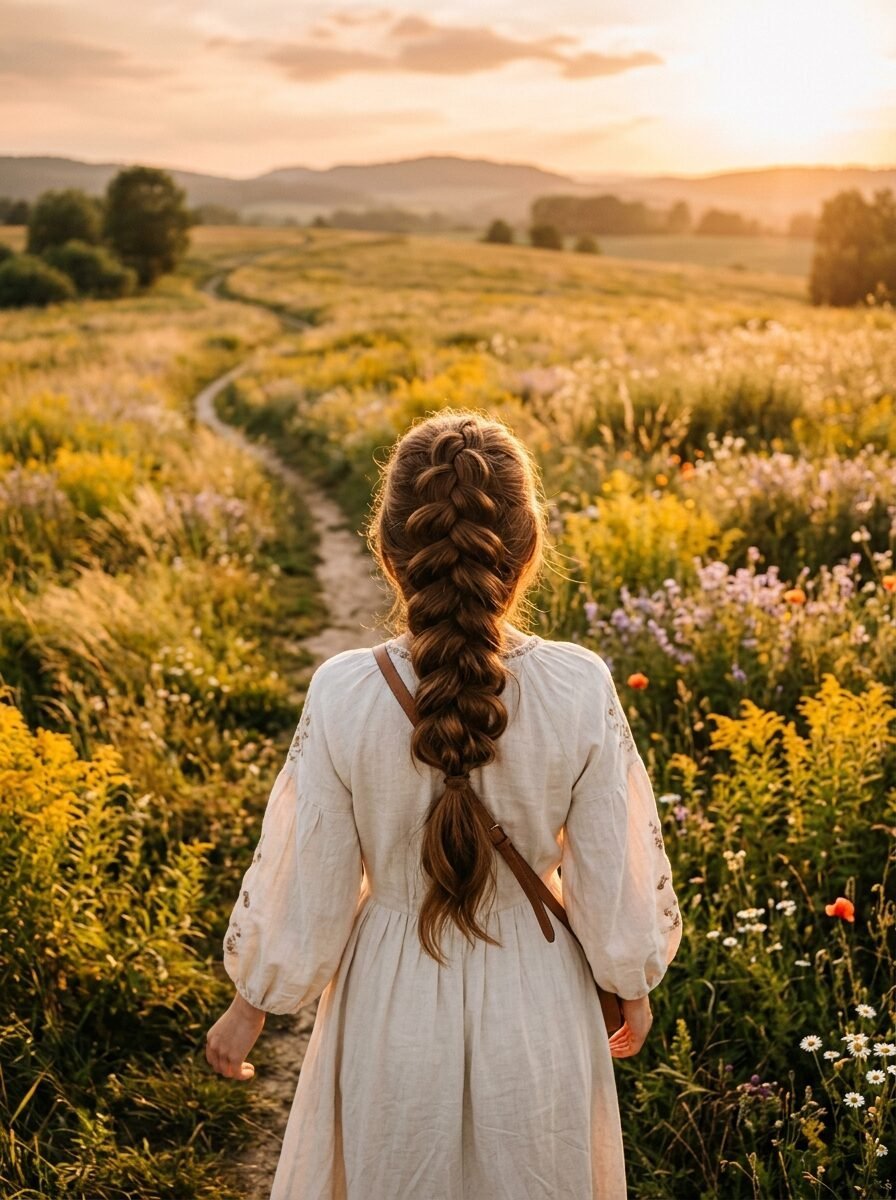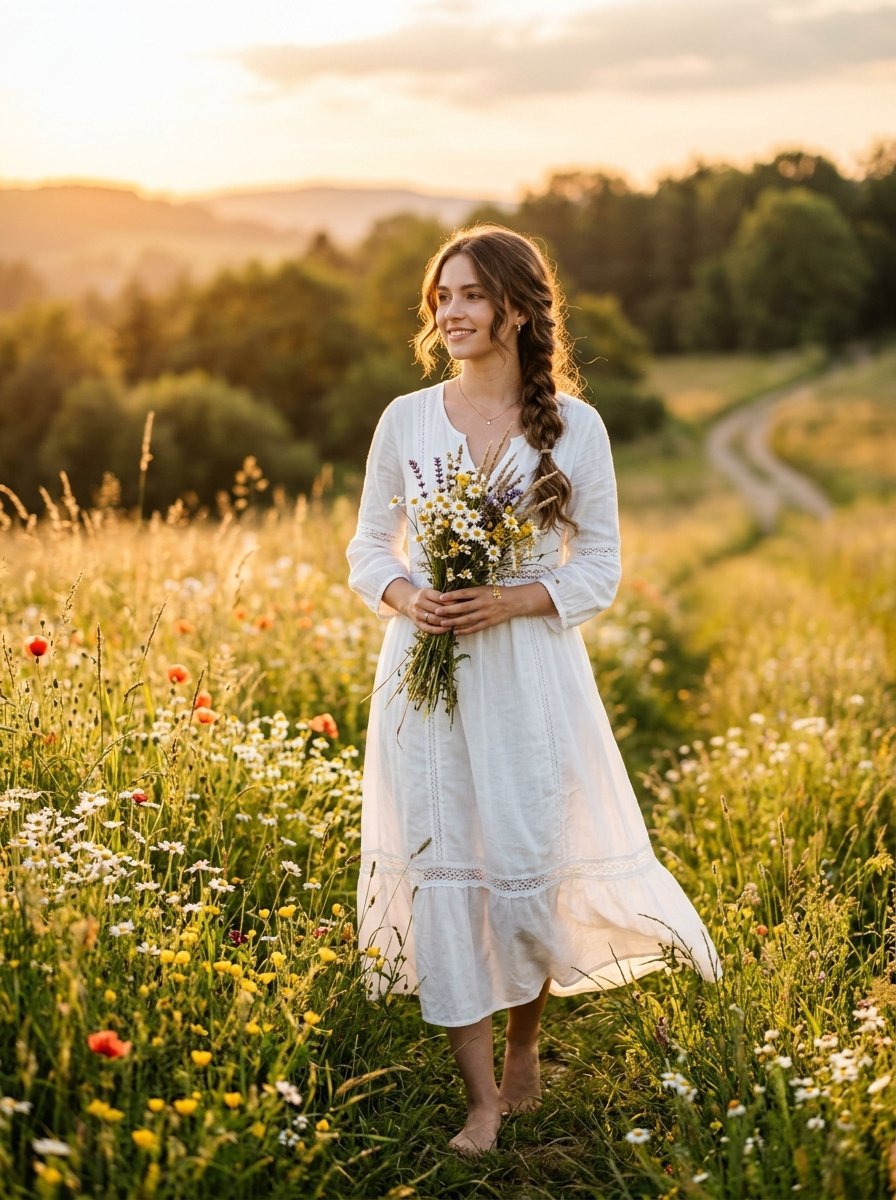
18 Messy Boho Braid Looks That Take 5 Minutes
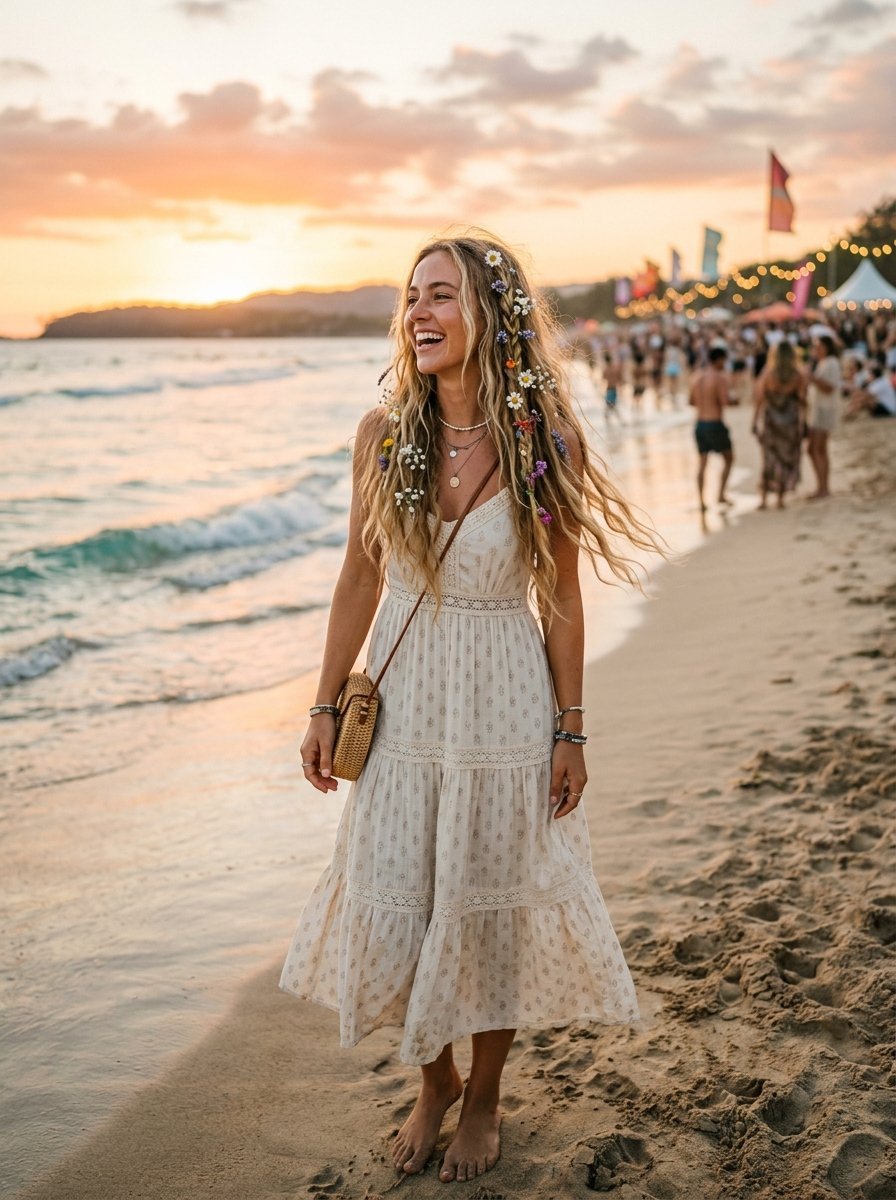
I remember staring at the mirror five minutes before I had to leave for a summer festival. My hair was completely flat. I needed something fast. I threw my hair into a loose side plait and pulled out a few framing pieces around my face. Strangers asked me about my hair all day long. You do not need hours to get that relaxed Pinterest aesthetic. Five minutes gives you plenty of time to create stunning textured messy boho braid looks. You can do this easily even if you usually struggle with hair styling. We will walk through exact steps to get that perfect effortless appearance right now.
You will get exactly eighteen distinct styles you can execute in five minutes or less. We cover options for short bobs all the way to waist length hair. I included precise details on texturizing sprays clear elastics and bobby pin placements. You will read exact product recommendations that cost under fifteen dollars. These styles work perfectly for morning rushes or unexpected evening plans. I tested each of these styles personally while racing against a timer. They hold up through wind humidity and long busy days. We will skip the complicated braiding tutorials and focus on quick messy steps instead. You get the exact styling blueprint I use for clients who want that relaxed cowgirl hair aesthetic without sitting in a salon chair for two hours.
1. The Classic Side Sweep
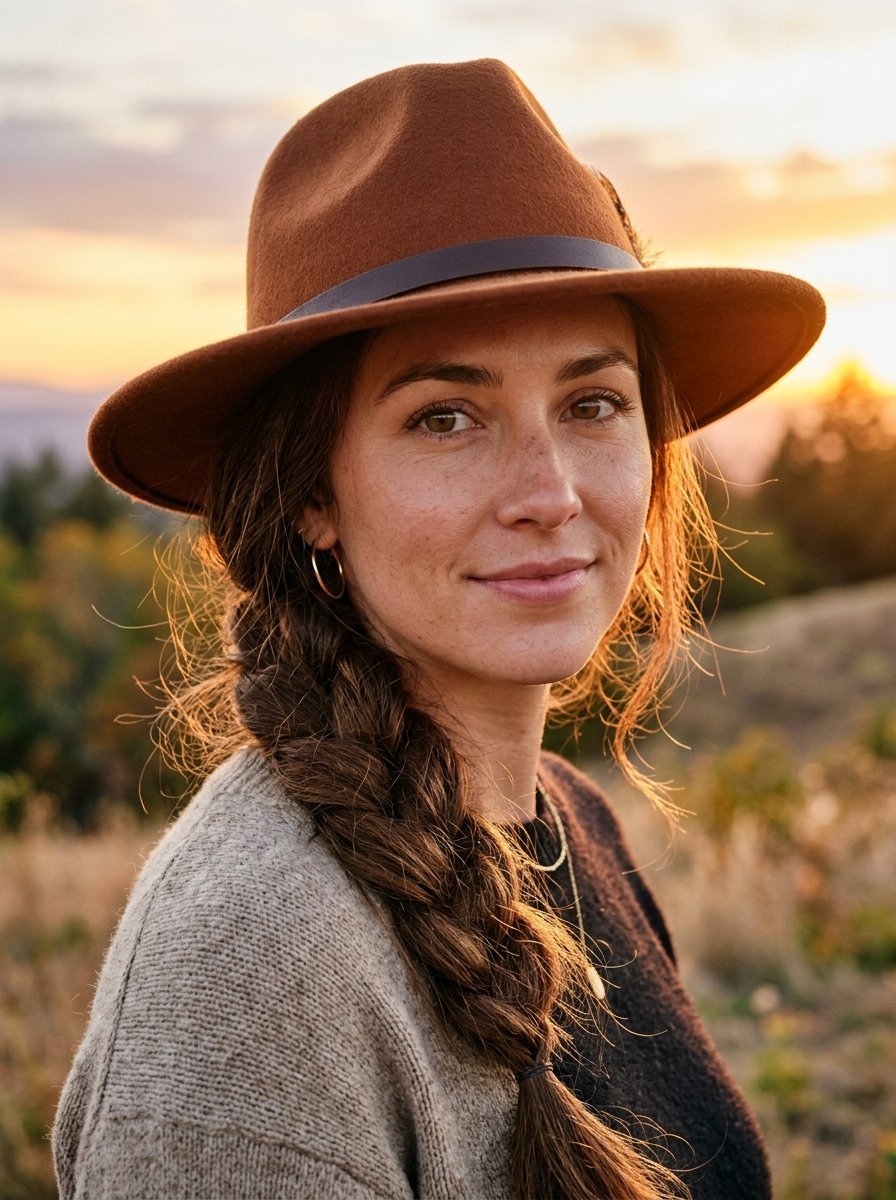
This messy braid hairstyle remains my absolute favorite go to choice. You gather all your hair to one side over your shoulder. Spray dry shampoo near the roots for grip. Braid a standard three strand plait down to the ends. Tie it with a small clear elastic. Gently pull the outer edges of each braided section to widen them. Stylists refer to this as pancaking the braid. It instantly doubles the visual thickness of your hair. Let short layers fall out around your face naturally. I noticed this specific look flatters almost every face shape. I usually pair this with a wide brim hat for instant cowgirl hair vibes. It takes roughly two minutes and looks better as the day goes on.
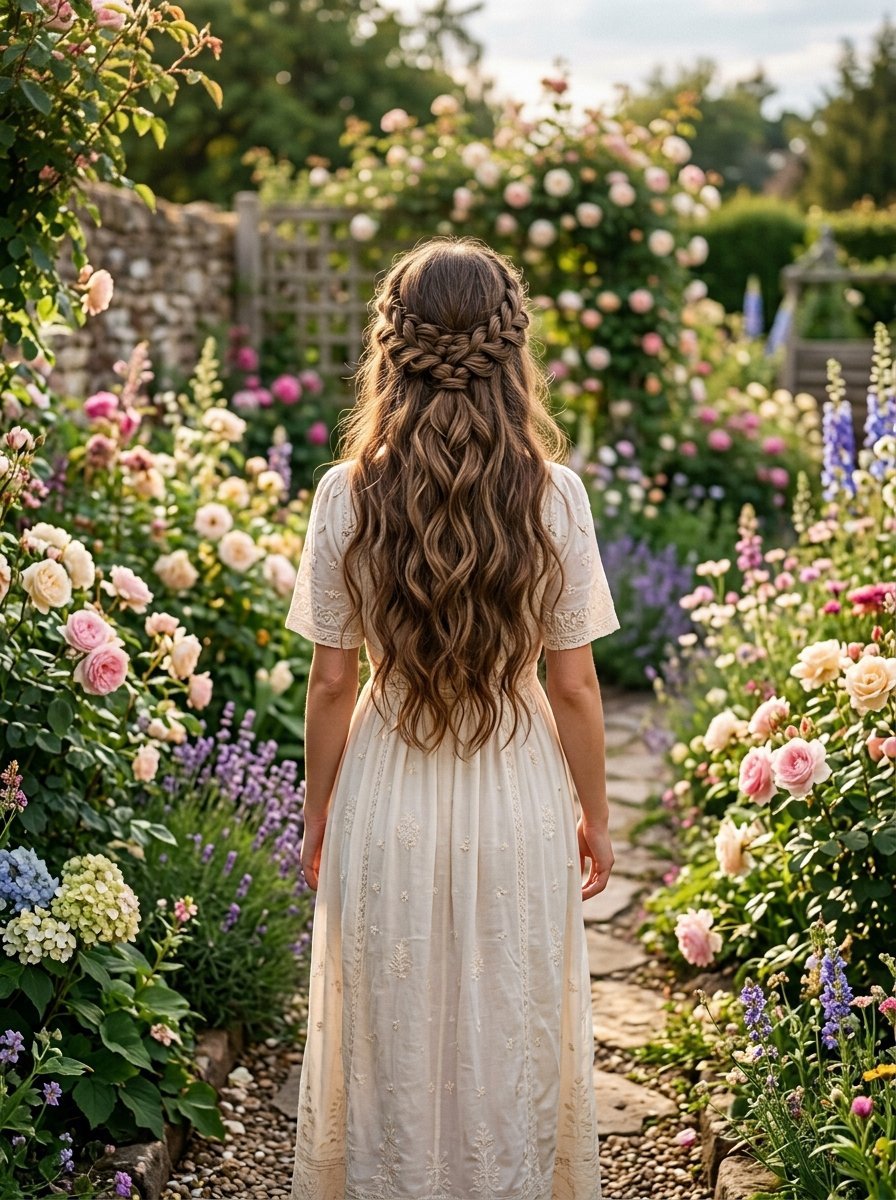
2. Half Up Crown Braid
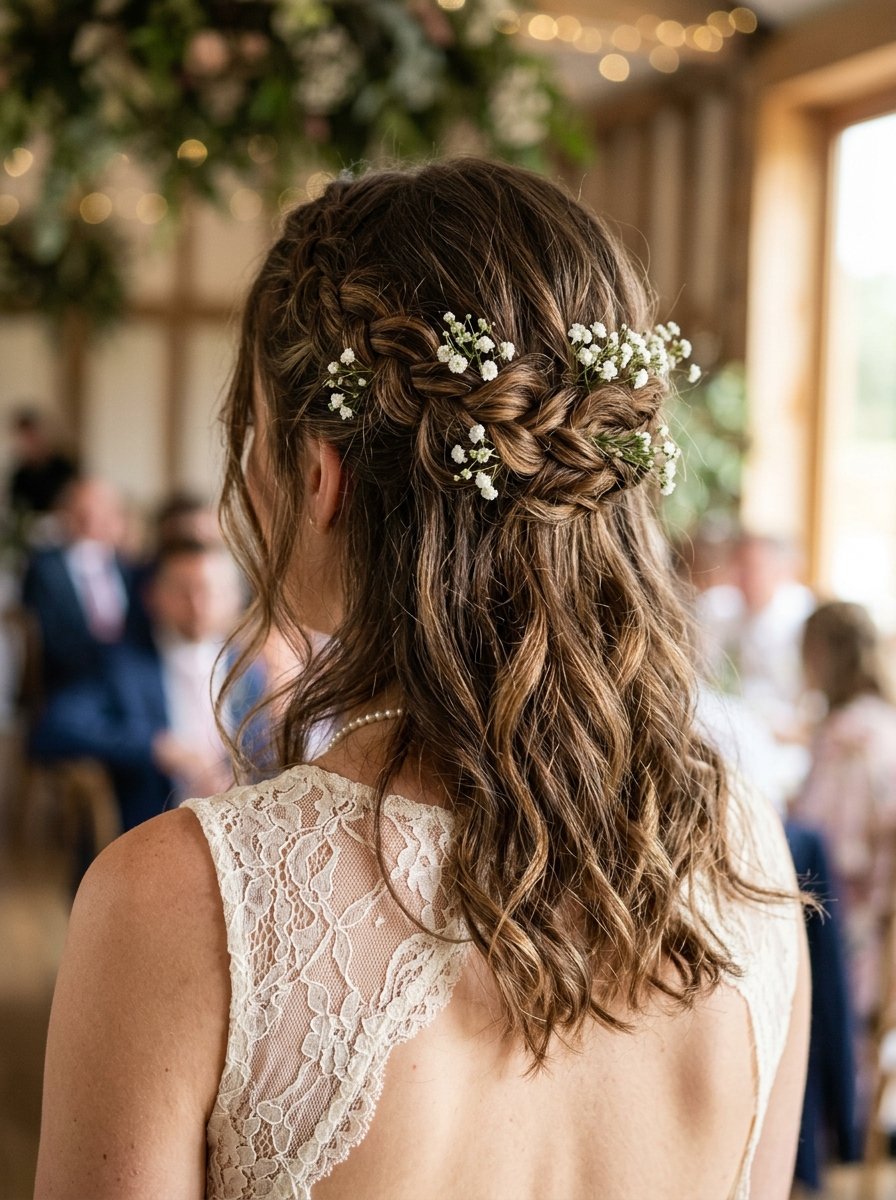
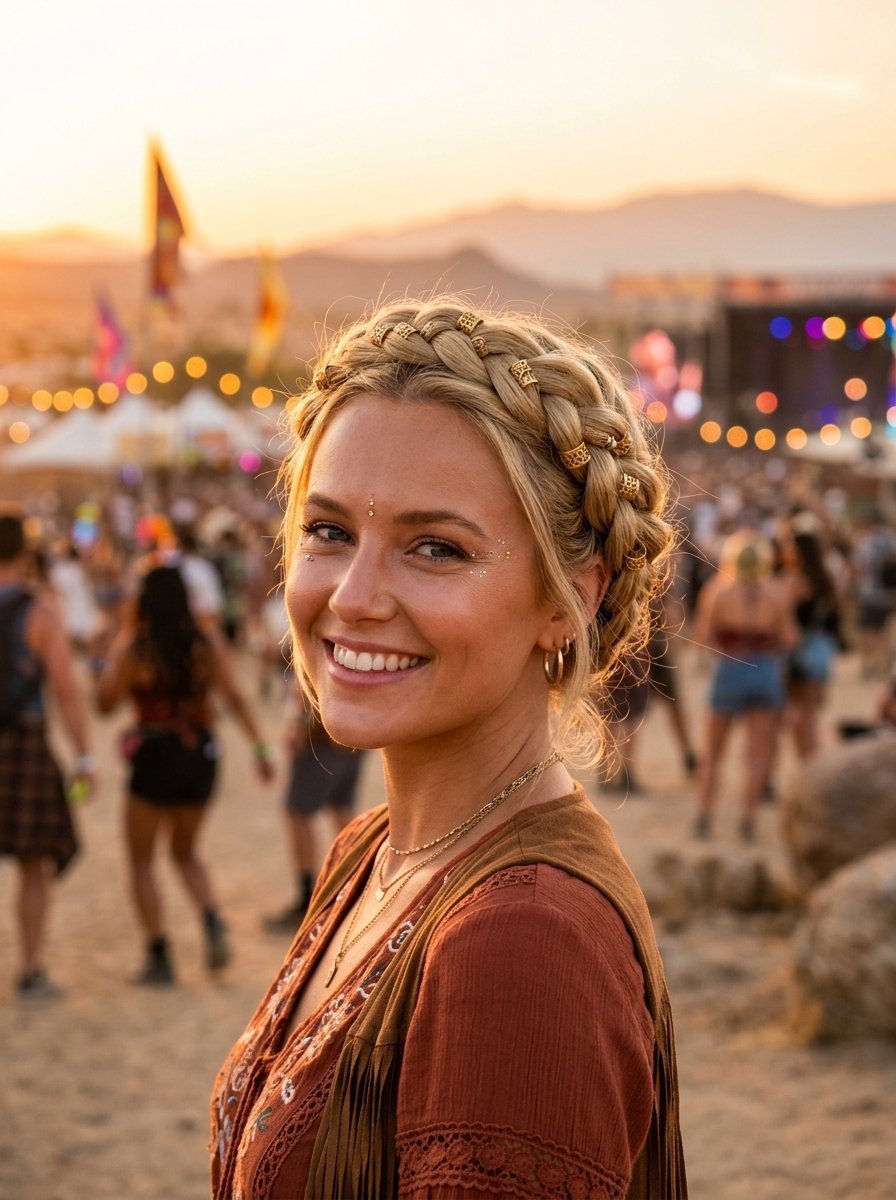
I always turn to this look when framing a round face. Section off the top half of your hair from ear to ear. Braid two small sections from the front hairline backward. Tie them together at the back of your head. This perfectly fits the cottage core hairstyles look on Pinterest right now. I gently massage the braids to make them look slept in and lived in. You need three bobby pins and one clear band. I typically spray a light texture mist over the top before pinning. This stops the fine hairs from slipping loose. It looks incredibly romantic without feeling tight or structured. My clients absolutely love this for casual outdoor weddings.
3. The Undone Fishtail
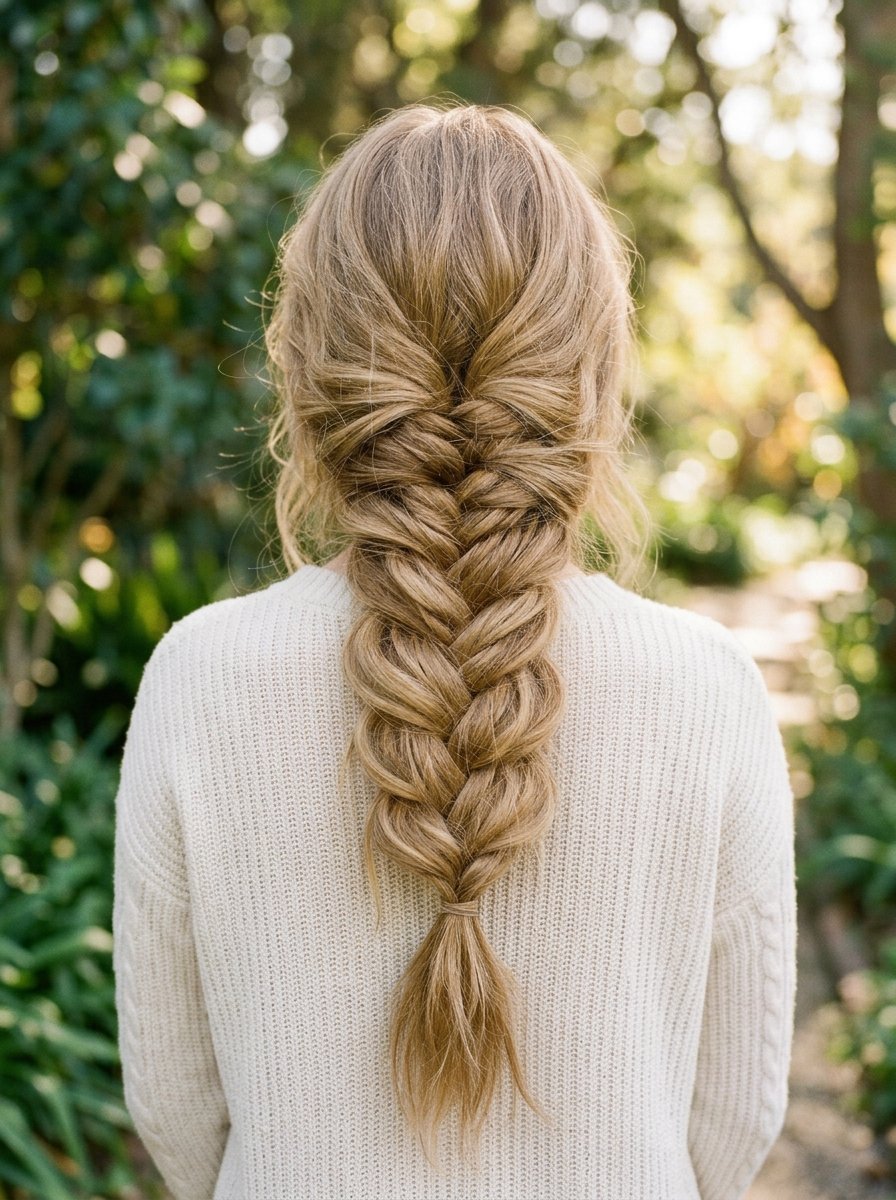
Many people think fishtails take forever to finish. I found a faster way to get that boho chic hair look. You divide your hair into two main sections. Take a small piece from the outer edge of the left section and cross it over to the right. Repeat this on the opposite side. Just make the sections much larger than a traditional fishtail. Taking chunky pieces cuts the styling time down to four minutes. Tie the bottom tightly. Then gently pull the sides outward to loosen the entire structure. I have seen this work wonders on second day hair. The natural oils help the chunky sections hold together perfectly.
4. Chunky Face Framing Plaits
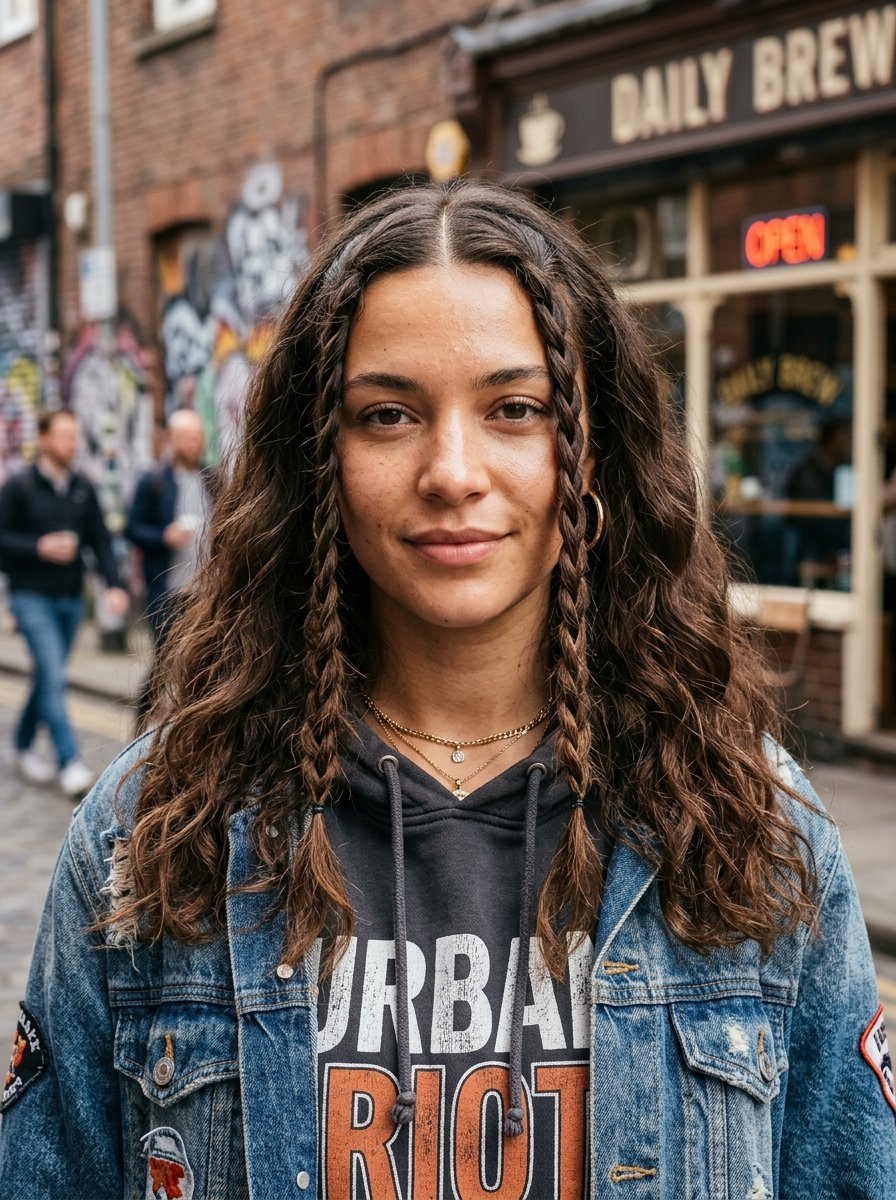
These front pieces completely change your overall look. I separate one inch sections right at the front of the hairline. Braid them loosely downward. Do not tie them with elastics. Just tease the ends lightly with a comb. The teased ends stop the braid from unraveling. You get instant cute messy braid hairstyles without touching the rest of your hair. I tried this last weekend while running errands. It kept the hair out of my eyes and looked completely deliberate. This works incredibly well if you have a middle part. Pair it with loose natural waves for a beautifully relaxed finish.
5. The Textured Low Pony Braid
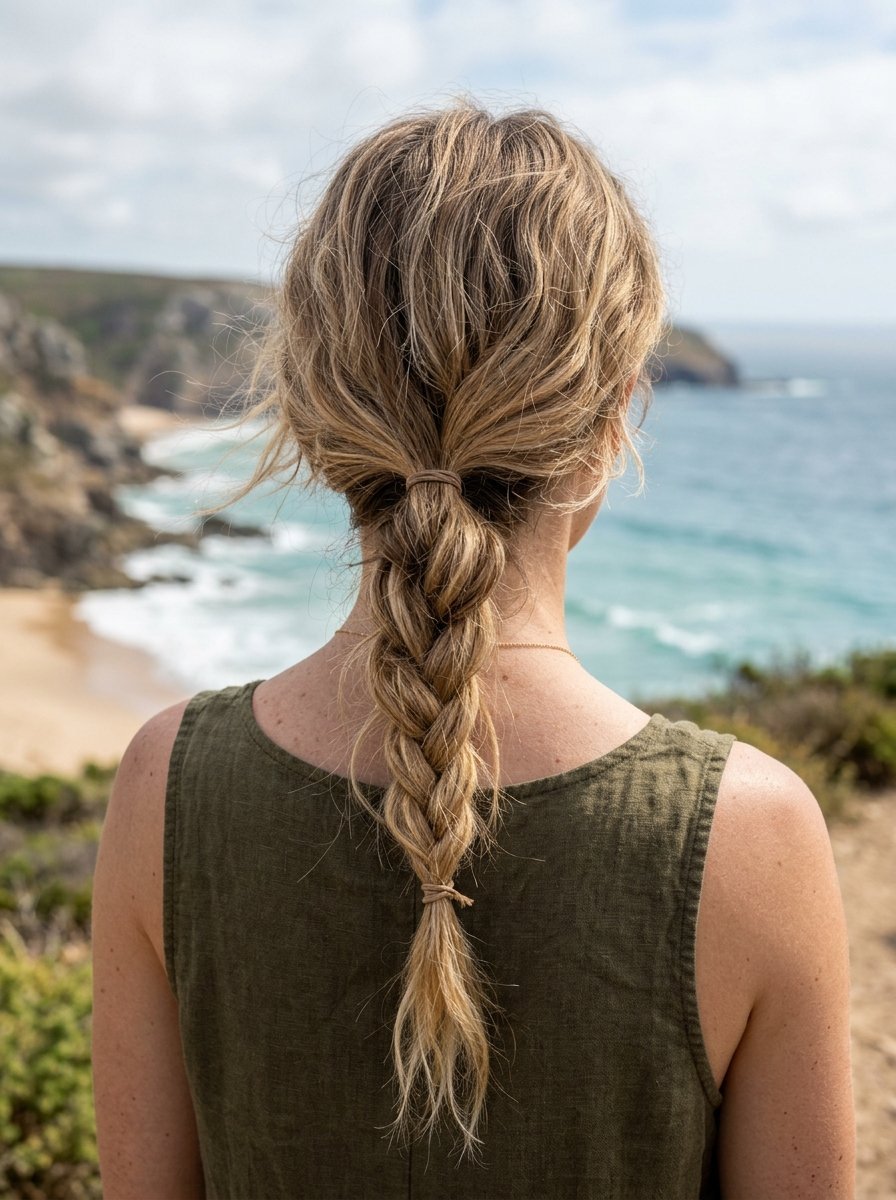
This sits perfectly at the intersection of casual and put together. Gather your hair at the nape of your neck into a low ponytail. Braid the tail down and tie it. This ranks among my top choices for hairstyles for medium length hair braids. You pull the elastic slightly down to loosen the base. Then gently separate the braided loops. I spray a bit of sea salt spray directly onto the braid for extra grit. This creates a beautifully thick texture even if you have fine hair. I rely on this look heavily during humid summer days. It keeps everything contained but looks remarkably stylish.
6. Messy Dutch Pigtails
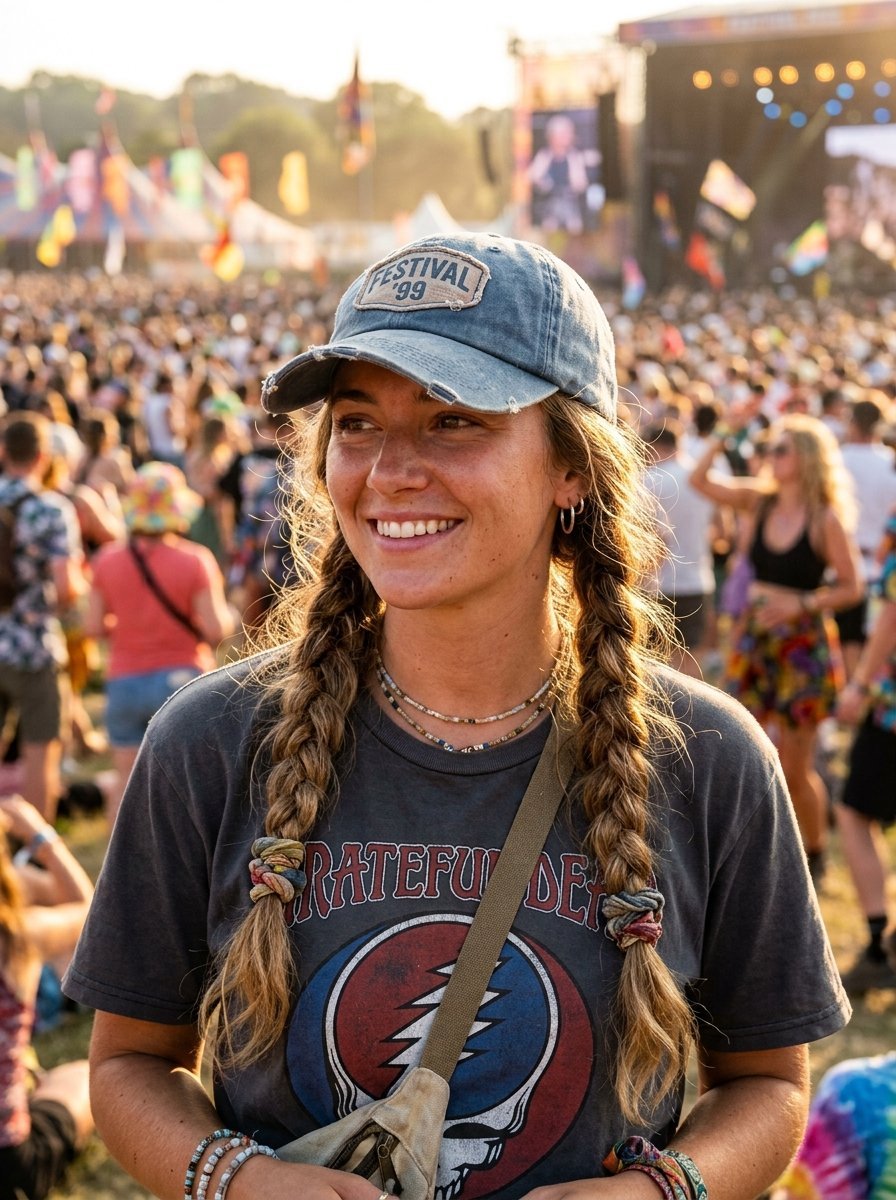
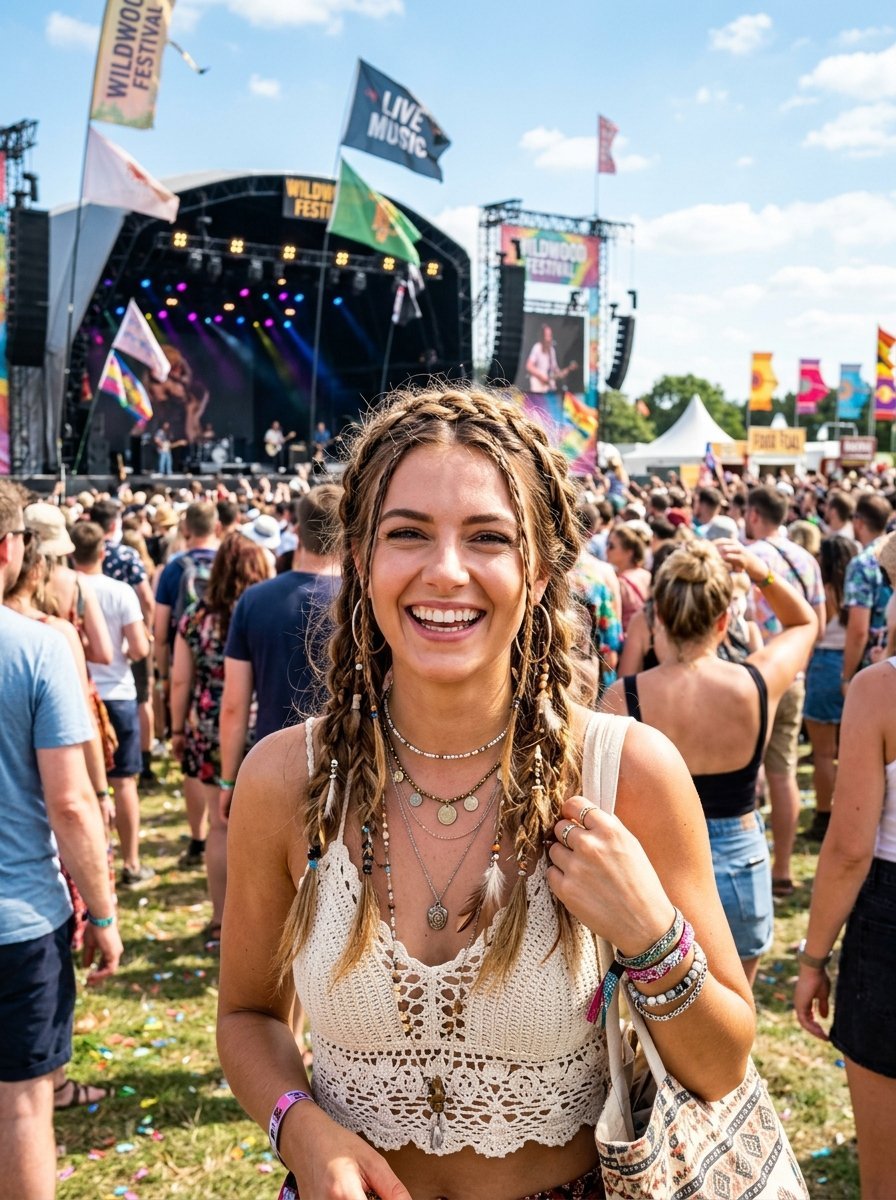
You weave the hair under instead of over to make the braid pop out. Part your hair down the middle. Dutch braid each side down to the nape of your neck. Switch to a standard braid for the rest of the length. Pull at the sides until they look thick and slightly distressed. I absolutely love this interpretation of cowgirl hair. It works perfectly under baseball caps or sun hats. I wore this exact style during a three day music festival. It stayed entirely intact. You just need to tug out some wispy hairs around your ears and neck to soften the overall appearance.
7. The Twisted Halo
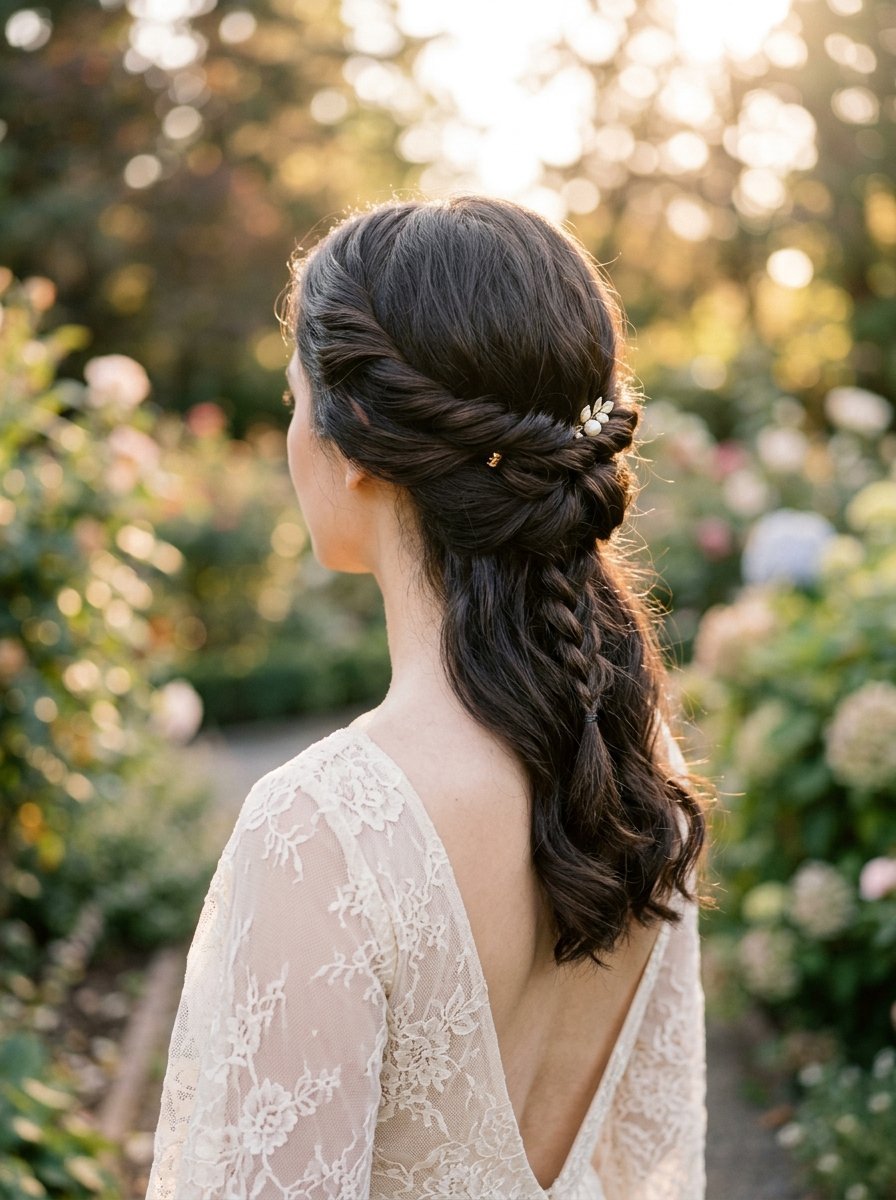
You do not actually need to braid anything to get this look. Take two pieces of hair from the front temples. Twist them loosely backward. Pin them together at the back of your head. Braid the little tail that hangs down. This mimics elegant braided hairstyles with half the effort. I have noticed this style saves an immense amount of time on busy mornings. You get the romantic crown detail without the sore arms from braiding behind your head. I tuck a small sprig of baby’s breath into the twist for spring events. It takes three minutes and looks professionally styled.
8. Pull Through Bubble Braid
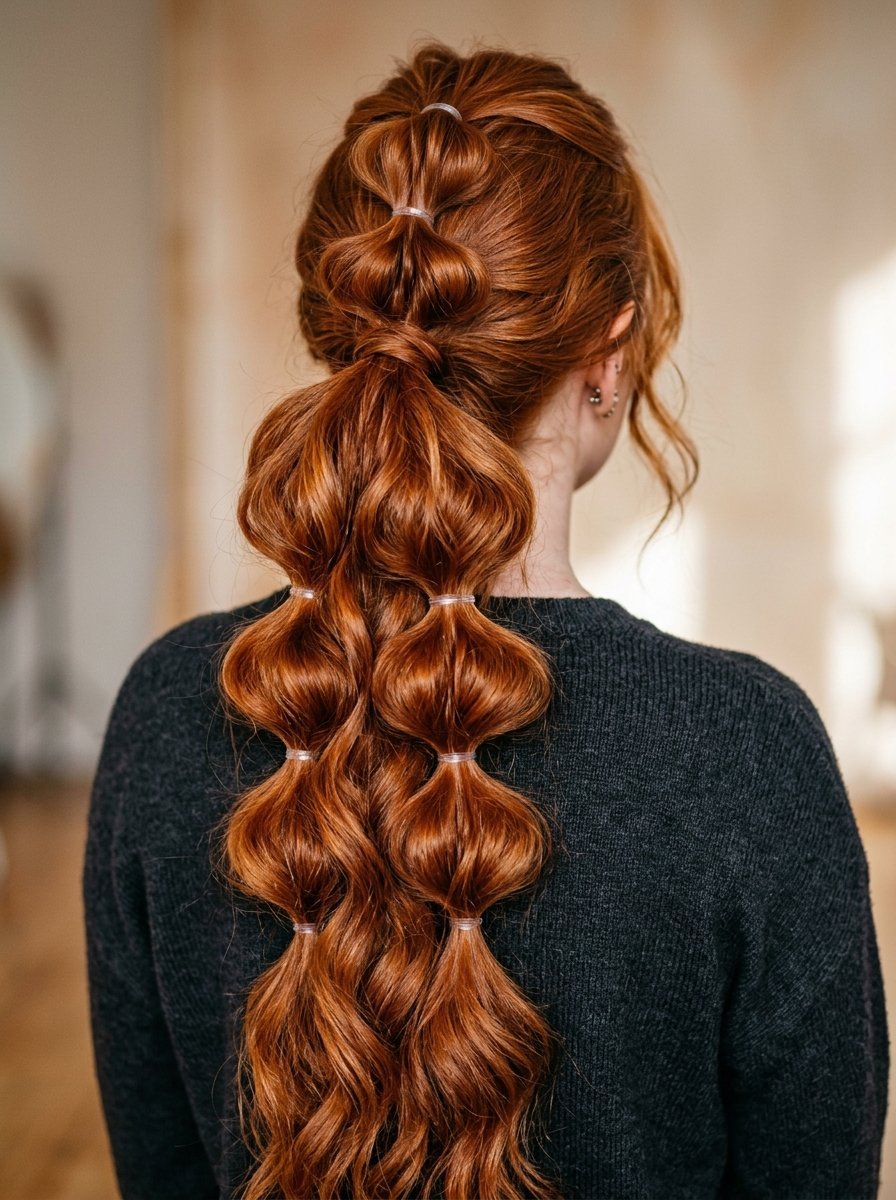
This routine creates a massive looking plait on fine hair. Tie a small section of hair at the crown. Tie another section right below it. Split the top ponytail in half. Pull the bottom ponytail up through the middle. Tie everything with another elastic. Repeat this down the length of your hair. Gently pull each section outward to create a bubble shape. This stands out beautifully among mid length braided hairstyles. I regularly do this on clients who complain their hair is too thin for normal braiding. The elastic bands create structural hold. You just need about six clear bands to finish the whole look.
9. The Disheveled Rope Braid
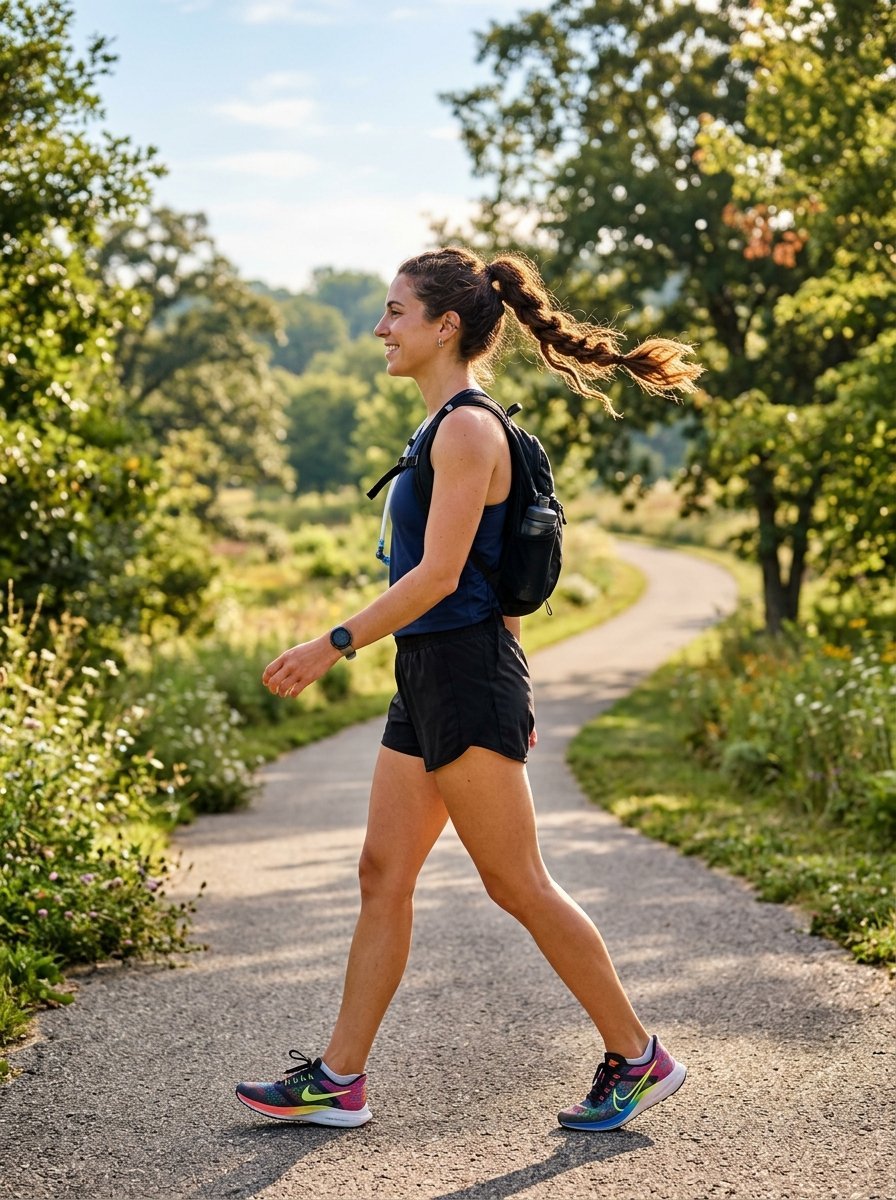
Put your hair into a high ponytail first. Split the tail into two equal sections. Twist both sections to the right. Then cross the right section over the left. Keep twisting and crossing all the way down. The counter tension locks the twist in place. Tie the bottom firmly. Gently rough up the edges with your fingers. I pull out a few face framing pieces to soften it. This requires less than two minutes. It creates a striking silhouette. I wore this to the gym and then straight to coffee. It transitioned perfectly without any touch ups required.
10. Mini Accent Braids
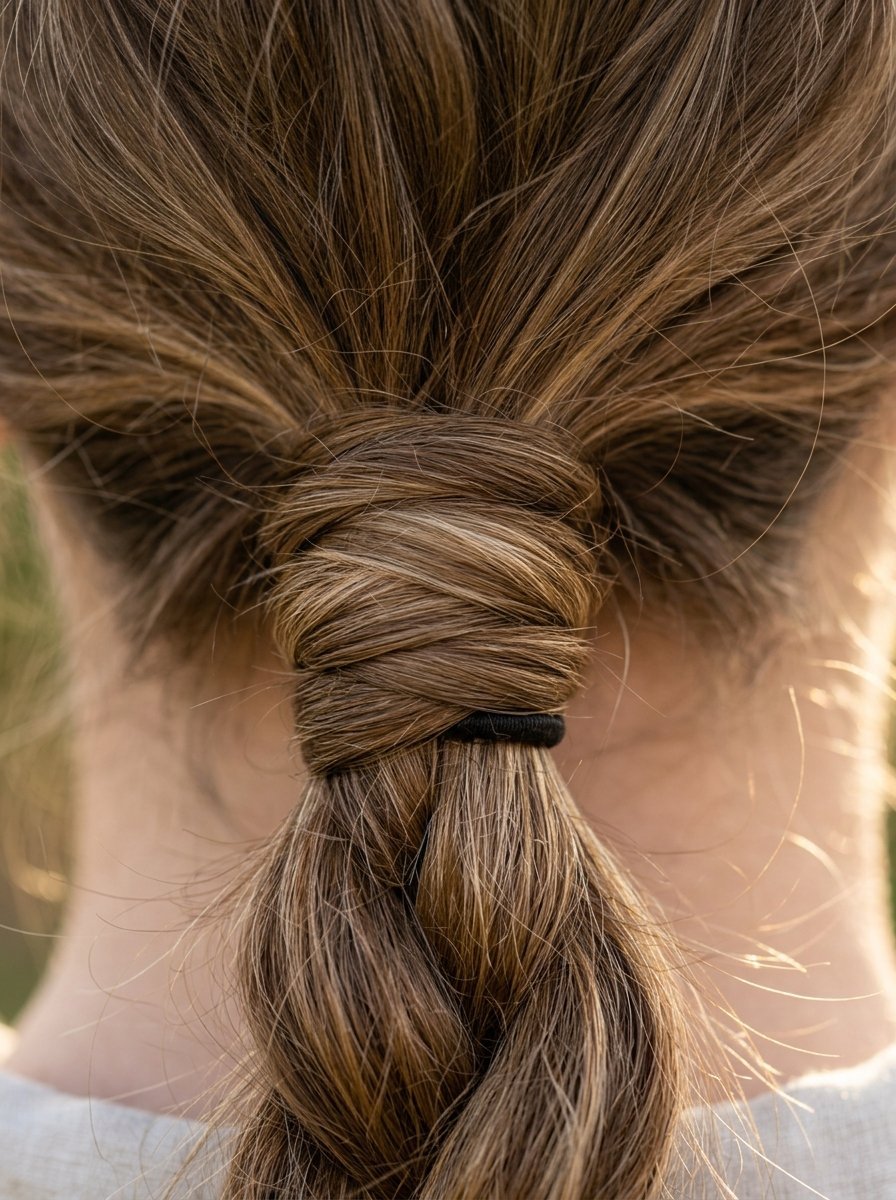
Leave your hair completely down and natural. Pick three random small sections of hair near the top layers. Braid them loosely down and tie with tiny bands. Gently pancake the sides so they look a bit worn. This gives you instant breezy hairstyles with minimal commitment. I usually place one braid near the front and two randomly in the back. I have found this works flawlessly for hiding weird cowlicks on second day hair. You just incorporate the stubborn piece of hair right into the plait. It looks effortlessly stylish and requires zero heat styling.
11. The Wrapped Base Braid
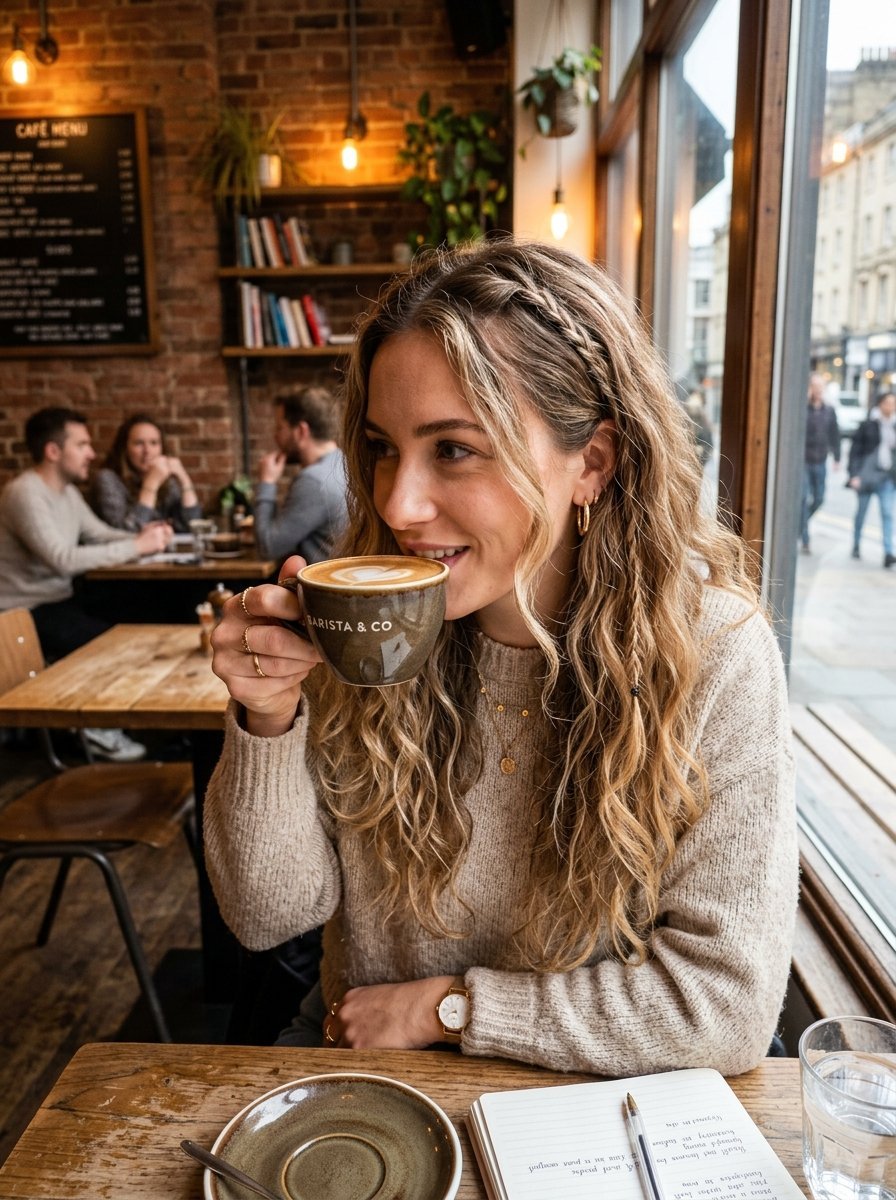
Start with a standard low side ponytail. Braid the tail normally and tie it. Take a small piece of hair from the tail and wrap it around the top elastic to hide it. Pin it underneath. Then wrap another small piece around the bottom elastic. This completely elevates standard messy boho braid looks. I do this exact step to make a simple style look finished and intentional. The hidden elastics trick the eye. I always gently rub the braid with an open palm to create some natural static and flyaways. This gives it that perfectly lived in texture.
12. Loose French Braid Tuck
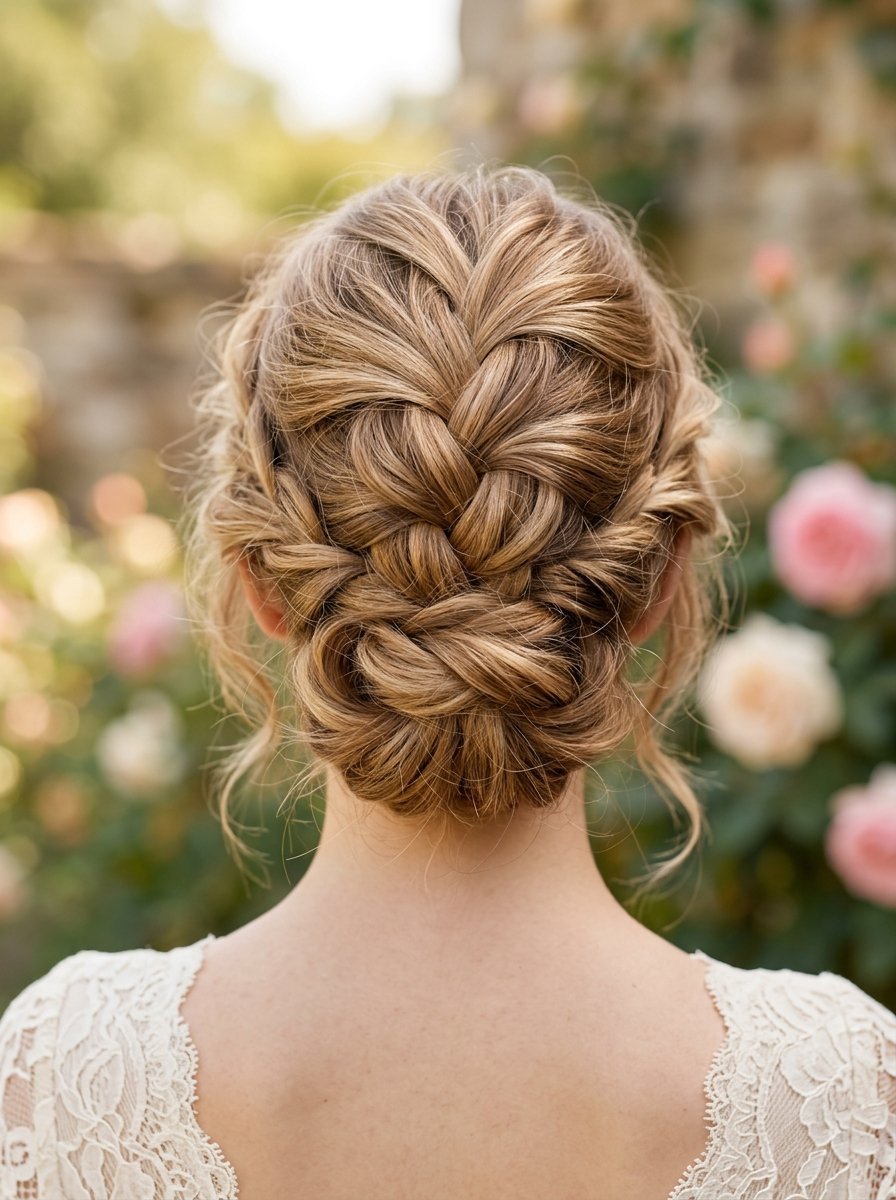
French braid your hair starting at the nape of your neck instead of the crown. Braid it down to the ends. Roll the remaining tail up and tuck it under the base of the braid at your neck. Tie it with four bobby pins. Pull randomly at the braided loops to loosen the entire shape. I have seen this successfully hide greasy roots on day three hair. It looks incredibly romantic and soft. I normally leave the front sections completely out of the braid. I just curl those front pieces away from the face for a quick five minute polish.
13. The Half Up Fishtail
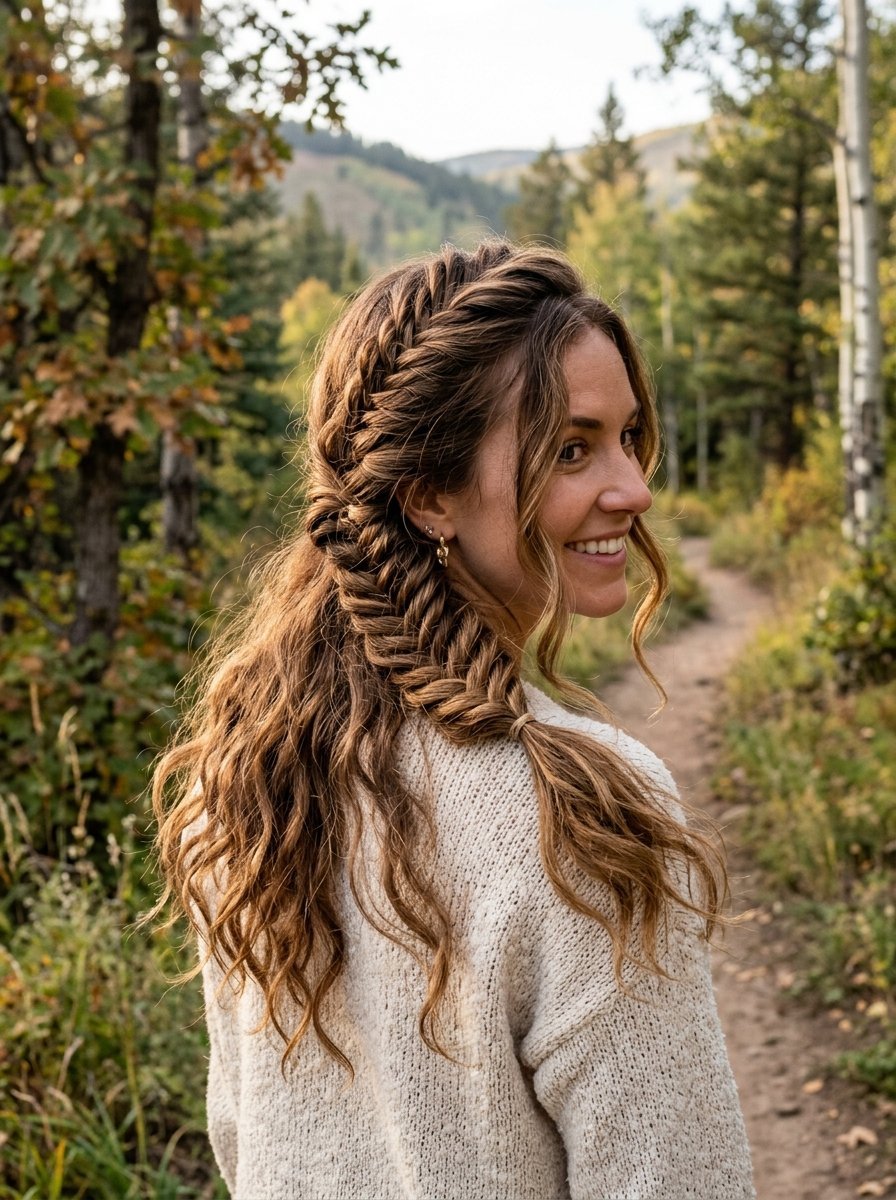
Gather the top section of your hair at the crown. Do a chunky fishtail just on this top section. Stop halfway down and tie it off. Let the rest of the hair fall naturally. Gently widen the fishtail loops. This flawlessly blends cottage core hairstyles with modern casual wear. I find fishtailing only the top half saves a ton of time. You get the intricate detail without spending ten minutes on the full length of your hair. I spray a little dry texturizer on the loose bottom hair to match the messy texture of the top.
14. Messy Bun With Braided Base
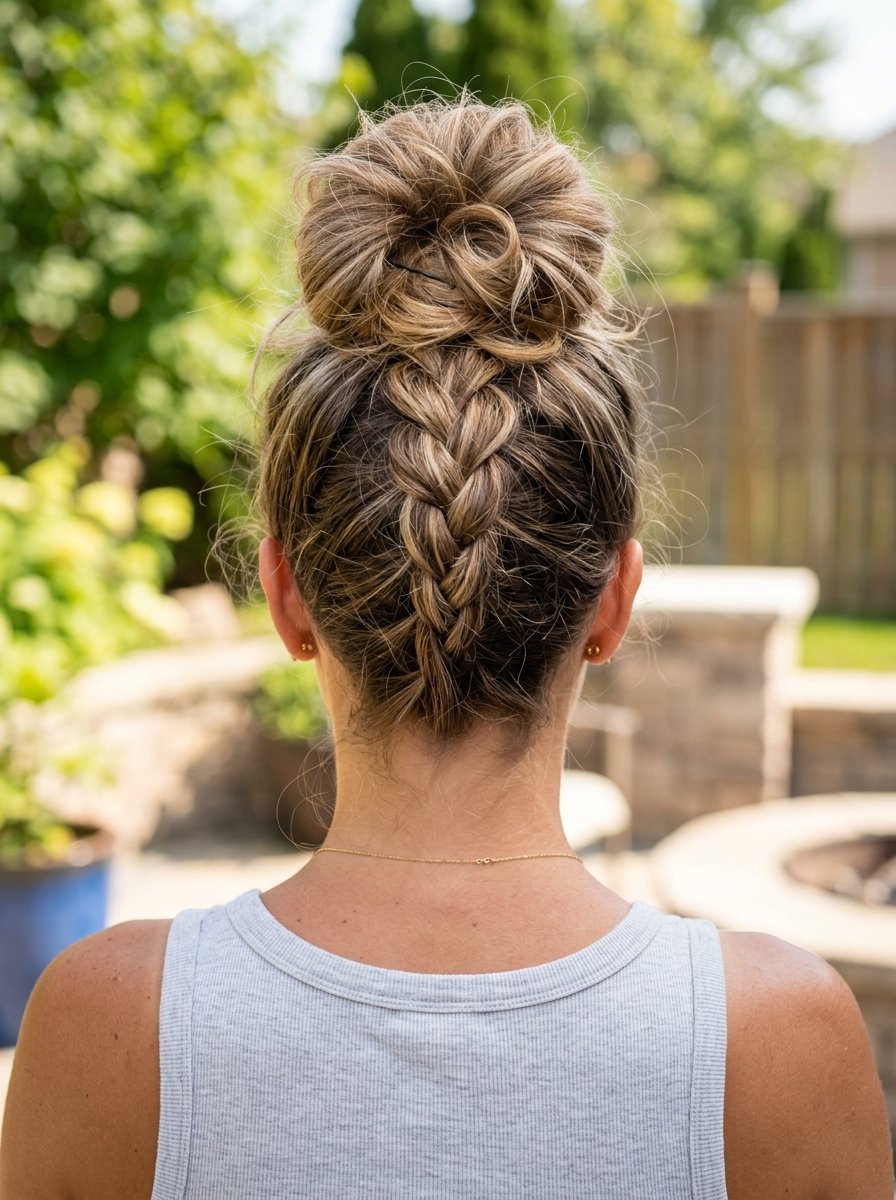
Flip your head upside down. French braid from the nape of your neck up to your crown. Gather all the remaining hair and tie it into a messy bun right on top of your head. This looks incredibly intricate. It actually takes me about four minutes. I regularly use this when my neck gets too hot in the summer. The hidden braid in the back creates a massive surprise detail. You just pull out some wisps around your neckline. It fits right into the cute messy braid hairstyles category effortlessly.
15. The Triple Braid Blend
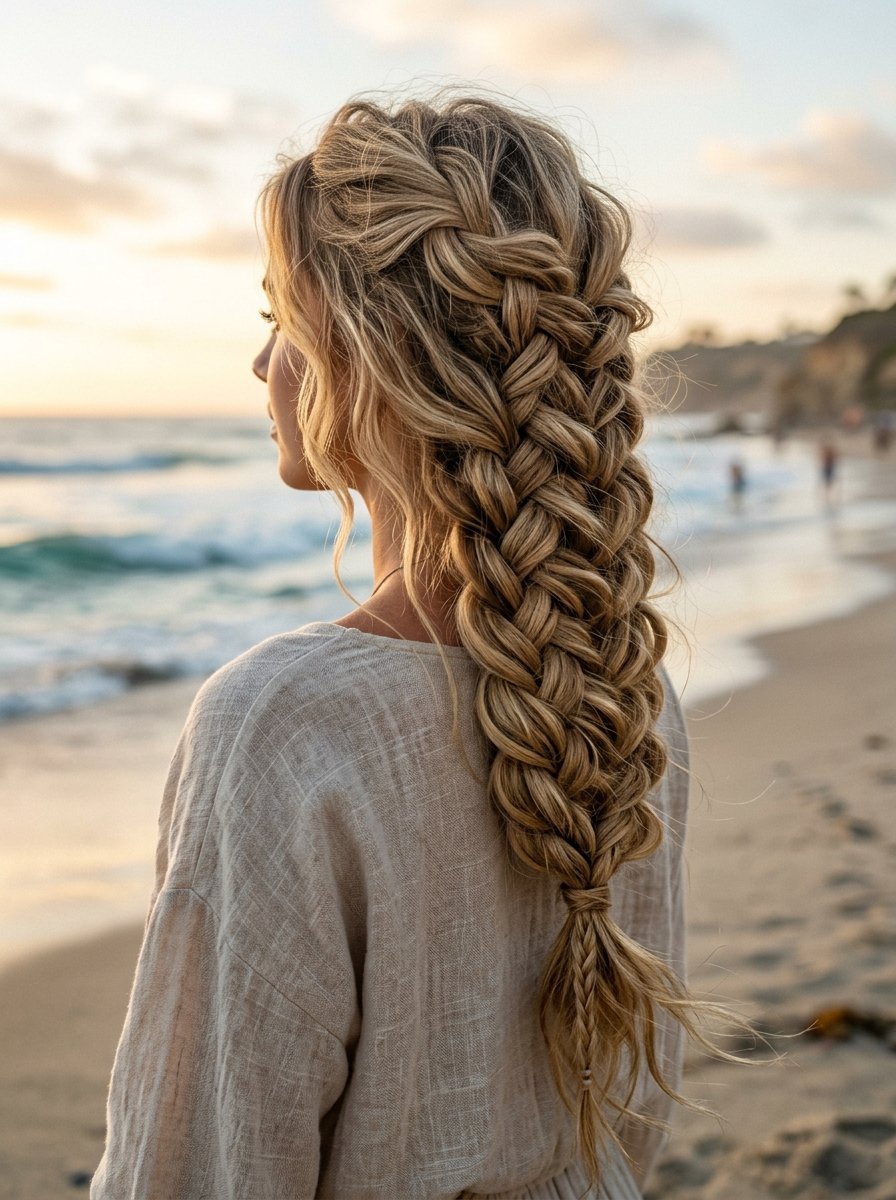
Separate your hair into three low ponytails at the nape of your neck. Braid each one normally and tie them off. Now braid those three braids together into one giant master braid. This creates a massive thick plait. I strongly prefer this for mid length braided hairstyles. The three separate sections give the final look unbelievable volume. I wore this to a beach bonfire last month. It held up against the ocean wind perfectly. Gently pull apart the individual loops before you weave them all together. It guarantees that relaxed undone aesthetic.
16. Faux Waterfall Braid
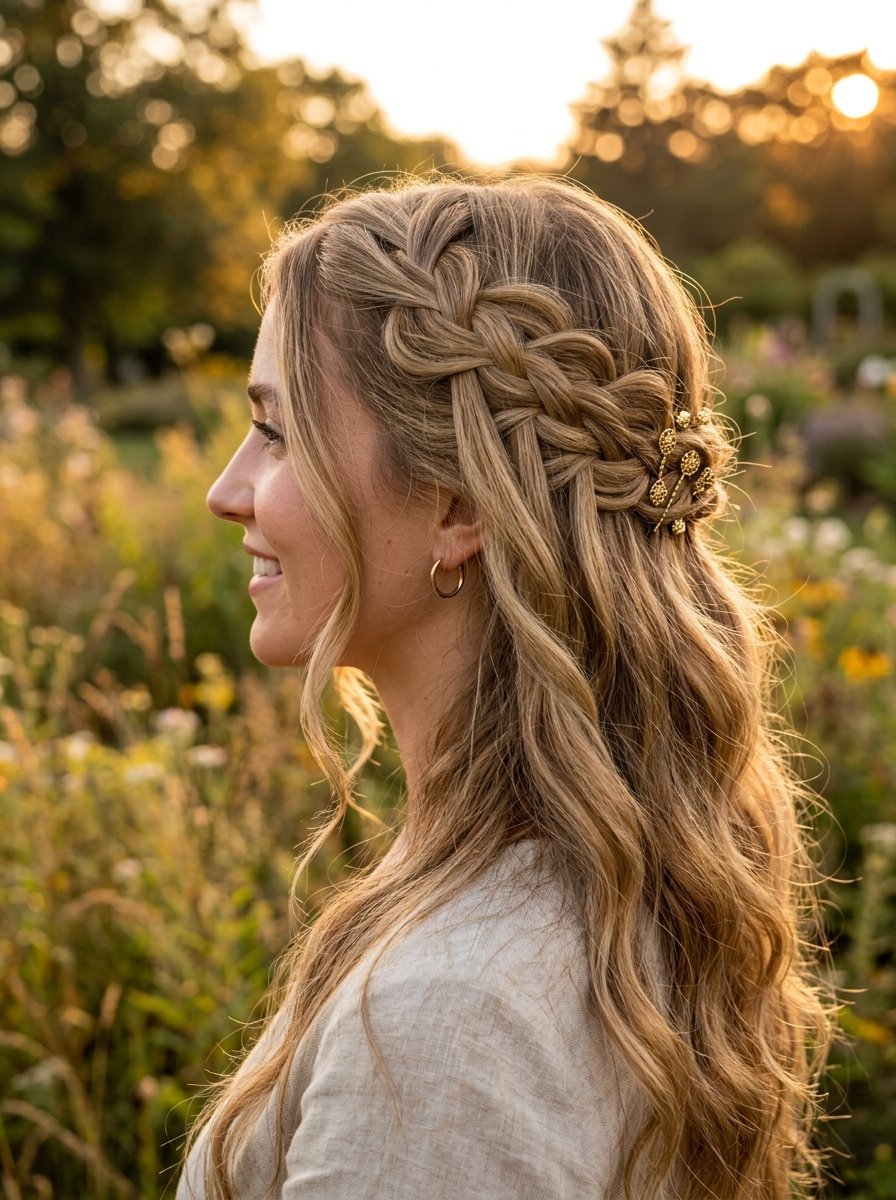
Take a section of hair near your left temple. Braid it normally. Pin it to the back of your head. Take a section from your right temple. Braid it and pin it right over the first one. Let the tails hang down freely. Gently pull pieces of hair from the top layer through the loops of the braids. This fakes a complicated waterfall look in three minutes. I always do this when I want elegant braided hairstyles without the headache of actual waterfall braiding. It looks soft and beautifully unstructured.
17. The Tousled Milkmaid
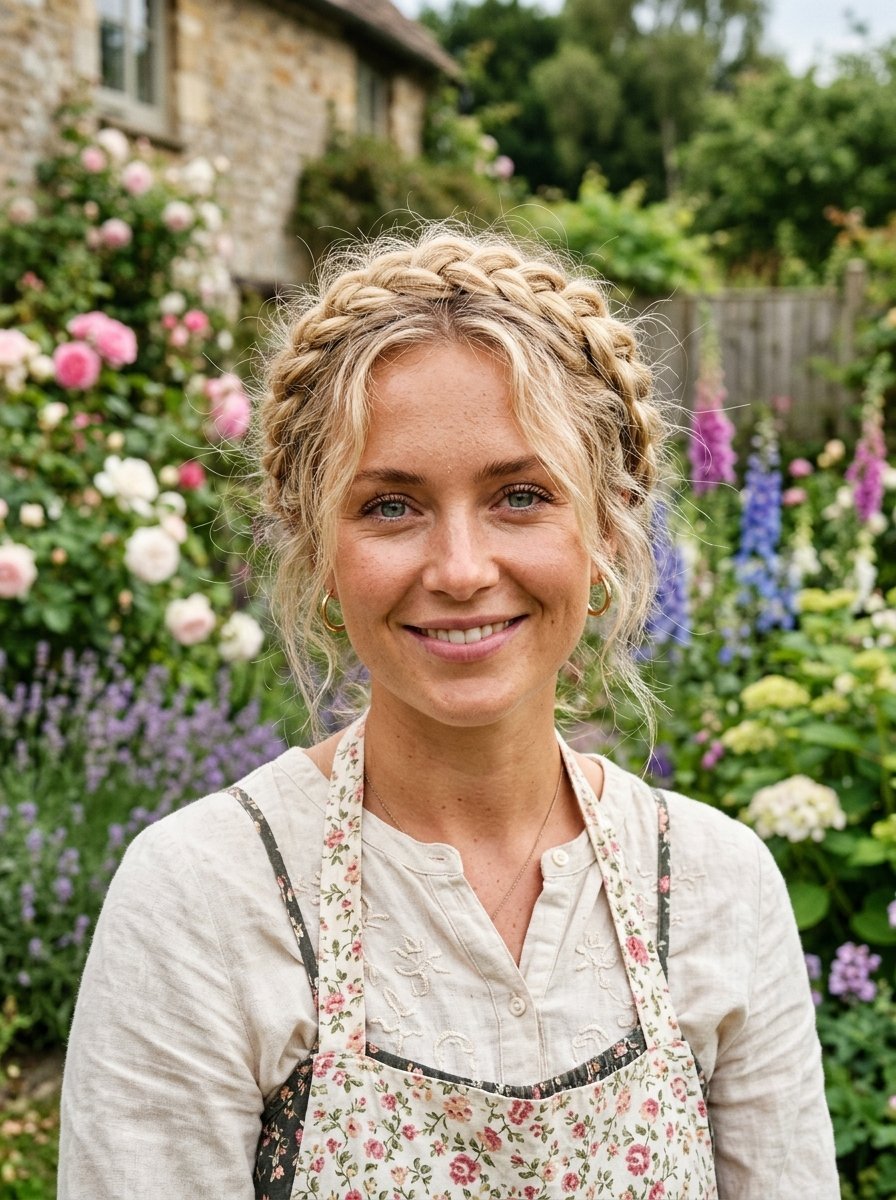
Part your hair down the middle into two low pigtails. Braid each side. Wrap the left braid over the top of your head like a headband. Pin it behind your right ear. Do the same with the right braid pinning it behind your left ear. Pull at the braids until they look thick and slightly messy. I love this for classic boho chic hair. It keeps every single piece of hair completely out of your face. I usually do this when gardening or doing house chores. It easily transitions to a dinner date look by just pulling out some soft face framing tendrils.
18. The Boho Scarf Braid
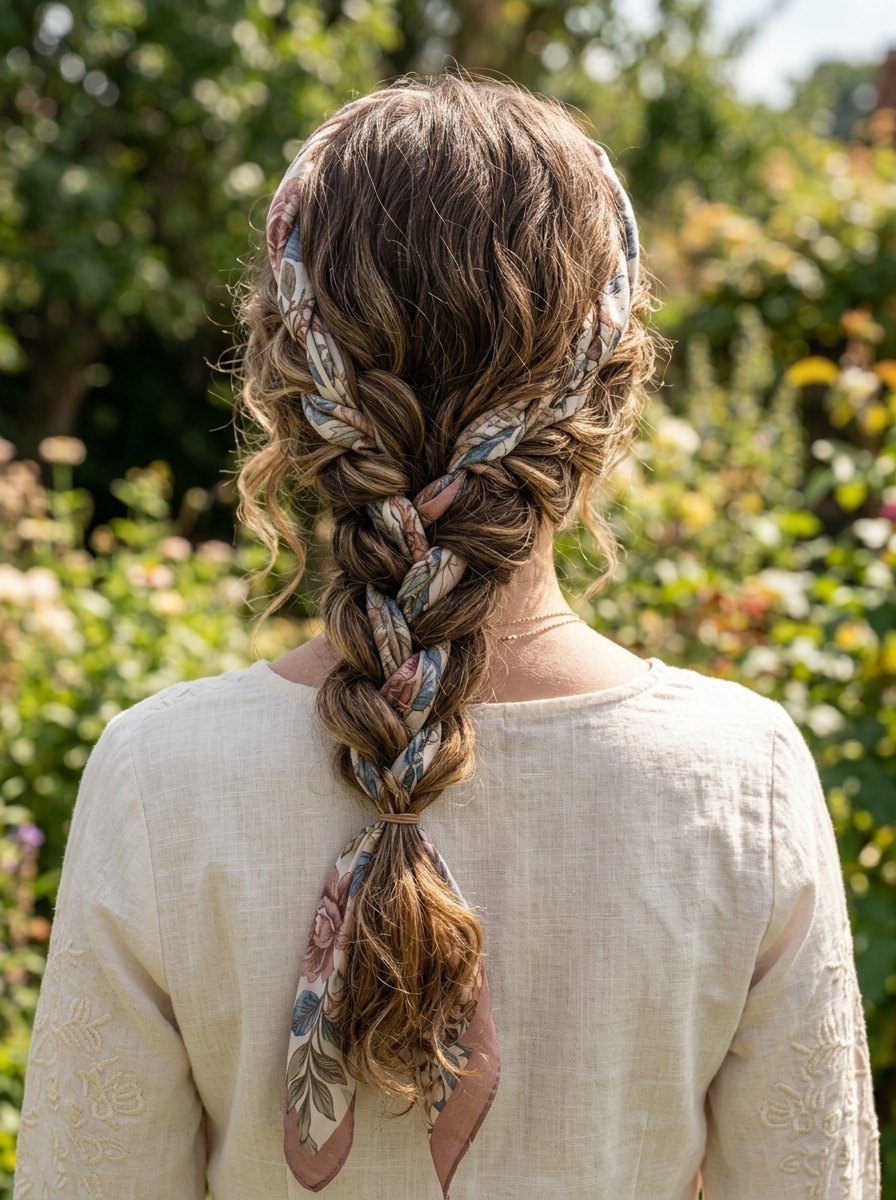
Tie a small silk scarf around a section of hair at the nape of your neck. Split your hair into three sections. Treat the ends of the scarf as part of your hair sections. Braid the hair and scarf together all the way down. Tie the end with a small clear band. The fabric gives thickness and creates a bright pop of color. I have tried this with vintage bandanas for amazing cowgirl hair looks. The scarf makes the braid look twice as thick. It takes literally three minutes from start to finish. I always get compliments when I wear this out.
Frequently Asked Questions About Messy Boho Braids
How do I stop my fine hair from slipping out of the braid?
Spray a generous amount of dry texturizing spray or sea salt spray directly onto your dry hair before you start styling. The salt creates grip and friction. I always coat the strands from root to tip. You should also avoid washing your hair the exact same day. Second day hair naturally holds these textured styles much better than freshly washed slippery hair.
What is pancaking a braid?
Pancaking means gently pulling the outer edges of a finished plait to make it wider and flatter. You hold the bottom elastic securely with one hand. Use your other hand to tug the outer loops gently outward. This instantly creates the illusion of thicker hair. I do this exact movement on every single messy style I create. It immediately softens the look.
Do these styles work on short hair?
Yes they do. You just need to focus on styles like the half up crown braid or mini accent plaits. You can easily do a messy side sweep on a chin length bob. Tie the shorter pieces in the back with small bobby pins. I have styled many short bobs using these exact five minute routines.
How do I hide the clear elastic bands?
Take a tiny section of hair from the tail right below the band. Wrap it tightly around the elastic until the plastic disappears entirely. Tuck the very end of that hair piece directly into the elastic or pin it underneath. I always do this to make quick styles look professionally done. It takes exactly ten seconds.
Can I sleep in these messy braids?
You definitely can sleep in them. I regularly sleep in loose pigtails or a low side plait. Sleeping in them actually creates natural heatless waves for the next morning. Just tie the ends with a soft silk scrunchie instead of a plastic rubber band. This stops the ends from snapping while you toss and turn in bed.
What products make a messy braid look better?
I heavily rely on three specific items. I use a dry shampoo paste for the roots to get volume. I apply a dry texturizing spray on the mid lengths for grit. I finish with a lightweight flexible hold hairspray. These three items cost under forty dollars total. They completely change the final texture of your hair.
Why does my messy braid just look messy and not styled?
You likely have uneven tension. A good messy look requires a tight base structure. You must braid the hair somewhat firmly first. You only make it messy after tying the bottom elastic. Pulling the loops out intentionally looks stylish. Braiding it loosely from the very beginning usually just makes it look sloppy and unkempt.
How do I deal with heavy layers poking out?
Let the layers poke out. That specifically creates the boho aesthetic you want. If a piece sticks out too far just hit it lightly with a curling iron to give it a soft bend. I purposely leave my layers out to frame my face and neck. It makes the final look lived in and authentic.
Are these styles appropriate for a formal wedding?
They absolutely fit formal events perfectly. I have styled dozens of brides using these exact routines. You just need to accessorize them properly. Slide in some pearl pins or weave a thin silk ribbon through the loops. The relaxed texture contrasts beautifully against highly structured formal gowns. It gives the bride a beautifully romantic appearance.
How long does a messy braid actually hold?
A properly constructed one holds for twelve to fourteen hours easily. The texturizing spray locks the hairs together like velcro. I wore a pull through bubble braid from eight in the morning until midnight. It barely moved. You might lose a few face framing pieces to the wind but the main structure stays intact all day.
What hair type holds a messy braid best?
Medium thick wavy hair naturally holds these shapes the best. The natural wave pattern provides built in volume and texture. If you have stick straight fine hair you must create that texture artificially with products first. I have stick straight hair naturally. I always curl it loosely before attempting these looks to give the plait some shape.
Should I brush my hair before starting?
You should only gently detangle the very ends. I actively avoid brushing the roots or mid lengths before styling these looks. Brushing removes the natural volume and clumps that make the messy style look good. I just run my fingers softly through the hair to remove major knots. Leave the natural texture alone as much as possible.
Final Thoughts On Quick Boho Styling
You now possess a complete set of quick styling options. These eighteen looks completely eliminate the stress of morning hair routines. I rely on these precise steps every single week. Start by trying the classic side sweep tomorrow morning. Play with the tension and practice widening the loops. You will quickly find exactly how much texture fits your personal taste. Grab some clear elastics and a good texture spray today. Try one new look each day this week. Drop a comment below telling me which specific style held up best during your busy workday. I read every single comment and love seeing your personal final looks.

Sarah Mitchell — Founder & Editor-in-Chief
Sarah Mitchell is the founder and editorial voice behind Hair Level Up. A licensed cosmetologist with more than 15 years of experience, she has styled A-list celebrities for editorial shoots and red carpets, with work featured in Vogue, Elle, and Harper’s Bazaar. Early in her career, she trained under the legendary hairstylist Oribe in New York, an apprenticeship that still shapes her editorial eye today. Sarah founded Hair Level Up in 2020 after one bad haircut convinced her that women deserved a destination that felt like a magazine, taught like a stylist, and inspired like an art gallery. She oversees every story from concept to publication, guided by a simple belief: a good story teaches you something, but a great one makes you feel beautiful while it does.