Sleek Low Bun Tutorial: Step-by-Step Guide for Weddings, Office, and Daily Outings
The sleek low bun sits at the top of modern hair culture. It is a styling choice that balances polished professionalism with effortless grace. Finding a hairstyle that transitions from a morning corporate presentation to an evening gallery opening can feel impossible. Many styles lose their shape by noon or require a traveling case of hair products to maintain.
I spent years working behind the scenes at regional runway events and bridal trials. During that time, I watched dozens of complex updos collapse under heavy lights or humid evening air. The sleek low bun remains the single style that delivers a clean silhouette every single time. It flatters every face shape, highlights the jawline, and pairs beautifully with different clothing necklines.
This tutorial breaks down the exact mechanics of creating a flawless low bun. You will master the tension patterns, product application steps, and pinning methods needed to secure your hair for hours. This comprehensive guide covers adaptations for wedding guests, professional office settings, and casual weekend outings.
Executive Summary
The sleek low bun provides a reliable, high-impact hair styling solution for multiple settings. This detailed guide covers ten specific styling paths to master the look across various hair lengths and event types.
You will learn to select the right tool kits and apply targeted smoothing methods based on your specific hair structure. The article breaks down the exact steps for creating structural low buns on shoulder-length hair and layered cuts. You will find targeted style blueprints for wedding guests, office environments, and casual outings.
The guide highlights common assembly errors, such as incorrect tension placement and wet styling damage. It provides active solutions for preventing hair breakage. Detailed wearability comparisons help you align your bun structure with your clothing choices. Follow these precise steps to get a polished finish that stays secure all day and night.
What is the Core Method for a Flawless Low Bun?
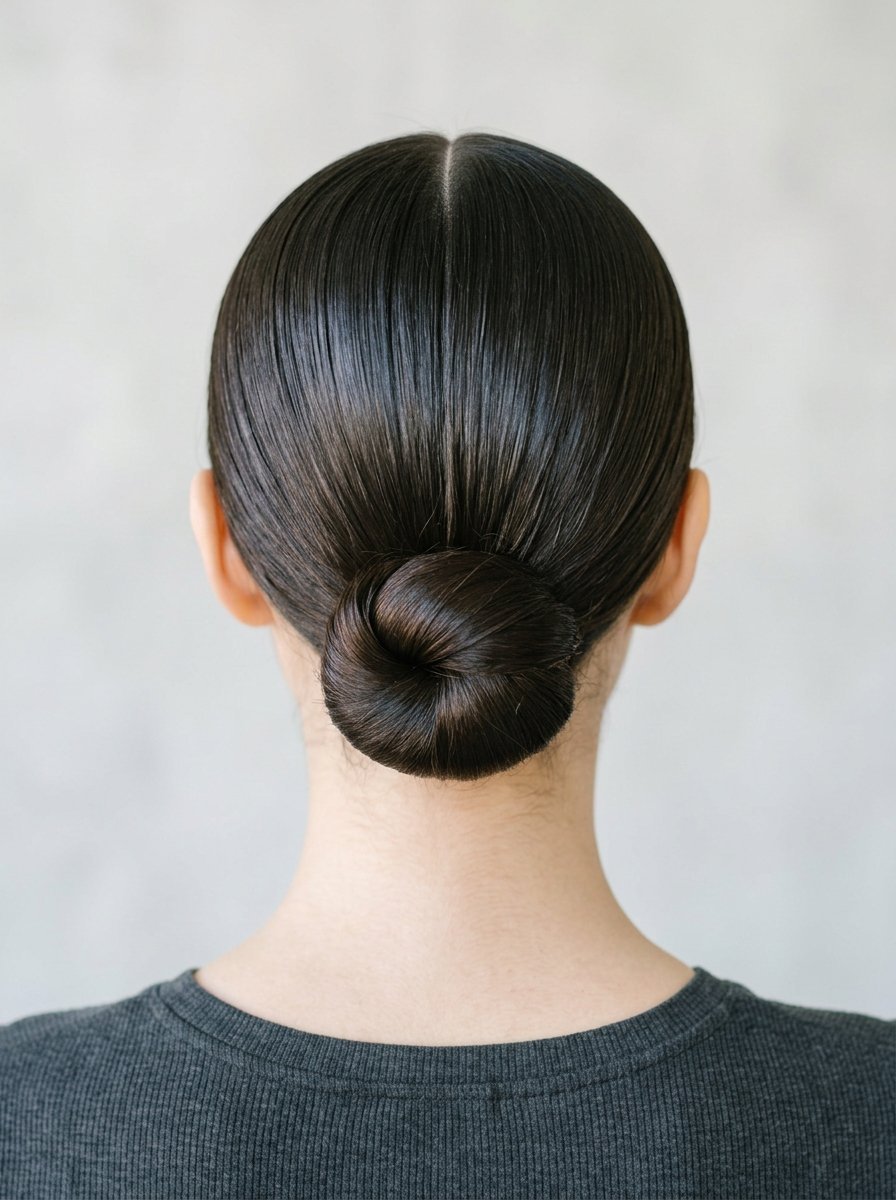
A perfect low bun depends on proper tension and clean sectioning rather than a large amount of hairspray. Many people try to smooth their hair into a ponytail all at once. This mistake creates small bumps along the back of the head and causes the style to sag within an hour. The real trick lies in a two-stage sectioning method that secures the base before you style the exterior.
Start with completely dry hair. Working with wet hair stretches the strands, which causes sagging and breakage as the hair dries. Spray a light thermal protectant over your hair. Use a flat iron to smooth the mid-lengths and ends if your hair has natural texture or waves.
Create a crisp center part using a metal-ended rat tail comb. Guide the part straight back to the crown of your head. Next, divide your hair into two main sections by drawing a line from just behind your left ear over to your right ear. Clip the front side sections away for now.
Gather the entire back section into a low ponytail at the nape of your neck. Use a nylon bristle brush to smooth the hair flat against your scalp. Secure this base tightly with a clear elastic band or a hair bungee. A bungee hook lets you set the tension without pulling or loosening the hair roots.
Unclip the front sections. Mist them with a lightweight flexible-hold hair oil. Brush these sections straight back, wrapping them over the top of your existing ponytail base. Secure everything together with a second elastic band. This layered assembly prevents sagging and keeps the top surface smooth.
Twist the remaining ponytail tail into a tight rope. Wrap this rope clockwise around the central elastic base. Keep the coil flat against your head. Tuck the loose ends underneath the outer edge of the bun.
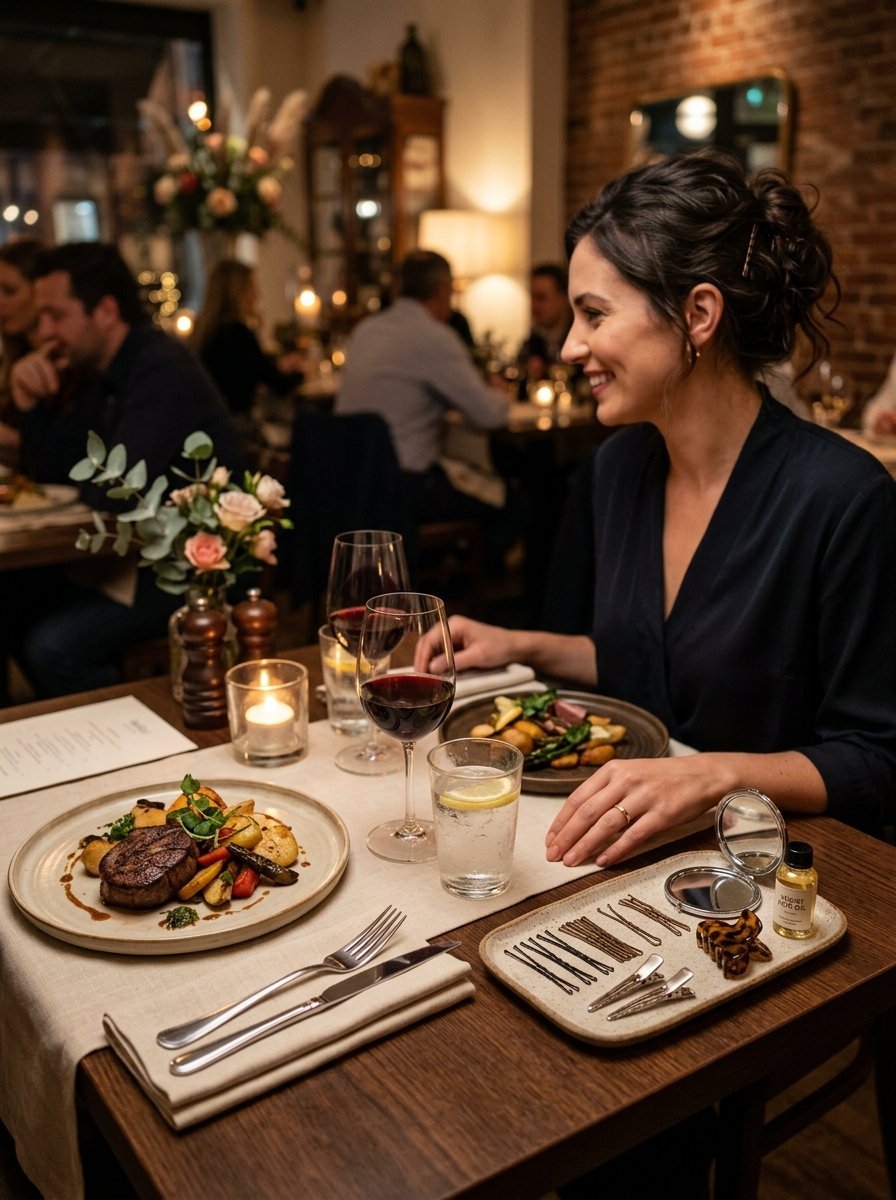
Insert four to six large U-shaped hairpins around the perimeter of the bun. Push each pin outward through the edge of the bun, catch a small portion of your scalp hair, and flip the pin inward toward the center of the base. This locking motion secures the bun against heavy movement.
1. Sleek Low Bun Tutorial
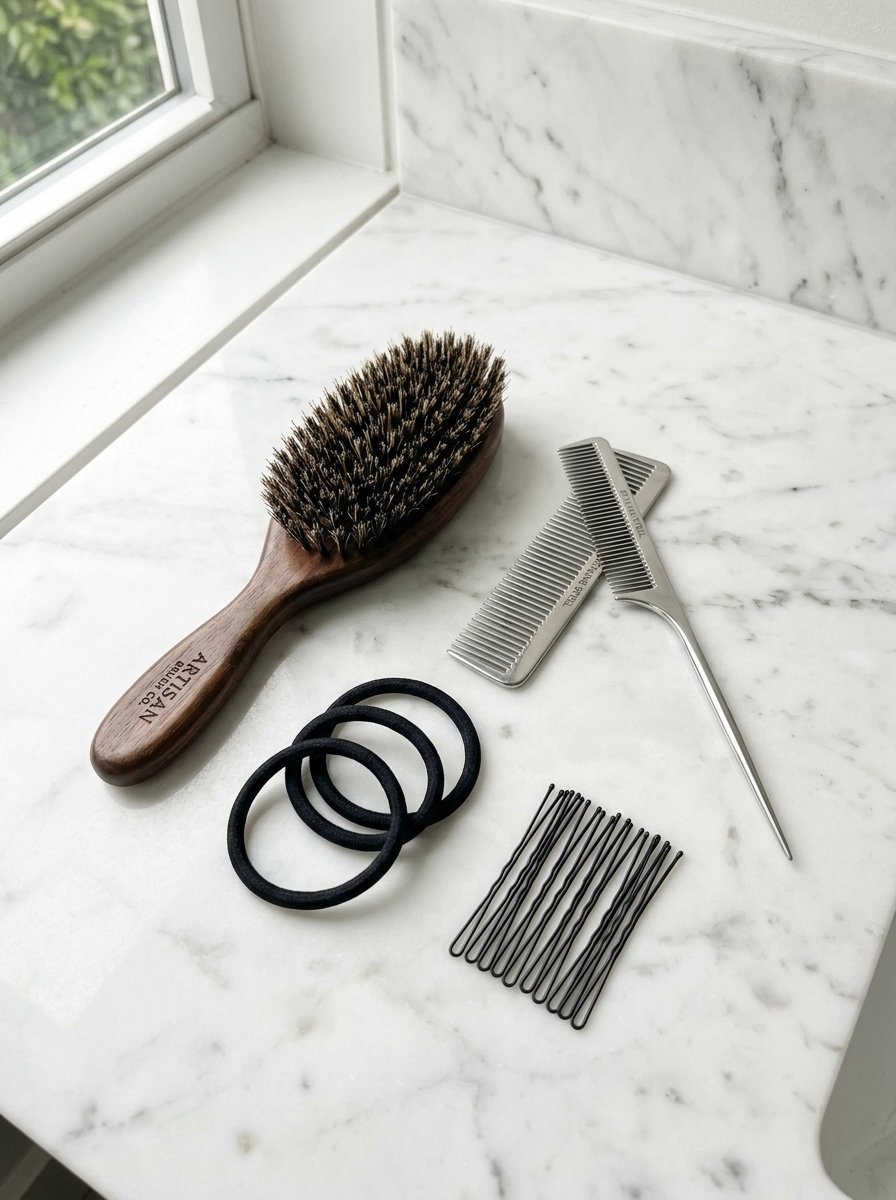
The classic sleek low bun requires specific tool preparation to get a smooth, long-lasting shape. Gathering your styling items beforehand prevents you from losing your grip on your hair mid-style.
- Boar bristle smoothing brush
- Metal-ended rat tail comb
- Two seamless nylon elastic bands
- Four to six structural U-shaped hairpins
- Clear hair taming pomade or wax stick
Apply a quarter-sized amount of smoothing pomade from your mid-shafts down to your ends. Avoid placing heavy product directly on your roots at the start. This prevents your hair from looking greasy or flat.
Use your rat tail comb to build a precise parting line. A deep side part offers a classic look, while a sharp center part provides a balanced modern appearance.
Brush your hair back toward the nape of your neck using the boar bristle brush. Keep your chin slightly lifted while doing this. Tilting your head forward creates loose baggage at the base of your neck once you stand up straight. Secure the ponytail tightly.
Twist the length of your ponytail into a smooth cord. If your hair is thick, split the ponytail into two sections, twist them around each other, and wrap them into a coil. This distributes the weight evenly.
Secure the structure by inserting your locking pins at the twelve, three, six, and nine o’clock positions around the base. Spray a light mist of flexible-hold hairspray over the surface. Use the side of your hairspray can to gently press down any remaining stray flyaway hairs.
2. Hairstyles for Guest Wedding
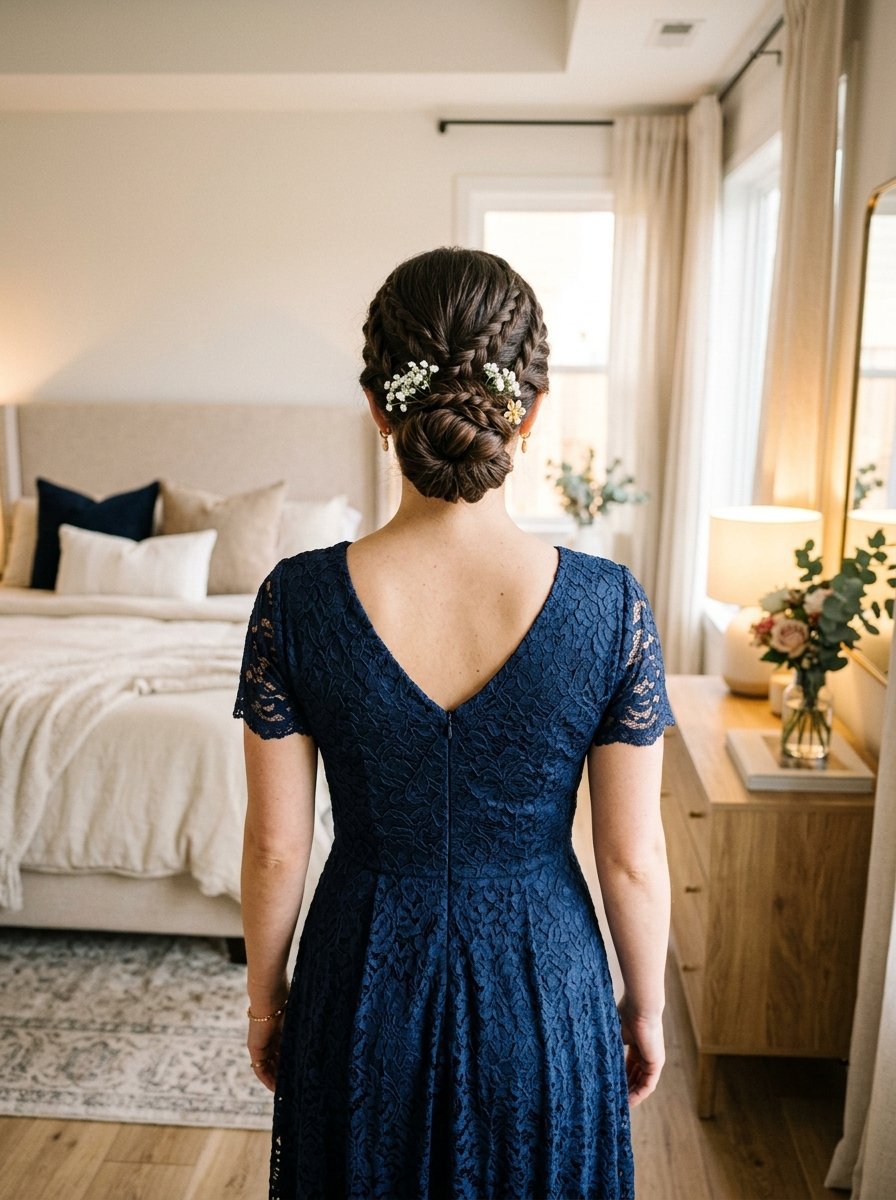
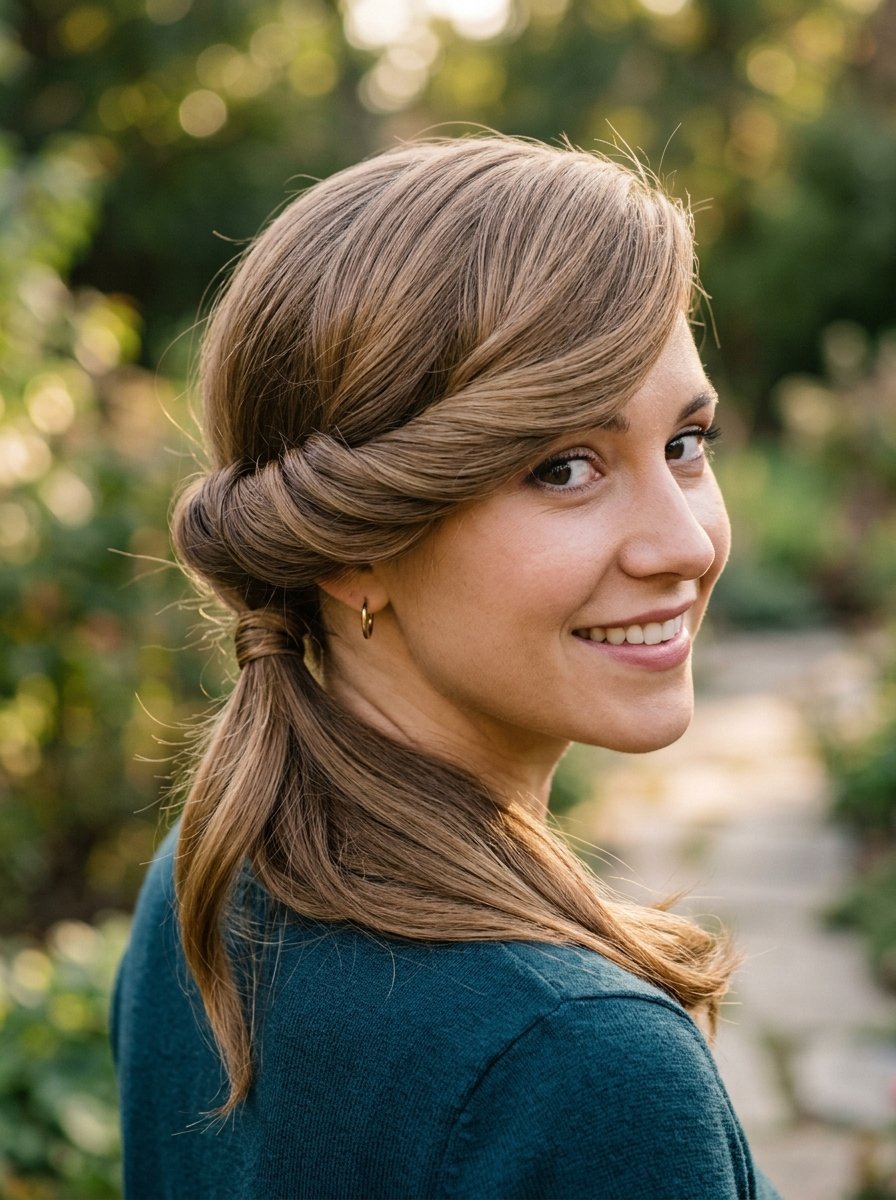
Attending a wedding requires a polished style that stays secure through long ceremonies and dancing. A guest wedding low bun should look elegant without competing with the bridal party styling. Adding a soft twist or woven detail elevates the basic low bun into a formal look.
Prepare your hair with a lightweight volumizing mousse before blow-drying. This gives your strands the grip needed to hold pins securely for twelve hours or more.
Divide your hair into three distinct sections: two small panels at the front sides and one large panel at the back. Secure the back panel into a low, smooth ponytail right above the neck line.
Take the left front hair panel and wrap it across the top of the ponytail base. Pin it in place on the opposite side using a small bobby pin. Repeat this step with the right front panel, crossing it over the first side to create a clean chevron pattern.
Twist the remaining hair down into a classic chignon shape. Roll the length upward toward the ponytail base and secure it with pins along the underside. This keeps the anchor hidden from sight.
Finish the style with a high-shine gloss spray. This catches the ambient lighting nicely in evening wedding photographs. Avoid using heavy, stiff sprays that make your hair look hard or unnatural in person.
3. Close Hairstyle
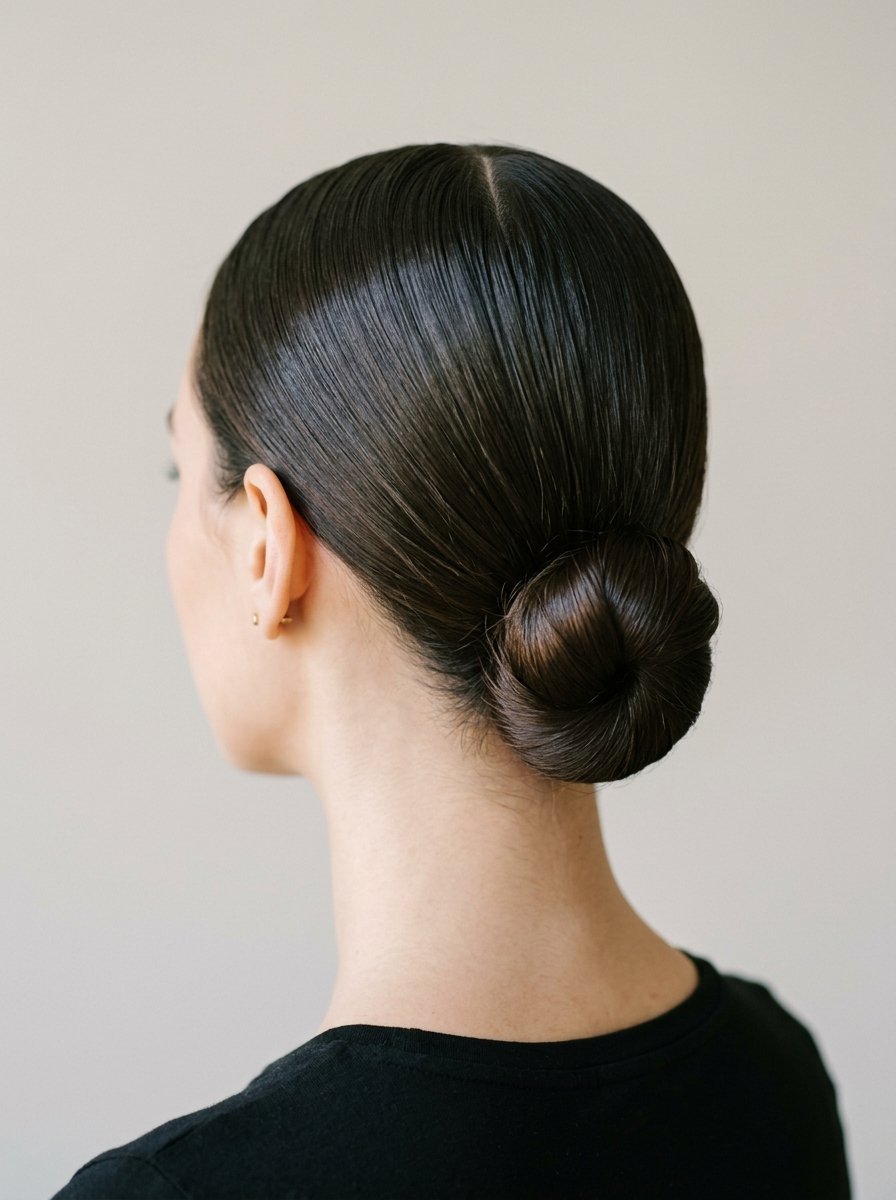
The close hairstyle method focuses on creating a tight silhouette that hugs the natural curve of your skull. This variation works beautifully for sharp profiles, highlighting eye makeup and jewelry choices.
Start with dry hair that is at least twenty-four hours past its last wash. Natural oils give your hair better traction, which helps you get a cleaner look without using too much product.
Warm a dime-sized amount of grooming clay between your palms until it softens completely. Smooth your hands evenly over the sides and top of your head, working from the hairline back toward the crown.
Use a fine-toothed styling comb to pull your hair back into a low ponytail. Keep the tension firm and even across all sections. The low ponytail should sit at the lowest point of your hairline.
Coil the ponytail into a flat pancake shape against your head. This keeps the profile minimal and compact. Secure the shape with small bobby pins inserted directly into the base elastic.
Check the perimeter of your head for any loops or loose areas. Use a clean, soft-bristled toothbrush misted with hairspray to smooth down baby hairs around your ears and forehead.
4. Hairstyles for Outing
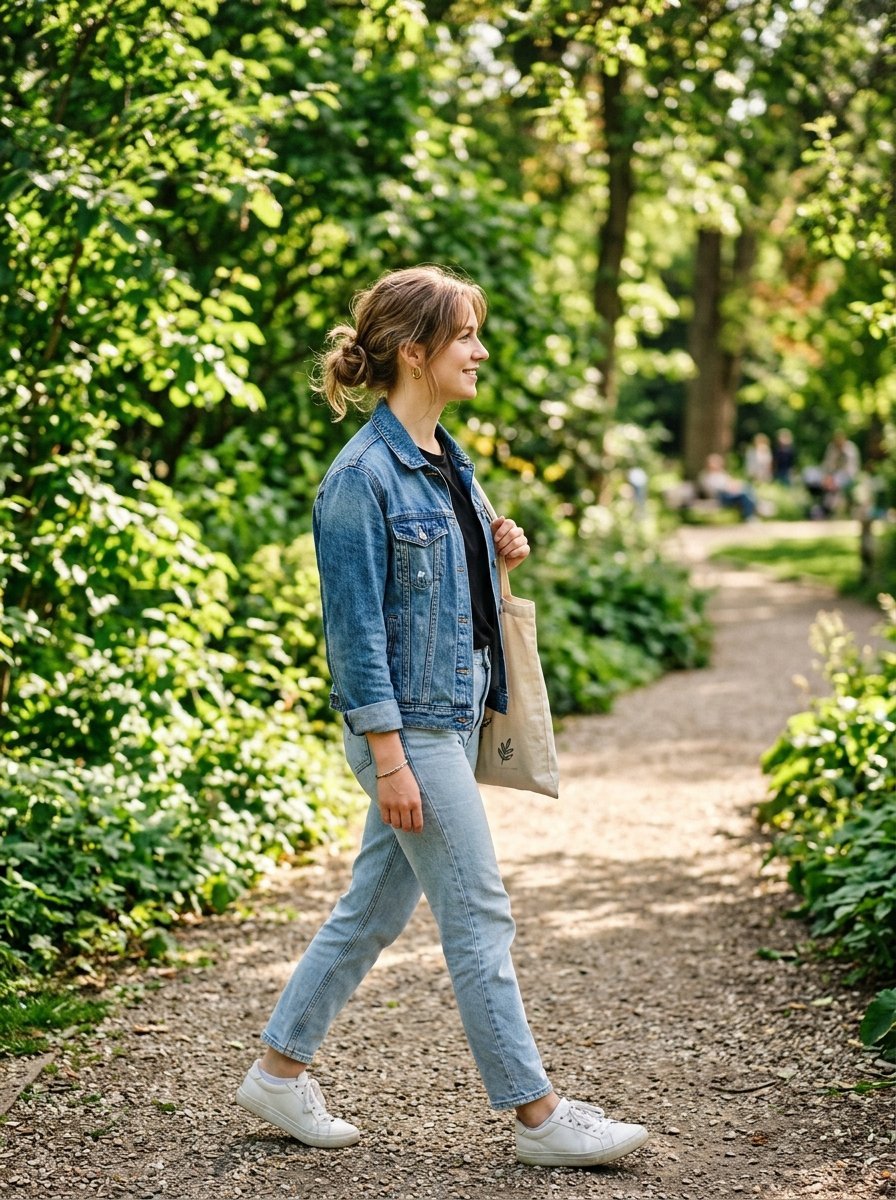
Casual weekend outings require a low bun style that looks clean but takes less than five minutes to create. This version embraces a softer texture while keeping your hair out of your face during busy daytime activities.
Skip the flat iron prep for this daytime look. Work with your hair’s natural texture to add volume and character to the finished bun.
Gather your hair into a low ponytail using your fingers instead of a comb. This creates soft directional lines along the sides of your head for a relaxed appearance.
On the final pass of your elastic band, pull your hair only halfway through to form a small loop. Leave the remaining ends hanging down below the loop.
Take those loose ends and wrap them around the elastic band to hide it from view. Tuck the tips into the back of the band to keep it secure without needing extra hairpins.
Gently tug on the hair at your crown to create a tiny bit of lift. This keeps the look casual and balanced, making it a great match for everyday clothing like denim jackets or knit sweaters.
5. Hair for V-Neck

Wearing a V-neck top opens up your neckline and shifts focus down toward your collarbones. A low bun paired with a V-neck needs a balanced shape at the back of your head to complement the open lines in front.
Set your part down the center to balance the symmetrical lines of a V-neck opening. Brush your hair back, keeping it level with the tops of your earlobes.
Position the base of your ponytail about one inch above the nape of your neck. Placing the bun slightly higher prevents it from rubbing against the collar of your shirt.
Shape your ponytail into a wide, horizontal bun instead of a round ball. You can do this by flattening the coil with your fingers before inserting your securing pins.
A wider bun mirrors the opening of your shirt, creating a balanced look from front to back. It fills the visual space behind your neck nicely.
Check your style from the side using a hand mirror before heading out. Ensure the line from your jaw down to your collarbone stays clean and clear of loose hair strands.
6. Simple Hairstyles for Office
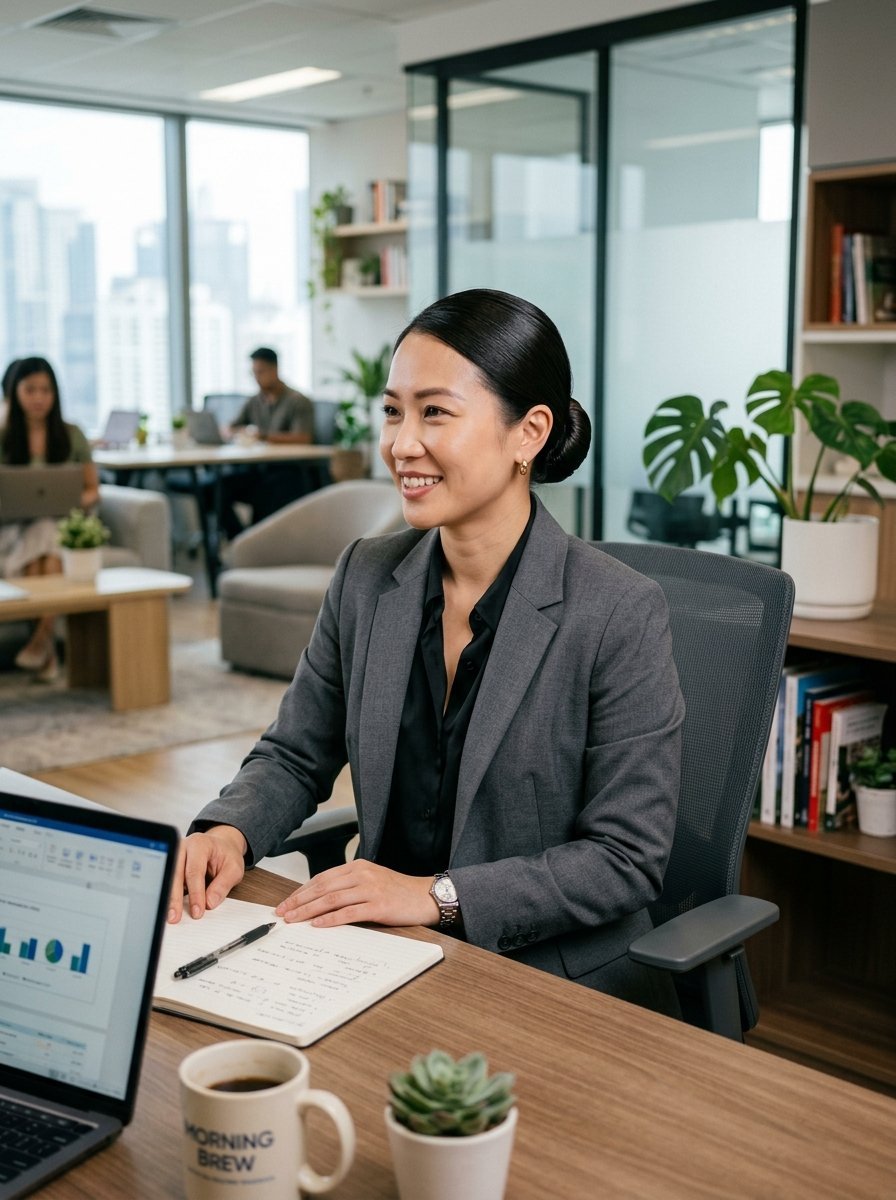
Office hairstyles must look professional, clean, and hold up through long workdays without needing touch-ups. A neat low bun is a great option that keeps your hair secure and out of your way during meetings and desk work.
Start by applying a small amount of lightweight styling cream to damp hair, then blow-dry it straight down. This helps control frizz and keeps your hair looking neat all day.
Pull your hair back into a secure mid-low ponytail. Position it right at the center of the back of your head, keeping it level with your jawline.
Twist the ponytail firmly, then wrap it into a neat, round bun. Use strong nylon hairpins that match your hair color so they stay hidden and secure.
Avoid using heavily scented styling products or glossy serums for the workplace. A clean, satin finish looks professional and natural under bright office lights.
Keep a travel-sized pomade stick in your desk drawer. This makes it easy to smooth down any late-afternoon flyaways before an important end-of-day meeting.
7. Simple Hair Buns
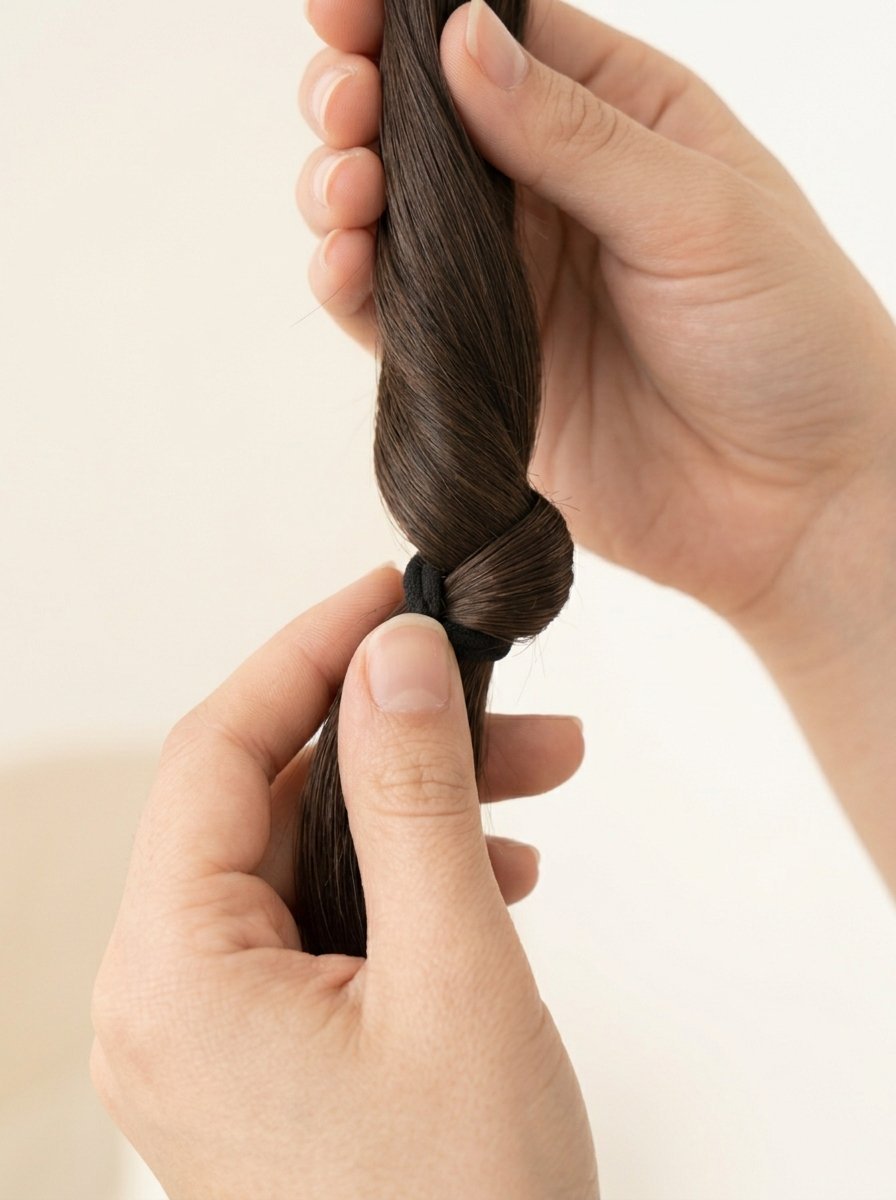
The simple hair bun method uses minimal tools and relies on smart twisting steps to hold your hair in place. This approach is perfect for beginners who find complex styling pins or sectioning techniques tricky to manage.
Grab a single high-elasticity hair band and two standard bobby pins. Brush your hair straight back without making a specific part line.
Gather your hair into a low ponytail and hold it in one hand. Use your other hand to twist the length of your hair clock-wise until it begins to coil inward on itself.
Guide the coiling hair around the base of your ponytail. The hair will naturally roll into a classic bun shape as you wrap it.
Slide your elastic band directly over the entire bun structure to secure it down against your head. This holds all the hair together in one step.
Slide one bobby pin into each side of the bun horizontally. Make sure the pins catch both the edge of the bun and the base hair underneath to keep it from spinning loose.
8. Simple Hairdo for Bridesmaid
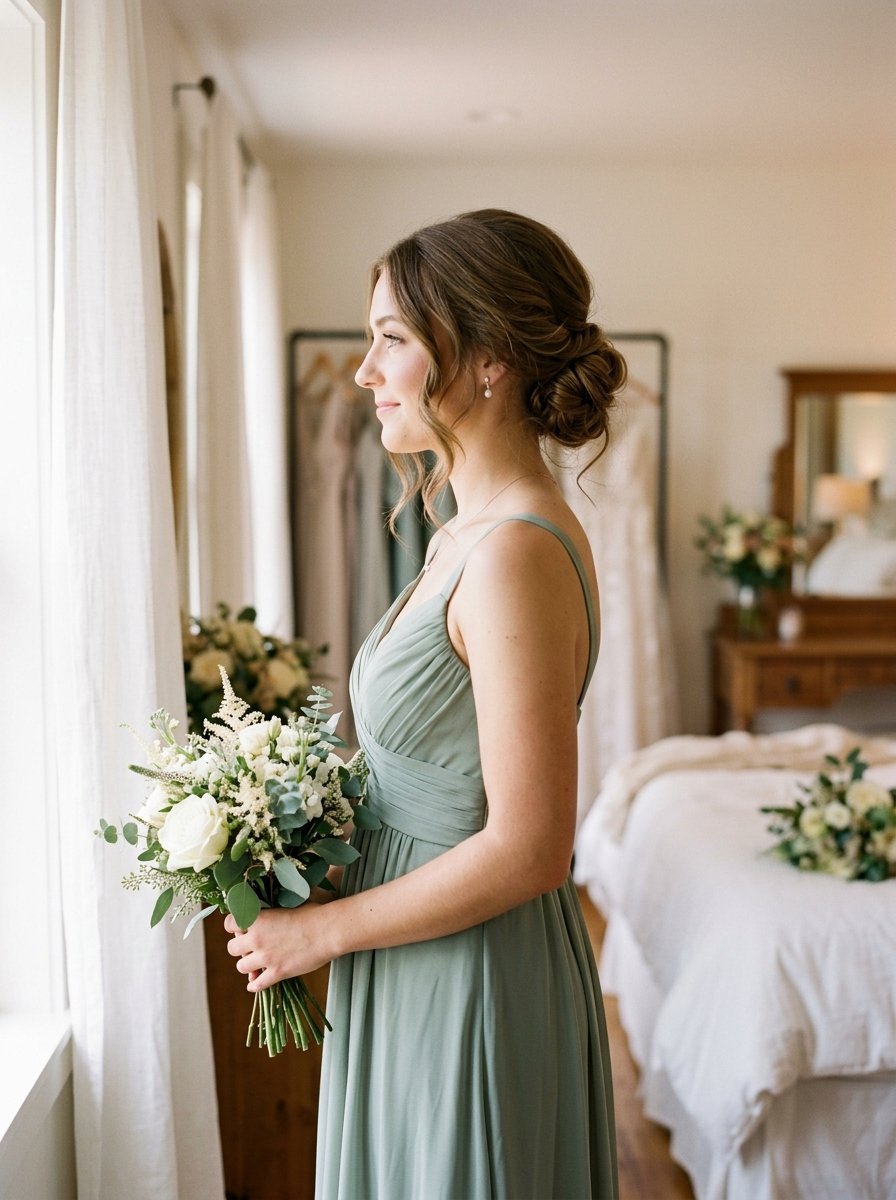
Bridesmaids need a sophisticated style that matches the wedding theme and stays comfortable from the morning photos through the reception. A soft, elegant low bun offers a timeless look that works well for a group while complementing different dress styles.
Set a few large Velcro rollers at the crown of your head for ten minutes before styling. This adds soft, natural volume at the top so the low bun doesn’t look too flat from the front.
Pull your hair back into a low ponytail, but leave two loose, one-inch sections framing your face at the front.
Shape the main ponytail into a clean, rounded bun and pin it securely. Take the two front tendrils and loosely drape them back over the top of your ears toward the bun.
Pin the ends of the front sections directly underneath the bun structure to keep the hair pins hidden from sight.
Mist the entire style with a flexible-hold hairspray. This keeps the look soft and touchable while ensuring it holds its shape through a full day of wedding activities.
9. Hairdo for Shoulder-Length Hair
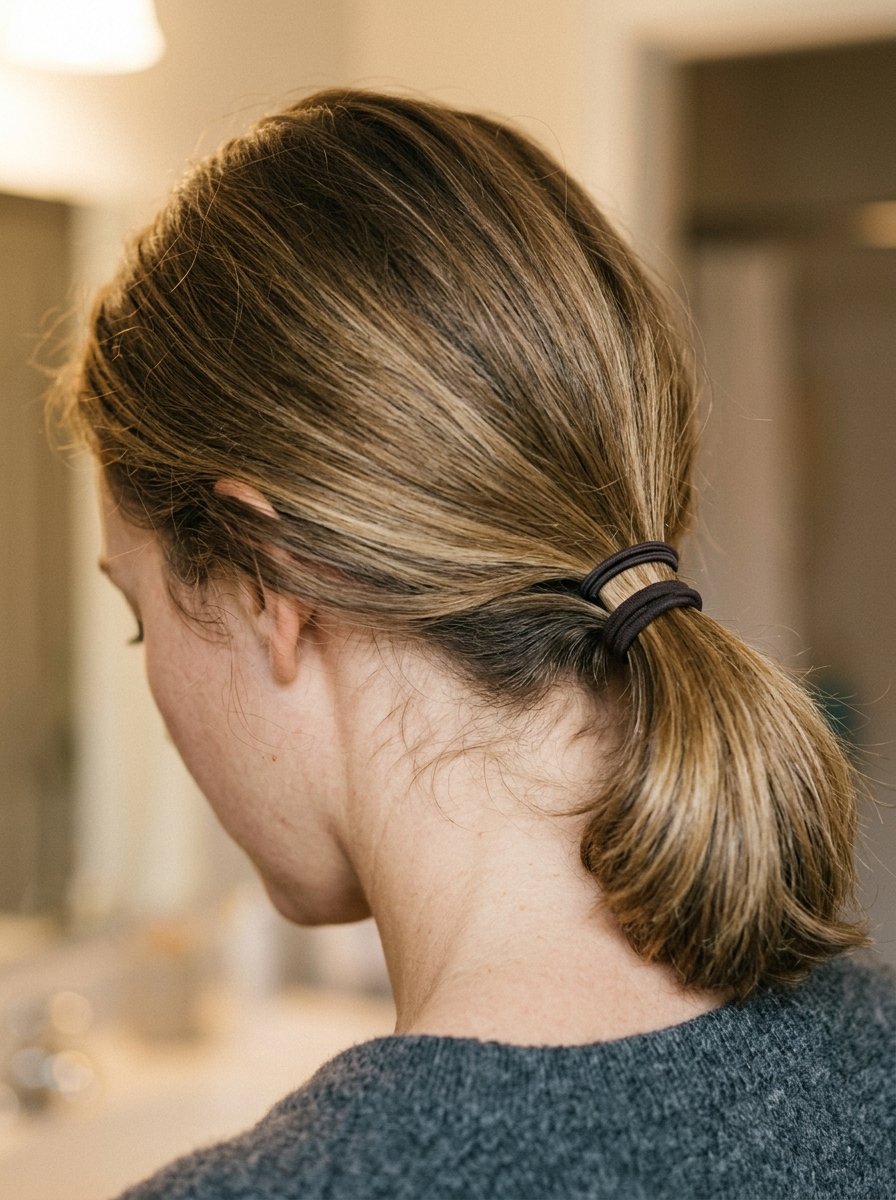
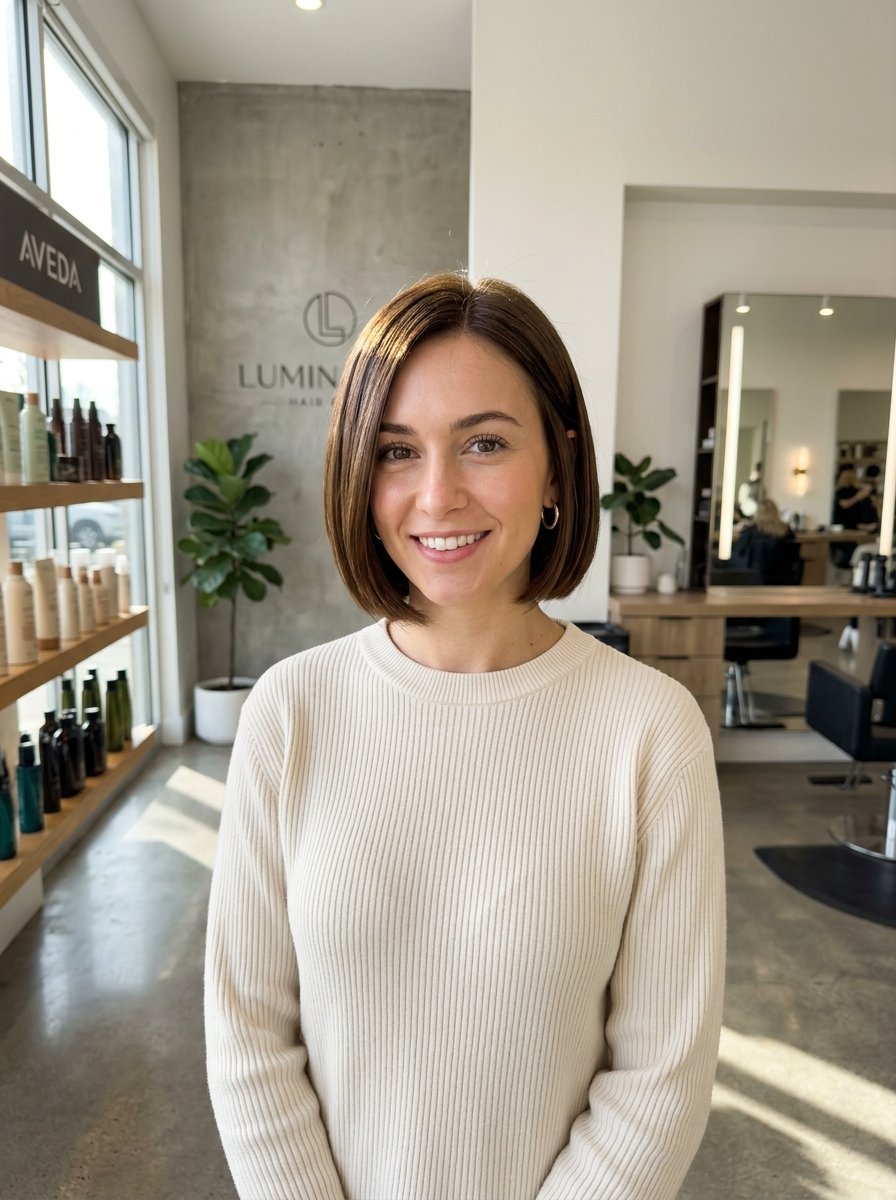
Styling a low bun with shoulder-length hair can be challenging because short ends tend to slip out of the elastic band. Using a split-ponytail method helps secure shorter layers and prevents the bun from coming undone.
Apply a texturizing spray from your roots down to your ends. This adds friction and grip, which helps keep shorter strands from sliding out of place.
Gather the top half of your hair into a small half-up ponytail at the back of your head and secure it with a clear elastic band.
Gather the bottom half of your hair and bring it up to join the first ponytail. Secure both sections together with a second elastic band.
This two-step base keeps the shorter hairs at the nape of your neck from slipping loose when you move your head.
Roll the remaining hair length upward into a small, flat shape. Secure it firmly with bobby pins placed along the underside of the bun.
10. Layered Hair Low Bun
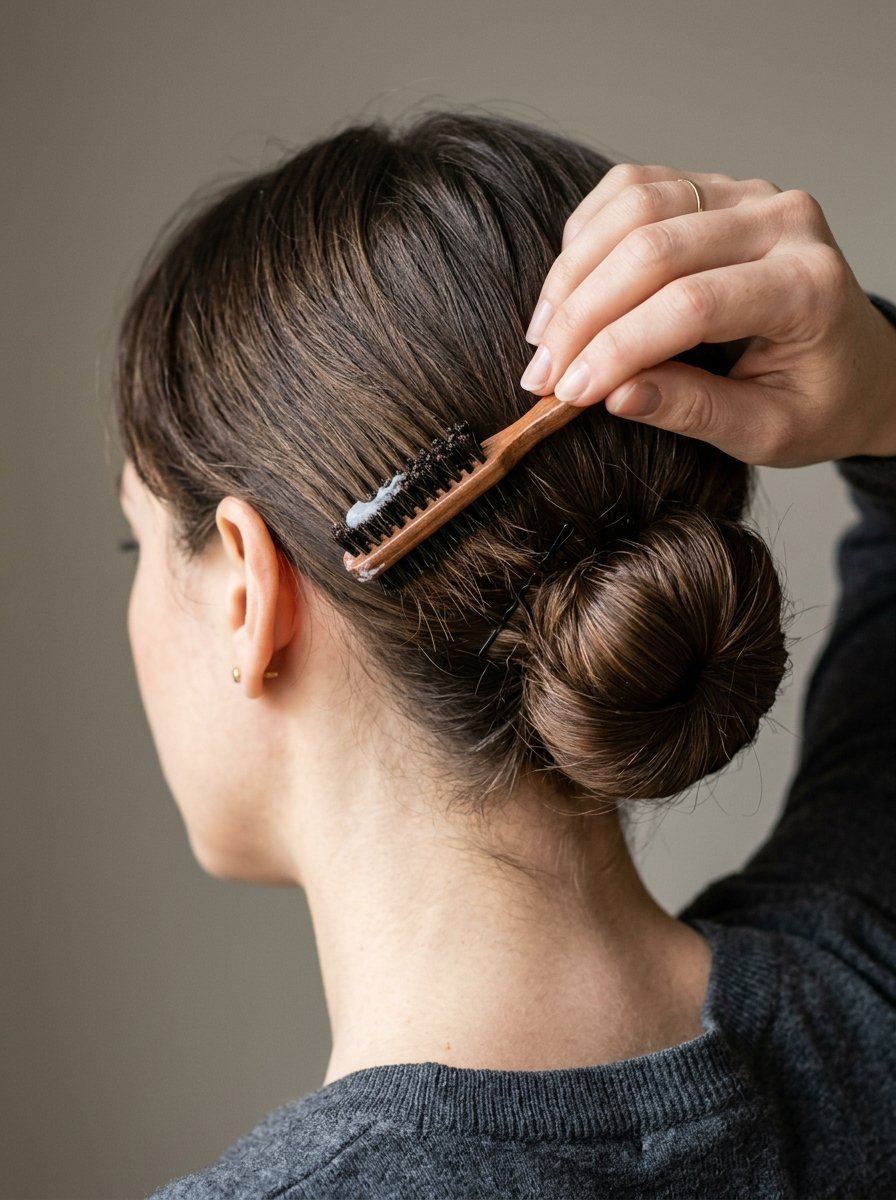
Layered haircuts require a smart pinning method to keep the shorter pieces from poking out of a smooth bun. Using a hair netting technique or hair cream helps blend different lengths together cleanly.
Work a small amount of styling cream through dry hair. This helps bond your shorter layers to the longer strands before you start gathering your hair.
Pull your hair back into a low ponytail. You will notice the tips of your shorter layers sticking out along the length of the ponytail.
Carefully tuck those shorter ends into the center of your twist as you coil the ponytail around its base. Keep the outer layer of the twist as smooth as possible.
Slide your hairpins directly over the spots where the short ends meet the base of the bun. This holds the shorter pieces down and keeps them from poking out.
Use a light mist of medium-hold hairspray to set the style. If any short layers pop loose later on, simply tuck them back under the nearest coil with a bobby pin.
How to Maintain and Troubleshoot Your Sleek Low Bun
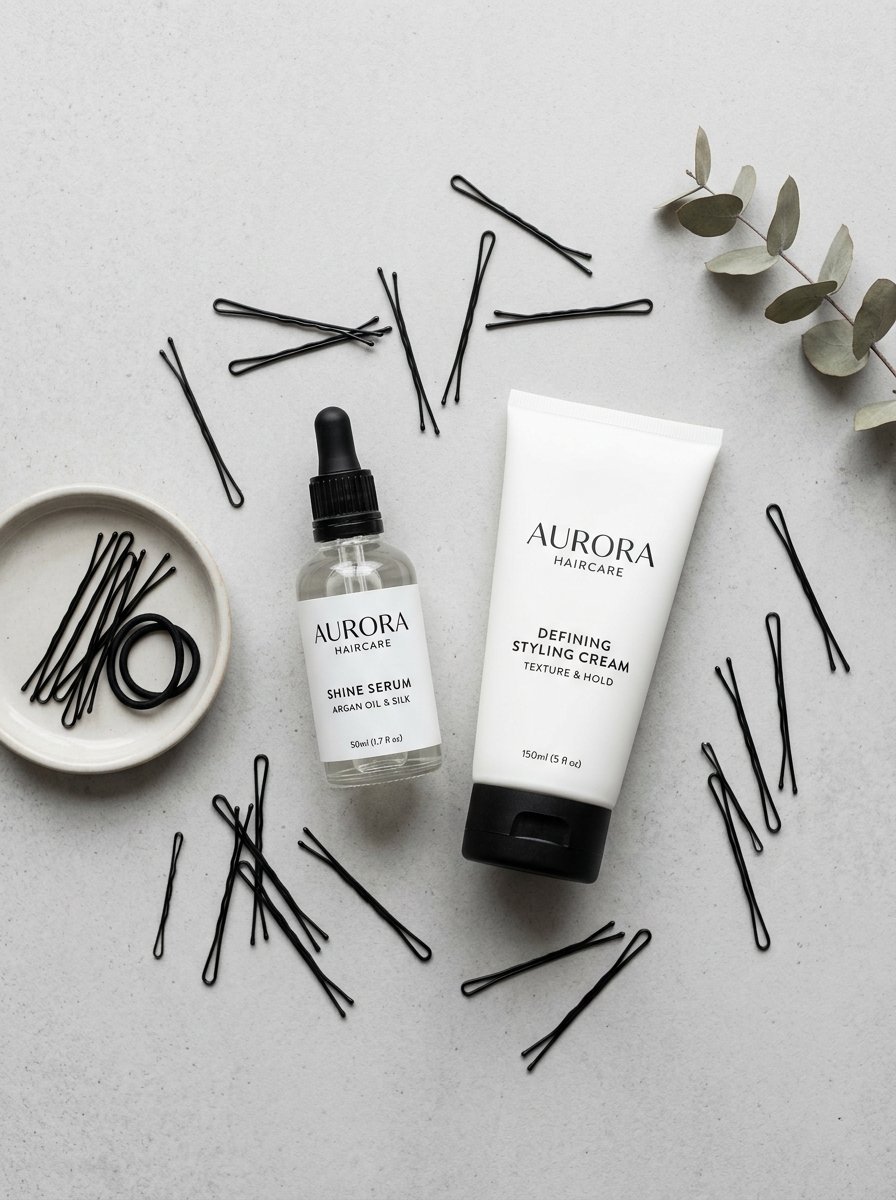
Keeping a low bun looking sharp all day requires checking on your hair health and tension balance. Many people experience headaches or notice hair breakage at the nape of their neck. These issues are usually caused by a few common styling mistakes that are easy to fix once you know what to look for.
The primary cause of hair breakage is using regular rubber bands or cheap elastics with metal joiners. These materials cut into the hair shaft when twisted tightly. Always choose seamless nylon bands or fabric-covered bungees to protect your hair.
If your hair feels too tight or pulls on your scalp, your ponytail base is likely carrying too much weight all in one spot. Using the two-stage sectioning method helps spread the weight evenly across your head, preventing scalp strain and headaches.
When removing your style at the end of the day, avoid pulling or yanking the elastic bands straight out. Instead, gently slide the pins out first, unroll the bun coil, and carefully snip clear elastics away with a hair cutter tool if they feel tangled. This keeps your ends healthy and prevents split ends over time.
Frequently Asked Questions
How do I prevent flyaways without making my hair look greasy?
The trick is applying your styling products in thin, even layers. Use a pea-sized amount of water-based pomade or styling cream rubbed completely across your palms first. Lightly skim your hands over the surface of your hair rather than rubbing the product directly into your roots.
Can I create a sleek low bun with thick, coarse hair?
Yes. Thick hair is easiest to style when split into two sections. Create a secure ponytail with the back section of your hair first. Then, wrap the front sections around the base one at a time to distribute the volume evenly and keep the bun secure.
Why does my low bun always sag after a few hours of wear?
Sagging usually happens because your hair was damp when styled, or the base elastic is too loose. Ensure your hair is completely dry before brushing it back. Using a hook-ended hair bungee instead of a standard elastic band helps you set a firm, lasting hold.
What pins work best for holding heavy hair in a low chignon?
Standard flat bobby pins can slip out under heavy weight. Large, crinkled U-shaped hairpins work best for thick hair. They hold the shape well by catching larger amounts of hair and locking it flat against your scalp.
How do I style a low bun if I have a fringe or short layers around my face?
You can leave short face-framing layers loose to soften the style, or secure them back using a small amount of styling wax. Brush the short layers back toward the crown of your head and pin them down with mini bobby pins that match your hair color.
Is it safe to wear a tight sleek bun every day?
Wearing very tight hairstyles every day can strain your hair roots over time. To protect your hair, try alternating between a sleek finish and a softer, casual low bun. Remember to use gentle fabric elastics to avoid breakage.
Now that you know how to build a clean base and secure your style, you can easily create a beautiful low bun at home. Practice the simple two-stage sectioning method next time you get ready for work or an evening out to see how fresh and secure it keeps your look all day.

Sarah Mitchell — Founder & Editor-in-Chief
Sarah Mitchell is the founder and editorial voice behind Hair Level Up. A licensed cosmetologist with more than 15 years of experience, she has styled A-list celebrities for editorial shoots and red carpets, with work featured in Vogue, Elle, and Harper’s Bazaar. Early in her career, she trained under the legendary hairstylist Oribe in New York, an apprenticeship that still shapes her editorial eye today. Sarah founded Hair Level Up in 2020 after one bad haircut convinced her that women deserved a destination that felt like a magazine, taught like a stylist, and inspired like an art gallery. She oversees every story from concept to publication, guided by a simple belief: a good story teaches you something, but a great one makes you feel beautiful while it does.