Best Curling Wands Sized For Shoulder Length Hair And Special Events
Imagine staring at the mirror with a hot tool in hand. You want those soft Pinterest waves. Instead you get tight poodle coils or a slight bend that falls flat in ten minutes. I wasted hundreds of dollars on hot tools before finding the right fit. The secret lies entirely in the barrel size. Finding the exact right dimension changes everything. I remember crying before my best friend tied the knot because my hair looked terrible. Today I easily style beautiful soft waves in twenty minutes. Here is what nobody tells you about matching tools to medium lengths.
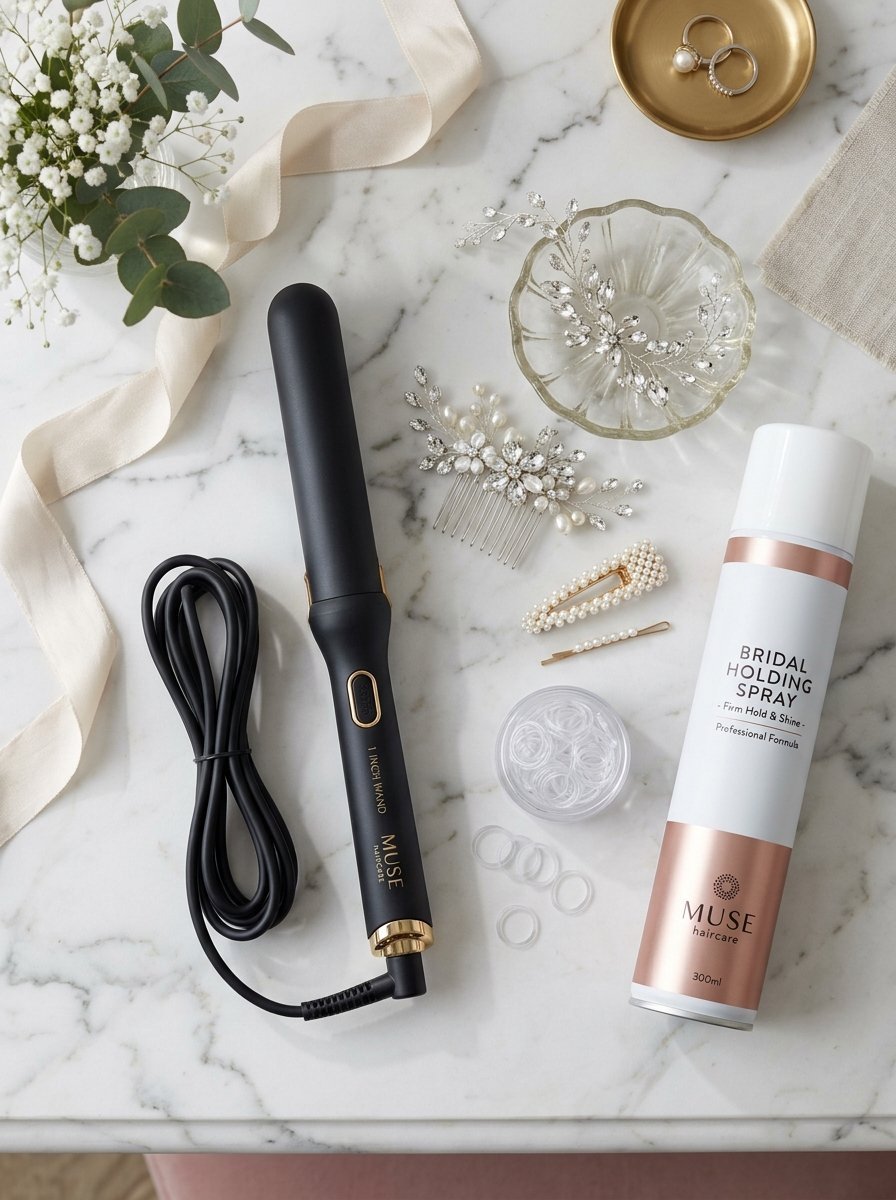
You will master the exact tools sized right for collarbone grazing cuts. I detail specific brands costing between fifty and two hundred dollars. You get clear instructions for styling hair so the shape lasts through rain or humidity. We cover everything from casual textures to a flawless hairstyle for medium hair wedding celebrations. I share three personal case studies showing real styling wins. You also get a complete breakdown of hairdos for wedding parties and casual events. This guide gives you the exact skills to stop fighting your hair and start loving your daily styling routine.
What Size Curling Wand Works Perfectly For Shoulder Length Hair?
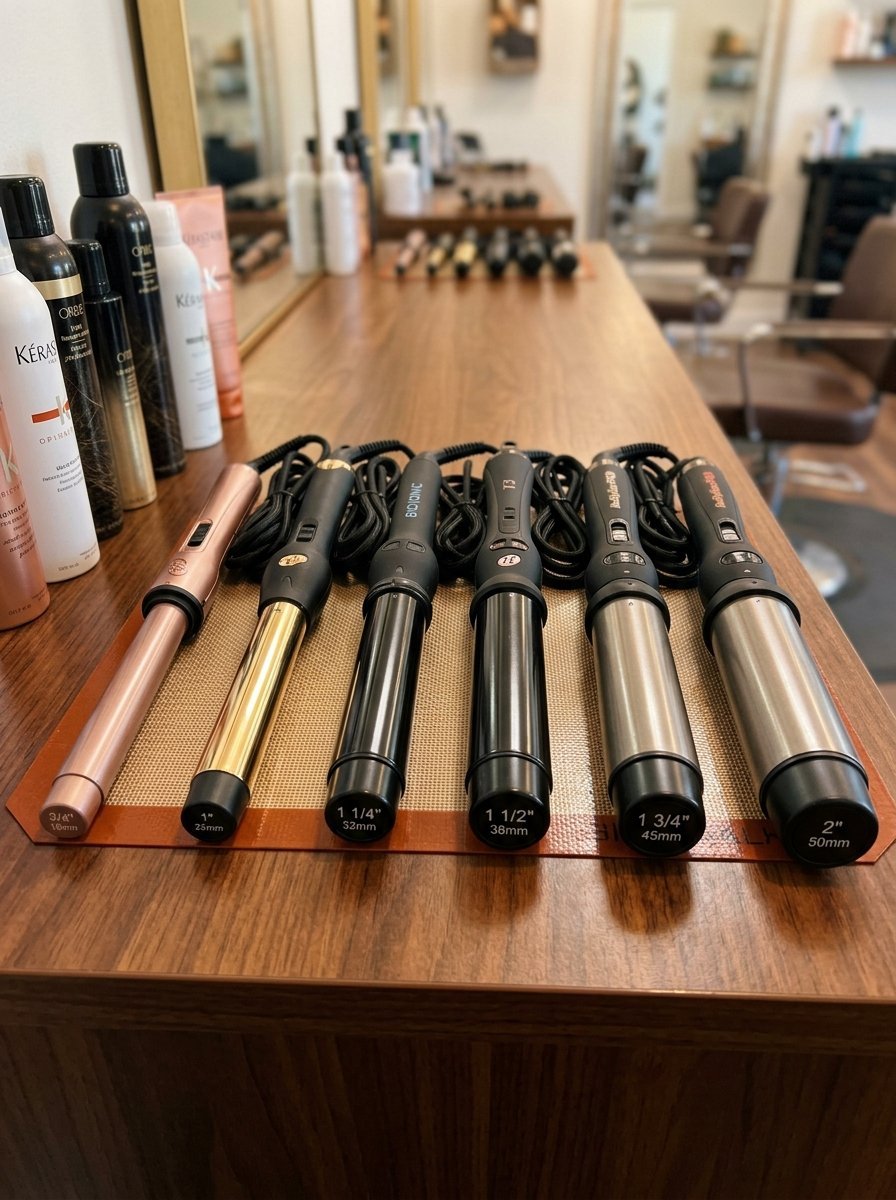
Many women buy massive barrels hoping for loose beach waves. This is a huge mistake for collarbone lengths. The hair barely wraps around a huge iron once. You end up with straight ends and a weird dent in the middle. I tried this exact thing last year. I bought a massive two inch iron. My hair looked completely flat. I returned it three days later.
The Magic Of The One Inch Barrel
The one inch barrel solves almost every styling problem. This size allows you to wrap medium lengths exactly two or three times. This creates a true wave pattern. The tension stays right. The heat distributes evenly across the entire section. I use a one inch ceramic barrel for almost every client with medium locks. It always delivers soft texture that lasts until the next wash day.
When To Pick A Smaller Barrel
Sometimes you want tighter texture. A three quarter inch barrel works perfectly here. This size grips shorter layers beautifully. It creates bouncy ringlets. You can brush these tight ringlets out. Brushing creates a vintage Hollywood wave pattern. I styled a bride last October using a smaller iron. We wanted a dramatic look. The tight base shape relaxed into a stunning cascade by the evening. Smaller barrels grip slippery fine hair much better than larger ones. The tight circumference forces the hair into a strong structural shape.
Avoiding Jumbo Barrels On Shorter Hair
Big irons ruin medium cuts. A barrel larger than one and a quarter inches will disappoint you. You will not get curls. You only get volume at the root. The ends stay completely straight. I watched a client struggle with a big iron for months. She complained her hair never held a shape. We switched her to a smaller tool. Her entire styling routine changed overnight. Jumbo irons belong strictly to women with hair down to their waist. Do not fall for the massive iron fad online.
How Do You Create Lasting Hair Styles With Curls For Weddings?
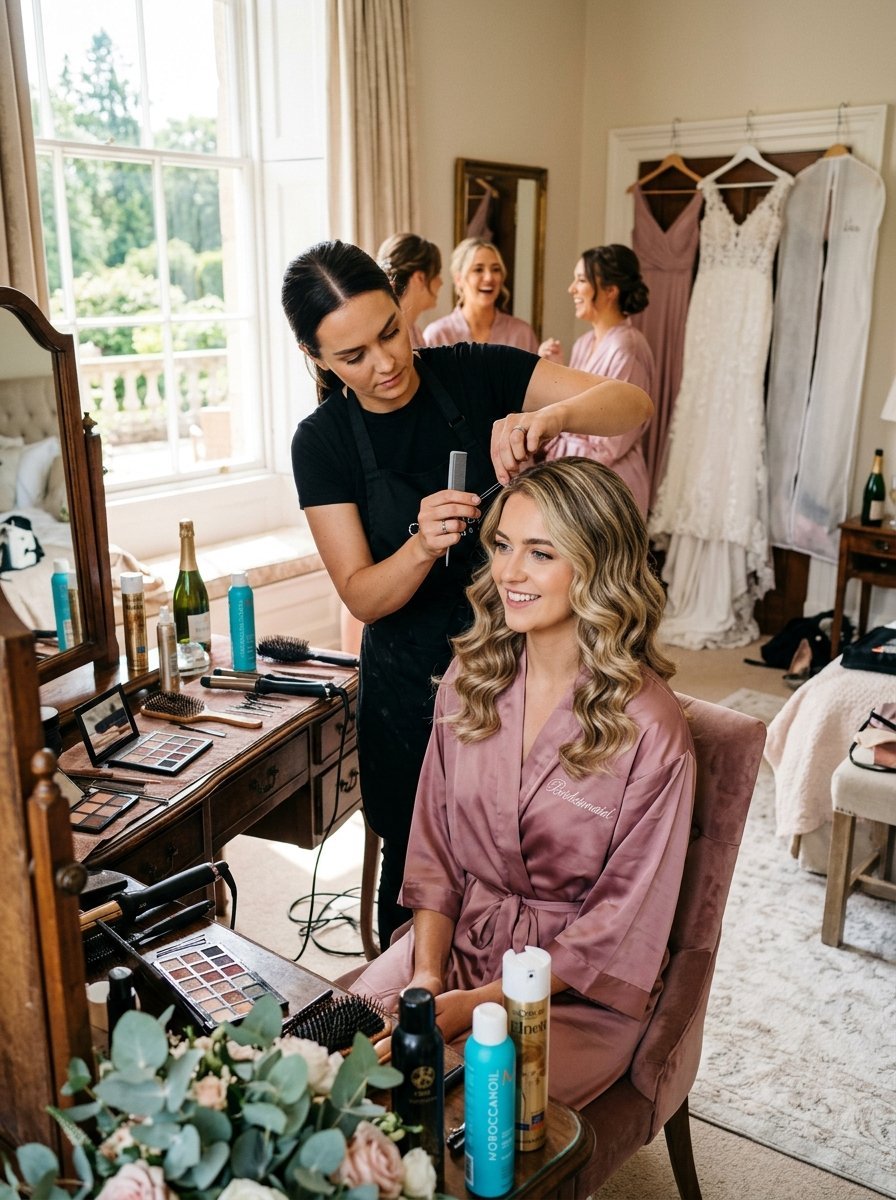
Formal events demand serious staying power. You cannot have flat hair before the cake cutting. I styled five bridesmaids last spring in ninety degree weather. We needed sweat proof styles. The foundation matters more than the hot tool. Hair curling styles require specific preparation. Without preparation your hair drops flat in two hours.
Prep Steps For All Day Hold
You must start with clean dry hair. Any dampness destroys the shape completely. I always tell clients to wash their hair the night before. Morning styling works best on day old hair. The natural oils give the shape something to grab onto. I spray a thermal protectant generously from roots to ends. Then I apply a lightweight mousse. The mousse acts like structural scaffolding. Blow dry the mousse directly into your hair before using any iron.
The Best Hairstyle For Brides With Medium Lengths
A hairstyle for brides must look perfect from every single angle. I love doing textured low buns. We curl the whole head first. We leave the front pieces out to frame the face. Then we pin the back into a loose chignon. This style survives hugging two hundred guests. It photographs beautifully. It keeps hair off a sweaty neck during the reception dance party. You get the beauty of texture without the hassle of loose hair flying everywhere.
Beautiful Hair Ideas For Bridesmaids
Bridal parties need cohesive looks. Hair ideas for bridesmaids should complement the bride without copying her. I prefer uniform beach waves for the entire bridal party. We use the exact same wand size for everyone. This creates a beautifully matched group photo. We part the hair the same way. We tuck one side behind the ear for a clean neckline view. This looks incredible in professional photographs.
Which Curling Hairstyles Transition From Day To Night?
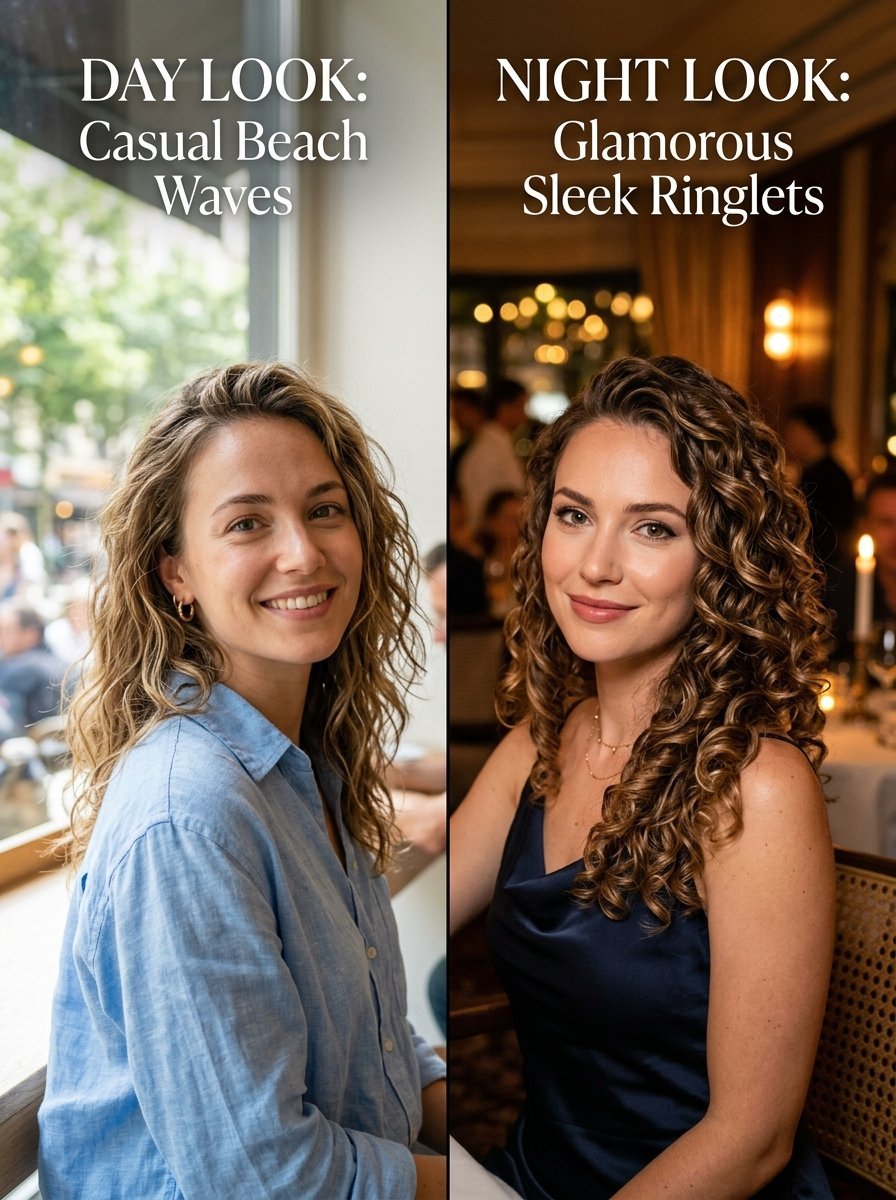
Nobody wants to style their hair twice in one day. You need shapes that evolve beautifully over twelve hours. I call these transitional textures. They start tight and finish loose. They never look messy or undone. You just need the right tool and the right hand movements. A solid transitional style saves you hours of getting ready for evening plans.
Effortless Beach Waves
This look rules the internet right now. You hold the wand vertically. You wrap the hair away from your face. You leave the bottom two inches completely straight. Leaving the ends straight stops the style from looking like a prom updo. I do this every Tuesday morning. By dinner the waves look lived in and cool. The straight ends give the haircut a sharp modern edge.
Bouncy Voluminous Curls
Some days require maximum volume. You wrap the hair horizontally around the wand. You roll the iron all the way to the root. You pin the hot coil against your scalp to cool. I did this for a massive presentation last month. My hair looked huge and bouncy. The volume lasted through a sweaty subway commute and a four hour meeting. Horizontal wrapping creates width and lift at the root.
Polished Ringlets For Formal Events
Formal dinners demand structure. You take small clean sections. You wrap the hair tightly without twisting the ribbon. You let the shape cool completely before touching it. I spray a heavy hold mist immediately. This locks the cuticle in place. You get a glass like shine that reflects light perfectly in dark restaurants. Do not brush these ringlets. Simply separate them gently with your fingers.
Can You Mix Updos And Loose Waves For Formal Events?
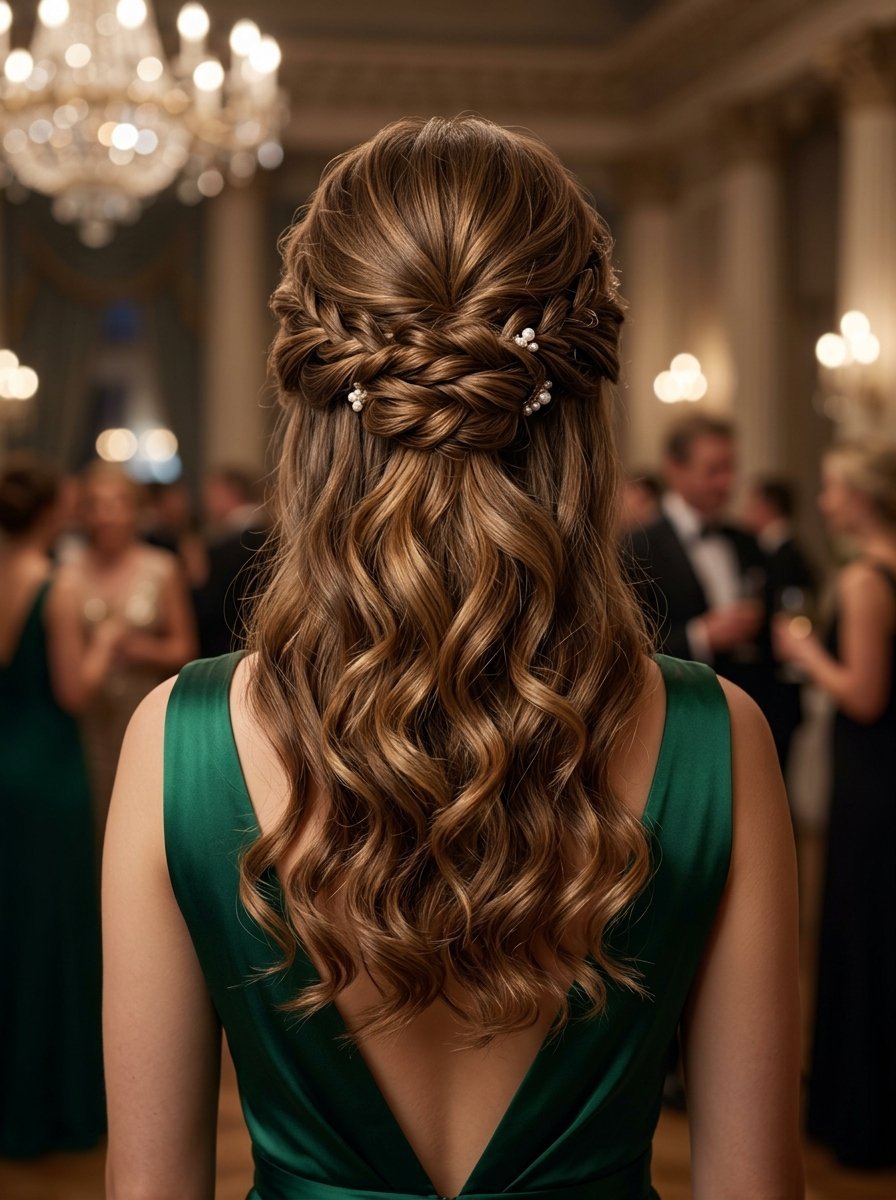
You absolutely can mix textures. Half up styles rule the formal event circuit right now. You get the drama of long flowing pieces. You also keep the hair out of your eyes. I think this gives you the best of both worlds. Mixing smooth roots with textured ends creates incredible visual interest.
Crafting Semi Updo Hairstyles
Semi updo hairstyles flatter almost every face shape. I start by curling everything. Then I take the top section from the temples back. I secure this section with clear elastics. I wrap a small piece of hair around the elastic to hide it. This lifts the face. It adds instant polish to a simple dress. This takes exactly five minutes but looks professionally done.
Adapting Hair Styles For Long Hair Wedding Events
Long locks require different management. Hair styles for long hair wedding guests need extra pins. The weight of the hair pulls the wave down quickly. I always use a smaller barrel on extremely long hair. I want a tight spiral base. The heavy hair stretches the spiral into a loose wave within two hours. This trick guarantees your hair survives the entire reception.
Designing Classic Hairdos For Wedding Guests
You want to look great without outshining the bride. Hairdos for wedding guests should look intentional but effortless. I love a deep side part with glamorous old Hollywood waves. You brush all the texture together. The waves merge into one continuous glossy shape. You pin one side back with a sparkly clip. It takes fifteen minutes but looks incredibly expensive.
What Are The Top Curling Wands For Medium Length Hair Right Now?
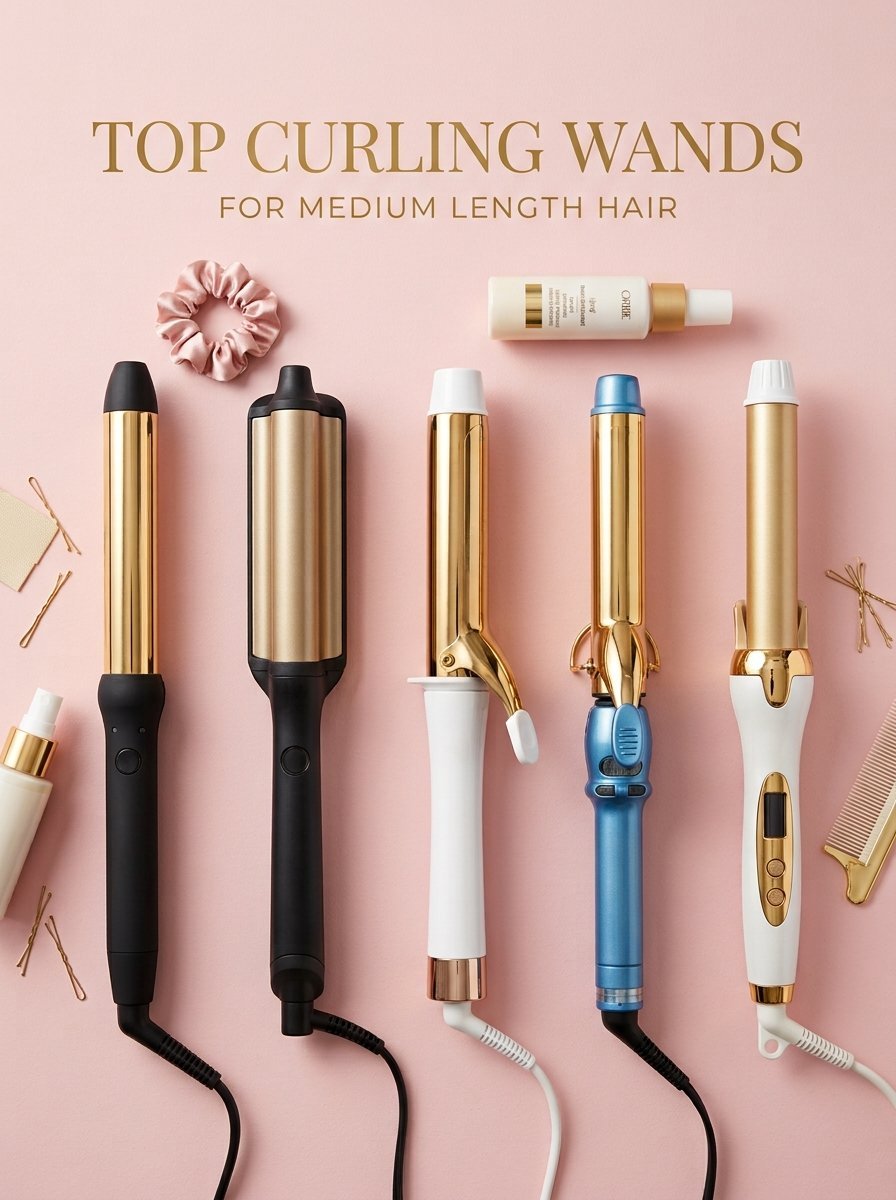
The market is flooded with garbage tools. I spent over five hundred dollars testing different wands last year. Cheap irons fry your ends. Expensive irons sometimes perform terribly. You need honest feedback based on real daily usage. Here is the exact breakdown of the top contenders.
| Brand And Model | Barrel Size | Material | Target Hair Type | Price Estimate |
| T3 Micro Whirl Trio | Interchangeable | Ceramic | Mixed textures | 300 Dollars |
| BaBylissPRO Nano | One Inch | Titanium | Hard to style | 60 Dollars |
| Hot Tools Pro | One Inch | Gold Plated | All hair types | 50 Dollars |
| Bio Ionic Wand | One Inch | Ceramic | Dry damaged ends | 140 Dollars |
| GHD Curve Classic | Tapered Base | Ceramic | Fine flat layers | 200 Dollars |
| Conair Double | One Inch | Ceramic | Budget shoppers | 20 Dollars |
T3 Micro Whirl Trio
This is the luxury option. It costs around three hundred dollars. You get three different barrels. The heat stays incredibly consistent. My wrist never hurts using this tool. The ceramic plates smooth the hair cuticle beautifully. I have owned mine for four years without a single glitch. The locking mechanism feels extremely solid.
BaBylissPRO Nano Titanium
Titanium gets hotter than ceramic. This iron costs around sixty dollars. It blasts stubborn hair into submission. I use this exclusively on clients whose hair refuses to hold a shape. You must use a thermal protectant with this one. The high heat can cause damage if you leave the hair wrapped too long. The blue barrel looks very professional.
Hot Tools Pro Artist
This is the industry workhorse. I see this gold plated tool in every salon backstage. It costs fifty dollars. It takes a beating and keeps working perfectly. The gold surface conducts heat rapidly. You can finish a whole head of medium hair in twelve minutes flat. The long cord makes bathroom styling incredibly easy.
How Do You Actually Wrap Medium Hair Around A Wand?
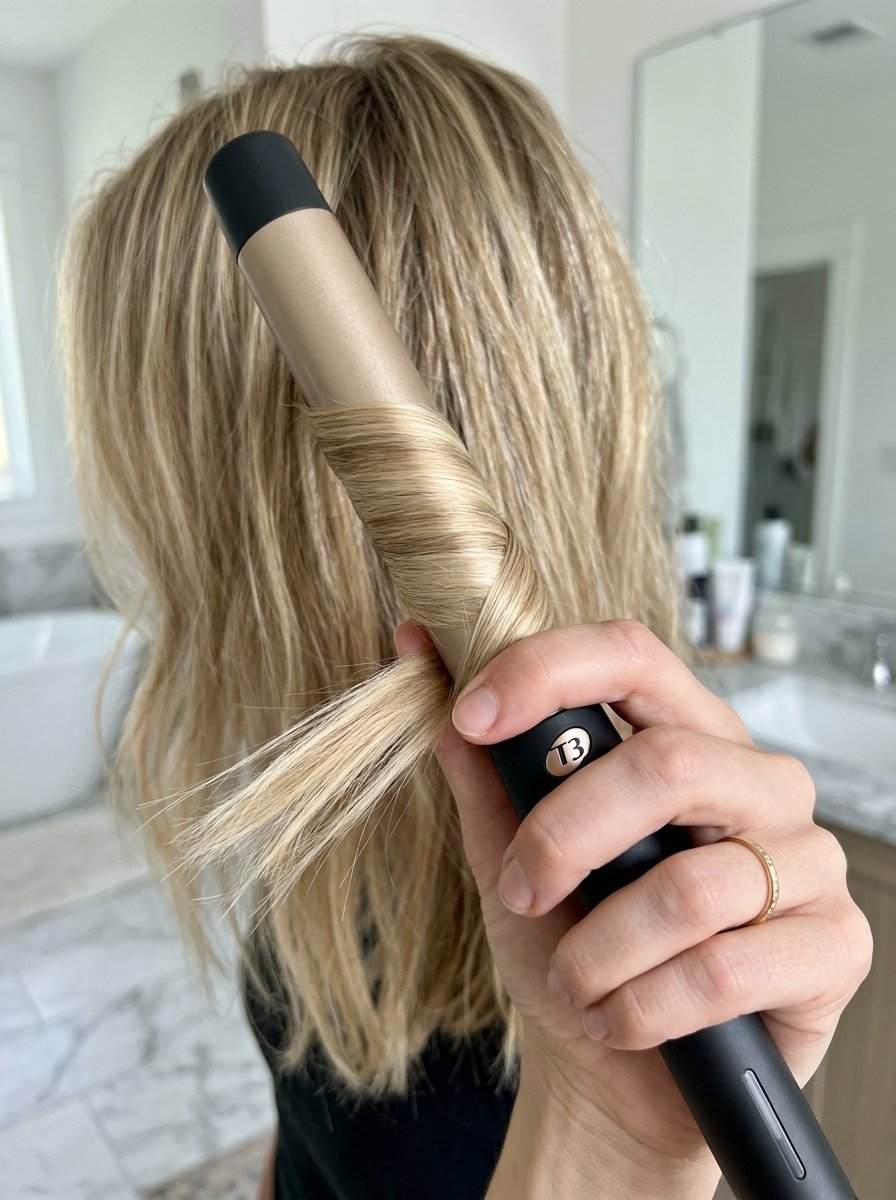
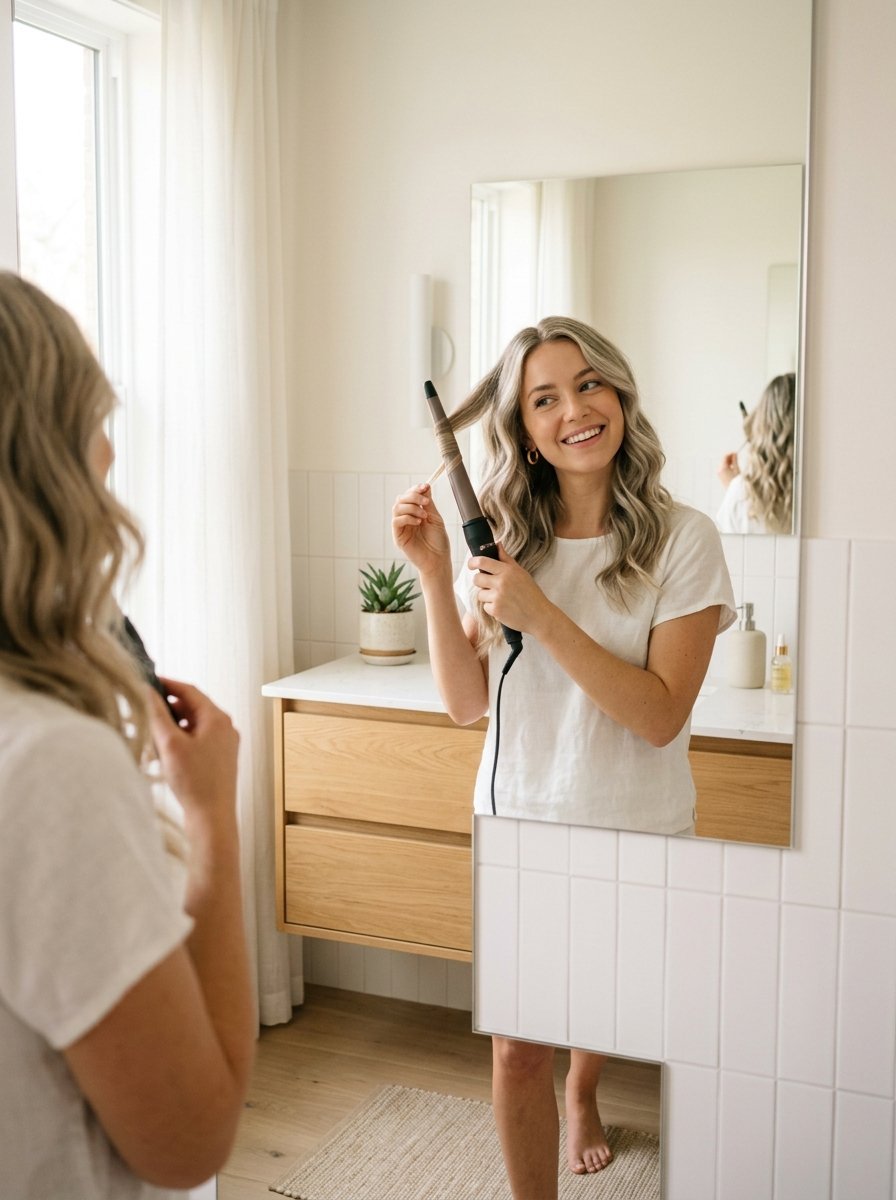
Buying the right tool solves half the puzzle. Your physical movements dictate the final shape. Most people hold the wand completely wrong. They wrap the hair sloppily. The final shape looks chaotic and frizzy. I will teach you the exact hand movements I use on my clients.
- Start with completely dry detangled hair.
- Divide your hair into four distinct quadrants.
- Clip the top sections away entirely.
- Hold the wand in your dominant hand.
- Point the tip of the barrel directly at the floor.
- Take a one inch square section of hair.
- Wrap the hair flat against the barrel away from your face.
- Hold the ends with your fingertips.
- Wait exactly eight seconds.
- Release the hair into your palm.
- Let the hot coil cool in your hand for three seconds.
- Drop the cooled shape and move to the next piece.
Sectioning Your Hair
You cannot grab random pieces and expect a good outcome. Clean sections create clean shapes. I always draw a line from ear to ear. I clip the top half out of the way. Then I split the bottom half down the middle. This gives me total control over every single strand. Sloppy sections leave you with straight pieces hiding underneath.
The Wrap And Hold Tactics
Tension matters. You must keep the hair pulled tight against the hot surface. If the hair sags on the barrel you will get weird dents. I wrap the ribbon flat. I never let the hair twist around itself. Twisting creates a stringy look. Flat wrapping creates a smooth glossy ribbon of hair. This mimics an expensive salon blowout.
The Cooling Phase
This is where most women fail completely. Hair acts like melted plastic. It takes the shape of whatever position it cools in. If you pull a hot curl down immediately it will stay completely straight. You must cup the hot ringlet in your hand. Let the heat dissipate. This sets the internal structure permanently. Do not skip this step ever.
Case Studies In Medium Length Styling
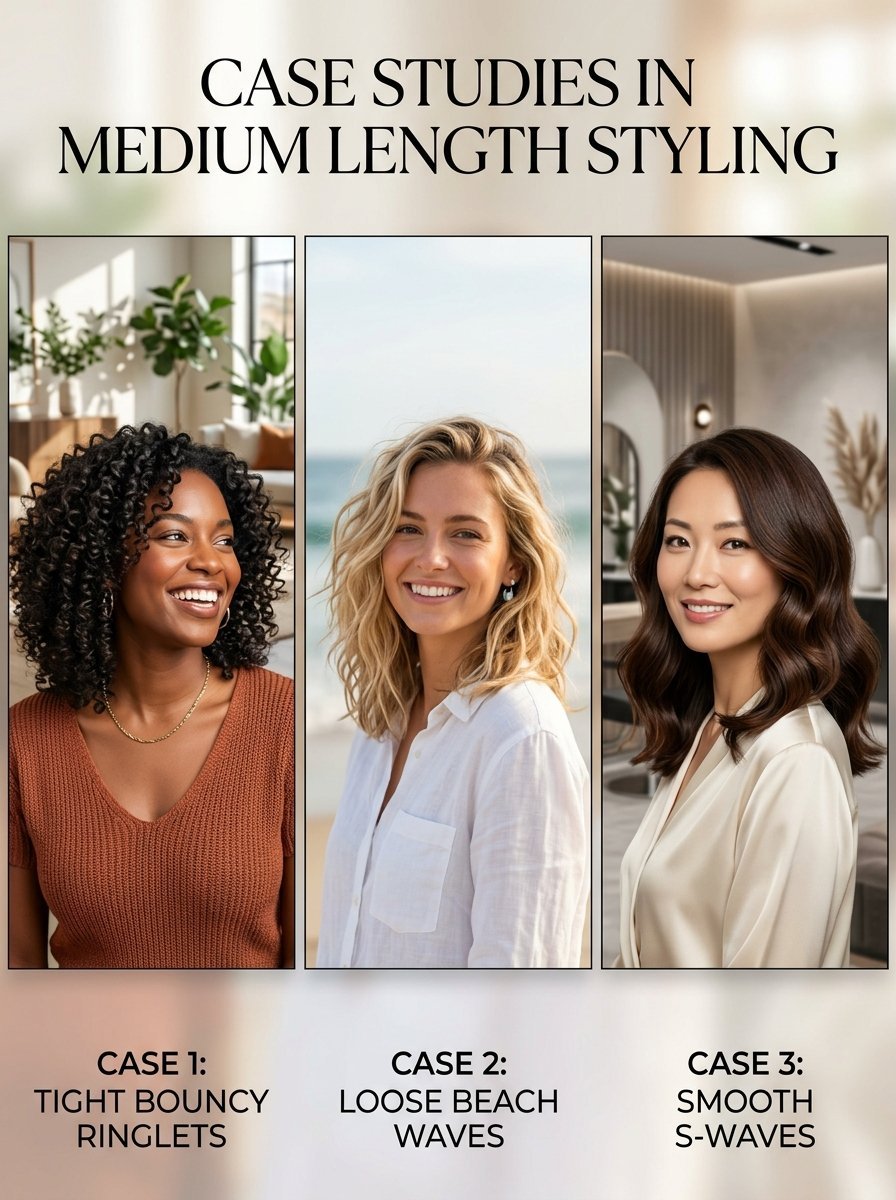
Theory only goes so far. You need to see exactly how these ideas work in reality. I documented three distinct situations over the past six months. Each person required a different approach. The outcomes prove that barrel size and hand movements change everything about your hair.
Sarahs Flat Fine Hair Nightmare
Sarah has baby fine shoulder skimming hair. She complained her hair looked stringy after one hour. We switched her to a three quarter inch ceramic wand. We applied a volumizing mousse before drying. We curled her hair using the horizontal wrap method. Her fine strands finally held a massive bouncy shape for nine entire hours. The smaller barrel saved her routine.
Jessicas Frizzy Thick Locks
Jessica fights extreme humidity in Florida. Her medium layers constantly expanded into a triangle shape. We gave her the titanium one inch iron. The high heat smoothed her cuticles instantly. We wrapped her sections cleanly without twisting. We left the ends straight. Her hair looked sleek and intentional all day long. The titanium material locked out the moisture completely.
Emilys Bridal Party Crisis
Emily had four bridesmaids with different hair textures. They all had collarbone length cuts. We needed a unified look fast. I used the Hot Tools gold iron on all of them. I did the exact same vertical wrap motion. The consistent barrel size tied their looks together beautifully. The photos looked incredibly polished. The unified texture hid all the different haircut shapes.
Troubleshooting Common Wand Disasters
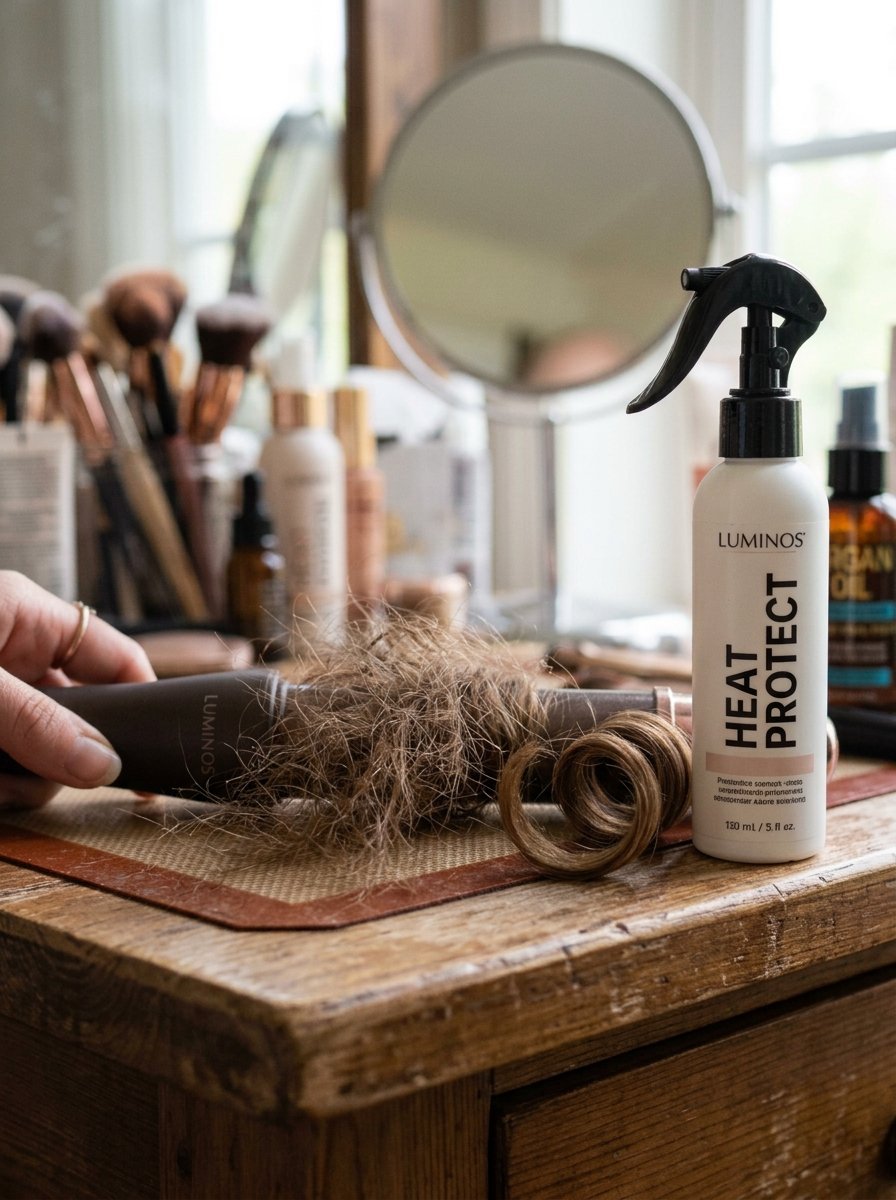
You will make mistakes. Everyone burns their fingers or creates weird dents at first. Do not panic. Every mistake has a specific root cause and a simple fix. I have fixed hundreds of styling disasters backstage right before clients walked out the door. You can salvage almost any hair disaster with a few tricks.
The Dreaded Fish Hook Ends
Fish hook ends happen when you bend the tips of your hair the wrong way against the barrel. This looks terrible. You fix this by leaving the last inch of hair completely off the hot tool. Keep your fingers firmly on the ends. Pull the iron away cleanly. The straight ends look modern and cool. This instantly modernizes your entire look.
Curls Falling Flat Instantly
Your sections are too big or your hair is too clean. You cannot curl a massive chunk of hair at once. The heat never reaches the middle strands. Take smaller pieces. One inch sections work best. If your hair is too clean spray a dry texturizer through the lengths before applying heat. The grit gives the strands traction.
Unintentional Poodle Hair
You used a tiny barrel and wrapped the hair far too tight. Now your hair looks like a vintage perm. You can fix this immediately. Take a flat iron. Run the flat iron quickly over the tight ringlets. The heat relaxes the spring pattern instantly. The hair will drop into a soft wave immediately. Gently pull the ends down while cooling.
Managing Heat Damage On Shorter Hair
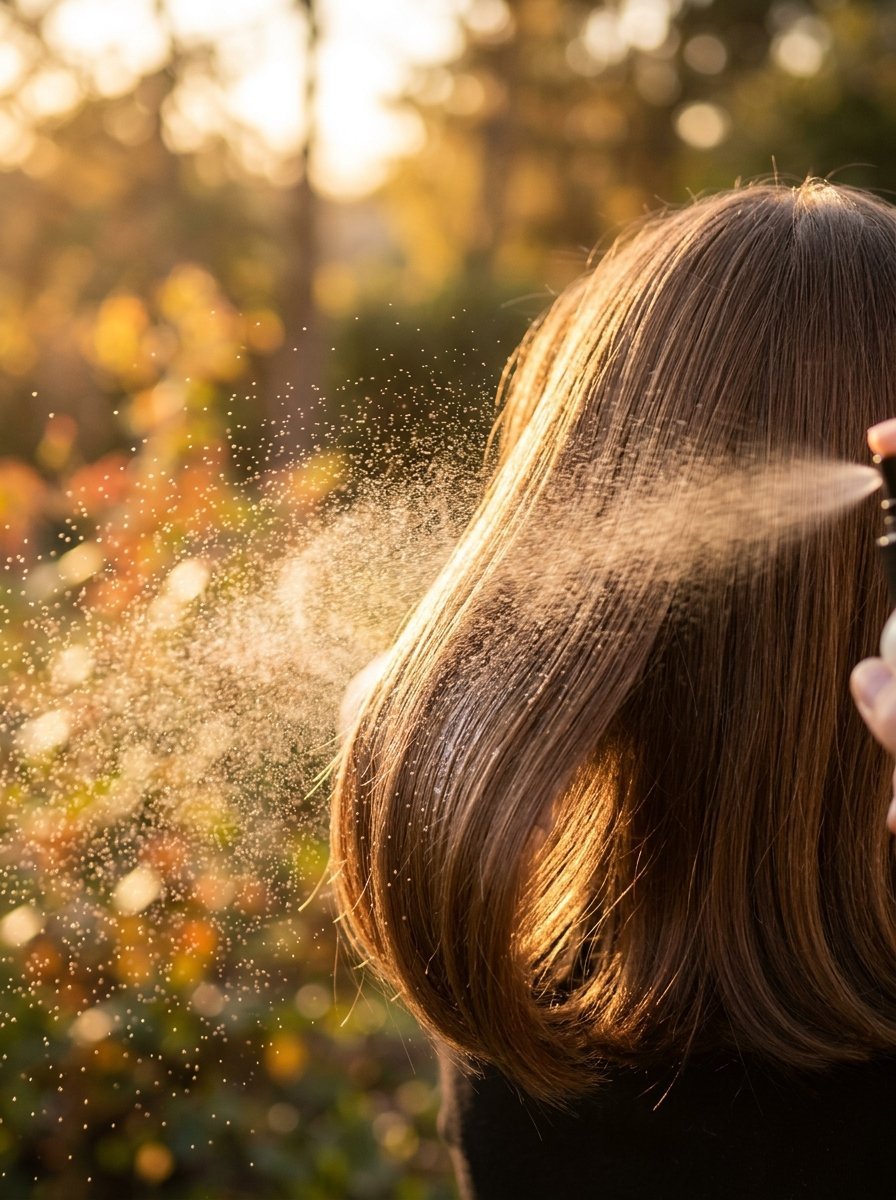
Medium length hair needs regular trims to look sharp. You cannot hide split ends in a messy bun easily. Daily hot tool usage destroys the protein structure of your hair if you get lazy. I have seen clients fry two inches off their lengths in a single month. Proper care keeps your texture bouncy and glossy.
Proper Heat Protection
You must spray a thermal barrier on every single section. Misting the top of your head does absolutely nothing. I lift the hair and spray underneath. I comb the product through entirely. The barrier prevents the moisture inside the hair shaft from boiling and exploding outward. Think of it like sunscreen for your locks.
Dialing Down The Temperature
Nobody needs four hundred and fifty degrees. That temperature melts keratin. If you have fine hair set your tool to three hundred degrees. Medium hair needs three hundred and fifty. Only incredibly coarse thick strands require high heat. Try the lowest setting first. See if it holds a shape. Gradually increase only if absolutely necessary.
Recovery Days
Give your hair two days off a week. Put the wand away completely. Do a slicked back ponytail or a loose braid. Apply a heavy moisture mask on Sundays. This schedule keeps your ends thick and blunt. Healthy hair holds a styled shape infinitely better than damaged fragile strands. Hydrated hair flexes and moves beautifully.
Styling Products That Lock Everything In Place
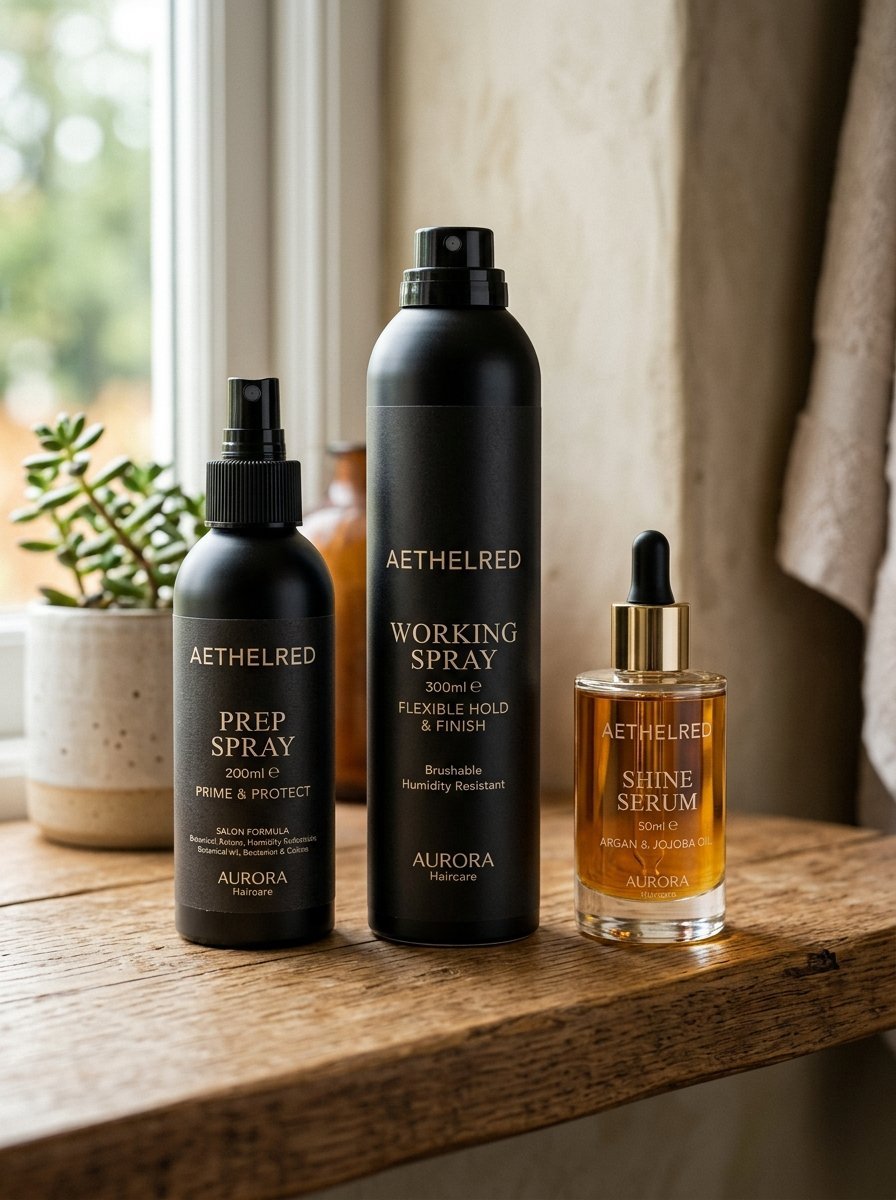
Using a hot tool on naked hair guarantees failure. You need chemical support. I tested dozens of sprays and creams to find the exact combination that holds medium hair without making it crunchy. You only need three specific products in your bathroom cabinet.
The Pre Styling Primer
A good primer evens out the porosity of your hair. I love using a lightweight leave in conditioner spray. It fills in the damaged gaps along the hair shaft. This allows the hot tool to glide smoothly. I spray this on damp hair immediately after showering. I brush it through with a wide tooth comb.
The Working Hairspray
Working hairspray acts differently than finishing spray. You use it during the curling stage. I spray a tiny mist over each section before wrapping it around the barrel. The heat bakes the hold directly into the shape. It gives fine hair immediate grip. You can still brush through it without white flakes appearing.
The Shine Serum Finish
Curling wands sometimes leave the ends looking dry. A tiny drop of silicone serum fixes this instantly. I rub one drop between my palms. I gently press my hands over the finished waves. I twirl the ends with my coated fingers. This seals the cuticles and adds ridiculous glossy shine. It completely eliminates frizz.
Navigating Seasonal Changes With Your Curling Routine
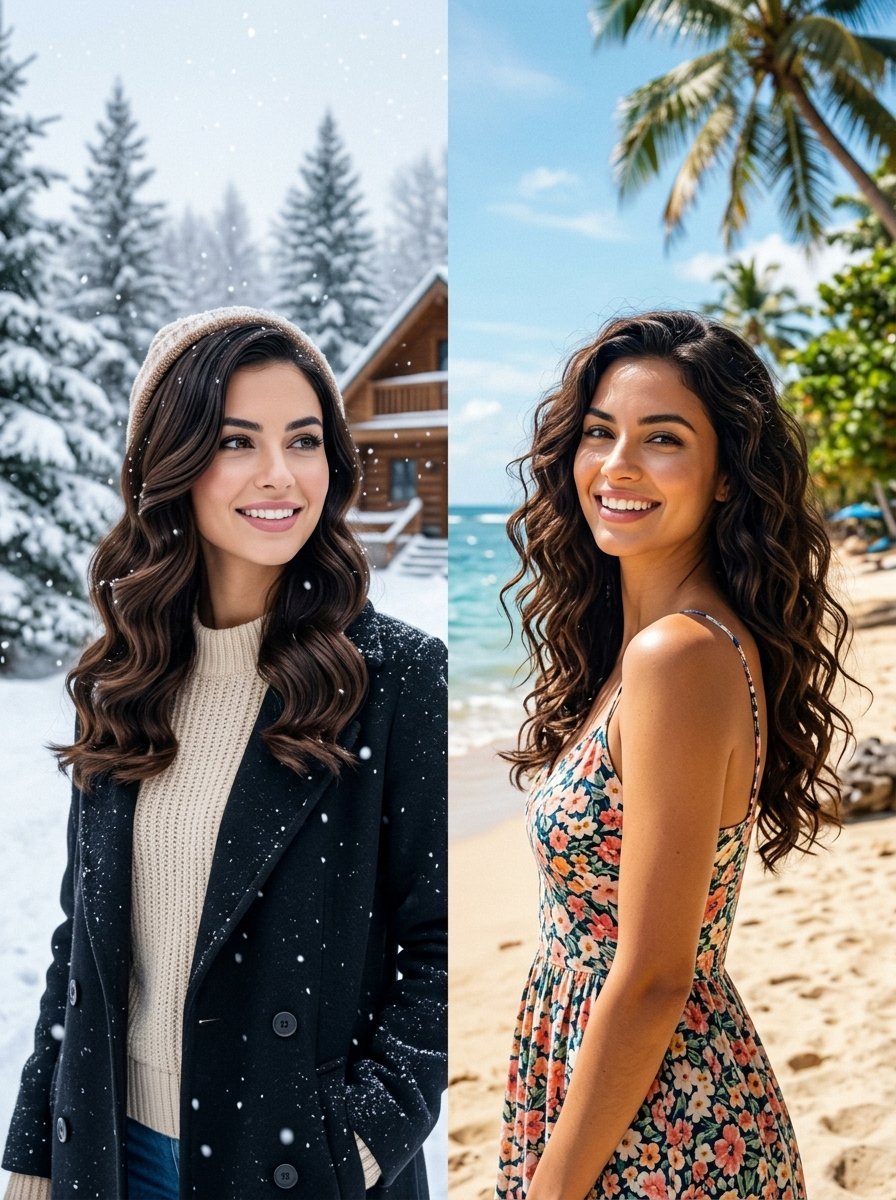
Weather dictates how your hair behaves. What works in January completely fails in July. I live in an area with extreme seasonal shifts. I change my entire product lineup twice a year. Your styling tools perform differently depending on the dew point outside.
Winter Static And Dryness
Indoor heating sucks all the moisture from your hair. The wand causes insane static electricity during December. I combat this by switching to a ceramic barrel instead of titanium. Ceramic creates negative ions that neutralize the static flyaways. I also rub a dryer sheet over my brush before smoothing out the waves. This trick works perfectly every single time.
Summer Humidity And Frizz
August humidity destroys hot tool styles in minutes. The air pushes water back into your heat styled hair. The cuticle swells and ruins the wave. I switch to the high heat titanium wand during summer. The intense heat seals the cuticle much tighter. I also double my use of anti humectant holding sprays before leaving the house.
Windy Spring Weather Tactics
Spring wind literally blows the shape out of your hair. Loose beach waves tangle into a massive knot outside. I adapt by making the base curl much tighter during April and May. I use a smaller three quarter inch barrel. The wind naturally softens the tight ringlets into loose waves as I walk around. It perfectly balances the weather elements.
Budget Friendly Styling Hacks For Amazing Hair
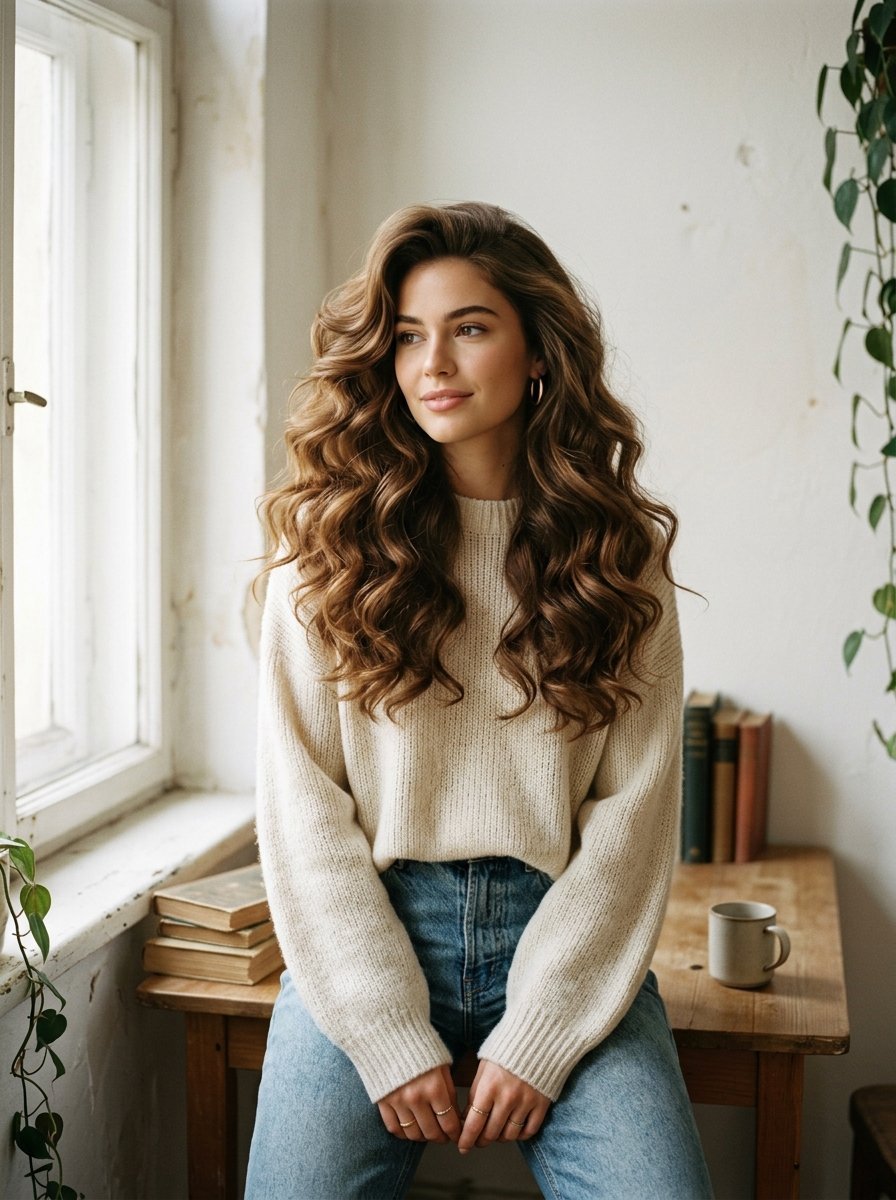
You do not need to spend three hundred dollars to get beautiful Pinterest hair. The hand movements matter way more than the brand name on the box. I started my career using twenty dollar pharmacy tools. I picked up a few tricks that make cheap irons perform like luxury devices.
Upgrading Cheap Barrels
Budget irons usually have terrible heat distribution. The tip stays cold while the base gets incredibly hot. I fix this by only wrapping hair around the center two inches of the barrel. I ignore the tip completely. This guarantees my hair gets perfectly even heat. The final shape looks exactly like a three hundred dollar wand session.
Repurposing Old Tools
If you have an old clamp iron you actually own a curling wand already. You just leave the clamp closed. You wrap the hair completely over the top of the closed clamp. I did this for three years in college. Nobody could tell the difference. You save fifty dollars just by changing your grip on the handle.
Drugstore Product Wins
Expensive texture sprays smell great but perform exactly like the cheap stuff. I buy standard aerosol dry shampoo from the grocery store. I spray it lightly all over my styled waves. It gives the exact same matte gritty texture as a fifty dollar salon spray. The hold lasts just as long during a busy day.
Frequently Asked Questions
I get hundreds of messages from women struggling with hot tools. The same issues pop up constantly. You probably have these exact concerns right now. Here are the direct honest answers to the most common styling roadblocks.
What is the best barrel size for shoulder length hair?
A one inch barrel remains the absolute gold standard. It provides exactly enough circumference to wrap medium locks two or three times. This creates a visible wave pattern without forcing the hair into tiny tight coils. It gives you the perfect balance of volume and defined shape.
How can I make my curls last all day?
Let the hot sections cool completely in your hand before dropping them. Heat changes the physical structure of the strand. Cooling locks that new structure into place permanently. Never brush the texture until the entire head feels completely cold to the touch. This takes about ten full minutes.
Are curling wands better than traditional irons?
Wands eliminate the clamp. The clamp causes weird creases in the middle of your hair. Wands force you to wrap the hair manually. This creates a much softer modern look. Traditional irons with clamps often create rigid dated pageant hair. I transition all my clients to wands eventually.
Can I use a wand on slightly damp hair?
Absolutely not. This is incredibly dangerous for your hair health. The water inside the cuticle boils instantly. The steam explodes through the outer layer of the hair. This causes severe permanent breakage. Always blow dry your locks one hundred percent before styling. You cannot repair hair that snaps from steam damage.
Why do the pieces around my face look weird?
You are wrapping the hair toward your nose instead of away from your face. Always wrap the front sections backward. This opens up your face. Wrapping forward creates a heavy shadow and looks completely unnatural. Practice the backward wrap motion with the tool turned off first.
How do I curl the back of my head without burning my neck?
Bring all the hair from the back forward over your shoulders. Divide it into two sides. Turn your head slightly. Wrap the pieces pointing the wand down. You never actually need to reach blindly behind your head. Keeping everything in front of you prevents awful neck burns entirely.
Final Thoughts On Your Perfect Style

Mastering a hot tool takes patience and muscle memory. You will fumble the wand the first few times. You might burn your thumb slightly. Keep practicing the wrap sequence with the iron turned completely off. I promise the awkward hand movements become second nature within two weeks. A one inch barrel genuinely changes how you view your daily routine. You stop dreading the mirror and start enjoying the styling time. Your collarbone length cut offers immense versatility once you master tension and cooling times. Start with clean sections. Wrap away from your face. Let the shape cool. What style are you going straight to the mirror to try first?

Sarah Mitchell — Founder & Editor-in-Chief
Sarah Mitchell is the founder and editorial voice behind Hair Level Up. A licensed cosmetologist with more than 15 years of experience, she has styled A-list celebrities for editorial shoots and red carpets, with work featured in Vogue, Elle, and Harper’s Bazaar. Early in her career, she trained under the legendary hairstylist Oribe in New York, an apprenticeship that still shapes her editorial eye today. Sarah founded Hair Level Up in 2020 after one bad haircut convinced her that women deserved a destination that felt like a magazine, taught like a stylist, and inspired like an art gallery. She oversees every story from concept to publication, guided by a simple belief: a good story teaches you something, but a great one makes you feel beautiful while it does.