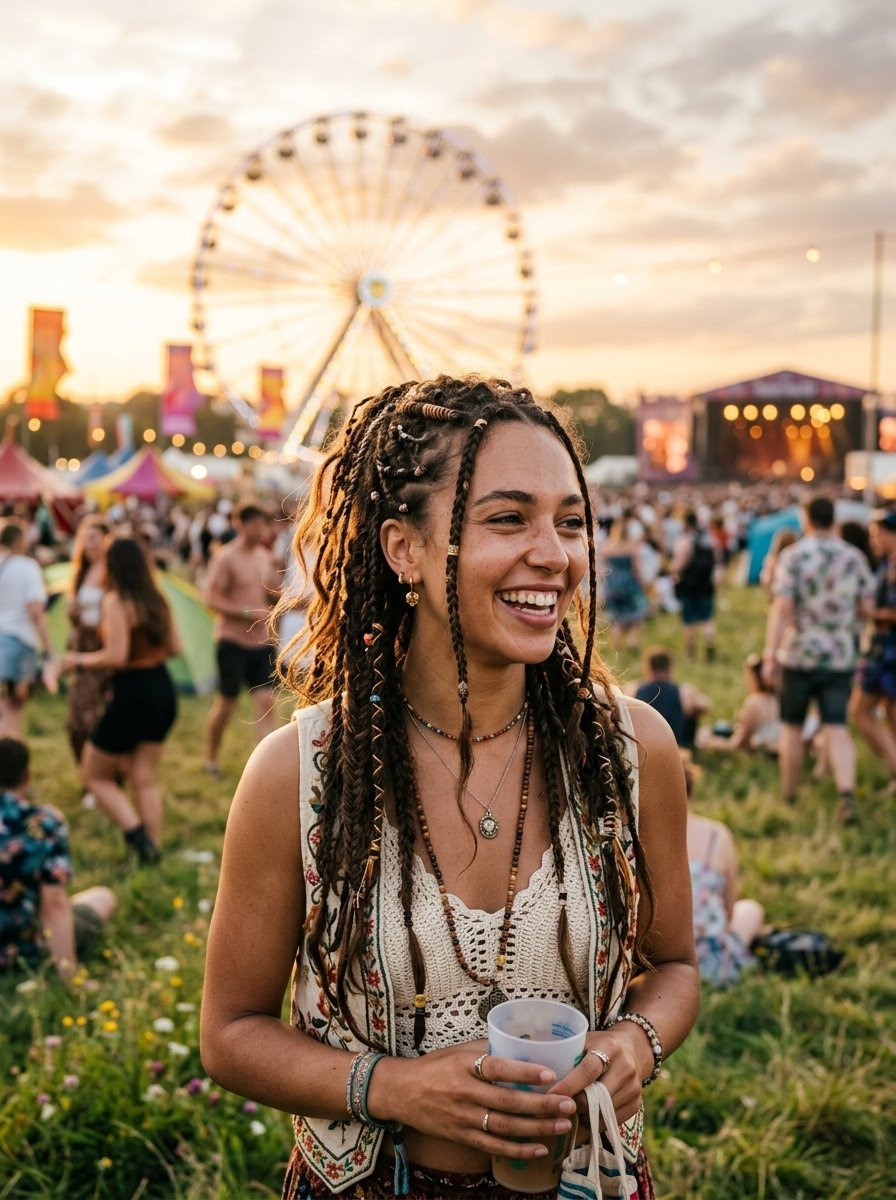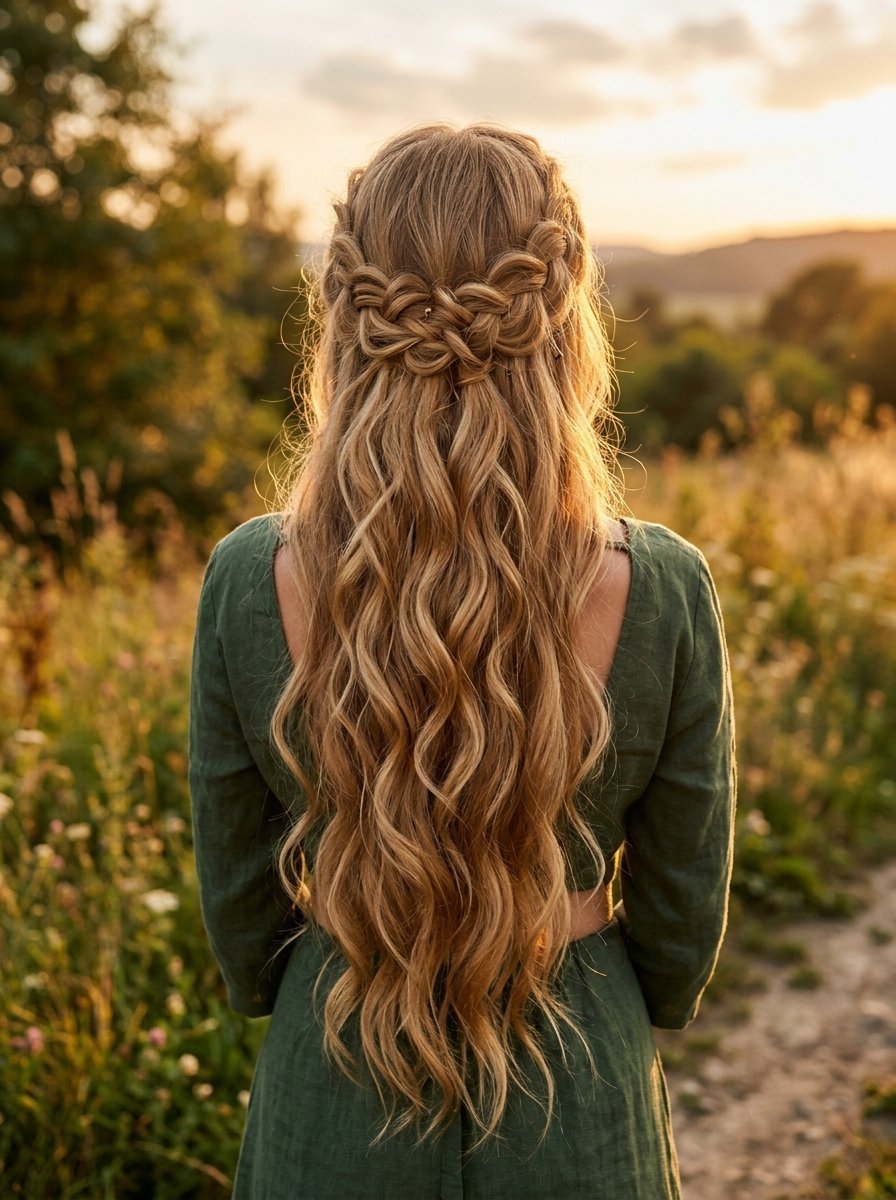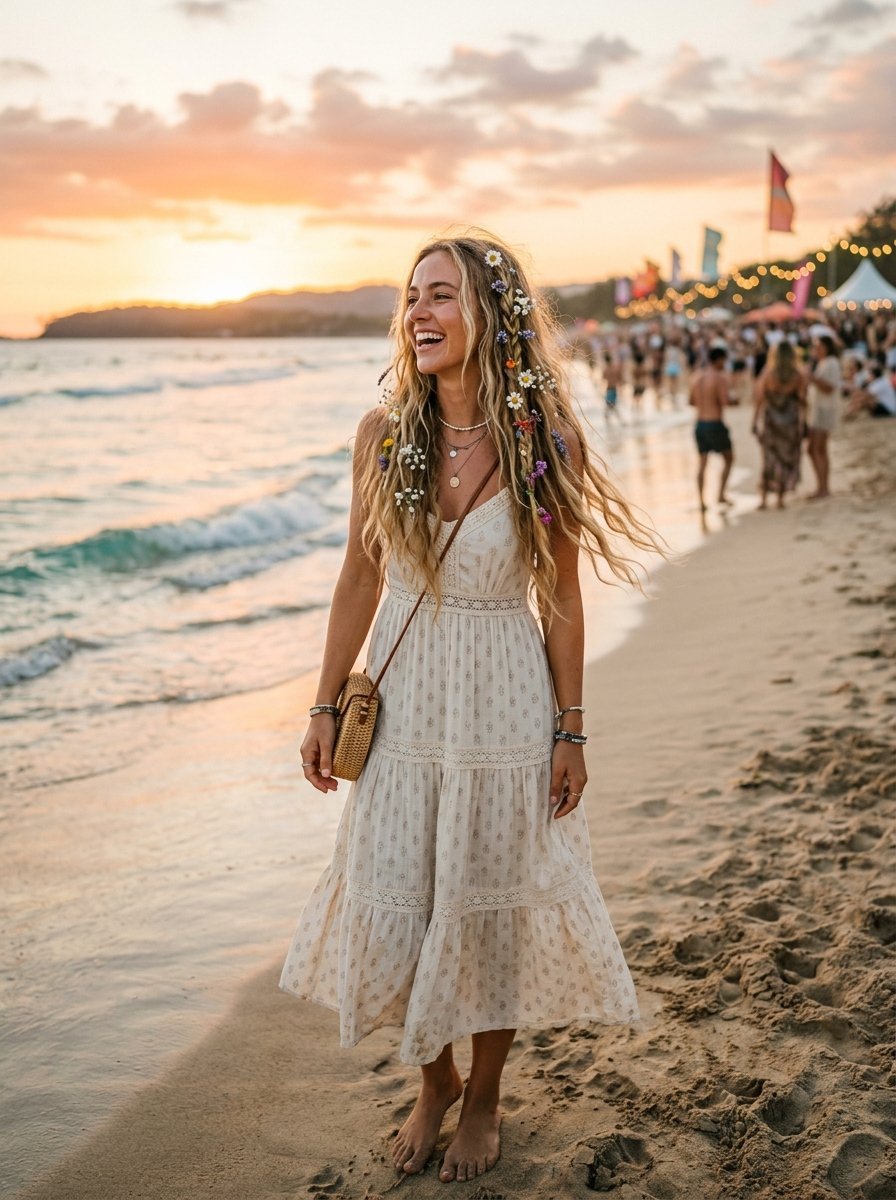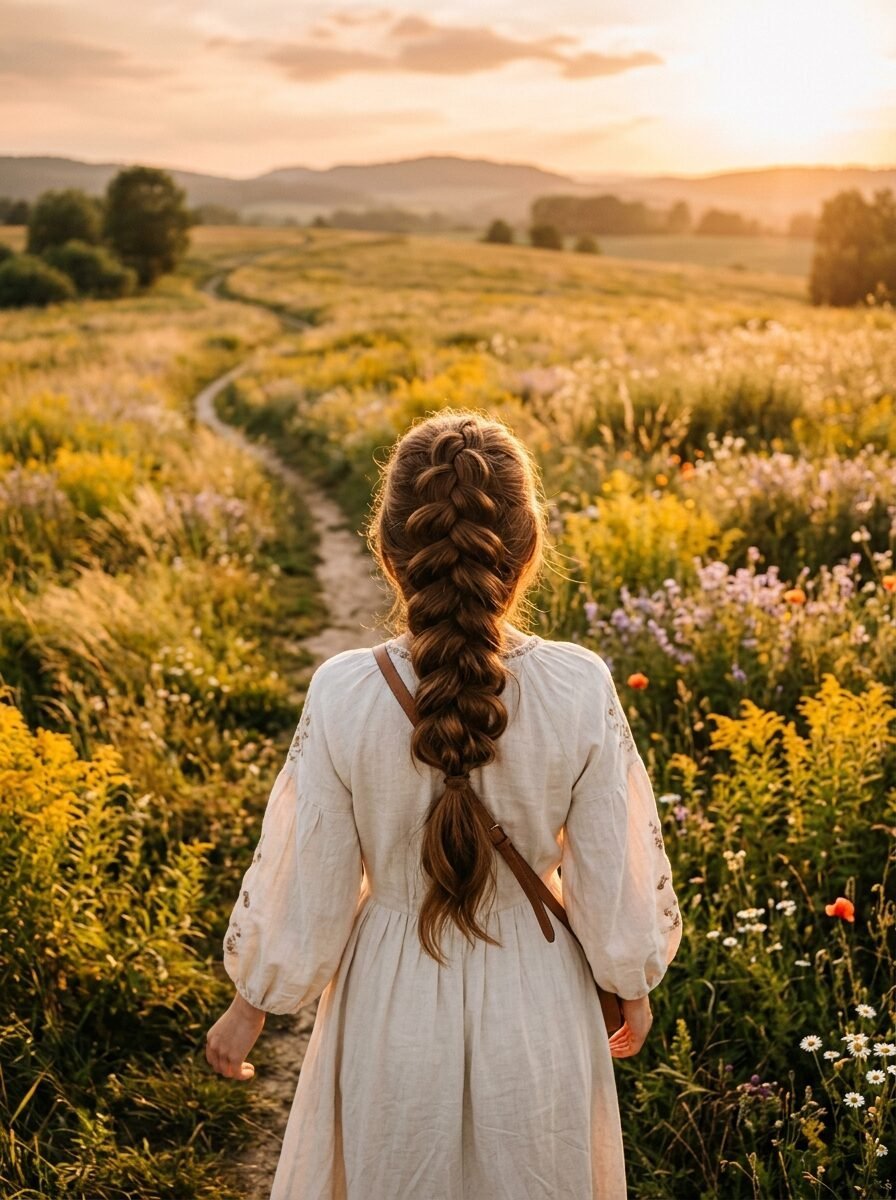
How to Get the Perfect Messy Boho Braid Step by Step: 7 Easy Stages
Want that effortless messy boho look? You see those stunning pins of women with perfectly undone hair. You try it yourself. You end up with a tight schoolgirl plait. I have been there. Getting that lived in texture takes a specific action. It requires knowing exactly where to pull and where to leave tight. Today I will walk you through the exact moves I use. We will make your hair look full and romantic. It will look like you spent hours on it. You actually only need ten minutes.
This guide walks you through every stage to create the perfect relaxed style. You will get seven detailed steps from hair prep to the final hold. I share my favorite texturizing tricks. We look at exactly how to pancake the sections for massive volume. You get fixes for fine hair that slips out of ties. By the end of this tutorial you will know how to construct beautiful everyday styles. Your friends will ask who does your hair. You will master the exact tension required for that loose finish.
1. Prep Your Hair for Texture and Grip
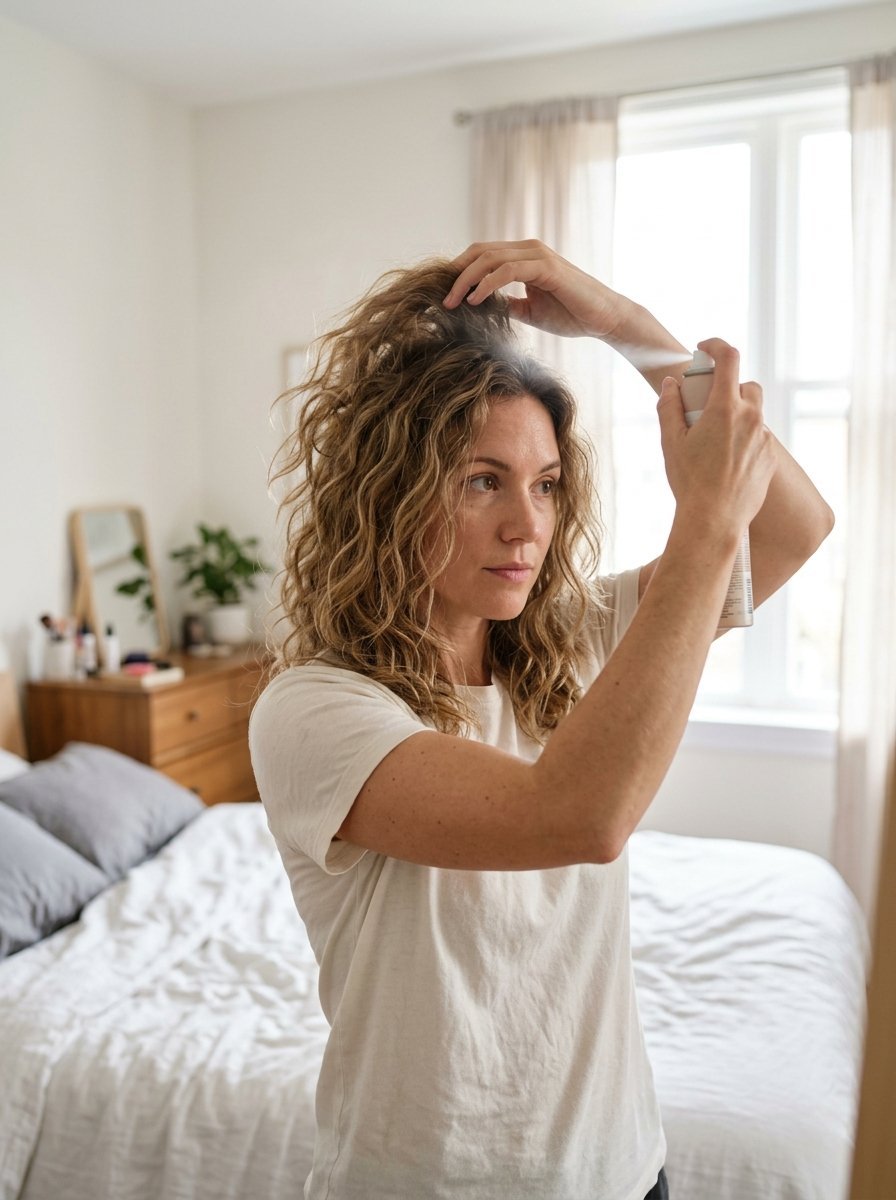
Clean hair is your worst enemy here. Freshly washed hair slips right out of any style. You want second or third day hair. Natural oils give your strands the grip they require. If you just washed your hair, you must create artificial texture.
I use dry shampoo directly on my roots. I spray a sea salt texturizing mist through the lengths. Here is a trick I picked up from a bridal stylist. Rough dry your hair upside down with the texturizing spray. This forces the cuticles open slightly. It creates massive volume at the root.
You also want some bend in your hair. Straight hair pokes out awkwardly when tied loosely. Take a curling wand. Wrap large sections around the barrel. Do not worry about perfect curls. You just want a slight wave. In my experience, curling away from the face works best. It gives you those nice sweeping pieces around your cheekbones.
Let the hair cool completely before you start styling. Warm hair loses its shape quickly.
- Wash your hair the night before.
- Apply dry shampoo to the roots.
- Spray sea salt mist on the ends.
- Curl large sections loosely.
- Let the hair cool down.
This prep work takes five minutes. It makes the actual styling part incredibly easy. Your hair will hold its shape all day long.
2. Create the Right Foundation Parting
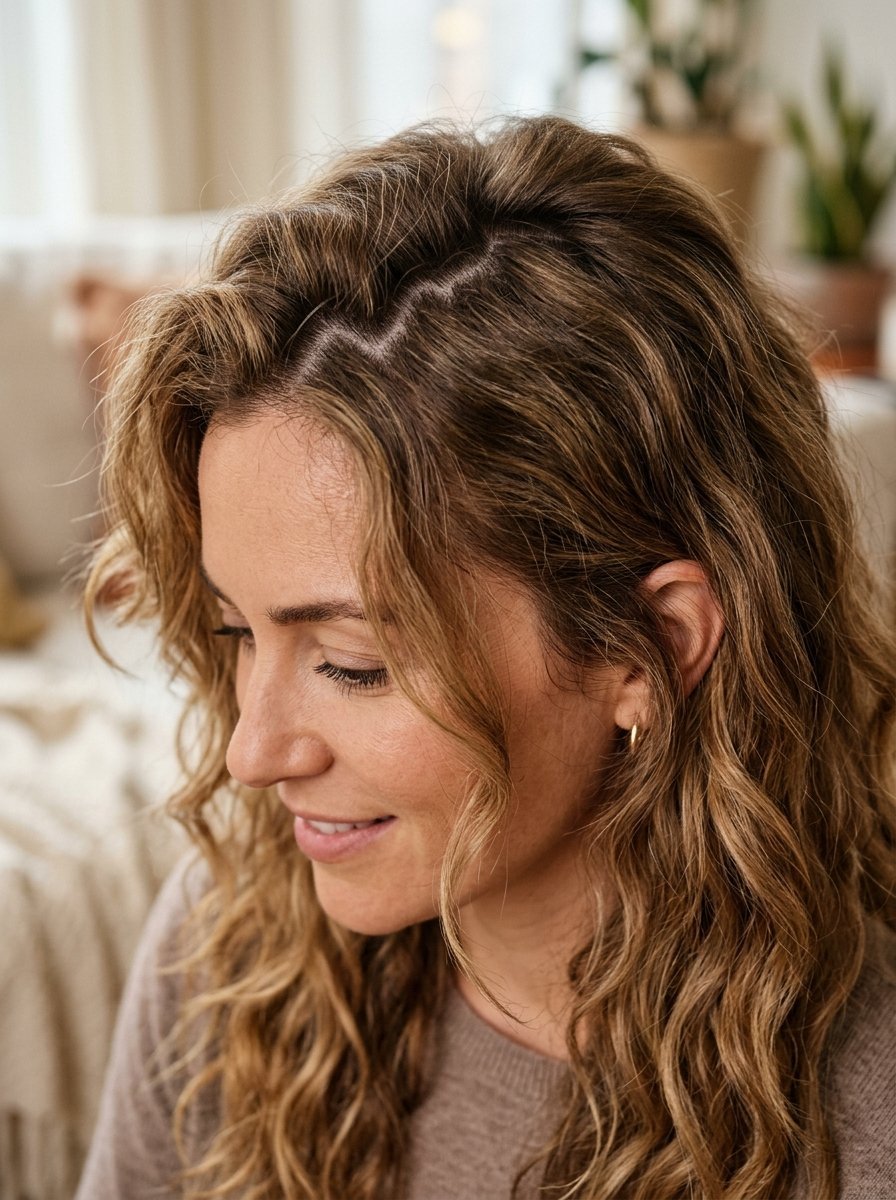
A messy style needs a messy part. A straight line down the middle looks too severe. It ruins the relaxed vibe you want. I always use my fingers instead of a comb. Drag your index finger backward through your hair. Create a jagged zig zag line. This hides your scalp. It makes your hair look thicker on top.
Next, you must create crown volume. Flat roots make a loose style look out of balance. Take a two inch section at the crown of your head. Hold it straight up. Take a teasing brush. Push the hair gently toward the root. Do this three times. Smooth the very top layer lightly. You want the volume underneath. The top should look intentionally messy but not tangled.
Pull out your face framing pieces right now. Do not wait until the end. If you pull them out later, you might ruin the structure of the style. I like to leave out a few pieces around my ears too. It softens the whole look.
- Ditch the fine tooth comb.
- Use your fingers for parting.
- Tease the crown gently.
- Pull out front pieces early.
- Smooth the top layer lightly.
I once tried teasing my hair after finishing the entire style. I ended up pulling out a huge chunk of hair by mistake. Doing this foundation work first saves you a massive headache later. It sets up the perfect base for your simple one braid hairstyles.
3. Start the Base of Your Simple One Braid Hairstyles
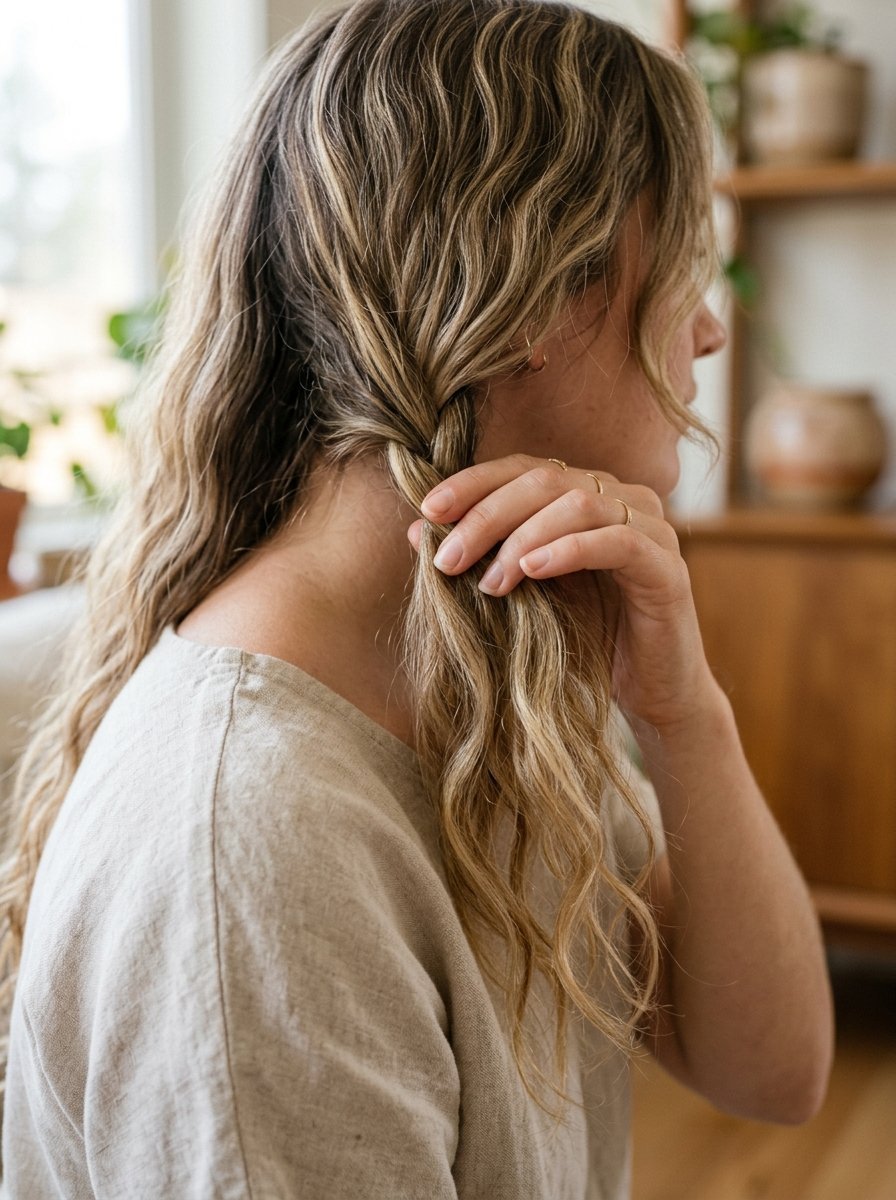
Now we gather the hair. You must decide where you want the style to sit. A side placement is very popular for this look. It photographs beautifully. It rests nicely over one shoulder.
Sweep all your hair to your preferred side. Keep your hands relaxed. Do not pull the hair tight against your scalp. Divide the hair into three equal sections. Getting the sections even matters a lot. If one section is too thin, the whole structure looks lopsided.
Hold the front section in your left hand. Hold the back two sections in your right hand. Keep your fingers close to your neck. The secret to how to make loose braids lies in your hand tension. Most people grip the hair tightly. You must hold the sections loosely from the very first crossover.
Drop your shoulders. Relax your wrists. If you feel tension in your knuckles, you are pulling too hard.
- Sweep hair gently to one side.
- Divide into three equal pieces.
- Keep your hands close to your neck.
- Drop your shoulders down.
- Maintain a loose grip.
In my experience, looking in the mirror while starting can confuse your hands. I prefer to look away or close my eyes for the first two crossovers. Your hands know what to do. Letting muscle memory take over keeps the tension soft.
4. Weave the Mid-Section Loosely
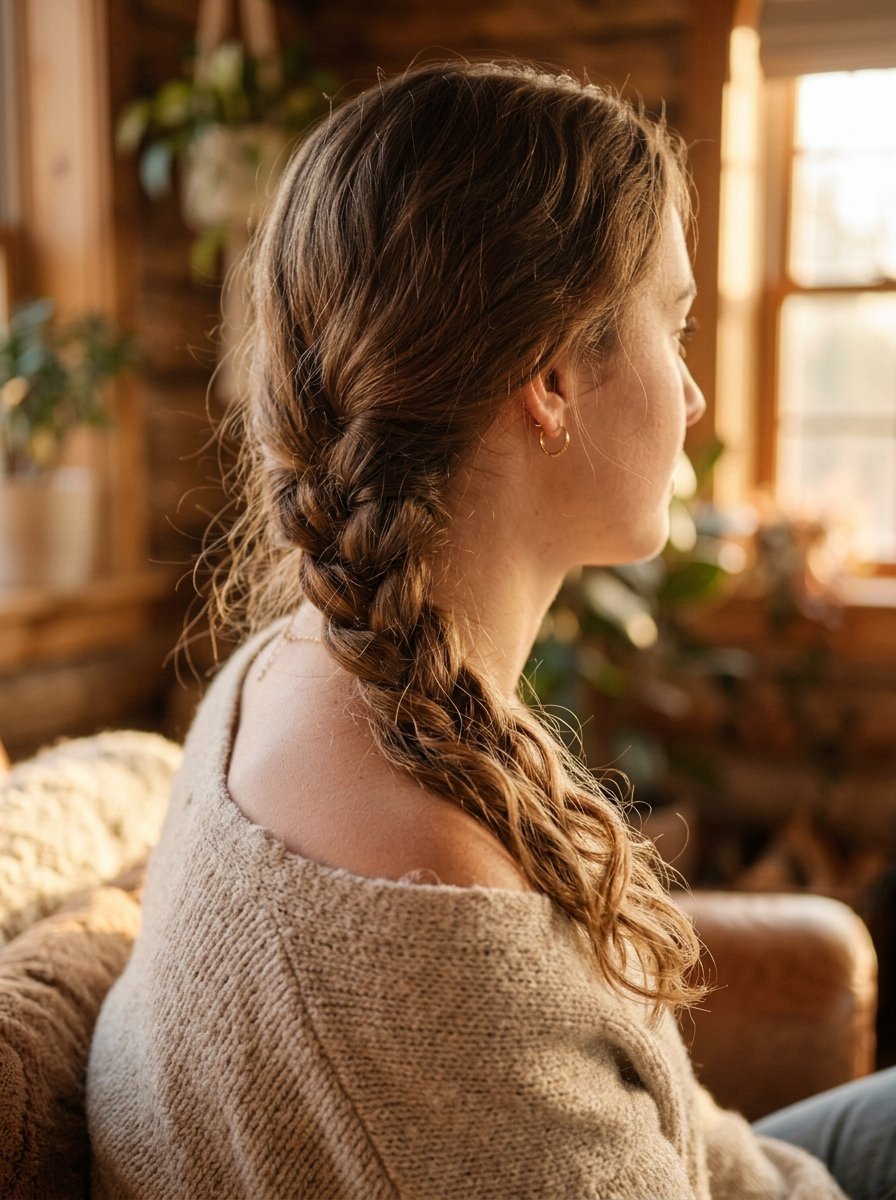
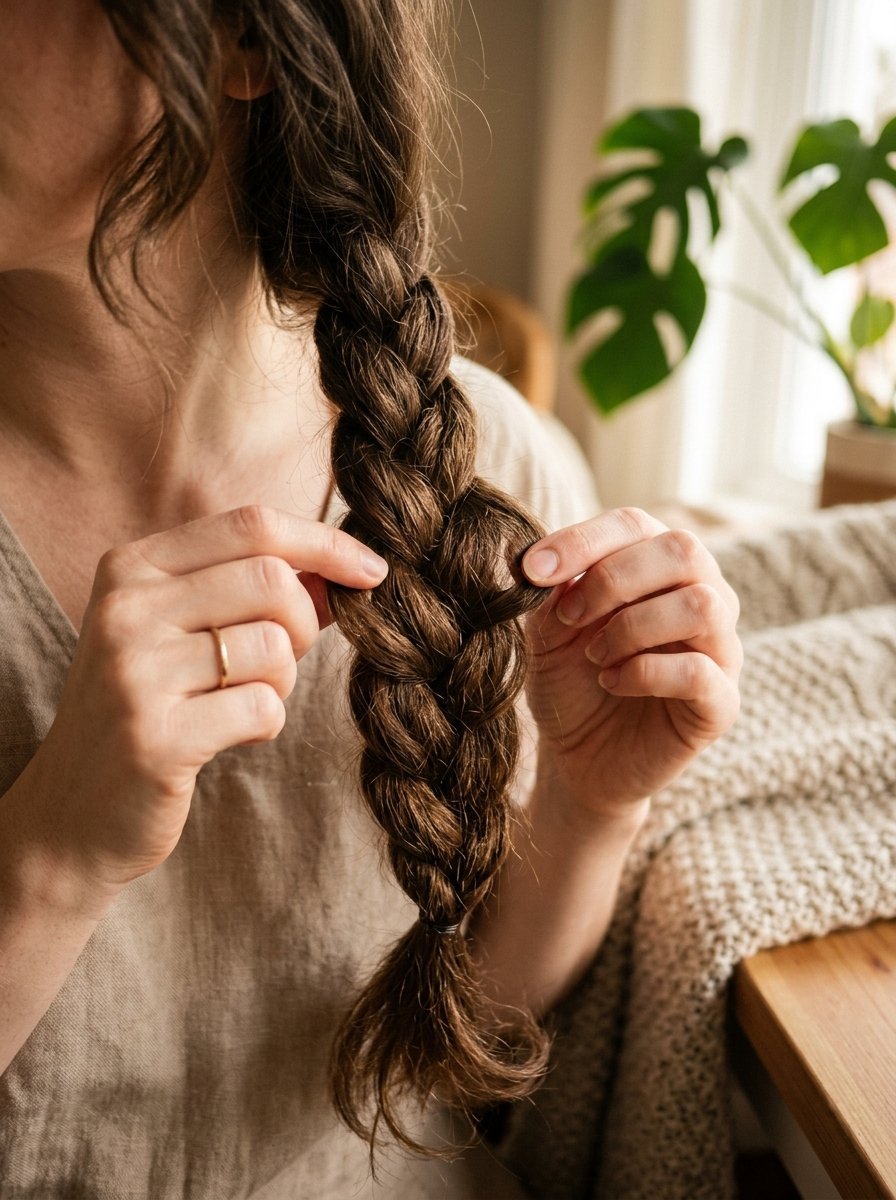
Begin the standard three strand crossing motion. Cross the outer right section over the middle. Then cross the outer left section over the new middle. As you move down the lengths, tilt your head toward the side you are styling. This keeps the hair close to your shoulder.
Do not pull the sections outward after you cross them. Just let them fall naturally. When I first tried a lose braid tutorial, I kept pulling the strands tight after every cross. My hair looked tiny. You have to trust the loose structure.
If you have layers, pieces will poke out. Let them. This is exactly what makes the style look bohemian. Keep weaving until you reach about three inches from the ends. Leaving a long tail makes the style look modern. Styling all the way down to the very tip looks dated.
- Cross the right section over.
- Cross the left section over.
- Tilt your head to the side.
- Do not pull tight.
- Leave a three inch tail.
Sometimes a layer falls out completely halfway down. You do not need to start over. Just grab a small bobby pin. Tuck the fallen piece back into the middle hidden section. The messy texture hides the pin completely. This saves you from redoing the entire thing.
5. Tie the Low Braid Hair Gently
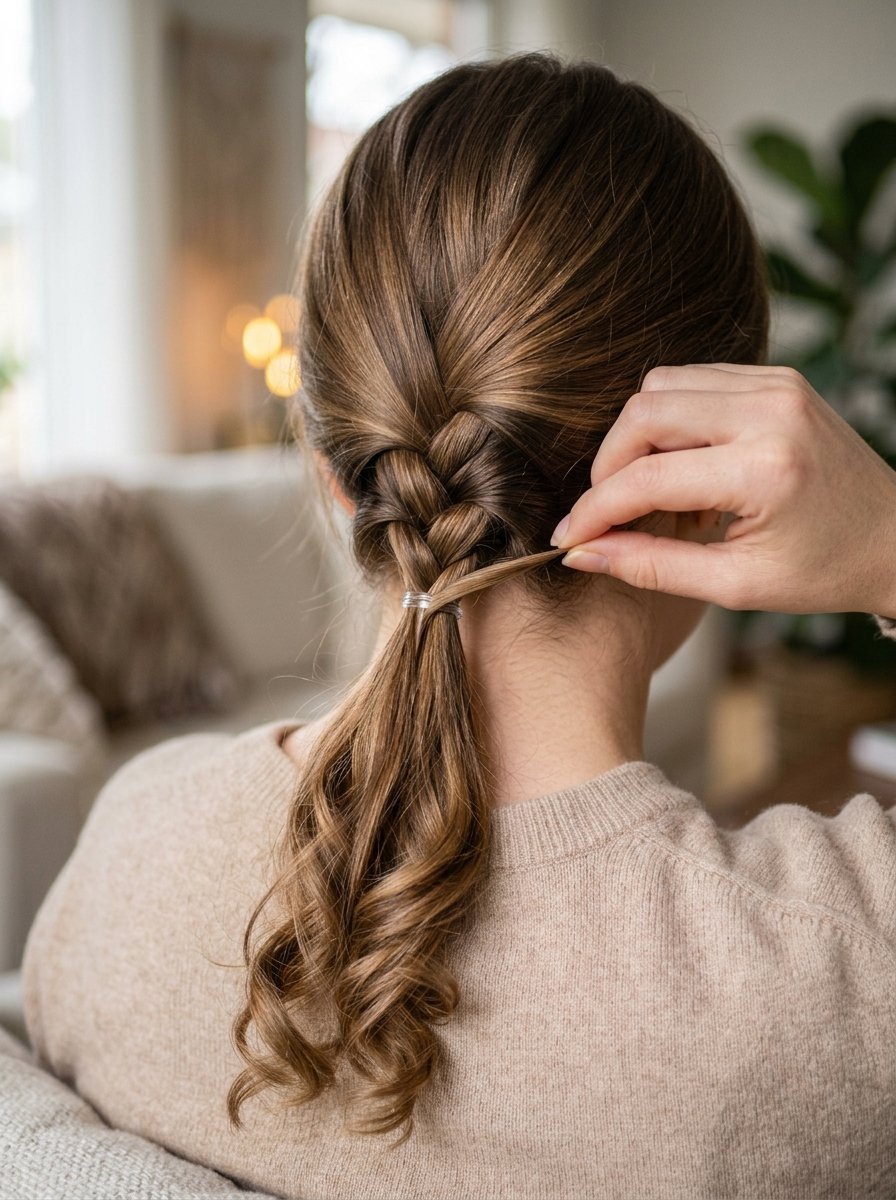
How you tie the hair changes everything. Regular thick hair ties are too bulky. They ruin the delicate ends. You must use clear elastic polybands. They disappear into the hair. They hold firmly without adding bulk.
Wrap the elastic around the ends three times. Do not wrap it so tight that the hair bunches up. Here is my favorite trick for a beautiful braid. Take a tiny piece of hair from the tail. Wrap it around the clear elastic. Tuck the end of that piece into the elastic.
This hides the tie completely. It looks incredibly professional. It takes ten seconds to do.
If your ends look too straight, hit them with a curling wand. A slight wave at the tail makes the whole style flow better.
- Pick clear polyband elastics.
- Wrap three times only.
- Take a tiny piece from the tail.
- Wrap it around the tie.
- Curl the remaining ends.
Now you have a basic structure. It probably looks a little plain right now. Do not worry. The real magic happens in the next stage. The base structure just gives us the canvas we need for the final dramatic texture.
6. Pull and Pancake for the Loose Hair Braids Effect
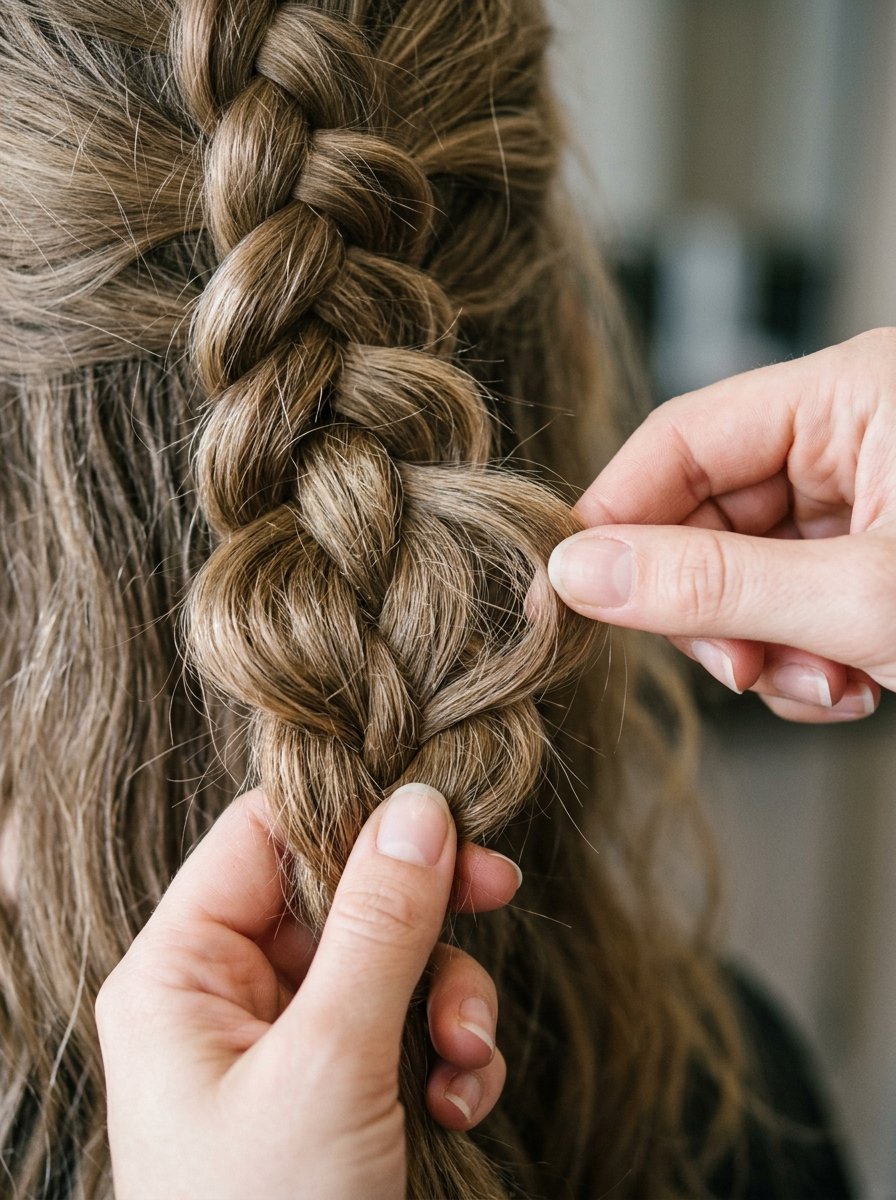
Pancaking is the action that changes basic styles into Pinterest worthy looks. It means pulling the loops flat and wide. You must start from the bottom. Do not start at the top.
Hold the elastic firm with one hand. Use your thumb and index finger on your other hand. Pinch the very edge of the bottom loop. Gently tug it outward. Move up to the next loop. Pinch the edge. Pull outward.
Do this all the way up to the base of your neck. Your hair will instantly double in size. In my experience, pulling just the outer edge of the loop is the secret. If you pull the whole loop, the structure falls apart. You only want to fan out the edges.
Look in a mirror. Check the balance. If one side looks wider, pull the opposite side to match.
- Hold the bottom tie firmly.
- Start at the lowest loop.
- Pinch only the outer edge.
- Gently tug outward.
- Work your way up to the top.
If a piece falls out completely, leave it. Or you can curl it softly. It just adds to the messy aesthetic. I have noticed that second day hair holds the wide pancaked shape much better than freshly washed hair.
7. Lock in the Messy Boho Style
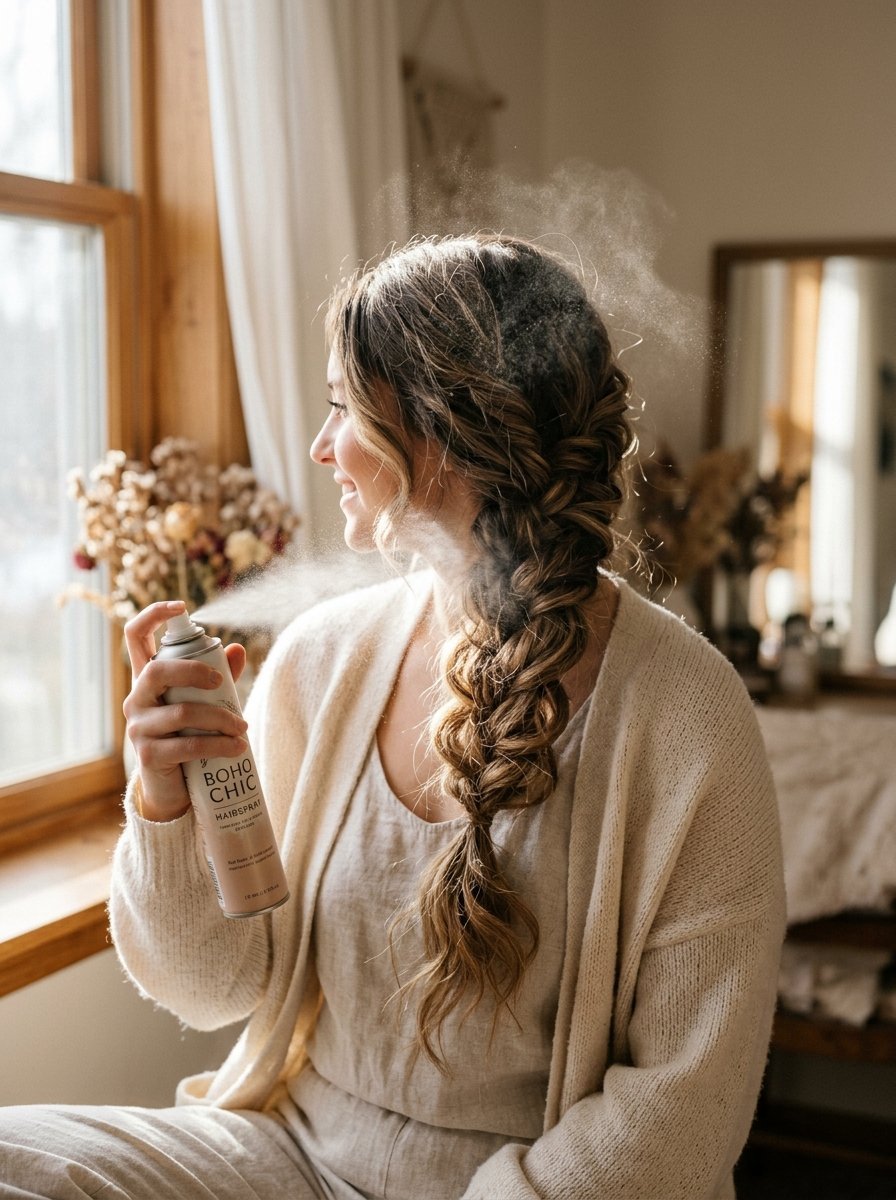
Your style is wide and loose. Now you must make it stay. Heavy products will weigh it down. You require a flexible hold hairspray. Aerosol works best. It distributes a fine mist.
Hold the can ten inches away from your head. Spray a light veil over the whole style. Do not saturate the hair. Wet hairspray makes the style look crunchy.
I also use texturizing powder on the actual loops. I tap a tiny bit onto the loops. Then I gently rub it in with my fingertips. This gives the loops a matte finish. It stops them from slipping back into a tight shape.
If you have very heavy hair, you might need bobby pins. Take a U shaped pin. Slide it upward into the base of the hair at your neck. This anchors the heavy hair to your scalp. It stops the style from sliding down your back.
- Grab a flexible hold hairspray.
- Spray from ten inches away.
- Tap texturizing powder on loops.
- Use a U shaped pin at the neck.
- Keep the spray light.
Now you have a gorgeous losse braid. It looks effortless. It actually has a very solid hidden foundation. You can wear this all day without it falling apart.
Frequently Asked Questions
How to make loose braids stay in all day?
You must use products with grit. Clean hair slips. Use dry shampoo at the roots. Use texturizing spray on the lengths. Tie the ends with a clear polyband. Anchor the base with a U shaped pin. Finish with a dry flexible hairspray. This combination locks the shape.
What is the secret to a cute one braid?
The secret is crown volume and pancaking. A flat head makes the style look severe. Tease the crown before you start. Pull the loops wide after you apply the elastic. Hide the elastic with a small wrap of hair. These tiny details matter.
Can I do a lose braid tutorial on short hair?
Yes. You just need enough hair to reach your jawline. Create a small side sweep. You will have more pieces falling out. Let them fall out. Curl those loose pieces softly. Use texturizing paste on your fingertips to piece out the ends.
How to make a loose braid look thicker?
Pancaking is your best tool. Pull only the outer millimeter of each loop. Use a crimper on the roots hidden underneath your top layer. The crimped hair pushes the top layer up. This creates massive volume without heavy products.
What tools help create a beautiful braid?
You need five basic items. Clear polyband elastics. A teasing brush. Dry shampoo. Sea salt texturizing spray. A curling wand. These give you the grip and shape required for a professional looking finish.
The Final Look
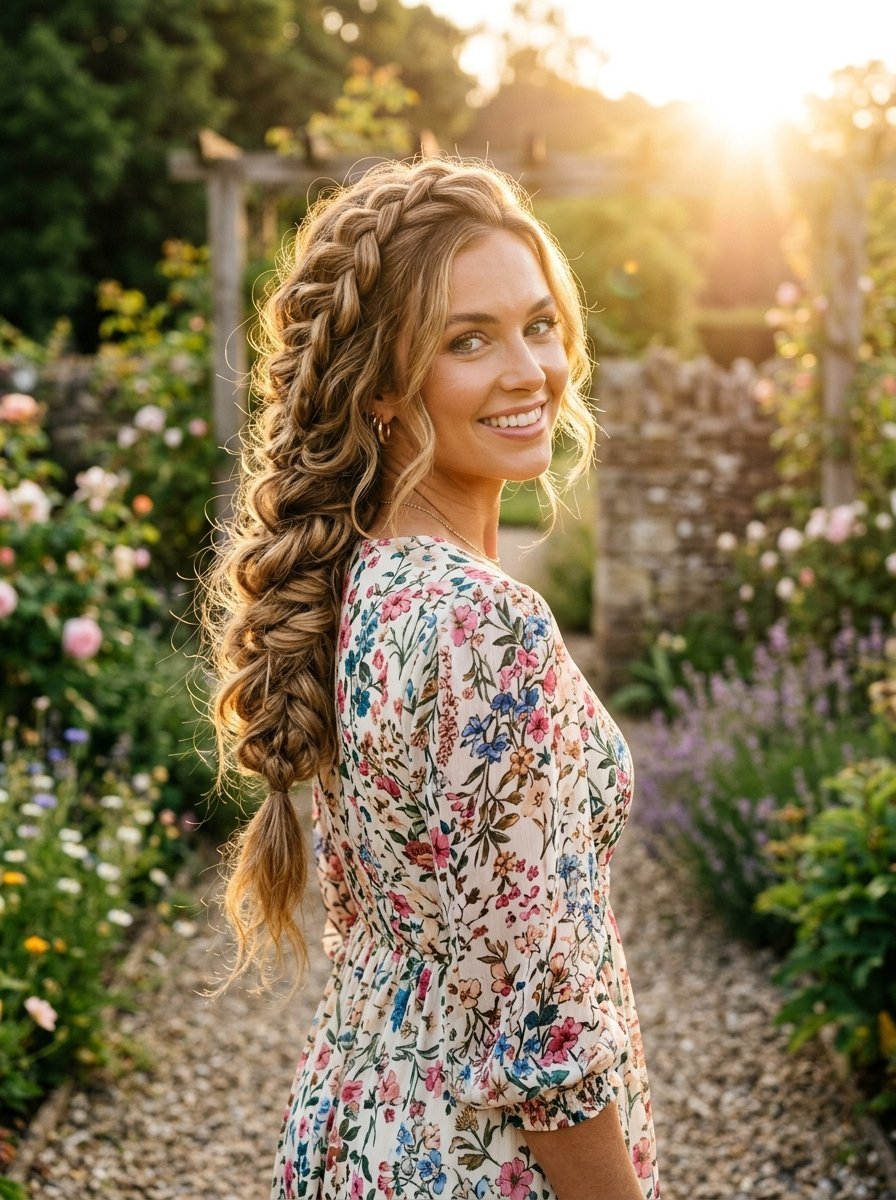
Getting the perfect messy style takes practice. Your hands need to learn the right tension. The first time you try it, you might make it too tight. The second time, it might be too loose.
By the third try, you will find the sweet spot. You will know exactly how much to pull the loops. You will know which face framing pieces look best on you.
Keep your texturizing products handy. Always use a clear elastic. Never start with slippery clean hair.
This style works for coffee runs. It works for weddings. It works for everything in between. Practice the pulling moves. Soon you will do this perfectly without even looking in a mirror.

Sarah Mitchell — Founder & Editor-in-Chief
Sarah Mitchell is the founder and editorial voice behind Hair Level Up. A licensed cosmetologist with more than 15 years of experience, she has styled A-list celebrities for editorial shoots and red carpets, with work featured in Vogue, Elle, and Harper’s Bazaar. Early in her career, she trained under the legendary hairstylist Oribe in New York, an apprenticeship that still shapes her editorial eye today. Sarah founded Hair Level Up in 2020 after one bad haircut convinced her that women deserved a destination that felt like a magazine, taught like a stylist, and inspired like an art gallery. She oversees every story from concept to publication, guided by a simple belief: a good story teaches you something, but a great one makes you feel beautiful while it does.