How to Tie a Silk Scarf Into a Headband 6 Different Ways
Every morning feels like a race against the clock. You want your hair to look perfectly styled and put together without spending an hour in the bathroom. A hair scarf solves this daily struggle instantly. I have tried countless hair accessories over the years to hide a bad hair day. Nothing matches the classic beauty of silk scarf styling. You can take messy hair from the second day and turn it into a compliment magnet in under two minutes. I remember running late for a coffee date last month with completely unmanageable frizz. I grabbed a vintage piece of fabric from my drawer and tied a quick knot at my crown. Three different people stopped to ask about my hair that afternoon. Silk scarf hairstyles give you that instant polished look without any heat damage or long prep times. You just need a few basic folding tricks to master these headscarf hairstyles.
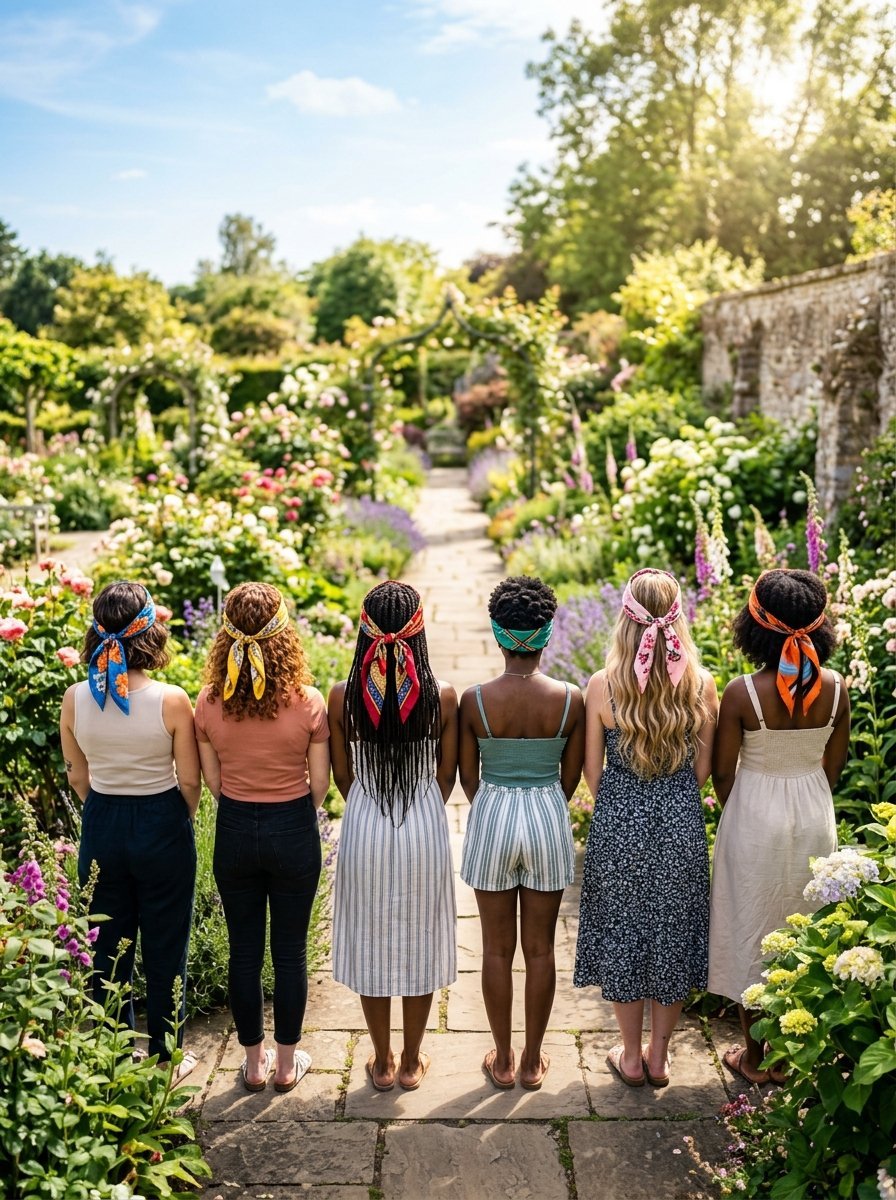
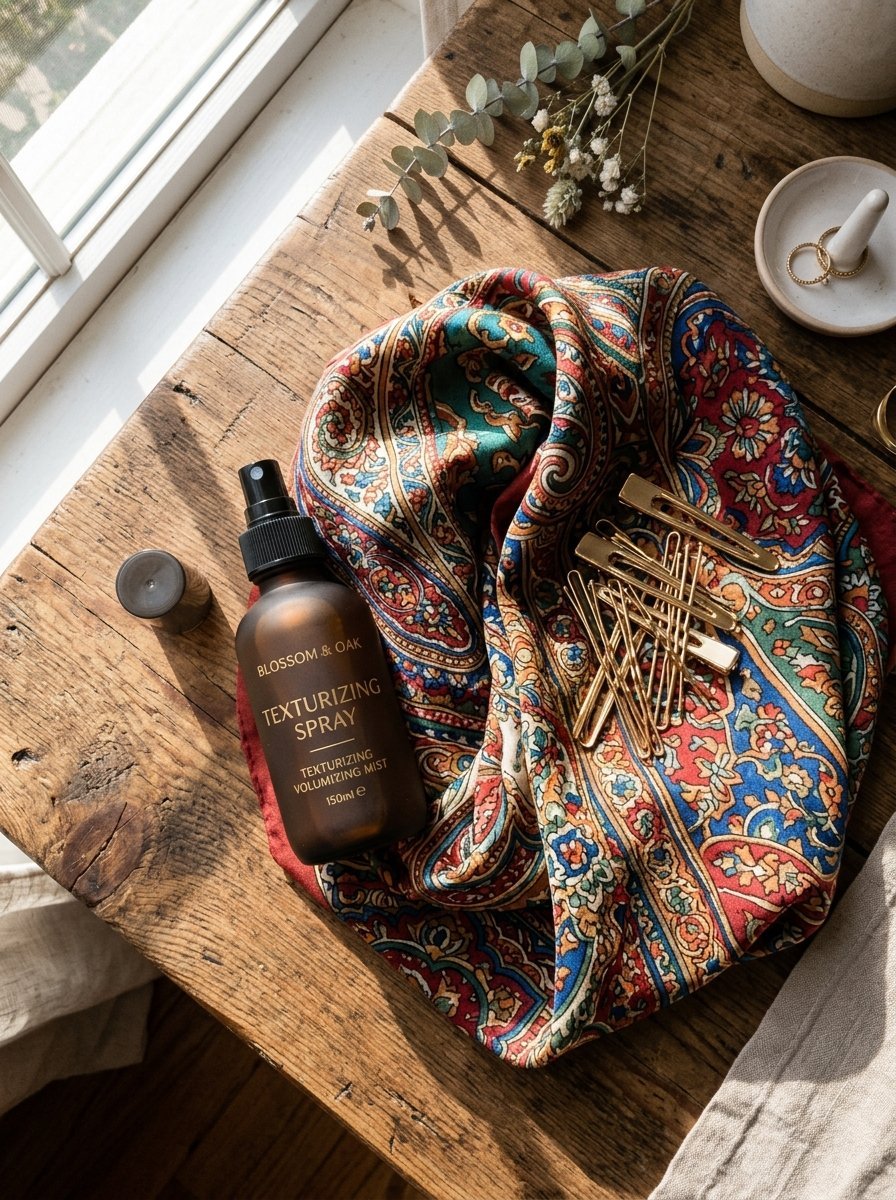
You will get exactly six distinct ways to style a headband right here. These styles range from retro top knots to hidden wraps at the nape of your neck. You only need one square or rectangular piece of fabric and a few matching bobby pins. These bandana looks take less than three minutes to do in front of your mirror. I will show you exactly how to fold, place, and tie each style securely so it stays perfectly all day long. You will also get my exact tricks for stopping the slippery fabric from sliding off the back of your head. These bandana tutorial hairstyles work beautifully on short bobs, long beach waves, curly texture, and straight hair alike. Grab your favorite printed fabric, a texturizing spray, and get ready to transform your morning routine.
Preparing Your Hair for a Headscarf Tutorial
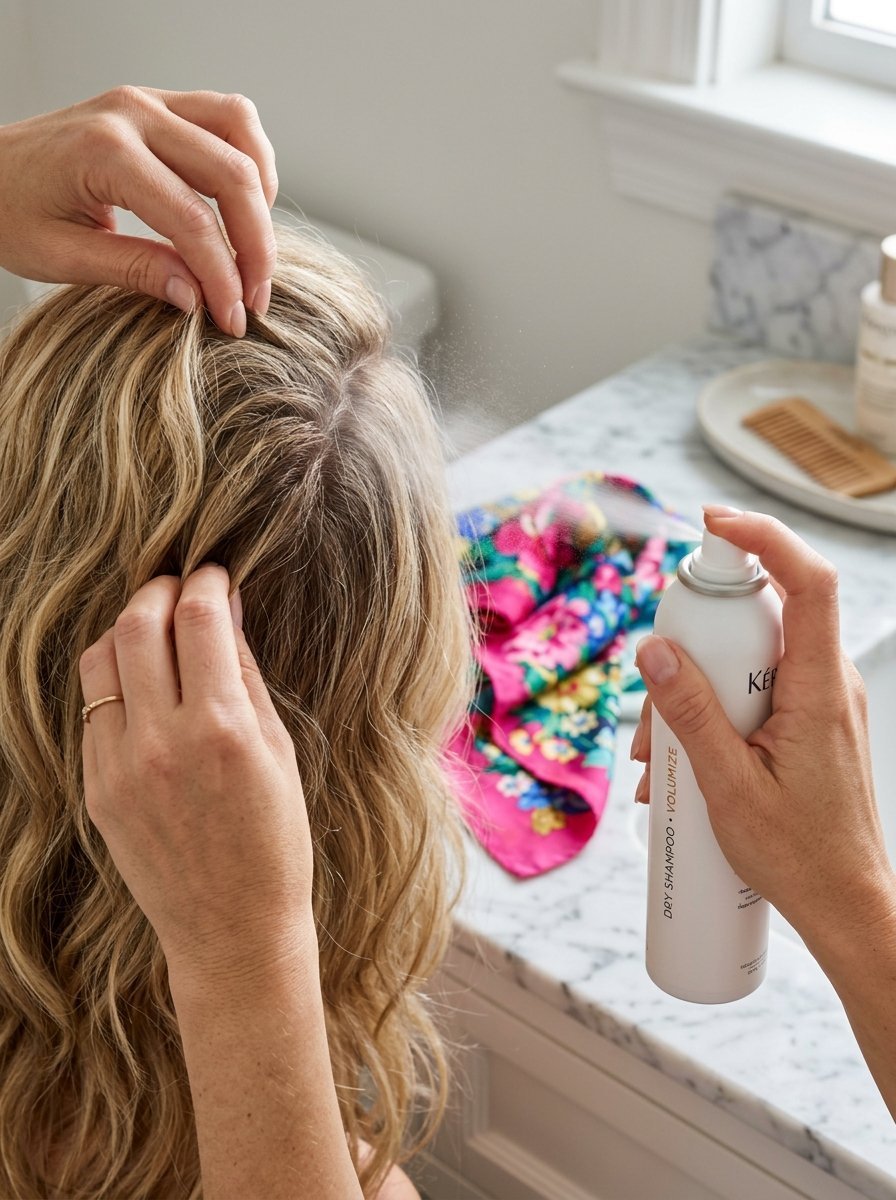
Clean hair slips entirely too much. The fabric will slide right off a freshly washed head of hair within minutes. You need some texture and grip at the roots to keep everything in place securely. I always spray a dry shampoo directly into my roots before I start tying anything. You can also lightly backcomb the crown of your head to create a small cushion for the fabric to sit against. Keep five or six bobby pins that match your exact hair color on the counter next to you. You will place these pins discreetly behind your ears to lock the fabric down tightly. I have noticed that wavy or slightly curly hair holds onto the fabric much better than perfectly straight hair. You might want to run a curling wand through your ends quickly just to give the overall look some shape. Once your hair has enough grip, you are fully ready to start styling.
The Classic Retro Knot
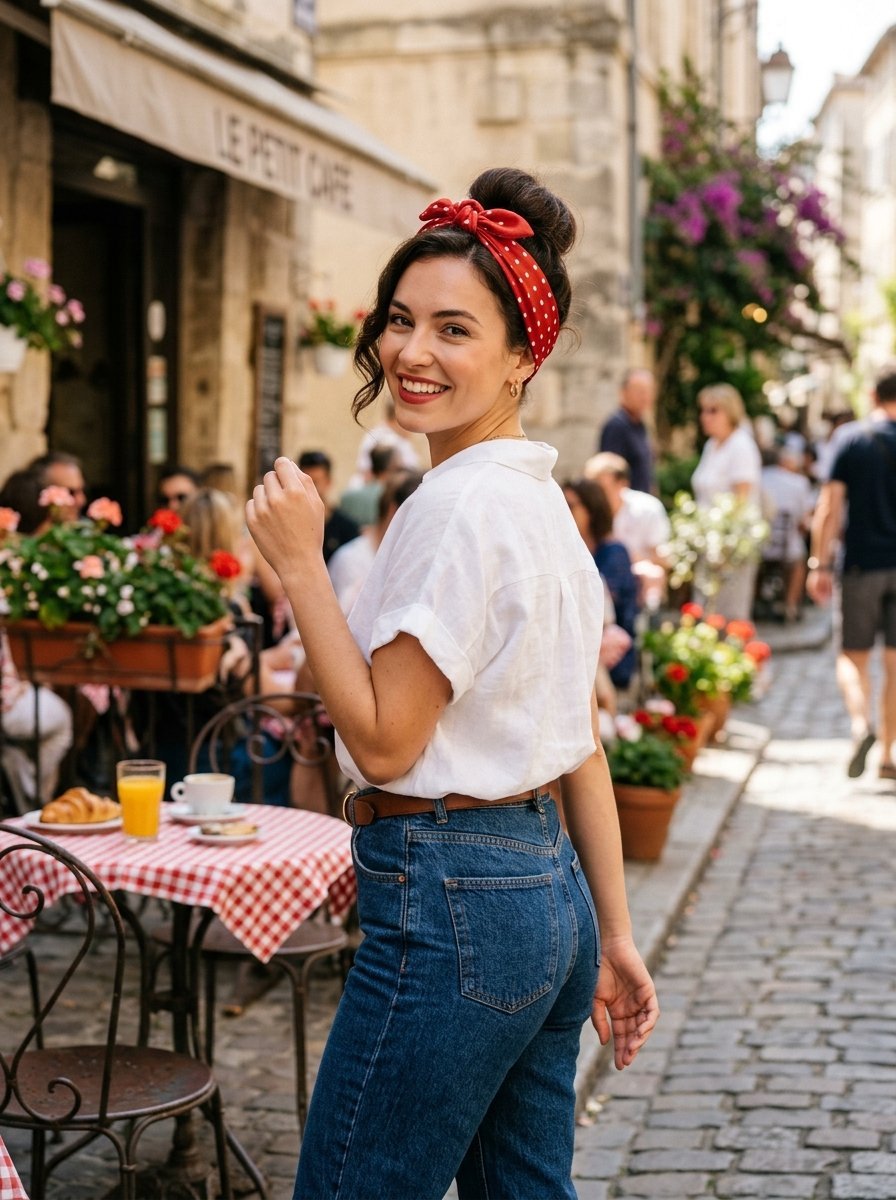
This specific style gives off a beautiful vintage aesthetic reminiscent of old Hollywood glamour. You see this look frequently in movies from the 1950s worn with oversized sunglasses. In my experience, this works incredibly well for windy days when you need your hair out of your face completely. The knot sits proudly right at the top of your head like a soft crown. You will want to use a standard square piece of fabric for this exact style. It frames your face perfectly and draws attention straight to your eyes. I rely on this specific look when my front layers refuse to behave.
Here is exactly how to do it:
- Lay your square fabric flat on a table in front of you.
- Fold one corner across to the opposite corner to make a large triangle.
- Start at the wide base and fold the fabric over itself in two inch sections.
- Keep folding until you have one long and narrow band of fabric.
- Place the exact center of this band at the back of your neck under your hair.
- Pull both ends up past your ears to the very top center of your head.
- Cross the ends over each other and tie a tight double knot.
- Tuck the loose tails underneath the band on either side so they disappear.
Short bobs look amazing with this retro styling. Long hair also looks beautiful if you pull the lengths into a messy bun first. I pair this look with high waisted jeans and a plain white t-shirt for a casual weekend outfit. The pop of color on your head does all the heavy lifting for your wardrobe.
The Braided Scarf Crown
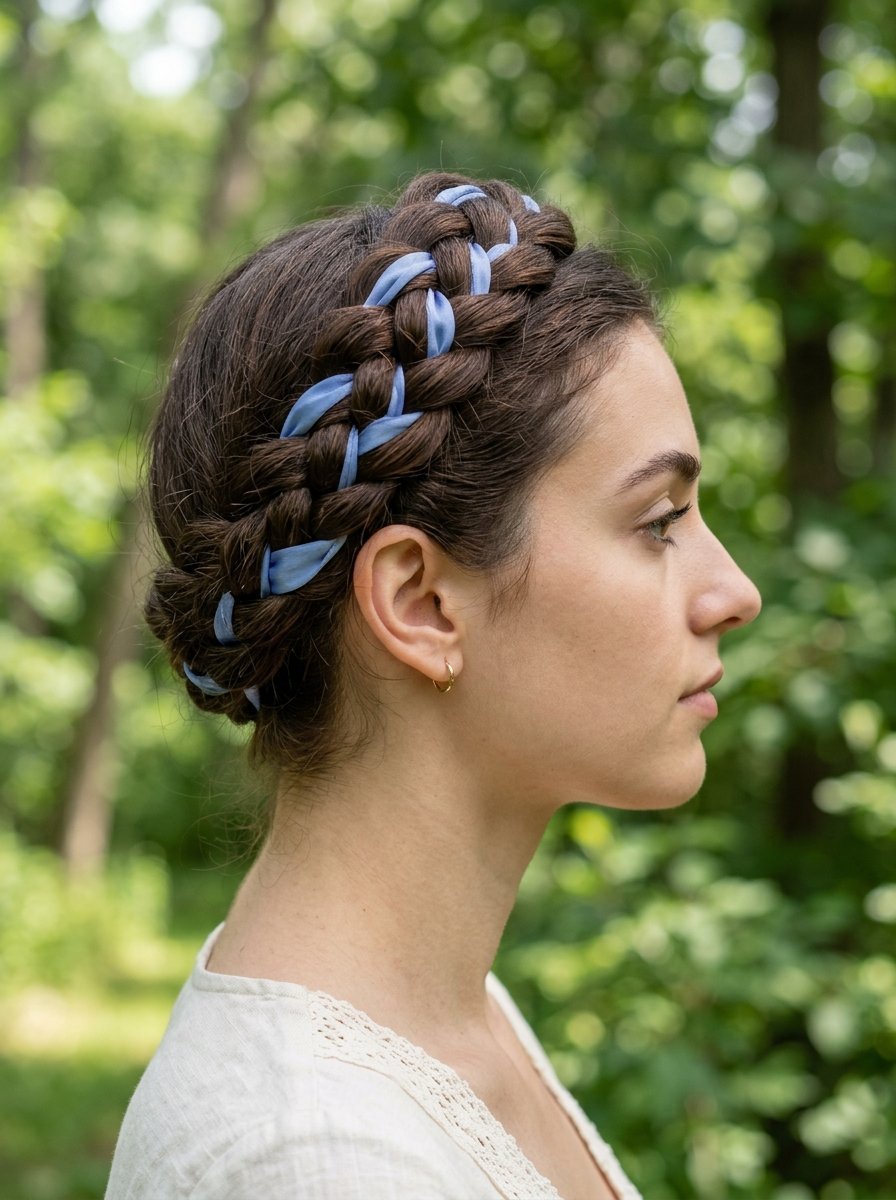
This romantic style makes you look like you spent hours at a professional salon. The fabric weaves directly into your natural hair for a thick and beautiful braided crown. I do this specific style frequently for outdoor summer weddings and garden parties. It keeps your neck completely cool while looking incredibly intricate. The best part happens when you take the braid out at the end of the day. You will get beautiful heatless ribbon curls that last until your next wash. You need a longer rectangular piece of fabric rather than a square one for this method.
Follow these exact steps:
- Gather all your hair into a low ponytail at the base of your neck.
- Secure the ponytail tightly with a clear elastic band.
- Take your long rectangular fabric and fold it into a thin strip.
- Tie the center of the fabric strip directly around your clear elastic.
- You now have two long fabric tails hanging down with your hair.
- Divide your actual hair into two equal sections.
- Use the two fabric tails combined together as the third section of a braid.
- Braid your hair and the fabric all the way down to the ends.
- Tie the bottom of the braid with another clear elastic band.
- Wrap the entire thick braid in a circle around the base of your ponytail.
- Pin the wrapped bun securely against your head with several bobby pins.
This works perfectly on very long and thick hair. The fabric adds extra volume to the braid and makes your hair look twice as thick. You can match the fabric print to your floral dresses for a perfectly cohesive outfit.
The Bohemian Wide Band
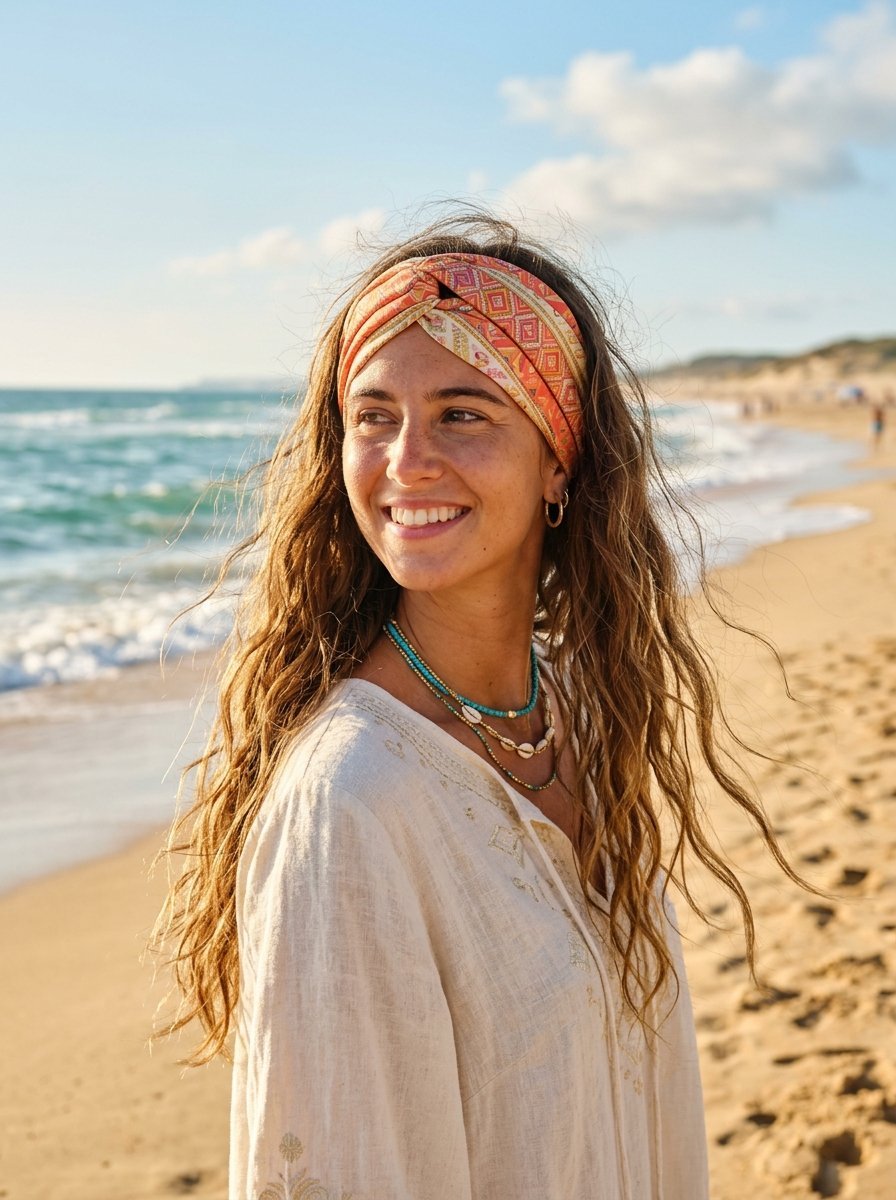
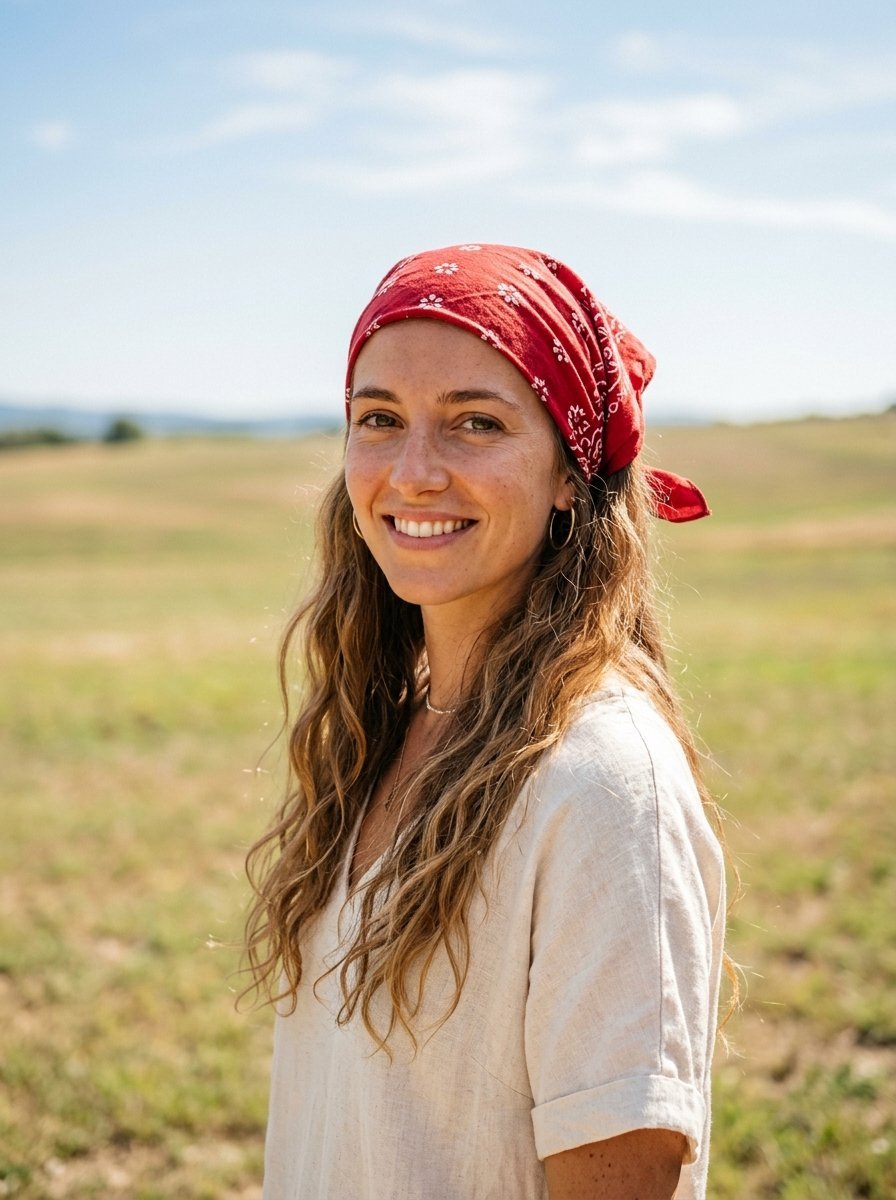
You want a wide coverage look for this specific style. It gives a very relaxed and casual weekend vibe perfectly suited for music festivals or trips to the farmers market. I wear this specific look on beach days to protect my scalp from the harsh sun. If you want to know how to use a bandana properly, this is the most authentic method. It covers your roots completely, making it the perfect trick for hiding greasy hair on day three or four. You need a standard square bandana or a large square silk piece for this method.
Follow these steps closely:
- Lay your square flat and fold it in half diagonally to create a triangle.
- Take the wide folded edge and flip it over about three inches.
- Fold it over one more time so you have a very wide and flat band.
- Leave the pointed tail of the triangle hanging loose.
- Place the center of the wide band directly across your forehead right at the hairline.
- Smooth the fabric over the top of your head.
- Pull both ends tightly to the back of your neck underneath all your hair.
- Tie a very tight double knot right at the base of your skull.
This looks stunning with long loose waves flowing out from underneath the band. I always pair this with a flowy maxi dress and oversized sunglasses. It feels incredibly comfortable and never squeezes your temples like plastic headbands often do.
The Topknot Bow Tie
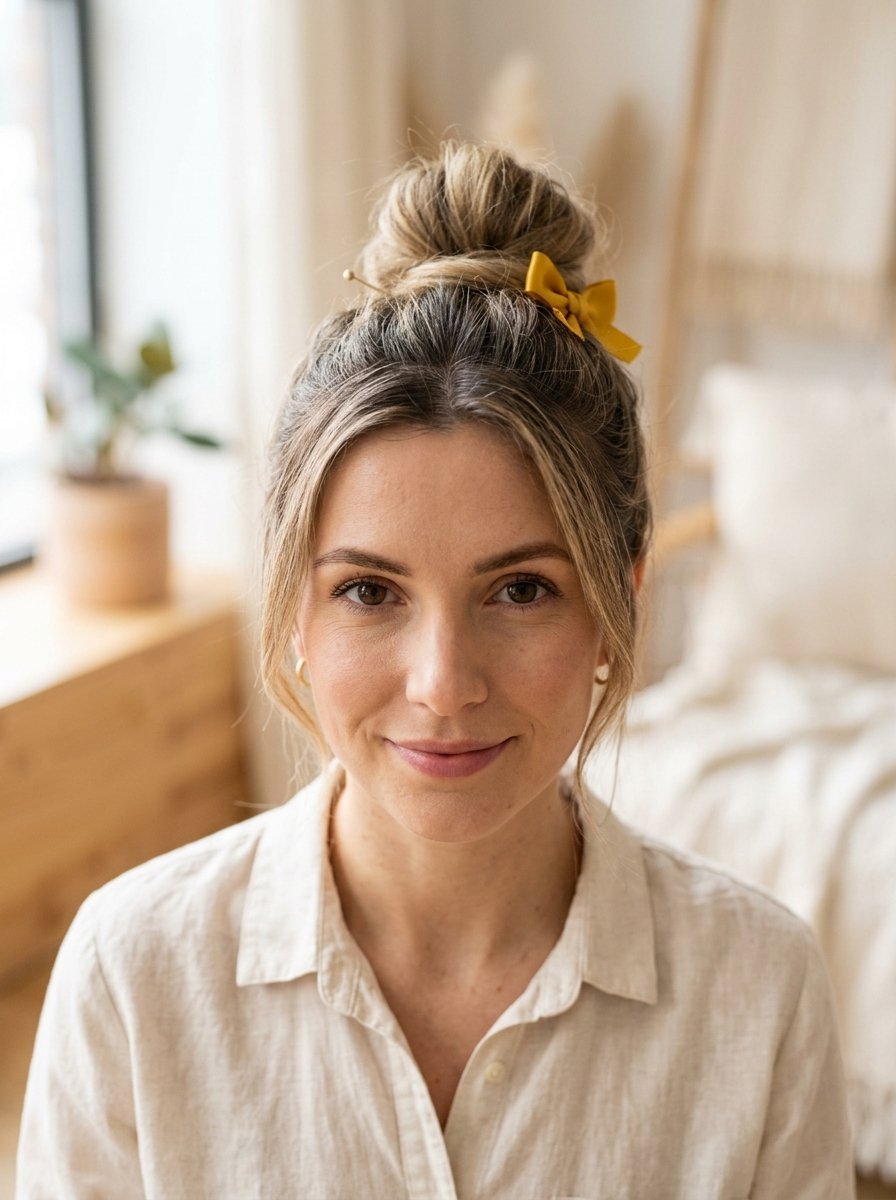
This fun style feels playful, youthful, and instantly brightens up your face. The fabric sits right on top of your head like a delicate present. I get the most compliments from strangers when wearing this specific style. It takes a boring messy bun and turns it into a deliberate fashion choice. I wear this directly after the gym when my hair is up and I need to run errands looking somewhat presentable. You will want a small, thin, and lightweight piece of fabric for this tie.
Here is how you put it together:
- Gather all your hair into a very high and messy bun on top of your head.
- Pin down any wild flyaways sticking out of the bun.
- Take your small square fabric and fold it tightly into a narrow one inch band.
- Place the exact center of the band at the back of your head right at the bottom hairline.
- Pull both ends smoothly up the sides of your head behind your ears.
- Bring the ends to the very front of your bun at the top of your head.
- Tie a basic knot first to secure the tension.
- Tie the remaining fabric into a small delicate bow right in front of your bun.
- Fluff the loops of the bow with your fingers to make them look full.
This keeps all your hair off your neck during hot summer days. The little bow adds a feminine touch to any basic outfit. I love wearing this with simple denim shorts and a tank top. It instantly makes a very plain outfit look highly styled and thought out.
Fabric Choices and Sizing Rules
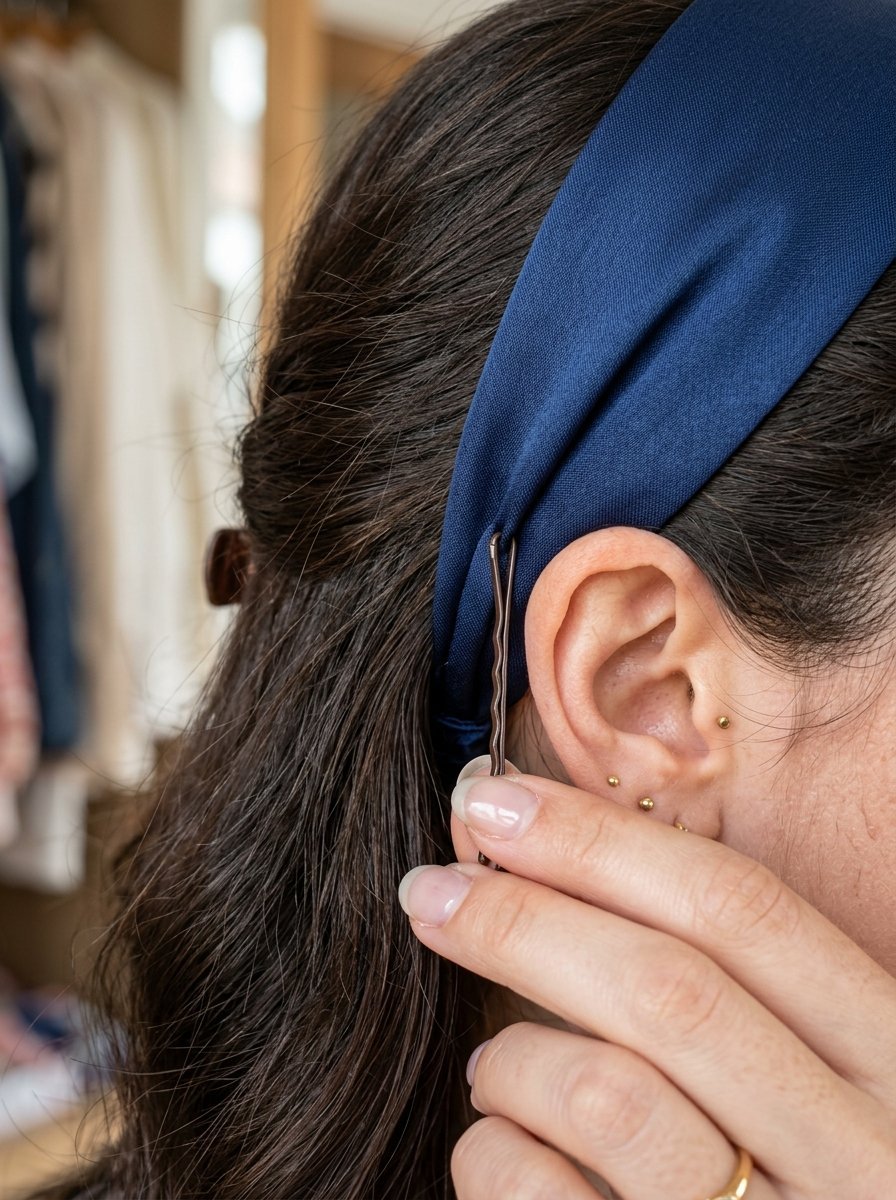
Not every piece of fabric works for every headscarf tutorial. You have to match the size and material to the specific style you want to wear. A large 36 inch square works perfectly for the wide bohemian band but will look completely ridiculous tied around a small low ponytail. For most of these bandana tutorial hairstyles, a standard 22 inch square hits the sweet spot perfectly. It gives you enough fabric to wrap around your head once and tie a small knot. If you want long flowing tails hanging down your back, you must buy rectangular pieces instead of squares.
I always choose pure silk or high quality satin over cotton. Cotton grabs onto your hair cuticles and causes friction, which leads to frizz and breakage. Silk glides beautifully over your hair strands and actually helps keep your hair smooth. However, silk is incredibly slippery by nature. You have to tie your knots much tighter than you think. I always wash my new silk accessories by hand once before wearing them. This takes away a little bit of the factory gloss and gives the fabric slightly more grip against my hair.
Stopping the Slipping Problem
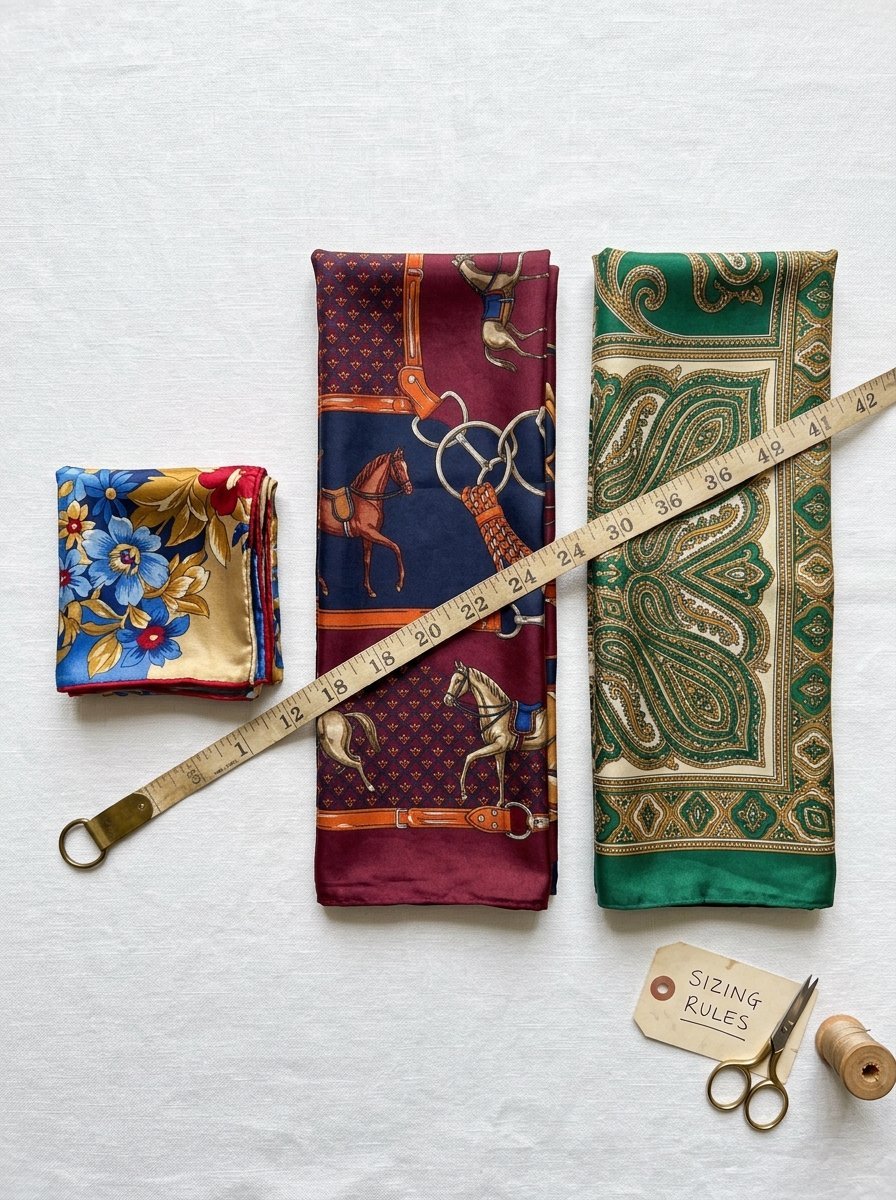
The biggest complaint people have with silk scarf styling is the fabric constantly sliding backward off their head. It happens to everyone the first few times they try these looks. The shape of the human skull naturally slopes downward at the back. Gravity wants to pull that smooth fabric straight down your neck. You must fight gravity with friction and placement.
Always cross the fabric just slightly below the widest part of the back of your head. If you place the knot too high up on your curve, it will instantly slip up and off. Place the tie low and tight at the nape. Next, you must use bobby pins strategically. I take two bobby pins and slide them through the fabric directly behind my ears. I make sure the pins grab the fabric and lock tightly into the hair underneath. You will never see these pins because the fabric hides them completely. This simple trick locks the band perfectly in place for twelve hours straight.
Frequently Asked Questions
Can I sleep in these styles to get ribbon curls?
Yes, absolutely. The braided crown method works perfectly for overnight styling. You sleep with the braid wrapped securely around your head. The soft fabric is very comfortable to sleep on compared to hard plastic rollers. When you unpin the braid in the morning, your hair will have beautiful heatless waves.
Does tying knots tightly cause hairline damage?
You never want to pull the fabric so tight that it strains your front hairline. The tension should sit at the base of your neck, not pulling on your delicate front hairs. Always leave a little bit of slack near your forehead. Silk itself is very gentle on the hair shaft and will not cause breakage like tight rubber bands do.
How do I stop my forehead from breaking out under the fabric?
If you wear the wide bohemian style frequently, sweat can trap against your forehead. I always wash my fabric pieces with a gentle face wash instead of harsh laundry detergent. Make sure you push the fabric back slightly so it rests on your hair rather than directly on your bare skin.
What do I do if my hair is incredibly fine and thin?
Fine hair slips the most. You must use a dry texturizing spray all over your roots first. I also highly recommend using a velvet headband grip underneath your silk fabric. You place the velvet band on your head first, then tie the silk directly over it. The velvet grips your hair gently and holds the silk in place like magic.
Final Thoughts on Silk Scarf Hairstyles
You do not need to spend hours fixing your hair every single morning. A beautifully printed piece of fabric can hide a multitude of hair sins in seconds. I rely on these six specific methods weekly to look put together without doing any actual heat styling. You can try the classic knot for a vintage feel, or the low ponytail wrap for a fast professional look. Keep a few different colors in your bathroom drawer ready to go. Once you try these out and see how many compliments you get, you will never want to use a boring plastic headband again. Grab some bobby pins, follow these simple folding steps, and enjoy your perfectly styled hair today.

Sarah Mitchell — Founder & Editor-in-Chief
Sarah Mitchell is the founder and editorial voice behind Hair Level Up. A licensed cosmetologist with more than 15 years of experience, she has styled A-list celebrities for editorial shoots and red carpets, with work featured in Vogue, Elle, and Harper’s Bazaar. Early in her career, she trained under the legendary hairstylist Oribe in New York, an apprenticeship that still shapes her editorial eye today. Sarah founded Hair Level Up in 2020 after one bad haircut convinced her that women deserved a destination that felt like a magazine, taught like a stylist, and inspired like an art gallery. She oversees every story from concept to publication, guided by a simple belief: a good story teaches you something, but a great one makes you feel beautiful while it does.