24 Claw Clip Hairstyles for Every Hair Length | Quick & Easy Looks
I vividly remember breaking three plastic hair clips in a single week back in 2022. I have incredibly thick hair. The cheap drugstore versions just snapped immediately. I gave up on putting my hair up entirely. Then I tried high-quality metal alternatives. Everything changed instantly. I realized anyone can throw their hair up in seconds and look fully put together. You want a polished look without spending an hour in front of a mirror. You need a hold that survives a workout, a long zoom call, or a busy grocery run. I spent the last two years testing dozens of shapes on all hair textures. I know exactly what holds. I know exactly what falls flat.
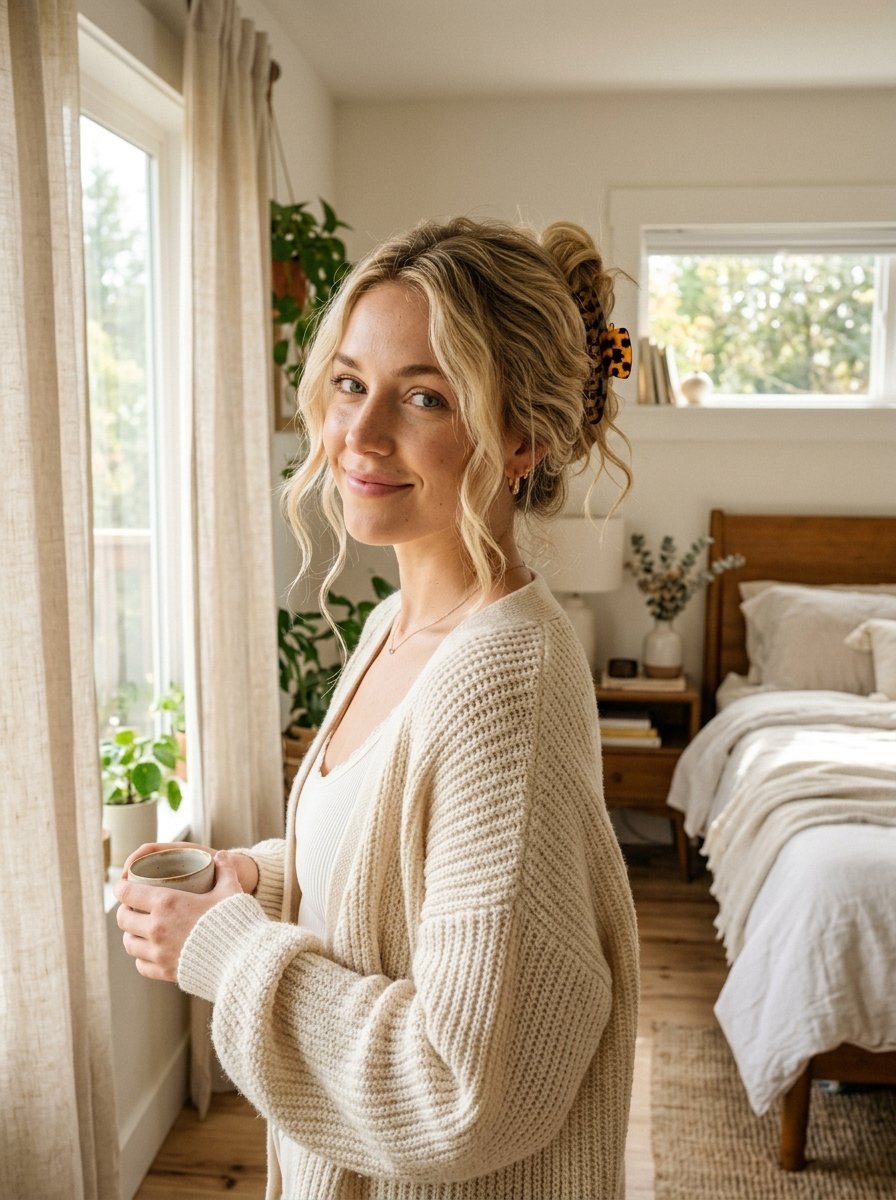
This detailed guide breaks down exactly how to style 25 specific looks. You will see options for short bobs, medium lobs, and extra-long lengths. Most of these take under 60 seconds to finish. I tested these holds on my own thick hair and on my friends with fine hair. You will see which pin up style works for office days. You will find messy claw clip hairstyles for lazy weekends. I intentionally skip the complicated braids. We focus only on reliable, fast hair dos that stay exactly where you put them. You will know exactly how to use different claw clips for every single occasion.
1. The Elegant Pearl Twist
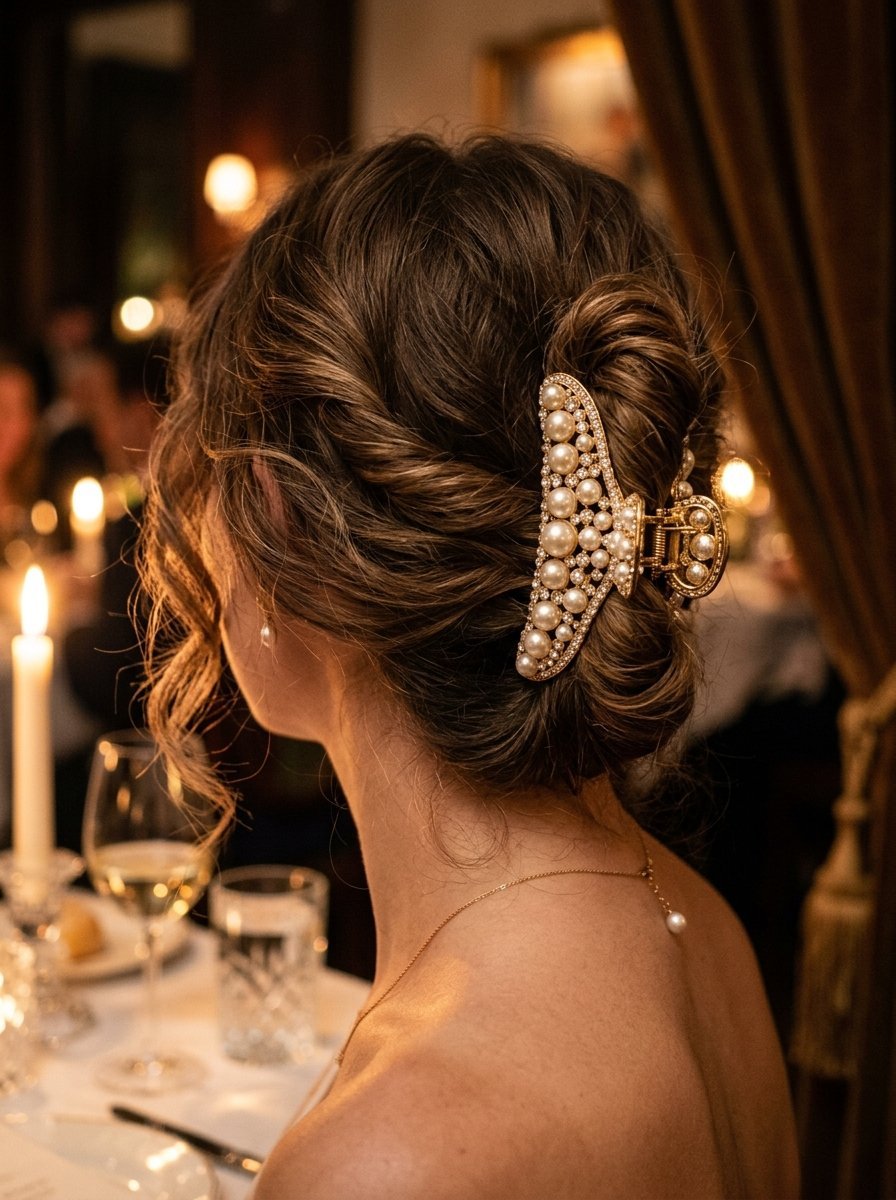
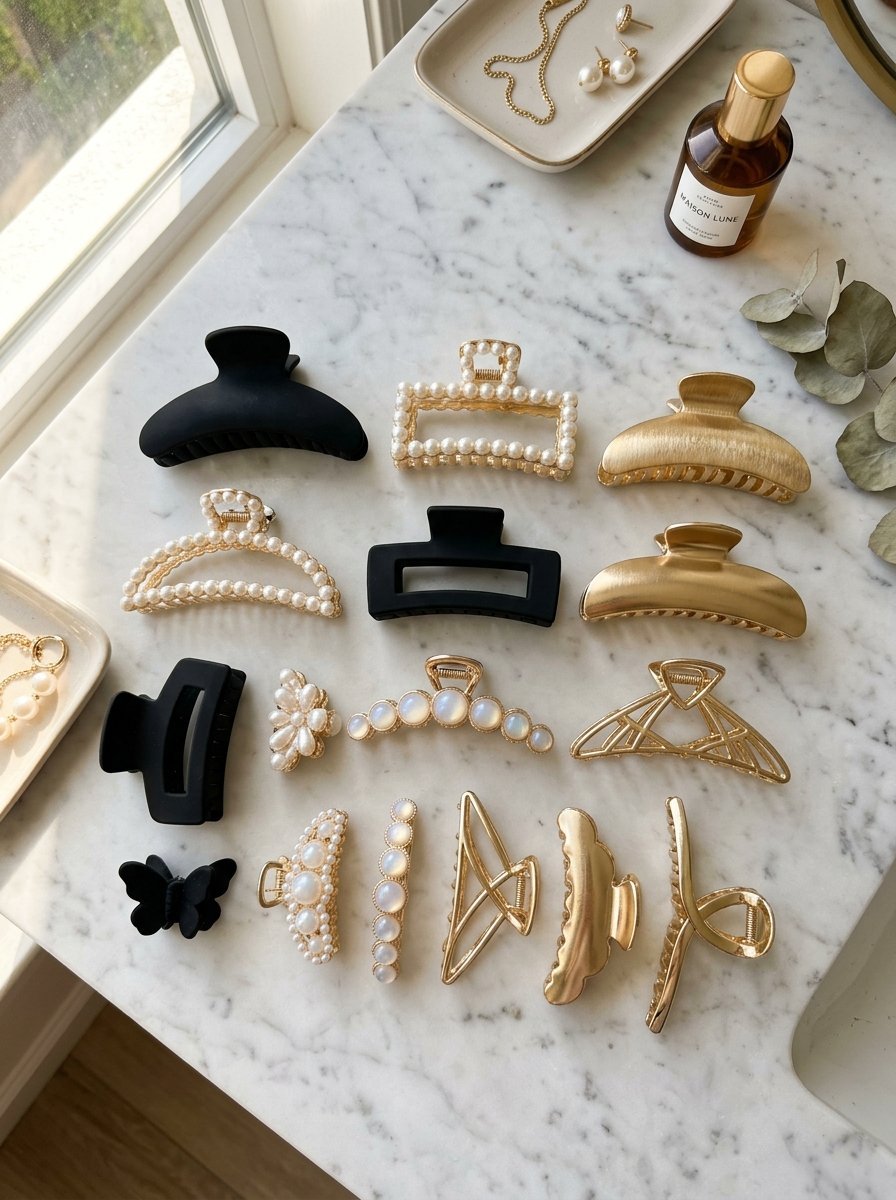
The hardware matters just as much as the hair. I use pearl-encrusted clips for date nights. The pearls turn a basic twist into something highly sophisticated.
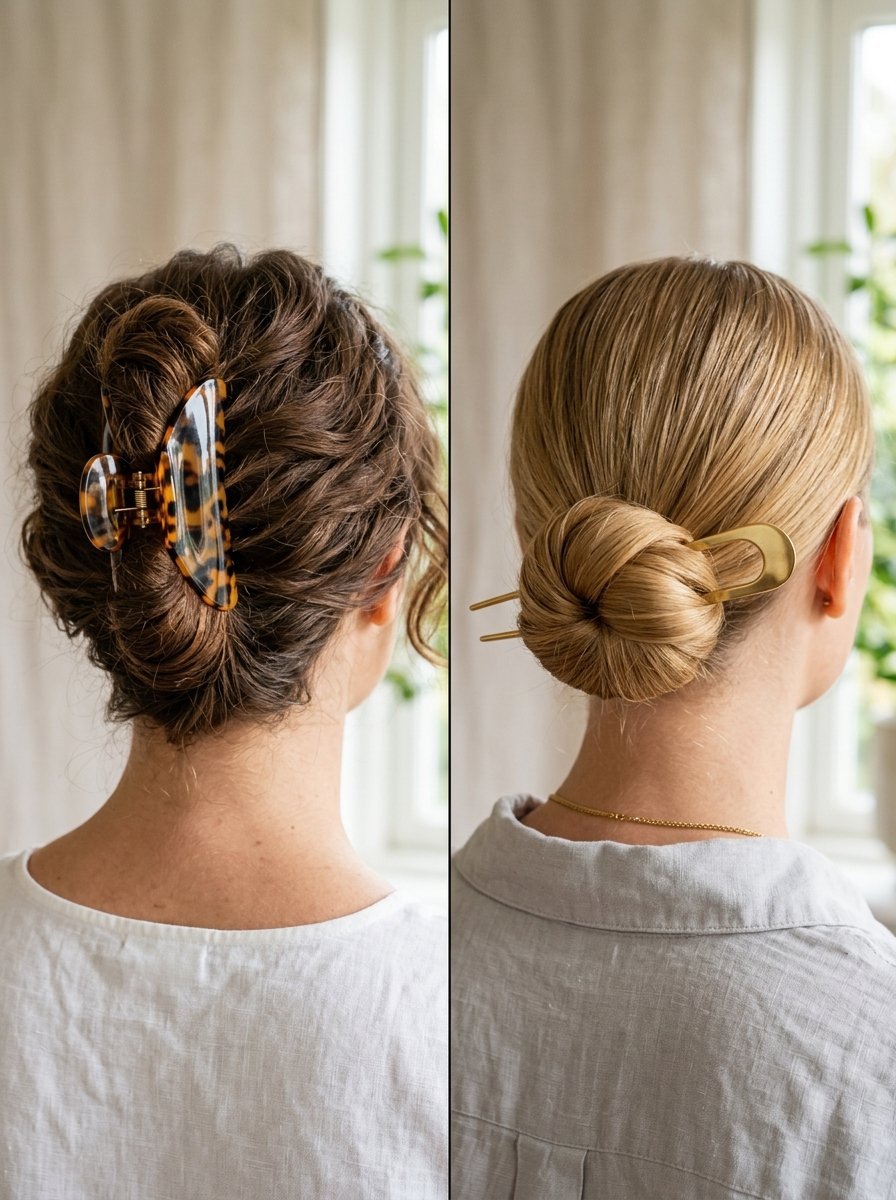
- Gather hair softly at the mid-back of the head
- Twist exactly once for a relaxed hold
- Slide a pearl-lined clip over the single twist
- Pull down face-framing pieces near the cheekbones
The contrast of messy hair and neat pearls looks stunning. It softens the entire face. This requires almost zero skill but looks highly intentional.
2. The Messy Half-Up
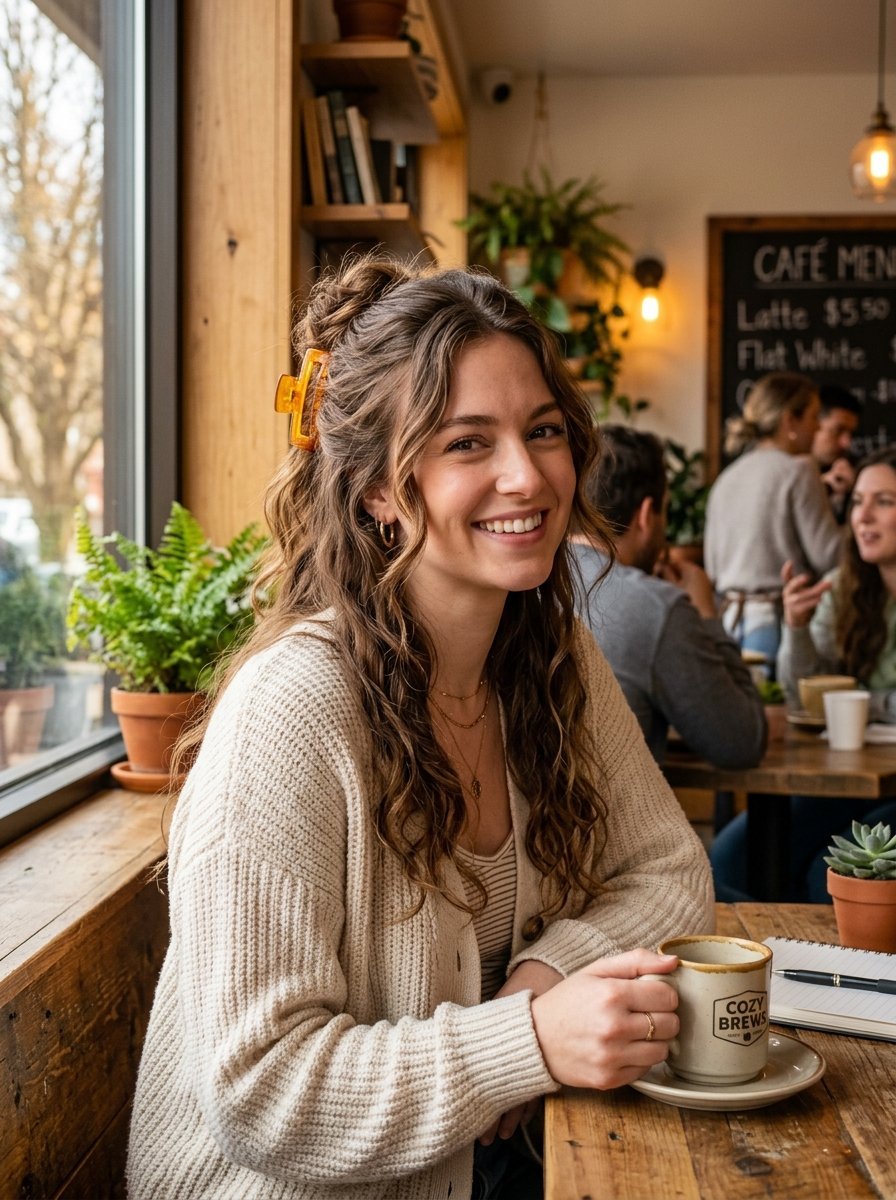
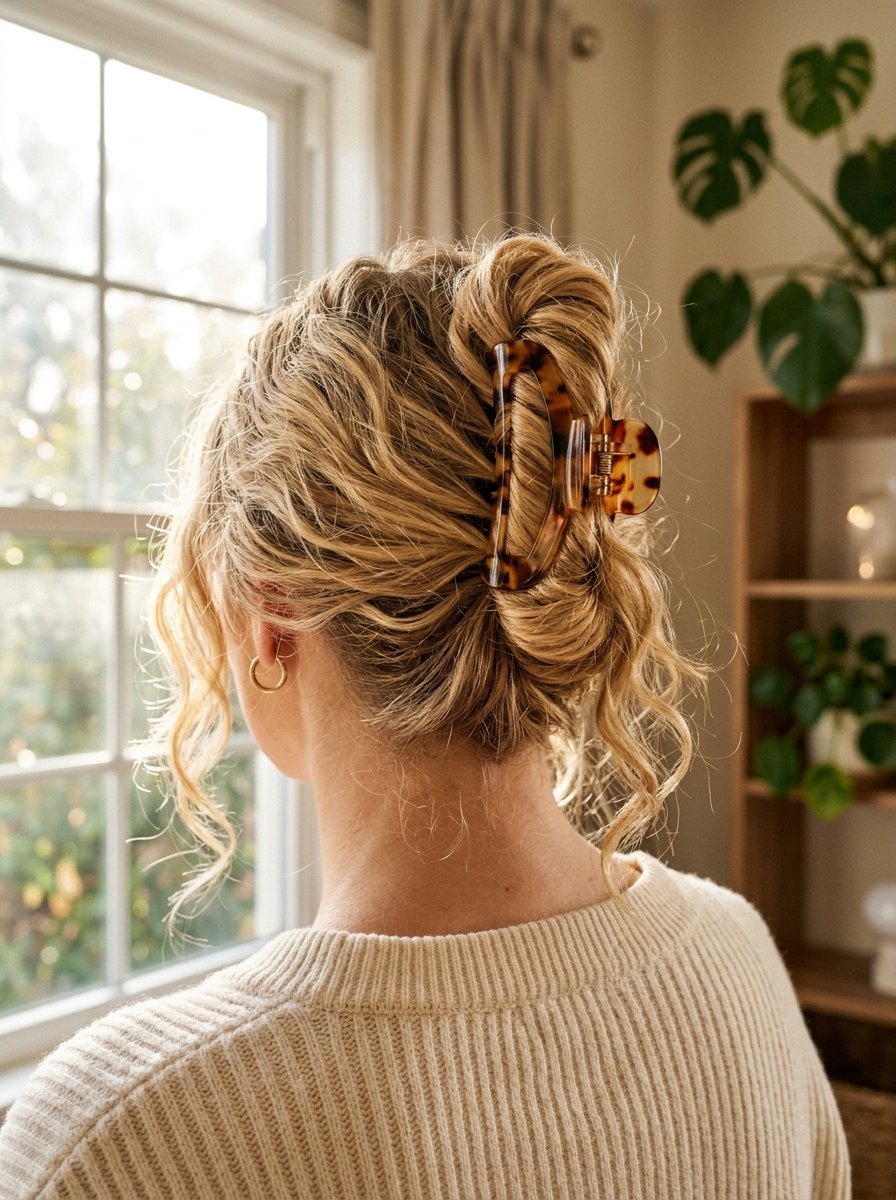
Messy claw clip hairstyles offer a relaxed vibe for weekend coffee runs. I wear this constantly on second-day hair. You just separate the top section of your hair from ear to ear. Pull it straight back. Do not brush it perfectly smooth. The natural texture makes it look far better. I lock the section right at the crown with a medium-sized tortoise shell piece.
- Part hair horizontally directly above the ears
- Pull the top half loosely backward
- Leave face-framing pieces down in the front
- Fasten with a brightly colored medium clip
This takes literally ten seconds. It keeps hair completely out of your face while showing off your length.
3. The Low Ponytail Twist
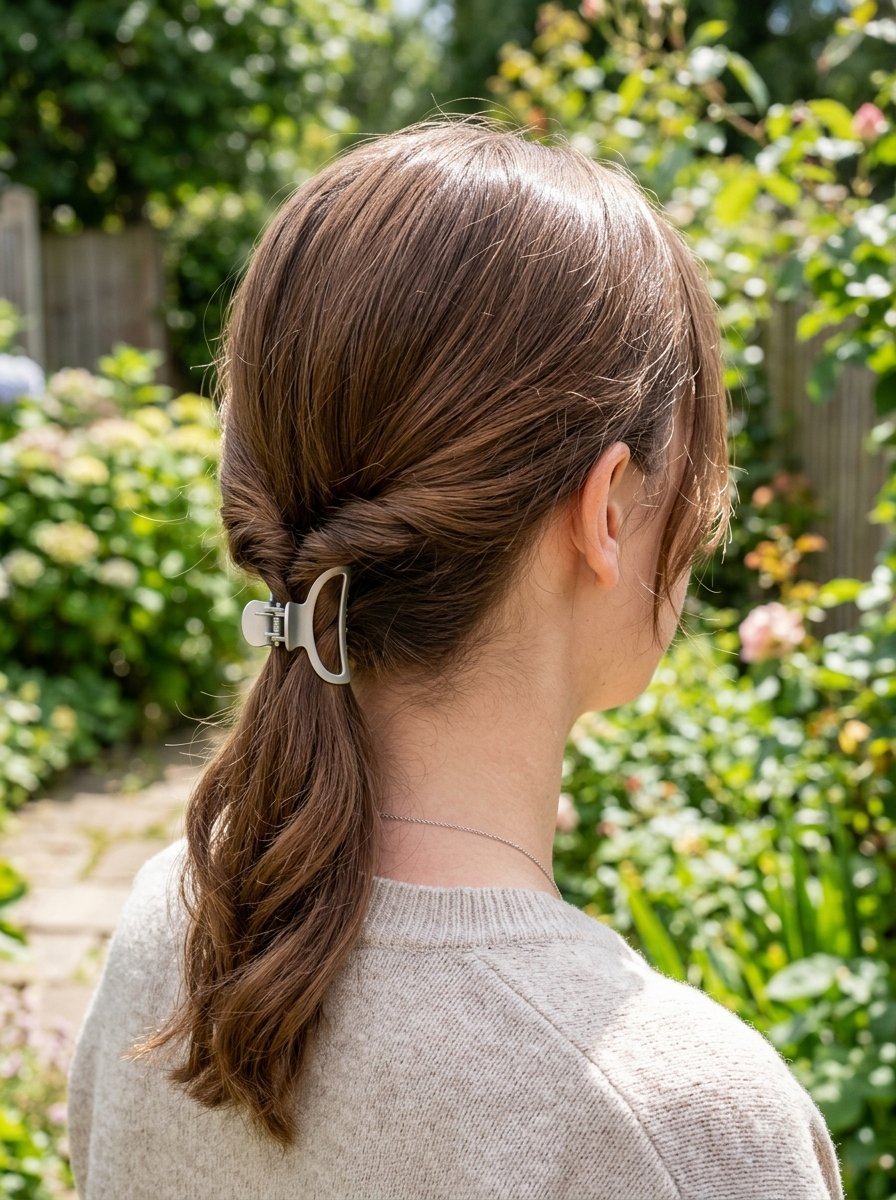
Finding good claw clip hairstyles long hair types can hold requires some testing. I struggled with heavy hair pulling down standard ponies. I solved this simply by twisting the base. Gather your hair low at the neck like a standard ponytail. Instead of using a tight hair tie, twist the base just two times.
- Gather hair low at the nape of the neck
- Twist the base twice very tightly
- Let the rest of the hair hang freely
- Place the clip directly over the twisted base
The teeth bite directly into the twist. It forms a completely solid anchor. This keeps the neck cool while showing off your natural length.
4. The Hidden Volume Trick
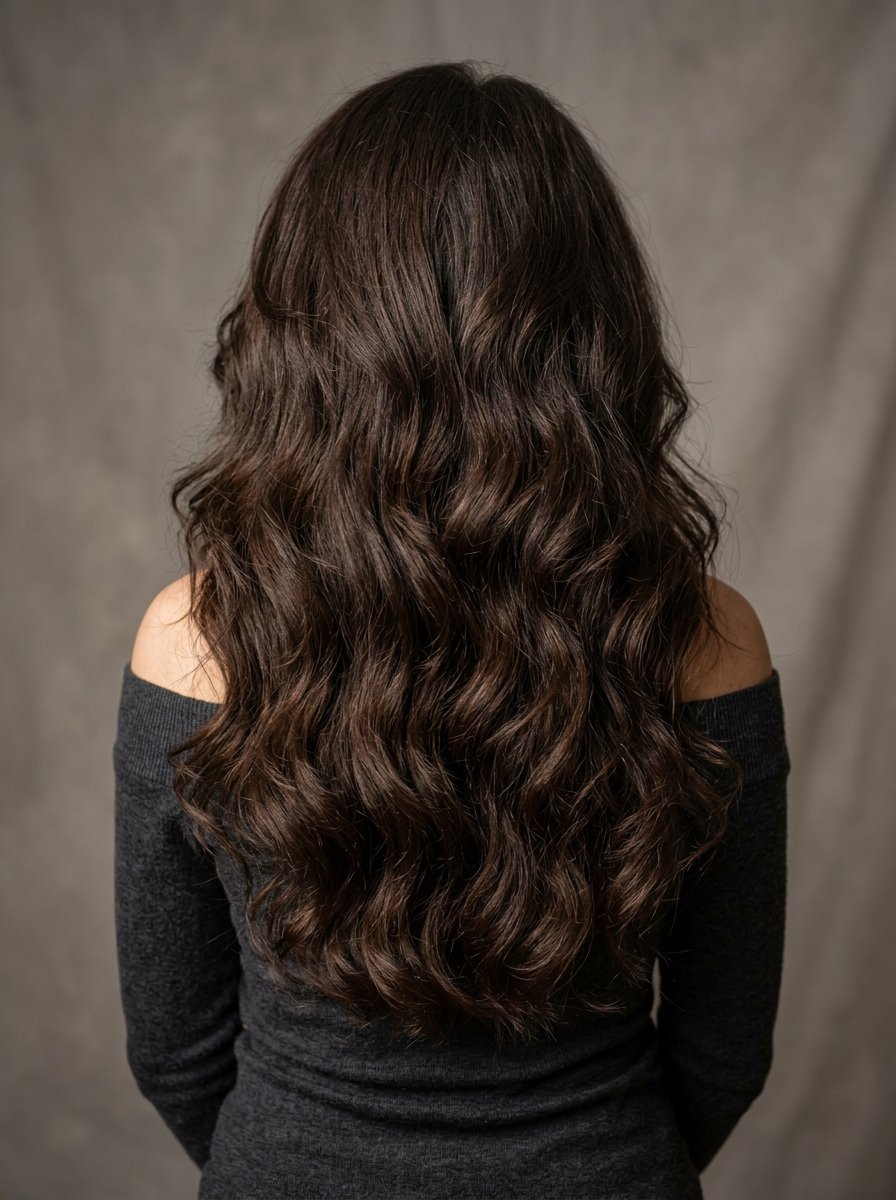
I always felt my fine hair looked flat. I figured out a way to fake thickness effortlessly. I tried many hairclaw hairstyles long hair models show off online. Most fell flat. You need a small clip for this specific fix. Gather your hair into a ponytail at the back of your head. Split the ponytail horizontally into a top and bottom section.
- Make a standard ponytail at mid-height
- Divide the tail into an upper and lower half
- Push the small clip horizontally between the halves
- Drop the top half completely over the clip
This completely hides the hardware. Your hair falls over it beautifully. You get instant fullness without any teasing or heavy hairspray.
5. The Sleek Updo Bun
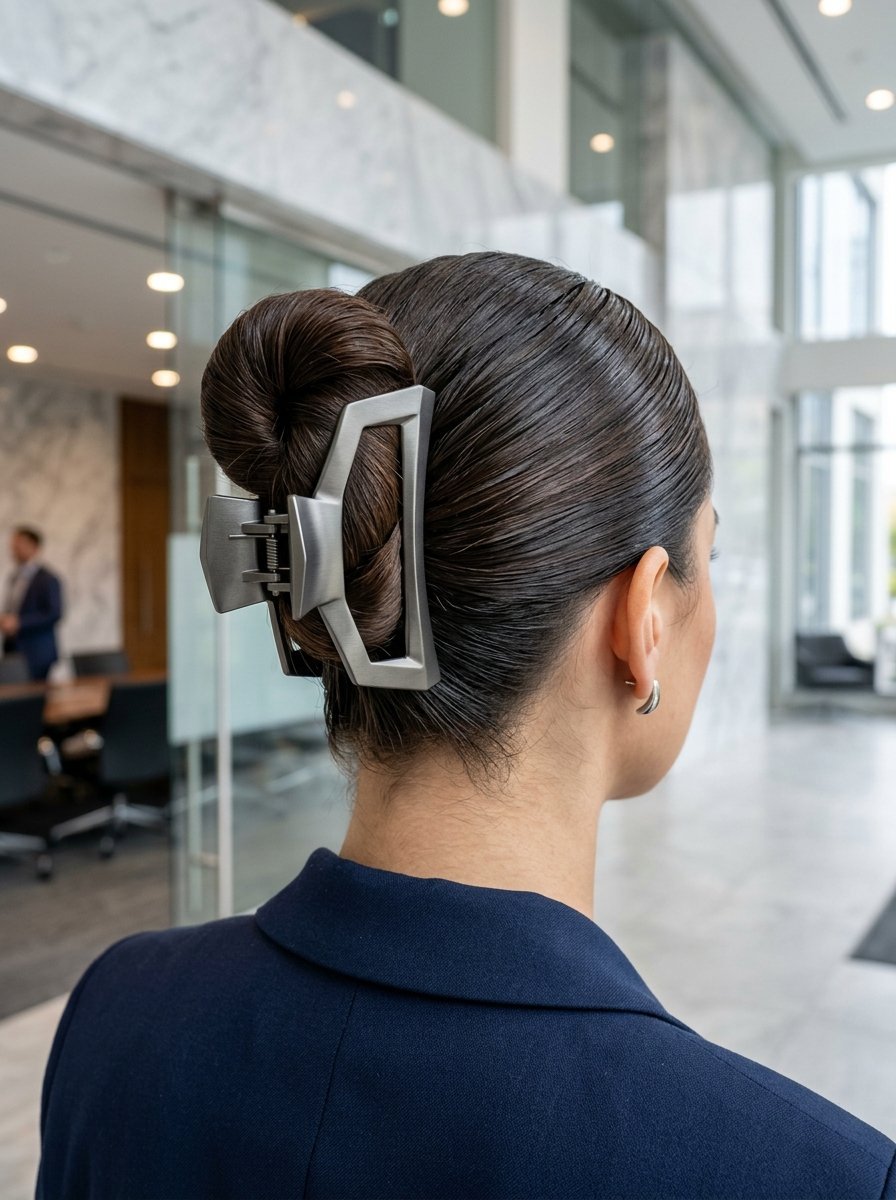
A sleek updo works perfectly for strict office dress codes. I wear this when I have a major presentation. You need a strong styling gel to smooth down flyaways first. Brush everything straight back against your scalp. Twist the hair tightly until it coils tightly onto itself.
- Brush hair smoothly backward with a boar bristle brush
- Apply a small drop of gel to tame flyaways
- Twist the ponytail base until it forms a tight bun
- Clamp a large matte metal clip across the center
I find this holds perfectly for straight or wavy textures. It feels incredibly safe all day long. You never have to worry about pieces falling into your eyes.
6. The Braided Crown Hold
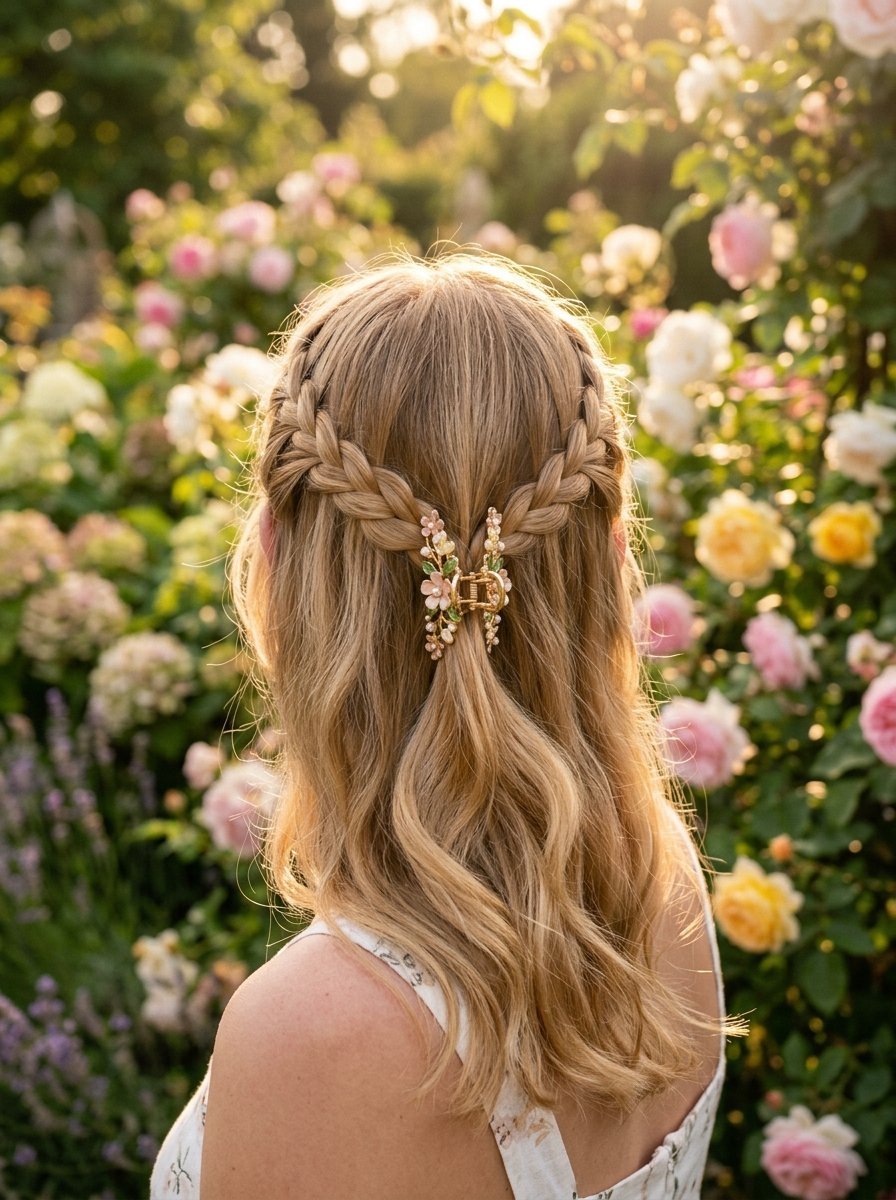
I started doing this when I wanted a romantic vibe for a summer wedding. It looks complicated but takes exactly two minutes. You just braid two small sections near your temples. Pull them back to meet right in the middle.
- Take a one-inch section of hair from the left temple
- Make a simple three-strand braid and hold it
- Repeat this exact step on the right temple
- Pull both braids to the back of your head
- Fasten them together with a small decorative clip
This works wonderfully for short bobs and long lengths alike. The braids lock the teeth firmly in place. It will not slide down your head at all.
7. The Double Mini Fasten
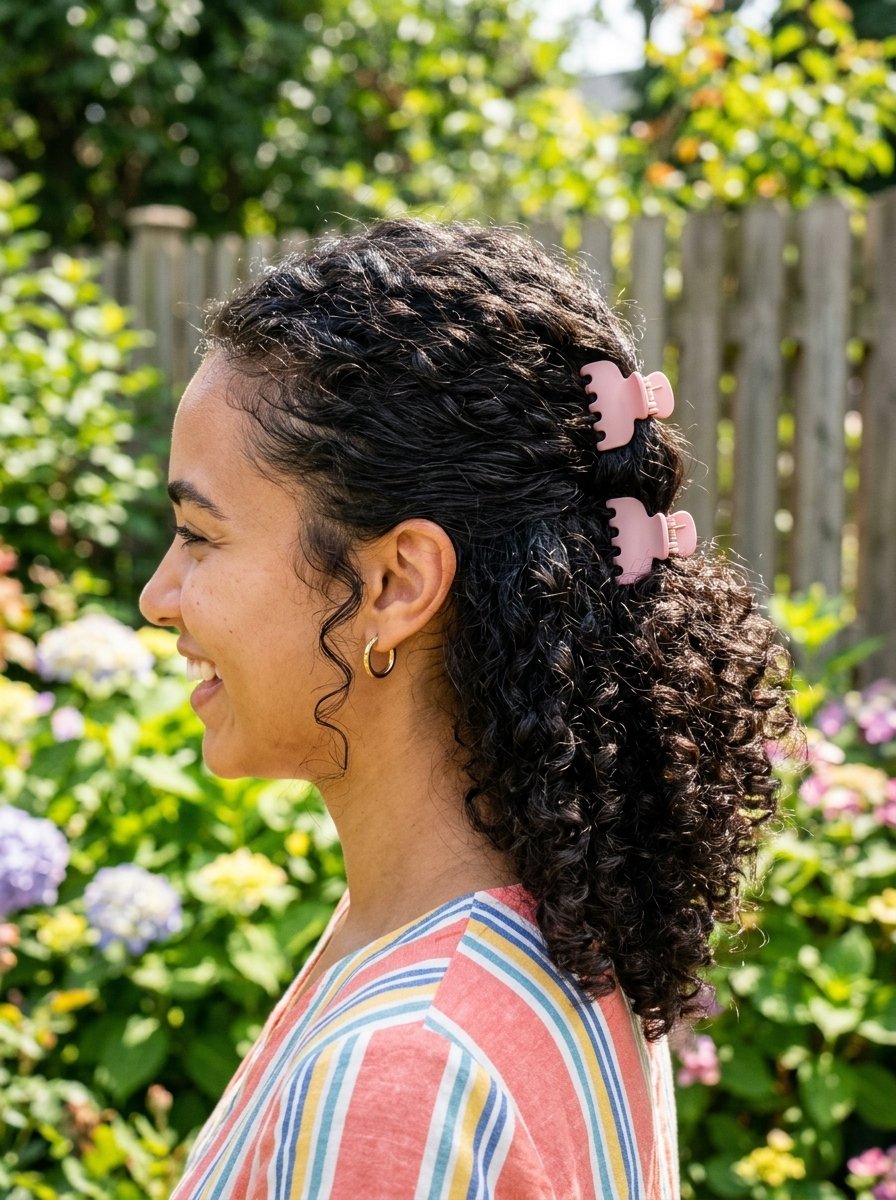
Sometimes one large clip feels far too heavy on my scalp. I started using two smaller ones instead. This distributes the weight perfectly evenly. It stops the pulling sensation completely.
- Gather all your hair straight back
- Twist the length upward against your scalp
- Place the first mini clip near the bottom of the twist
- Place the second mini clip near the top
I love this specific hold for thick curls. It grabs much more surface area. You can use matching pieces or mix up the colors. It feels much lighter than a single jumbo piece.
8. The Loop and Tuck
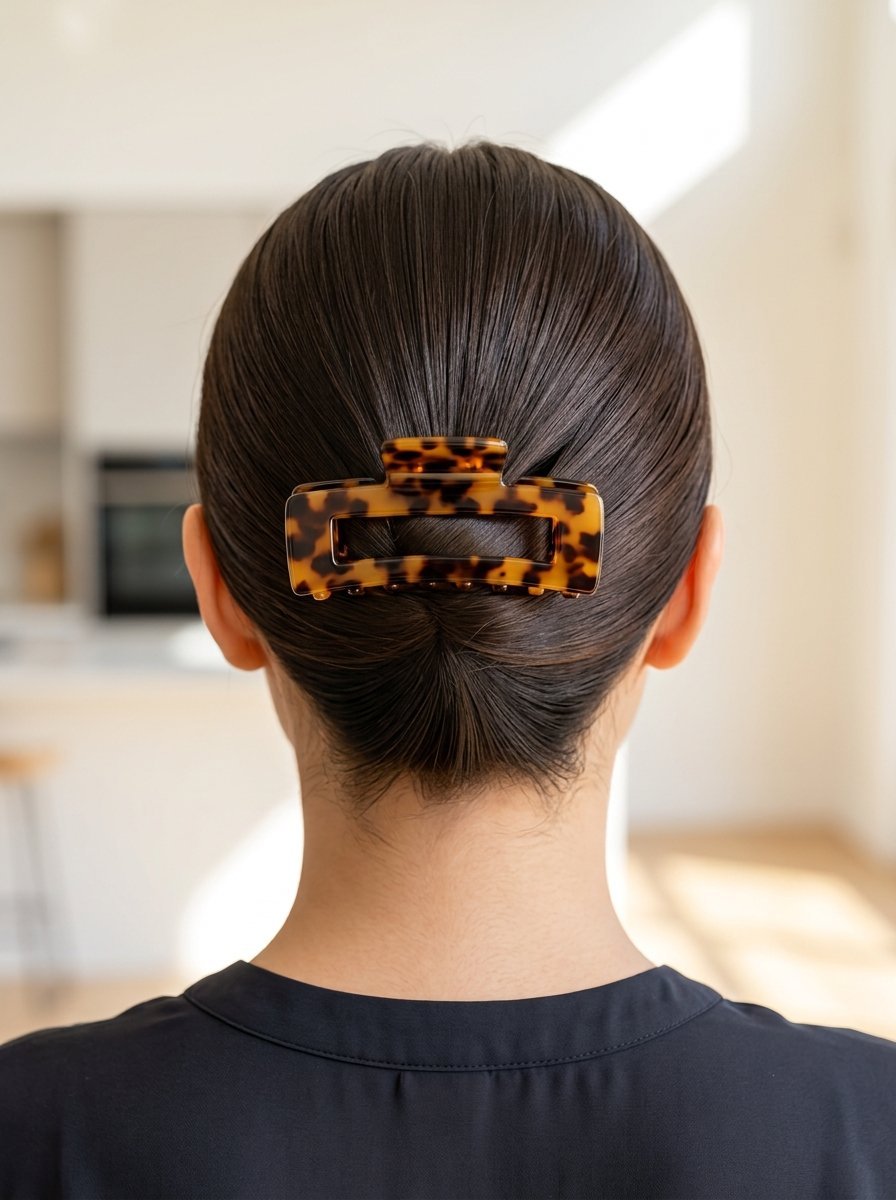
Finding hairstyles using clips for ultra-long hair gets tricky. The ends always stick out awkwardly at the top. I stumbled upon the loop trick by total accident. You just fold the hair into a neat little package.
- Gather hair low at the neck
- Twist upward halfway up the back of your head
- Fold the remaining length directly downward
- Tuck the very ends under the main twist
- Clamp a jumbo clip over the entire folded bundle
The teeth trap the ends underneath. Nothing sticks out. My favorite is a flat rectangular shape for this hold. It lays nicely against the back of your head.
9. The Waterfall Half-Up
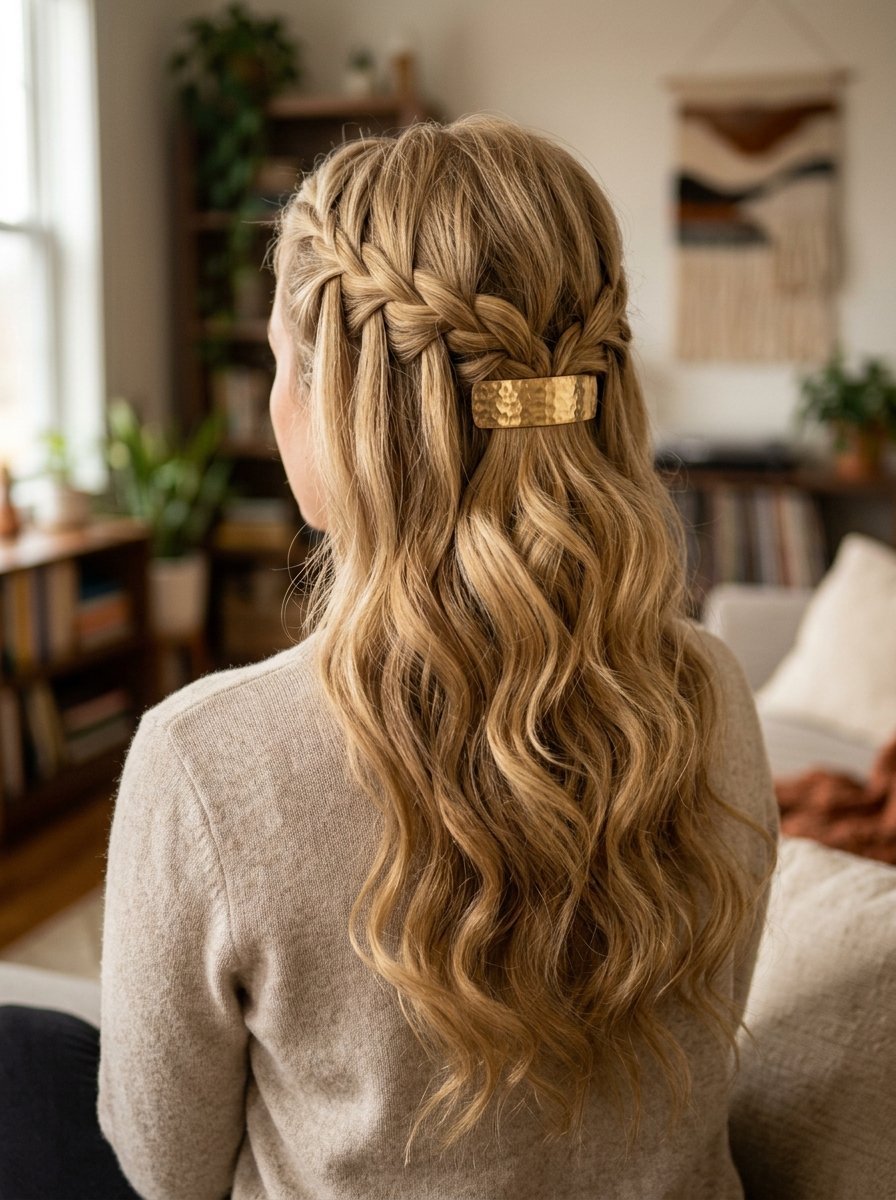
I often want my hair out of my face but still flowing down my back. This style does exactly that. It works best on freshly washed hair. It creates a beautiful cascade effect.
- Gather the top third of your hair
- Pull it slightly higher than your crown
- Give it a single gentle twist
- Clamp it with a medium tortoiseshell clip
- Let the ends fall naturally over the clip base
The twisted section pushes the top layer outward. This creates instant volume at the crown. I use this style constantly on video calls. It frames the face beautifully.
10. The Inverted Tail
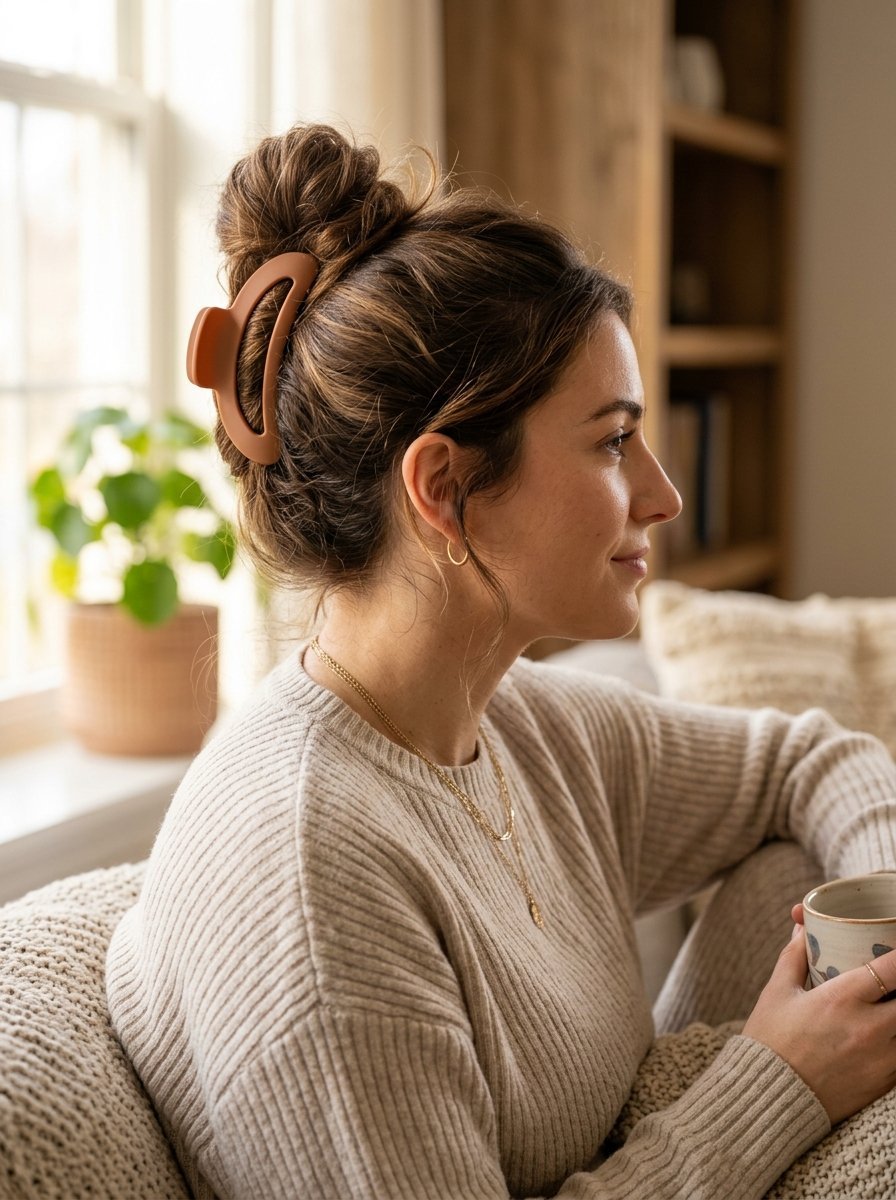
This feels like a nostalgic nod to the late nineties. I wear it when I want a playful casual vibe. You push the hair upward instead of letting it fall downward.
- Gather hair into a mid-height ponytail
- Twist the base exactly one time upward
- Place the clip directly under the twist
- Let the hair fan out over the top of the clip
The clip acts as a shelf. The hair falls outward in a fountain shape. It keeps your neck completely bare. I find this perfect for extremely hot summer afternoons.
11. The Topknot Anchor
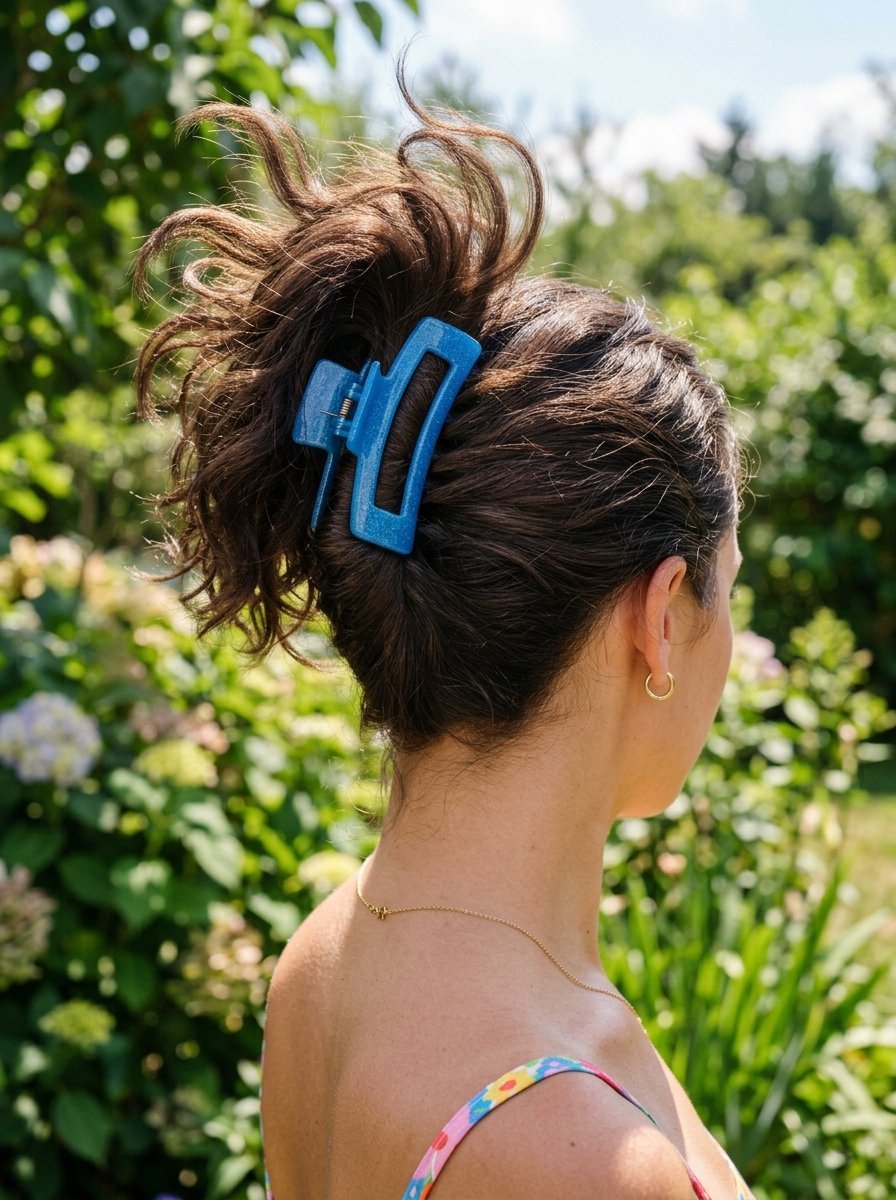
Sometimes a messy bun needs a little extra help. Hair elastics often snap or give me headaches. I swapped my elastic for a clip. The tension vanished entirely.
- Flip your head upside down
- Gather all hair directly on top of your crown
- Coil the hair into a loose circle
- Clamp a large curved clip over one side of the bun
The clip anchors the bun without pulling individual strands tight. It takes fifteen seconds. I sleep in this style without any discomfort at all.
12. The Figure Eight Twist
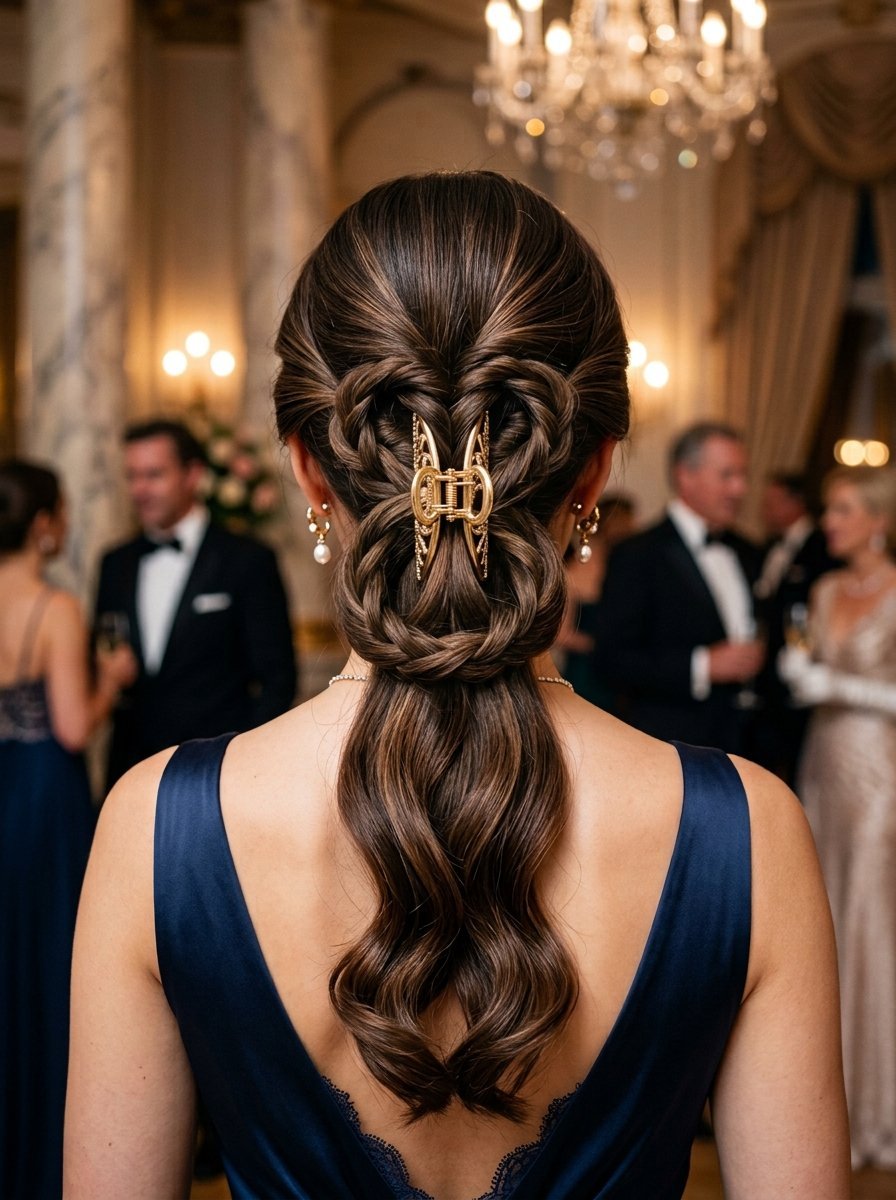
If you need easy updo hairstyles for a formal dinner, this looks incredibly intricate. No one believes me when I say it takes forty seconds. It requires thick long hair to look right.
- Gather hair low at the nape
- Twist the hair upward for three inches
- Bend the remaining hair downward to form a loop
- Twist the ends back up over the center
- Clamp a large clip directly in the middle of the eight shape
It creates a beautiful woven look. A metal clip makes it look like expensive jewelry.
13. The Side Swept Hold
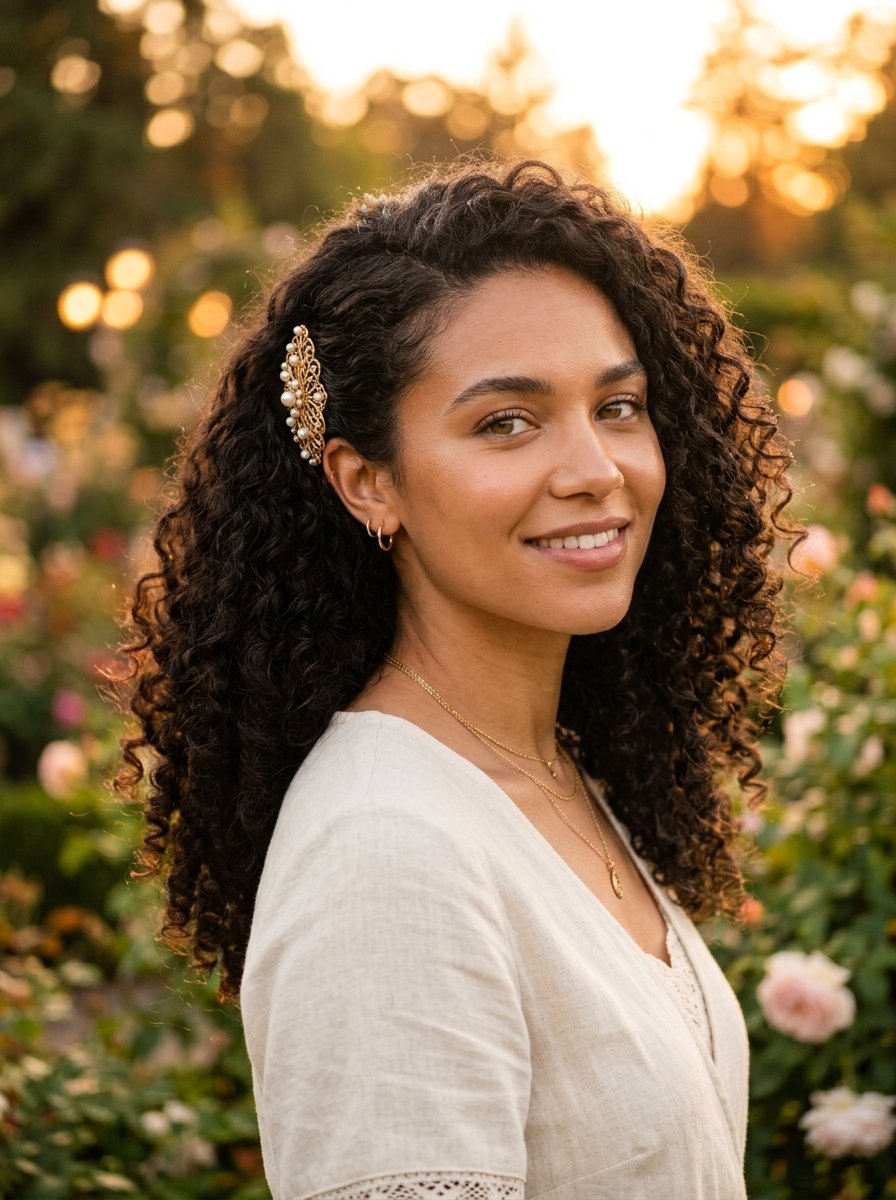
I noticed most clip styles sit dead center on the back of the head. I tried shifting the placement. A side-swept look feels highly romantic. It works amazingly well for curly textures.
- Brush all hair over your left or right shoulder
- Gather the hair just behind your ear
- Twist it loosely upward along the hairline
- Lock it firmly with a medium clip
- Pull out a few curly strands around your face
This rests comfortably if you lean back against a chair. It looks soft and elegant.
14. The Undone Spiky Bun
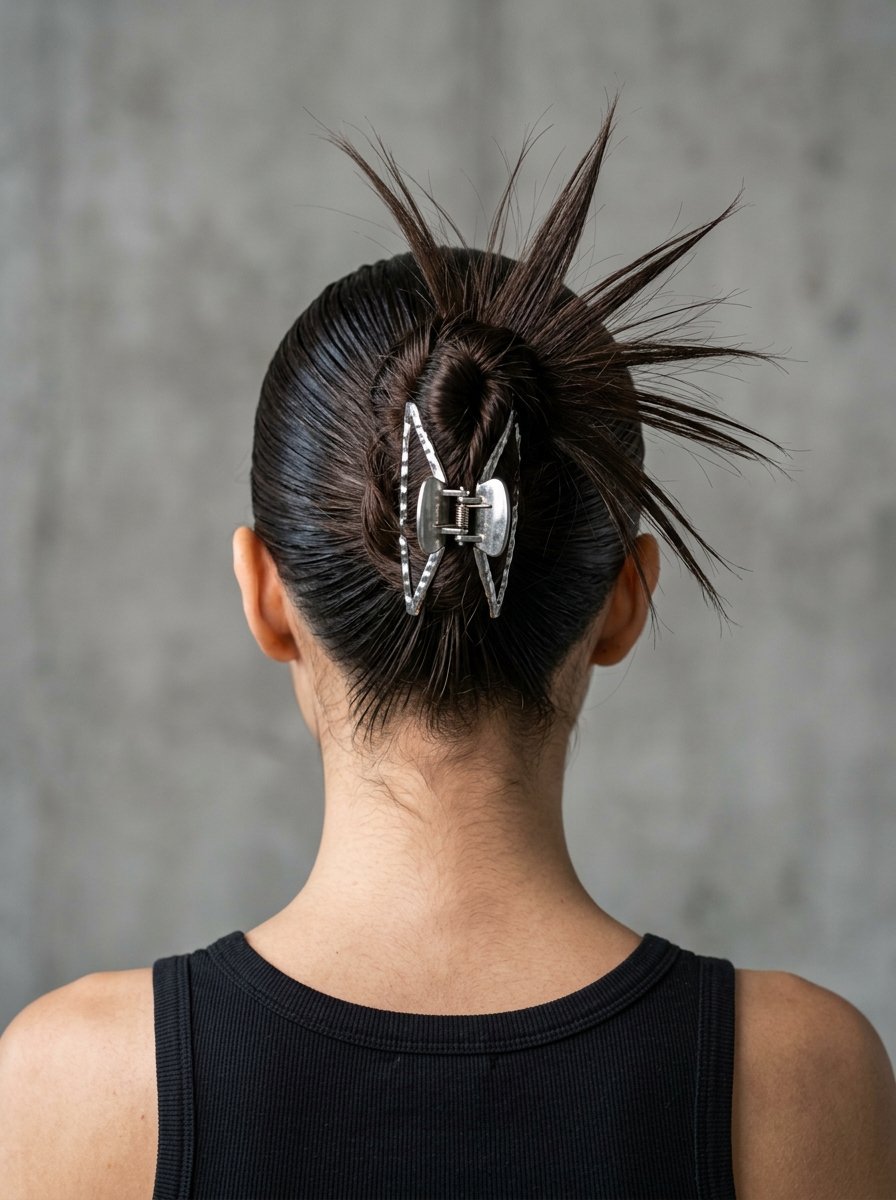
This leans heavily into the Y2K aesthetic. I see this exact style all over my social media feeds. The trick requires leaving the ends completely straight and spiky.
- Smooth hair into a tight mid-level ponytail
- Twist the hair upward tightly against the scalp
- Clamp the clip over the twist
- Leave three inches of straight ends sticking straight up
- Fan out the spiky ends with your fingers
I use a flat iron on the ends first. It makes them look sharp and deliberate. This gives off a perfectly curated edgy vibe.
15. The Wrapped Ponytail
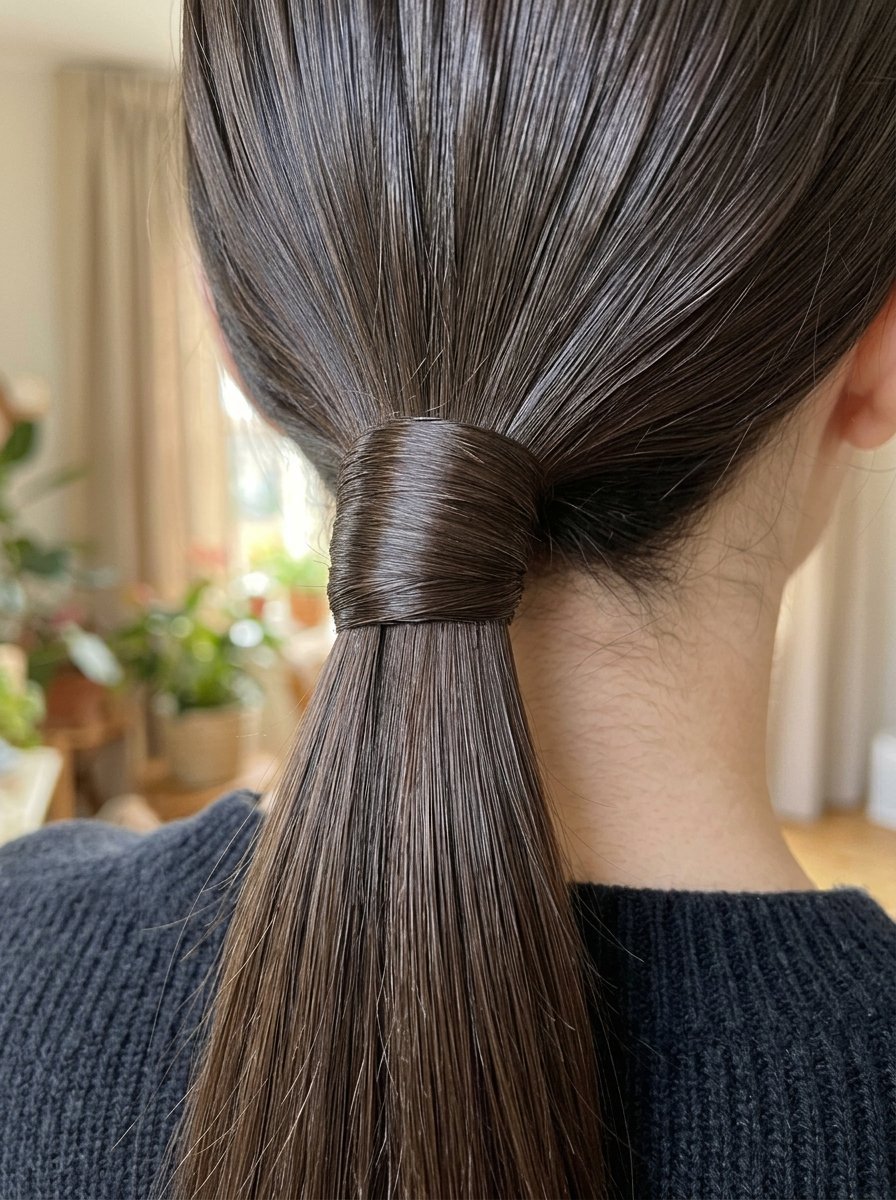
You do not always have to put all your hair up. Different claw clips serve different purposes entirely. A tiny clip can completely upgrade a basic ponytail.
- Tie a low ponytail with a clear elastic
- Take a small piece of hair from the tail
- Wrap it tightly around the elastic to hide it
- Pin the wrapped piece underneath with a tiny micro-clip
The micro-clip holds far better than a bobby pin. It never slips out. I love this trick for gym sessions. It looks polished but stays out of the way.
16. The Curly Pineapple
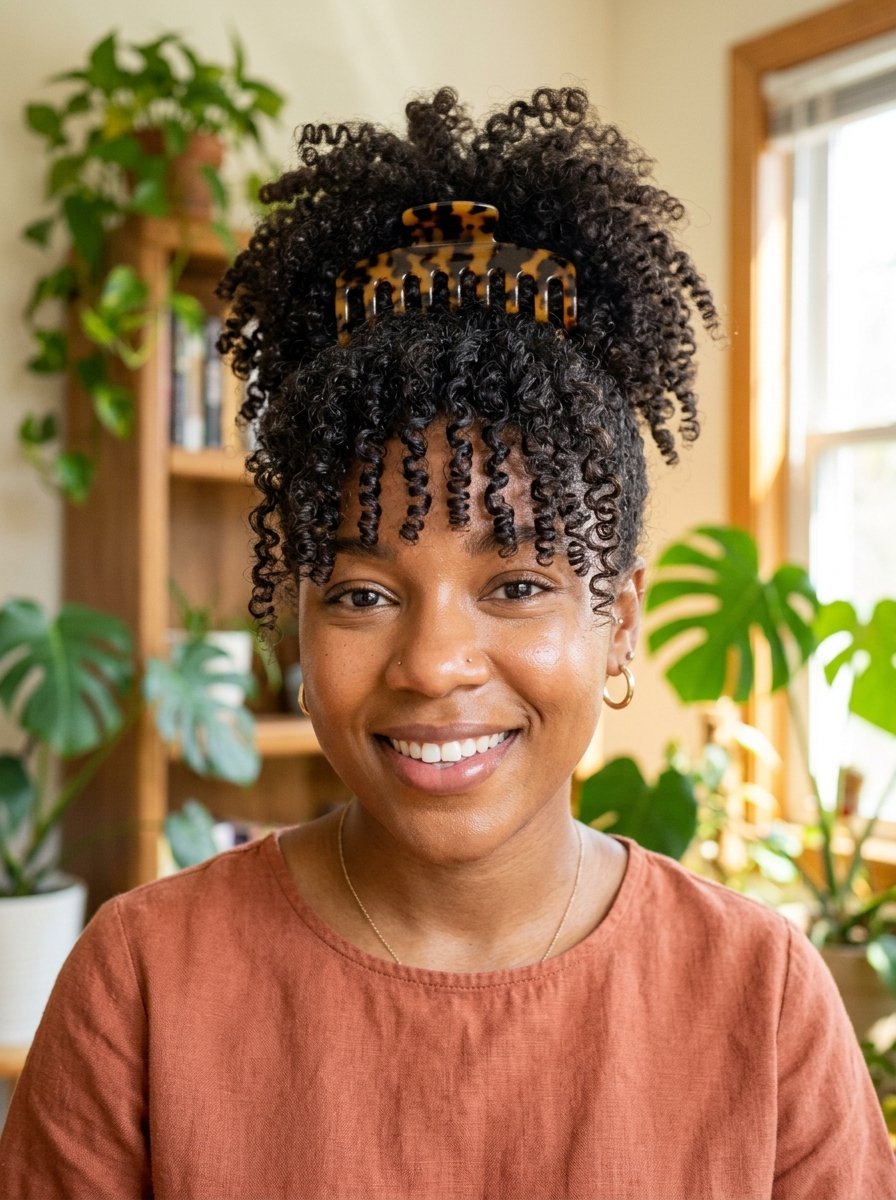
My friends with natural curls swear by this routine. It protects curl patterns while keeping volume high. You want the curls spilling directly onto your forehead.
- Flip your head forward
- Gather all curls at the very front of the crown
- Place a wide-tooth jumbo clip at the base
- Let the curls cascade forward toward your face
This prevents the flattening that hair ties cause. The curls remain bouncy and defined. I have seen this work wonders for morning routines. You just take the clip out, shake, and go.
17. The Bubble Braid Fasten
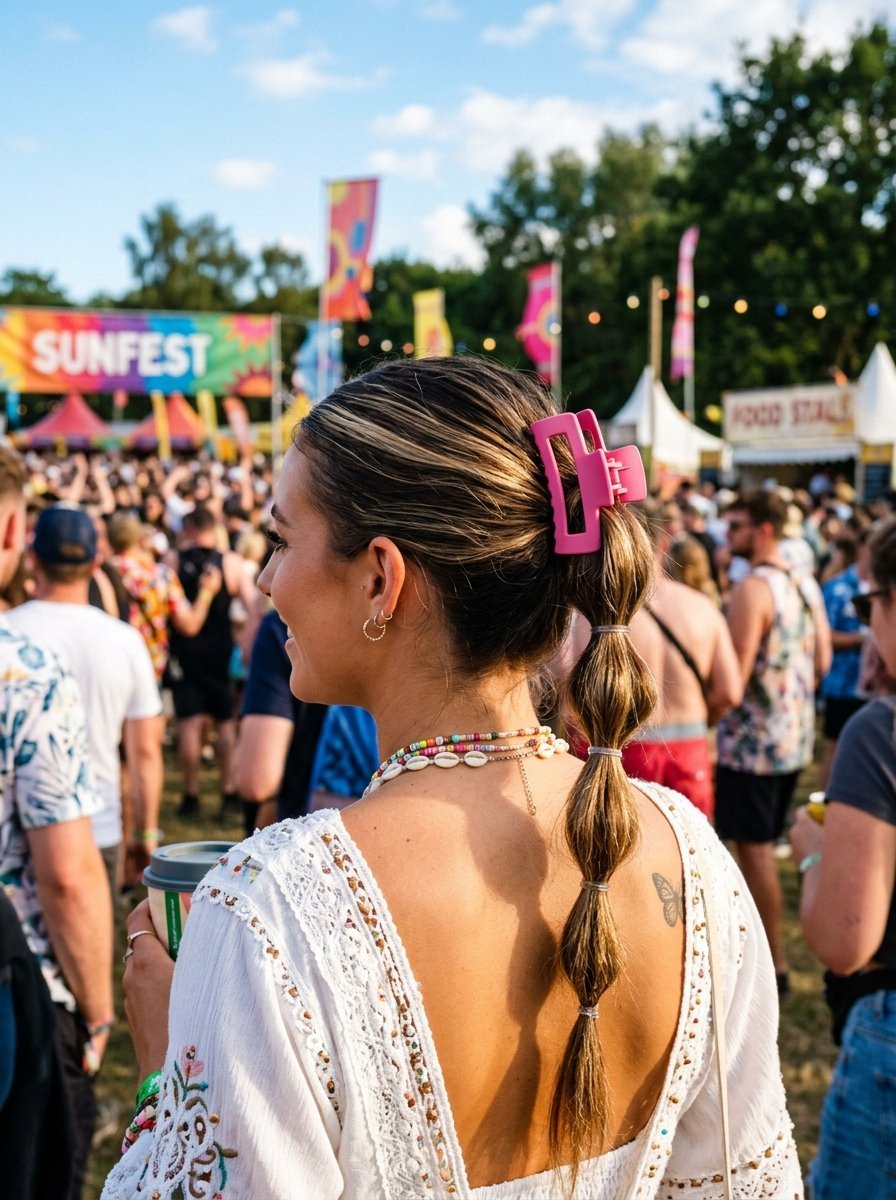
Bubble braids feel playful. I found a way to incorporate a clip for an unexpected twist. You need clear elastics and one statement clip.
- Pull the top half of your hair back
- Tie it with a clear elastic
- Place a second elastic three inches lower
- Pull the edges of the section to form a bubble
- Place a brightly colored clip right above the first elastic
The clip hides the top band entirely. It frames the bubble braid beautifully. This stays put during long walks or windy days.
18. The Pinned Bangs Look
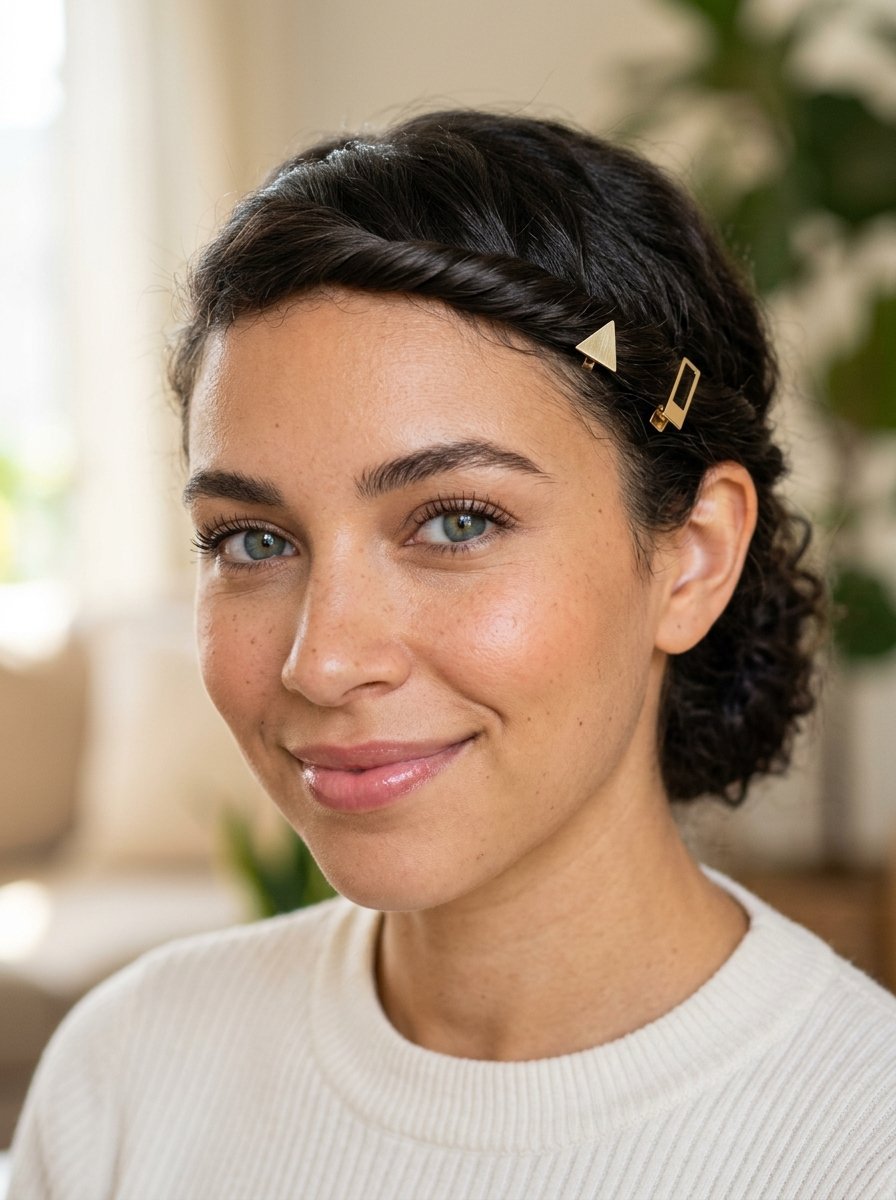
Growing out bangs tests my patience every single time. Clips make the awkward phase bearable. I use small geometric clips for this specific fix.
- Part your hair down the center
- Take the overgrown bangs on the left side
- Twist them lightly away from your face
- Clamp with a flat snap-style claw clip
- Repeat exactly on the right side
It keeps hair out of my eyes. It looks like a deliberate styling choice. I keep two tiny clips in my bag just for this.
19. The Crown Volume Bump
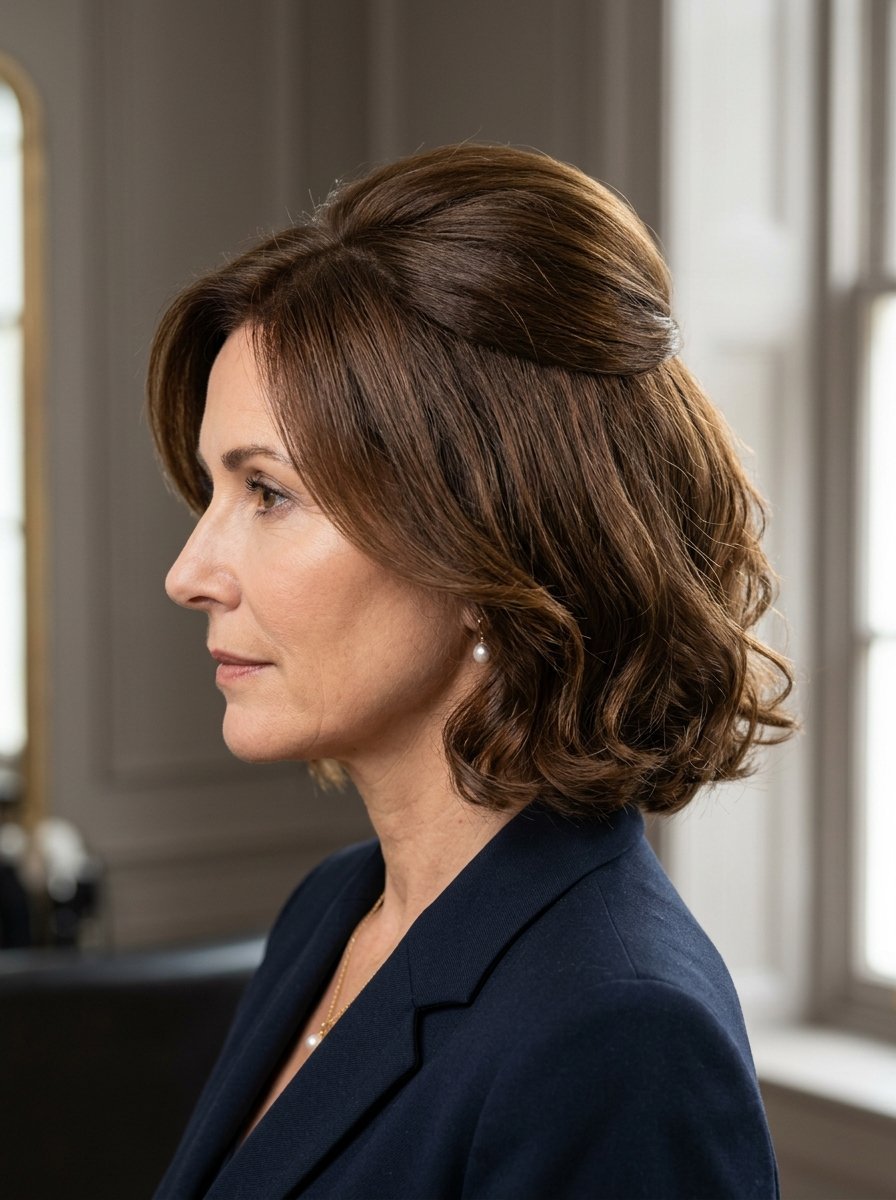
Sometimes my roots lay entirely flat against my skull. I figured out how to fake immediate height. This trick works wonderfully on fine straight hair.
- Take a two-inch square section directly at the crown
- Gently comb it backward toward the scalp
- Push the section slightly forward to create a small bump
- Fasten a small clip horizontally right behind the bump
- Let the surrounding hair cover the clip completely
The clip acts as a permanent prop for the volume. It never falls flat throughout the day. I rely on this heavily for evening outings.
20. The Zig-Zag Part Updo
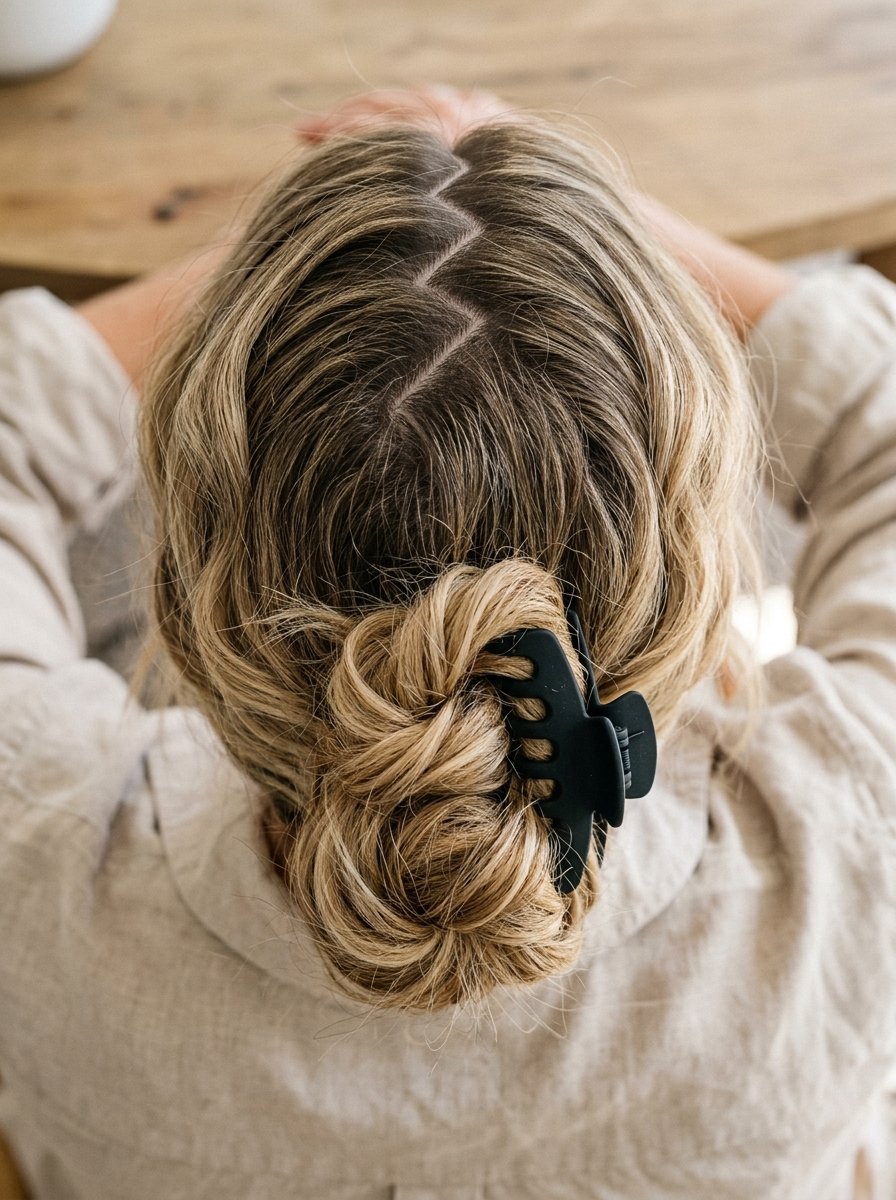
A pin up style instantly feels cooler with a messy part. A straight part looks too rigid. I use the tail end of a comb to draw a jagged line.
- Draw a zig-zag line down your scalp with a comb
- Gather the hair loosely at the nape
- Twist upward for four inches
- Clamp a matte black clip over the twist
- Pull lightly on the roots to loosen the tension
The messy part breaks up the perfection. It looks incredibly effortless. I always get asked how long this takes. The answer is thirty seconds.
21. The Low Chignon
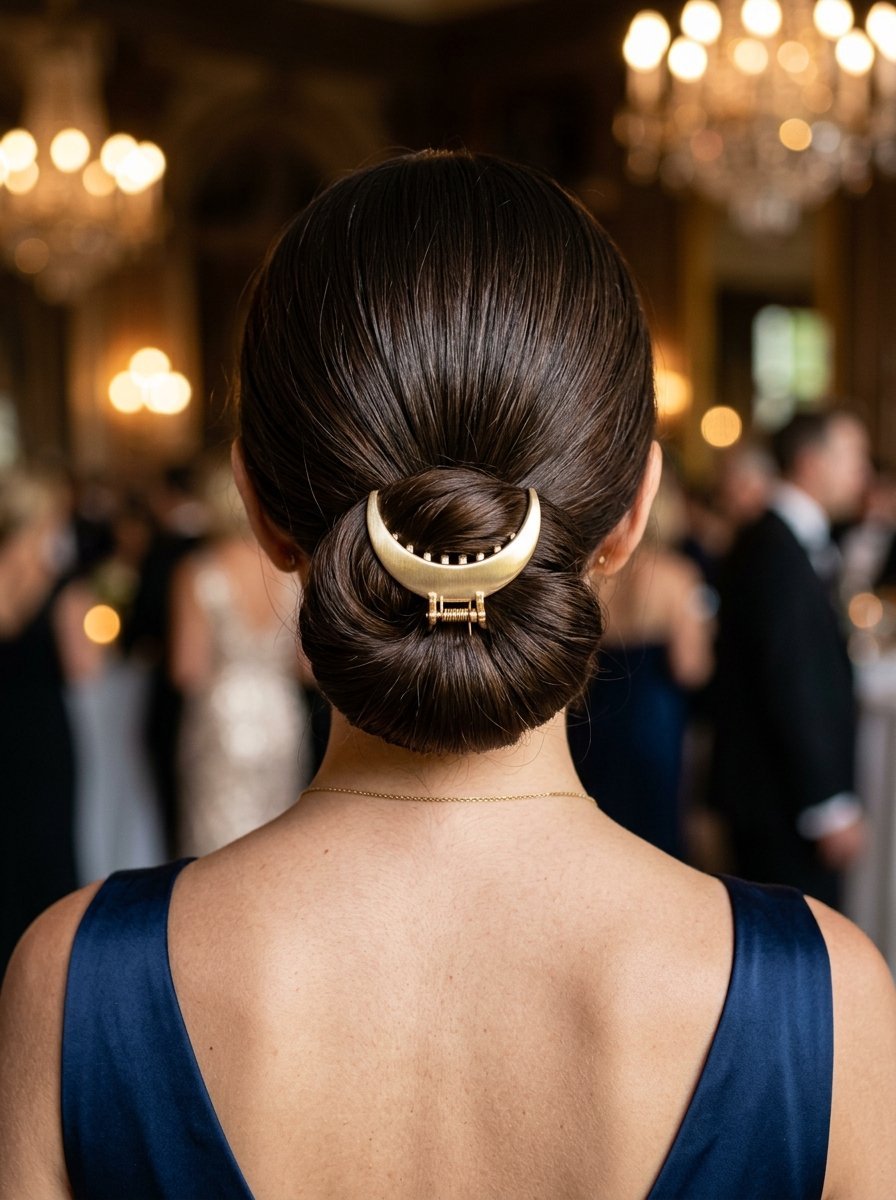
A chignon usually requires twenty bobby pins and immense patience. I hacked it with one rounded clip. You need a crescent-shaped clip for this to sit correctly.
- Gather hair low at the neck
- Roll the hair upward under itself like a sleeping bag
- Tuck the ends completely out of sight
- Clamp the crescent clip horizontally over the entire roll
The rounded shape of the clip perfectly matches the curve of the chignon. It looks exactly like a salon-styled updo. I wore this to a formal gala last month.
22. The Criss-Cross Hold
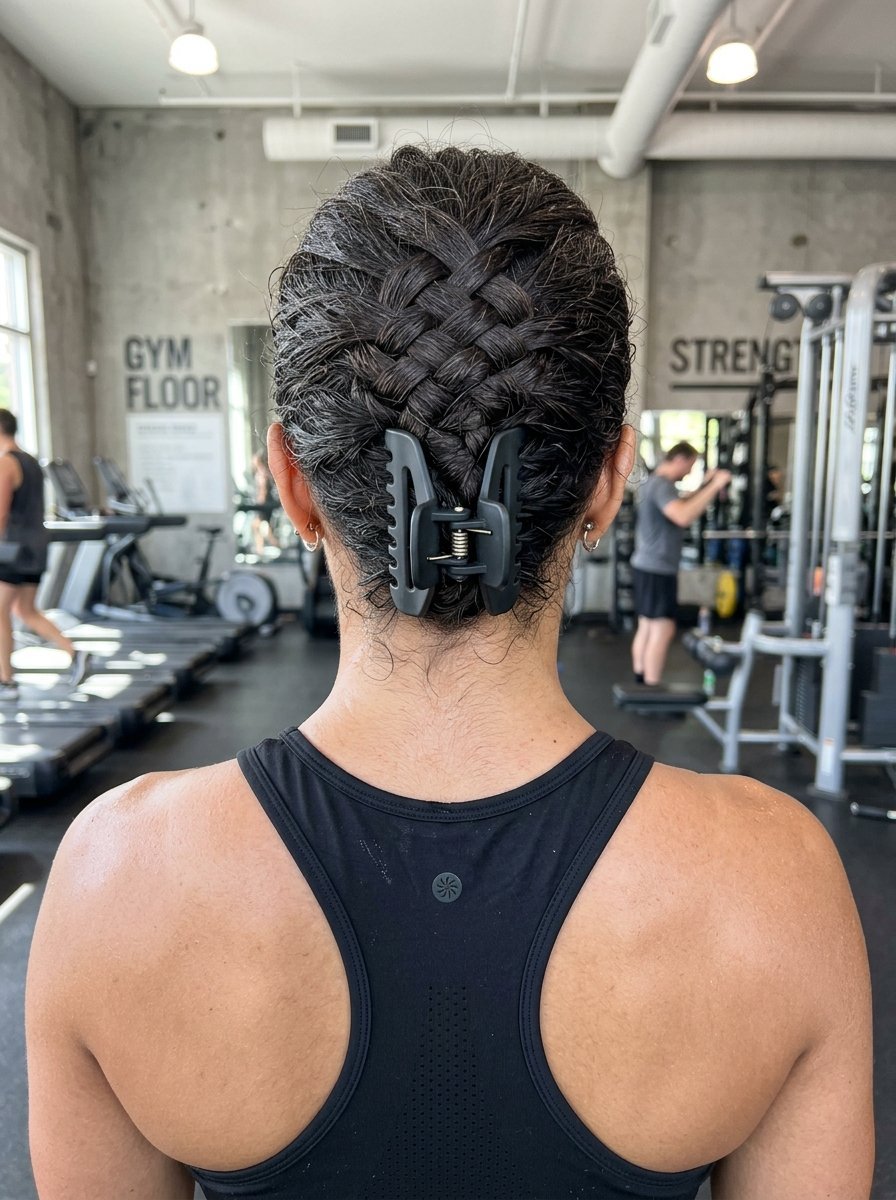
When I need hair dos that refuse to move during a workout, I use this hold. You criss-cross the hair to lock the clip tight.
- Divide hair into left and right halves
- Cross the left side over the right side
- Cross the right side back over the left
- Pull the twist upward against the head
- Clamp firmly with a strong-grip clip
The opposing tension keeps everything frozen in place. The clip grips the crossed sections perfectly. I run on the treadmill with this style. It refuses to budge.
23. The Faux French Braid
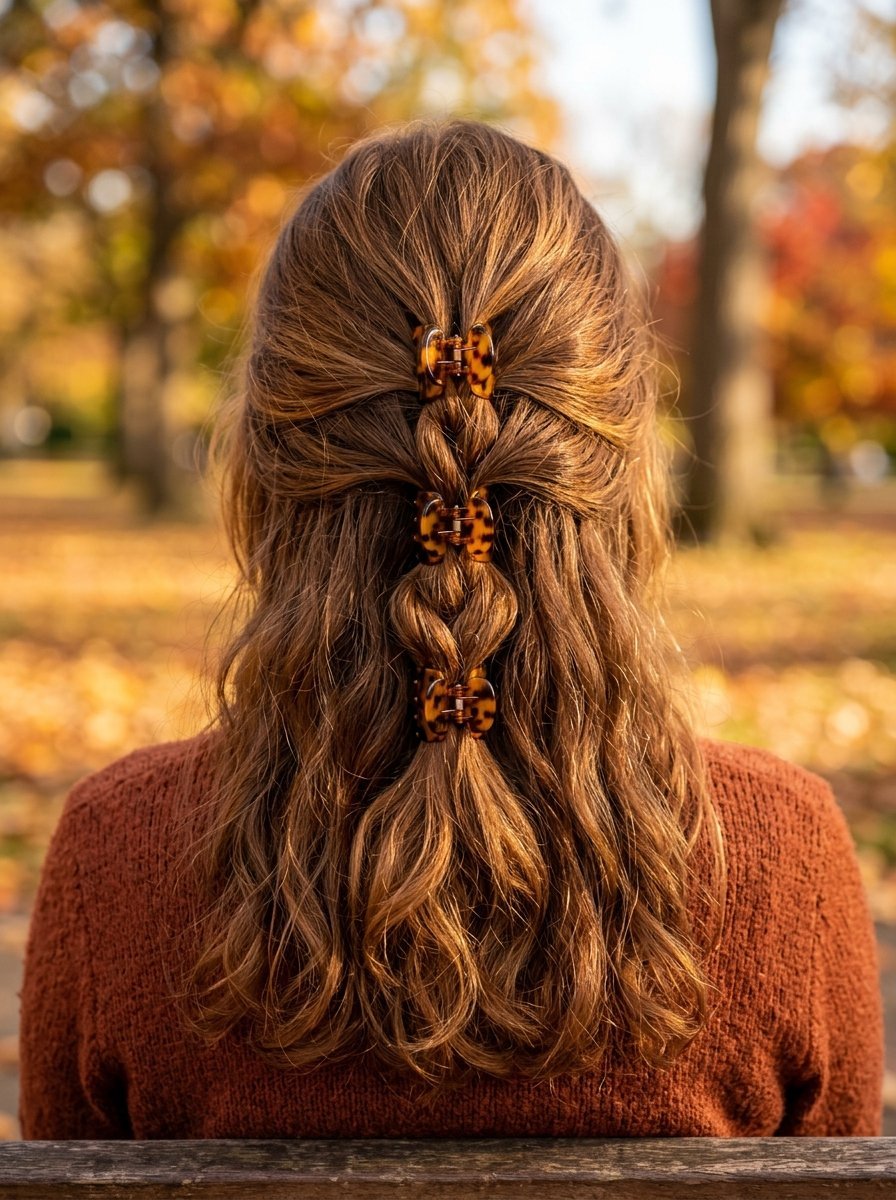
French braiding my own hair makes my arms ache. I found a cheat code using three small clips. It creates the exact same visual line down the back of the head.
- Gather a section of hair at the crown
- Clip it flat against the head
- Gather the tail of that section plus new hair below it
- Clip that new bundle tightly
- Repeat one more time at the nape
The three clips stack vertically. It mimics the woven look of a braid completely. I love doing this with three tortoiseshell clips for a cohesive look.
24. The Twin Space Buns
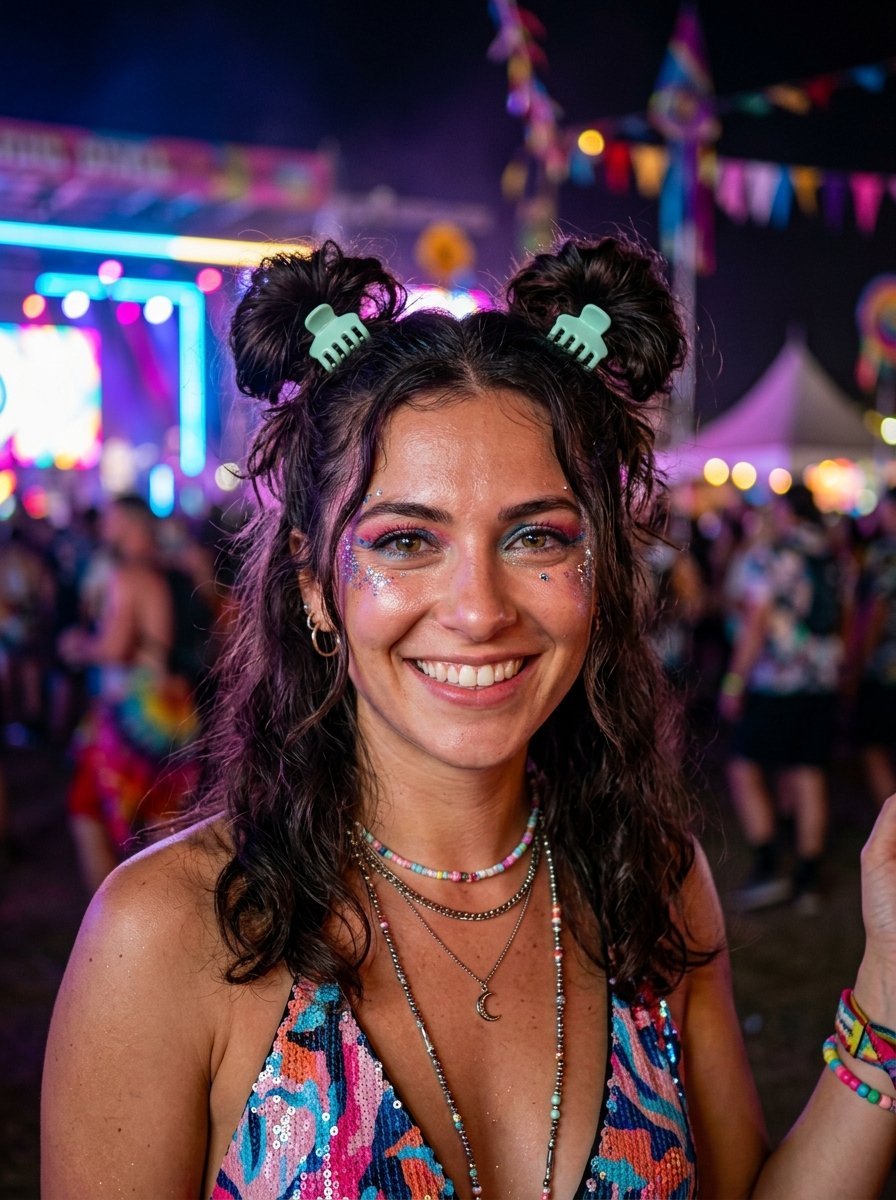
Space buns feel incredibly fun for festivals or weekend markets. I swapped elastics for matching mini clips. Elastics give me headaches when pulled that high. Clips apply zero pressure to the scalp.
- Part hair strictly down the middle
- Gather the left side high on the head
- Twist into a bun and clip it
- Repeat exactly on the right side
You get a playful symmetrical style in under a minute. The clips make the buns look chunkier. I get compliments on this look constantly.
Frequently Asked Questions
How do I stop my clip from sliding down?
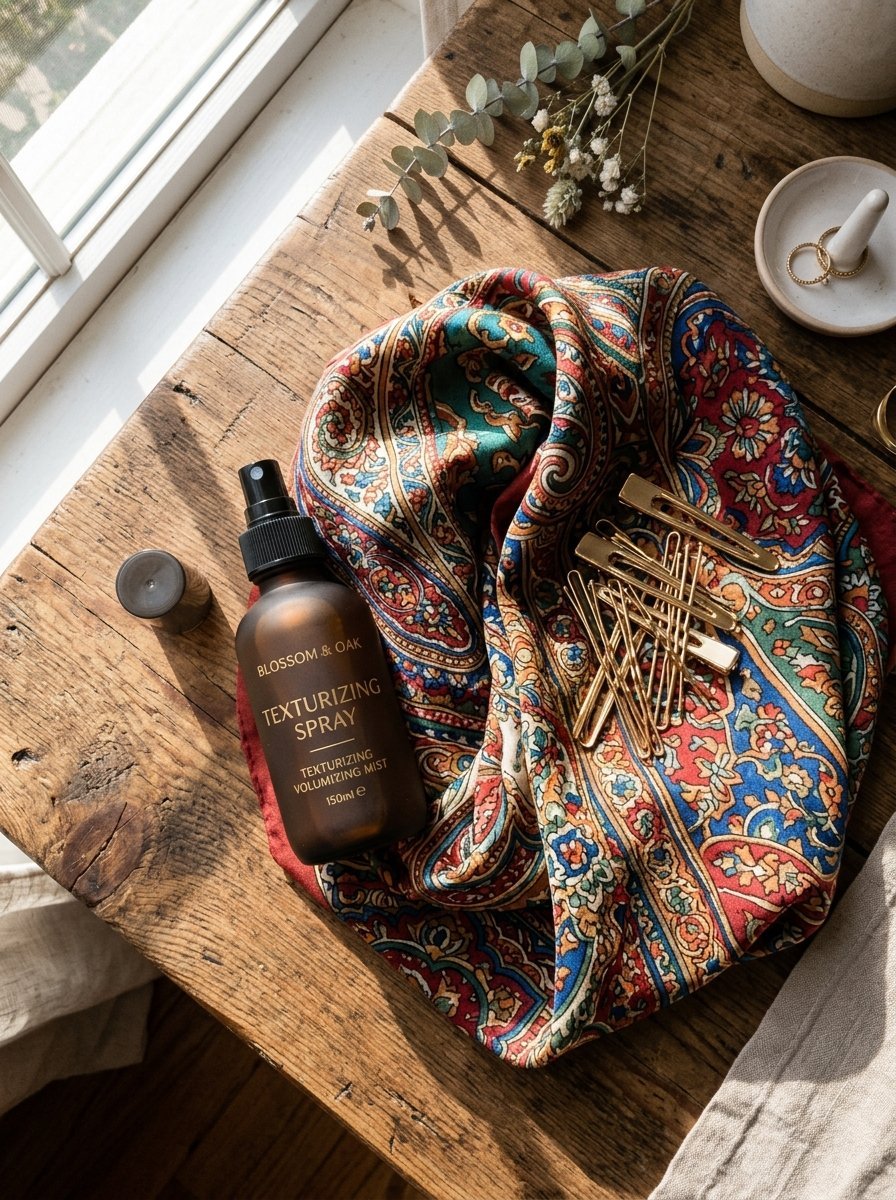
I always apply a dry texturizing spray before styling. Clean hair slips easily. The powder gives the teeth something to grip. You must also twist the hair tightly against the scalp. Loose twists fall flat instantly. I find that matte-finish clips slip far less than glossy ones.
Will wearing these cause hair breakage?
Metal clips can snap fragile ends if you pull too hard. I prefer rounded plastic teeth for daily wear. You should never force a small clip over a massive bundle of hair. Simply buy a jumbo size. The tension should feel distributed, not painful.
Can short bobs really hold up in a clip?
Yes. You just need a two-inch mini clip instead of a four-inch one. I grab only the top half of the hair for bobs. The bottom layers can hang freely. It looks entirely intentional. You can also stack three tiny clips vertically to grab shorter pieces at the neckline.
Wrapping Up
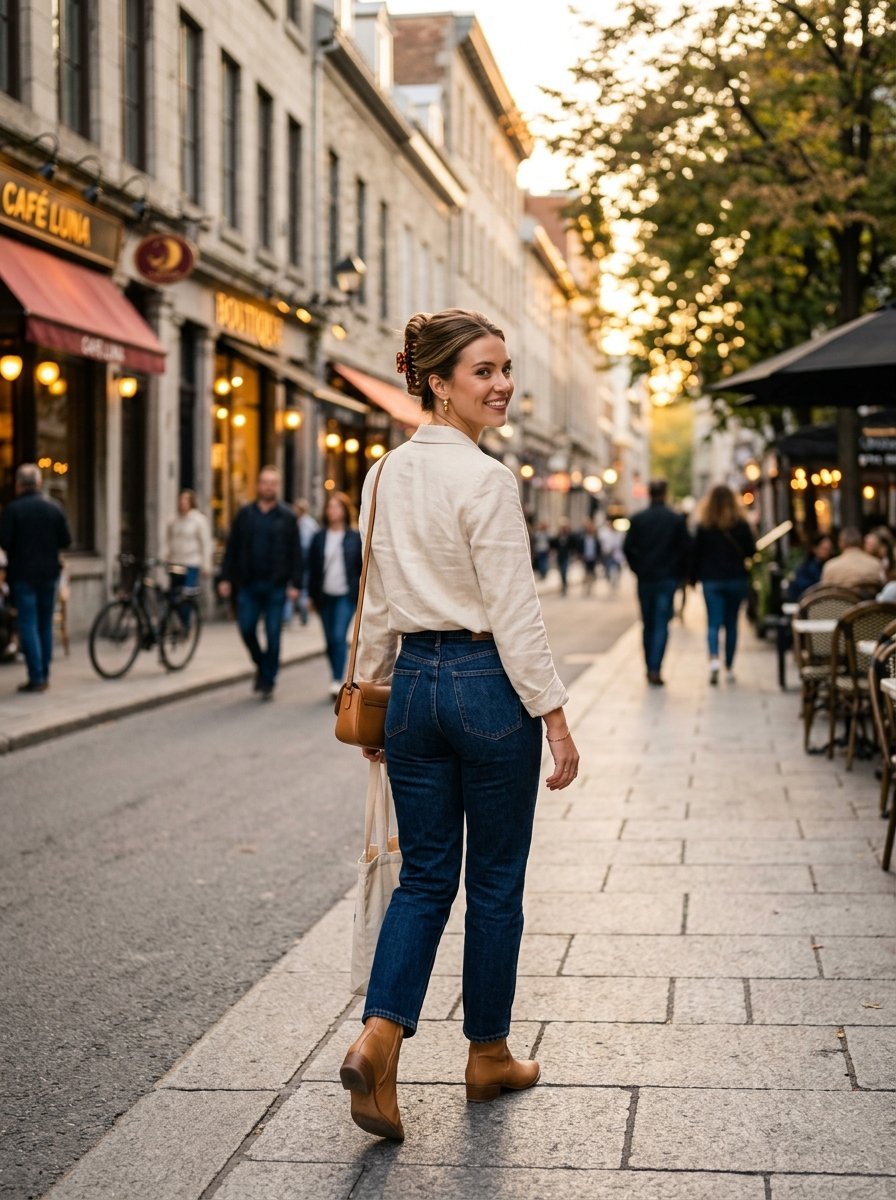
I threw away my stash of painful elastics last year. Hair clips changed how I get ready every morning. You save time while looking highly polished. Test a few different shapes and sizes. A heavy metal clip works completely differently than a lightweight acrylic one. Keep one in your purse and one on your desk. You never know when you will need to throw your hair up fast.

Sarah Mitchell — Founder & Editor-in-Chief
Sarah Mitchell is the founder and editorial voice behind Hair Level Up. A licensed cosmetologist with more than 15 years of experience, she has styled A-list celebrities for editorial shoots and red carpets, with work featured in Vogue, Elle, and Harper’s Bazaar. Early in her career, she trained under the legendary hairstylist Oribe in New York, an apprenticeship that still shapes her editorial eye today. Sarah founded Hair Level Up in 2020 after one bad haircut convinced her that women deserved a destination that felt like a magazine, taught like a stylist, and inspired like an art gallery. She oversees every story from concept to publication, guided by a simple belief: a good story teaches you something, but a great one makes you feel beautiful while it does.