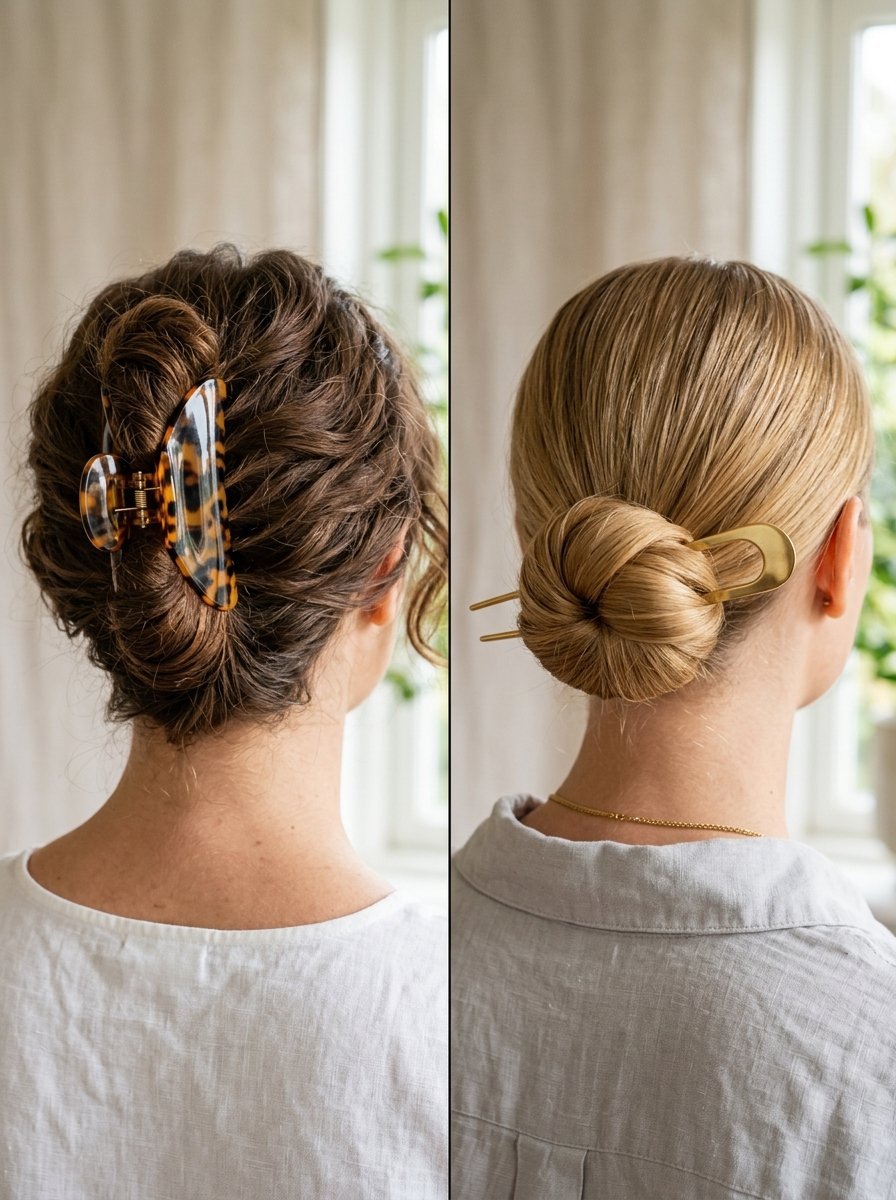
21 Bandana Hairstyles for Vintage and Modern Looks
Finding the right hair accessory changes your whole routine. A simple cloth square holds hair back beautifully. I have worn these styles for years. They fix messy hair instantly. I learned these tricks through trial and error. You will find exactly what you need here. This complete bandana hairstyle tutorial details 22 distinct ways to tie your hair. I use these styles during busy mornings. You can try them for formal events too. I noticed that simple folds save massive amounts of time. You just need a standard cloth and a few pins. This entire list provides highly actionable steps. I guarantee you will find a favorite look today.
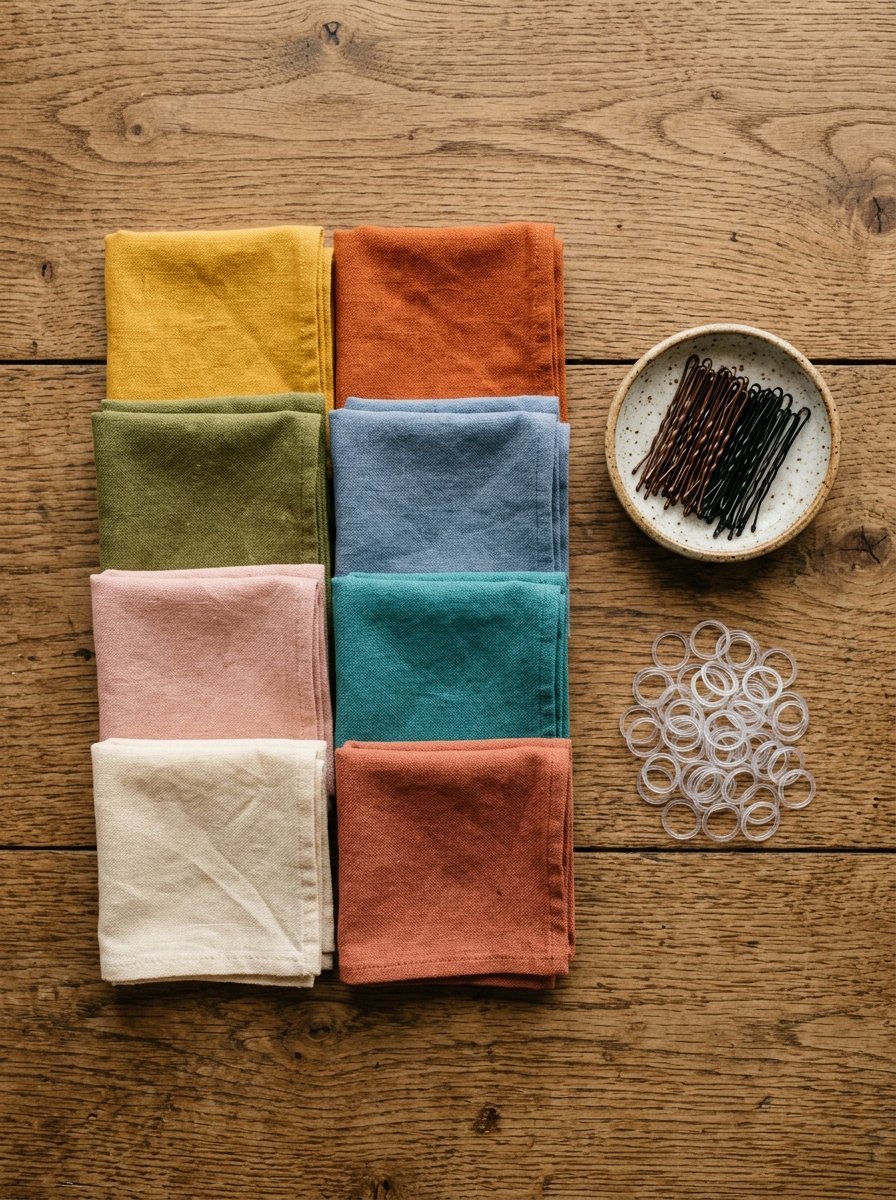
You will read about 22 specific hair tying styles. I outline the exact time required for each look. You will see which fabric materials hold up best. I explain common mistakes and how you avoid them. This post covers vintage folds and modern twists. You will master basic knots and advanced braids quickly. I share my exact pin placement tricks for thick hair. You get straight to the facts with zero fluff. Every step focuses on speed and strong hold. These styles cost almost nothing to create. You can test most of these looks in under five minutes.
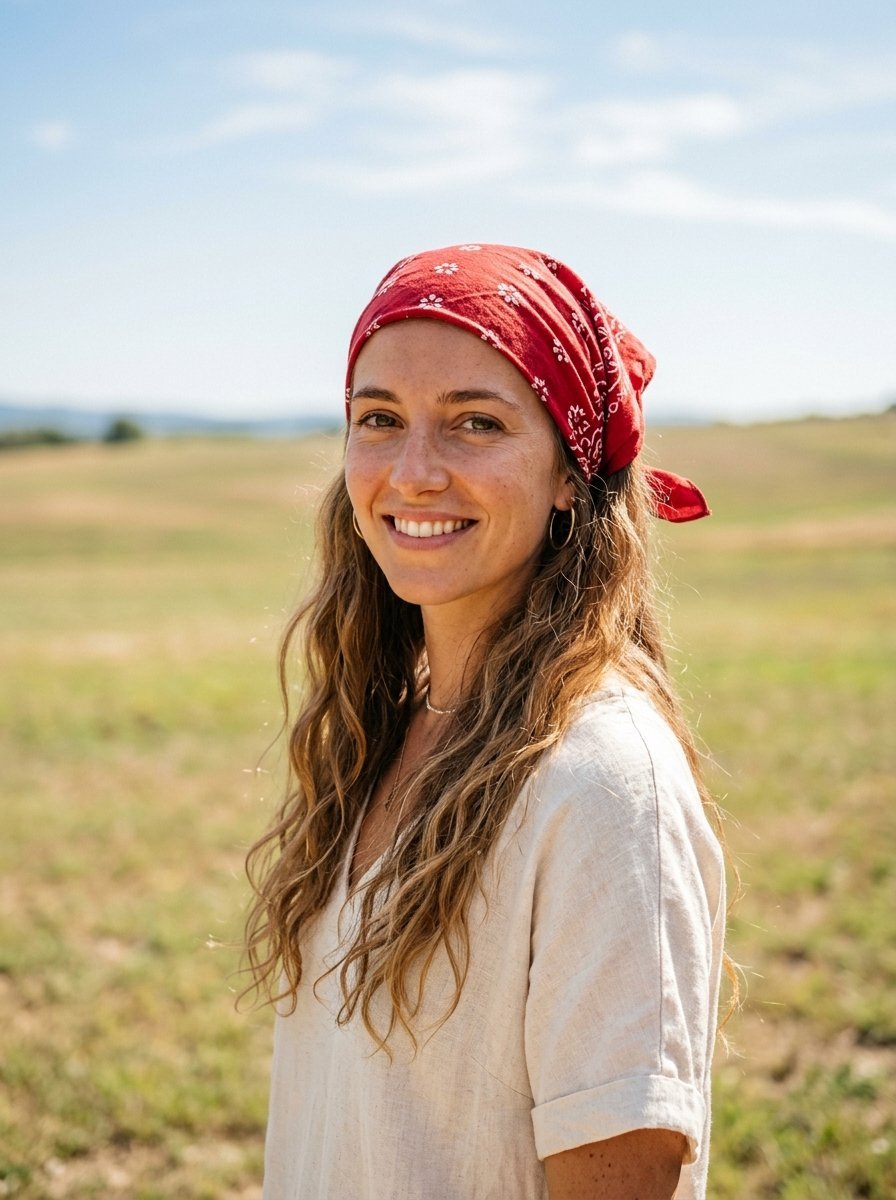
1. The Classic 90s Headscarf
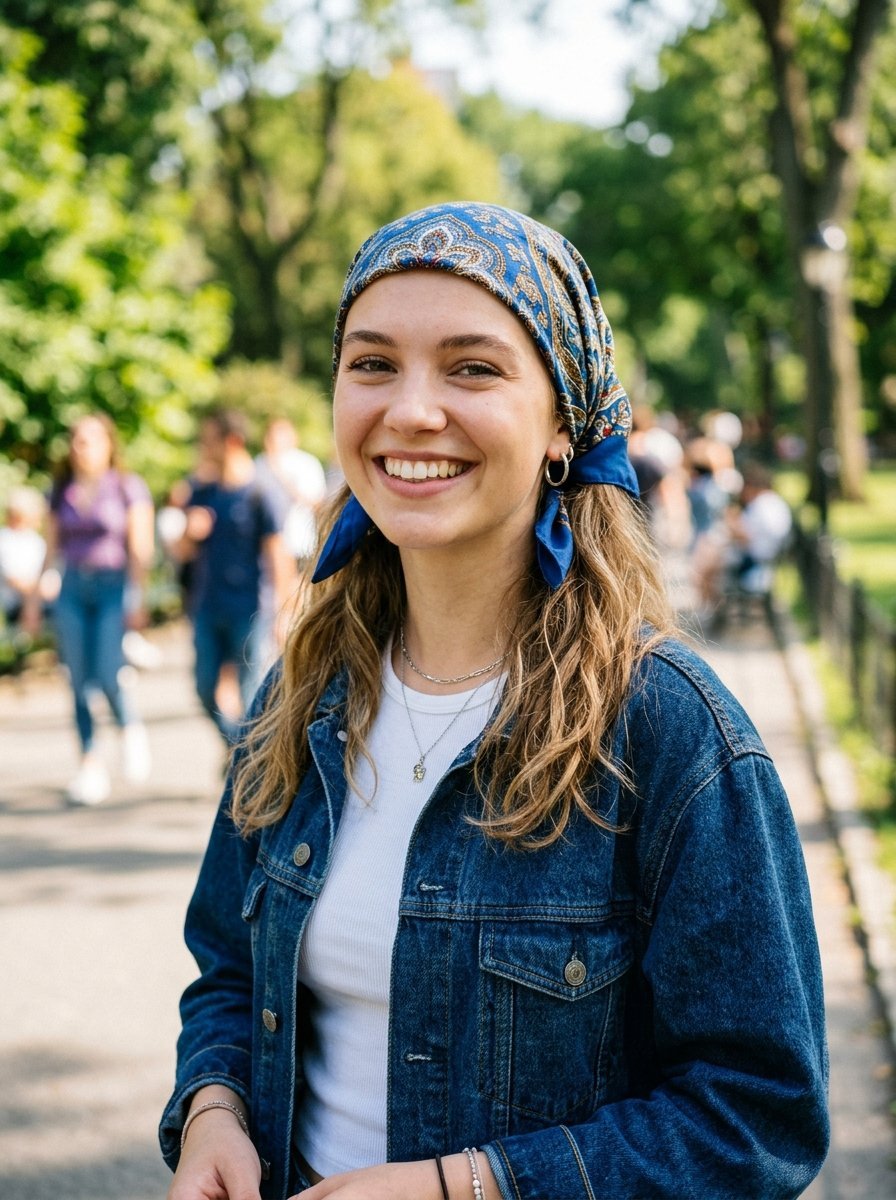
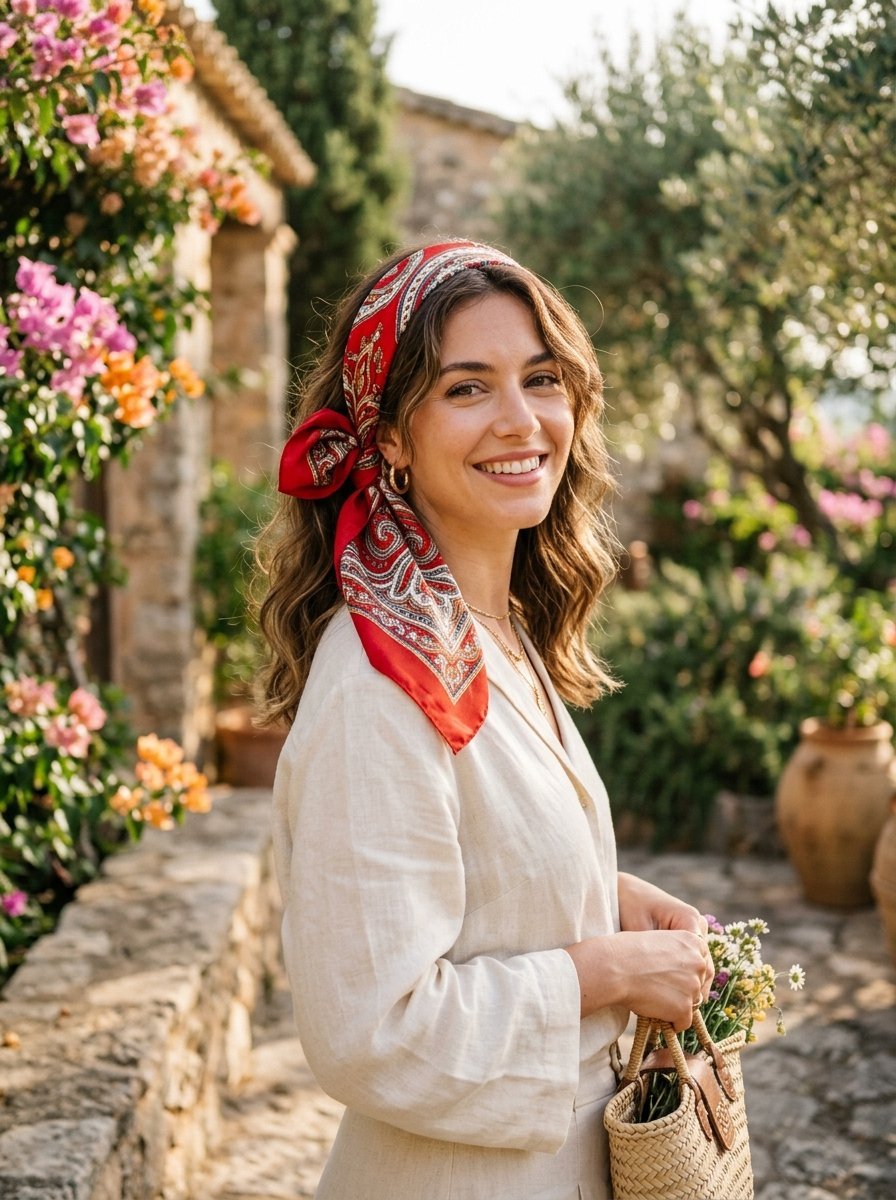
This look takes me straight back to my childhood. The 90s scarf hairstyles are everywhere right now. I have noticed many people struggling to keep the fabric from slipping. In my experience, you need to use two bobby pins right behind your ears. Fold your square fabric into a large triangle. Place the long folded edge against your hairline. Tie the two opposite ends tightly under your hair at the back of your neck. Let the third corner hang loose over your hair. This look takes about two minutes to complete. It pairs perfectly with denim jackets and white shirts. I tried this last weekend for a picnic. My hair stayed out of my face all afternoon. You will need a standard 22 inch square cloth. Cotton material grips your hair much better than silk for this specific style.
2. Twisted Crown Bandana Braid
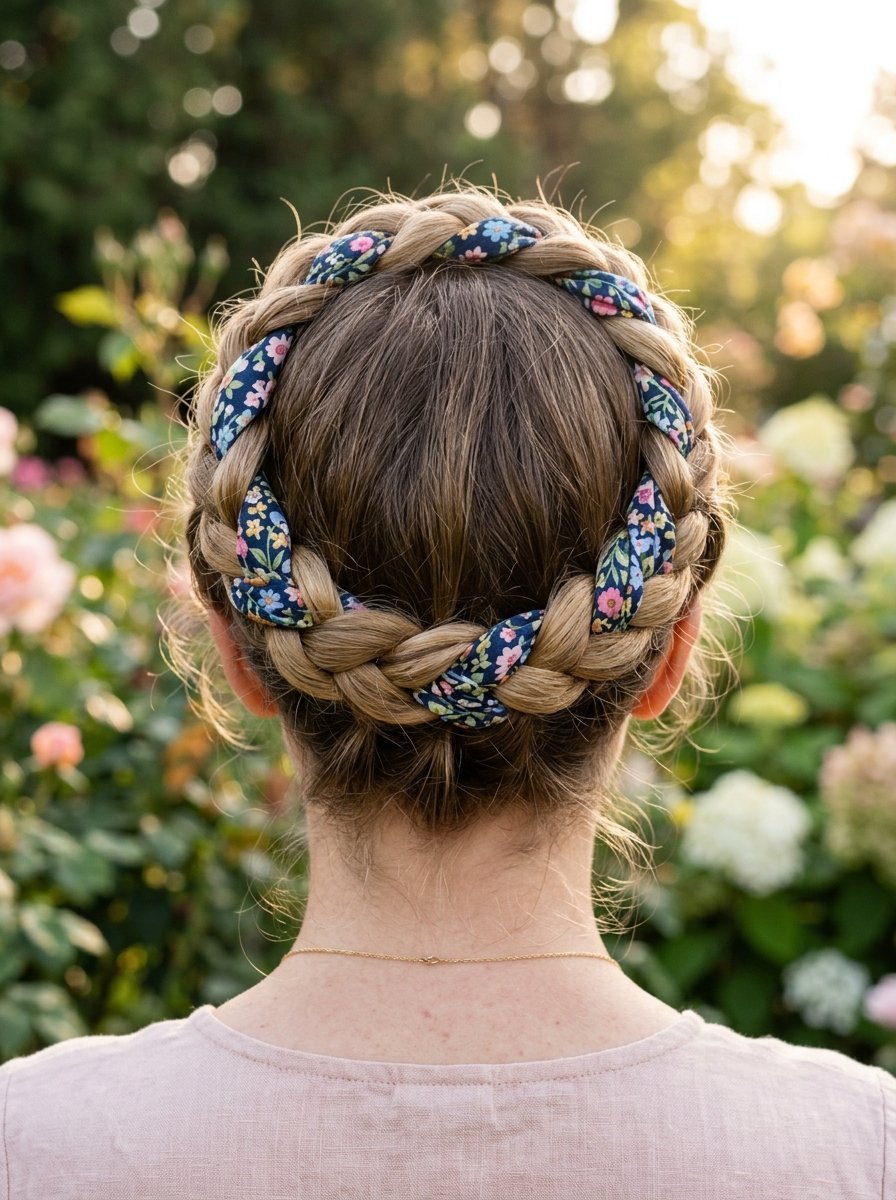
Bandana braid hairstyles look incredibly detailed but remain completely manageable. I have found this style works best on second day hair. Brush your hair thoroughly to remove all tangles. Tie your fabric into a thin strip. Place the center of the strip at the crown of your head. Pin it tightly in place. Divide your hair into two equal sections. Treat the fabric ends as the third strand of a standard braid. Braid down each side of your head. Wrap both braids around the back of your head like a halo. Fasten everything with small pins. I see many people fail by wrapping too loosely. Pull the fabric tight as you weave. This whole routine requires roughly eight minutes. I usually get compliments all day when I wear this. A floral print gives this a fresh earthy feel.
3. Half Up Half Down Tie
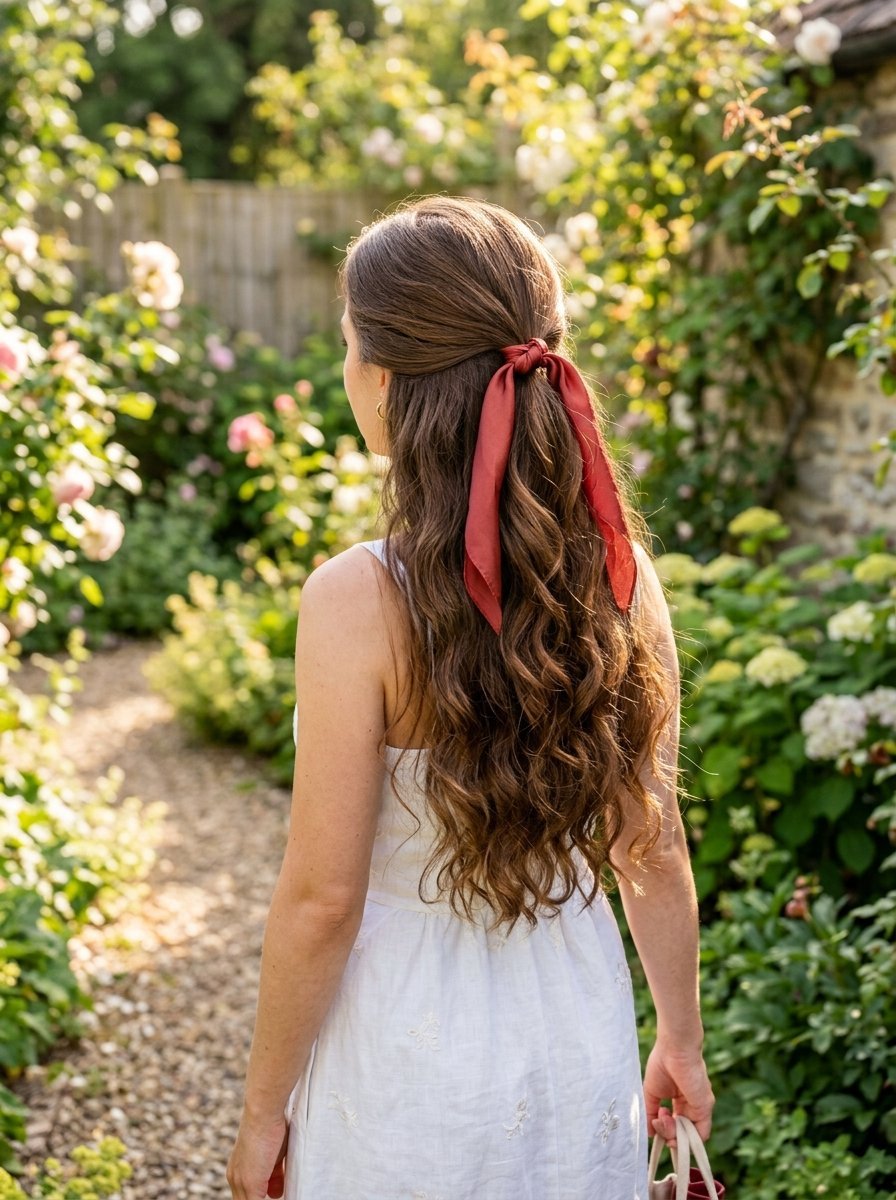
Half up half down bandana hairstyles give you the best of both worlds. You keep hair out of your eyes while showing off your length. I rely on this look during busy mornings. Gather the top section of your hair. Tie it into a small ponytail using a clear elastic band. Take a small brightly colored cloth and fold it into a thin rectangle. Wrap it around the elastic band twice. Knot it tightly on top. Let the ends drape naturally alongside your loose hair. I prefer silk for this specific look. The fabric falls smoothly against your natural hair. You only need about three minutes to finish this. It matches perfectly with flowy summer dresses. I often wear this to outdoor concerts. The gentle breeze makes the fabric flutter beautifully.
4. Messy Top Knot Fabric Wrap
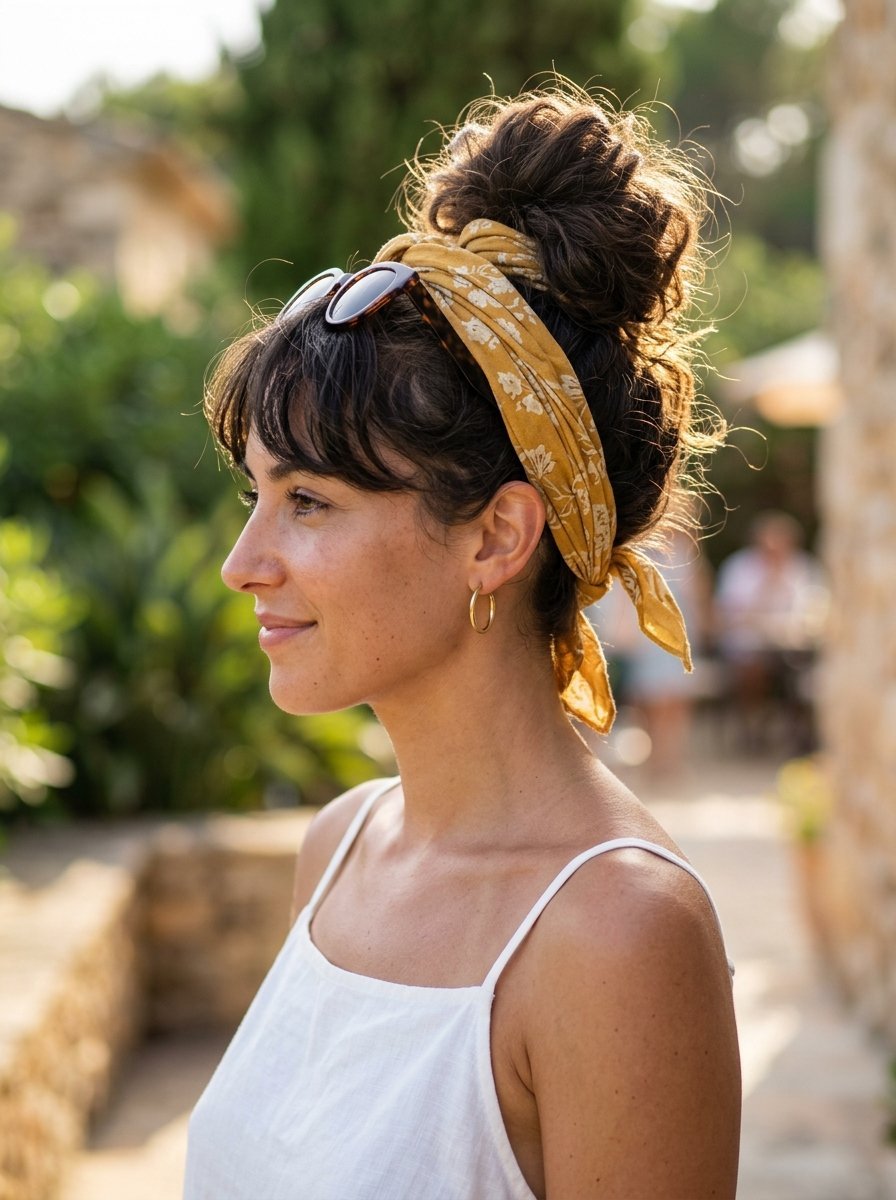
Womens bandana hairstyles often prioritize speed and comfort. This messy top knot delivers both in under four minutes. I flip my head upside down to gather all my hair. Twist everything into a high bun right on top of your head. Tie it with a thick hair band. Fold your cloth diagonally into a two inch band. Wrap it around the base of your bun. Tie a tight double knot at the front or the back. I usually let a few face framing pieces fall loose. This softens the entire look. In my experience, a slightly dirty top knot holds the heavy fabric much better. Clean hair slips too easily. This style saves me when I skip wash day. Pair it with oversized sunglasses for an effortless vibe.
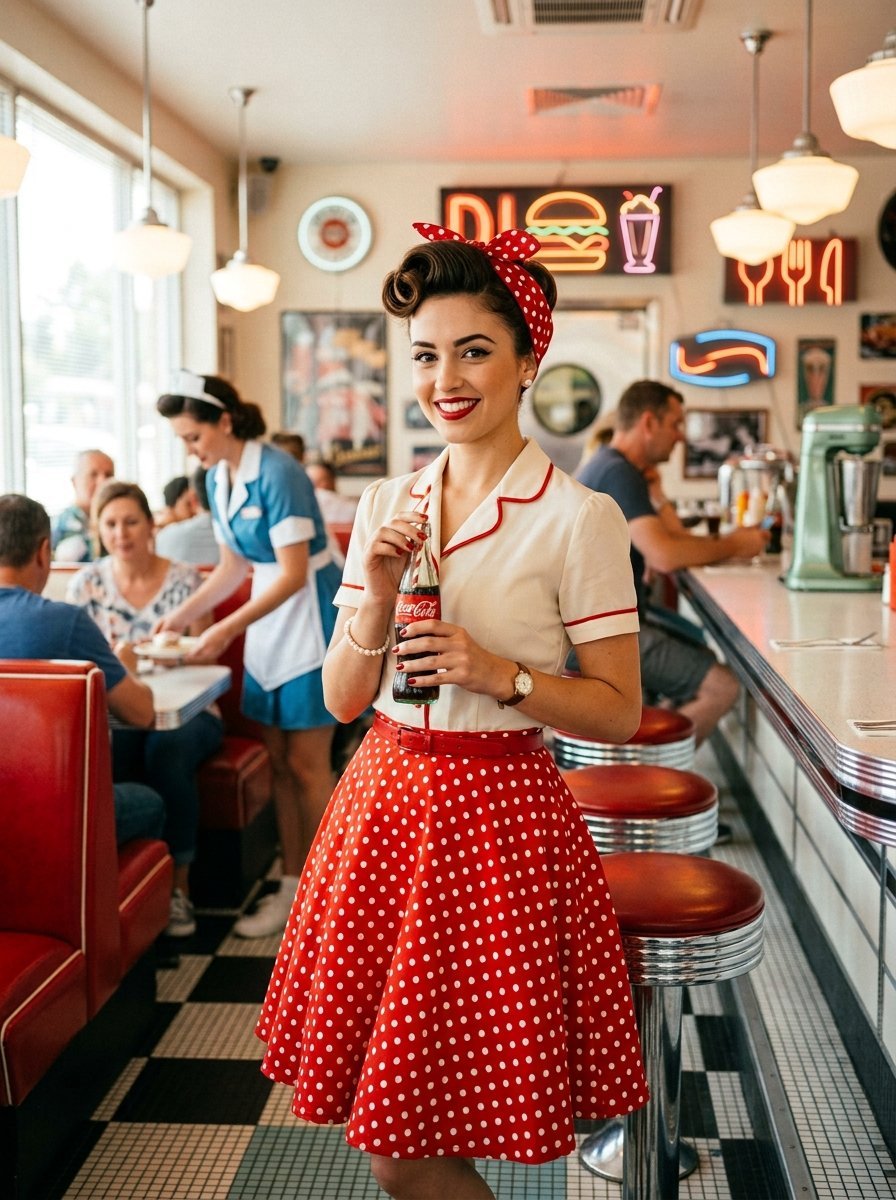
5. The Rosie the Riveter Vintage Fold
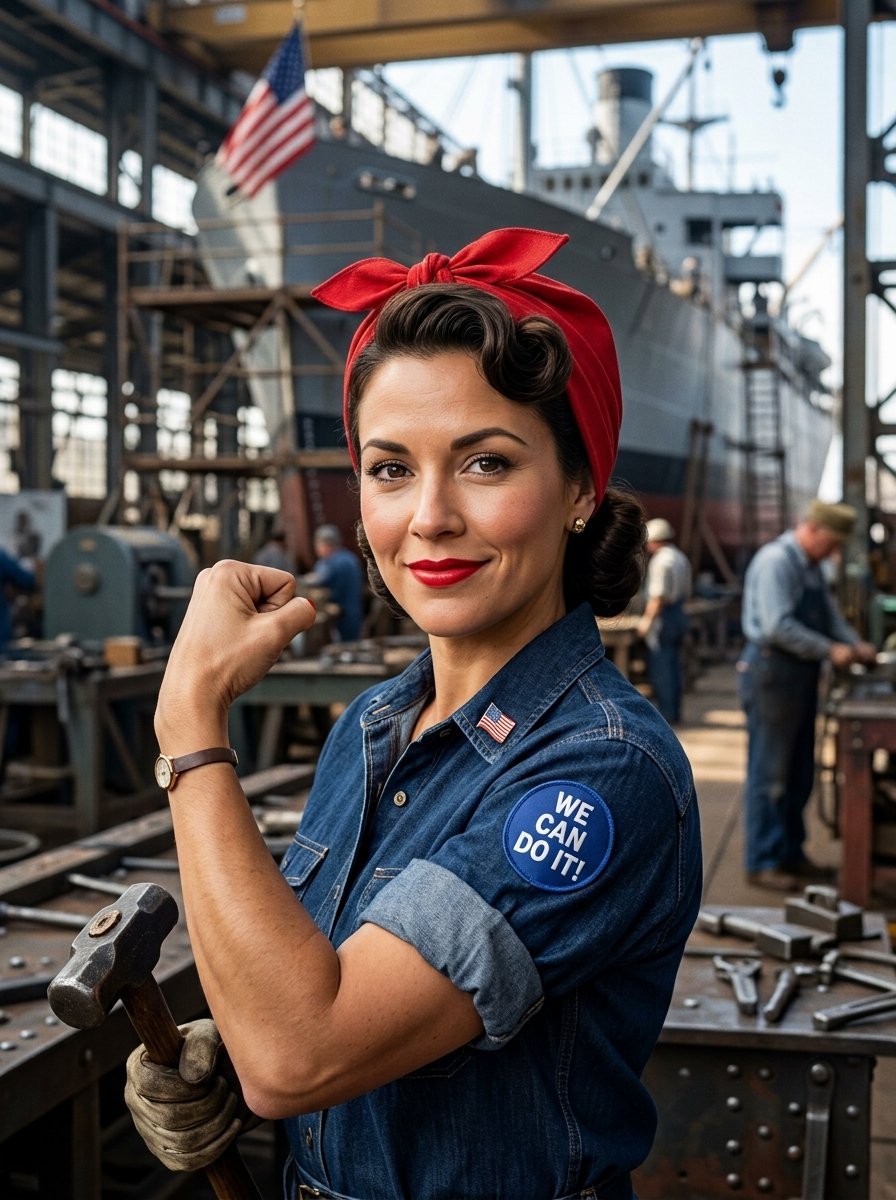
This iconic look screams vintage confidence. You will need a bright red cloth for the authentic feel. Pull all your hair up into a messy bun or French twist. Pin everything tightly at the back of your head. Fold the square into a triangle. Roll it tightly from the wide base up to the point. Wrap the rolled fabric around the back of your head near your neck. Bring the two ends up to your crown. Tie a crisp knot slightly off center. I have noticed that adding a little hairspray to the knot stops it from untying. This style takes about five minutes. It completely changes a simple jeans and tee shirt outfit. I wore this to a retro car show last year. The fabric kept my hair perfectly in place.
6. Low Ponytail Scarf Ribbon

Bandana scarf hairstyles do not have to be complicated. This low ponytail variation looks incredibly polished. Brush your hair back into a sleek low ponytail at the nape of your neck. Tie it tightly with a strong elastic. Fold your cloth diagonally until it forms a thin ribbon shape. Tie it directly over the elastic band. Let the long ends hang evenly down your back. I strongly prefer satin material for this specific trick. The shiny texture catches the light beautifully. I have seen this work perfectly in professional office settings. It elevates a basic look in roughly two minutes. You can match the fabric color to your shoes or handbag. I tried this yesterday with a navy blue silk square. It looked instantly put together with zero effort.
7. Summer Beach Headband Twist
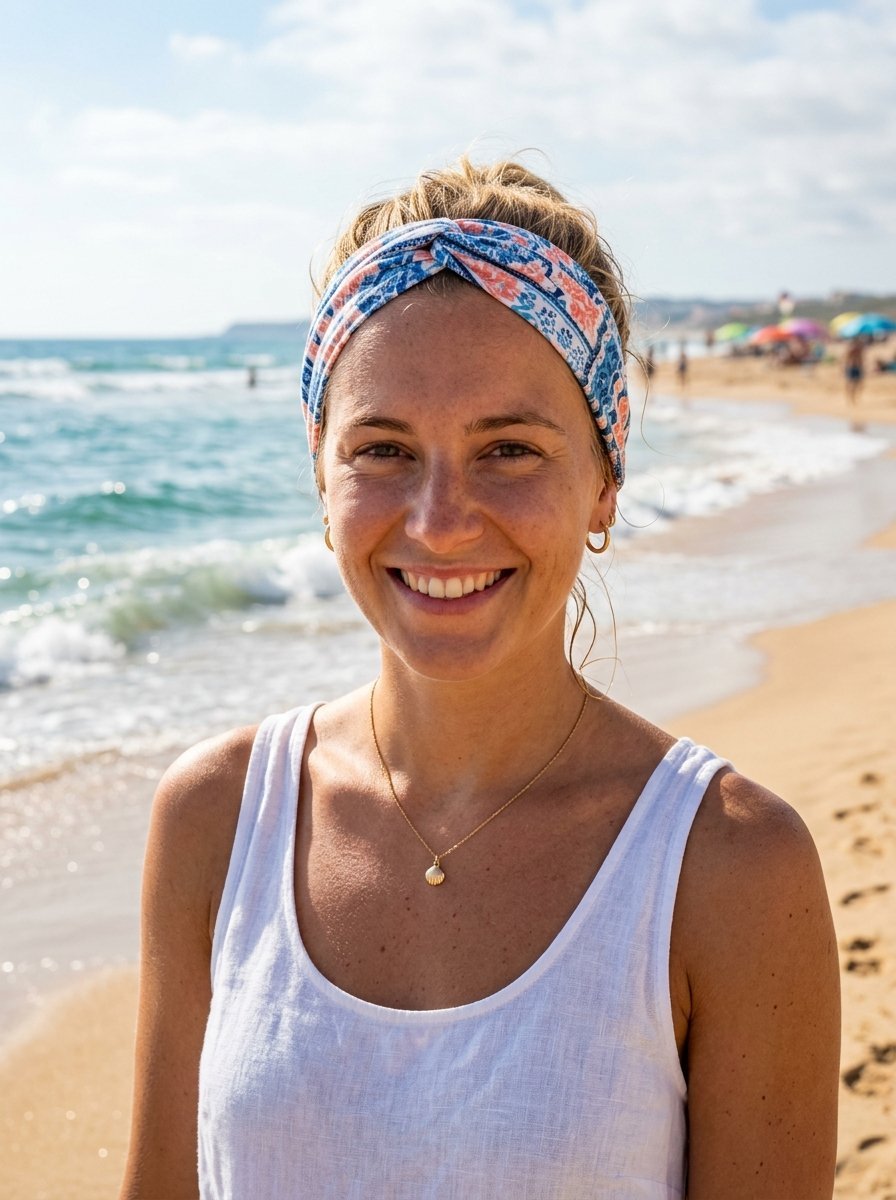
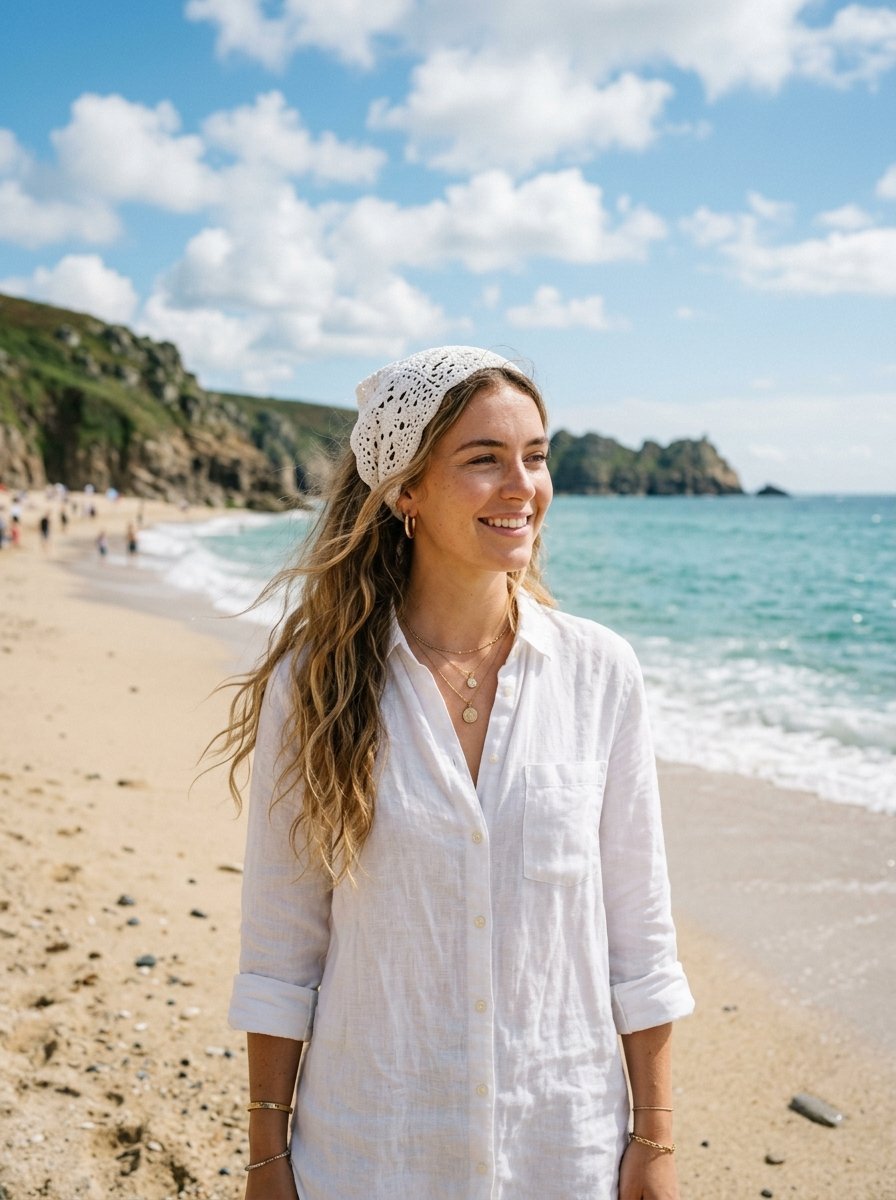
Summer bandana hairstyles must withstand heat and humidity. I lean on this simple twist when temperatures rise. Leave your hair completely down. Fold your square cloth into a flat three inch band. Place the center of the band at the nape of your neck beneath your hair. Bring both ends up to the top of your head. Twist the two ends around each other twice. Pull them back down and tie them under your hair. This creates a turban style knot on top. I find this keeps sweat away from my forehead perfectly. It takes only three minutes to construct. The fabric absorbs moisture while looking incredibly cute. I always pack a cotton square in my beach bag. It tames frizzy hair instantly after swimming in the ocean.
8. Boho Braided Pigtails with Fabric
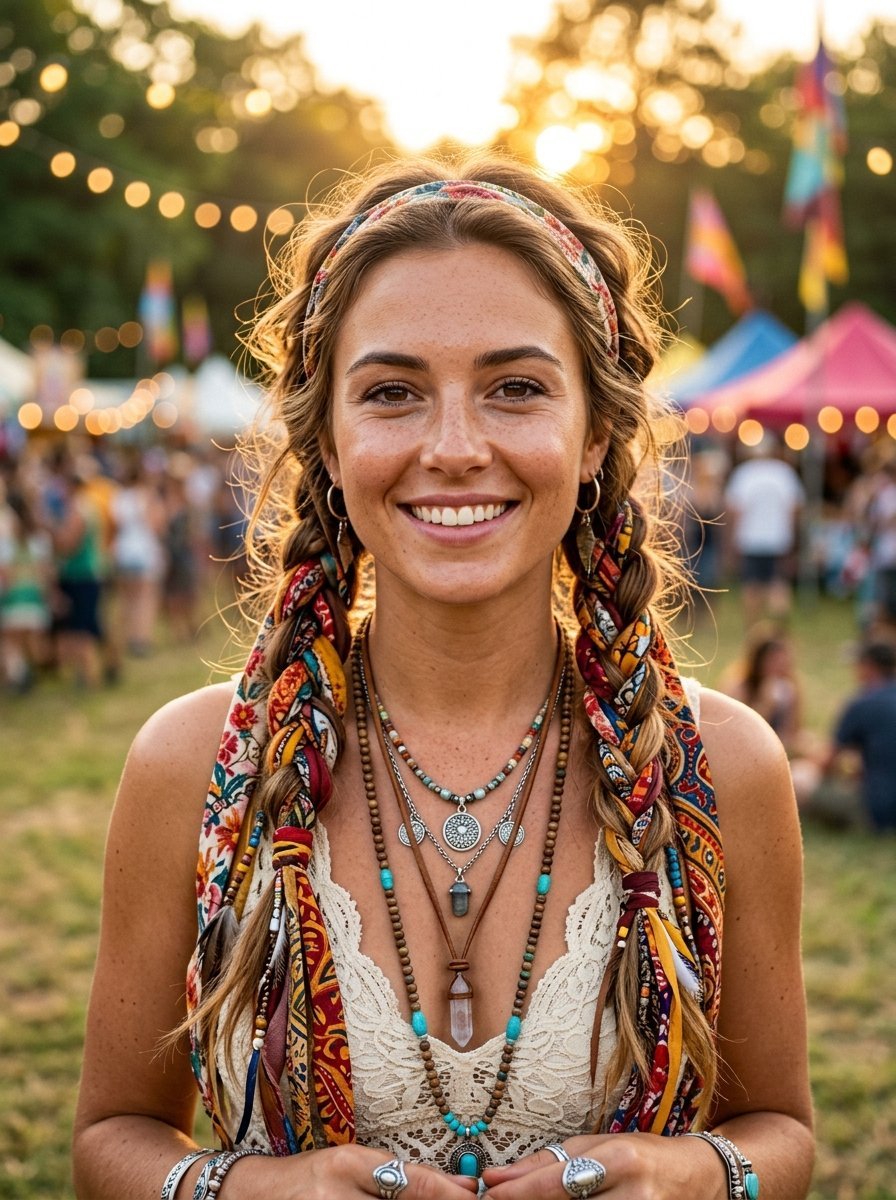
This look brings a playful bohemian energy to any outfit. Part your hair straight down the middle into two sections. Fold two small square cloths into thin strips. Tie one strip to the root of each pigtail section. Braid the fabric directly into the hair. Treat the cloth strip as one of your three hair sections. Tie the ends with tiny clear elastics. I have noticed this makes thin hair look much thicker. The fabric adds instant volume to your braids. This style requires about ten minutes. You need some patience to keep the tension even. I wore this to a weekend music festival recently. My hair stayed perfectly in place for twelve hours straight. Use contrasting fabric colors for a bold artistic appearance.
9. Silk Square Choker Wrap
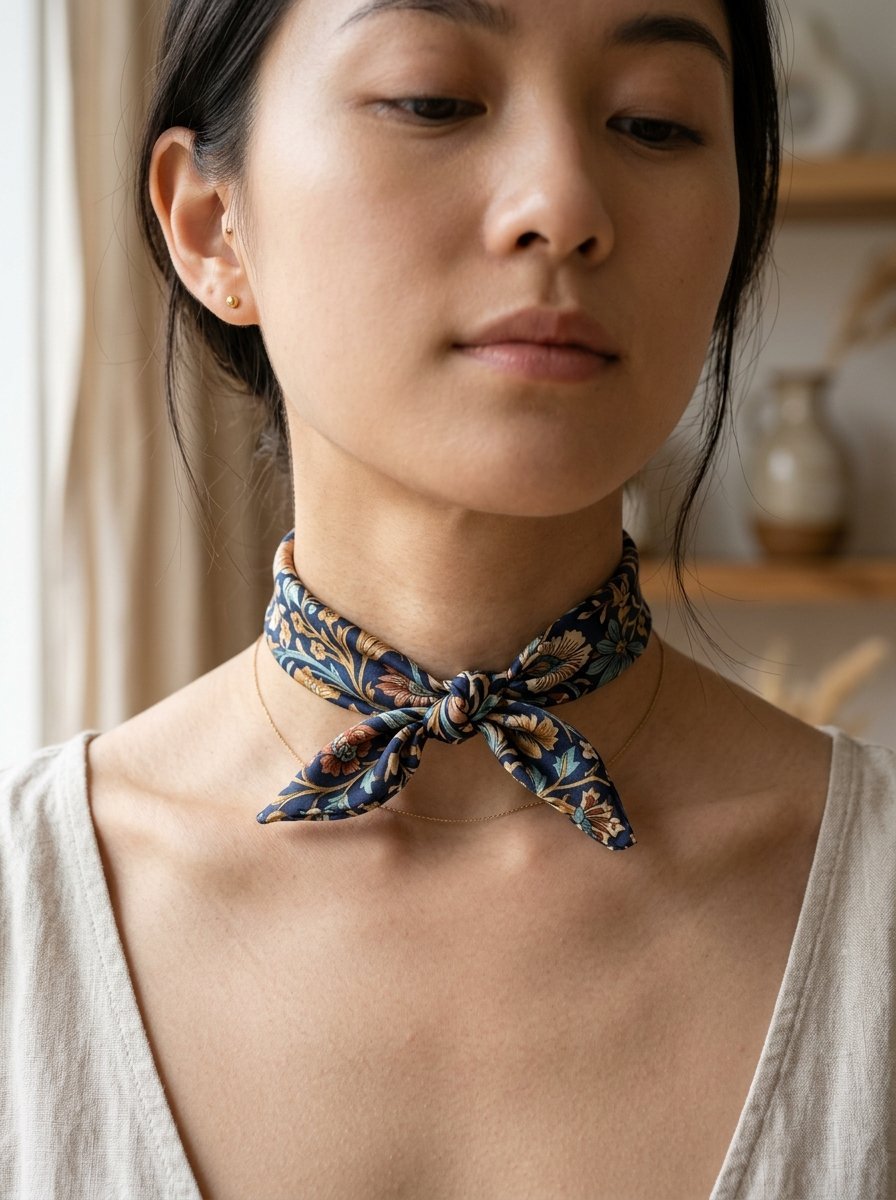
A cohesive hair scarf styles outfit requires matching accessories. Sometimes I wear the fabric around my neck instead of my head. Fold a small silk square into a thin band. Wrap it snugly around your neck like a choker. Tie a tiny neat knot on the side. Pull your hair back into a sleek bun. This draws all the attention to the colorful fabric at your collarbone. I find this look feels incredibly chic and European. It takes less than two minutes. I love using pure silk for this. Cotton feels too bulky and hot around the neck. I paired a floral silk choker with a white linen dress last Tuesday. The combination looked instantly expensive and intentional.
10. Quick Messy Bun Cover
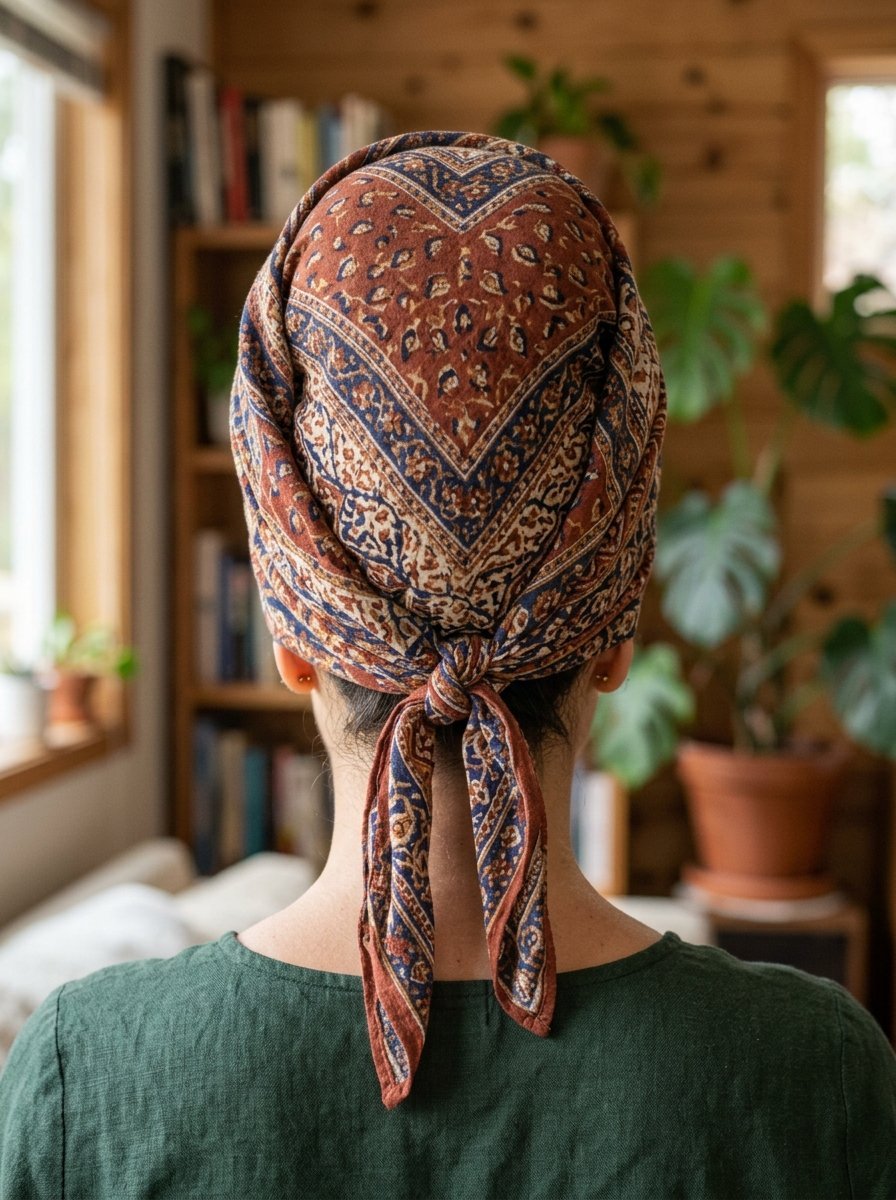
Sometimes you just need to hide your roots. Head handkerchief hair scarfs excel at covering bad hair days completely. Gather your hair into a very high loose bun. Fold a large square cloth in half to form a triangle. Place the straight edge across your forehead. Pull the triangle point over your bun toward the back. Wrap the two long ends around the base of your bun. Tie them tightly over the triangle point to hold it. I rely on this when I lack time to wash my hair. It takes three minutes and hides everything. I have noticed oversized cotton squares work best here. Small silk squares slip off the bun too easily. This look saves me during unexpected video calls.
11. The Classic Babushka Under Chin Tie
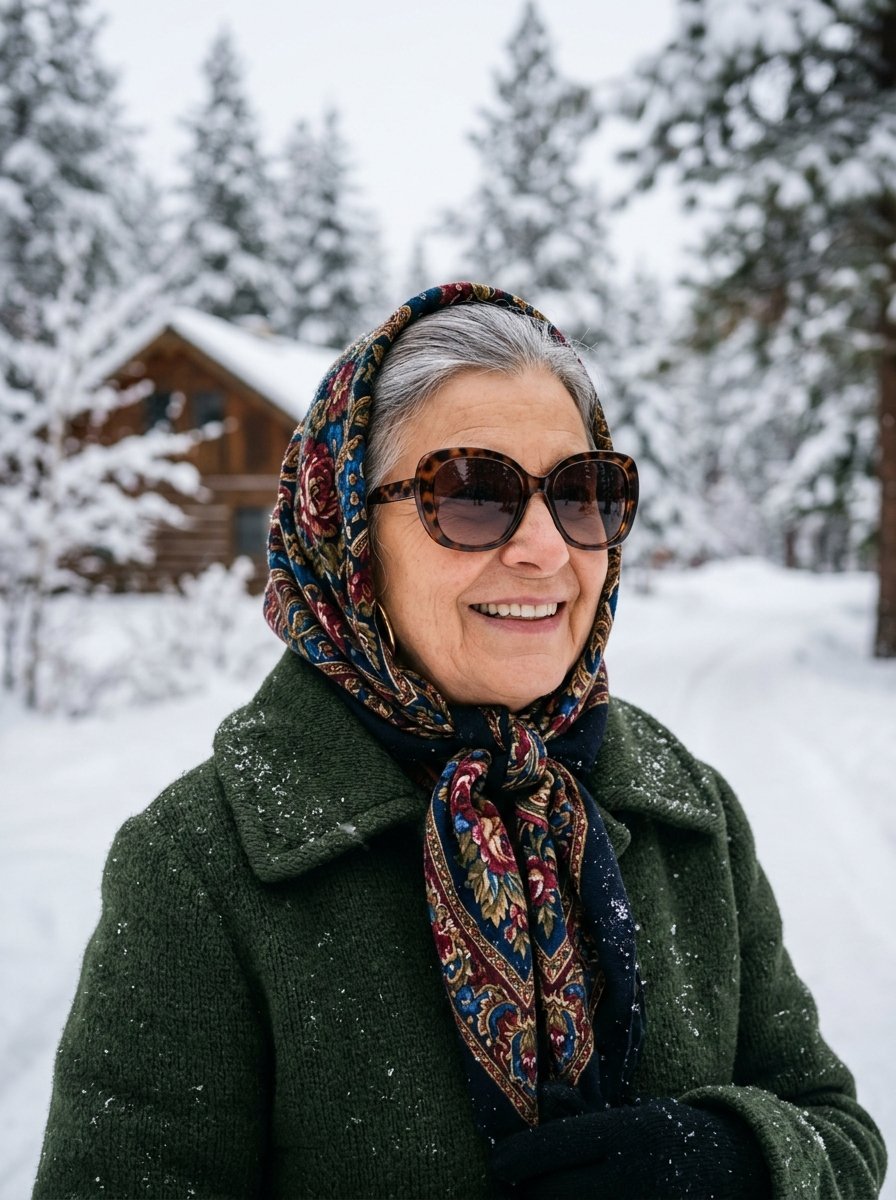
This retro style completely protects your hair from weather. I wear this outside when the wind blows hard. Fold your square cloth into a large triangle. Drape the folded edge loosely over the top of your head. Pull the two ends tightly down under your chin. Tie a tight double knot beneath your jaw. The fabric forms a protective hood over your hair. It requires barely one minute to put on. I love how this framing highlights the cheekbones. It gives off a glamorous old Hollywood vibe. Pair it with large dark sunglasses. I tried this last winter with a thick wool square. It kept my ears warm while maintaining my blowout flawlessly.
12. Retro Victory Rolls with Scarf
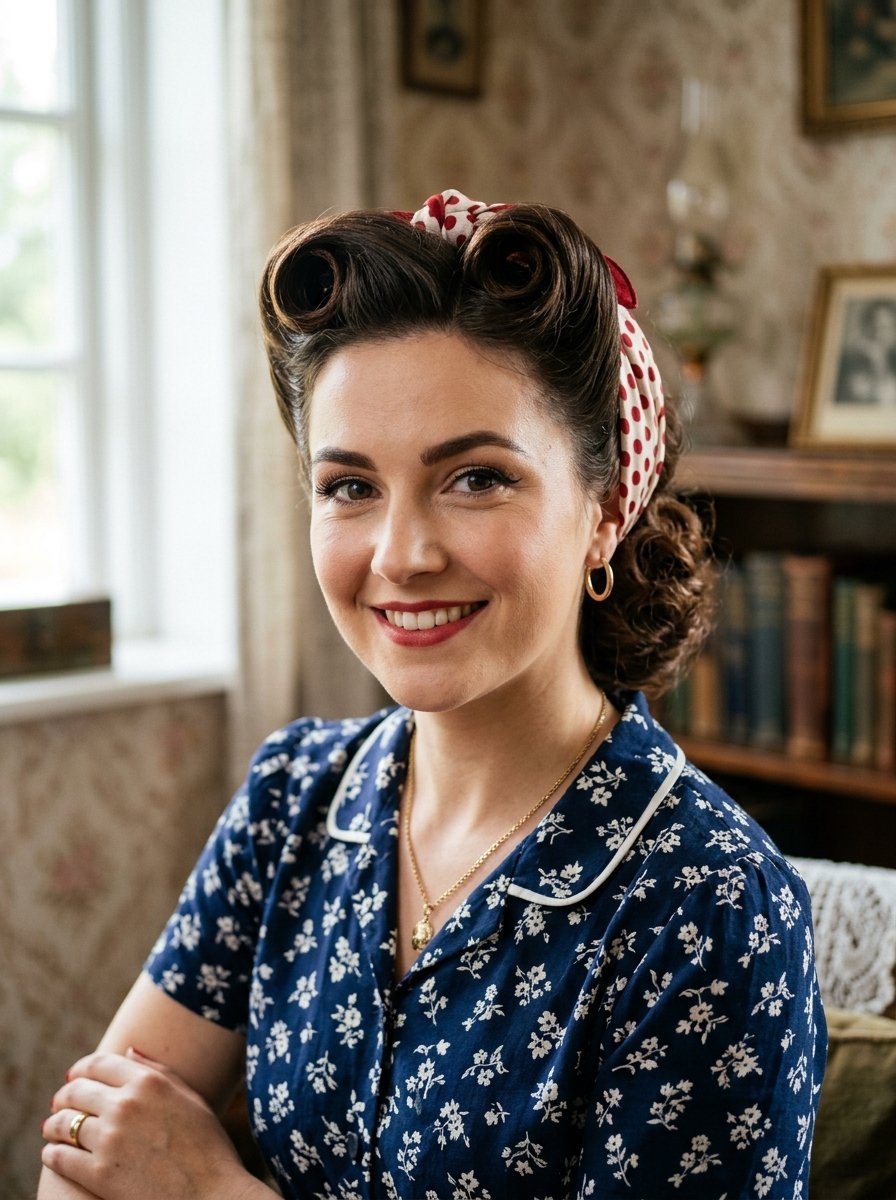
Vintage lovers will adore this authentic styling trick. You need heat styling tools and a bit of patience. Part your hair heavily to one side. Curl the front sections upward and pin them into hollow rolls. Pin the rolls tightly to your scalp with bobby pins. Fold your cloth into a wide band. Wrap it around the back of your head and tie it right behind the rolls. The fabric pushes the rolls forward and defines their shape. I have seen this take at least twenty minutes. You must practice the rolling trick beforehand. I always use strong hold hairspray. I wore this to a costume party and won first prize. The bright fabric makes the structured hair pop beautifully.
13. Simple Neck Tie to Hairband Conversion
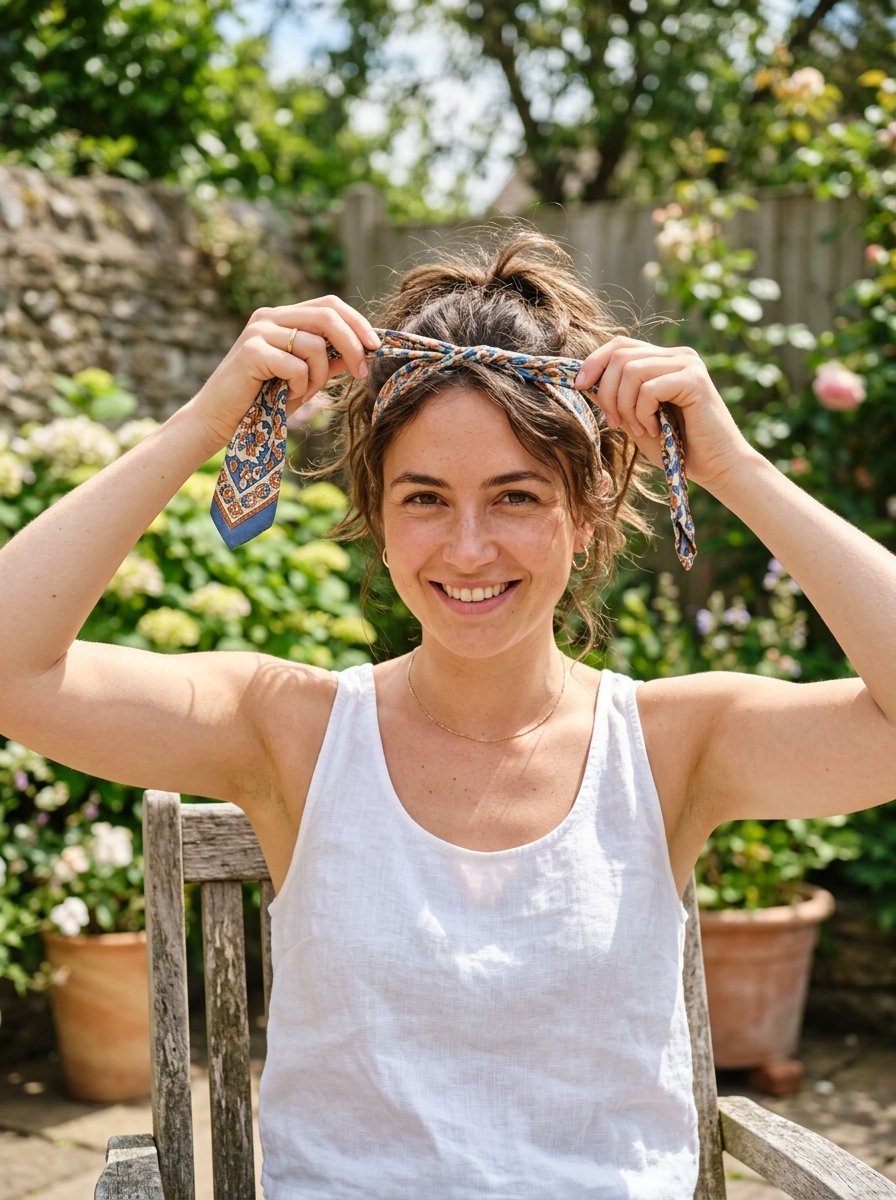
This quick style switches easily from your neck to your hair. Start your day with a small silk square tied tightly around your neck. When the afternoon heat hits you just untie the knot. Fold it flat. Push your hair straight back off your face. Tie the fabric around your head just behind your ears. Let the ends dangle freely under your hair. I do this almost every single day in July. It takes thirty seconds to transition. I noticed it instantly changes my entire outfit. You get two completely different looks in one single day. A bright yellow or red fabric completely brightens up a neutral shirt. Just keep a few extra bobby pins in your pocket.
14. High Ponytail Wrap Base
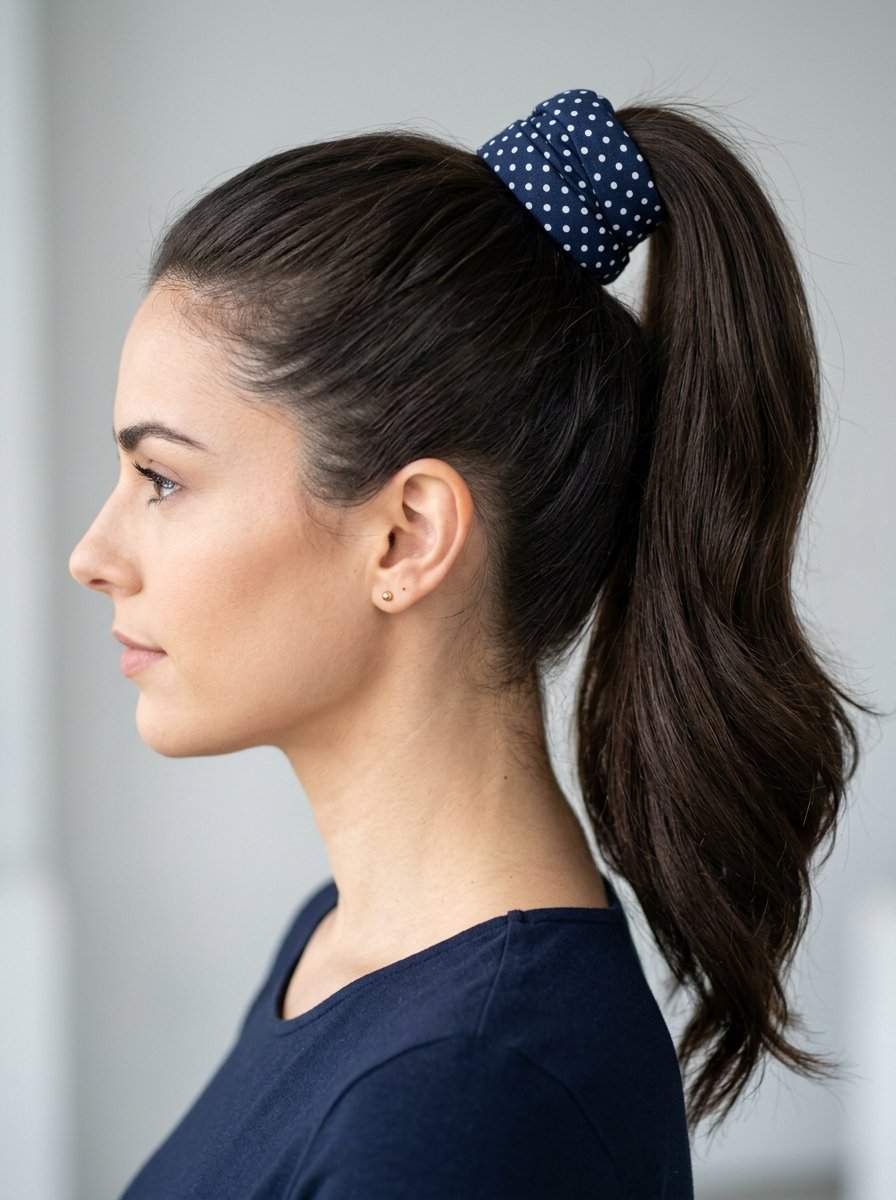
A basic high ponytail gets an instant visual upgrade with this trick. Pull your hair up to the very crown of your head. Tie it with a thick heavy duty elastic. Fold a brightly colored square into a thick triangle. Wrap the fabric around the elastic band three times. Tie it in a large floppy knot at the front. The fabric completely hides the elastic and lifts the ponytail higher. I find this takes less than two minutes. I regularly use this to hide greasy roots. It visually distracts the eye away from your scalp. I matched a red polka dot cloth with a plain black dress yesterday. The single pop of color changed the entire outfit.
15. Triangle Fold Forehead Band
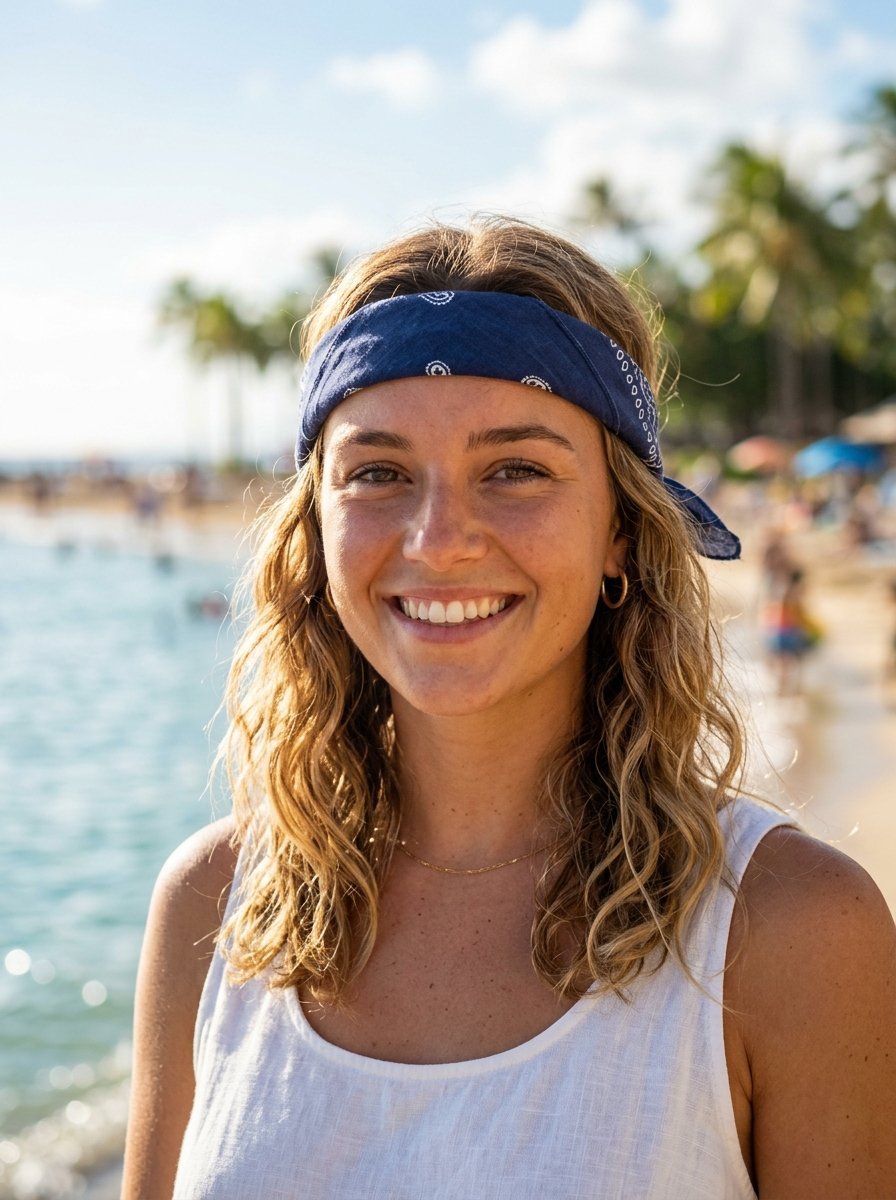
This youthful look sits flat against the forehead for a carefree vibe. Fold your square right in half diagonally. Place the folded edge flat across the middle of your forehead. Tie the two ends tightly at the very back of your head over your hair. Let the remaining triangle point hang down your back. I have seen this style look best with loose beachy waves. It requires about one minute to tie. I strongly prefer soft cotton for this. Silk slides right off the forehead within minutes. I wore this style heavily during my college days. It reliably keeps hair completely out of your eyes. You can instantly wash the cloth when it absorbs forehead sweat.
16. Double Space Buns with Mini Scarves
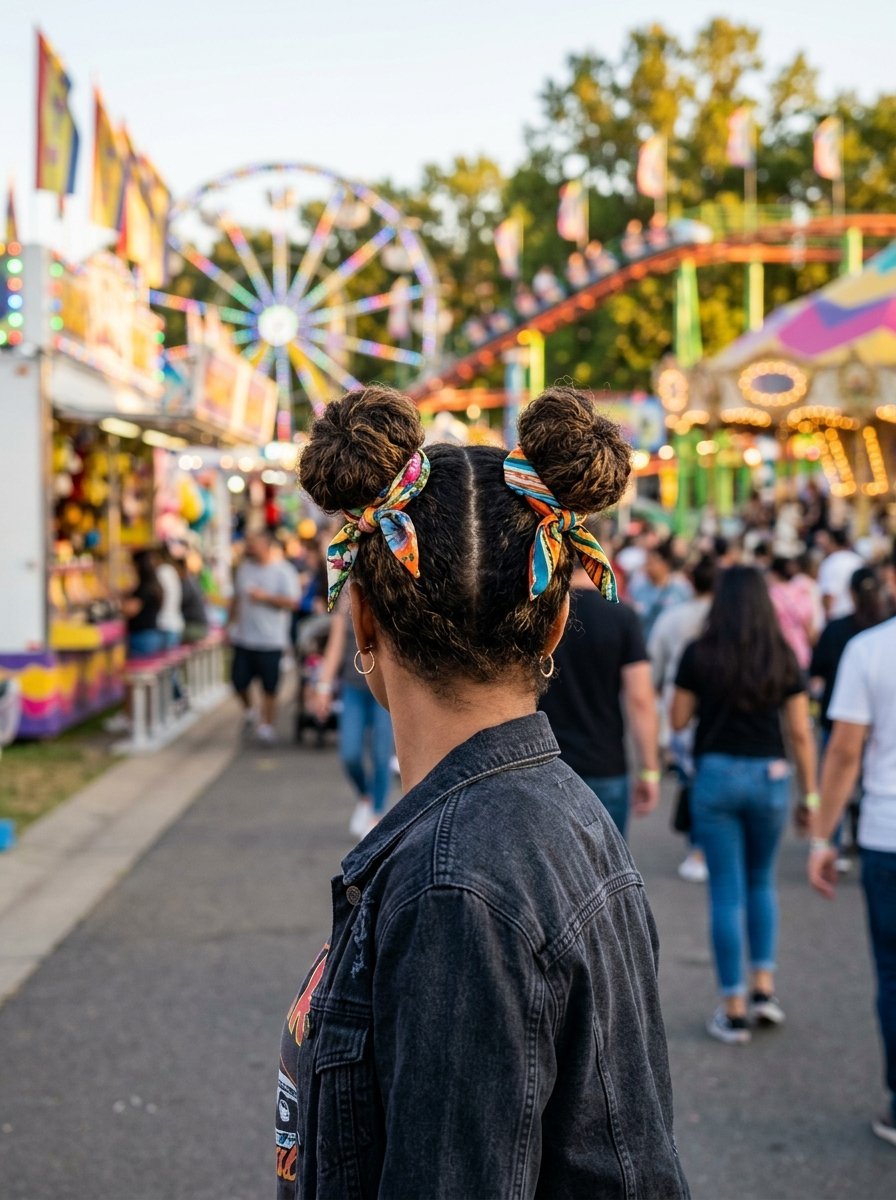
This fun style requires two small identical pieces of fabric. Part your hair down the center into two sections. Twist each section into a high bun on top of your head. Tie both buns with strong elastic bands. Fold your small cloths into thin strips. Tie one strip tightly around the base of each bun. Leave the short ends sticking out playfully. I find this look takes about seven minutes. It brings massive energy to a casual weekend outfit. I have noticed kids and teenagers love this specific look. I wore this to an amusement park last month. The tight buns survived multiple roller coasters without falling apart. The matching fabrics make the messy buns look perfectly planned.
17. Sleek Low Bun Scarf Cover
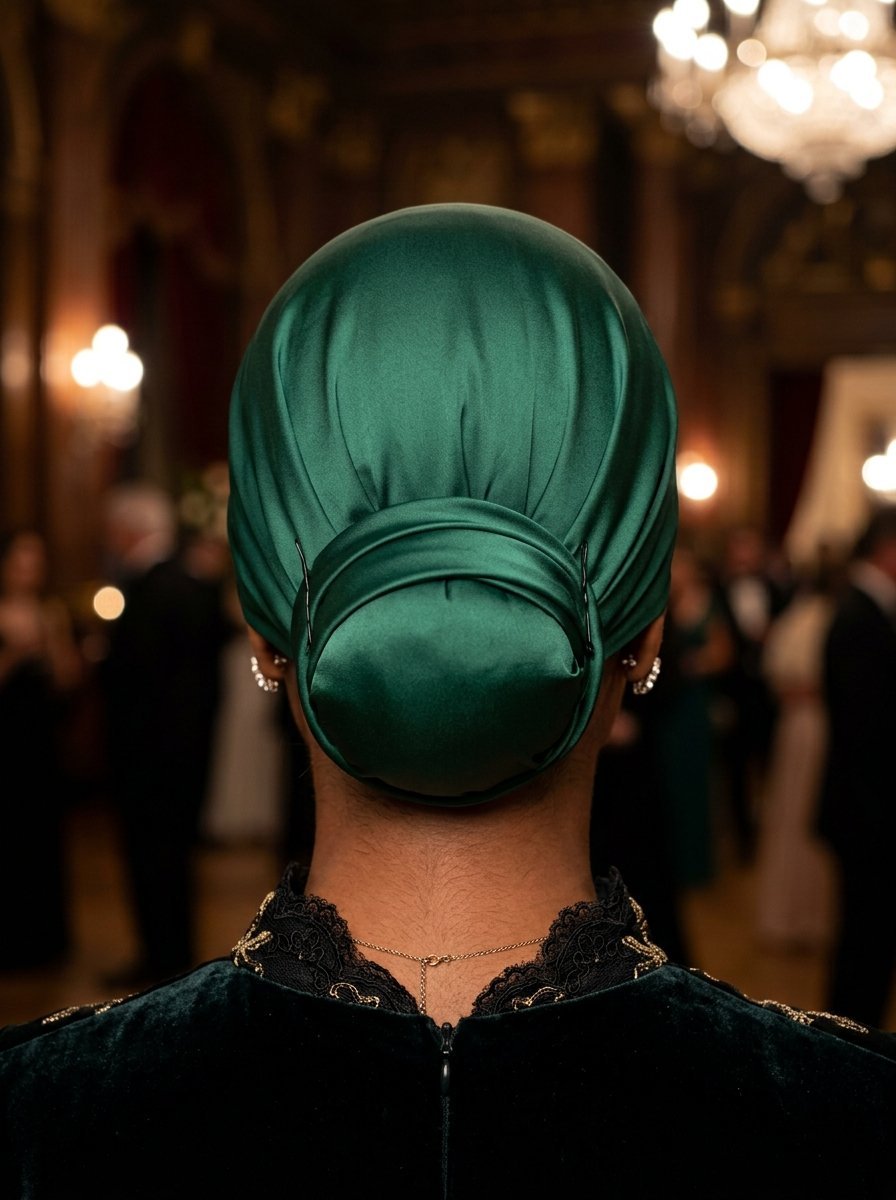
This deeply elegant style mimics a structured snood. Gather your hair at the nape of your neck. Twist it into a very tight compact bun. Pin it heavily until it feels rock solid. Take a large square cloth and drape it over the bun. Tuck the edges neatly under the bun and pin them into your hair. The fabric completely covers your hair like a colorful shell. I have seen ballet dancers use this trick often. It takes approximately six minutes to tie correctly. I always use a silk square for this elegant finish. I wore this to a formal dinner last week. It looked incredibly refined with minimal effort. You will need at least ten bobby pins.
18. Pineapple Curls Bandana Wrap
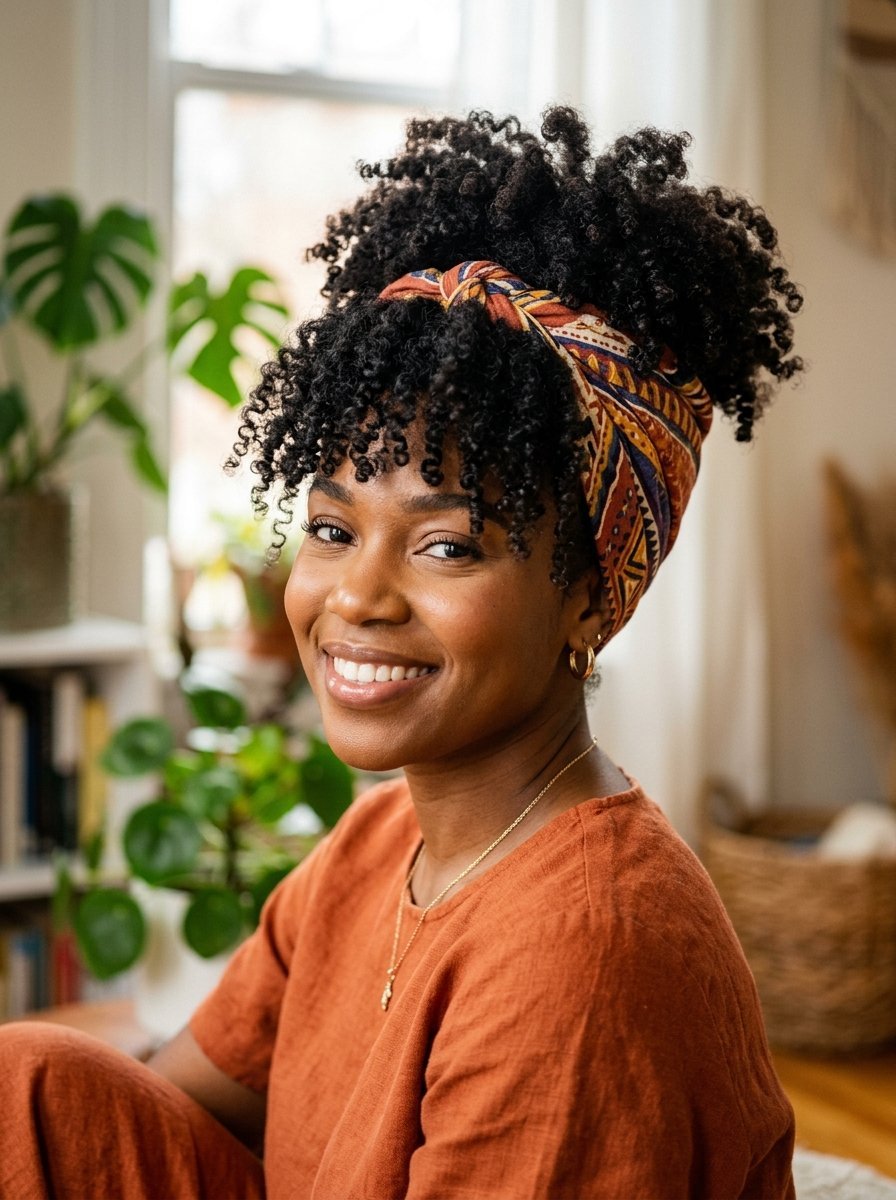
Curly hair thrives with this protective styling trick. I love this for natural textures and tight coils. Flip your head forward and gather your curls at your very front hairline. Tie them loosely with a soft scrunchie. Fold your cloth into a large triangle. Wrap the long flat edge around the back of your neck. Bring the ends up and tie them tightly just behind your curls. The fabric pushes your curls forward to showcase their volume. It takes about three minutes. I notice my curls remain perfectly intact all day. The cloth protects the hair from resting heavily against my shoulders. I sleep in this exact setup to preserve my curls for the next morning.
19. Faux Bob Bandana Tuck
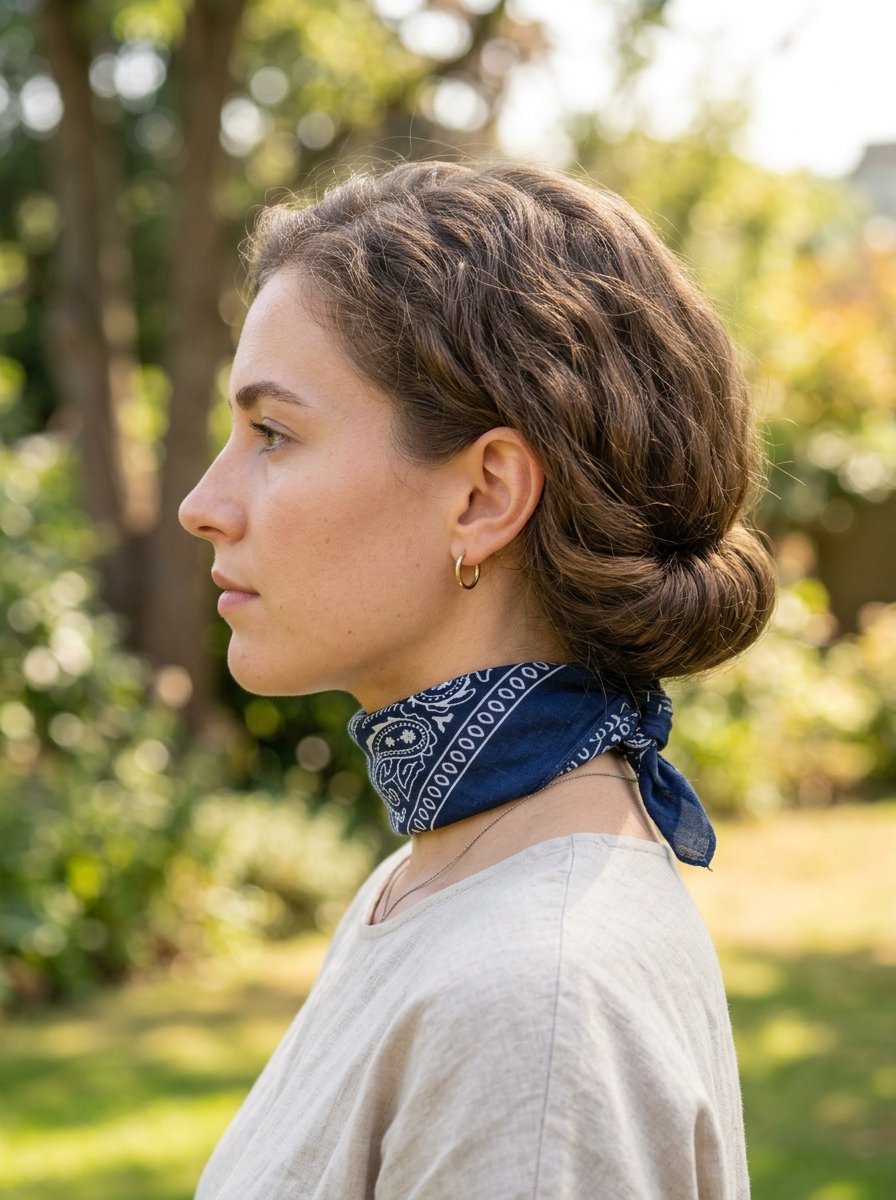
You can fake short hair without touching a pair of scissors. This clever trick needs a long rectangular scarf. Tie the fabric loosely around your neck like a necklace. Pull your long hair down inside the fabric loop. Gently pull the fabric upward and tie it like a headband. As you lift the fabric your hair rolls under itself. Pin the rolled hair at the nape of your neck. I have shocked my friends repeatedly with this temporary haircut. It takes about eight minutes to tuck every piece away. The illusion holds up beautifully in photos. I prefer a stretchy jersey material for this specific trick. It grips the hair tightly without slipping down your neck.
20. Fishtail Braid Scarf Intertwine
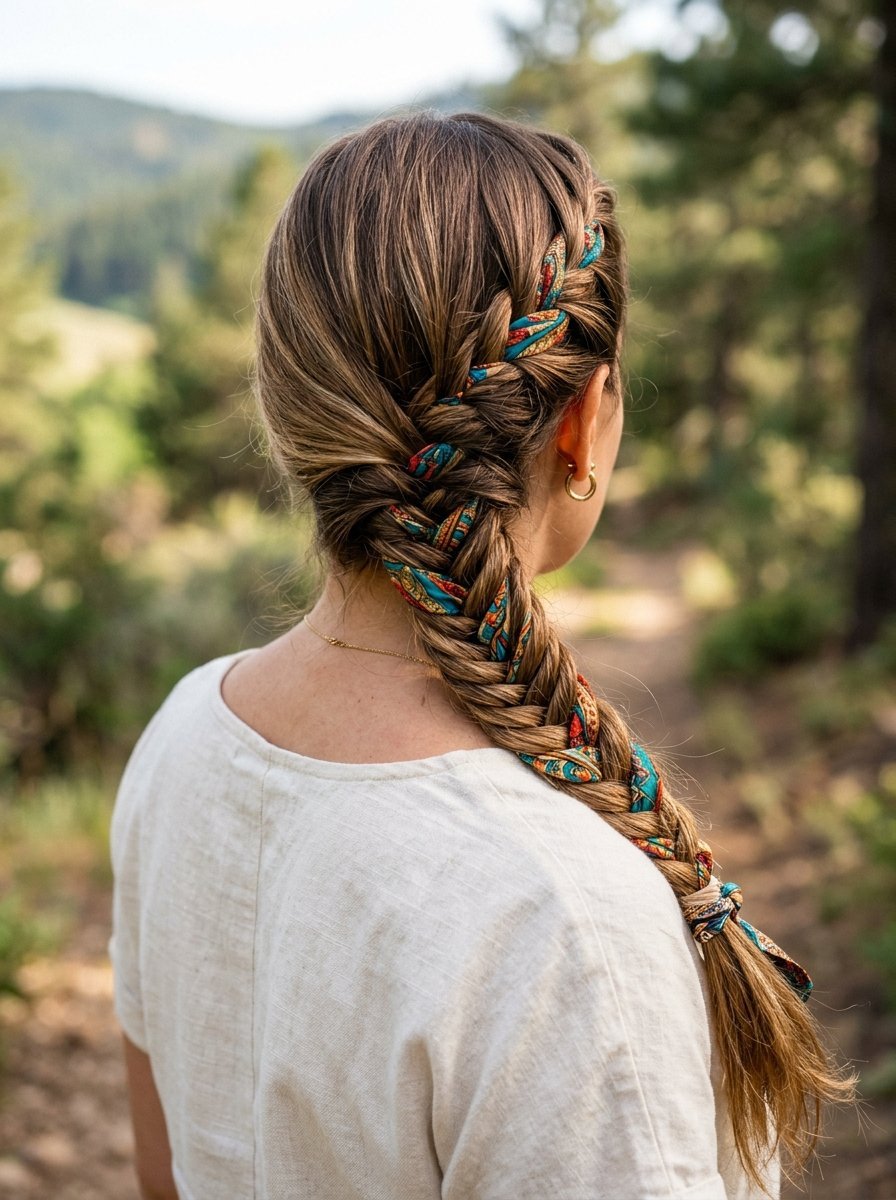
Fishtail braids look intricate alone. Adding fabric takes them to another level completely. Tie your hair into a side ponytail. Tie a thin ribbon of fabric around the elastic. Divide the ponytail into two sections keeping the fabric with one section. Cross small pieces of hair from the outside of one section to the other. Occasionally cross the fabric piece exactly like a strand of hair. Tie the bottom with a clear band. This style easily takes fifteen minutes. Your arms will likely get tired. You must practice in front of a mirror. I tried this for a wedding guest look last spring. The woven fabric detail looked incredibly professional and expensive.
21. Crown Halo Scarf Roll
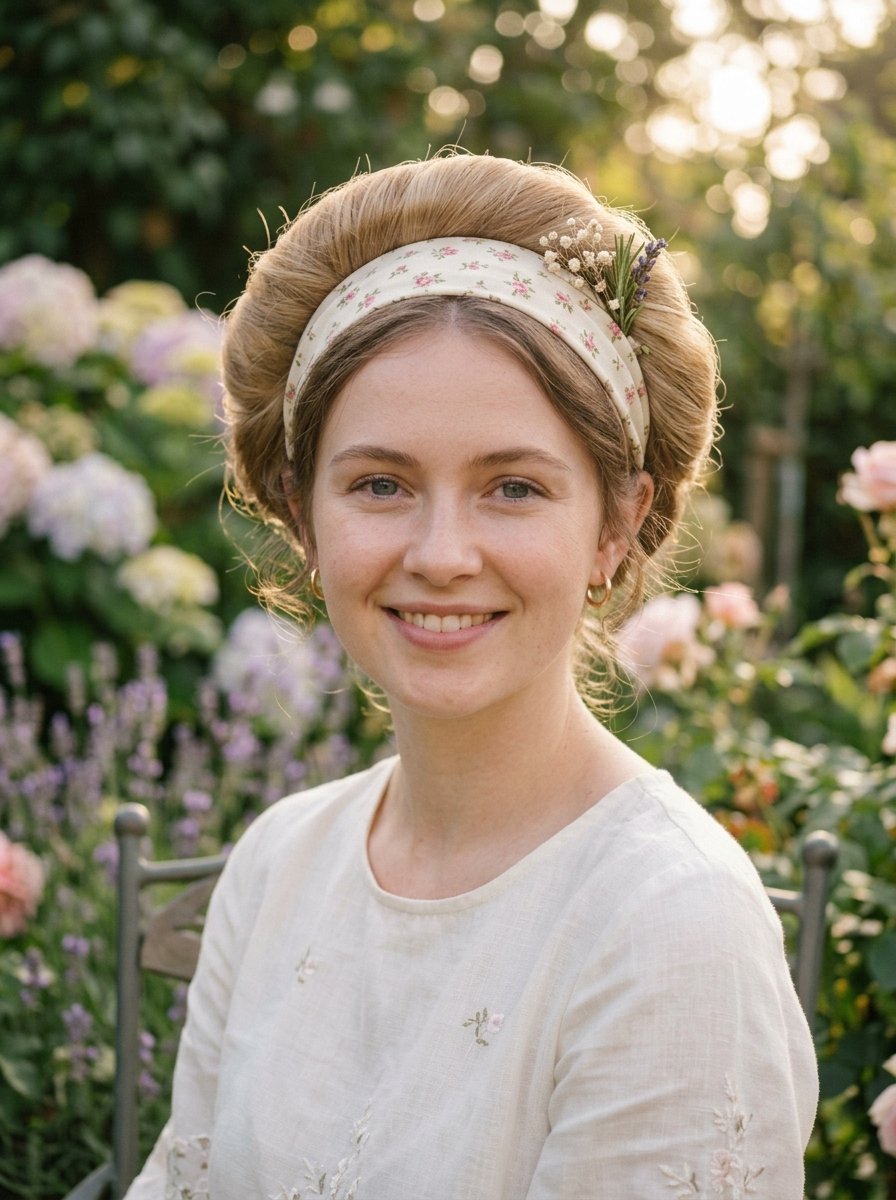
This soft romantic style keeps hair lifted off the neck entirely. Place an elastic headband or a tied thin scarf over your hair like a crown. Take small sections of your hair starting from the front. Tuck each section up and over the fabric band. Roll the hair down inside the band so it hides the fabric completely. Continue this rolling motion all the way around your head. This takes roughly ten minutes. I find it works best on unwashed hair. I have seen this fail completely on freshly straightened hair because it slips. I use this trick during extremely hot summer days. The rolled style keeps you cool while looking exceptionally delicate and feminine.
Frequently Asked Questions
How do you keep a hair cloth from slipping?
I always use two bobby pins right behind my ears. Clean hair slips easily. A little dry shampoo adds grip to your roots. Cotton fabric stays put much better than pure silk. I cross the pins into an X shape for extra hold.
What size cloth works best for head wraps?
A standard 22 inch square works for most styles. Large 28 inch squares work perfectly for full coverage looks. Small neckerchiefs only work for ponytail ties. I own multiple sizes to fit different styles. You should measure yours before attempting complex wraps.
Can you wear these styles to a professional workplace?
Yes. Sleek low buns with silk squares look very professional. Keep the colors neutral. Navy blue or black silk matches office clothing perfectly. I wear a tied low ponytail to meetings often. It looks cleaner than a messy bun.
Do these styles damage your hair?
No. These soft fabrics actually protect your hair. They cause zero breakage compared to tight elastic bands. I wrap my curls in silk every single night. The material prevents split ends. You just need to tie the knots gently.
How do you wash hair styling cloths?
I hand wash my silk pieces in cold water. I throw the cotton squares right into the washing machine. You should air dry all of them to prevent shrinking. I iron my cotton pieces flat before wearing them again. Wrinkled fabric looks messy on your head.
Can short hair wear these styles?
Absolutely. Short hair looks amazing with folded headband styles. You can tie the knot on top of your head. I tuck the ends under the band for a clean finish. Small silk squares suit short hair perfectly. You just need a few pins.
What is the best way to store hair cloths?
I fold mine flat and stack them in a drawer. You can also tie them to a hanger in your closet. Rolling them prevents deep creases. I keep my silk pieces separated from my cotton pieces. This makes grabbing one in the morning extremely fast.
Do you need hairspray for these looks?
You rarely need hairspray. I only use it for the vintage structured rolls. The fabric naturally holds the hair down. Hairspray makes the fabric stiff over time. I prefer a soft natural finish. The cloth does all the heavy lifting.
Conclusion
You now possess 22 new ways to style your hair. A single piece of fabric completely changes your appearance. I wear these looks every single week. They save me countless hours in the morning. You can practice these simple steps right away. Try a basic headband fold today. Move to the braided looks tomorrow. Grab a brightly colored square from your closet now. Pin it tightly behind your ears. Let the fabric do the work. Please tell me which style worked best for your hair type. I read every comment below. Share this list with a friend who loves quick hair tricks.

Sarah Mitchell — Founder & Editor-in-Chief
Sarah Mitchell is the founder and editorial voice behind Hair Level Up. A licensed cosmetologist with more than 15 years of experience, she has styled A-list celebrities for editorial shoots and red carpets, with work featured in Vogue, Elle, and Harper’s Bazaar. Early in her career, she trained under the legendary hairstylist Oribe in New York, an apprenticeship that still shapes her editorial eye today. Sarah founded Hair Level Up in 2020 after one bad haircut convinced her that women deserved a destination that felt like a magazine, taught like a stylist, and inspired like an art gallery. She oversees every story from concept to publication, guided by a simple belief: a good story teaches you something, but a great one makes you feel beautiful while it does.