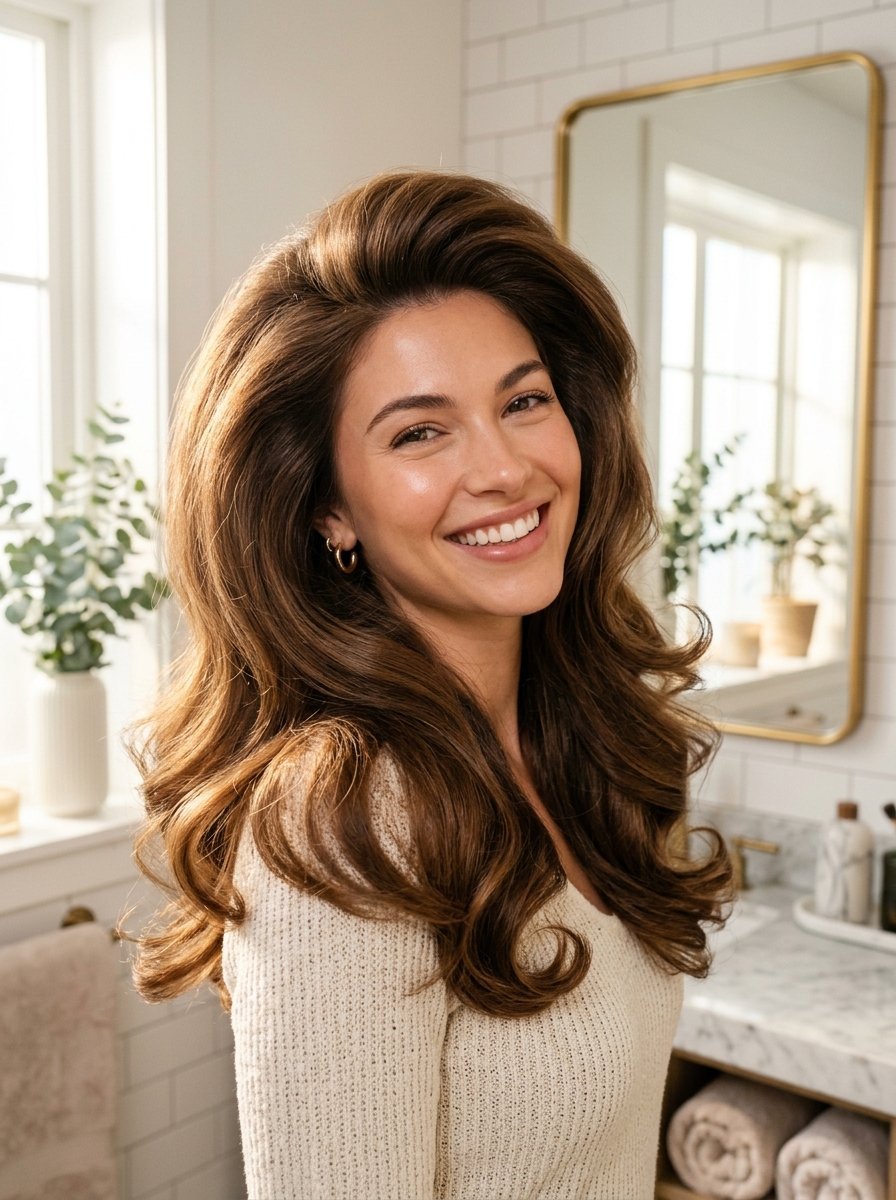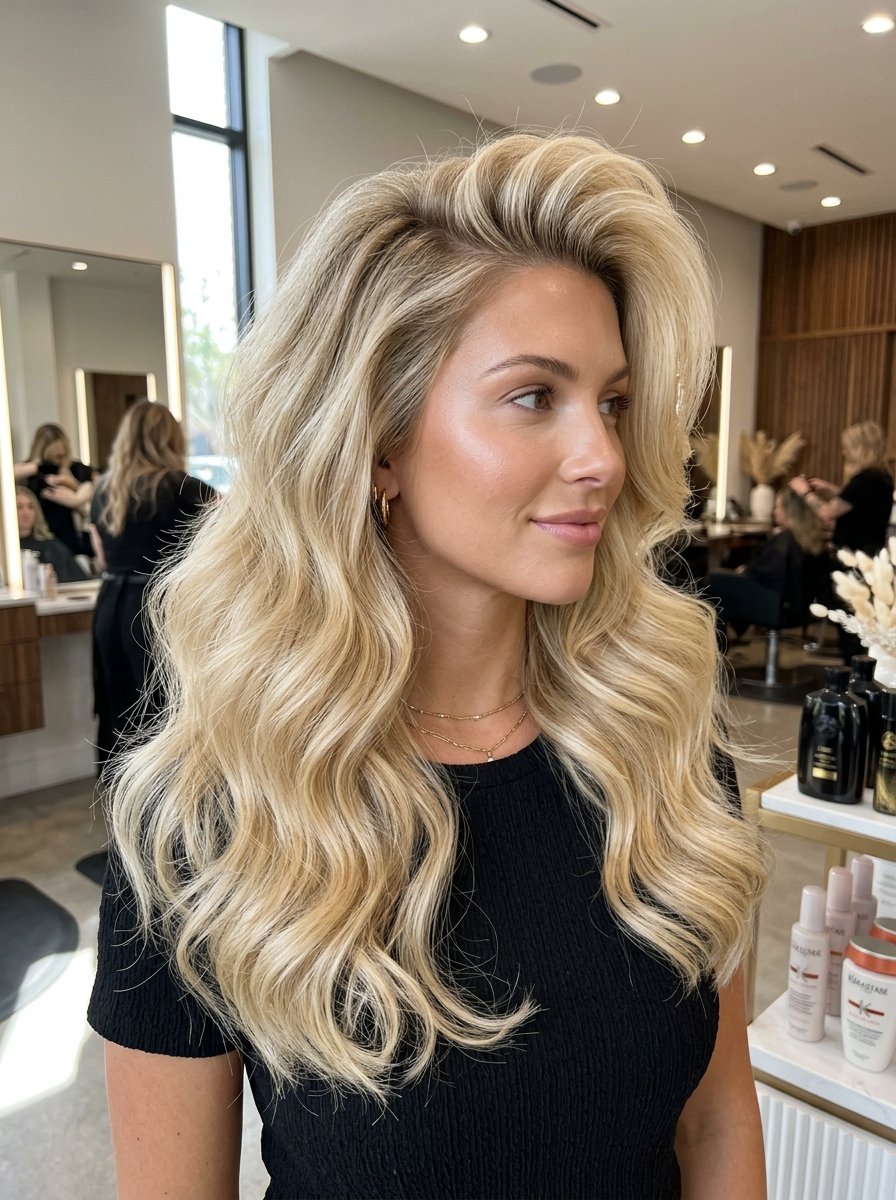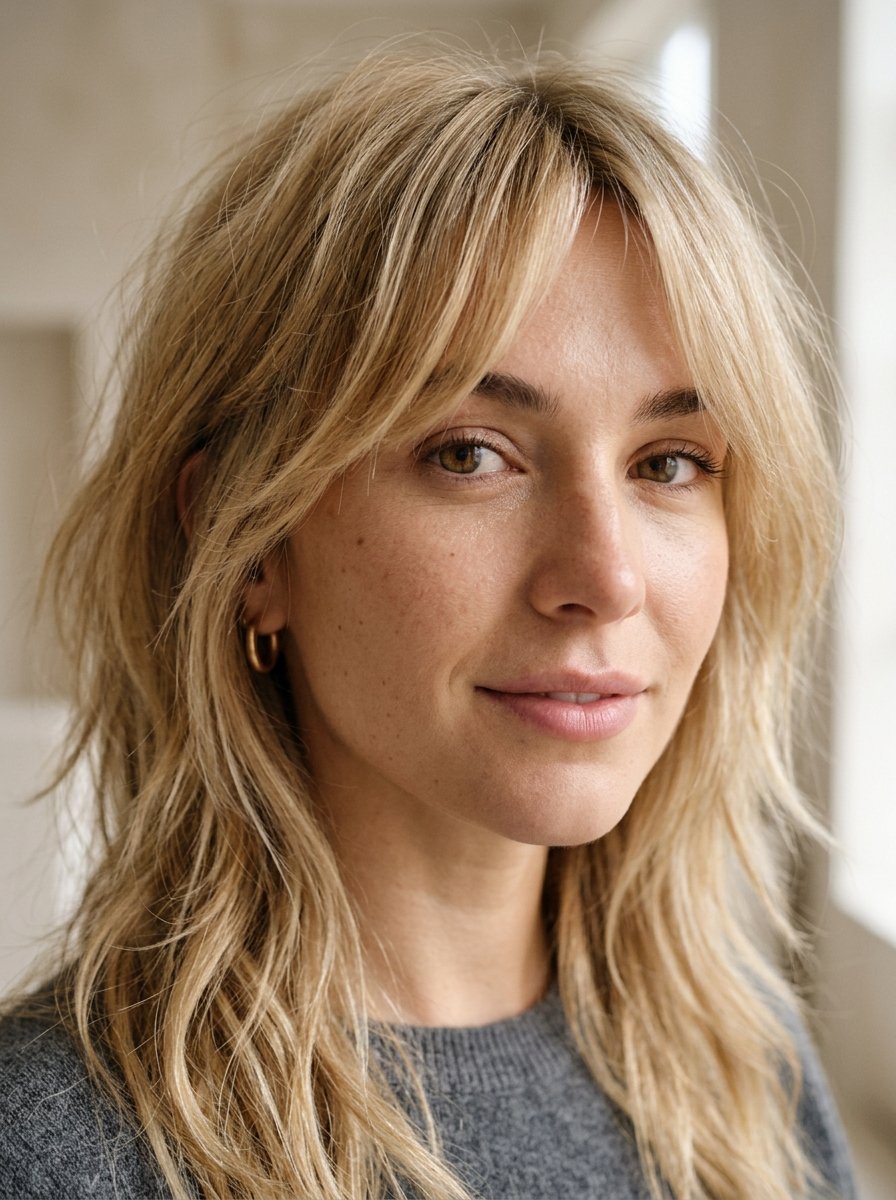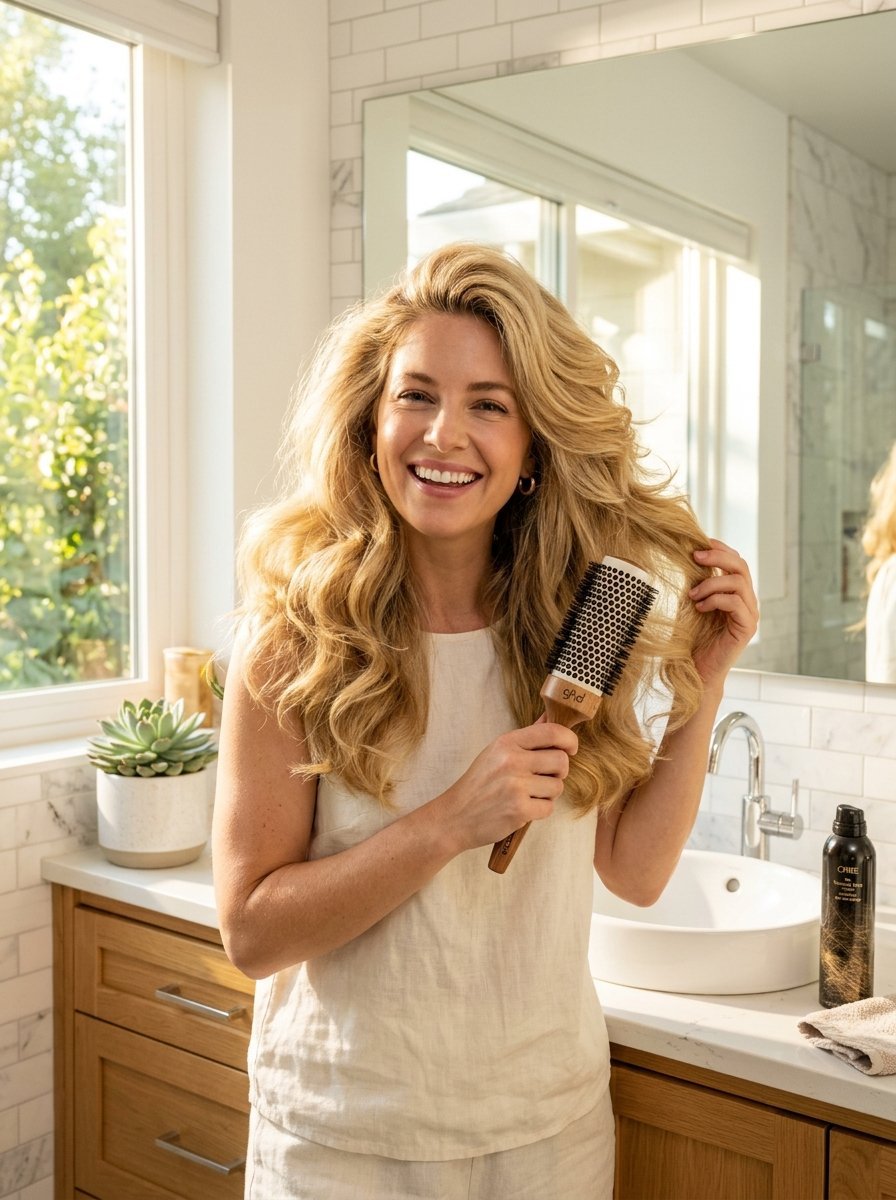
20 Volumizing Hairstyles That Actually Work on Limp Hair
Limp hair feels like a personal betrayal. You spend forty minutes washing, blow-drying, and styling, only to watch your hard work flatten out before you even leave the house. Flat hair drains your confidence and makes getting dressed up feel pointless. Most advice tells you to buy expensive salon products or spend hours teasing your roots, which only leads to breakage and frustration.
There is a better way to handle flat strands. You can create lasting fullness without damaging your hair or spending hours in front of the mirror. This guide delivers practical styles that build real, physical lift from the roots down.
Executive Summary
Flat hair needs strategic structural support, not heavy styling creams. This article breaks down twenty proven hairstyles that create natural body and movement for fine, weight-down strands. You will learn specific placement tricks, parting methods, and pinning options that keep hair lifted all day long.
The focus rests entirely on accessible, daily techniques that protect your hair health while maximizing your natural volume. These solutions work for everyday errands, professional settings, and special nights out.
1. The Deep Side Part Flip
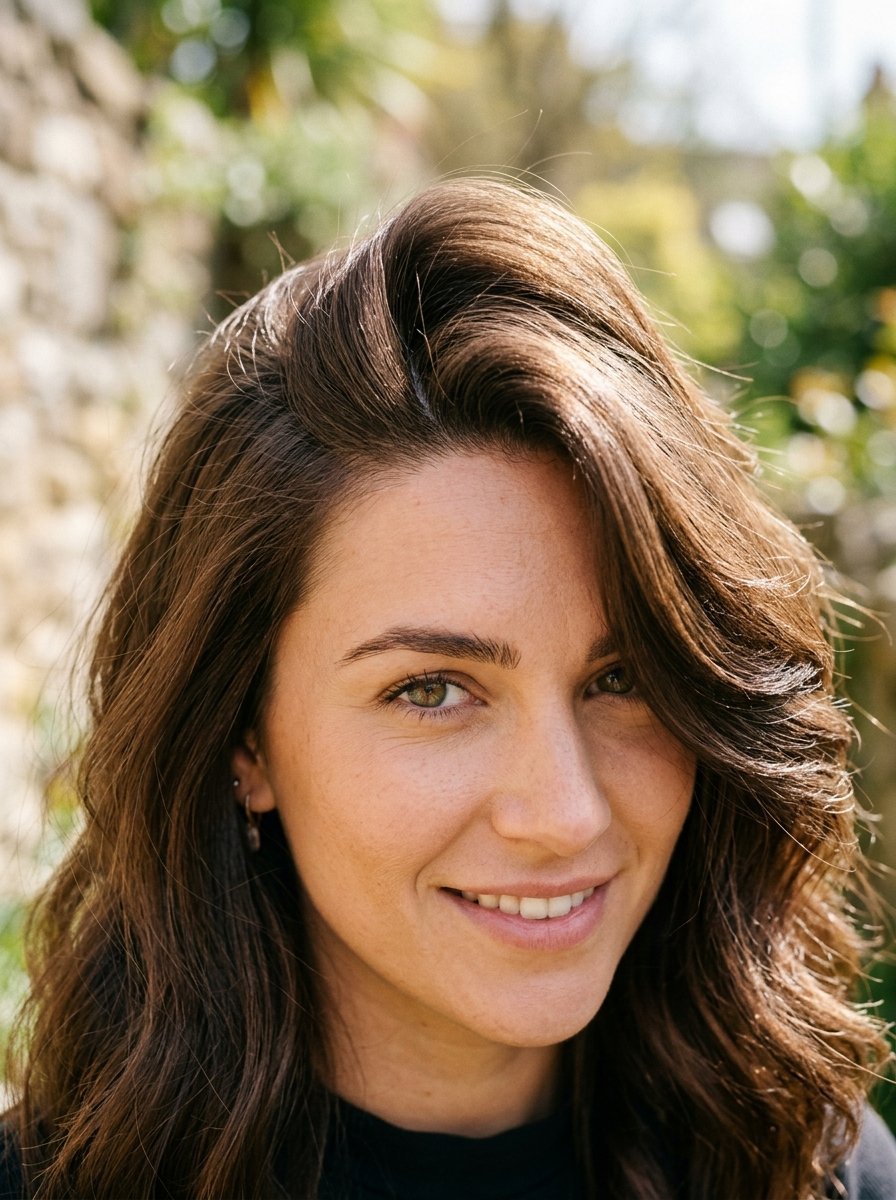
Changing your part provides immediate lift at the root line. When you train your hair to lay in one direction for months, it naturally flattens against the scalp. Flipping it to the opposite side forces the roots upward, creating instant height without any product.
I tried this last month before a dinner event when my hair looked completely flat. I moved my part three inches to the left, and the change was immediate. The hair stood up naturally, creating the illusion of a thicker front section.
- Dry your hair completely in your normal part line.
- Use a fine-tooth comb to create a straight line three inches past your usual parting.
- Flip the section over and press down lightly with your fingers to set the new shape.
2. The Classic Half-Up Top Knot
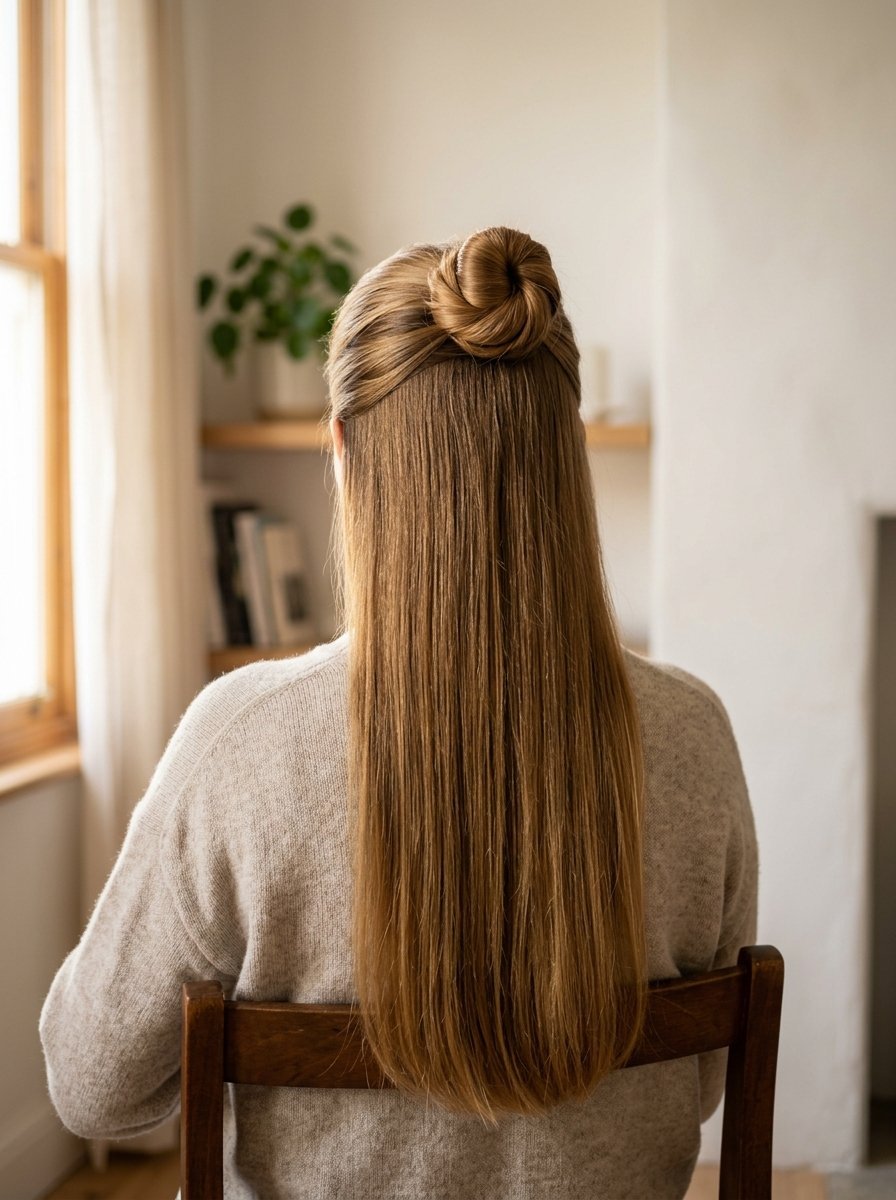
Pulling the top crown section into a secure knot removes the weight that drags your hair down. This style works exceptionally well as an easy dressy hairstyle because it leaves the bottom layers free to frame your face while building height at the peak of your head.
The trick lies in securing the sections tightly so they do not slide flat after an hour of movement. Use small clear elastics instead of heavy scrunchies to keep the weight minimal.
- Gather hair from the top of your ears up to your crown.
- Secure this section into a tight ponytail on top of your head.
- Twist the ponytail loosely around the base and pin the ends into place.
3. Pre-Pinned Brigitte Bardot Bump
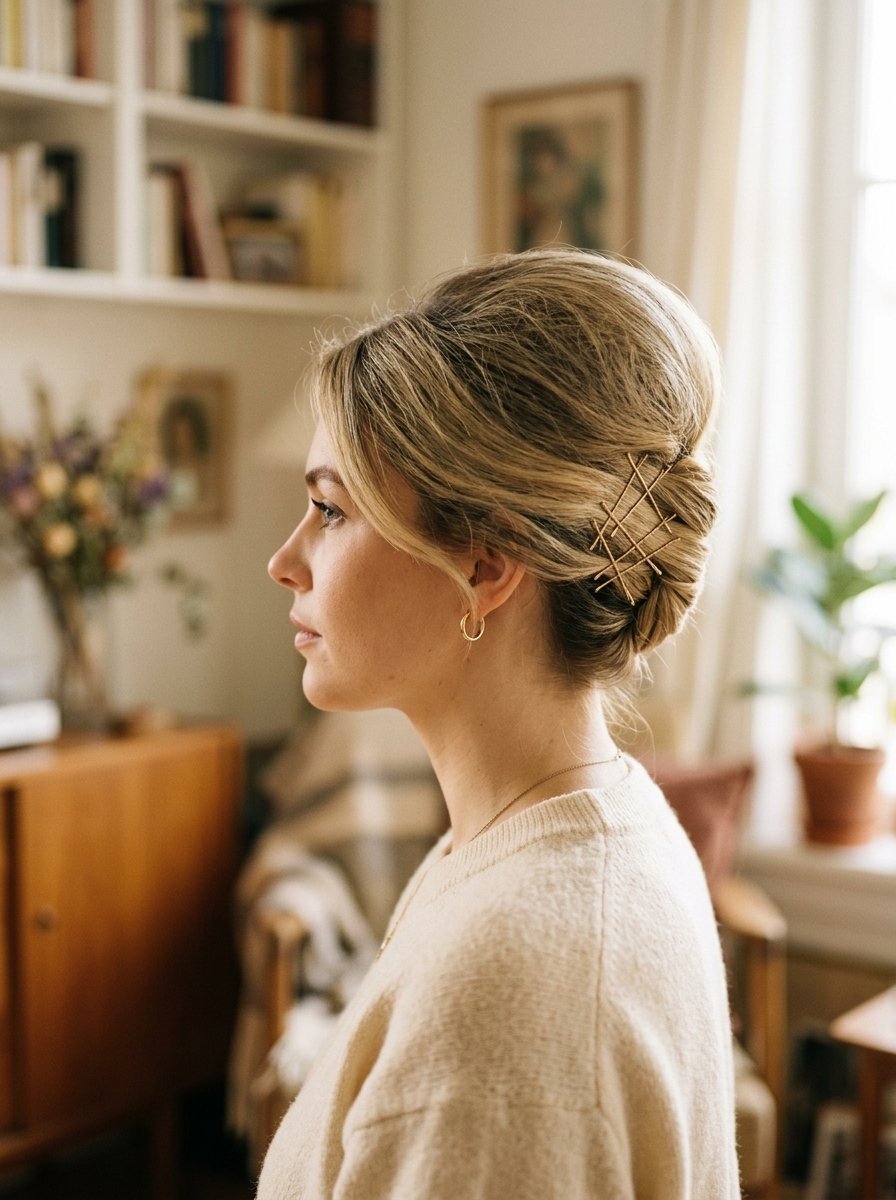
This style relies on a small hidden anchor underneath your hair to create a retro, voluminous look. It works perfectly as an over the shoulder dress hairstyles option, keeping hair away from your collarbone while showcasing length in the back.
In my experience, standard bobby pins slide out of fine hair within two hours. You must cross the pins in an “X” shape to lock the volume into place permanently.
- Section off a three-inch portion of hair at the crown of your head.
- Lift the section straight up and mist the roots lightly from underneath.
- Smooth the top layer back and push the section forward slightly to create a bump.
- Secure the base with two intersecting bobby pins.
4. The Double-Layered High Ponytail
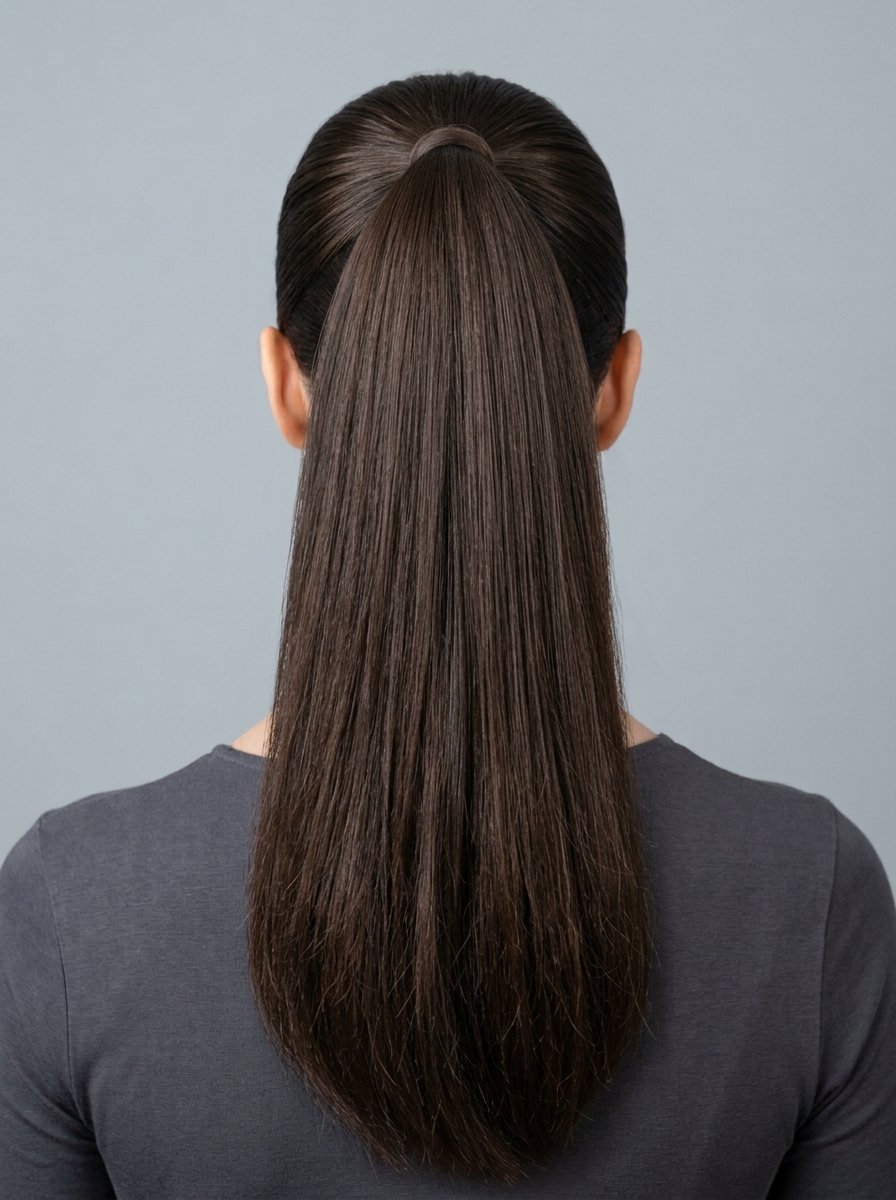
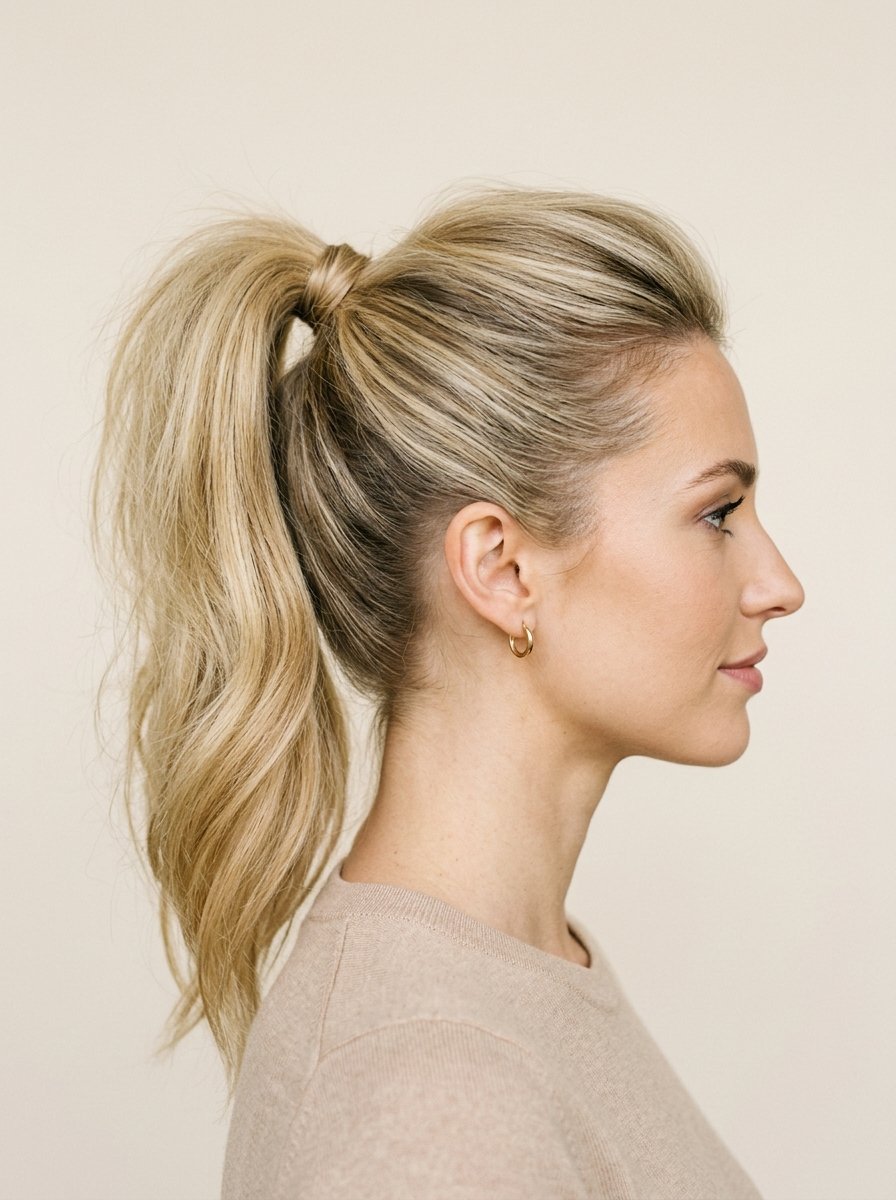
Standard ponytails drag fine hair down due to gravity and the weight of the length. By splitting the style into two separate ponytails sitting directly over each other, you hide the bottom base while doubling the perceived thickness of your hair.
I started using this technique for going out long hairstyles because it prevents the flat, saggy ponytail look that usually happens by midnight.
- Divide your hair horizontally into two equal sections, top and bottom.
- Tie the top section into a high ponytail at the crown.
- Gather the bottom section into a second ponytail directly underneath the first one.
- Let the top ponytail fall over the bottom base to conceal the lower elastic.
5. Seamless Bubble Braid Accents
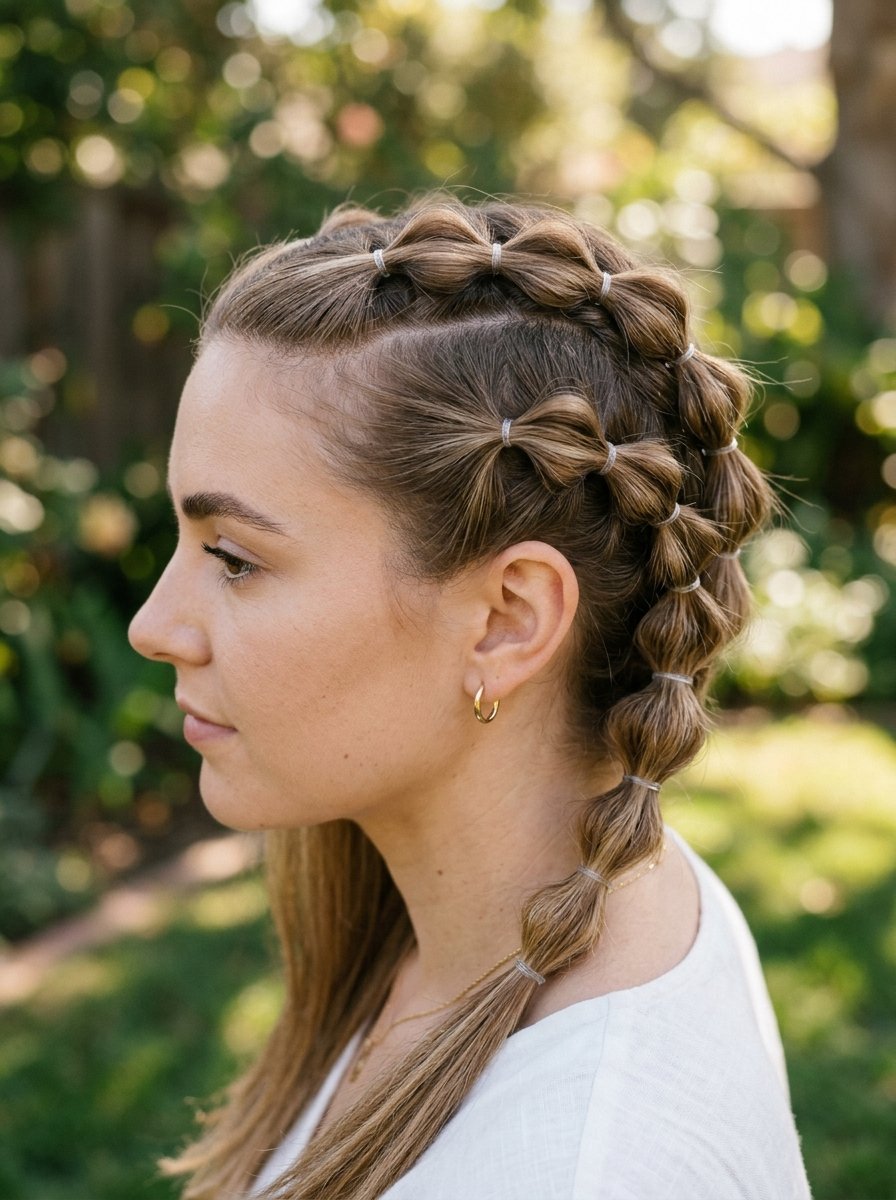
Bubble braids use strategic sections to create physical space between strands, making fine hair look twice as thick. This look matches beautifully with hair ideas korean trends, which focus on soft, playful texture and visible dimension.
- Take a small two-inch section of hair near your front hairline.
- Tie a clear elastic band two inches down from the root.
- Pinch the hair between the scalp and the elastic, pulling it gently outward to form a bubble.
- Repeat the process down the length of the strand every two inches.
6. The Side-Swept Hollywood Wave
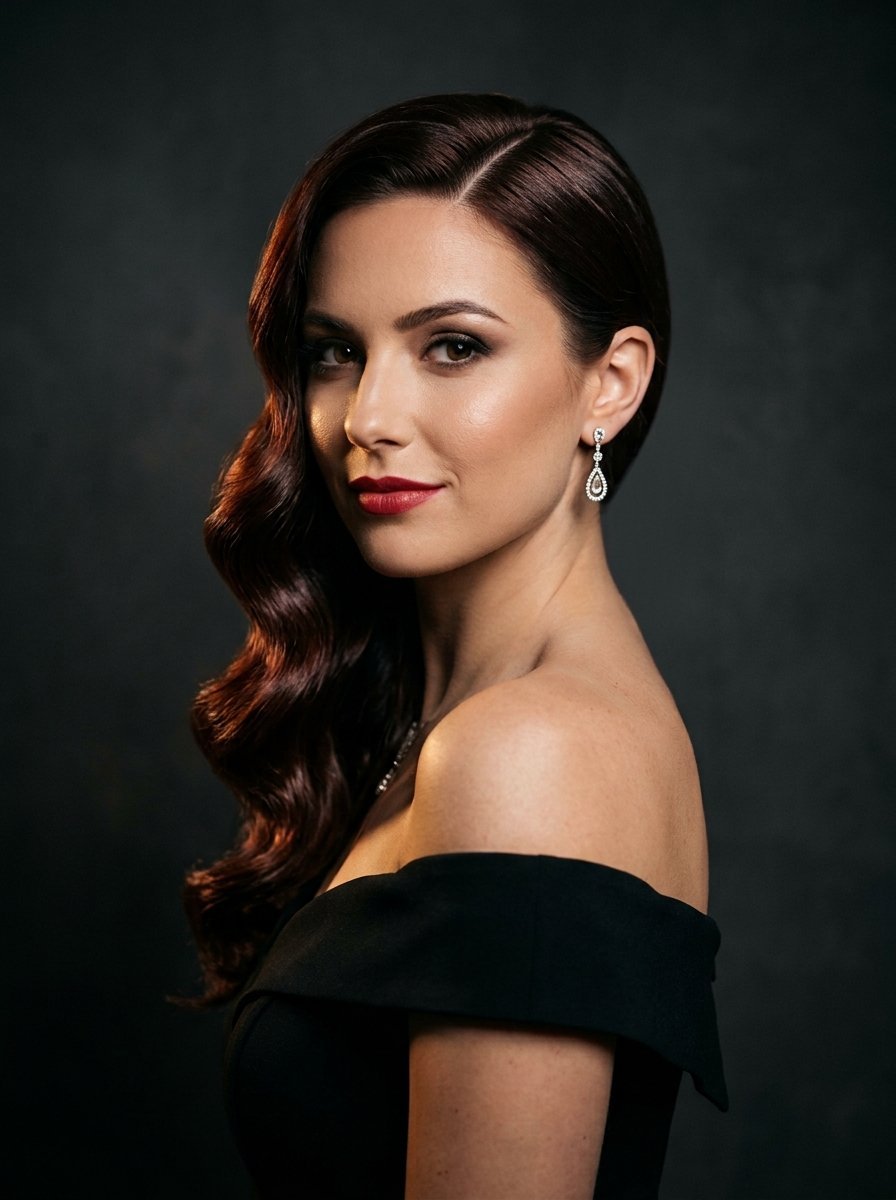
This look moves all your hair volume to one side of your body, creating a dense, luxurious appearance. It serves as a classic choice for straight hair hairstyles for prom or formal gatherings where you want a polished finish.
Leaving hair loose on both sides makes fine strands look sparse. Packing them onto one shoulder creates immediate density.
- Create a deep side part on your preferred side.
- Bring all the hair from the thinner side around the back of your neck.
- Pin the hair flat against the nape of your neck using long bobby pins to keep it secured on the opposite shoulder.
7. The Inside-Out French Twist
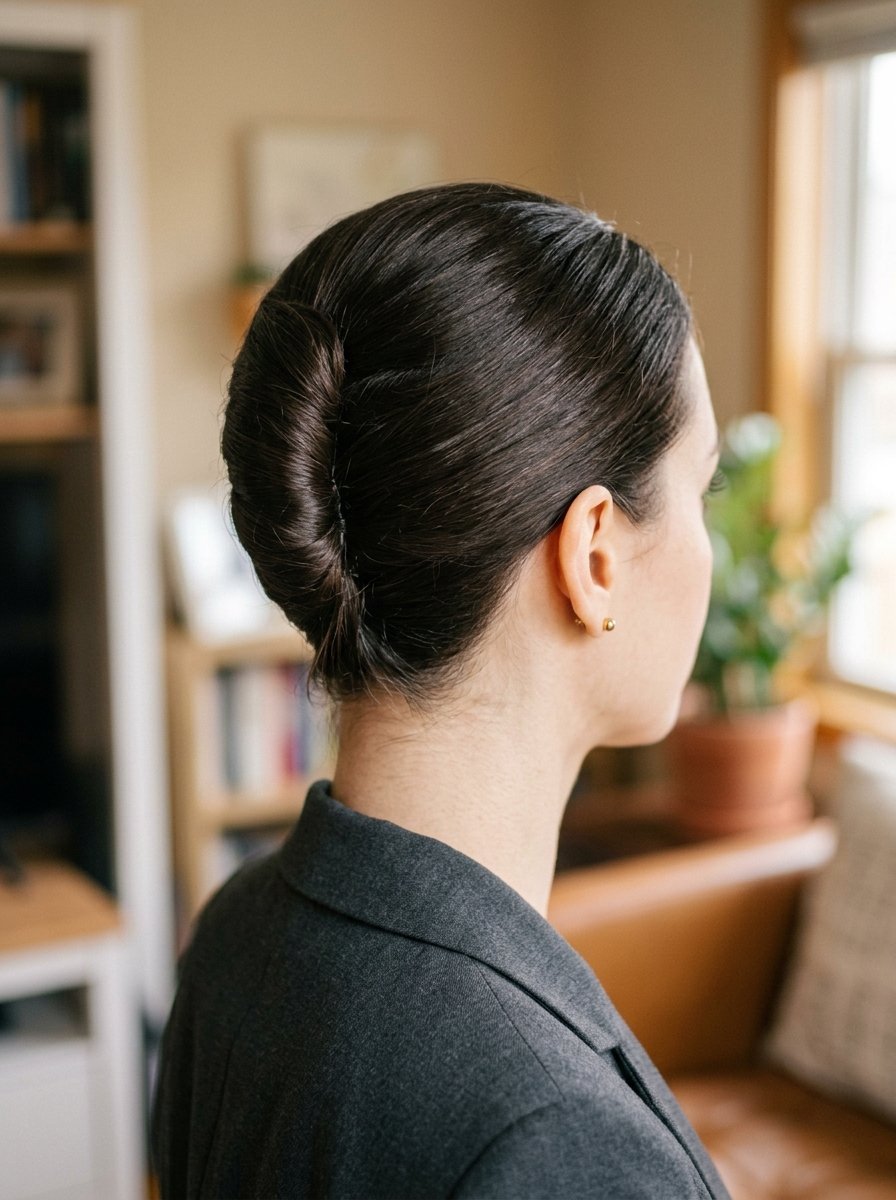
Traditional buns can look small and thin when you have limp hair. An inside-out twist rolls the hair inward, trapping air between the layers to build a sturdy, vertical shape that makes the head look balanced.
- Gather all your hair at the nape of your neck as if making a low ponytail.
- Twist the length upward tightly against the back of your head.
- Tuck the ends under the vertical roll you just created.
- Insert hair pins along the seam of the twist from top to bottom to anchor it.
8. Symmetrical Micro Claw Clip Pullbacks
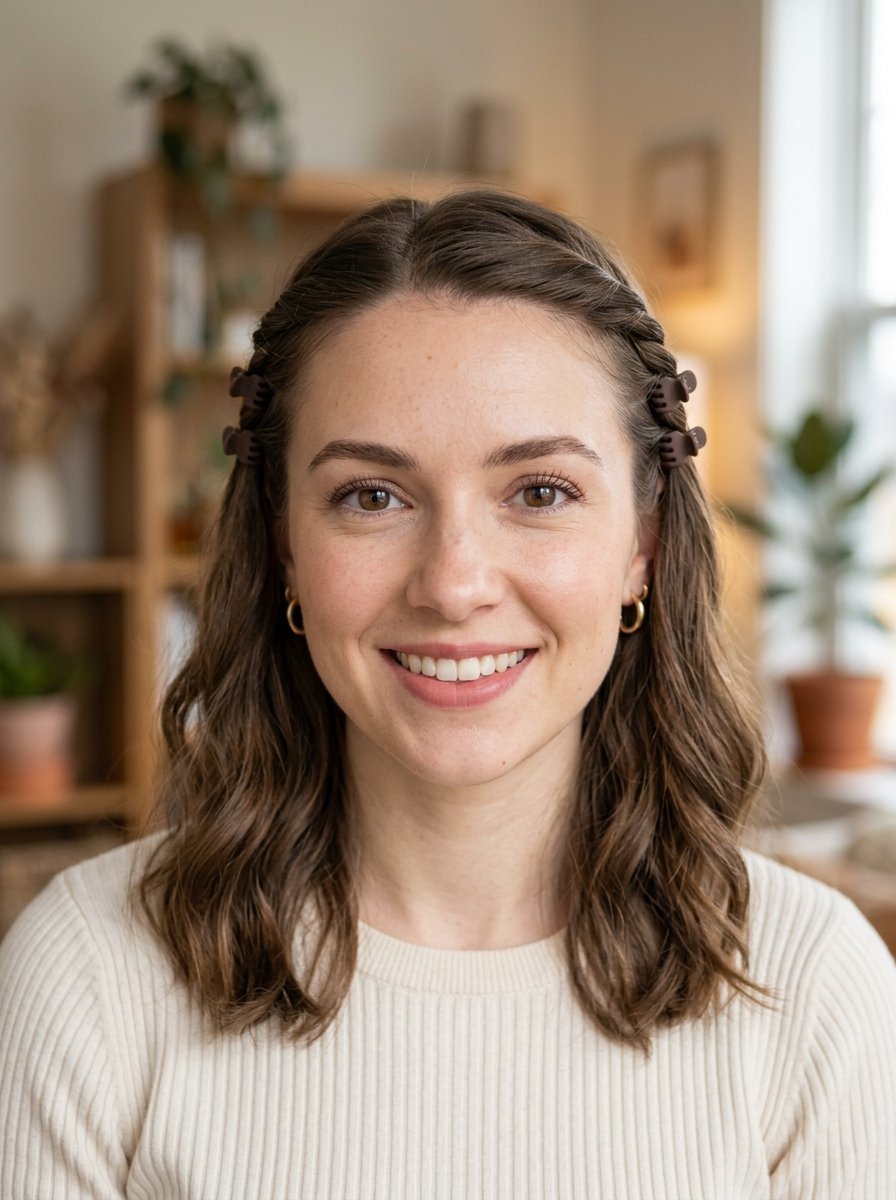
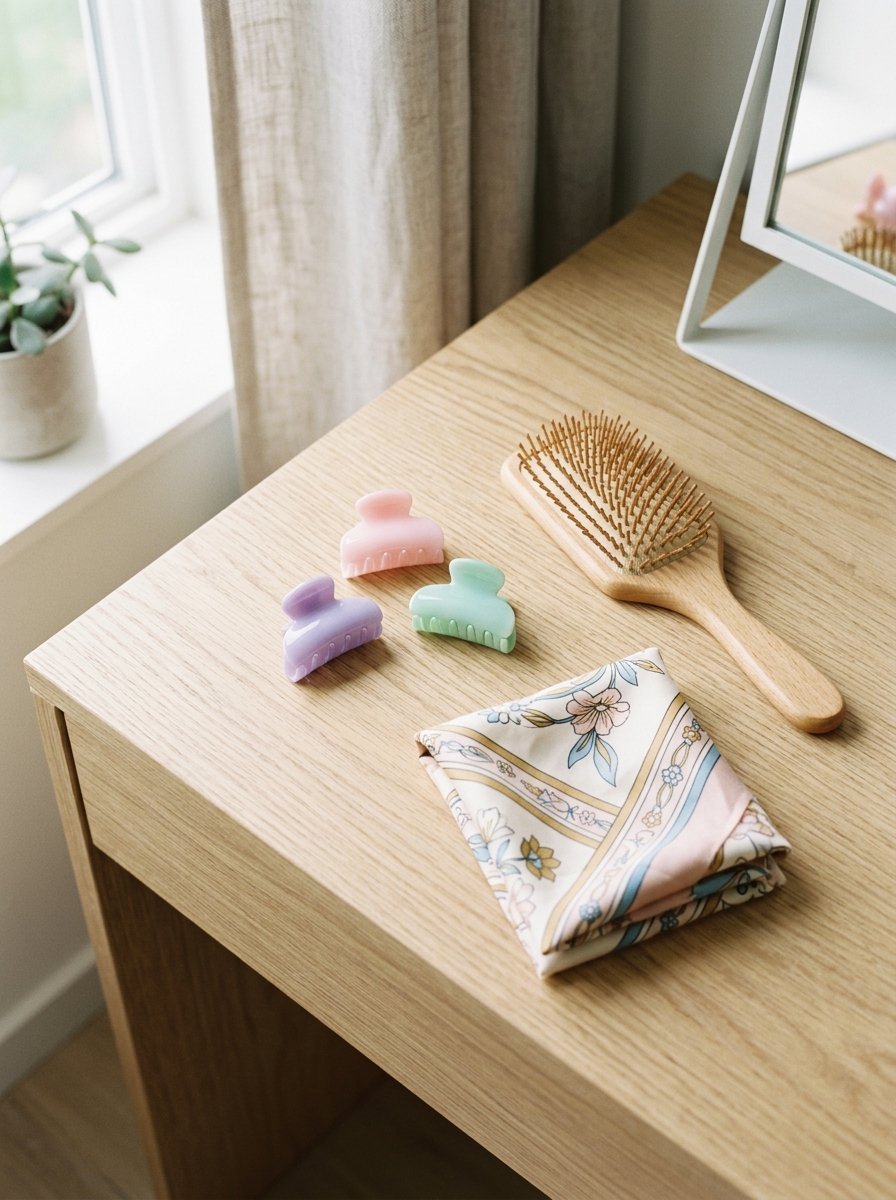
Using tiny claw clips prevents the hair flattening that happens under heavy metal barrettes. This style is perfect for classy half up hairstyles, offering a delicate look that holds the hair up without pulling on the roots.
- Part your hair down the center or slightly off-center.
- Take a one-inch piece of hair from the right side of your face and twist it backward twice.
- Secure the twist just above the ear with a mini claw clip.
- Repeat the identical process on the left side of your face.
9. The Texturized Shook-Out Space Bun Set
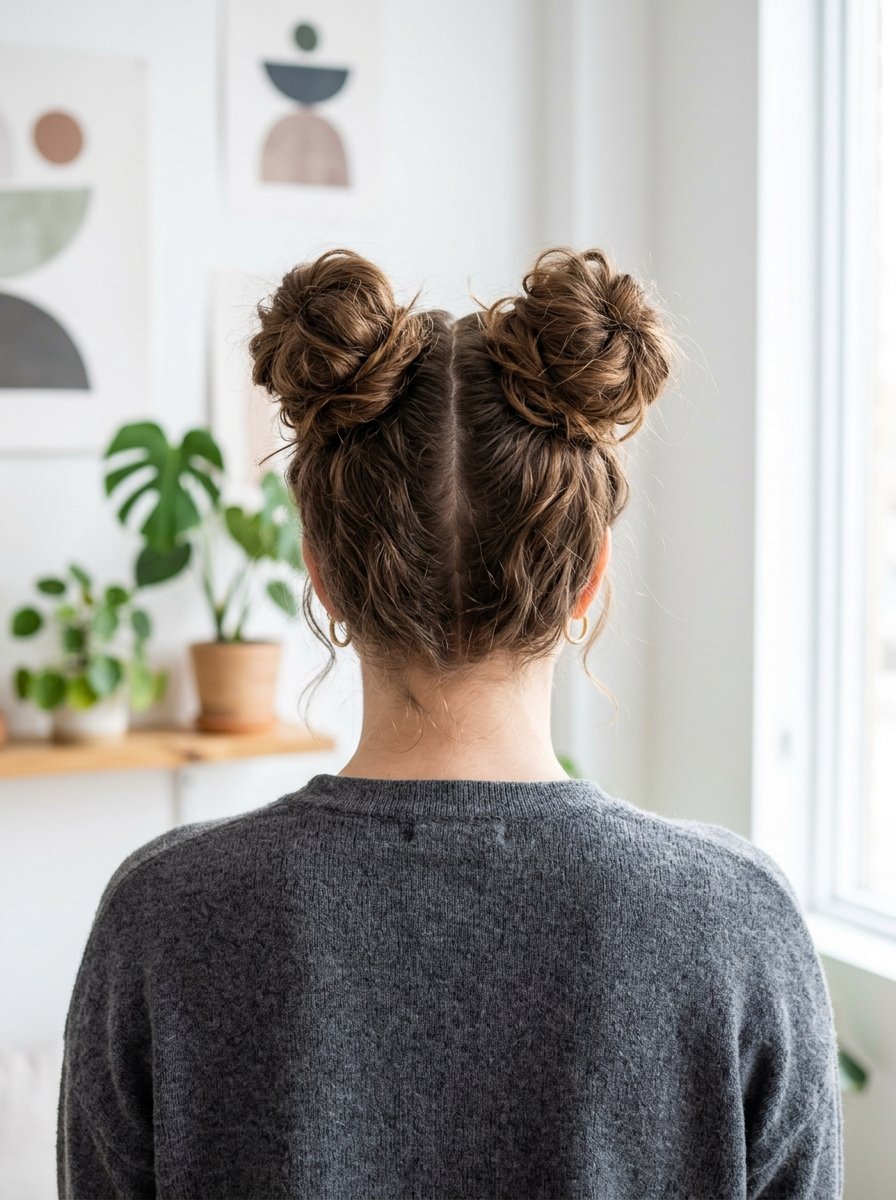
Space buns spread your hair weight into two balanced points on the head rather than one heavy bundle. Shaking the buns out before pinning ensures they look airy and large instead of tight and tiny.
- Divide your hair down the middle into two high pigtails.
- Twist one pigtail loosely to the ends, letting natural texture loops form.
- Wrap the twisted strand around the base without pulling it tight.
- Secure with pins, then lightly tug the edges out to increase the bun size.
10. The Hidden-Clip Ponytail Lift
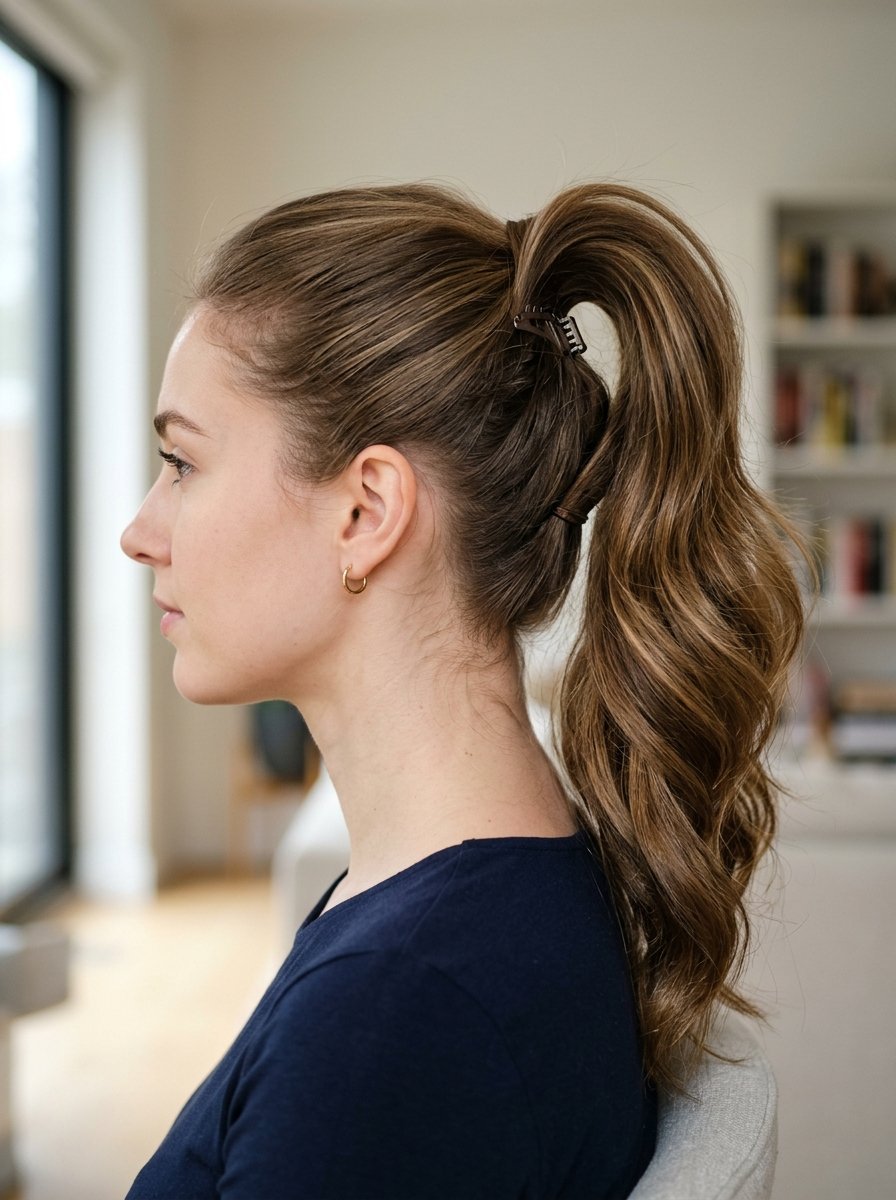
This trick uses a small jaw clip hidden inside the center of your ponytail to prop the hair upward, creating a dramatic waterfall effect that prevents sagging. It serves as a great choice for hairstyles for 19th birthday celebrations or photoshoots.
- Gather your hair into a standard mid-height ponytail and secure it with an elastic.
- Split the ponytail horizontally into two halves, a top half and a bottom half.
- Place a small mini claw clip right at the base, clamped over the elastic inside the split.
- Let the top half of the hair drop back down to completely cover the clip from view.
11. Alternating Direction Wand Curls
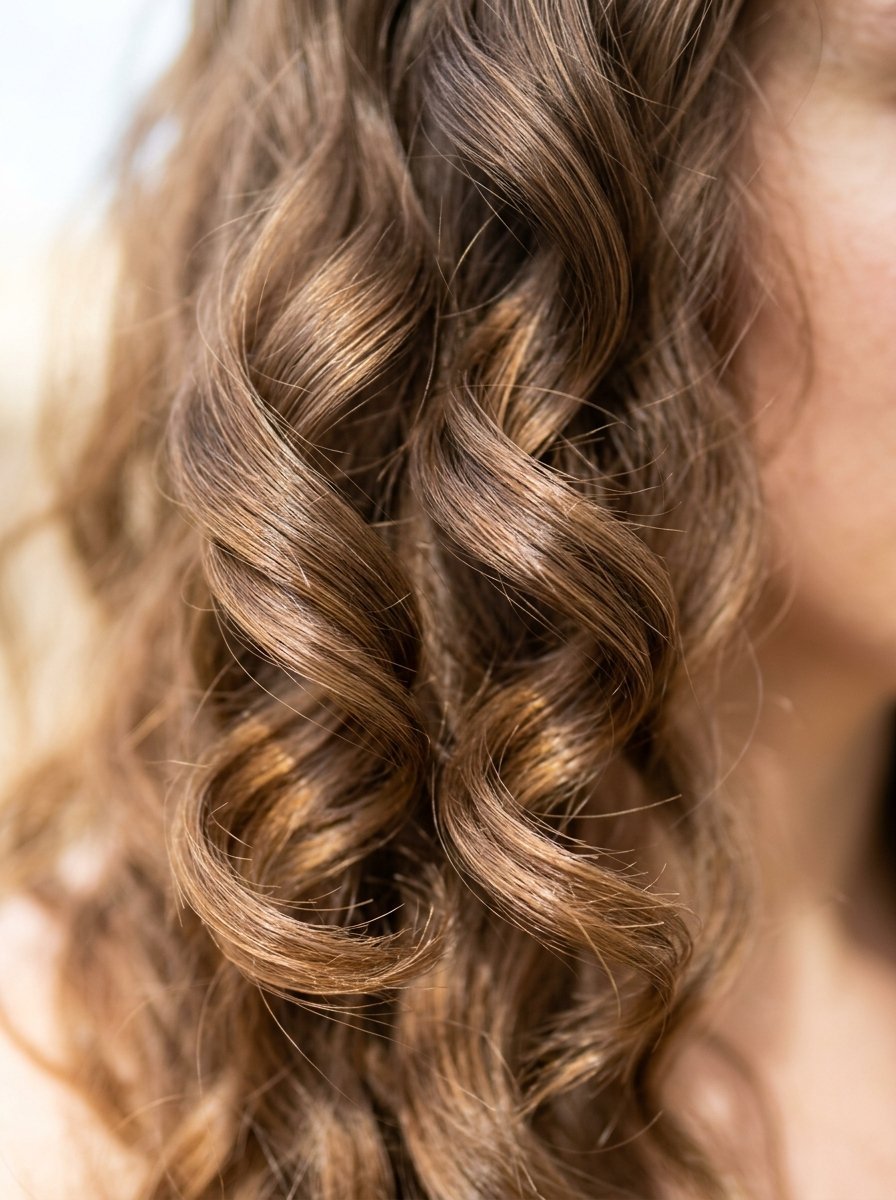
When you curl all your hair in the same direction, the locks nest together into one single wave, making your hair look uniform and flat. Alternating the directions causes the curls to push against each other, creating bounce and separation.
This method works wonders for hairstyle for curled hair goals, especially on fine textures that usually drop curls within an hour.
- Take a one-inch vertical section of hair near your ear.
- Wrap it around a curling wand away from your face.
- Take the next adjacent section and wrap it around the wand toward your face.
- Let the curls cool completely before shaking them out with your fingers.
12. The Multi-Elastic Tiered Ponytail
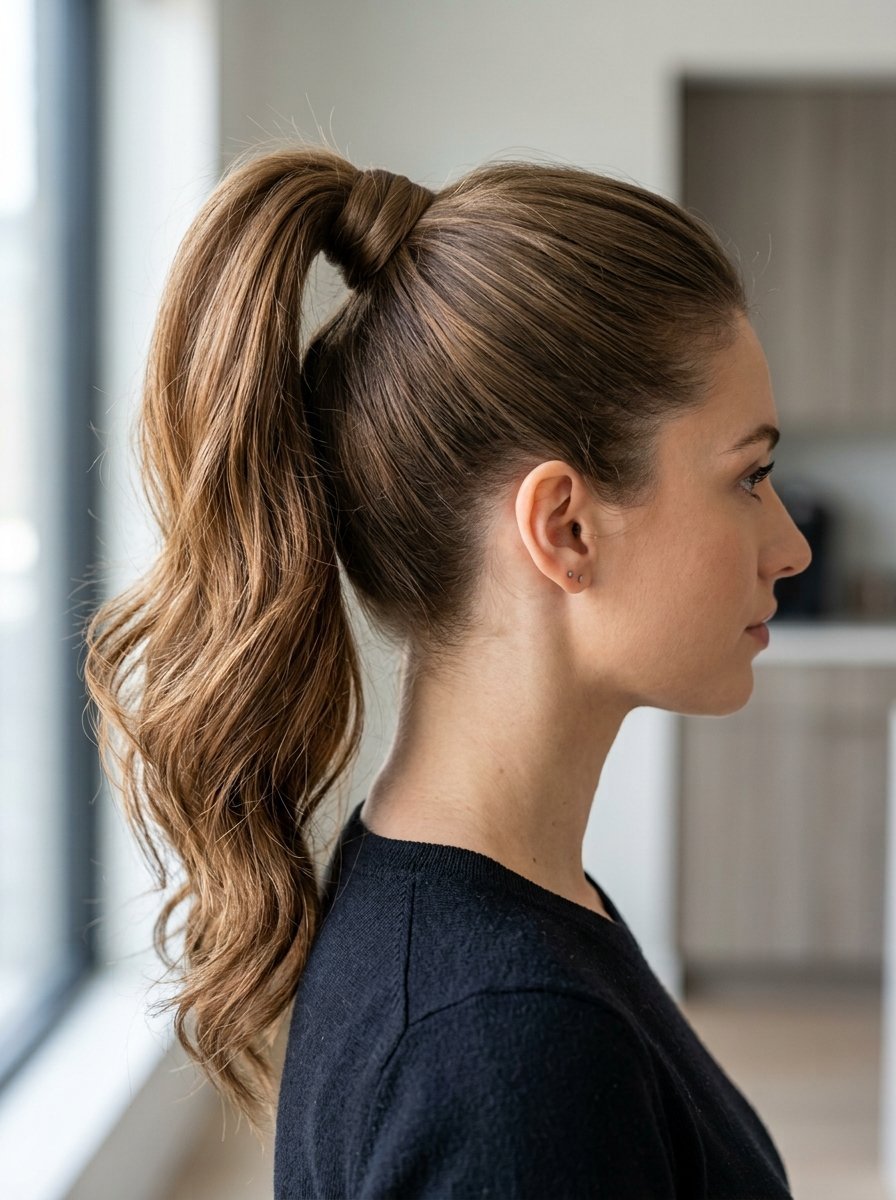
This style sections the hair sequentially down the back, adding a small amount of volume at each stage. It looks complex but takes under five minutes, making it an excellent fit for busy mornings.
- Tie the top crown section into a small half-up ponytail.
- Gather a second section from behind the ears, including the first ponytail, and tie it off.
- Continue adding hair and tying elastics down the length until you reach the neck line.
- Gently pull each tiered section outward to create a rounded, full shape.
13. The Headband Push-Back Trick
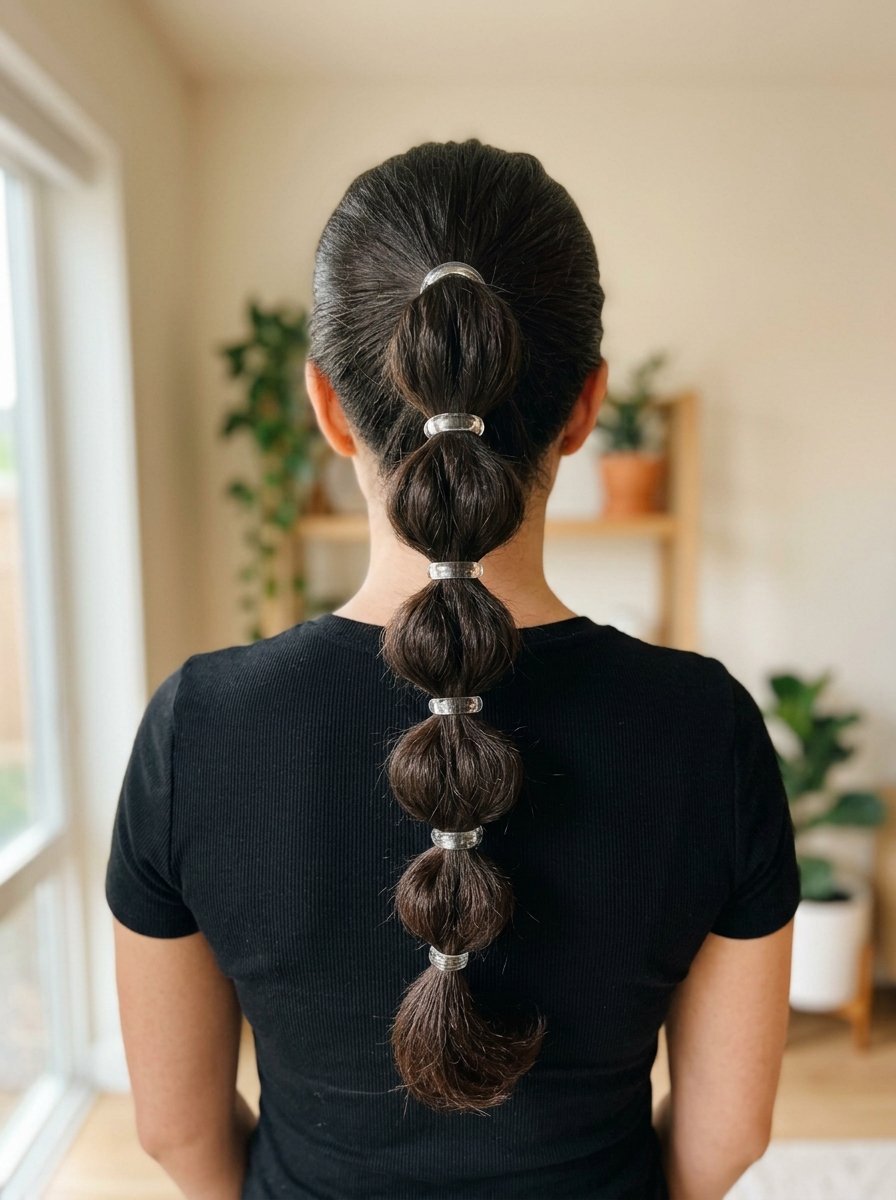
This approach uses a physical accessory to push your hair forward against its natural growth pattern, creating an immediate wall of volume directly behind the band. It is highly functional as a hairstyle for halter neck tops because it balances the exposed shoulders.
- Place a thick fabric headband around your neck like a collar.
- Pull all your hair out so it sits on top of the band.
- Slide the headband upward over your forehead, pushing the hair back until the band sits two inches from your hairline.
14. The Scarf-Wrapped Low Chignon

Wrapping a silk or satin scarf around the base of a low bun adds instant physical mass to your style. If your natural bun looks like a small knot, the scarf fills out the space and creates a high-contrast aesthetic.
- Tie your hair into a low ponytail at the base of your neck.
- Loop a folded square scarf through the elastic band once.
- Twist your hair and the scarf tails together into a loose rope.
- Roll the rope into a circular bun and knot the scarf ends to hold it.
15. The Criss-Cross Half-Up Smooth Pull
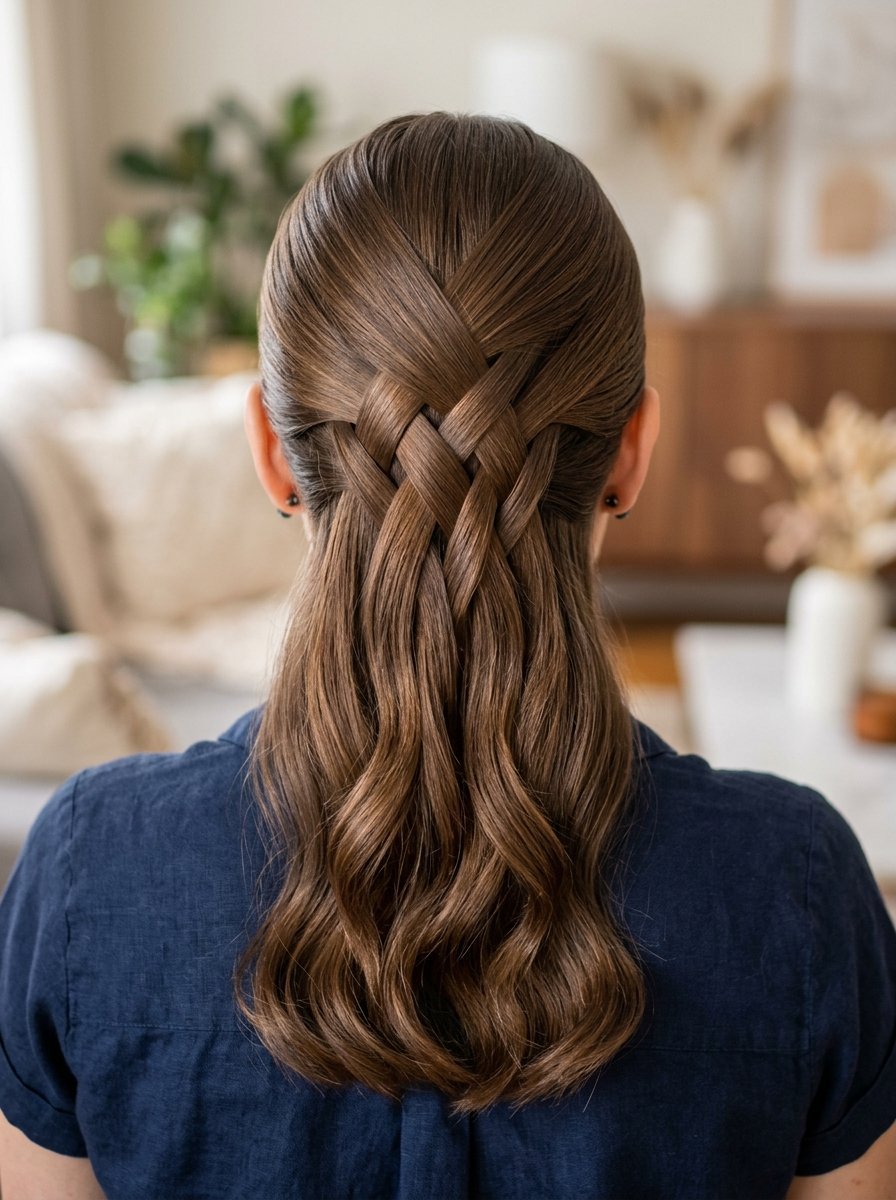
Instead of simply pinning hair back, crossing sections over each other creates an elevated ridge that lifts the surrounding crown hair. It looks incredibly elegant and functions well for formal daytime events.
- Take a two-inch section of hair from above the right ear and pull it across the back of your head to the left.
- Secure it flat with a bobby pin pointing downward.
- Take an equal section from above the left ear, pulling it over the first pinned piece to the right side.
- Pin it securely, hiding the first pin under the new crossing layer.
16. The Faux-Hawk Textured Ponytail Alignment
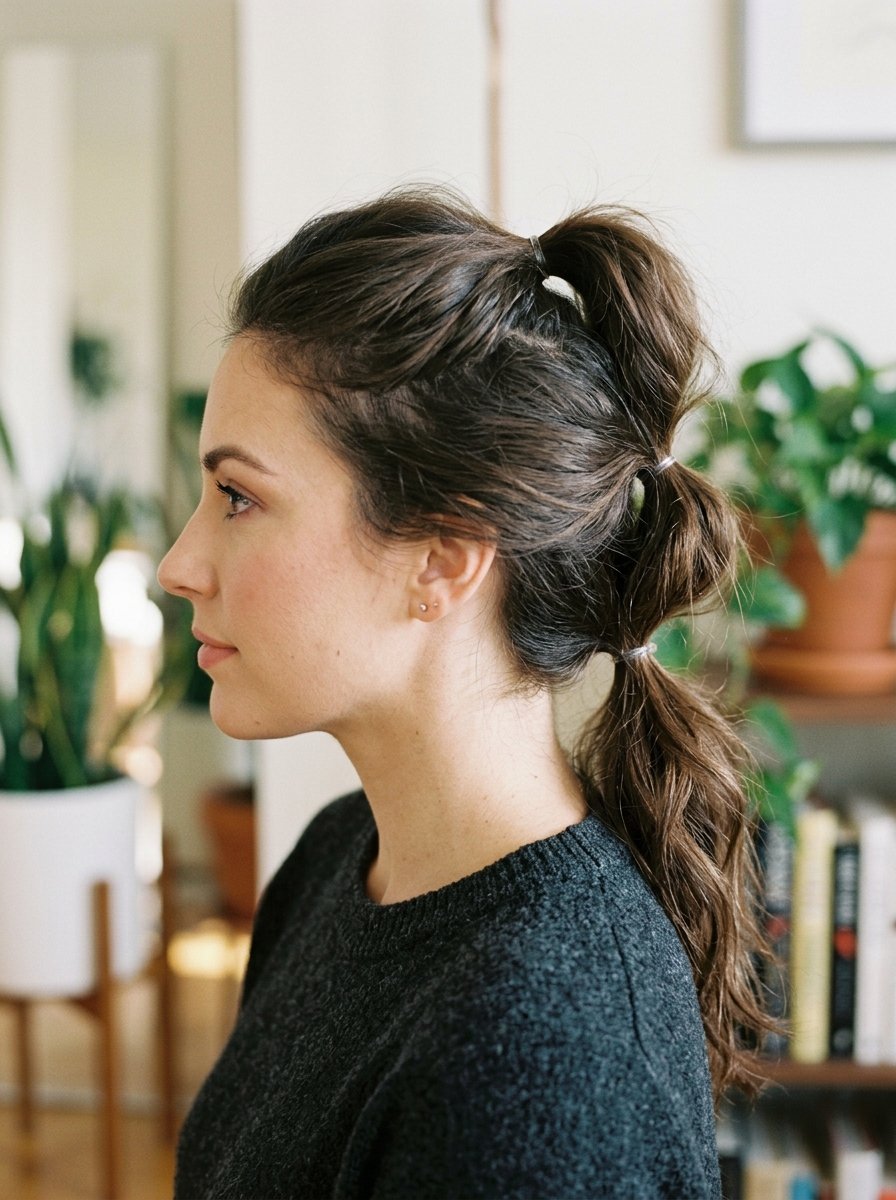
Aligning three small ponytails vertically down the back creates a continuous line of lift from the forehead down to the neck. It gives the illusion of thick, dense hair throughout the entire head profile.
- Create your first small ponytail using just the hair from your forehead to your crown.
- Create a second ponytail directly below it, incorporating the tail of the first one.
- Create a third ponytail at the nape of your neck, incorporating the remaining hair.
- Fluff the top sections of each ponytail upward to blend the line together.
17. The Zig-Zag Partition Line
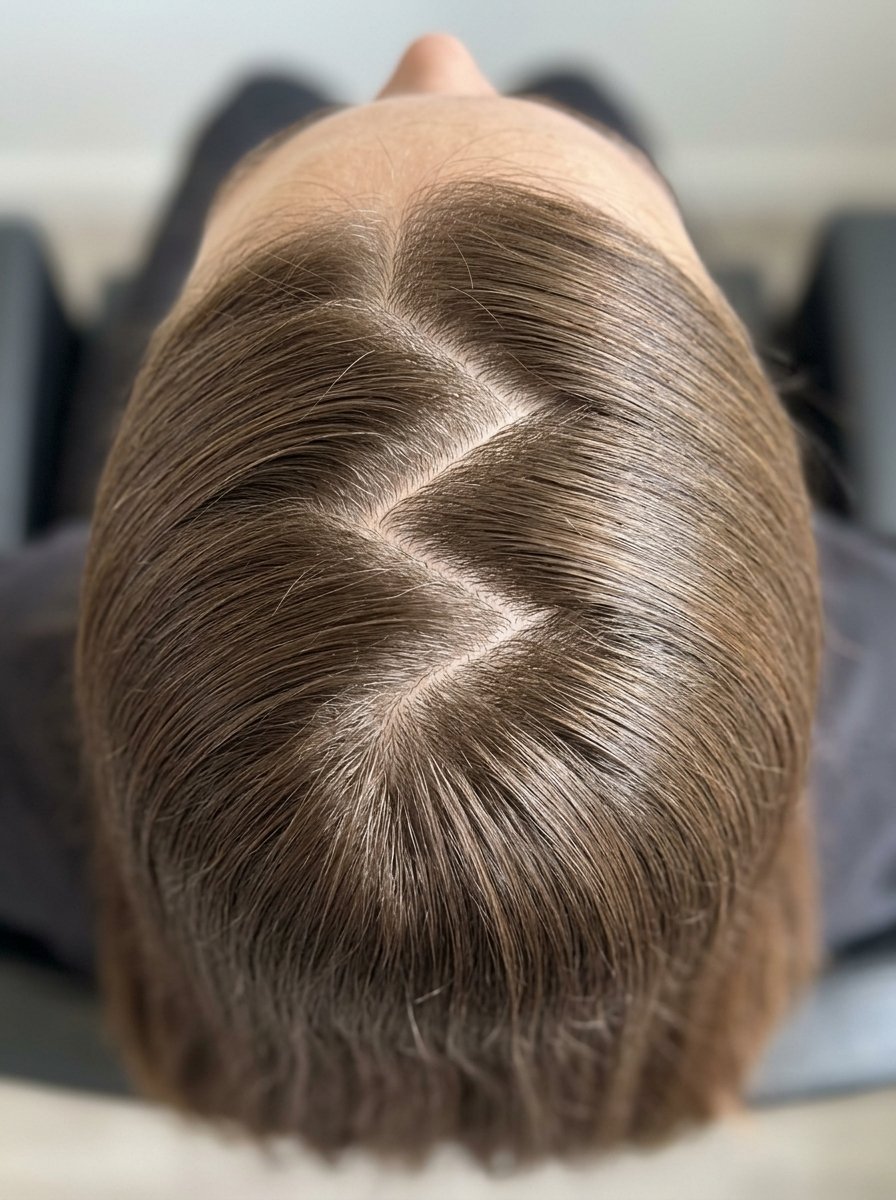
Straight part lines show more scalp, which makes fine hair appear thinner than it actually is. A sharp zig-zag part breaks up the hair line, hiding the scalp and forcing the root strands to rest against each other for mutual support.
- Place the tip of a rattail comb at your center front hairline.
- Move the comb back two inches at a sharp diagonal angle to the right.
- Turn sharply and move the comb two inches diagonally back to the left.
- Continue this pattern to the crown, then split the hair down the lines you drew.
18. The Crown Braided Halo Base
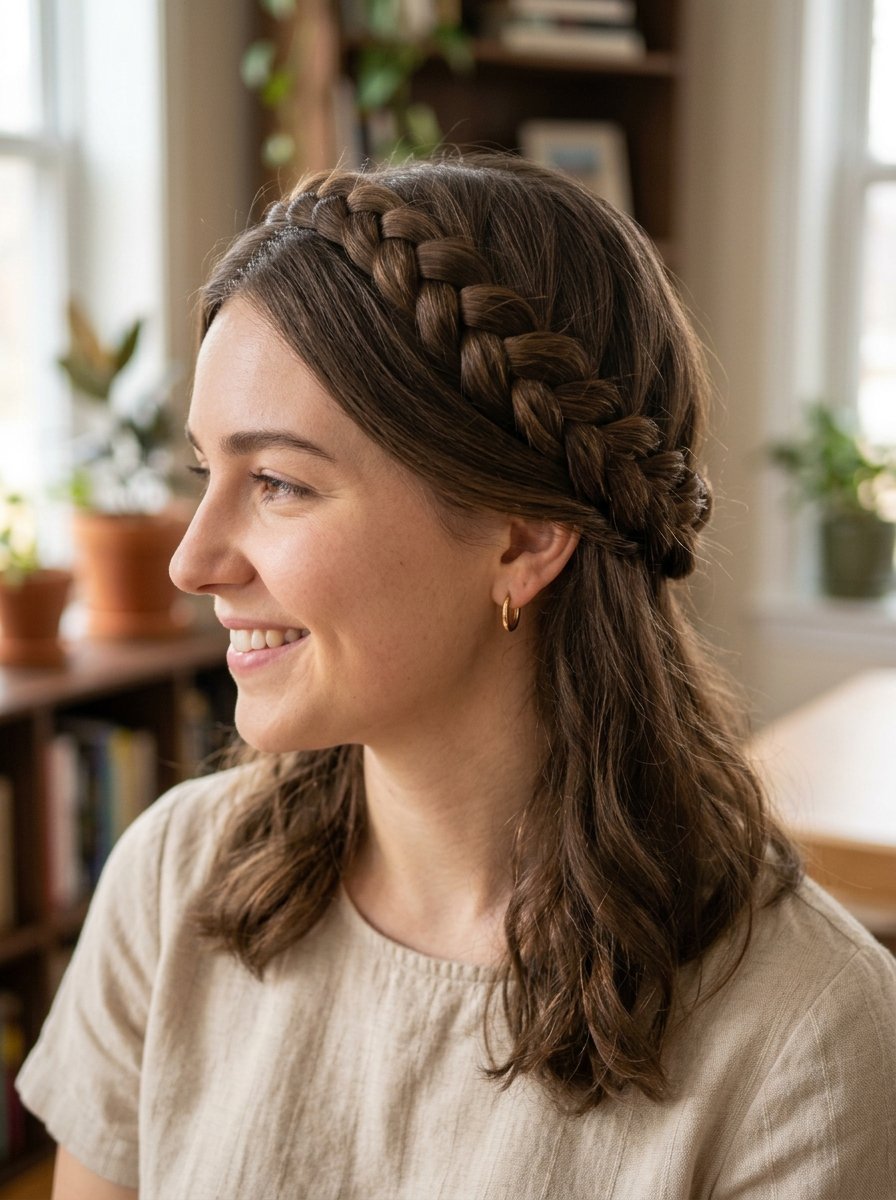
A halo braid acts like a supportive shelf around your head. The braid sits under the rest of your hair, propping up the unbraided layers so they cannot fall flat against your skull.
- Separate a thick section of hair from the lower hairline at your neck.
- Plait this section into a standard three-strand braid and secure the end.
- Wrap the braid up and around the side of your head, pinning it flat like a headband.
- Let the remaining top hair drape naturally over the braid structure.
19. The Twisted Rope Crown Wrap
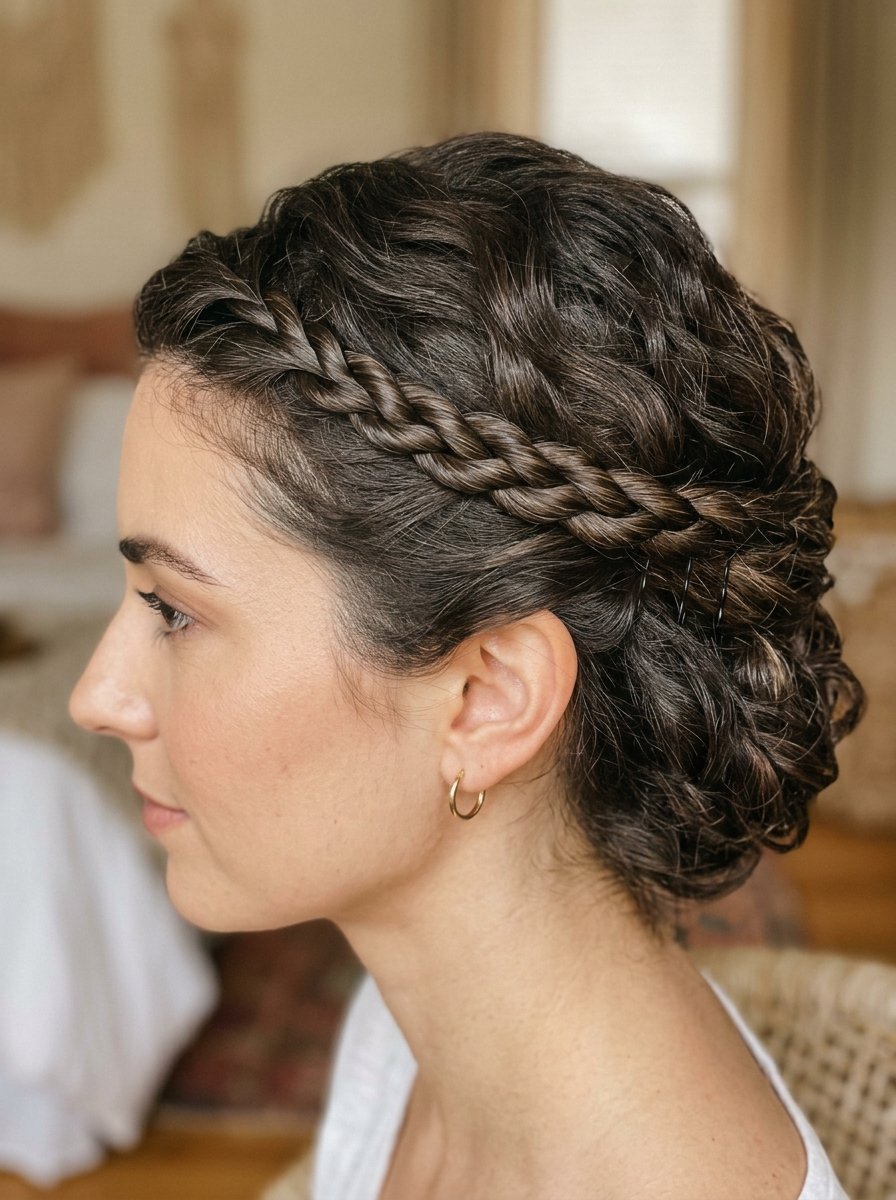
Twisting sections of hair packs the strands closer together, creating a firmer structural line than a regular braid. When pinned across the head, these ropes stay elevated and keep your roots from sinking.
- Take two even sections of hair from your side part.
- Twist each section individually to the right, then cross them over each other to the left.
- Continue this pattern along the side of your head, adding small bits of hair as you move back.
- Pin the end securely behind your ear under the top layers.
20. The Forward-Blown Root Dry Accent
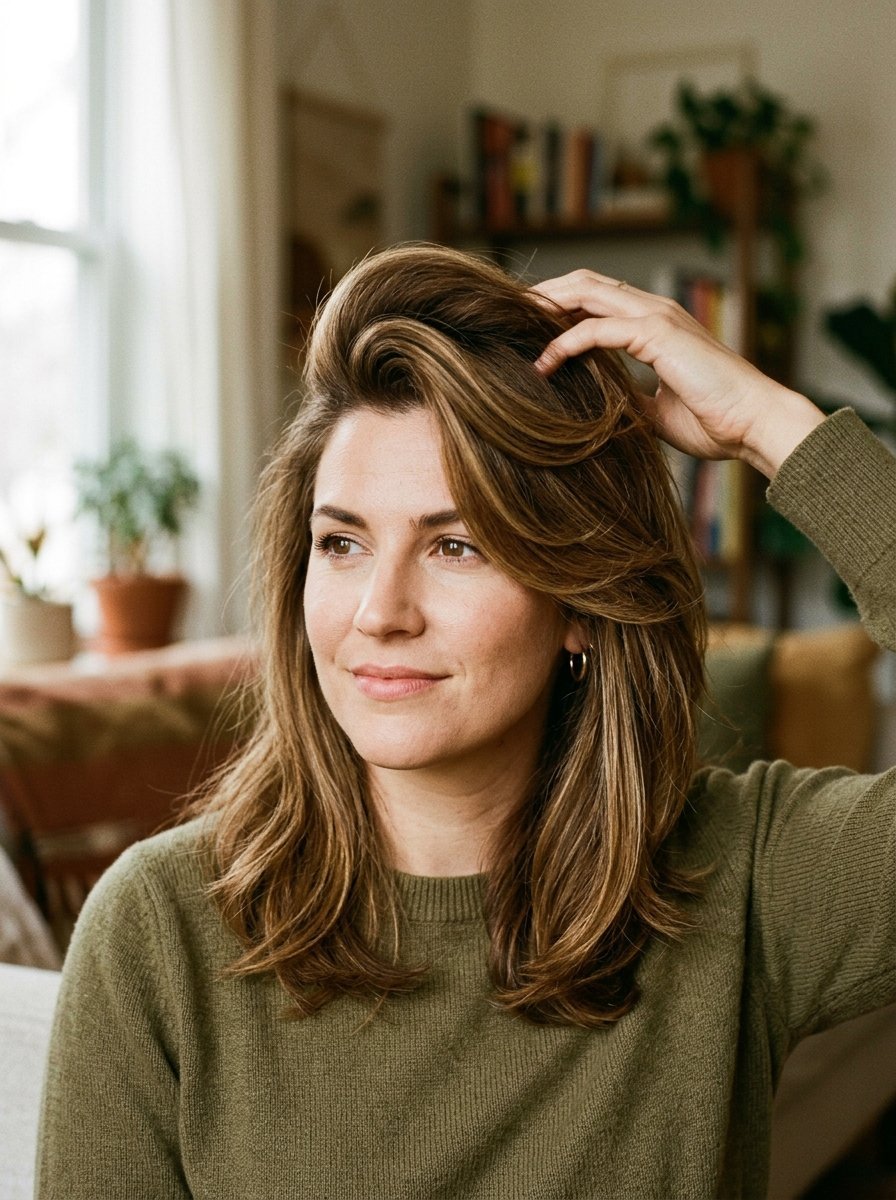
The way your hair dries sets the direction of the root follicle. By drying your front hairline forward over your face before tossing it back, you lock in a dramatic, gravity-defying wave at the front of your style.
- Dampen your front hairline with a mist of plain water.
- Comb the wet front section directly forward over your eyes.
- Use a blow dryer with a concentration nozzle to dry this section completely forward.
- Once dry, flip the hair straight back and run your fingers through to separate.
Volumizing Hairstyles Comparison
The table below breaks down how these top styles perform across different hair lengths and event types.
| Hairstyle Name | Ideal Hair Length | Difficulty Level | Estimated Setup Time | Best Event Type |
| Deep Side Part Flip | All Lengths | Very Easy | 1 Minute | Daily Wear |
| Classic Half-Up Top Knot | Medium to Long | Easy | 3 Minutes | Casual Outings |
| Brigitte Bardot Bump | Medium to Long | Medium | 5 Minutes | Over the Shoulder Dress |
| Double High Ponytail | Long Hair | Easy | 4 Minutes | Going Out Long Styles |
| Bubble Braid Accents | Medium to Long | Medium | 6 Minutes | Korean Style Ideas |
| Hollywood Wave | Long Hair | Advanced | 15 Minutes | Straight Hair Prom |
| Symmetrical Claw Pulls | Short to Medium | Very Easy | 2 Minutes | Classy Half Up Looks |
| Hidden-Clip Lift | Medium to Long | Easy | 3 Minutes | 19th Birthday Looks |
Frequently Asked Questions
How do I stop my volumized styles from falling flat within an hour?
Fine hair drops volume because natural scalp oils weigh down the lightweight roots. To prevent this, always start your styling process on completely dry hair. Avoid applying heavy conditioners or hair oils near your scalp line during your wash routine. Keep your hydration products focused entirely on the bottom two inches of your hair strands.
Will teasing my hair every day cause permanent thinning?
Yes, traditional backcombing damages the outer cuticle layer of your hair, leading to breakage and split ends. The styles outlined in this guide use placement tricks, parting methods, and small accessories to build physical height without requiring aggressive teasing or chemical styling sprays.
Can I use these volume styles if I have a short bob haircut?
The Deep Side Part Flip, Symmetrical Micro Claw Clip Pullbacks, and the Zig-Zag Partition Line work wonderfully on short bob haircuts. These specific techniques modify how the root sits on the scalp rather than relying on hair length to create the appearance of thickness.
What types of hair clips are best for keeping fine hair lifted?
Look for lightweight plastic claw clips rather than heavy metal barrettes. Heavy metal pins pull fine hair down due to their physical weight. Small, ridged plastic jaw clips grip the hair strands firmly without sliding or adding downward pressure to your roots.
Does air drying make limp hair look flatter than blow drying?
Air drying allows gravity to pull wet, heavy hair down as it dries, which sets the root flat against the skull. Blow drying your hair upside down for just three minutes removes the initial moisture weight, setting the roots in an upright position for better daily bounce.

Sarah Mitchell — Founder & Editor-in-Chief
Sarah Mitchell is the founder and editorial voice behind Hair Level Up. A licensed cosmetologist with more than 15 years of experience, she has styled A-list celebrities for editorial shoots and red carpets, with work featured in Vogue, Elle, and Harper’s Bazaar. Early in her career, she trained under the legendary hairstylist Oribe in New York, an apprenticeship that still shapes her editorial eye today. Sarah founded Hair Level Up in 2020 after one bad haircut convinced her that women deserved a destination that felt like a magazine, taught like a stylist, and inspired like an art gallery. She oversees every story from concept to publication, guided by a simple belief: a good story teaches you something, but a great one makes you feel beautiful while it does.