20 Bedhead Looks That Turn Fine Hair Into Texture Goals
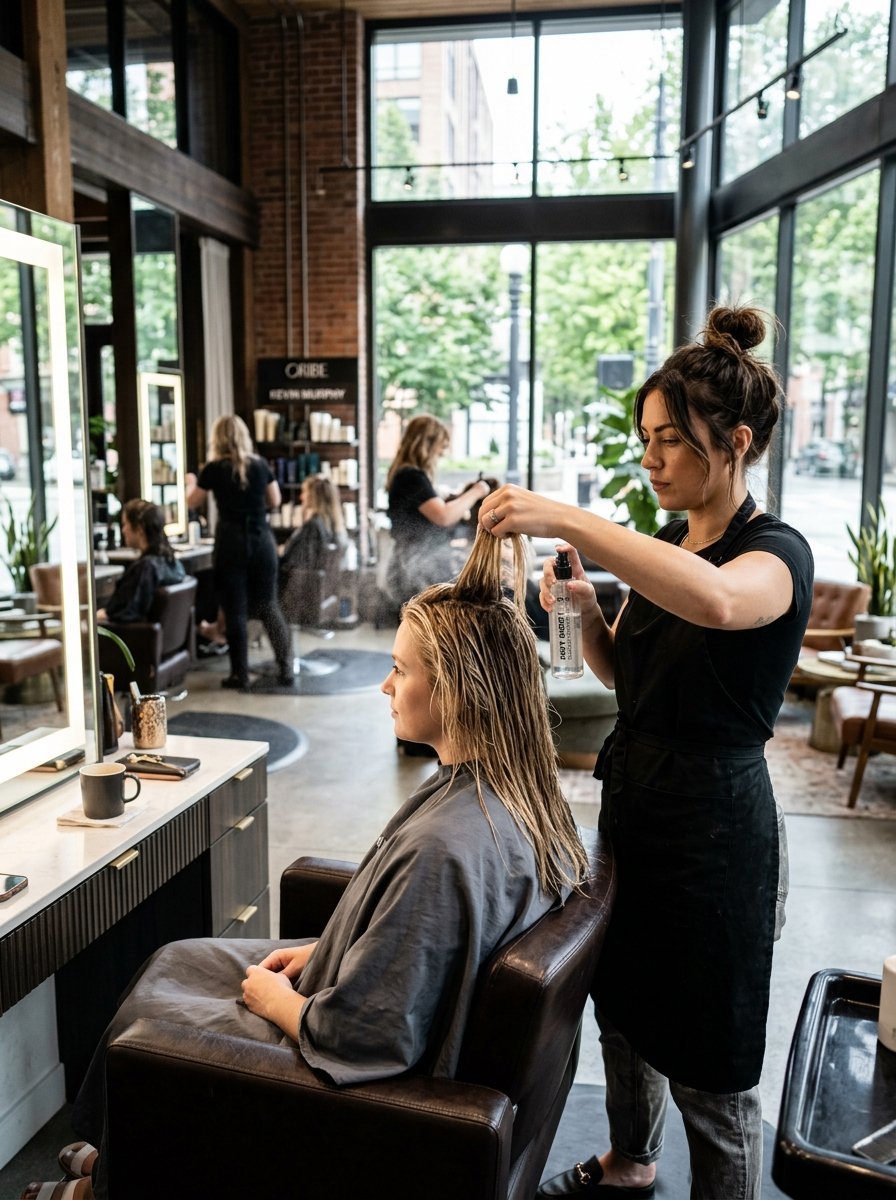
Fine hair often feels like a constant battle against gravity. You wash it, style it, and within an hour, it flatlines. The traditional advice usually involves heavy hairsprays or sticky gels that end up weighing down delicate strands even more. There is a different way to handle this. Instead of fighting the natural silkiness of fine hair, you can lean into lived-in, messy styles. The intentional bedhead look works beautifully because it utilizes strategic friction and lightweight separation to create the illusion of thickness.
This guide breaks down twenty practical, messy styles designed specifically to give fine hair lasting volume and shape. You will find real styling routines, tool selections, and mistake preventions based on daily salon experience.
Executive Summary
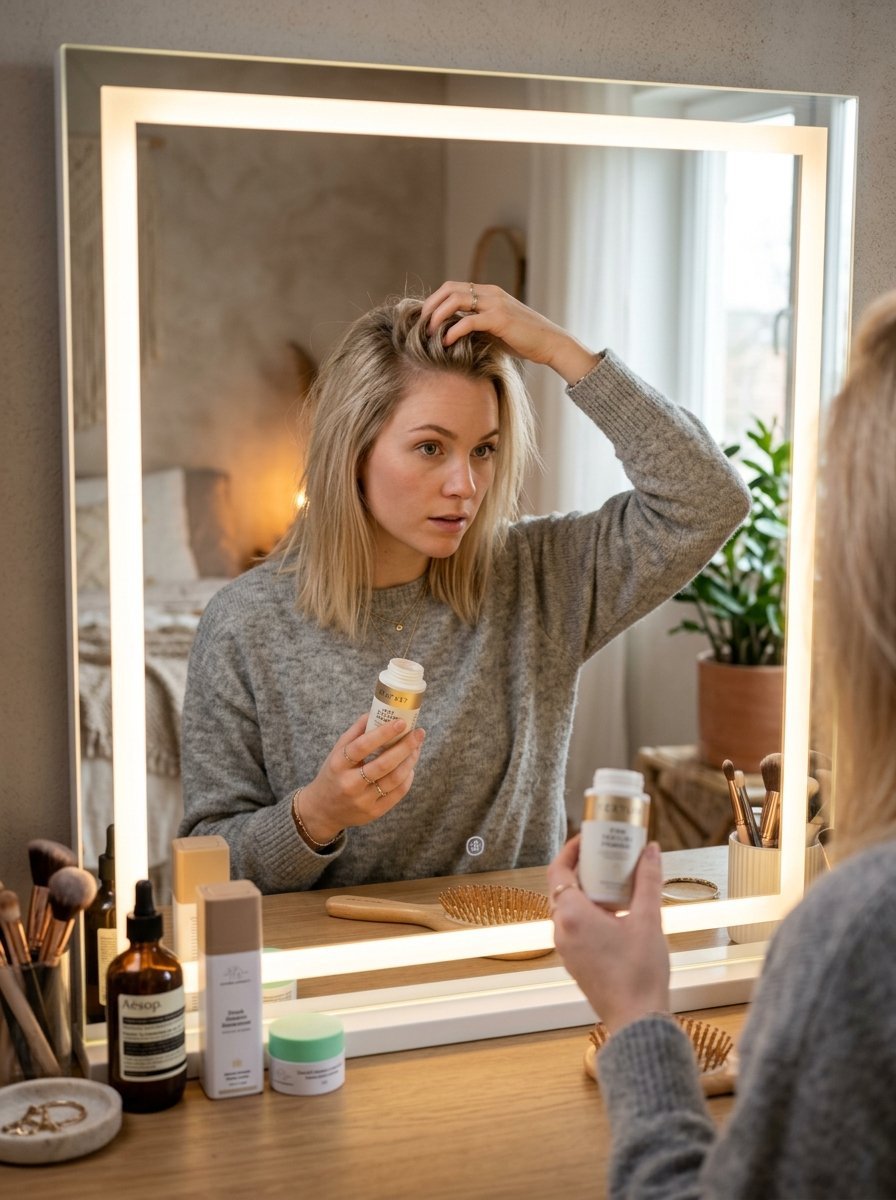
Fine hair requires specialized styling techniques to maintain texture without losing natural movement. Heavy products like traditional pomades, thick waxes, and high-shine gels overpower fine strands, causing them to clump together and reveal the scalp. This comprehensive resource details twenty distinct bedhead styles that transform flat hair into voluminous, textured looks. By using lightweight gritting agents such as dry texturizing sprays, sea salt formulations, and matte powders, you can create sustainable volume.
The following sections provide step-by-step instructions for each look, specific tool recommendations, and solutions for common styling errors. You will learn how to build a routine that keeps fine strands looking full, separated, and intentionally tousled all day.
1. The Classic Tousled Pixie
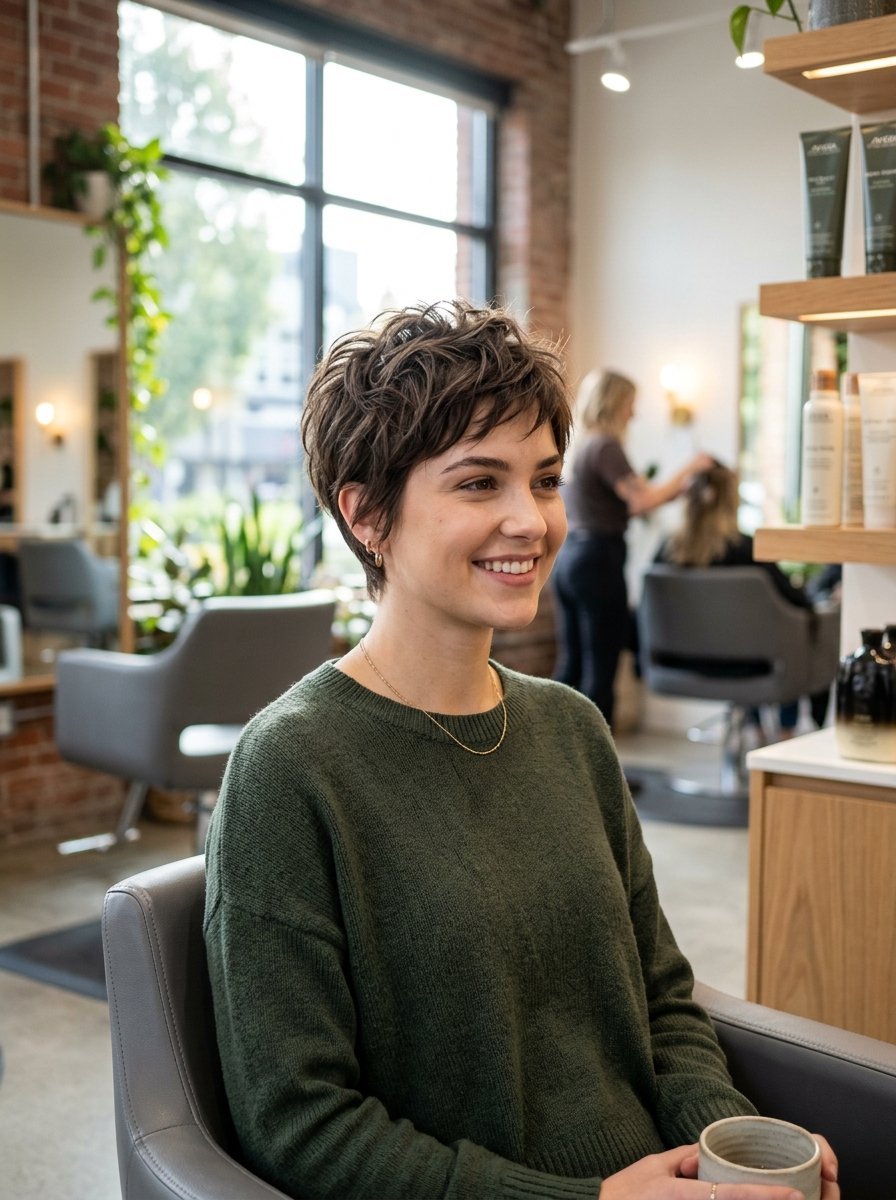
This style relies on short layers to remove weight from the crown, allowing fine hair to lift naturally. By keeping the sides slightly tapered and the top pieces fragmented, you create immediate dimension.
- Best For: Cropped lengths, oval face shapes, and straight fine hair.
- Key Tool: Matte texture paste or clay.
- The Routine: Dampen hair slightly. Rub a pea-sized amount of matte paste between your palms until it warms up. Work it through the ends of the hair, lifting upward from the roots. Avoid the scalp area to prevent oil buildup.
- Pro Tip: In my experience, applying paste to wet hair ruins the volume. Always make sure the hair is at least 90% dry before adding styling clays.
2. Shaggy Wolf Cut Waves
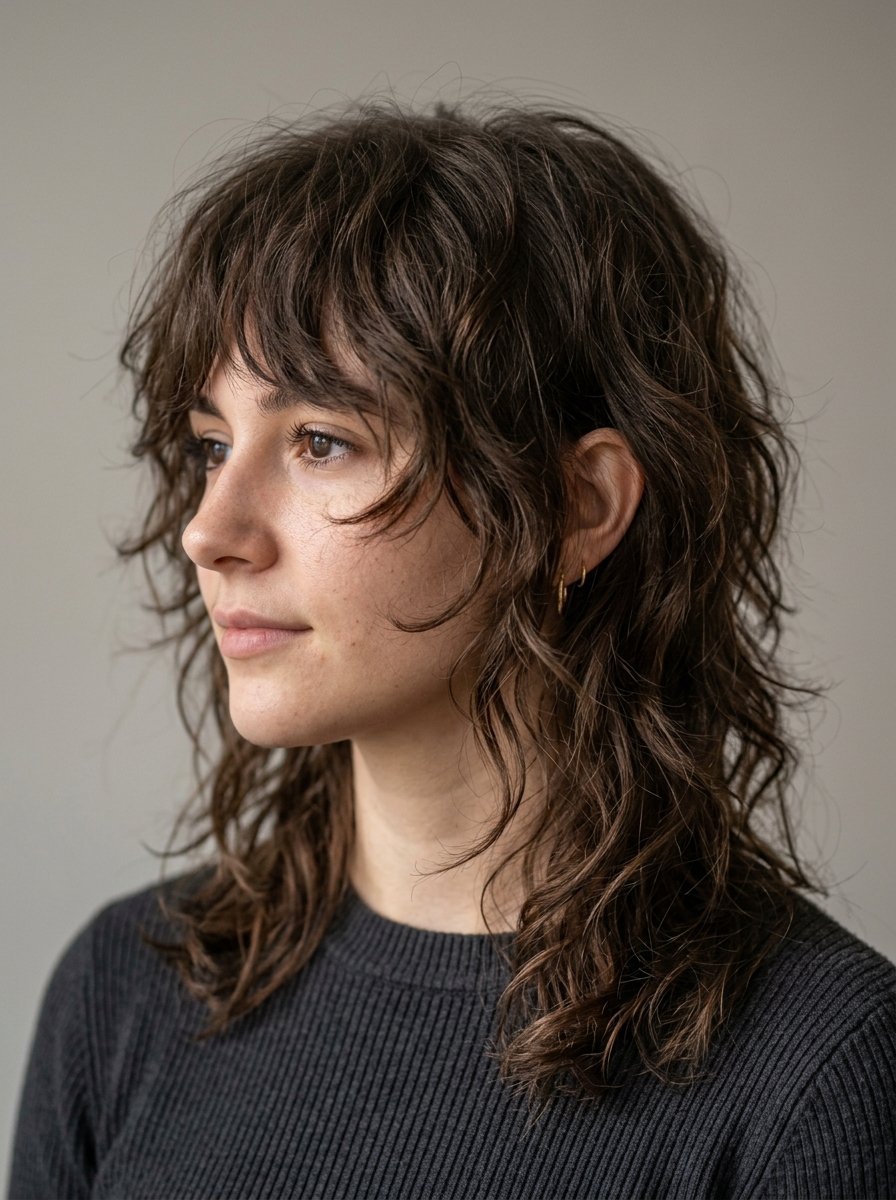
The modern wolf cut uses extreme layering to build volume around the face while keeping the perimeter light. It transforms flat, straight hair into a style with movement.
- Best For: Medium lengths and natural wavy hair texture.
- Key Tool: Sea salt spray.
- The Routine: Spray sea salt formulation generously onto damp strands from mid-lengths to ends. Use your fingers to crunch the hair upward toward the scalp. Let it air dry completely or use a diffuser attachment on low heat.
- Pro Tip: Avoid high heat settings when diffusing fine hair. High heat stretches out the fragile wave pattern, leaving it looking frizzy instead of piecy.
3. Deconstructed Choppy Bob

A blunt bob can make fine hair look thicker, but adding chopped interior layers creates a lived-in texture that looks effortless.
- Best For: Jaw-line lengths and medium hair waves.
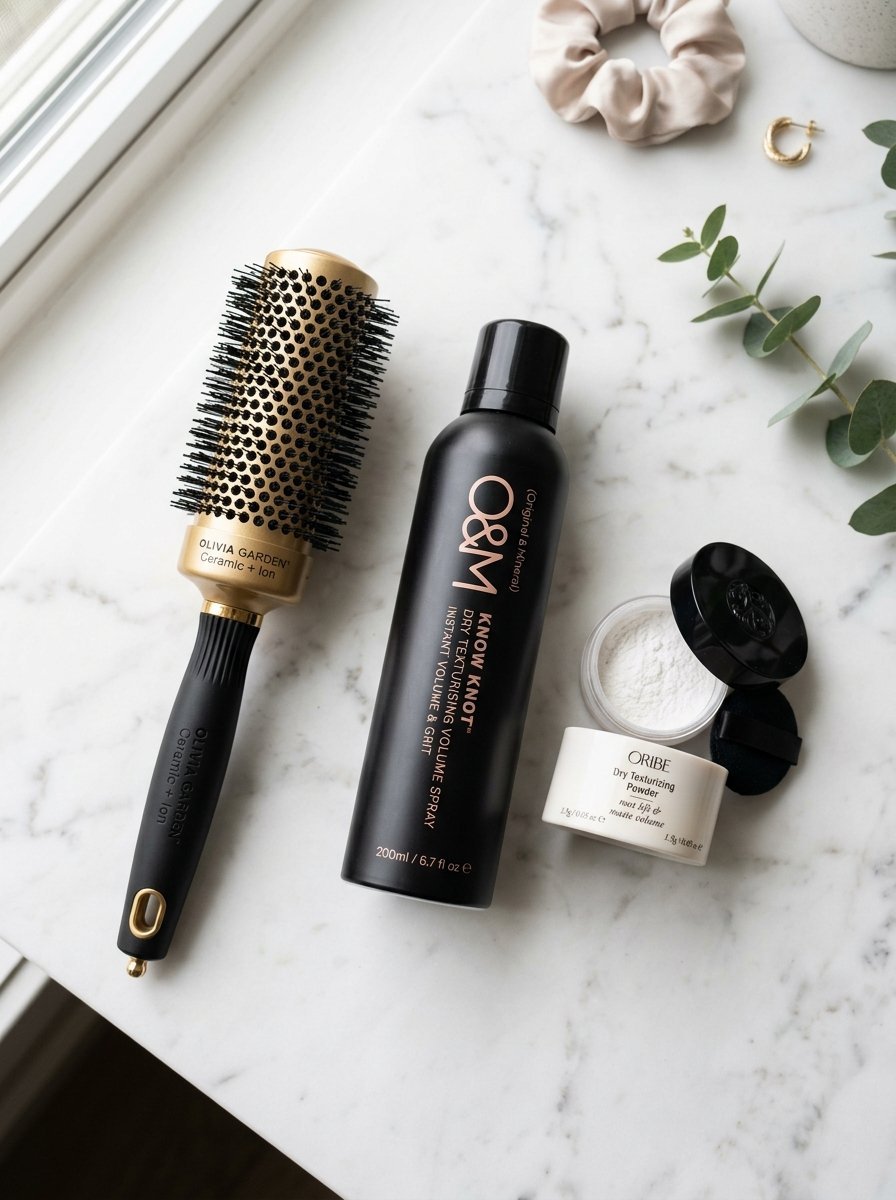
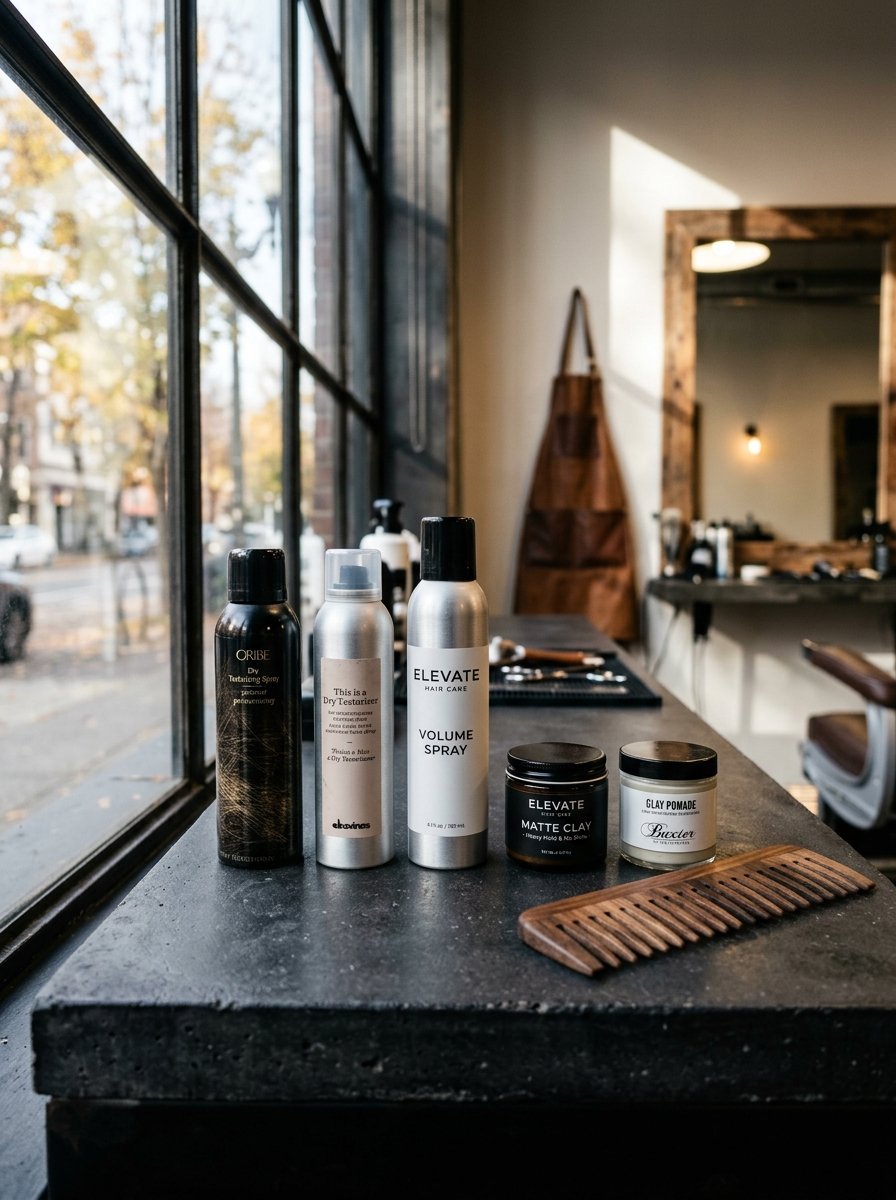
- Key Tool: Dry texturizing spray.
- The Routine: Clean and dry your hair completely. Shake the texturizing spray well. Lift sections of hair and spray from six inches away, focusing on the middle sections. Use your fingers to shake out the style.
- Pro Tip: I have noticed that people often confuse texturizing spray with hairspray. Texturizing spray adds dry grit, whereas hairspray locks strands in place. Use the texturizer for movement.
4. The Whispy Curtain Bang Shug

Curtain bangs frame the face beautifully, while the shaggy layers throughout the rest of the hair add volume to flat roots.
- Best For: Shoulder-length hair and wavy hair from front views.
- Key Tool: Medium round brush and volumizing mousse.
- The Routine: Apply a golf-ball-sized amount of mousse to wet roots. Blow-dry the curtain bangs forward using the round brush, then flip them backward. Tousle the rest of the hair with your hands while drying.
- Pro Tip: Do not use heavy oils on curtain bangs. The oils transfer to your forehead, making both your skin and your bangs look greasy by midday.
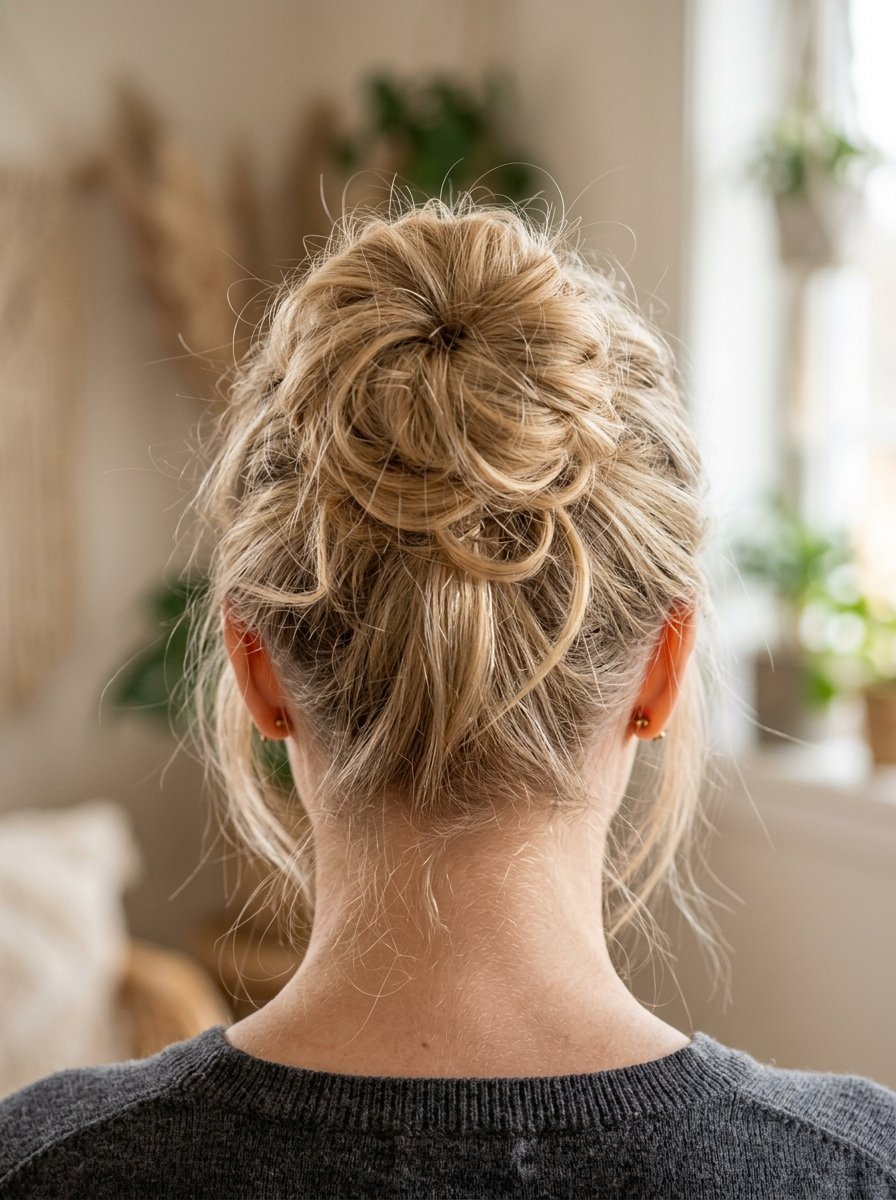
5. Casual Bedhead Top Knot
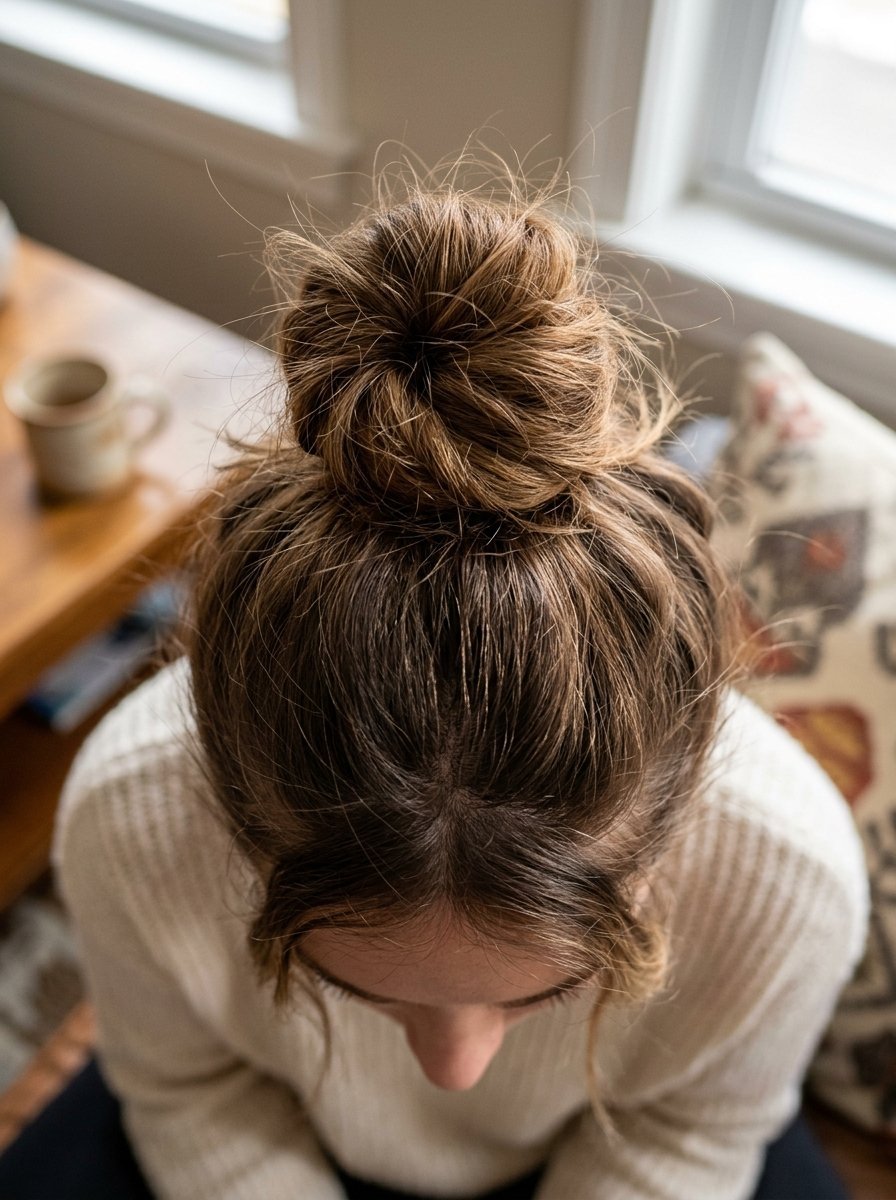
This style uses your hair’s natural overnight texture to create a high, voluminous bun that does not look slicked back or stiff.
- Best For: Medium to long fine hair.
- Key Tool: Creping brush and a nylon hair tie.
- The Routine: Flip your head upside down. Gather hair loosely at the crown. Secure it with a nylon tie, leaving the ends loose. Lightly tease the loose ends with a creping brush to create texture, then wrap them around the base.
- Pro Tip: Never use rubber bands for this look. They snag fine strands and cause breakage right at the crown where you want volume.
6. Smashed Crown Layered Lob
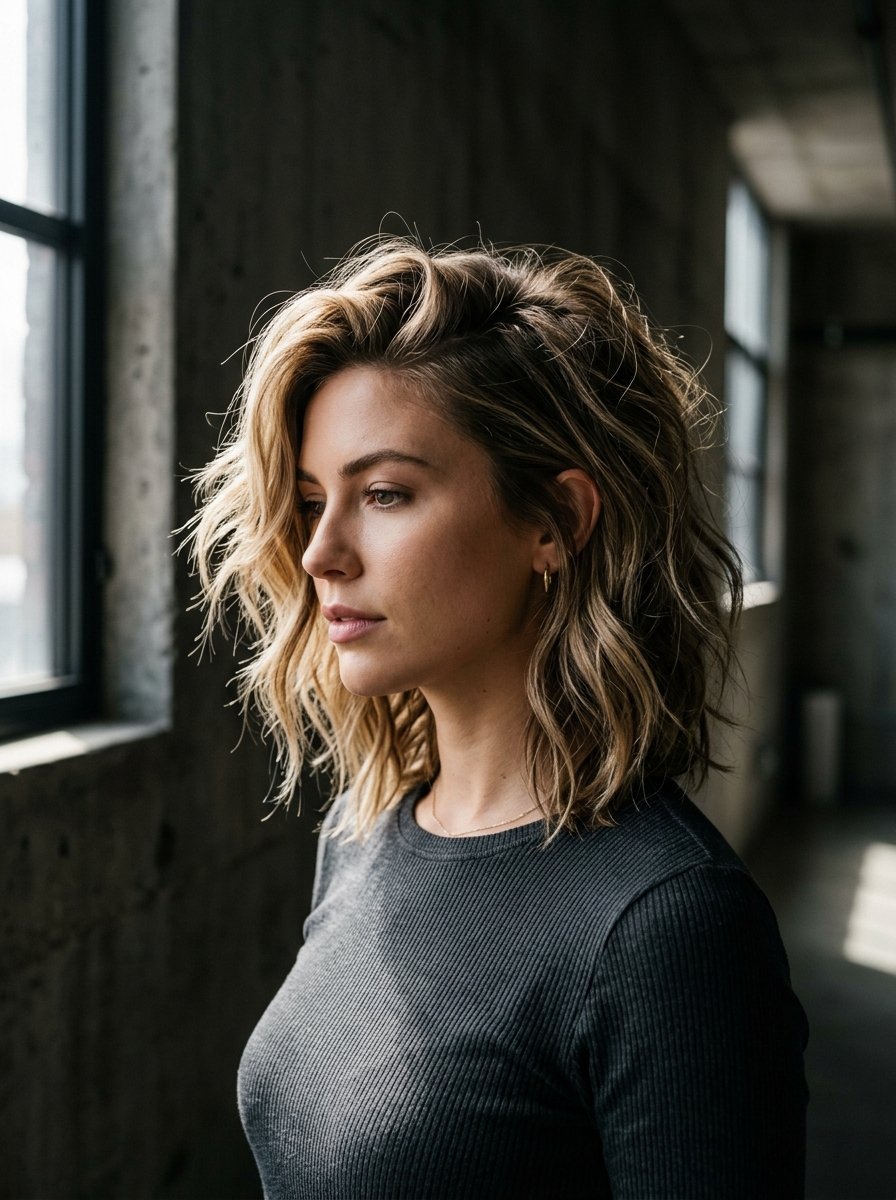
A long bob with shorter layers cut into the crown prevents the weight of the bottom perimeter from pulling down the roots.
- Best For: Collarbone lengths and natural waves hairstyle variations.
- Key Tool: Root lifting powder.
- The Routine: Part your hair where you normally do. Sprinkle a tiny amount of root powder directly onto the scalp area at the crown. Massage the powder in with your fingertips until it disappears and lifts the hair.
- Pro Tip: A little root powder goes a long way. If you use too much, the hair becomes sticky and difficult to brush through. Start with a single puff.
7. The Overnight Braided Texture
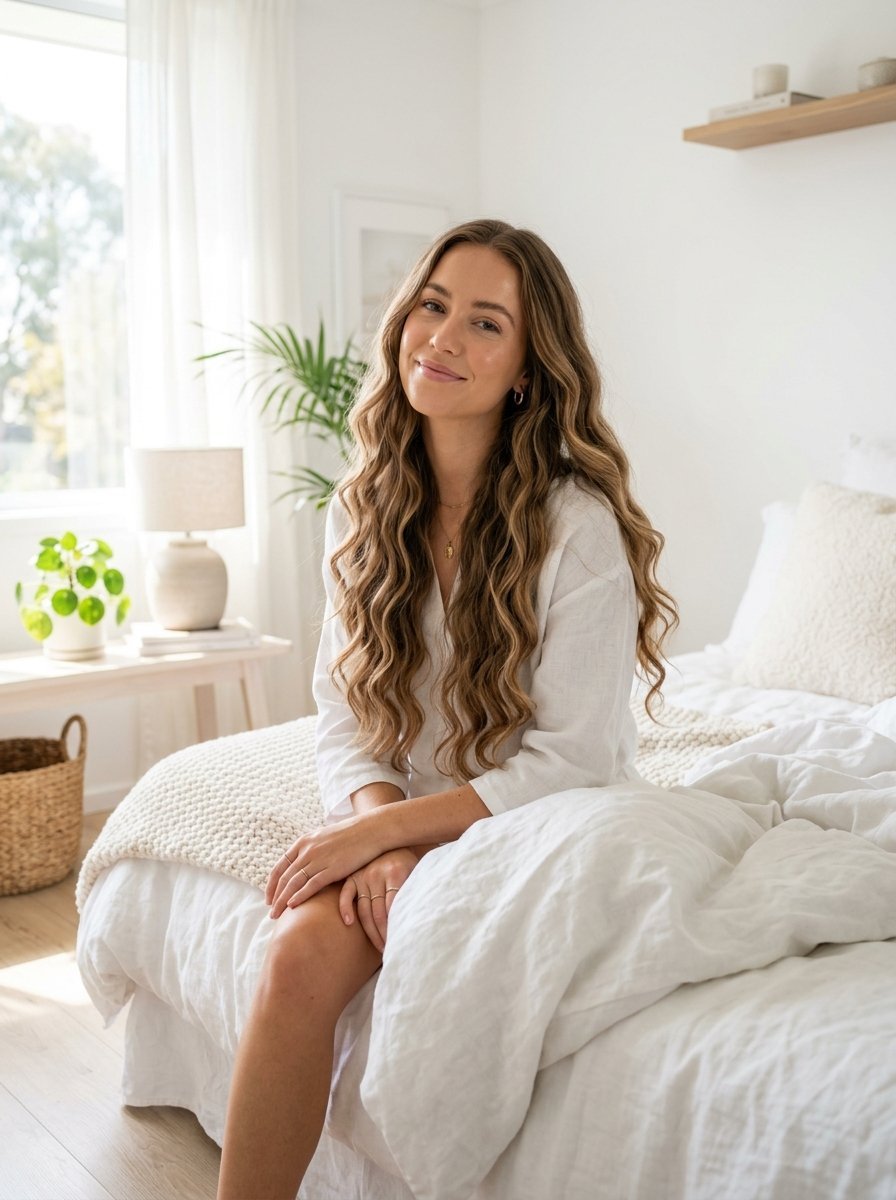
This heatless method creates consistent, messy waves by using the structure of damp braids left overnight.
- Best For: Long fine hair needing body wave perm 2025 aesthetics without chemicals.
- Key Tool: Two lightweight satin scrunchies.
- The Routine: Wash hair before bed. When it is 80% dry, split it down the middle into two sections. Create loose three-strand braids on each side. Secure the ends with satin scrunchies. Undo them in the morning and shake out.
- Pro Tip: Do not braid wet hair. Fine hair is weakest when wet, and braiding it tight overnight can cause traction damage along the hairline.
8. Piece-Y Asymmetrical Crop
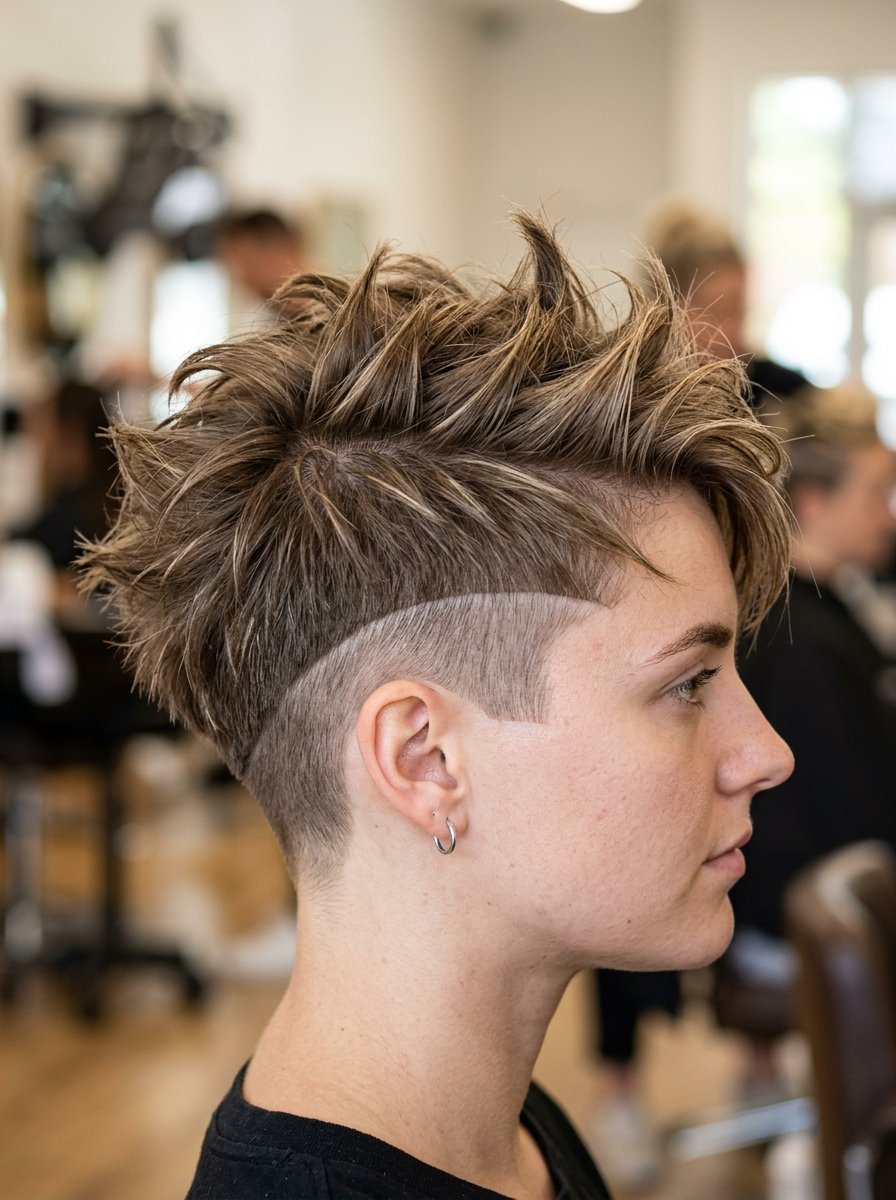
An asymmetrical cut shifts the focus to dramatic lines and textured peaks, making fine hair appear intentional and full of motion.
- Best For: Short hair and dramatic styles.
- Key Tool: Lightweight styling wax stick.
- The Routine: Blow-dry hair flat in the direction of the growth. Take a tiny amount of wax from the stick onto your fingertips. Pinch the very ends of the hair pieces to create sharp, separated points.
- Pro Tip: I have seen this fail when people apply wax to the roots. Keep wax strictly on the tips of the hair to maintain the separation.
9. Messy Side-Swept Volume
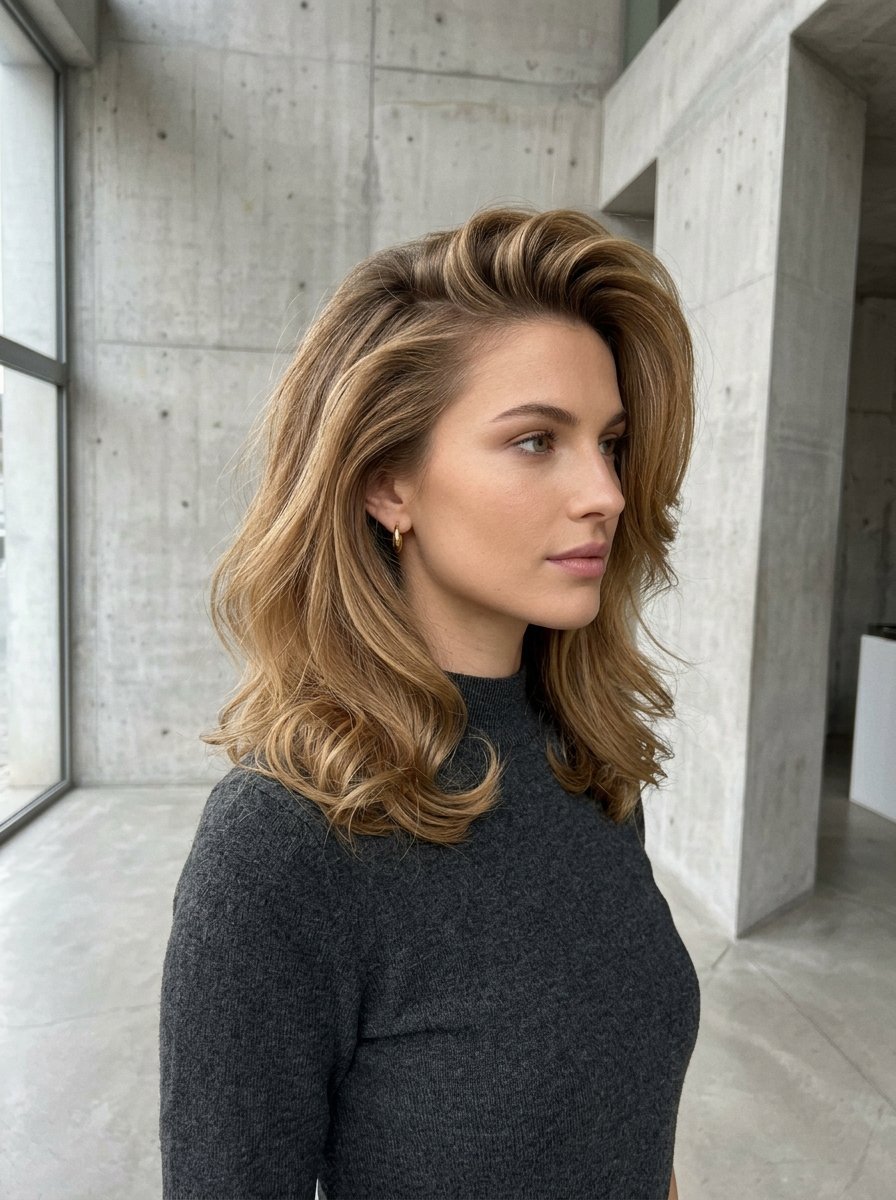
By shifting your part drastically to one side, you force the hair follicles upward, creating instant volume at the front of your face.
- Best For: All hair lengths and wavy hair images female reference styles.
- Key Tool: Volumizing dry shampoo.
- The Routine: Spray dry shampoo at the roots of dry hair. Flip your hair completely to the opposite side of your normal part. Use your fingers to massage the roots and set the sweep in place.
- Pro Tip: Use dry shampoo even on clean hair. It acts as an excellent preventative shield against natural oils that flatten fine hair throughout the day.
10. The Blunt Cut With Invisible Layers
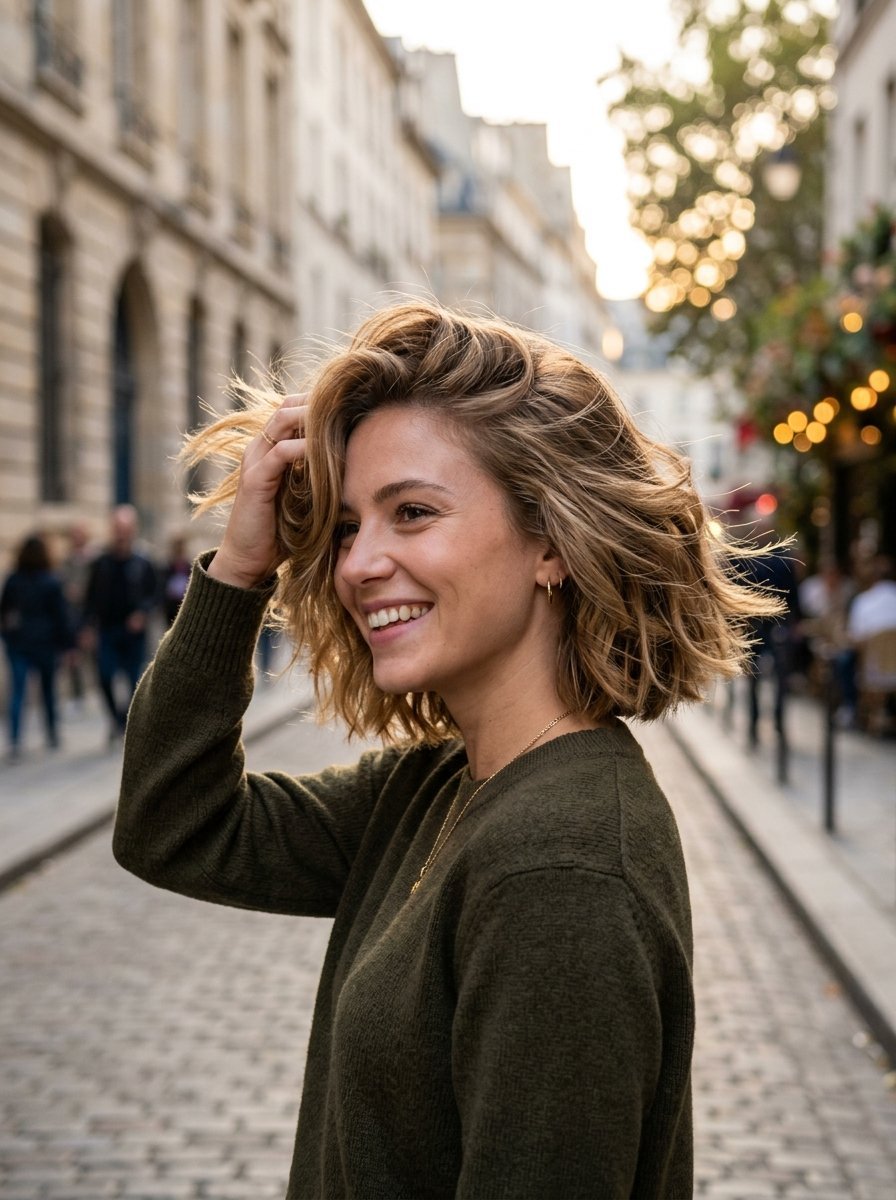
This look maintains a thick, solid baseline perimeter but uses internal slide-cutting techniques to create hidden pockets of air and volume.
- Best For: Mid-length straight or fine wavy hair.
- Key Tool: Wide-tooth comb and texturizing mist.
- The Routine: Spray texturizing mist onto damp hair. Comb through with a wide-tooth comb to distribute evenly. Let the hair air dry, then scrunch the mid-lengths once dry to wake up the hidden layers.
- Pro Tip: Ask your stylist specifically for slide-cutting or internal layering. Point-cutting the perimeter too much will make fine hair look sparse and see-through.
11. Tousled Space Buns
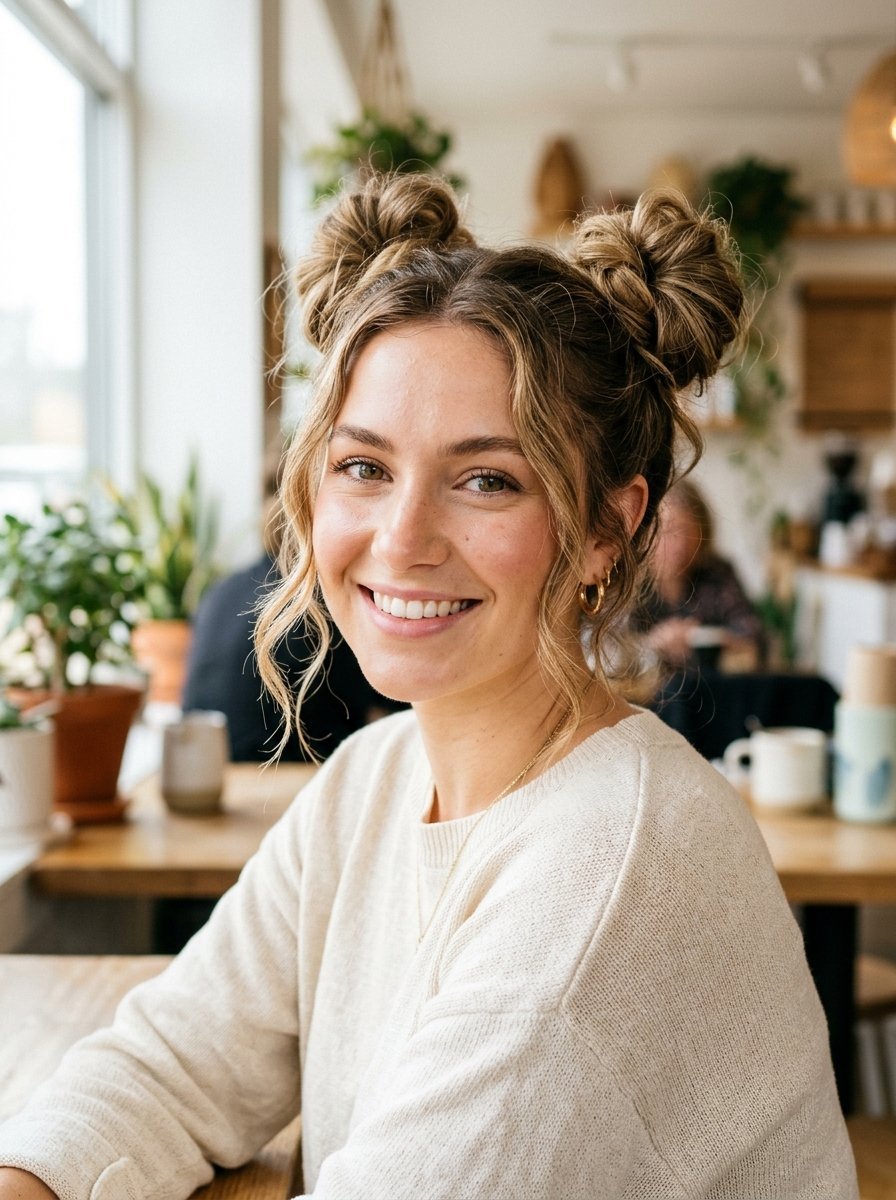
Two high buns placed on the crown provide a playful look that automatically creates volume on both sides of the head.
- Best For: Short-to-medium fine hair.
- Key Tool: Matte texture spray and U-shaped bobby pins.
- The Routine: Section hair down the middle. Pull each section into a high pigtail. Spray the pigtails with texturizer. Twist them loosely into buns and secure with U-pins rather than tight elastics.
- Pro Tip: U-shaped pins hold the hair securely without compressing the bun, keeping the style looking large, airy, and messy.
12. The Beachy Shag Texture
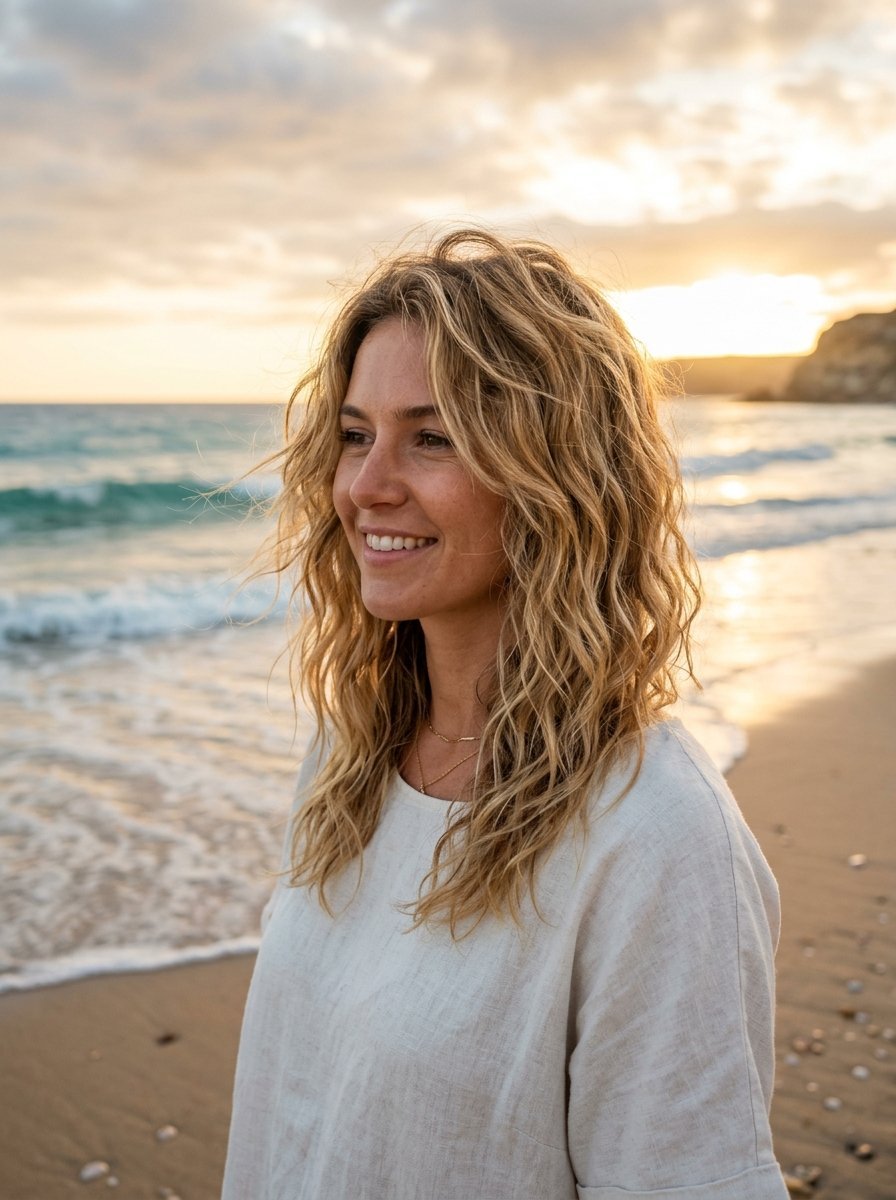
This style combines the feathered face-framing of a classic shag with the rough texture of a beach style, perfect for fine hair with a slight bend.
- Best For: Medium lengths and wavy hair texture profiles.
- Key Tool: Diffuser attachment and ocean water spray.
- The Routine: Mist ocean water spray from ears down on damp hair. Tilt your head sideways and place sections into the diffuser bowl. Push the diffuser up toward the scalp, hold for ten seconds, and release.
- Pro Tip: Look for formulas containing conditioning agents like aloe vera alongside sea salt. Pure salt sprays can dry out fine hair over time, making it brittle.
13. The Undercut Messy Pixie
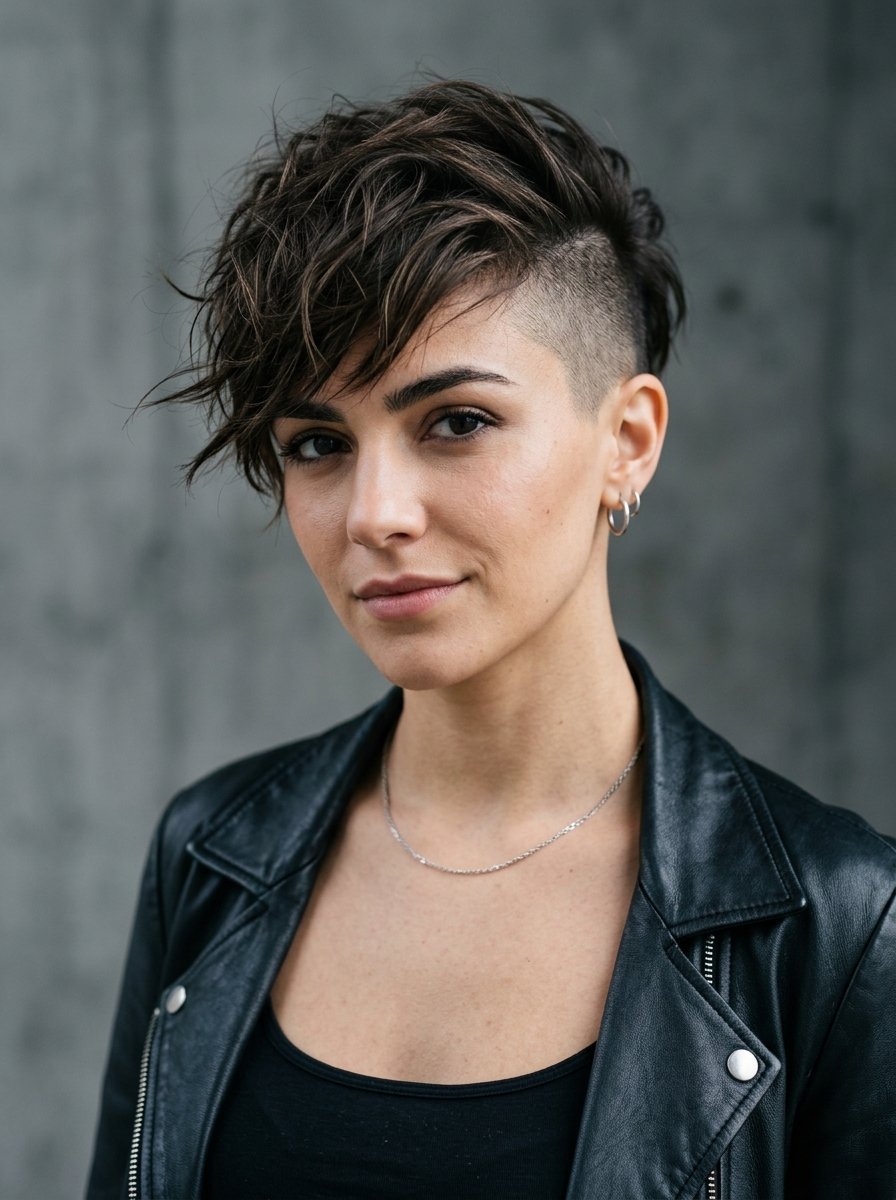
An undercut removes the hair at the nape of the neck that often tangles or weighs down the longer, texturized pieces on top.
- Best For: Short hair and active lifestyles.
- Key Tool: Light pomade paste.
- The Routine: Keep the shaved section clean. Warm a half-pea size of pomade between fingers. Tousle the top long section forward and slightly to the side, letting the ends sit loosely over the undercut.
- Pro Tip: Wash your styling tools weekly. Fine hair picks up leftover product residue from brushes quickly, which ruins subsequent styling attempts.
14. Roughed-Up French Girl Bob

This classic French cut sits right at the chin line with light, wispy bangs. The goal is an uncombed look that appears elegant yet messy.
- Best For: Straight fine hair and jawline profiles.
- Key Tool: Lightweight leave-in conditioner spray.
- The Routine: Mist leave-in conditioner on wet hair for shine. Air dry completely while occasionally shaking your hair with your fingers. Pinch the bangs slightly to separate them across the brow.
- Pro Tip: Avoid heavy cream conditioners in the shower when rocking this look. They coat the hair shaft and flatten the effortless bounce required for a French bob.
15. The Faux-Hawk Tousle
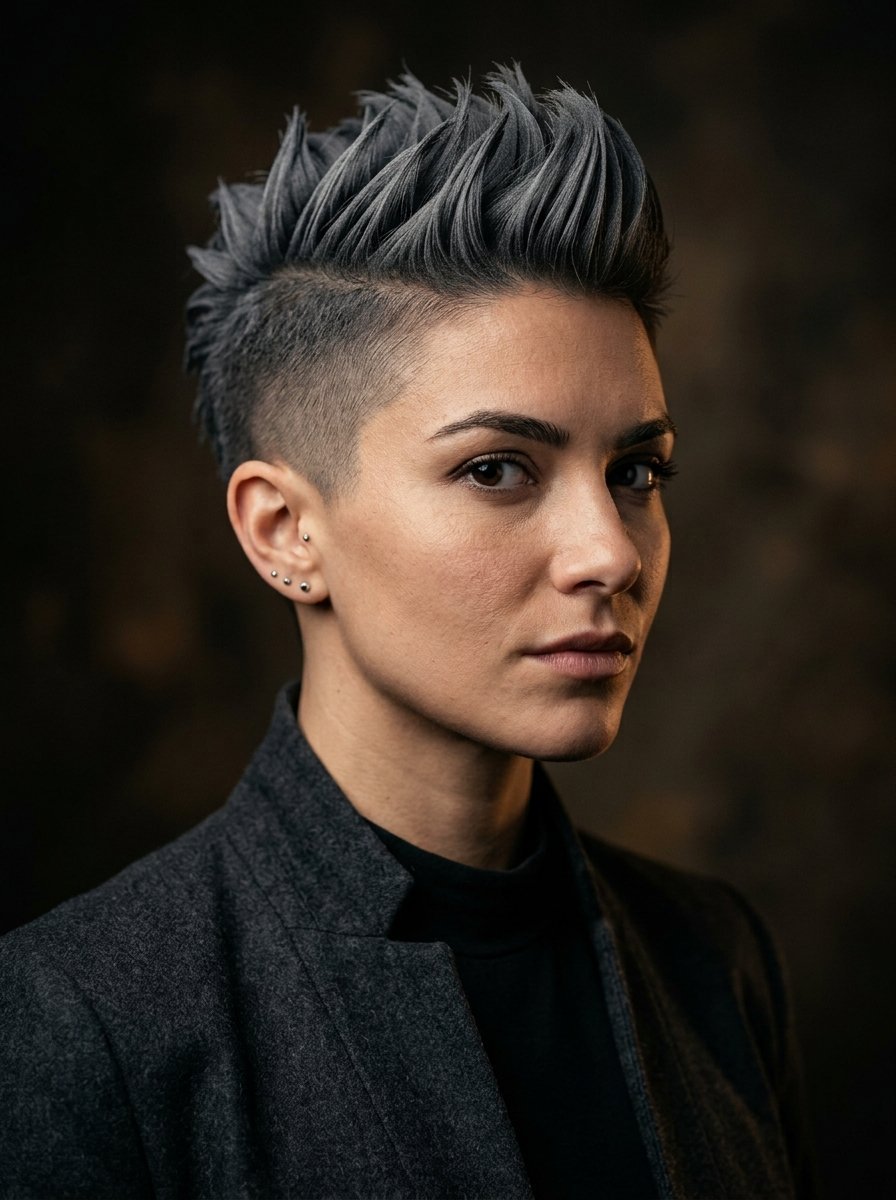
For very short cuts, pushing the hair from both sides toward the center line creates a structural peak that maximizes height and minimizes flatness.
- Best For: Short fine hair and pixie lengths.
- Key Tool: Strong-hold matte clay.
- The Routine: Rub matte clay into palms. Use an upward, centering motion to guide the hair from the sides toward the middle of the head. Define the top peaks by pinching the tips.
- Pro Tip: Ensure your clay has a zero-shine finish. Any shine or gloss mimics natural oils, making fine hair look thin and revealing the scalp underneath.
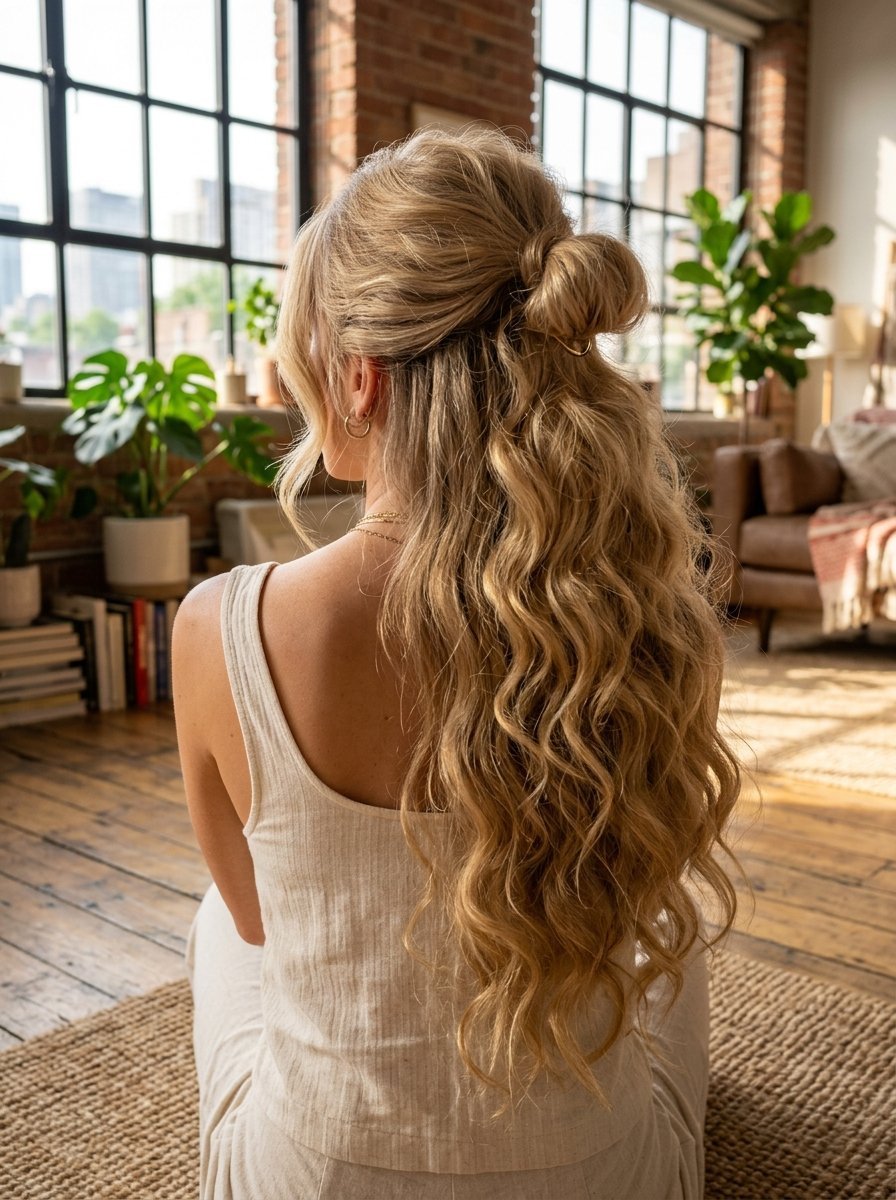
16. Half-Up Messy Top Knot
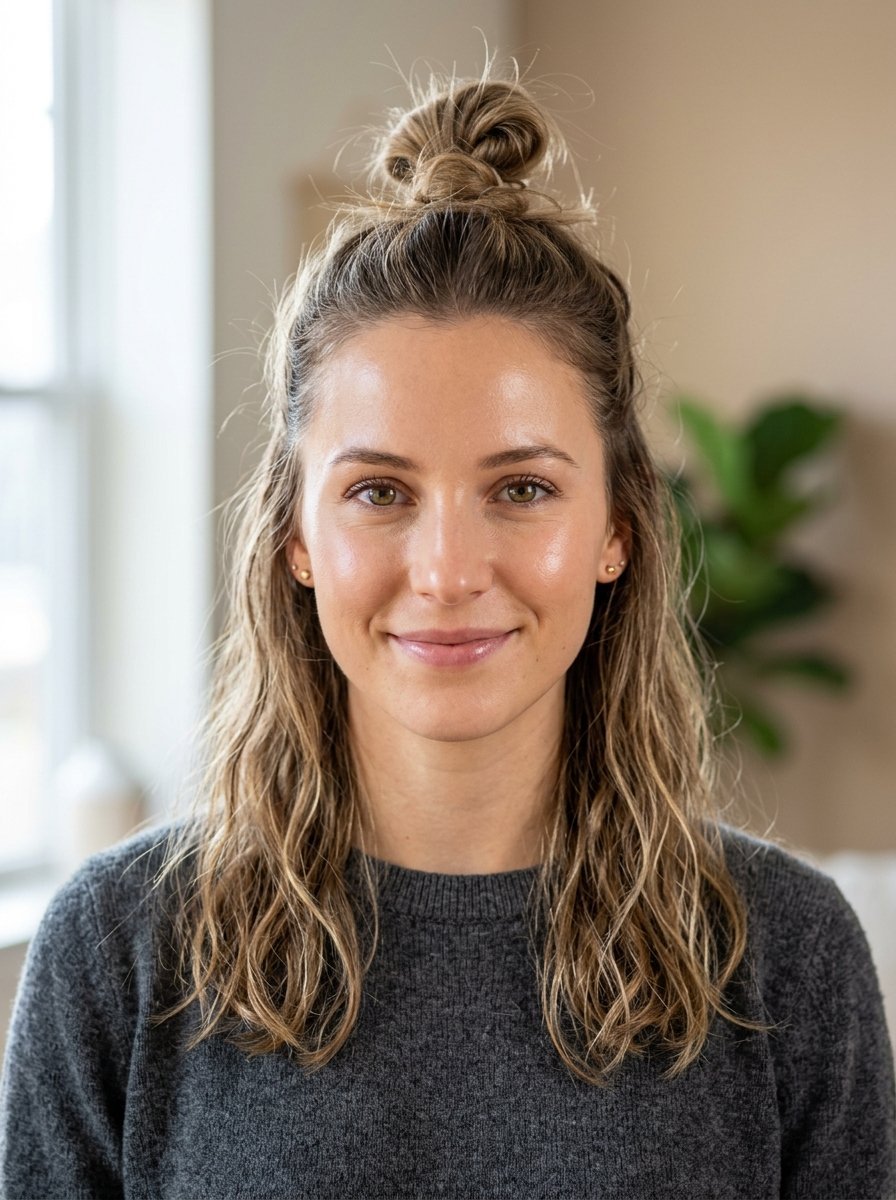
Leaving the bottom half of the hair down maintains your length, while pulling the crown section into a loose knot provides immediate height.
- Best For: Medium-to-long fine hair types.
- Key Tool: Small elastic tie and dry texturizer.
- The Routine: Separate the top section of hair from the temples up. Pull it back into a loose loop, leaving the ends poking out. Spray the bottom loose hair with texturizer for a lived-in look.
- Pro Tip: Pull a few small strands out around your ears and hairline before securing the knot. This frames the face and enhances the effortless bedhead aesthetic.
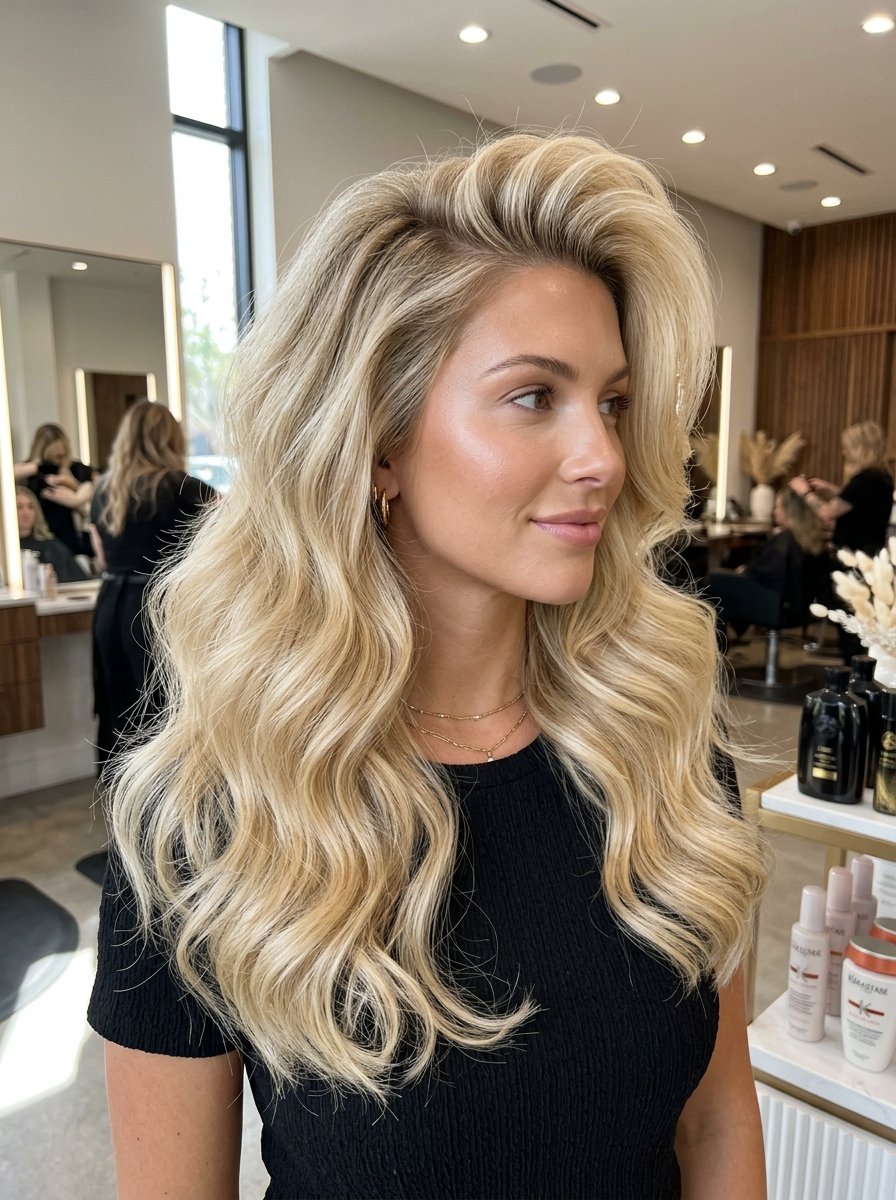
17. Wispy Layered Face-Framing Waves
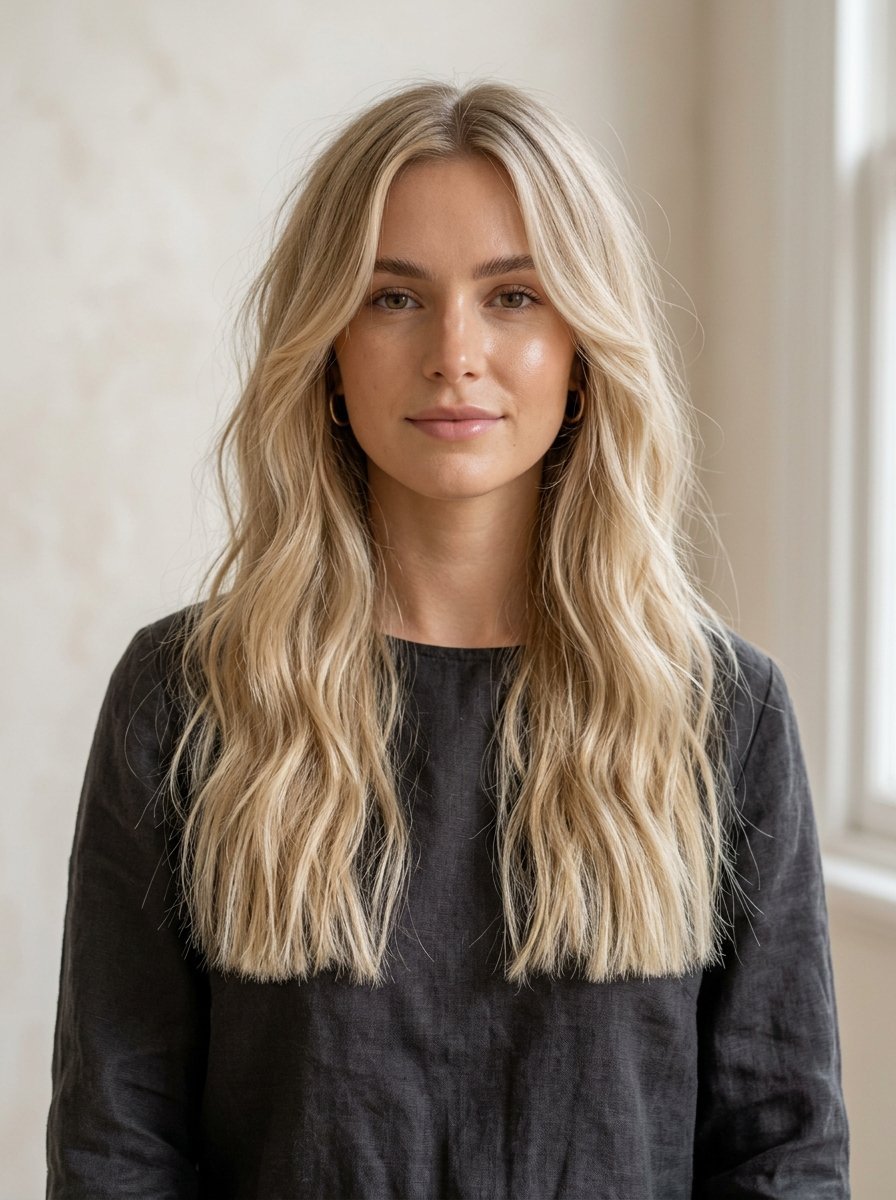
This style uses gradual layers starting at the chin to break up long lengths that otherwise drag down fine roots.
- Best For: Long hair lengths and natural waves hairstyle.
- Key Tool: 1.25-inch curling iron barrel.
- The Routine: Wrap large sections of hair around the iron barrel for just three seconds. Leave the bottom two inches of the ends completely straight. Let the curl cool, then brush out thoroughly.
- Pro Tip: Curling the ends makes the style look formal and dated. Leaving the ends straight keeps the look modern, casual, and authentic to a true bedhead style.
18. The Textured Shabby Pony
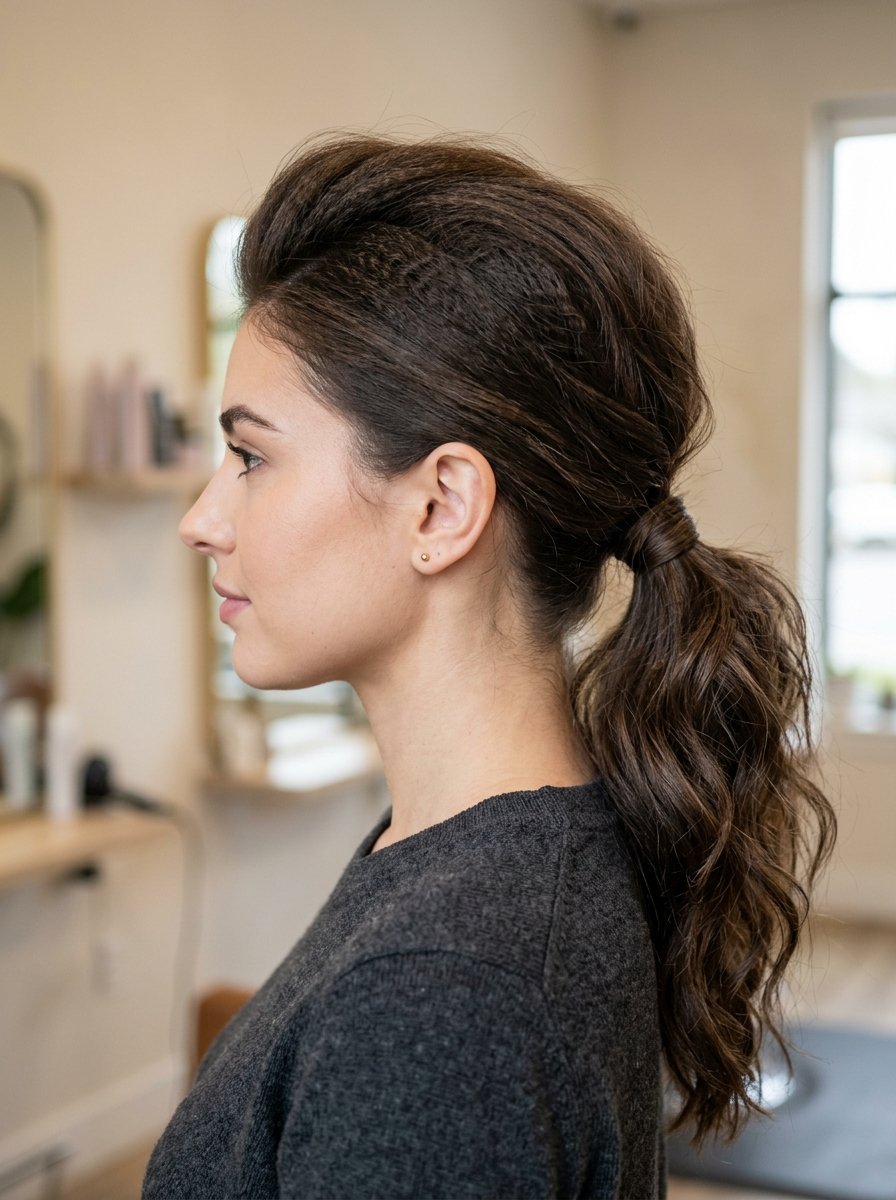
A low ponytail can look thin on fine hair unless you texturize the crown and base first, turning the tail into a messy design goal.
- Best For: Medium to long lengths.
- Key Tool: Volumizing powder and a clear elastic.
- The Routine: Apply volumizing powder to the crown and massage. Gather hair loosely at the nape of the neck. Secure with an elastic. Gently pull upward on the hair above the tie to create a bubble of volume.
- Pro Tip: Take a small strand of hair from underneath the ponytail and wrap it around the elastic to hide the band. Secure it with a small bobby pin for a finished look.
19. Broken-Up Crimson Waves
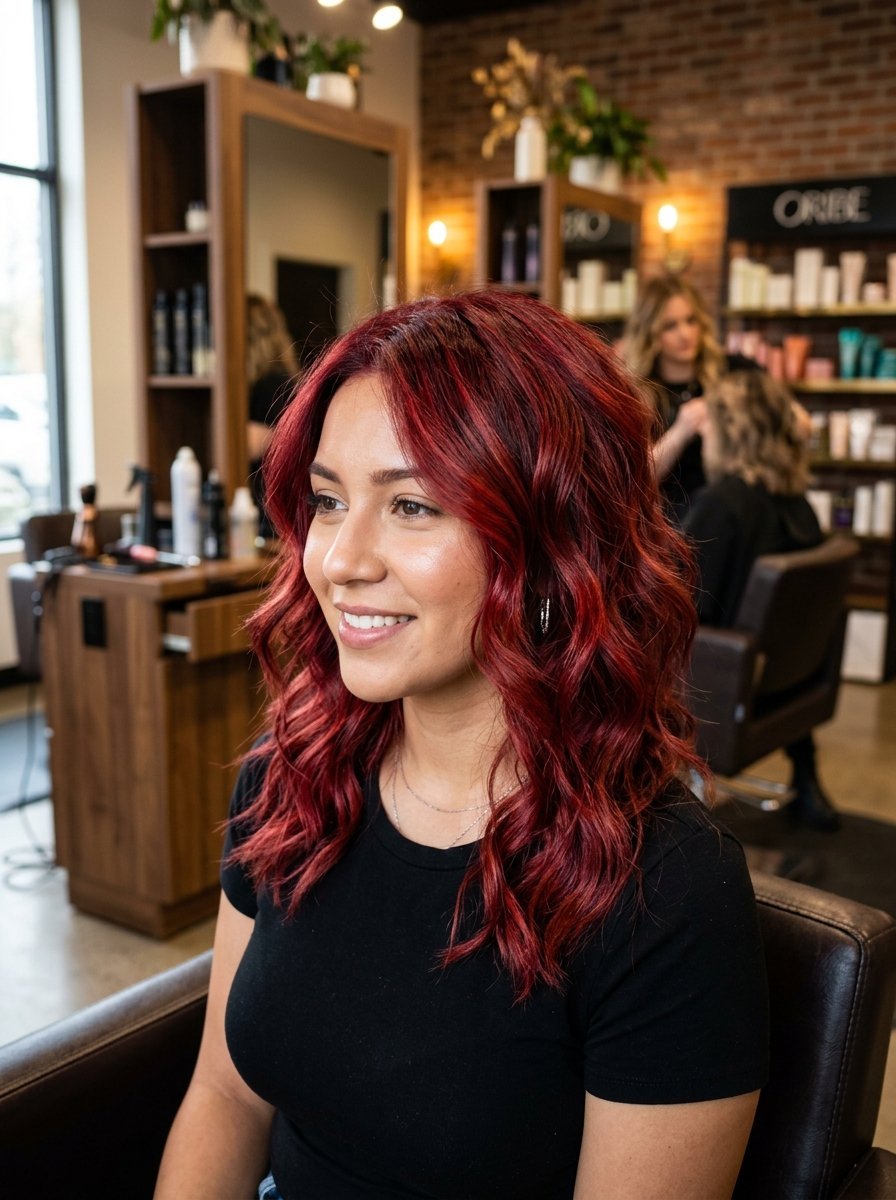
Using textured products on fine, color-treated hair enhances the multi-tonal dimensions of your hair color while building physical volume.
- Best For: Color-treated fine hair and wavy hair 2025 trends.
- Key Tool: UV protectant texture mist.
- The Routine: Spray the protectant mist onto dry hair. Use a flat iron to create slight S-bends down the hair shaft by rocking the iron back and forth. Shake your head out to break up the lines.
- Pro Tip: Color-treated fine hair is porous and absorbs product quickly. Use half the amount of styling product you think you need to keep from overloading the fragile strands.
20. The Ultimate Lived-In Shag
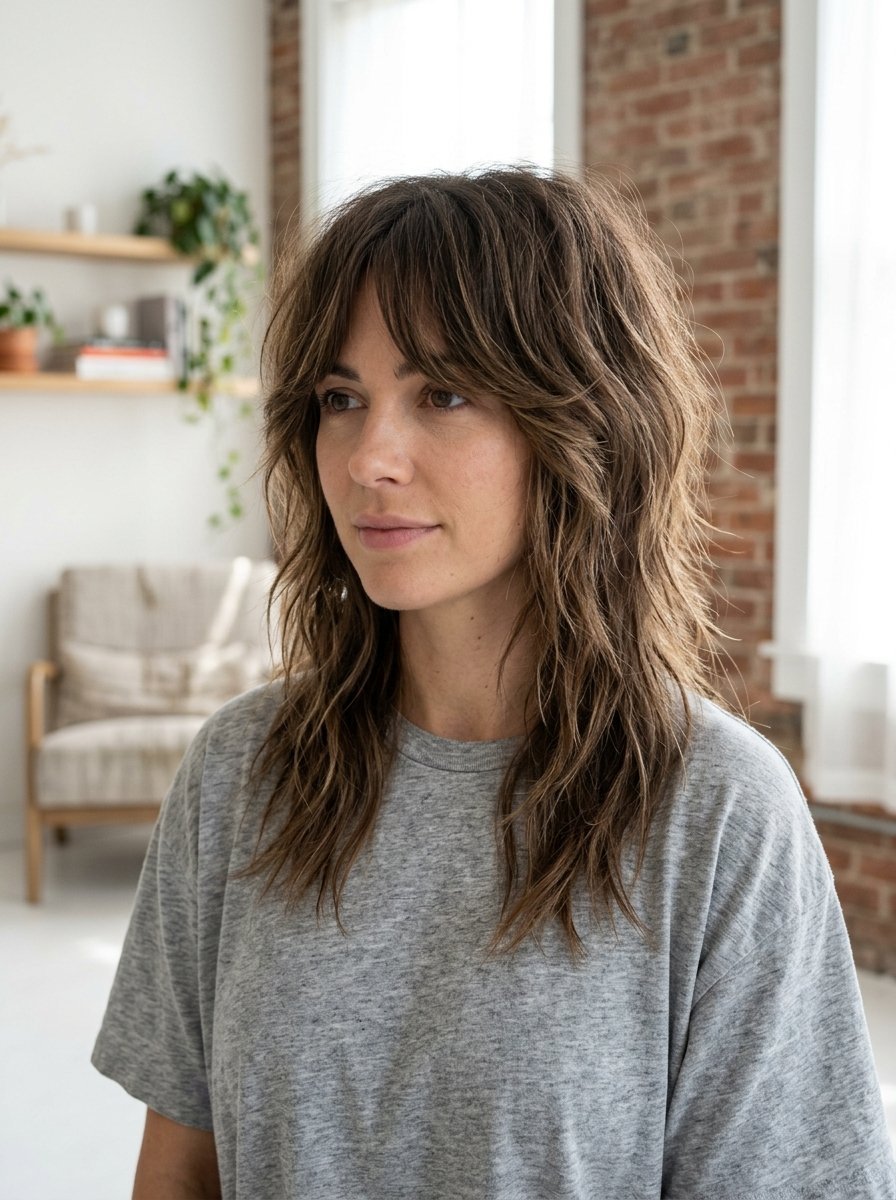
The definitive messy style features short crown layers, textured mid-lengths, and a thin perimeter that bounces naturally with every movement.
- Best For: All fine hair types wanting maximum texture.
- Key Tool: Dry texturizing spray and lightweight finishing paste.
- The Routine: Blow-dry hair upside down until fully dry. Flip right-side up and apply texturizing spray through the layers. Use a touch of finishing paste on the tips of the bangs to keep them messy.
- Pro Tip: Keep up with regular trimmings every six weeks. A shag cut relies on sharp, healthy layer intervals; once the ends split, the volume collapses into frizz.
Fine Hair Texture Comparison
Choosing the right approach depends heavily on your specific hair length and routine goals. The table below outlines how popular textured styling methods perform across key metrics for fine hair management.
| Styling Method | Core Fine Hair Benefit | Ideal Hair Length | Longevity Rating | Required Maintenance |
| Dry Texturizing Spray | Adds immediate dry grit without stiffness | Short to Long | Medium (6-8 hours) | Low – simple finger shake |
| Root Powder Application | Maximum vertical lift at the crown line | Short to Medium | High (12-24 hours) | Medium – needs complete wash |
| Overnight Braiding | Heatless wave creation with zero damage | Medium to Long | High (all day) | Low – protect with satin cap |
| Matte Clay Detailing | Separates short pieces cleanly | Cropped to Short | High (10-12 hours) | Medium – product emulsification |
| Sea Salt Formulation | Activates natural beachy wave patterns | Medium to Long | Low (4-6 hours) | High – needs hydration tracking |
Troubleshooting Flat Textures
Fine hair can occasionally resist texturizing products, causing the style to fall flat within a few hours. Review the typical failure points below to adjust your routine for lasting volume.
The Product Overload Drop
When fine hair collapses into greasy clumps by mid-afternoon, it is usually a sign of product buildup. Using a heavy shampoo or applying texturizers too close to the scalp creates weight that gravity pulls down. Fix this by using a clarifying shampoo once per week to strip away synthetic residues. Keep all waxes, creams, and pastes at least two inches away from your roots.
The Heat Flattening Effect
Using hot styling irons without proper preparation can bake the natural moisture out of fine hair, leaving it static, flat, and unable to hold a wave. Always use a heat protectant mist designed for fine hair profiles. Keep your styling irons below 350 degrees Fahrenheit. Lower temperatures preserve the elasticity of the hair shaft, allowing it to hold a tousled shape longer.
The Over-Brushing Error
Brushing through a bedhead style with a dense boar bristle brush removes the texturizing grit you worked to create. It smooths the hair cuticle down flat, reversing the piecy separation. Instead, use your fingers or a wide-tooth wooden comb to arrange your styles. This preserves the internal air pockets that give fine hair its volume.
Frequently Asked Questions
How often should I wash fine hair when styling it messy?
Wash your hair every other day or every two days. Washing fine hair daily strips away the natural sebum that actually helps give the hair stick and texture. On your off-days, use a light dusting of volumizing dry shampoo at the roots to absorb excess surface oils while preserving the texture from the day before.
Can I achieve a textured bedhead look without using any heat tools?
Yes, heatless methods work exceptionally well on fine hair because they protect the delicate structure of the strands. The overnight braided method, space bun sets on damp hair, or utilizing sea salt mists on air-dried hair are all effective ways to build natural waves and separation without relying on flat irons or curling barrels.
Why does my hair feel sticky after using texturizing powders?
Texturizing powders contain silica silylate, a compound that creates friction between hair strands to provide lift. This naturally creates a matte, dry feeling. If your hair feels overly sticky or unmanageable, you have applied too much product. Apply a single puff of powder to your fingers first, then massage it into your roots rather than shaking the bottle directly onto your scalp.
Will getting a perm help fine hair hold these bedhead styles better?
A modern body wave perm can give fine hair a permanent structural foundation, making it much easier to achieve messy styles. However, the chemical processing can dry out fine hair. Ensure your hair is virgin or healthy before proceeding, and always consult a stylist experienced in working with fine hair diameters.
How do I protect my textured style from collapsing in high humidity?
High humidity forces moisture back into the hair shaft, causing fine hair to return to its natural straight or frizzy state. To prevent this, seal your finished bedhead look with a weightless, anti-humidity weather shield spray. Look for aerosol formulas that offer a dry finish rather than wet hairsprays that add moisture back into the style.
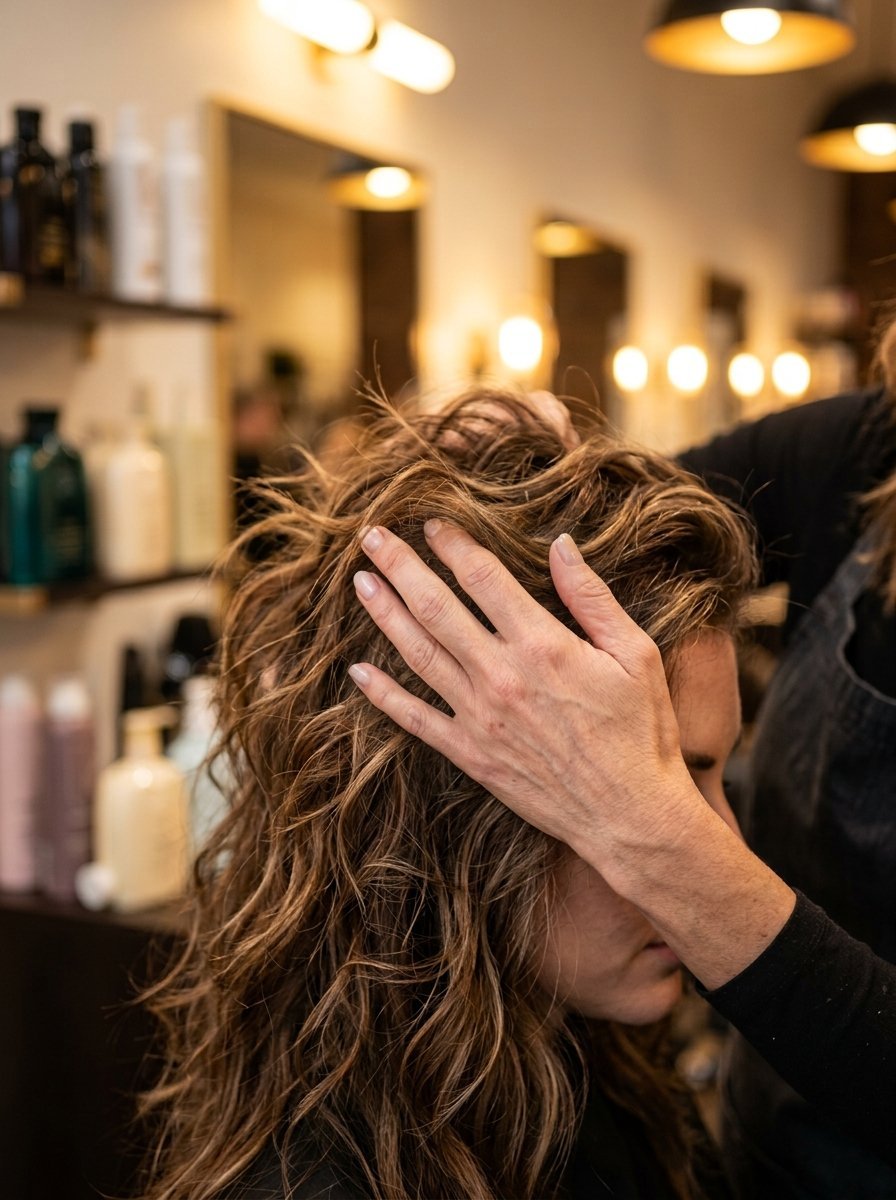
What specific challenges do you face when trying to add texture to your fine hair? Leave a comment below with your hair length and current routine so we can troubleshoot your styling setup together.

Sarah Mitchell — Founder & Editor-in-Chief
Sarah Mitchell is the founder and editorial voice behind Hair Level Up. A licensed cosmetologist with more than 15 years of experience, she has styled A-list celebrities for editorial shoots and red carpets, with work featured in Vogue, Elle, and Harper’s Bazaar. Early in her career, she trained under the legendary hairstylist Oribe in New York, an apprenticeship that still shapes her editorial eye today. Sarah founded Hair Level Up in 2020 after one bad haircut convinced her that women deserved a destination that felt like a magazine, taught like a stylist, and inspired like an art gallery. She oversees every story from concept to publication, guided by a simple belief: a good story teaches you something, but a great one makes you feel beautiful while it does.