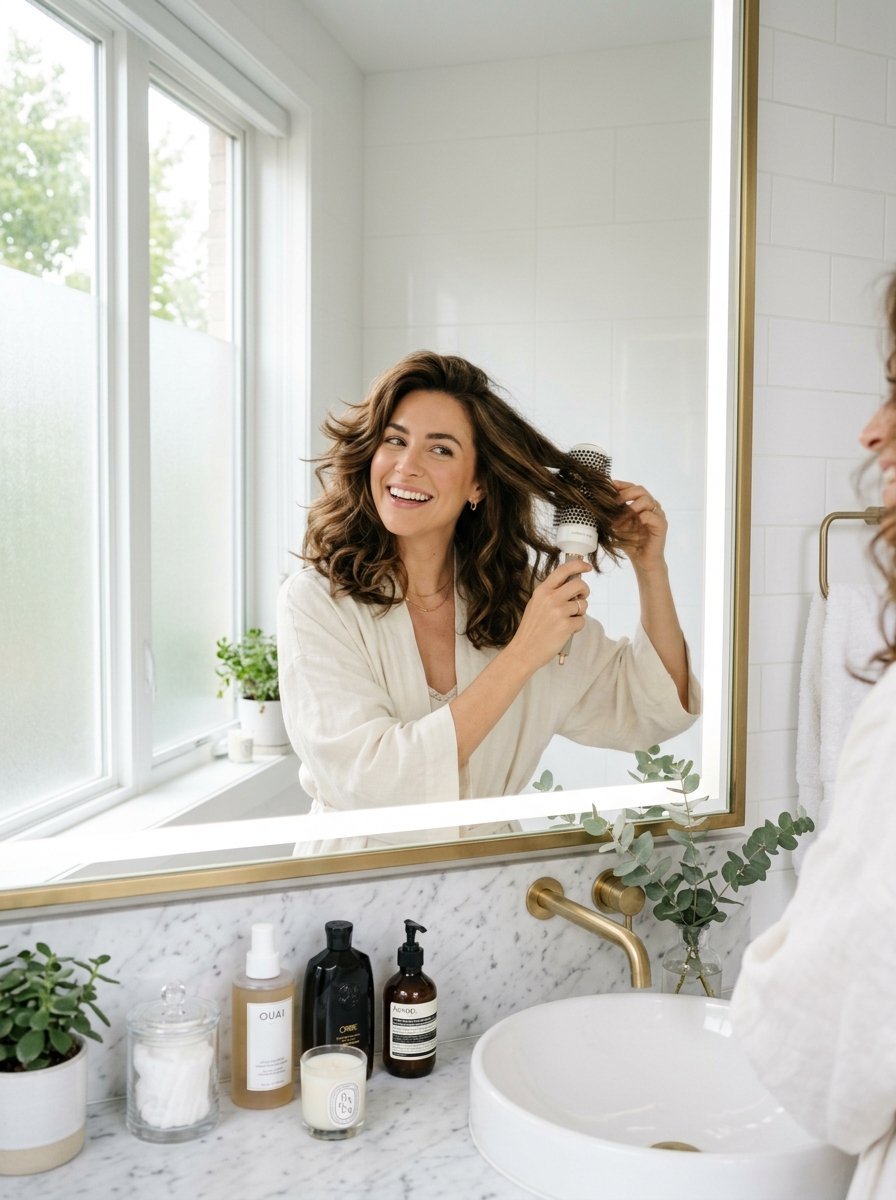
8 Steps To A Polished Ponytail In Three Minutes
It is early Tuesday morning and your biggest meeting starts in exactly forty minutes. Your morning alarm failed completely. A messy bun looks completely unprofessional for this specific presentation. Letting your mane down feels far too casual for the boardroom. You need a sleek style that holds perfectly straight through lunch. I have been in this exact situation dozens of times. I used to panic and rip a comb through my strands. That usually ended in a sagging mess at the nape of my neck before I even reached the office. Then I created a professional routine that holds all day. Here is what nobody tells you about getting ready under intense pressure. You just need the right sequence.
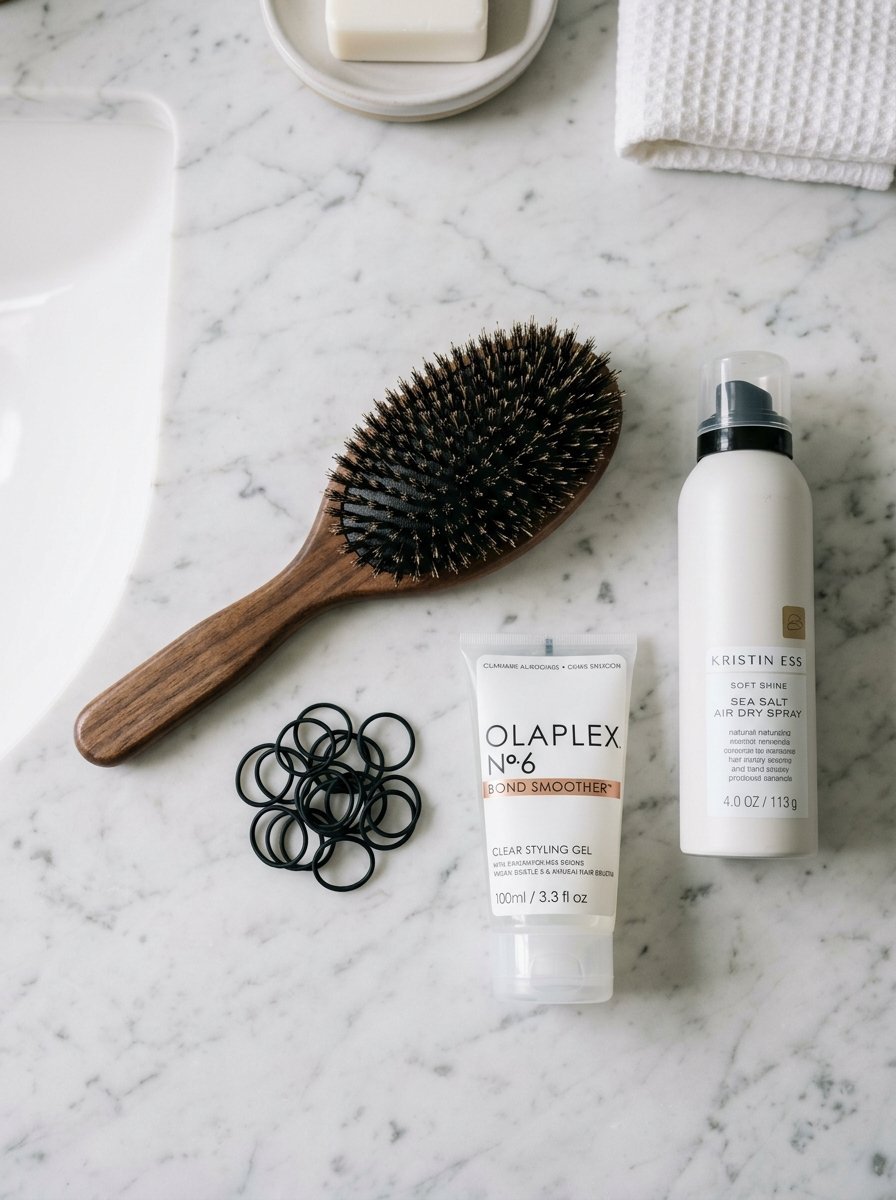
You will master a tight updo requiring exactly three minutes of your morning. I will show you how to use a hidden anchor section to prevent sagging entirely. We will review specific drug store styling pastes that cost under ten dollars. You will read exact times for each step so you stay on schedule. This guide skips the complicated braiding and focuses purely on a straight back pull. The routine works on fine strands and thick curls alike. If you follow these exact eight steps your hair will stay locked in place until midnight.
1. Prep Your Hair Foundation With Dry Shampoo

Most people try to style their hair immediately after waking up. You grab a brush and start pulling everything backward. This creates immediate friction and static. Your hair needs grip to hold a tight style all day. I always spray a basic dry powder into the roots before doing anything else.
Working With Second Day Grease
Freshly washed hair slips out of elastic bands constantly. You actually want hair that you washed yesterday. The natural oils at your scalp provide an organic holding paste. You just need to absorb the excess shine. I take a can of Batiste powder and spray it exactly two inches from my part line. I wait thirty seconds for the powder to soak up the grease.
Creating Immediate Root Volume
Flat roots make your face look harsh under bright office lights. The dry powder creates tiny spaces between your individual strands. You massage the powder into your scalp using your fingertips. This action lifts the roots away from your skin. Your front profile instantly looks softer and far more professional.
The Time Investment Reality
This initial preparation takes exactly forty five seconds. You might feel tempted to skip it to save time. Skipping this action guarantees your hair will slide out of place by noon. You must spend these first forty five seconds building a textured base.
2. Section Your Crown For The Hidden Anchor
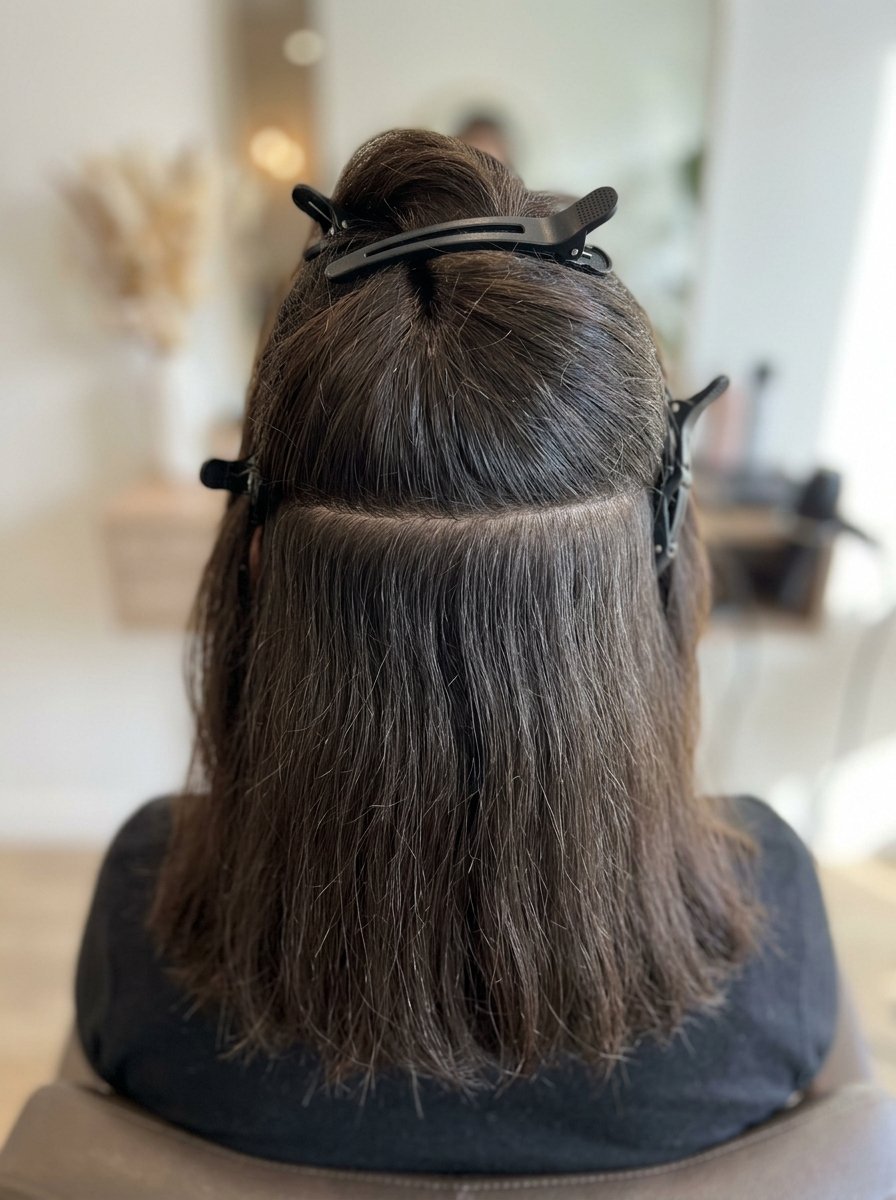
Pulling all your hair back at once causes the center to droop. The sheer weight of your hair pulls the elastic downward. You avoid this entirely by dividing your hair into two separate zones. The bottom zone does all the heavy lifting. The top zone simply covers the mechanics.
Drawing The Invisible Line
Grab a rat tail comb and place the metal tip above your left ear. Drag the tip straight back across your scalp until you reach your right ear. You now have two distinct sections of hair. Take the top section and twist it up into a temporary claw clip. You leave the bottom half hanging loose against your neck.
Why Standard Placements Fail
Most women place their single elastic far too low on the skull. The curve of your head naturally pushes the band down your neck over time. By splitting the hair in half you create an anchor right at the occipital bone. This specific bone provides a physical shelf that stops the elastic from sliding down.
Dealing With Heavy Thickness
If you have massive volume you might need to split the hair into three sections instead. You just create an extra line at the temples. My client Jessica has incredibly thick curls. We tried the two section routine in August 2023 and the band snapped immediately. We switched to three sections and her style stayed flawless for fourteen hours straight.
3. Secure The Lower Base Tightly
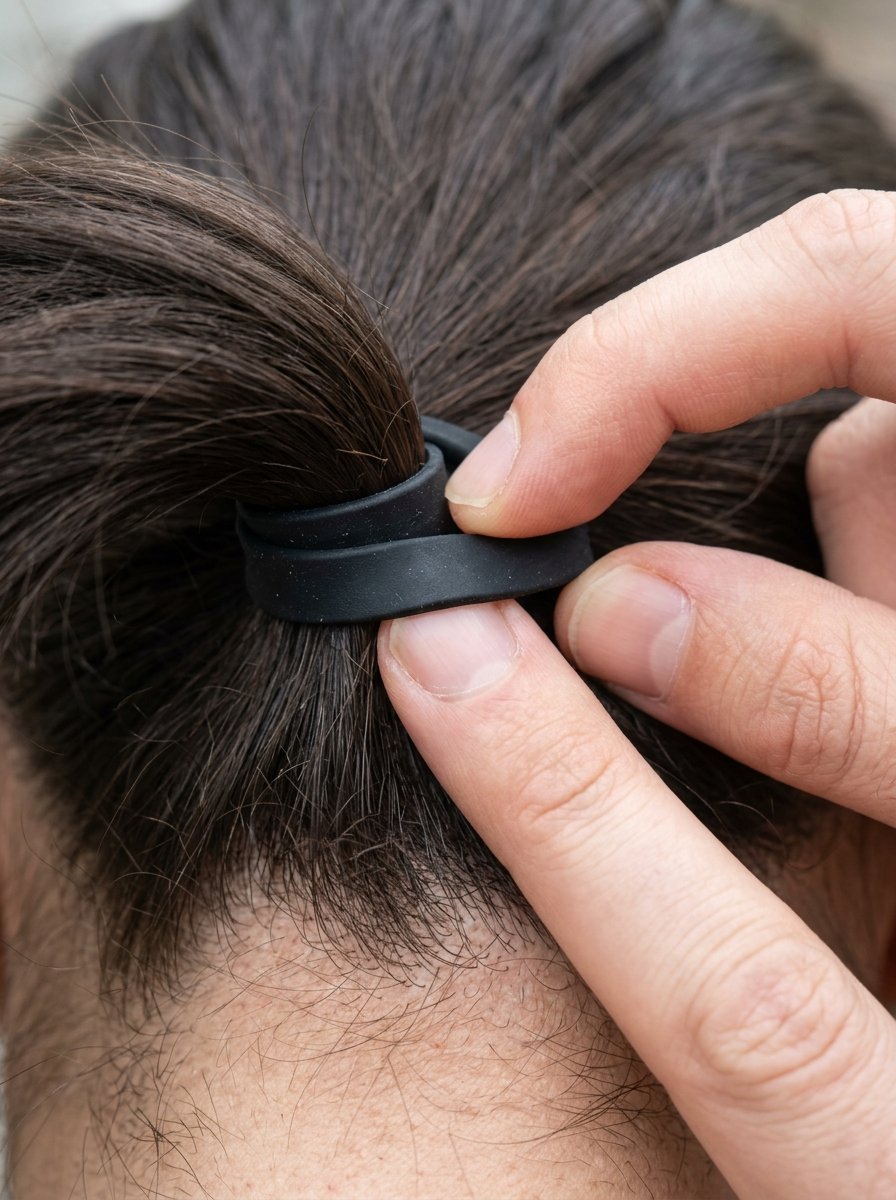
The bottom section acts as the structural foundation for your entire morning look. You must make this part as tight as physically possible without causing pain. This hidden section takes the physical stress off your front hairline entirely.
Selecting The Right Hardware
You cannot use old fabric scrunchies for this step. You need medical grade silicone bands that grip the hair shaft tightly.
| Brand Name | Price Point | Hold Duration | Best Hair Type |
| Blax Snag Free | $8.00 | 24 Hours | Fine to Medium |
| Gimme Beauty Thick | $12.00 | 18 Hours | Heavy Curls |
| Scunci No Slip | $5.00 | 12 Hours | Straight Strands |
| Kitsch Bungee | $9.00 | 24 Hours | All Textures |
| Goody Ouchless | $4.00 | 8 Hours | Thin Strands |
| Invisibobble Power | $10.00 | 16 Hours | Wavy Strands |
The Two Finger Tension Rule
Gather the bottom hair tightly against your skull. Wrap your silicone band around the bundle three times. You then slide two fingers under the base against your scalp. If your fingers slide in easily the band is too loose. You must redo the wrap. The band should sit completely flush against your skin.
Preventing Tension Headaches
A tight base does not mean a painful base. Headaches happen when a few stray hairs get pulled tighter than the rest of the bundle. You brush the bottom section completely smooth before applying the band. Equal tension across all strands prevents those sharp afternoon headaches.
4. Smooth The Top Layer Backward
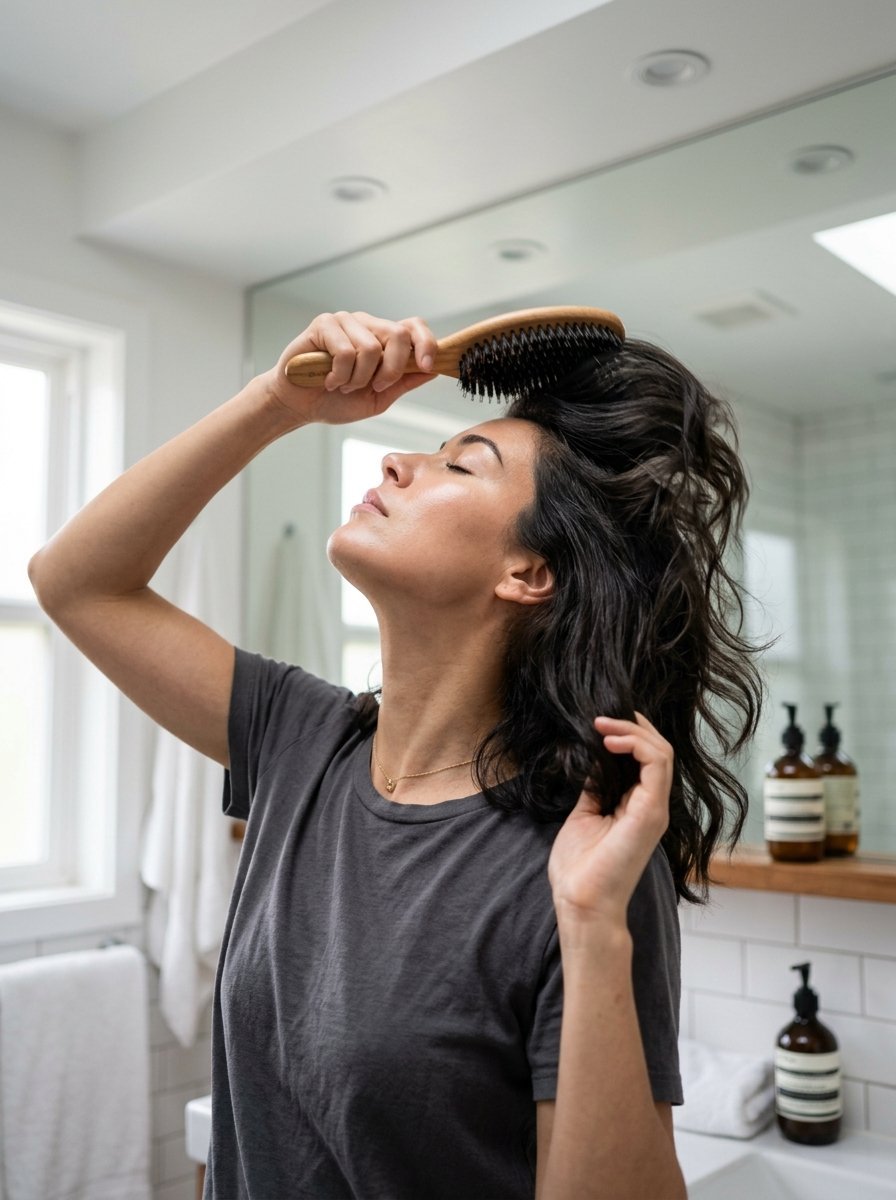
You finally unclip the top section of hair. This layer provides the visible surface everyone sees. You must treat this section like a perfectly smooth sheet of silk covering a piece of furniture.
The Upward Chin Tilt
Look directly at the ceiling before you start brushing this top section backward. Keeping your chin up prevents the hair at the nape of your neck from sagging. You take a boar bristle brush and gently guide the top hairs over your secured bottom anchor.
Handling Stubborn Cowlicks
Cowlicks near your forehead will fight this backward motion. You apply a tiny dot of water directly to the root of the cowlick. You press your hand flat against the wet spot and hold it there for ten seconds. The body heat from your hand forces the root to lay flat against your skull.
Avoiding The Ear Bumps
Bumps form around your ears when you rush this step. You must brush the sides in tiny separate motions.
- Keep constant pressure against your scalp with the brush.
- Guide the side sections straight back rather than pulling them upward.
- Hold the gathered hair firmly in your non dominant hand to prevent slipping.
5. Combine Sections Using The Bungee Method
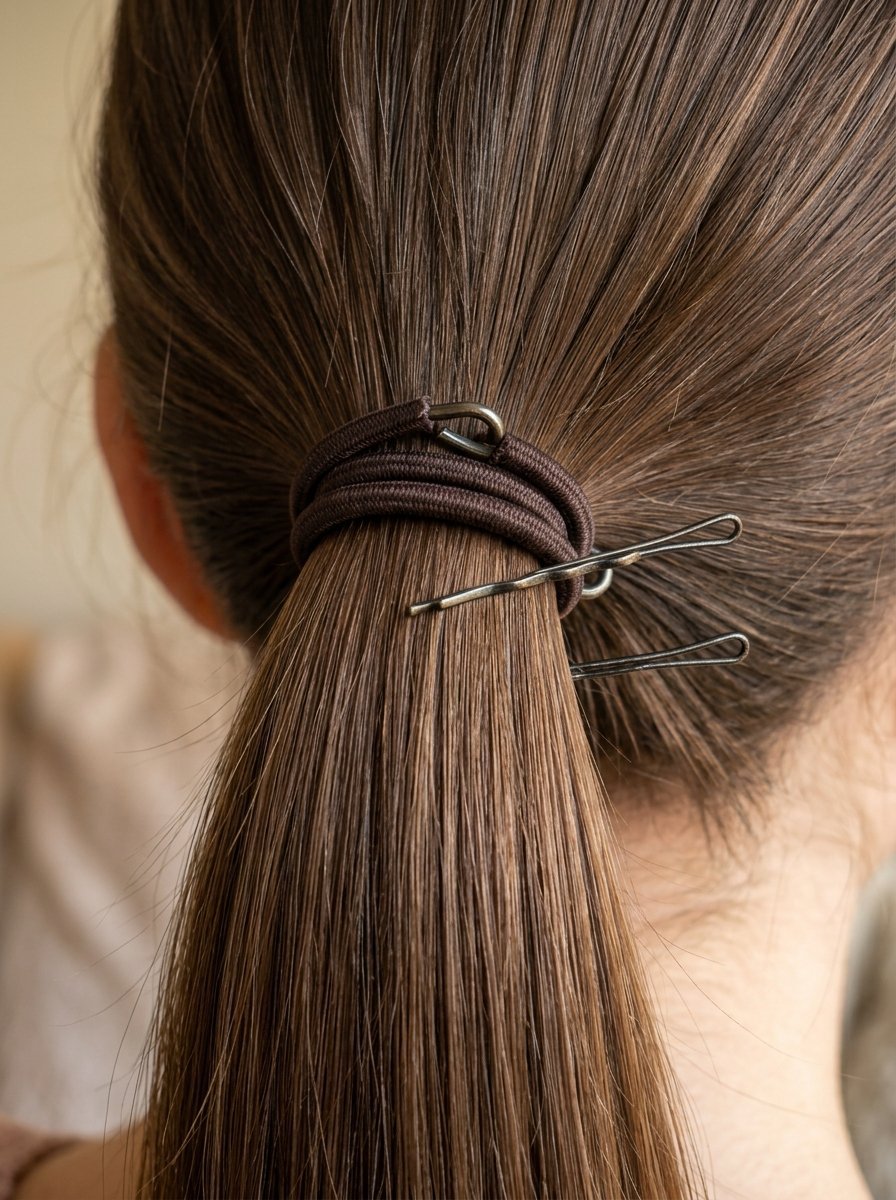
You now have a loose top section sitting over a tightly bound bottom section. You must fuse them together without disturbing the smooth top layer. Regular circular hair ties force you to pull the entire tail through a small hole repeatedly. This ruins the smooth top surface.
The Hook And Wrap Action
Professional stylists use bungee cords instead of circular elastics. A hair bungee has a metal hook on each end of a single elastic string. You hold the combined bundle of hair tightly with your left hand. You hook one end of the bungee straight into the bottom anchor section. You then wrap the string tightly around the whole bundle four times. You hook the second end directly into the base.
Zero Pull Through Damage
You never have to drag the ends of your hair through a tight loop. This specific action saves your ends from breaking off. It keeps the top surface looking like a sheet of glass. I learned this working backstage at a runway show in 2021. The models needed their hair pulled back in under sixty seconds. The bungee cord was the only tool that worked.
The Bobby Pin Alternative
If you do not own a bungee cord you can easily make one. You take a regular circular elastic. You thread two standard bobby pins onto the elastic ring. You stick the first pin into the base. You wrap the elastic around the hair. You stick the second pin into the base. The mechanical action is exactly the same.
6. Conceal The Band With A Small Hair Wrap
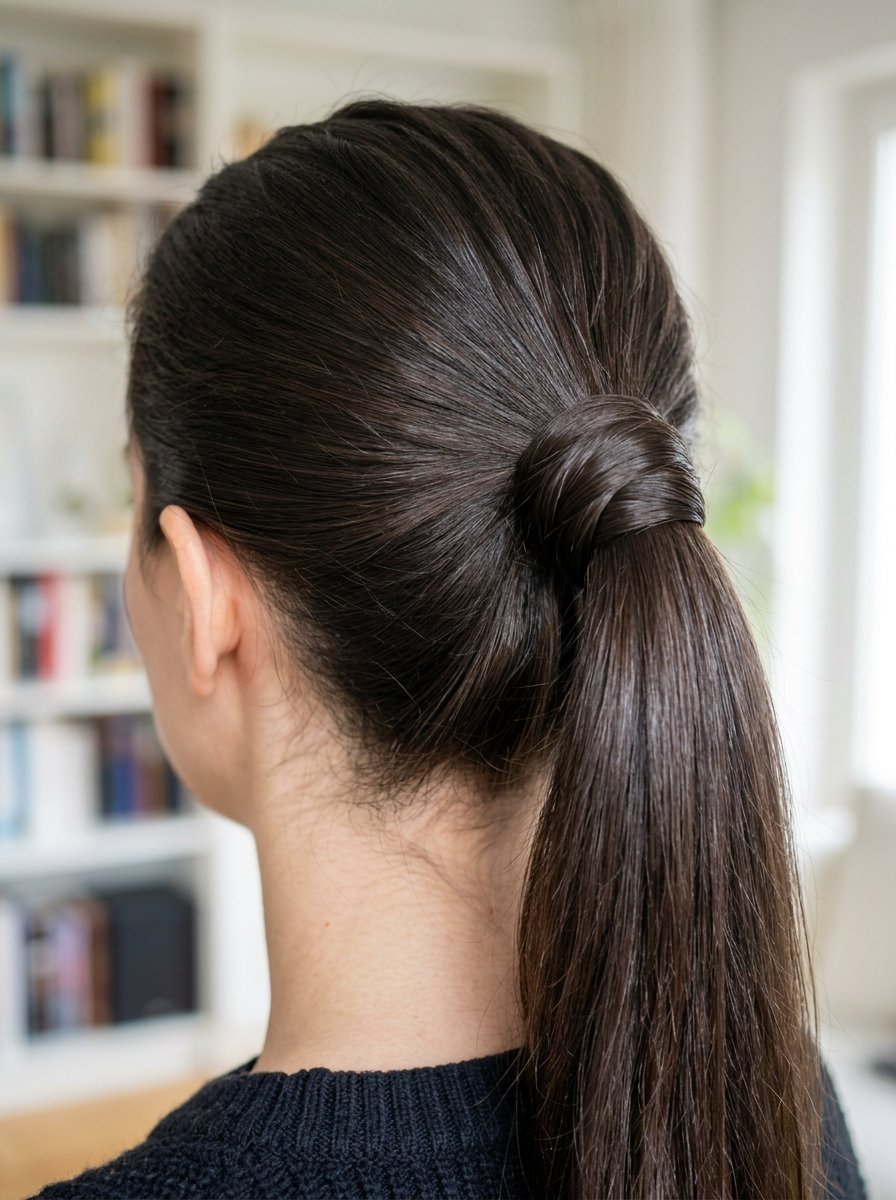
Visible elastic bands make your hard work look juvenile. A true professional look requires hiding all the hardware. You will use a tiny piece of your own hair to build a natural looking fabric over the plastic.
Selecting The Underside Piece
You reach underneath the finished tail and separate a section of hair the size of a drinking straw. Do not take hair from the top or the sides. Only take it from the very bottom near your neck. This keeps the visible top surface looking thick and full.
The Spray And Smooth Phase
You spray this tiny strand heavily with aerosol hairspray. You run your index finger down the strand to smooth all the tiny broken hairs together. You want this piece to feel slightly stiff and completely flat like a ribbon.
Wrapping And Securing The Ribbon
You wrap this ribbon tightly around the bungee cord until no plastic remains visible. You tuck the very end of the tail directly underneath the base. You slide one small bobby pin straight upward into the base to lock the tail in place. The pin vanishes completely inside the thick anchor section.
7. Tame Flyaways Using A Clean Toothbrush
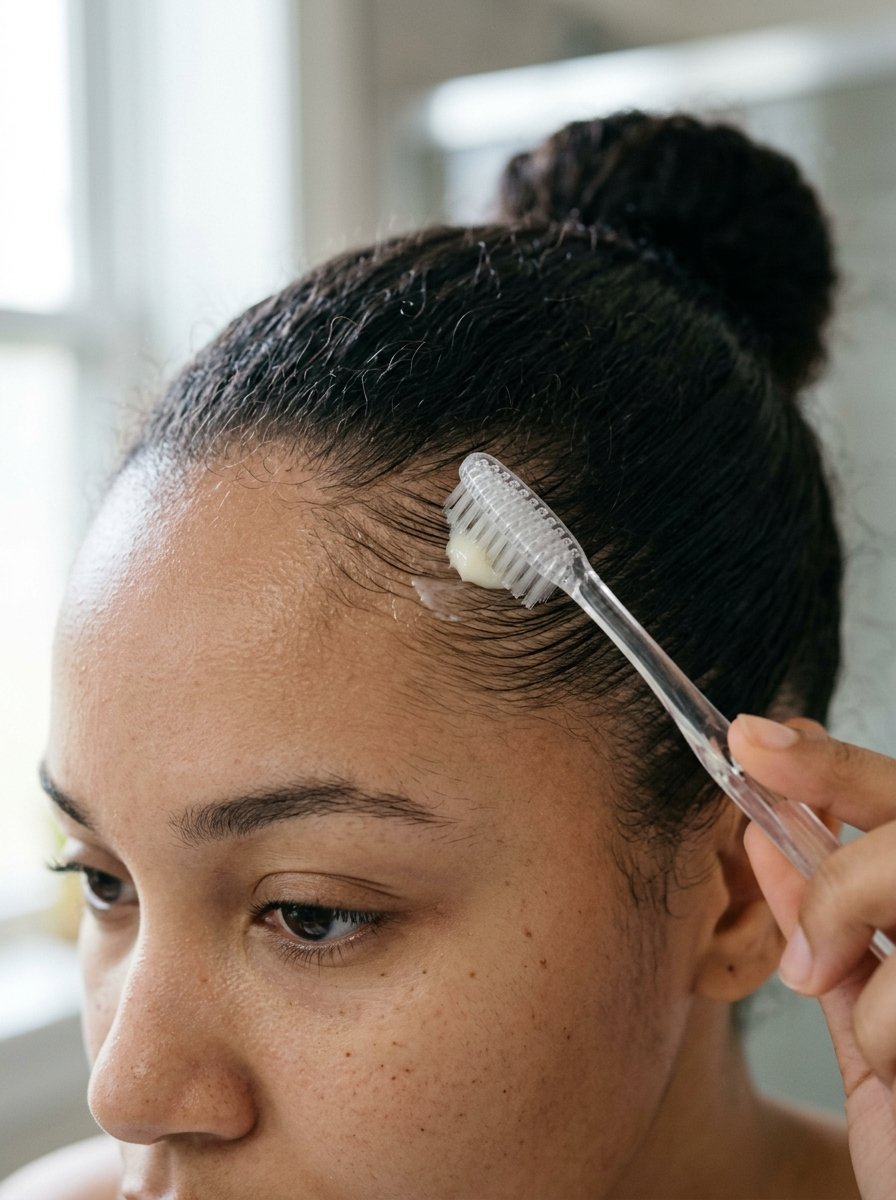
You now have a structurally perfect style. But harsh overhead lighting will expose every single broken baby hair around your forehead. You cannot use a regular hairbrush to fix these tiny hairs. The bristles are too far apart and they ruin the smooth surface you just built.
The Toothbrush Setup
You go to the drug store and buy a basic soft bristle toothbrush. You assign this brush strictly to your morning routine. You squeeze a pea sized drop of Got2b Glued spiking gel directly onto the toothbrush bristles.
The Micro Combing Action
You gently brush the wet bristles backward over the baby hairs at your temples and forehead. The dense bristles catch every single micro hair. The strong gel glues them flat against your longer strands. You do this in tiny half inch strokes all the way around your front hairline.
The Clear Drying Promise
Most cheap gels dry white and flaky. This makes your hair look dirty by lunchtime. You must use a clear drying styling paste. I have tested twenty different gels on set. The black tube of Got2b Glued is the only product that dries entirely clear on dark hair while maintaining a concrete hold.
8. Lock The Style With A Humidity Shield
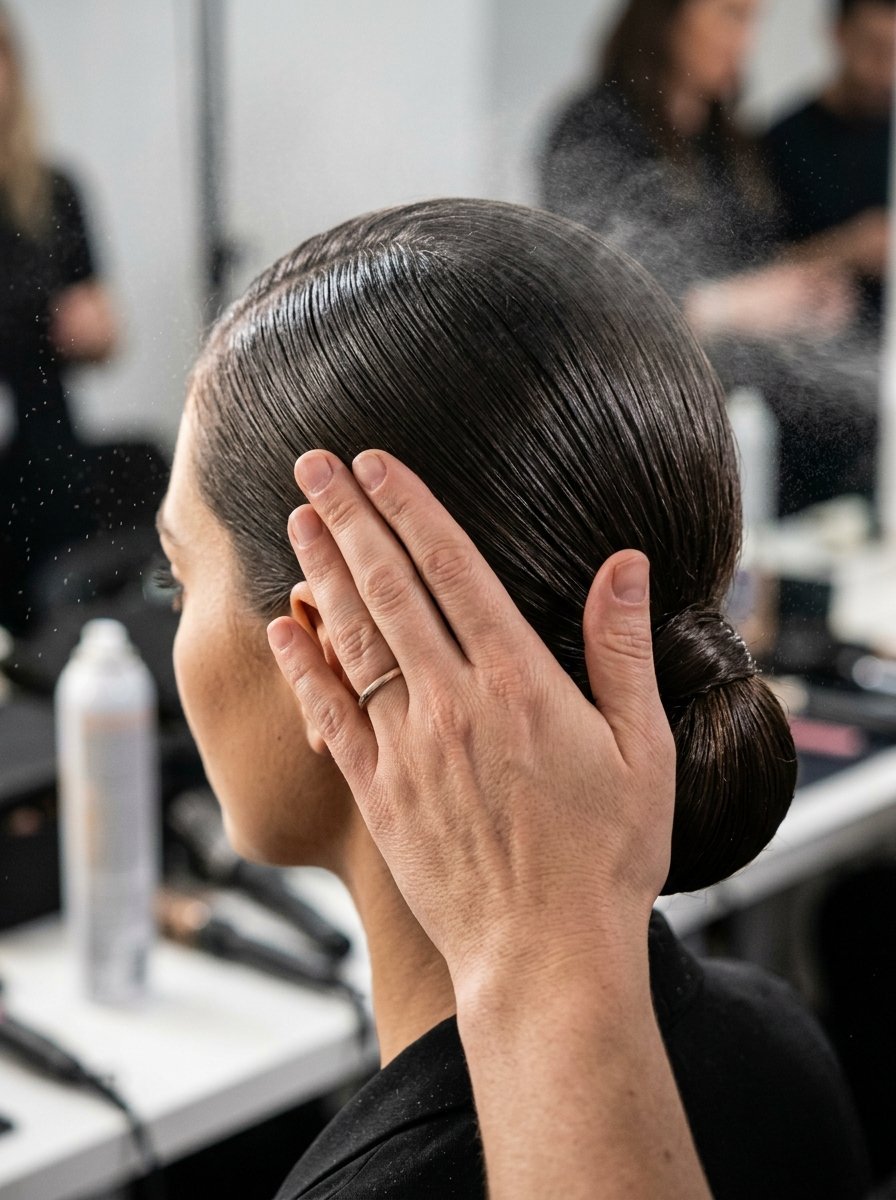
Your bathroom feels cool and dry right now. But you still have to walk to your car, cross a parking lot, and enter a stuffy office building. Moisture in the air will instantly cause your smooth hair to frizz and swell. You must seal the cuticles against the weather.
The Finishing Spray Application
You grab a high hold humidity resistant aerosol spray. You hold the can exactly ten inches away from your head. You spray a continuous mist over the top, sides, and underneath the tail itself. If you hold the can too close the liquid will pool and create wet looking patches.
The Flat Hand Smoothing Motion
Immediately after spraying you place your bare hand flat against your scalp. You slowly trace your hand backward from your forehead all the way to the base. This physical pressure forces the spray deep into the top layer. It fuses the individual strands into a single solid unit.
Managing The Midday Touch Up
Sometimes a violent wind gust will dislodge a small section. You should keep a tiny travel sized hairspray in your work bag. If a piece falls loose you do not redo the entire routine. You simply spray the loose piece directly and pin it flat against the skull with a hidden slide clip.
Frequently Asked Questions
How do I stop my scalp from hurting after two hours?
You split the physical weight of your hair into two separate zones. The bottom anchor section takes all the heavy gravity pull. The top section just lays gently over the top. This dual zone method stops the single pulling point that triggers nerve pain across your forehead.
What is the exact holding spray used by professionals?
Professionals rely on Sebastian Shaper Plus for extreme weather days. It costs around twenty dollars a can but provides a complete moisture barrier. The spray feels incredibly fine and never leaves sticky residue on your neck or shoulders.
Can I do this with short shoulder length cuts?
You absolutely can. You just move the entire anchor point lower down on your skull. Instead of aiming for the middle of your head you place the anchor right at the nape of your neck. You use small snap clips to hold up the shorter pieces falling out around your ears.
Why does the back of my head look flat and square?
You brushed the top section too tightly against your skull. Before you lock the bungee cord you must gently pull upward on the hair sitting right at the crown of your head. This adds a quarter inch of height and rounds out your side profile instantly.
How do I take the bungee cord out without ripping my hair?
You never pull the cord straight backward. You find the metal hook buried in the base. You pull the hook directly outward. The string immediately unwinds itself completely free of friction. The entire bundle drops open without catching a single strand.
Should I straighten my hair before starting this routine?
You save massive amounts of time by skipping the flat iron. The tight tension of the brushing action straightens the root completely. You only need to run a flat iron quickly over the tail section hanging loose at the back.
What do I do if my hair is extremely thin?
You apply a root lifting powder specifically to the crown area. You gently tease the underside of the top section with a fine tooth comb before brushing it backward. This creates artificial volume that hides the scalp perfectly under bright lights.
How do I hide thinning spots near my temples?
You buy a tinted root powder that matches your exact hair color. You take a small makeup brush and dab the colored powder directly onto your scalp where the hair looks sparse. The dark shadow visually fills in the gaps immediately.
Why does my hair tie snap when I wrap it three times?
You buy cheap plastic bands that dry out in the box. You must buy medical grade silicone bands or thick fabric bungees. Silicone stretches twice as far as cheap plastic without breaking. You store them in a dark drawer away from sunlight to prevent dry rot.
Can I sleep in this style to save time tomorrow?
You must take this down every single night. Sleeping with your hair locked backward causes severe tension on the front follicles. The friction against your pillow will break the baby hairs around your face. You pull the hook out before your head hits the bed.
What do I do if my hair smells like old grease?
You spray a specialized hair perfume directly onto your brush before the final smoothing step. Normal skin perfume contains high amounts of alcohol that dries out your ends. Hair specific mists mask the odor without stripping the natural moisture from your strands.
How much should I spend on a boar bristle brush?
You can find decent options for twenty dollars at basic drug stores. A real Mason Pearson brush costs over two hundred dollars. The expensive version lasts for thirty years and pulls natural oils down the shaft perfectly. You start with the twenty dollar version and see how often you use it.
Final Thoughts On Your New Routine

You now have a complete mechanical system for managing your mornings. You know exactly how to handle grease, thick curls, and bright office lighting. You stop relying on luck and start relying on a proven physical structure. This specific sequence gives you back precious minutes when you need them most. You walk into that board meeting knowing your appearance holds up under intense pressure. You just have to follow the steps in order every single time.

Sarah Mitchell — Founder & Editor-in-Chief
Sarah Mitchell is the founder and editorial voice behind Hair Level Up. A licensed cosmetologist with more than 15 years of experience, she has styled A-list celebrities for editorial shoots and red carpets, with work featured in Vogue, Elle, and Harper’s Bazaar. Early in her career, she trained under the legendary hairstylist Oribe in New York, an apprenticeship that still shapes her editorial eye today. Sarah founded Hair Level Up in 2020 after one bad haircut convinced her that women deserved a destination that felt like a magazine, taught like a stylist, and inspired like an art gallery. She oversees every story from concept to publication, guided by a simple belief: a good story teaches you something, but a great one makes you feel beautiful while it does.