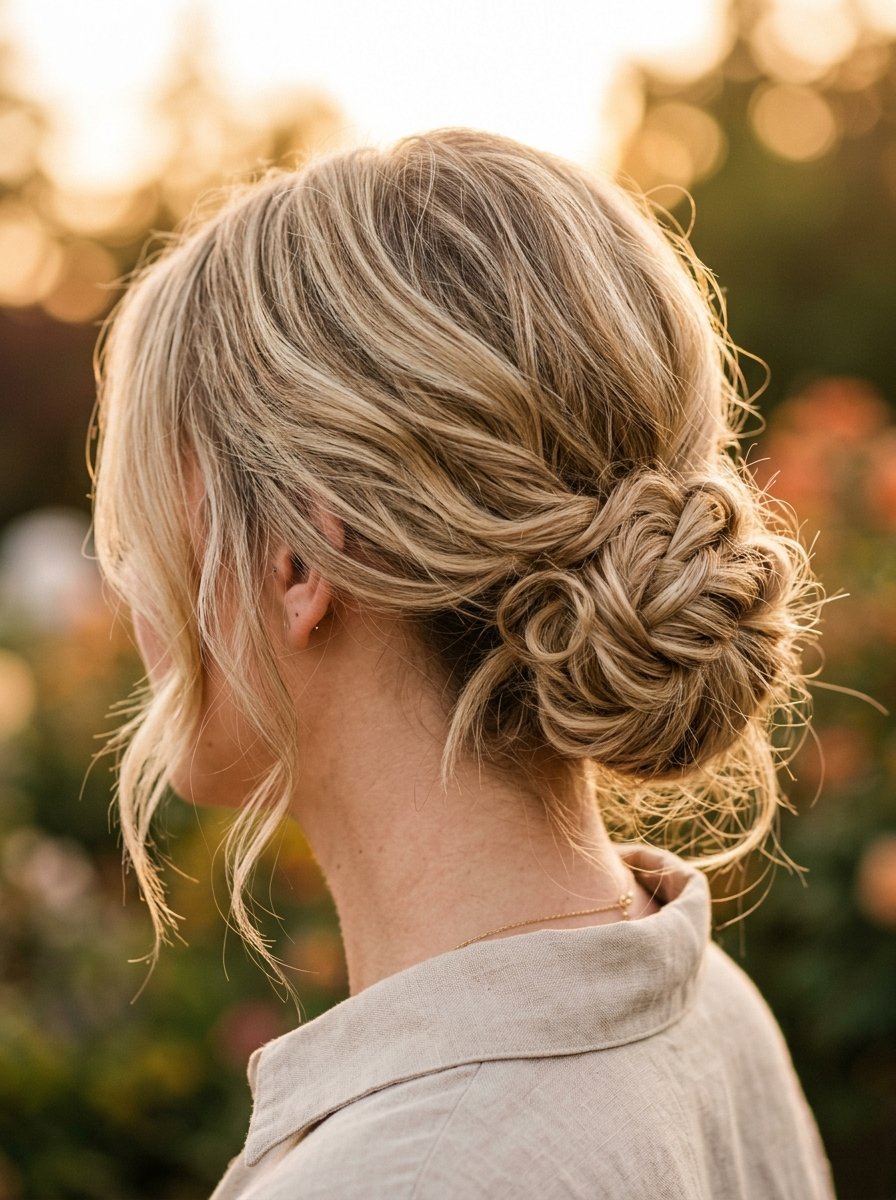
Updos for Beginners: 5 Easy Styles You Can Master Tonight
Many people believe elegant hair requires hours of mirror time or a personal stylist. I used to think that way too. My bathroom counter would end up covered in open bobby pins, heavy hairsprays, and three different curling irons. Every attempt at a classic look ended in a tangled pile of frustration. That changed when I stopped trying to copy complex salon techniques and focused on simple physics. Your hair needs structure, tension, and a few anchor points to stay up securely.
This guide breaks down five straightforward styles that you can successfully complete on your first try. These methods rely on clean sections and basic twists rather than advanced hand coordination. You will see how simple hair placement makes a massive difference in your daily routine.
Executive Summary
This guide provides five practical, beginner-friendly updo techniques designed for quick execution. You will discover exactly how to transform long hair into secure, polished styles in under ten minutes using basic tools. The article covers clear step-by-step methods for the low twisted bun, the double-turned pony, the wrapped topknot, the braided crown base, and the casual claw clip roll. It includes a direct comparison of essential holding tools, detailed troubleshooting steps for common slipping issues, and answers to frequent styling questions. Each section focuses on clear mechanics, specific placement, and reliable hold without relying on heavy products or confusing finger patterns.
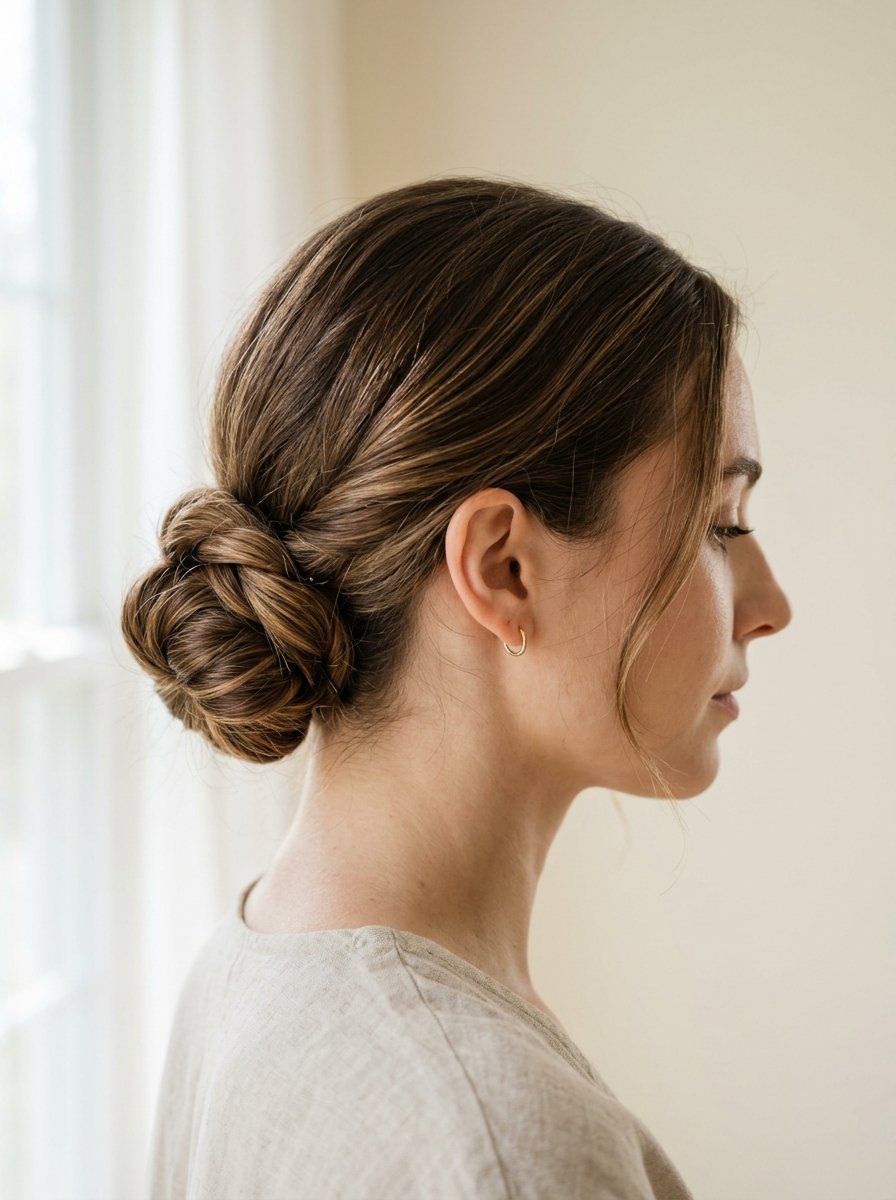
1. The Low Twisted Bun
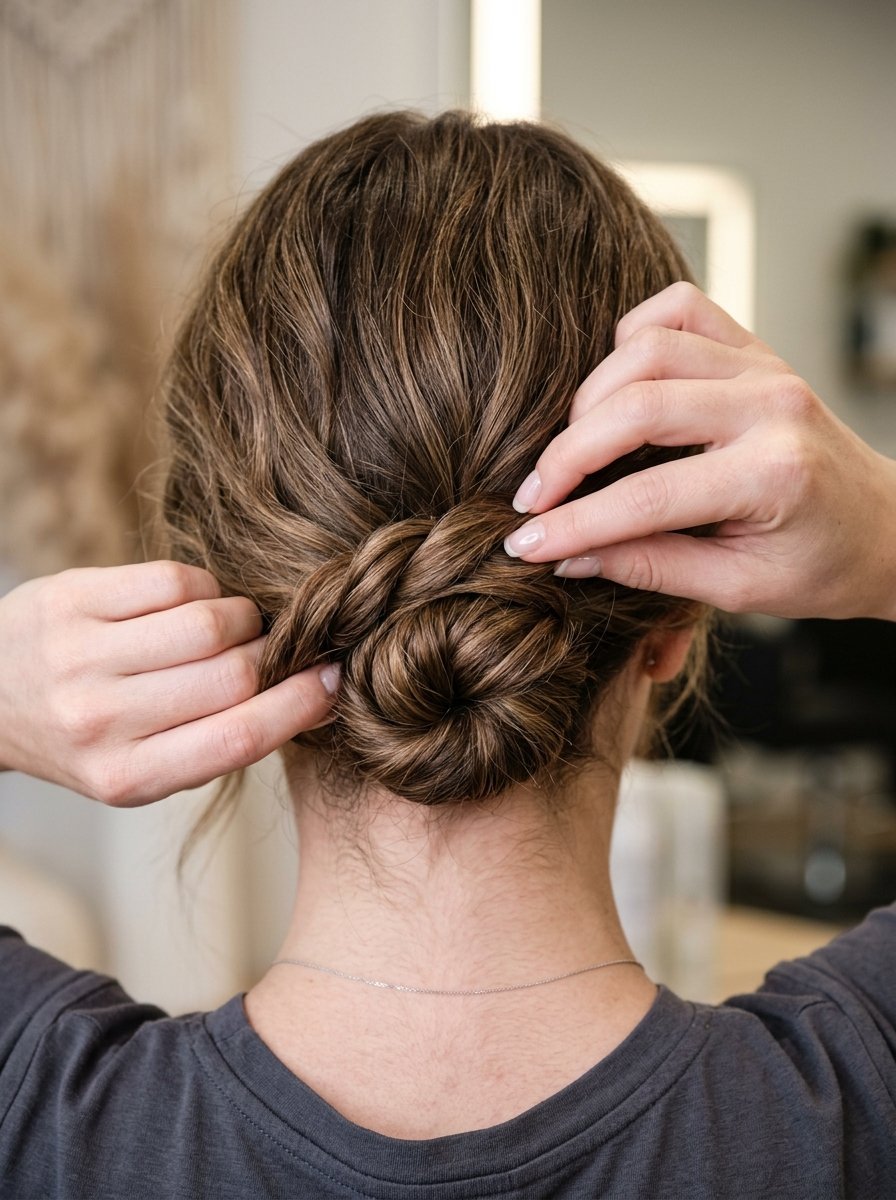
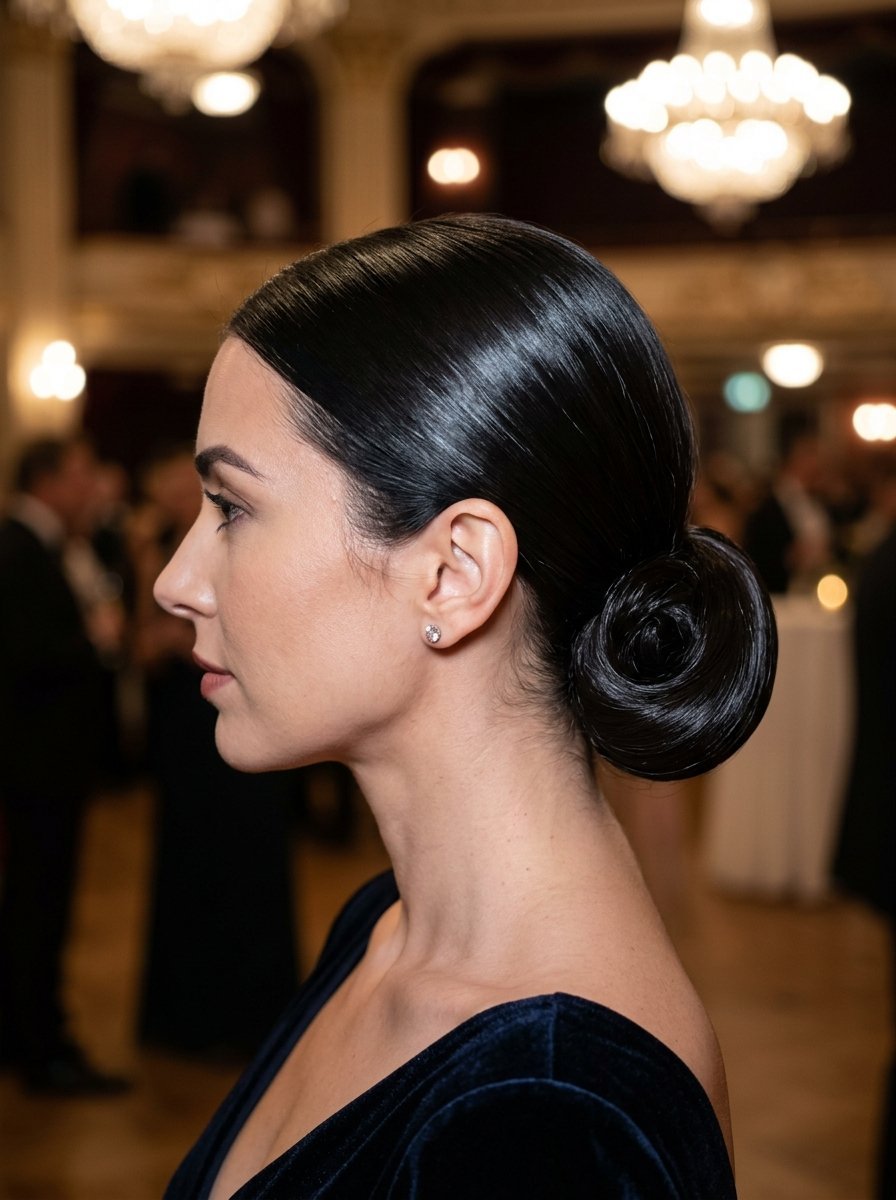
This style forms the baseline for secure hair styling. It works well because it sits at the nape of your neck, which provides a natural shelf for the hair weight to rest against. In my early styling days, I constantly tried to pin buns halfway up my head, only to watch them sag within an hour. Placing the base lower prevents gravity from pulling the style down.
Mechanics of the Twist
You start with a smooth, low ponytail. A sturdy elastic band is necessary here because a weak tie allows the core to shift. Once the base is secure, hold the ponytail straight down and begin twisting the hair tightly clockwise from the base to the ends.
- Twist until the hair begins to coil back on itself naturally.
- Circle the twisted length around the elastic base in a clockwise direction.
- Tuck the loose ends directly underneath the main coil.
Anchoring the Base
Secure the structure using large U-shaped pins instead of standard tight bobby pins. Push the pin straight down through the outer edge of the bun, catch a small portion of the scalp hair, and turn the pin inward toward the center of the elastic. Repeat this at four distinct points around the perimeter to lock the shape into place.
2. The Double-Turned Pony
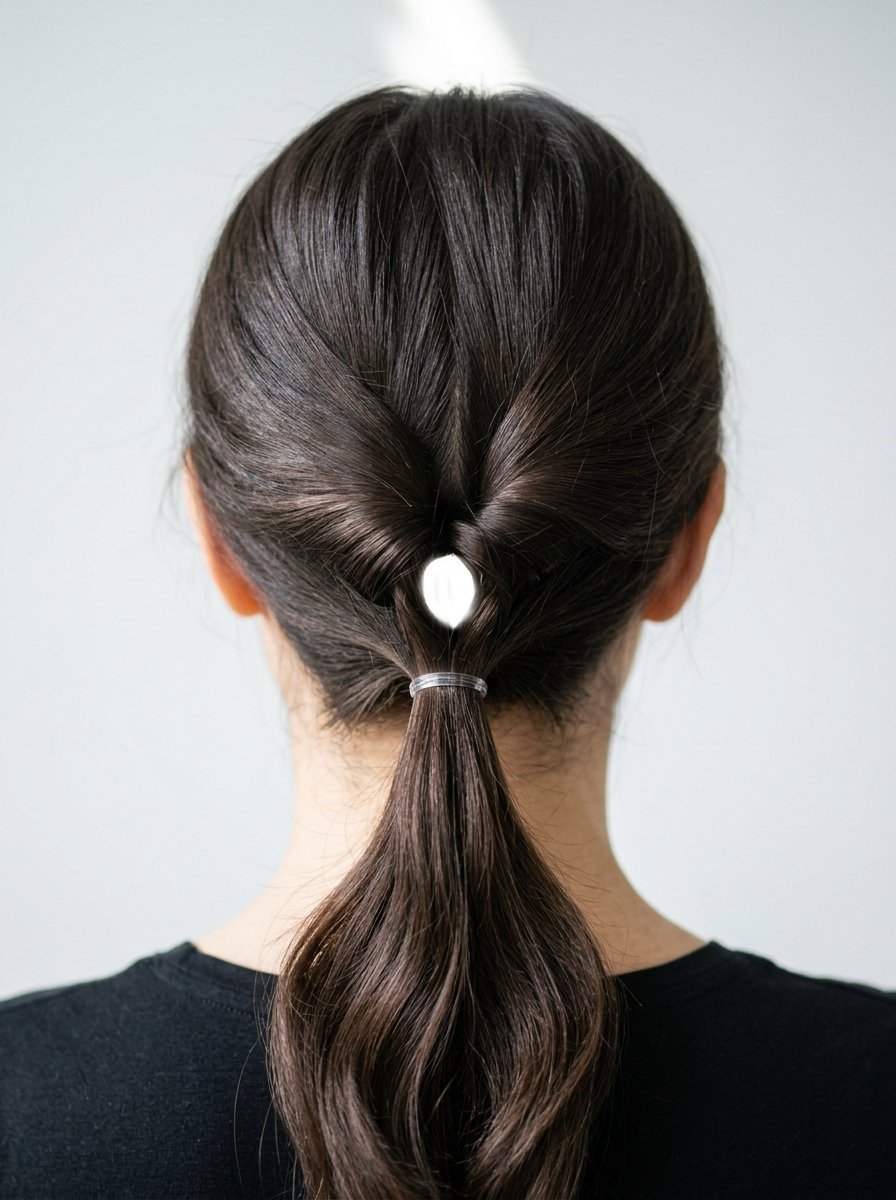
This approach creates the illusion of a intricate twist while relying completely on a basic ponytail foundation. It solves the common problem of a drooping ponytail by creating a built-in reinforcement loop. I recommend this specific style for sleek textures that normally slip out of traditional buns.
Creating the Loop
Gather your hair into a mid-height ponytail, roughly two inches above the nape of your neck. Secure it with a thin elastic band. Slide the elastic down about one inch away from your scalp to create a small gap in the hair section directly above the band.
- Use your index finger and thumb to divide the hair above the band into two equal halves.
- Reach up through the gap from underneath the ponytail.
- Grab the tail of the ponytail and pull it completely down through the opening.
Doubling the Volume
To add structure, repeat the turning process a second time. Pull the tail through the same loop once more. This second turn tightens the side rolls and hides the elastic entirely, creating a thick, padded roll across the back of your head. Pull the remaining tail into two pieces and tug outward to tighten the base against your scalp.
3. The Wrapped Topknot
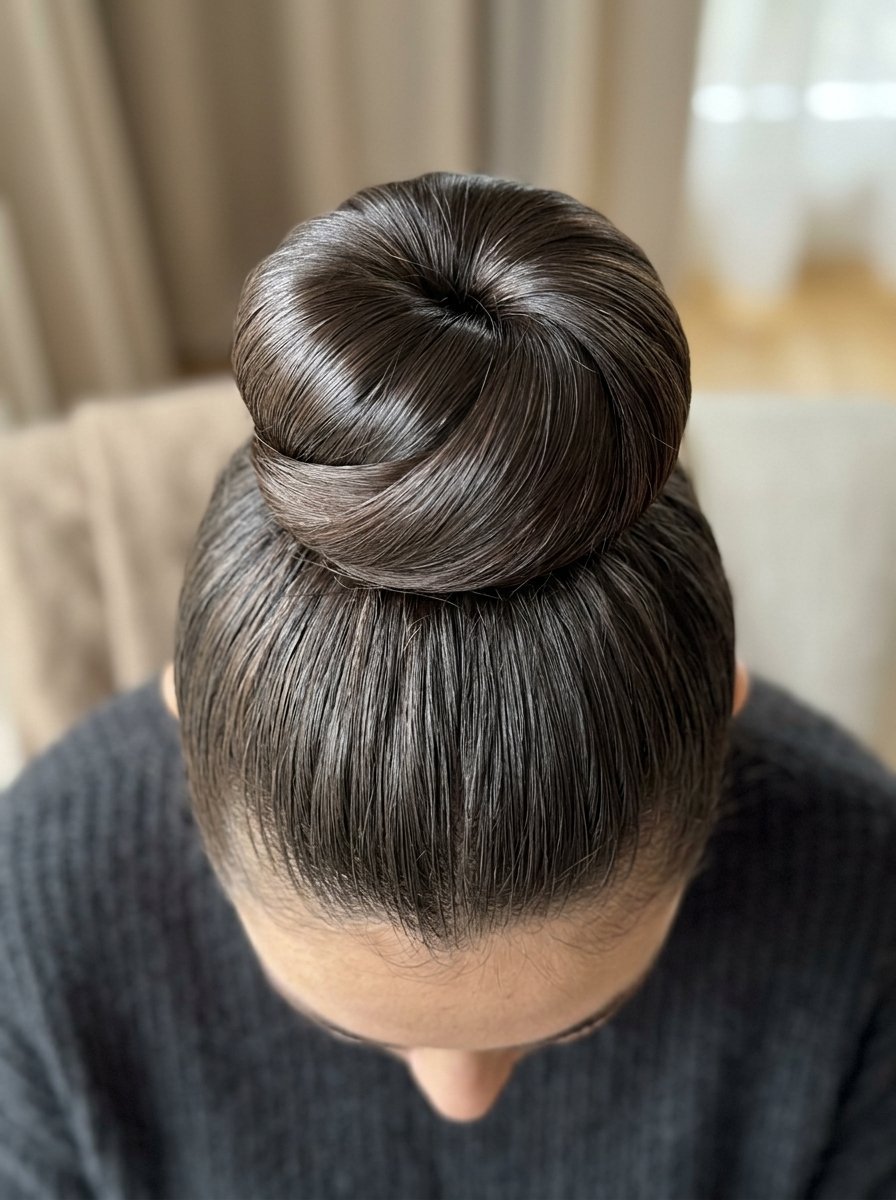
High buns often feel top-heavy, which leads to scalp discomfort and slipping. This wrapped method distributes the weight across a wider section of your crown to ensure the style stays comfortable for a full evening.
Vertical Alignment
Flip your head forward and brush your hair to the highest point of your crown. Secure the hair with a thick elastic band while your head is inverted. When you stand up, the ponytail should point directly toward the ceiling. This vertical angle ensures the weight rests evenly on top of your head rather than pulling backward.
Layered Wrapping
Divide the ponytail into two equal left and right sections. Take the left section, smooth it out, and wrap it clockwise around the base. Secure it flat with two bobby pins. Take the right section, wrap it counterclockwise around the first section, and tuck the ends into the base elastic. This opposing wrap pattern creates a balanced circle that counteracts head movement.
4. The Braided Crown Base
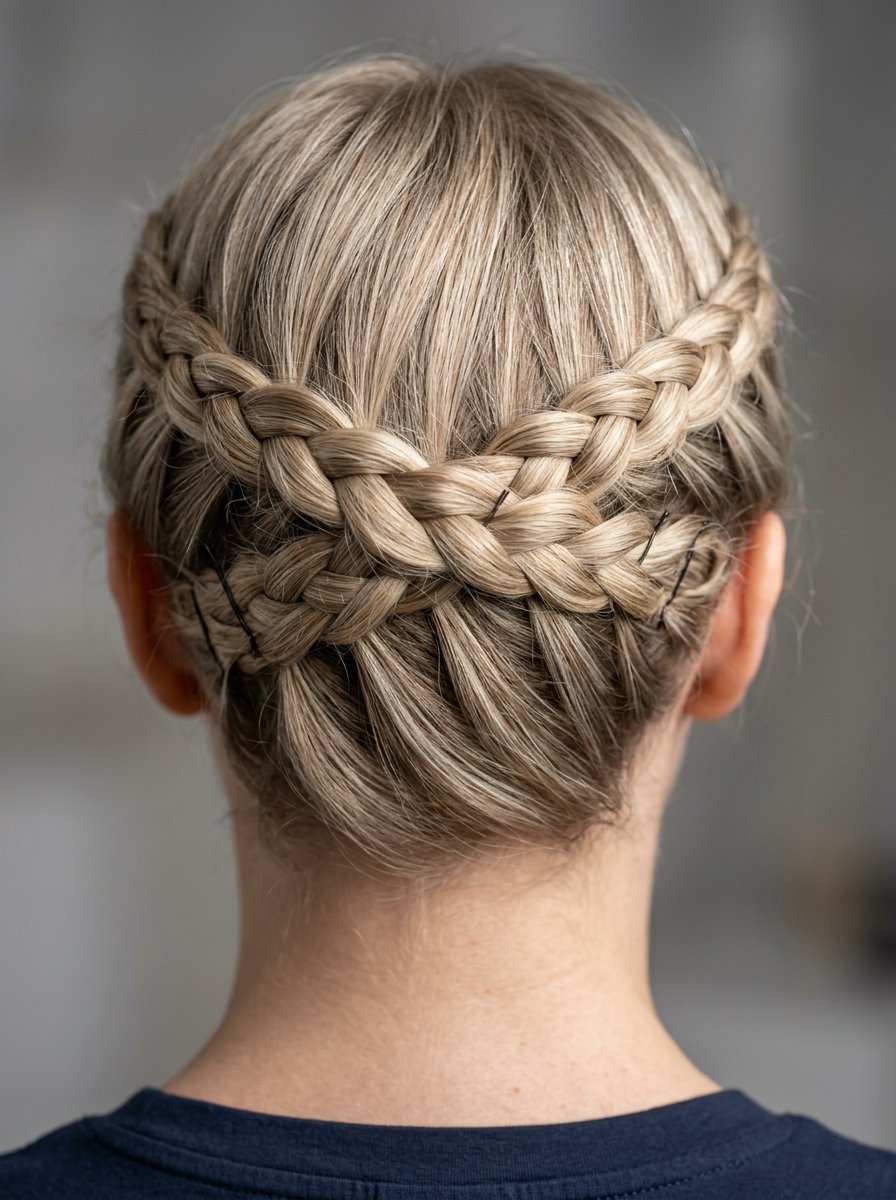
This style utilizes two simple three-strand braids to build a secure framework around the back of your head. It is an excellent option for thick hair because braiding compresses volume into a manageable, easily pinned shape.
Sectioning and Braiding
Part your hair down the center from your forehead to the nape of your neck. Secure one side with a clip to keep it separate. On the free side, gather the hair behind your ear and create a standard three-strand braid down to the very ends. Secure the end with a small clear elastic. Repeat this identical process on the opposite side.
- Lift the left braid and pull it across the back of your head toward the right ear.
- Pin the braid flat against your head using u-pins every two inches.
- Lift the right braid, cross it over the left braid, and tuck the raw ends underneath.
Securing the Perimeter
Insert pins horizontally along the top edge of both braids to lock them together. This creates a solid horizontal band of hair across the back of your head that distributes weight perfectly, making it highly resistant to loosening throughout the day.
5. The Casual Claw Clip Roll
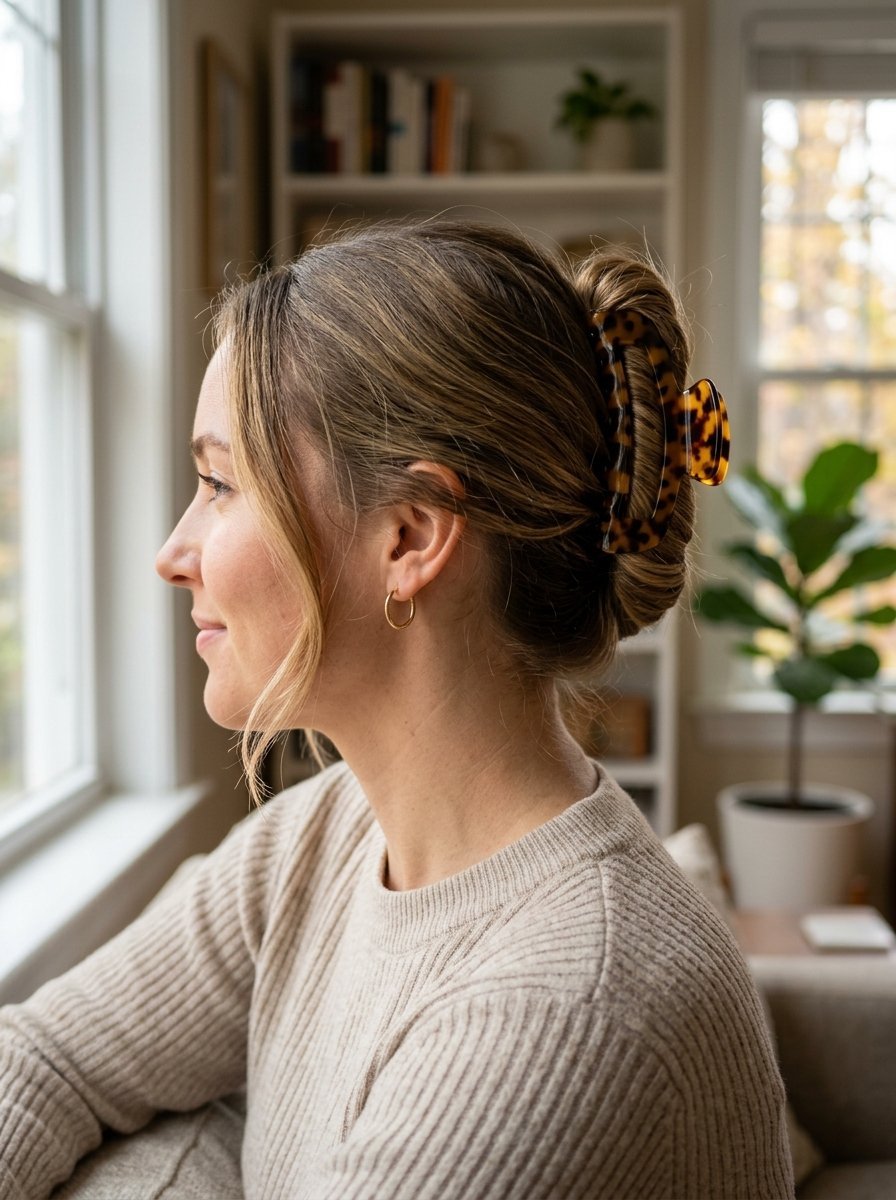
The claw clip is the fastest tool for an casual updo, but it often slides down fine hair. This roll technique creates an internal anchor point that gives the clip teeth something solid to grip onto, preventing the downward slide.
The Upward Roll
Gather all hair at the base of your neck as if making a low ponytail. Hold the base with your left hand. Use your right hand to twist the length of the hair upward toward the crown of your head, keeping the twist tight against your skull.
- Fold the remaining loose ends downward behind the main vertical roll.
- Open a large, wide-tooth claw clip fully.
- Position the clip directly over the vertical roll, ensuring the teeth pass completely through the twist and catch the hair flat against your scalp.
Balancing the Tension
Release your grip slowly to test the security. The clip must clamp the hair firmly against the head. If the clip feels loose, your vertical twist is likely too thin; you can fix this by folding the hair loop in half before clamping to double the thickness inside the clip teeth.
Updo Tool Performance Comparison
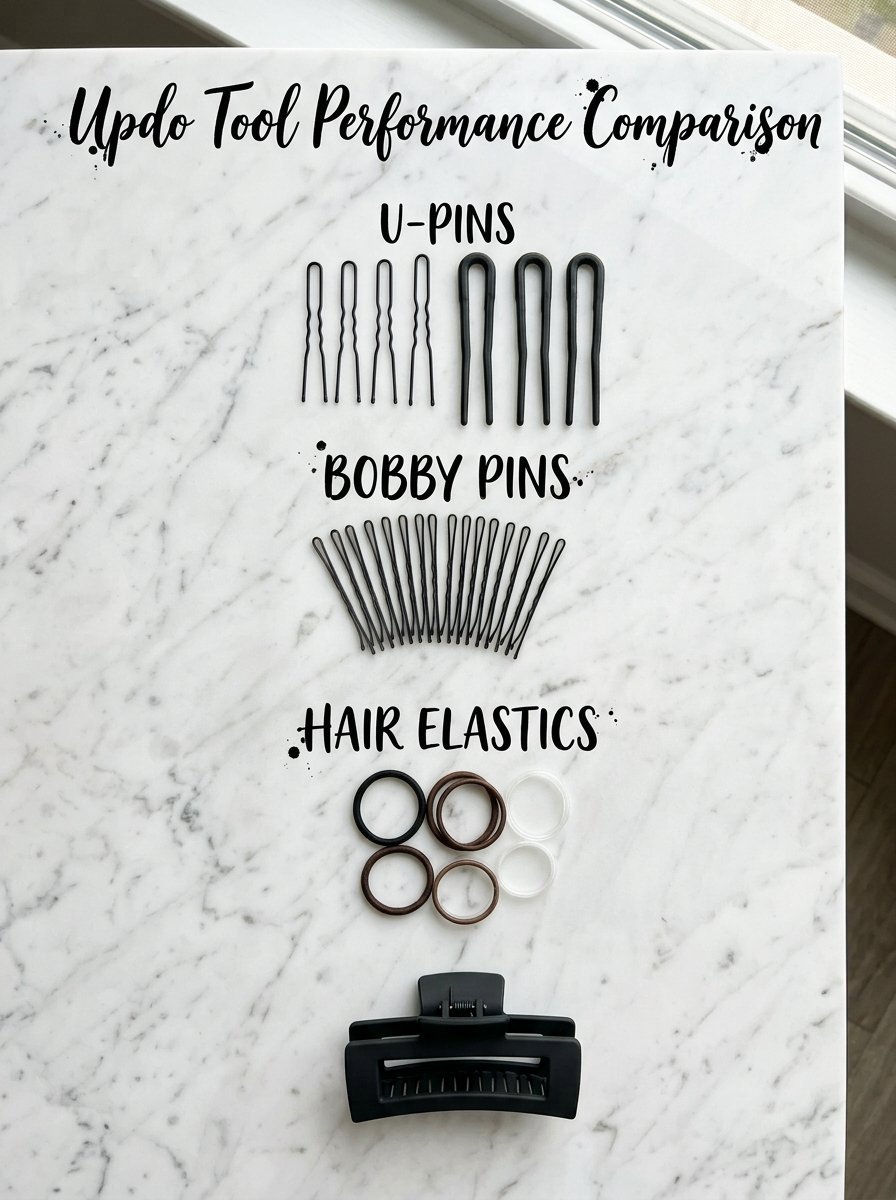
Different tools provide varying levels of security depending on your hair thickness and the style you choose. This table details the practical applications and limitations of common styling tools based on structural testing.
| Tool Type | Best Structural Application | Holding Strength | Primary Limitation |
| Nylon Seamless Elastics | Creating high-tension structural bases | High | Can compress hair too tightly if wrapped over four times |
| U-Shaped Hair Pins | Anchoring twisted buns and thick braids | Medium-High | Requires a dense hair base to prevent falling out |
| Standard Bobby Pins | Securing flat sections and loose ends | Medium | Metal can bend outward and lose grip after repeated use |
| Large Acetate Claw Clips | Fast vertical rolls and casual twists | Medium | Heavy plastic can slide down completely straight hair textures |
| Clear Mini Elastics | Securing braid ends and small accent sections | Low-Medium | Single-use design prone to snapping under heavy tension |
Troubleshooting Guide for Common Updo Issues
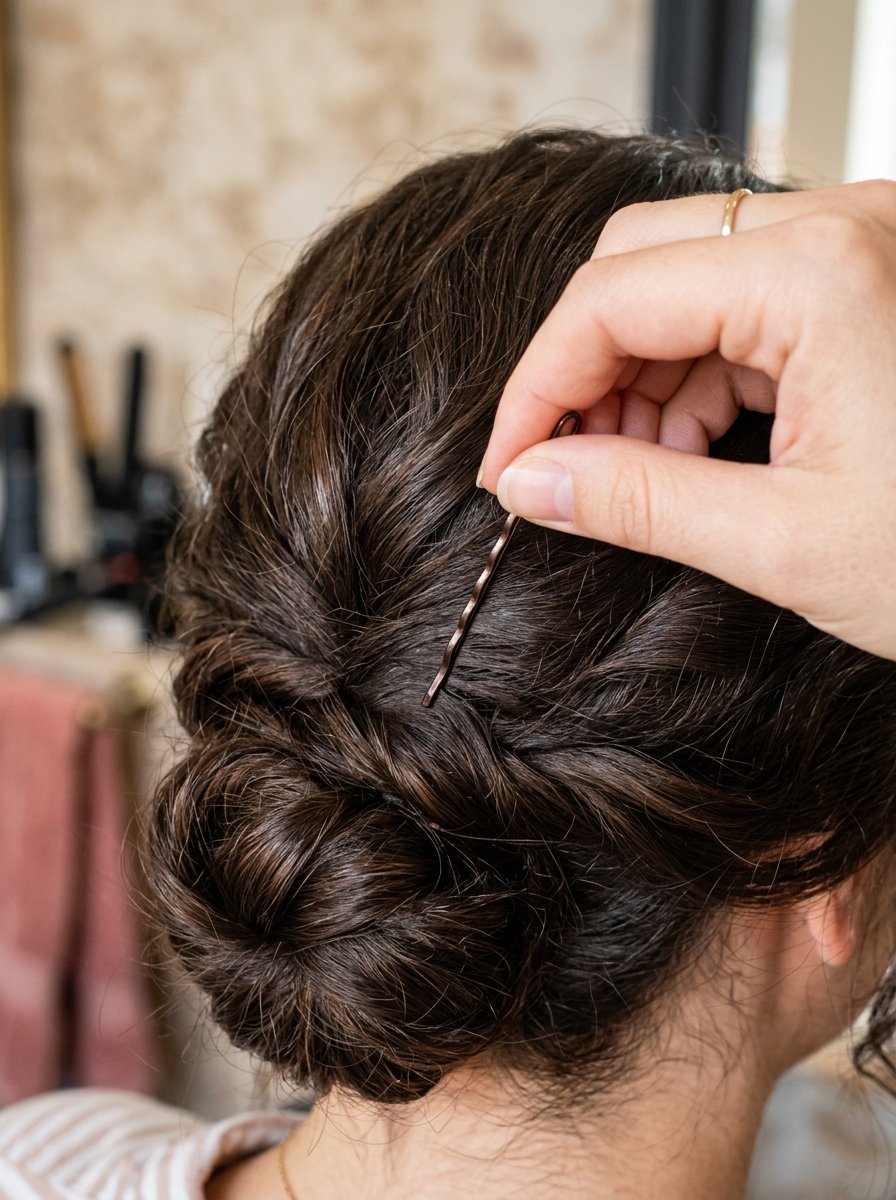
When an updo fails, it is usually due to a lack of friction or incorrect pin placement. These three steps help resolve common styling failures quickly.
Slipping and Sliding Texture
Freshly washed hair lacks the friction needed to hold a shape. If your hair slips out of twists immediately, spray the mid-lengths with a dry texturizing spray or dry shampoo before styling. This creates a matte surface texture that allows hair strands to grip each other effectively.
Painful Scalp Pulling
Sharp pulling pain indicates that a small section of hair is carrying the weight of the entire style. To fix this, do not remove the whole updo. Instead, slide a U-pin gently into the tight area, hook the specific pulling strand, and push it slightly toward the center of the bun to relieve the localized tension.
Visible Pins and Elastics
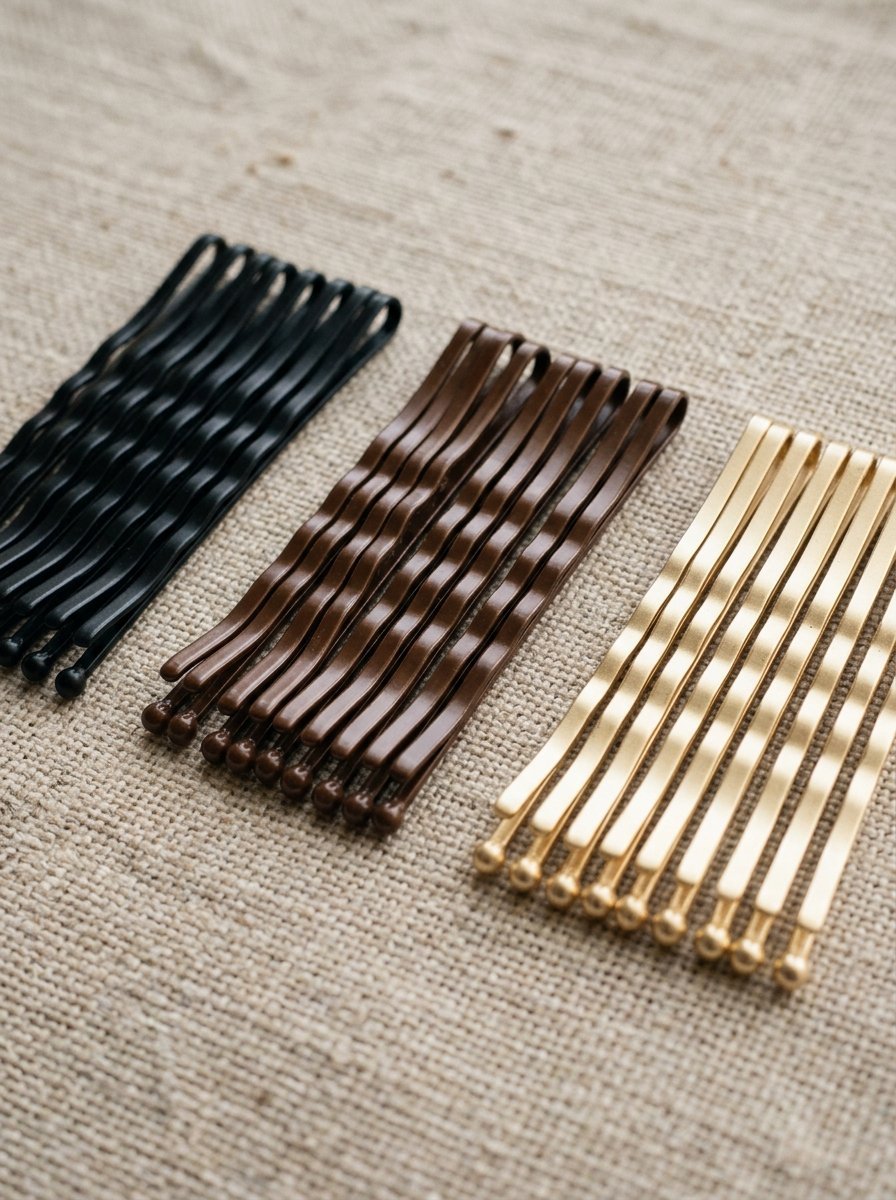
Exposed tools break the clean lines of a finished style. Always select pins that match your hair color value exactly. When inserting bobby pins, keep the wavy side facing down toward your scalp, as this side holds the grip and keeps the pin flat and hidden beneath the top layer of hair.
Frequently Asked Questions
Why do my bobby pins keep sliding out of my hair?
Bobby pins slide out when they are overloaded with too much hair. The two metal legs should stay close together to maintain clamping pressure. If you force a thick chunk of hair into the pin, the metal spreads apart permanently, losing its grip. Use more pins with smaller amounts of hair instead of fewer pins crammed full.
How do I make an updo look casual without it falling apart completely?
Build a completely secure, tight foundation first using elastics and pins. Once the structure is locked in place, use your fingers to gently tug the hair at your crown upward to create height. Pull out a few small strands around your ears and hairline. This gives you a relaxed look while the core remains firmly anchored.
Can I complete these styles if I have layered hair?
Yes, but shorter layers will poke out of the twists. To manage layers, use the double-turned pony or braided crown options. The braiding process locks shorter pieces into the main strand, while the turning technique loops layers inside the structure so they cannot stick out wildly.
What is the easiest way to remove pins without damaging my hair?
Never pull a bobby pin straight out while it is closed, as this scrapes the hair cuticle. Slide your index finger into the looped end of the pin, spread the two legs apart slightly to release the hair grip, and then lift it cleanly away from your head.
Do these styles work on shoulder-length hair?
The low twisted bun and the double-turned pony work exceptionally well on shoulder-length hair. The high topknot requires longer strands to reach the top of the crown, so shorter hair lengths should stick to styles positioned at or below the middle of the head.
How can I make my buns look larger if I have fine hair?
Before twisting your ponytail into a bun, backcomb the tail gently with a wide-tooth comb. Brush upward from the ends toward the elastic base to create internal air pockets. This expansion doubles the visual volume of the hair before you wrap it into the final shape.
Strategic Review
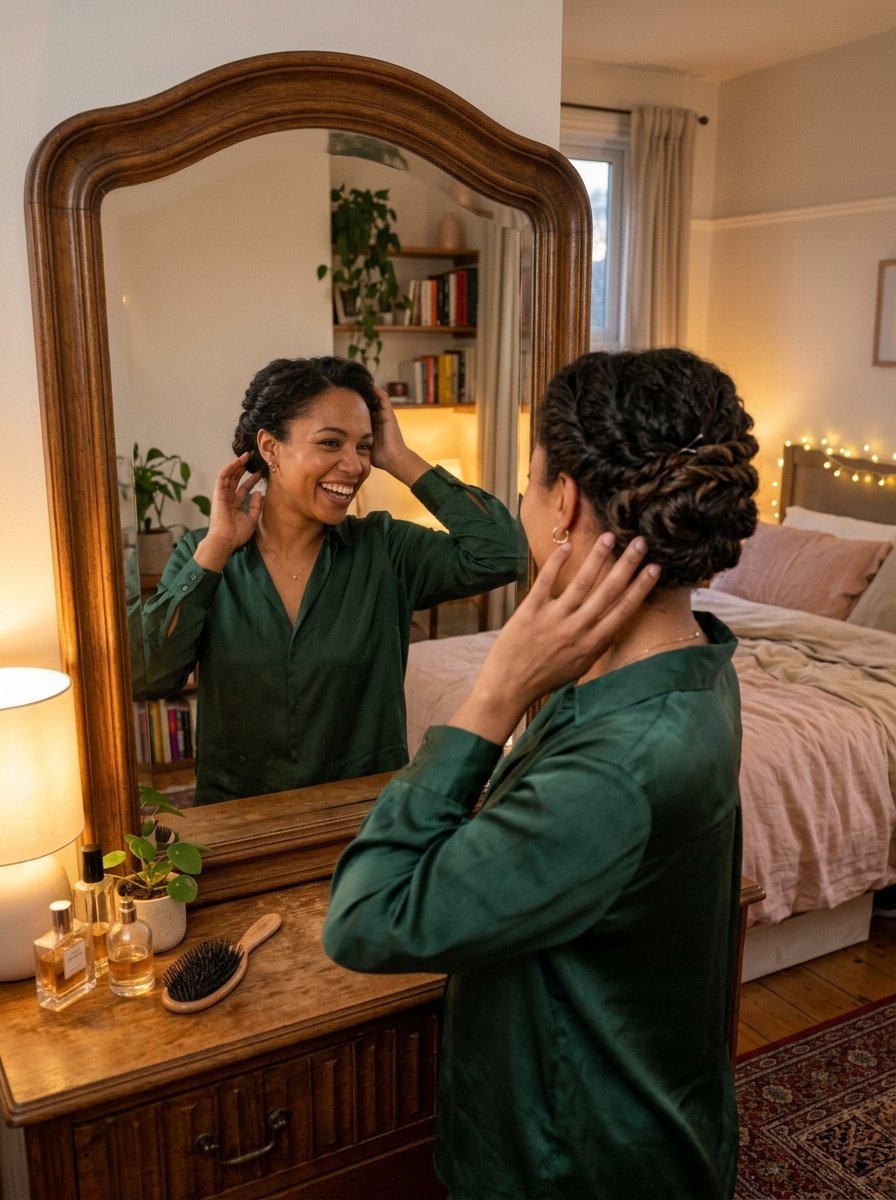
Mastering updos comes down to understanding tension and placement. Start with the low twisted bun to get a feel for how U-pins anchor into hair against your scalp. Once you understand that physical connection, moving on to higher styles or braided foundations becomes much easier. Practice these basic movements tonight, and you will have reliable, comfortable hairstyles ready for any occasion tomorrow.

Sarah Mitchell — Founder & Editor-in-Chief
Sarah Mitchell is the founder and editorial voice behind Hair Level Up. A licensed cosmetologist with more than 15 years of experience, she has styled A-list celebrities for editorial shoots and red carpets, with work featured in Vogue, Elle, and Harper’s Bazaar. Early in her career, she trained under the legendary hairstylist Oribe in New York, an apprenticeship that still shapes her editorial eye today. Sarah founded Hair Level Up in 2020 after one bad haircut convinced her that women deserved a destination that felt like a magazine, taught like a stylist, and inspired like an art gallery. She oversees every story from concept to publication, guided by a simple belief: a good story teaches you something, but a great one makes you feel beautiful while it does.