25 Heatless Hairstyles for Long Hair Worth Trying This Week
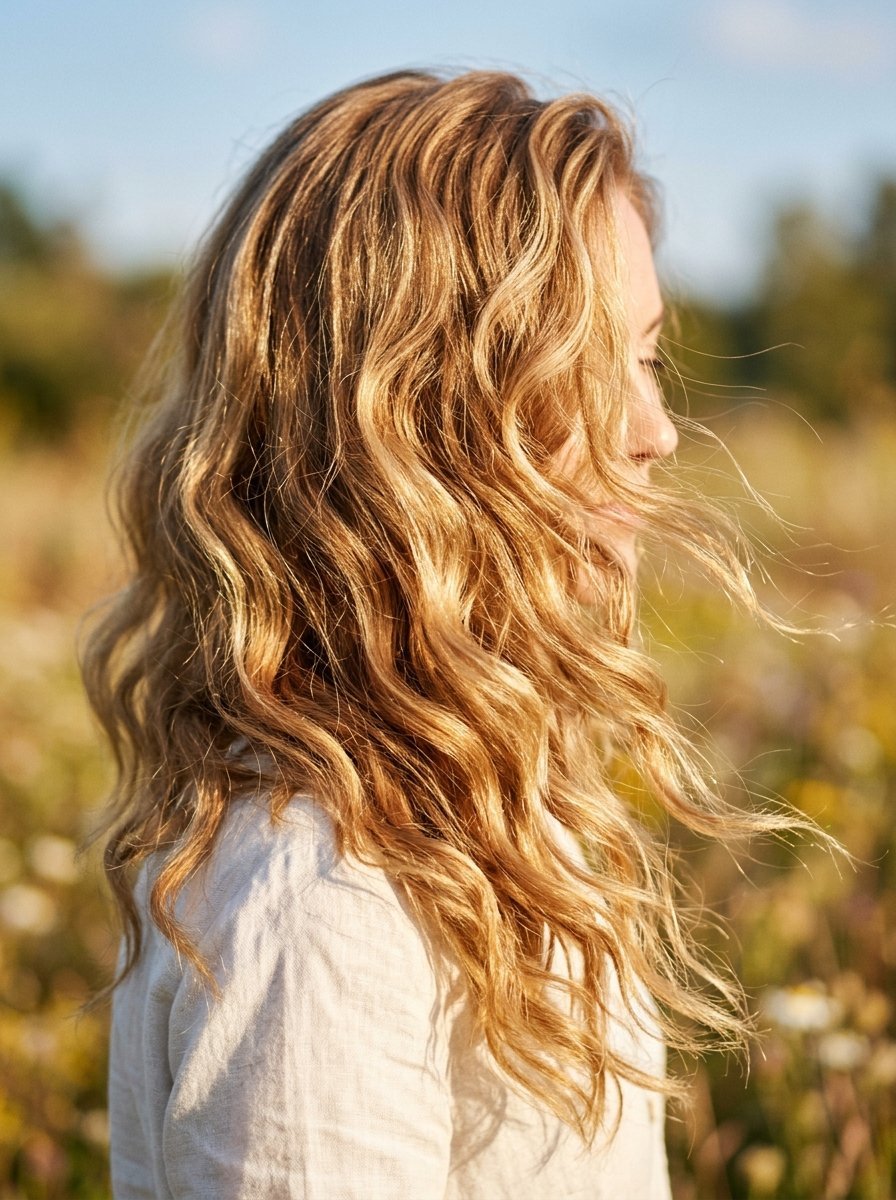
The morning alarm rings at six. You stare at the hot curling iron on the bathroom counter. A year ago I burned my ends daily for perfect beach waves. My hair snapped off in the brush every morning. I spent hundreds on expensive repair masks. Then I stopped using hot tools completely. I tested dozens of overnight wraps and morning twists. My styling time dropped to five minutes. My split ends disappeared entirely. This post shares twenty five tested looks that save your hair and your sleep schedule. You will get back your healthy shine without sacrificing your style.
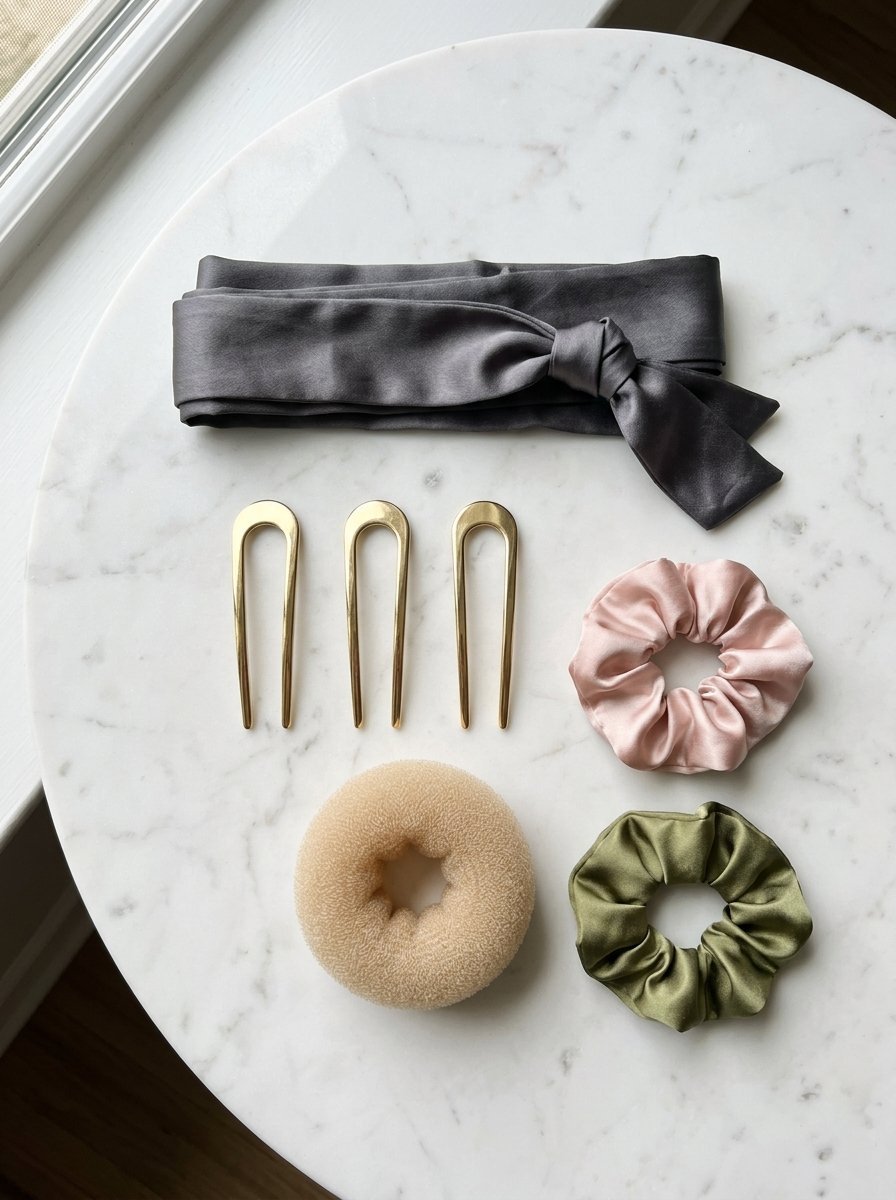
Switching off hot tools protects your hair cuticles from permanent thermal damage. I gathered twenty five beautiful looks specifically for long hair. You will need basic items like silk scrunchies and soft foam rollers. I cover everyday braids, quick updos, and tight gym holds. You will also get an accessory comparison chart and troubleshooting steps for frizzy ends. Every look includes clear steps you can follow in front of your mirror right now. Let us jump straight into the step by step tutorials.
1. Hair Styles Updos Easy
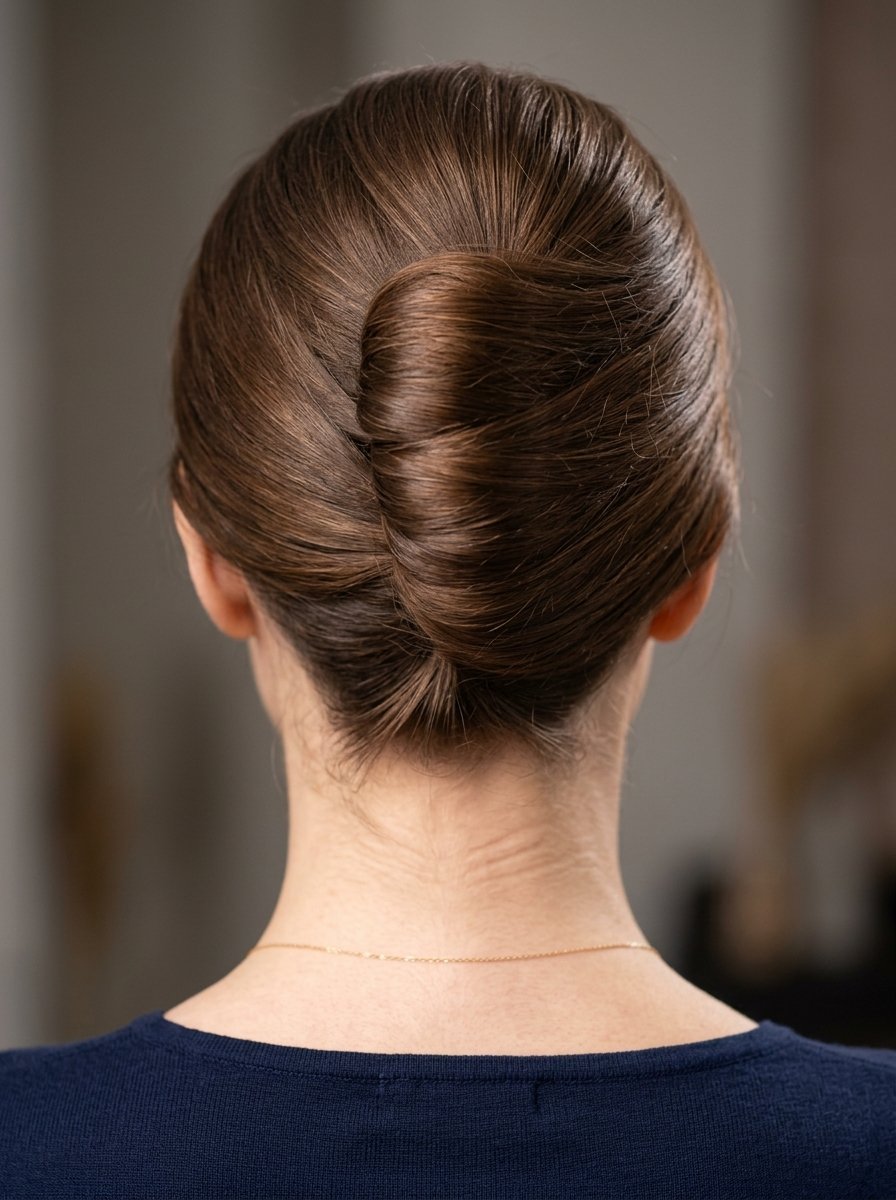
A classic French twist creates instant elegance without burning your fingers. I wear this look to dinner parties when I only have ten minutes to get ready. Second day hair holds the shape better than freshly washed hair. The natural oils give the twist proper grip.
- Gather all your hair at the nape of your neck.
- Pull the entire section to the right side of your head.
- Insert large bobby pins vertically in a row up the center of your head.
- Roll the hair tightly to the left over the pin anchor.
- Tuck the ends inside the roll completely.
- Push u shaped hairpins horizontally into the twist to lock it.
2. Sport Hair Ideas
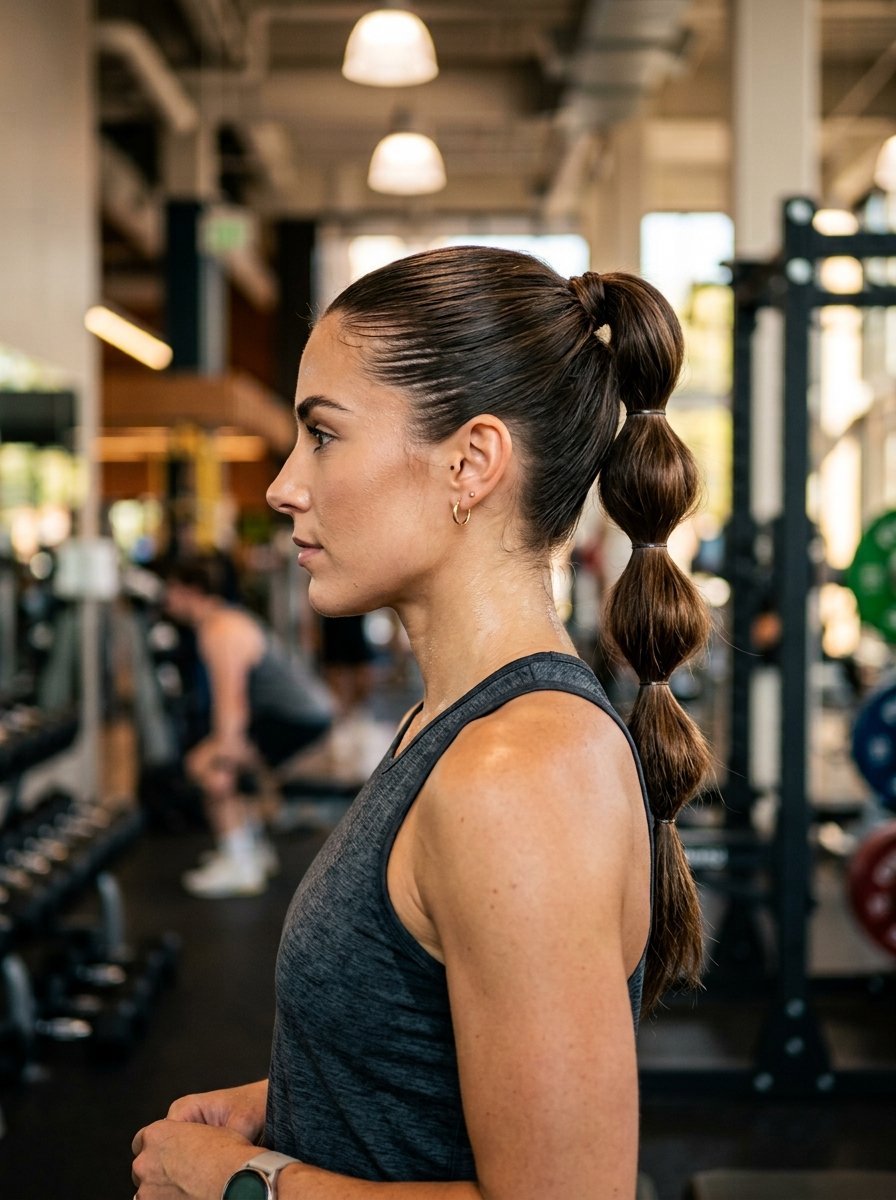
High intensity workouts require a tight hold. Regular ponytails tangle badly during a long run. The double banded bubble ponytail stops this tangling completely. I wore this through a marathon and my hair never moved. You need six small elastic bands.
- Brush your hair back into a tight high ponytail.
- Tie the base with a strong hair tie.
- Tie another small elastic band two inches down the ponytail shaft.
- Pull the hair between the two bands outward gently.
- Shape a rounded bubble with your fingers.
- Repeat placing bands and puffing the hair down to the ends.
3. Cool Braid
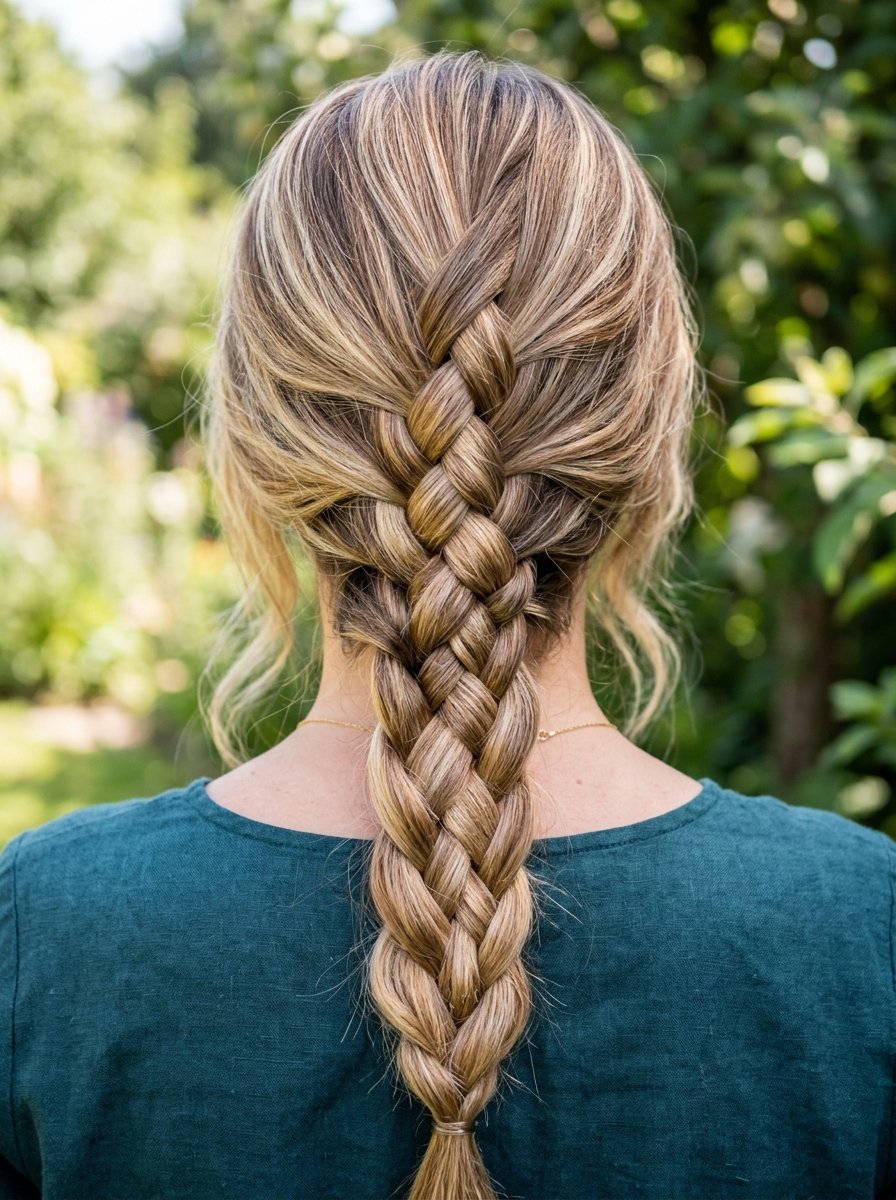
A four strand braid looks much thicker than a standard three strand version. It sits flat against your back. I love how this style catches the light on blonde coloring. The pattern takes a few tries to master.
- Divide your hair into four equal sections.
- Number them one through four from left to right in your mind.
- Cross strand one over strand two.
- Cross strand one under strand three.
- Take strand four and cross it under strand three.
- Cross strand four over strand two.
- Repeat this over and under pattern until you reach the bottom.
4. Non Braided Hairstyles
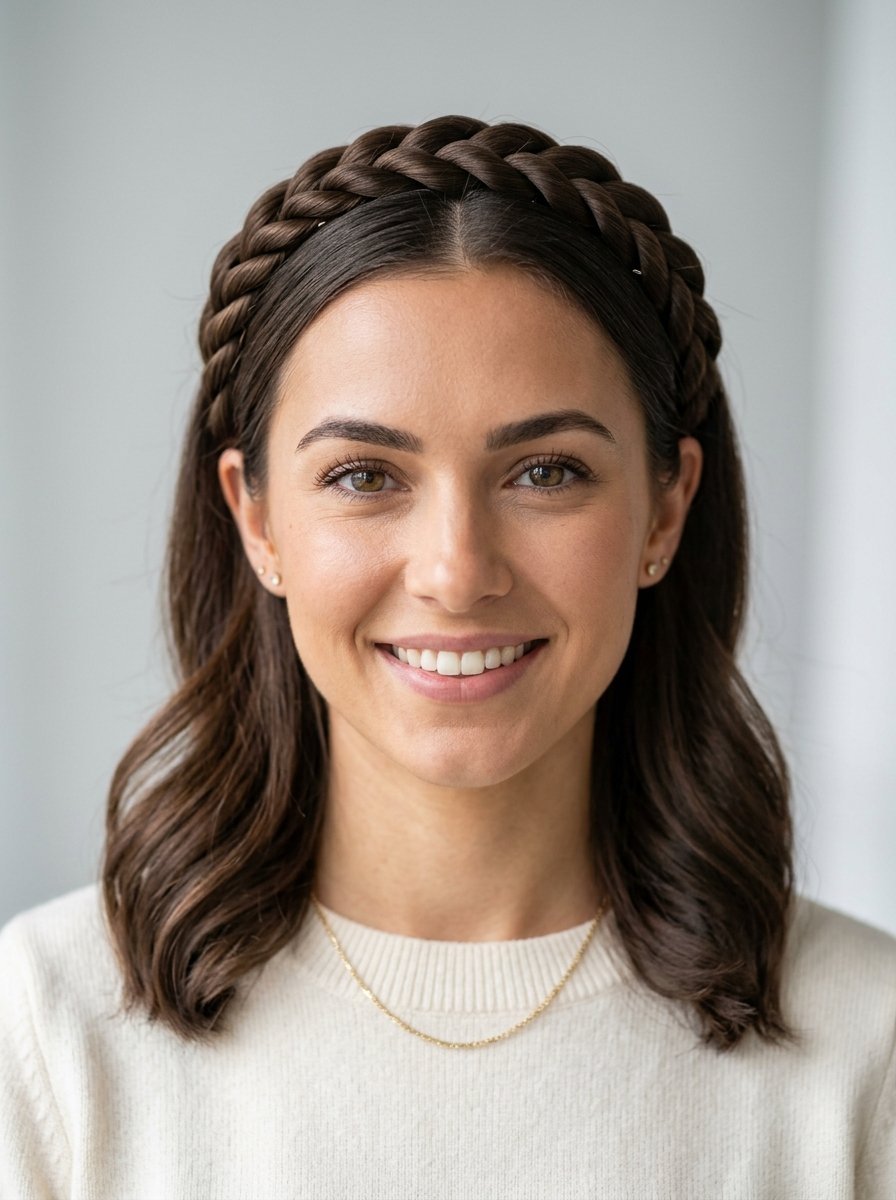
You can fake the look of a milkmaid crown without knowing how to weave. This twisted rope version stays locked all day. I choose this look when I want my hair completely off my neck during summer.
- Part your hair down the center into two pigtail sections.
- Take the left section and split it into two smaller pieces.
- Twist both small pieces toward your face tightly.
- Cross the two twisted pieces over each other away from your face.
- Tie the end with a small clear elastic.
- Repeat the twisting motion on the right side.
- Pin both ropes across the top of your head.
5. Hairstyles On Long Hair
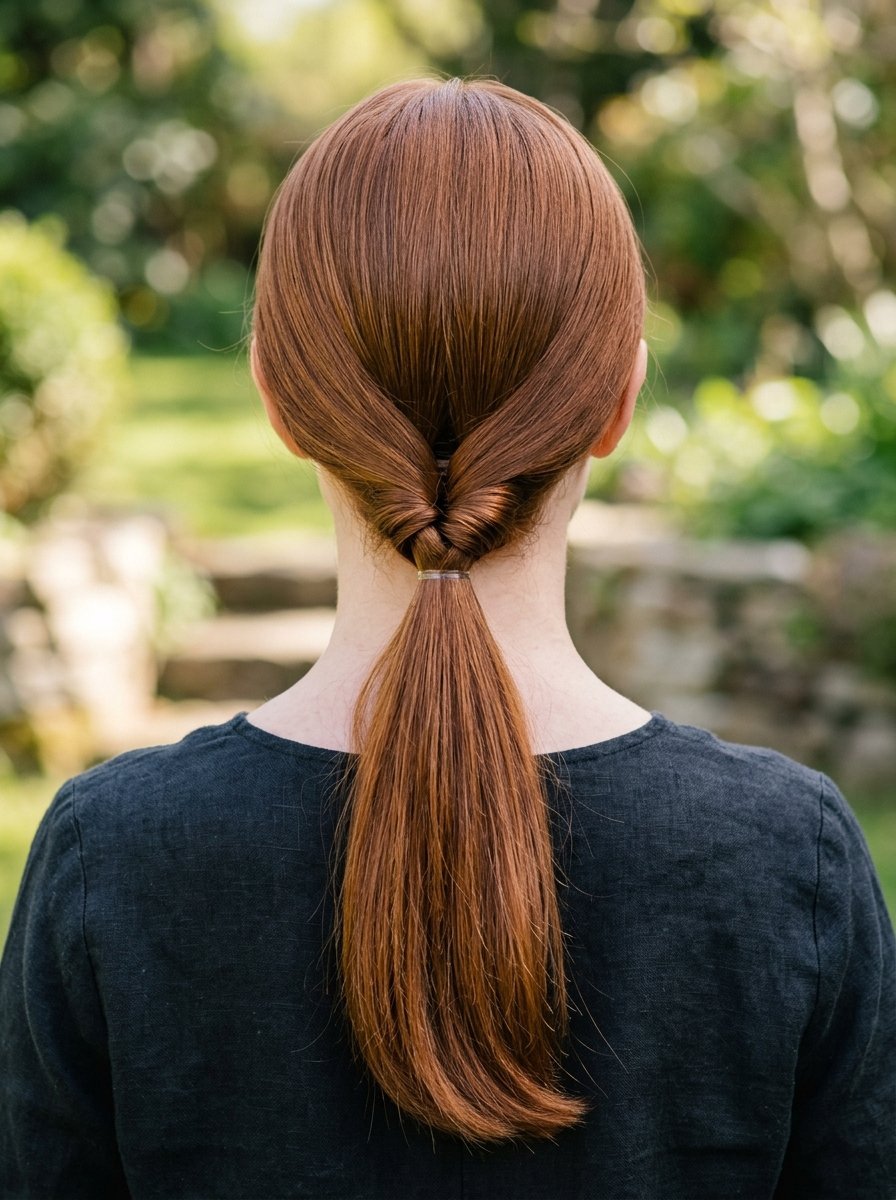
The topsy tail low pony turns a basic look into a detailed focal point. It takes thirty seconds to complete. I do this on busy mornings before jumping on a video call. It looks incredibly polished from the front and back.
- Tie your hair into a loose ponytail at the nape of your neck.
- Poke your fingers through the hair just above the elastic band.
- Create a vertical hole in the center.
- Grab the end of the ponytail and flip it upward.
- Push the entire tail down through the vertical hole.
- Pull the bottom tightly to lock the rolled twist in place.
6. Low Hairstyle
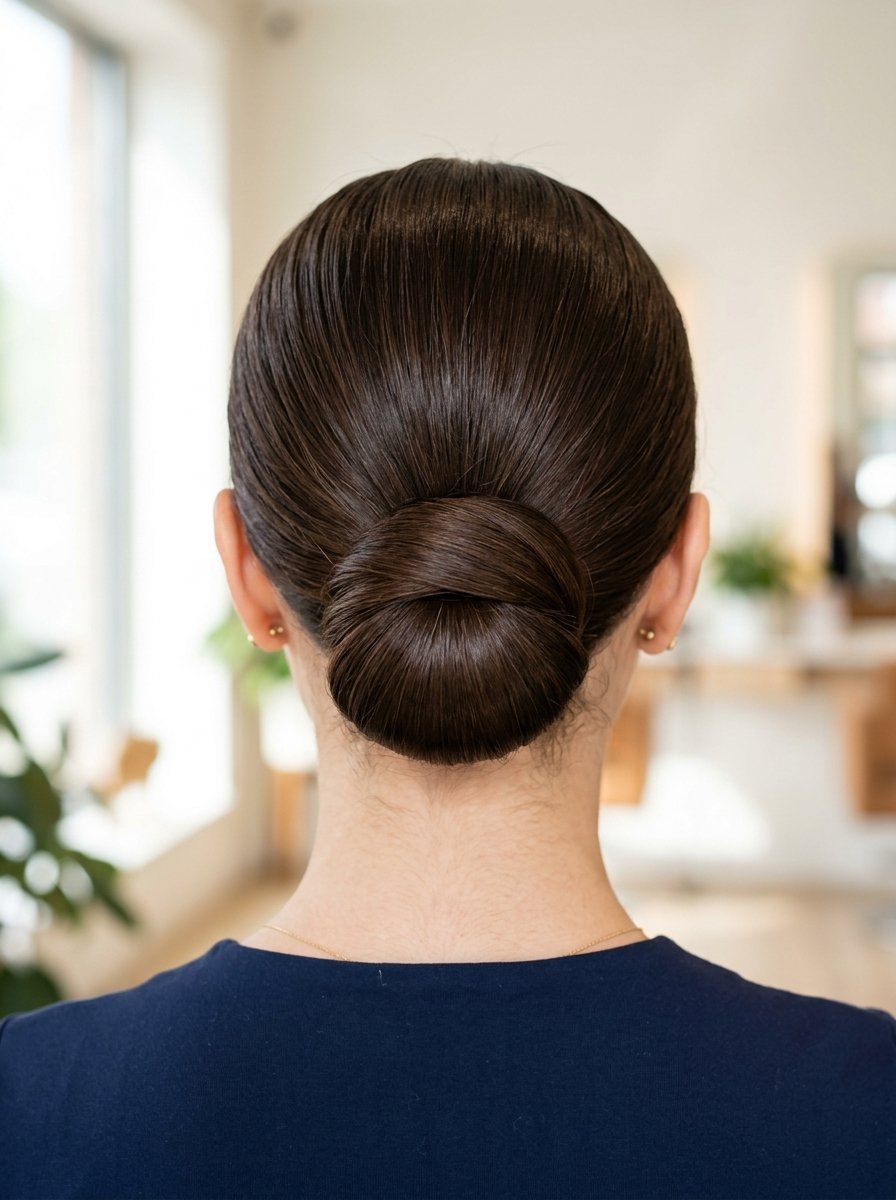
A chignon works perfectly for professional office settings. Using a hidden fabric donut ring gives fine hair massive volume. I bought a pack of foam donuts three years ago and use them weekly. No teasing or hairspray required.
- Pull your hair into a smooth low ponytail.
- Slide a foam donut ring over the elastic base.
- Fan your ponytail hair evenly over the foam ring.
- Hide the foam completely from view.
- Place a second elastic band over the hair covered ring.
- Wrap the leftover ends around the base and pin them tightly.
7. Hairstyles Long Hair Up
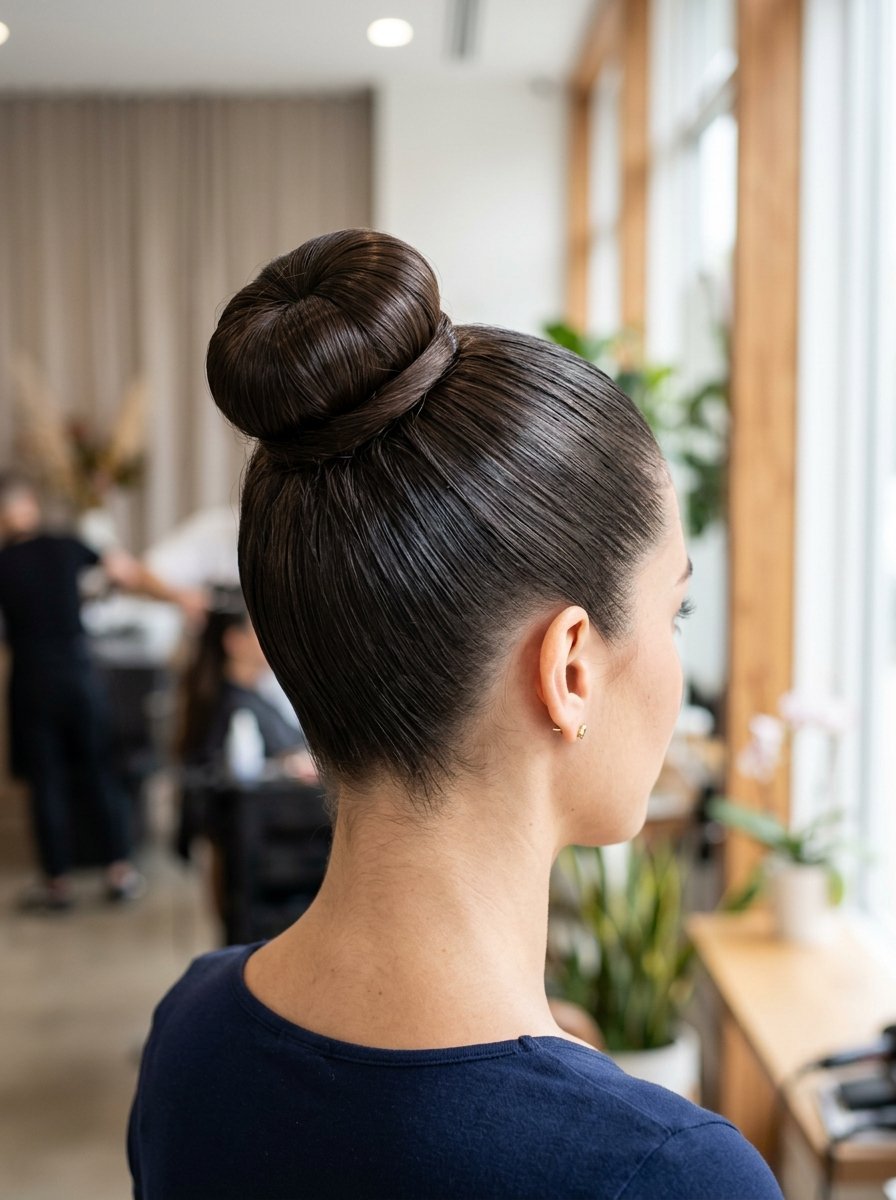
A ballerina bun placed at the exact crown of your head lifts your facial features. I rely on this look when I skip wash day. The height keeps the ends away from sweat during hot days.
- Flip your head completely upside down.
- Brush all your hair into a ponytail at the top crown.
- Tie it with a thick hair tie.
- Twist the ponytail clockwise until it coils in on itself.
- Wrap the twisted length around the center base tie.
- Push thick bobby pins into the outer edges of the coil.
8. Long Hair Styles Up
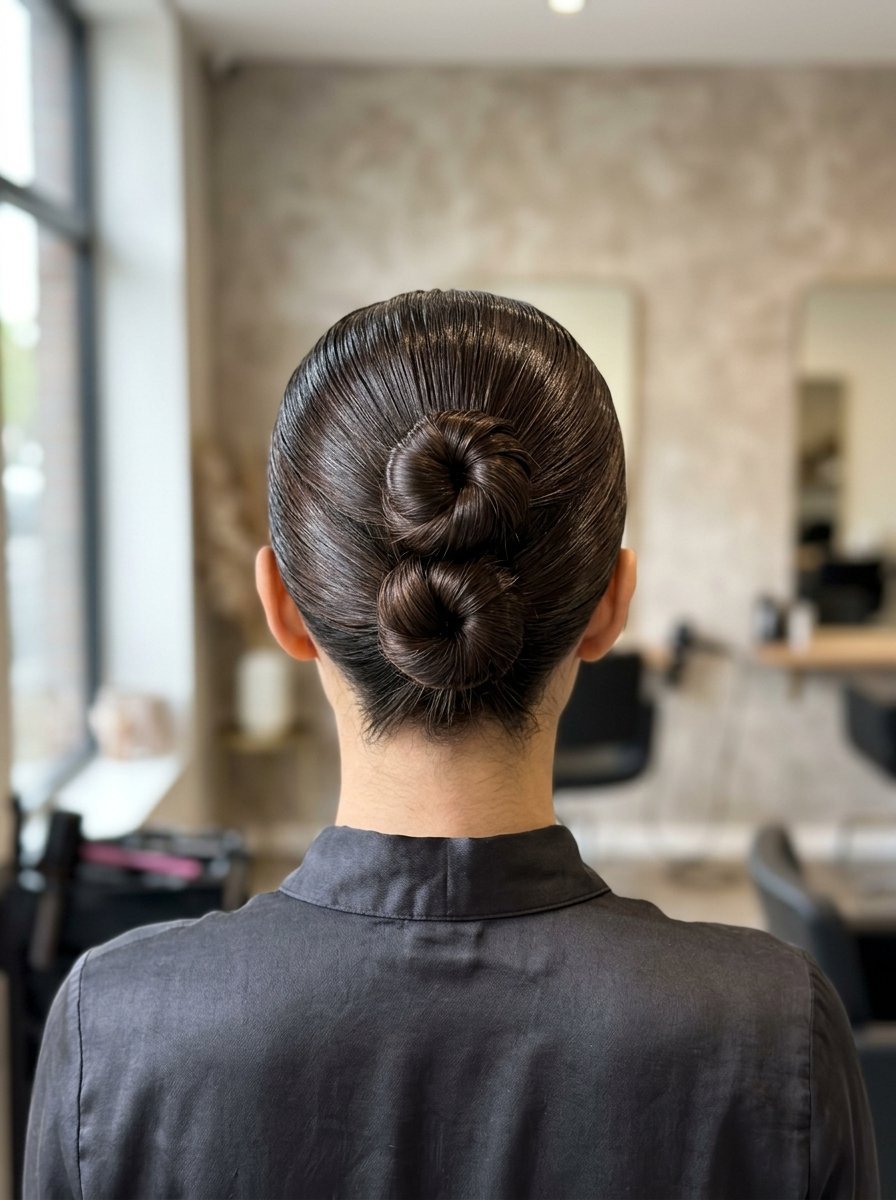
Thick hair often causes tension headaches when pulled into a single bun. The split bun distributes the weight evenly across your scalp. I noticed a huge difference in comfort after switching to this double bun layout.
- Draw a horizontal line across the back of your head with your fingers.
- Separate your hair into a top half and a bottom half.
- Twist the top half into a neat tight bun and pin it.
- Gather the bottom half and twist it upward.
- Form a second bun directly underneath the first bun.
- Pin the outer edges of both buns together to connect them.
9. Long Hair Up Styles
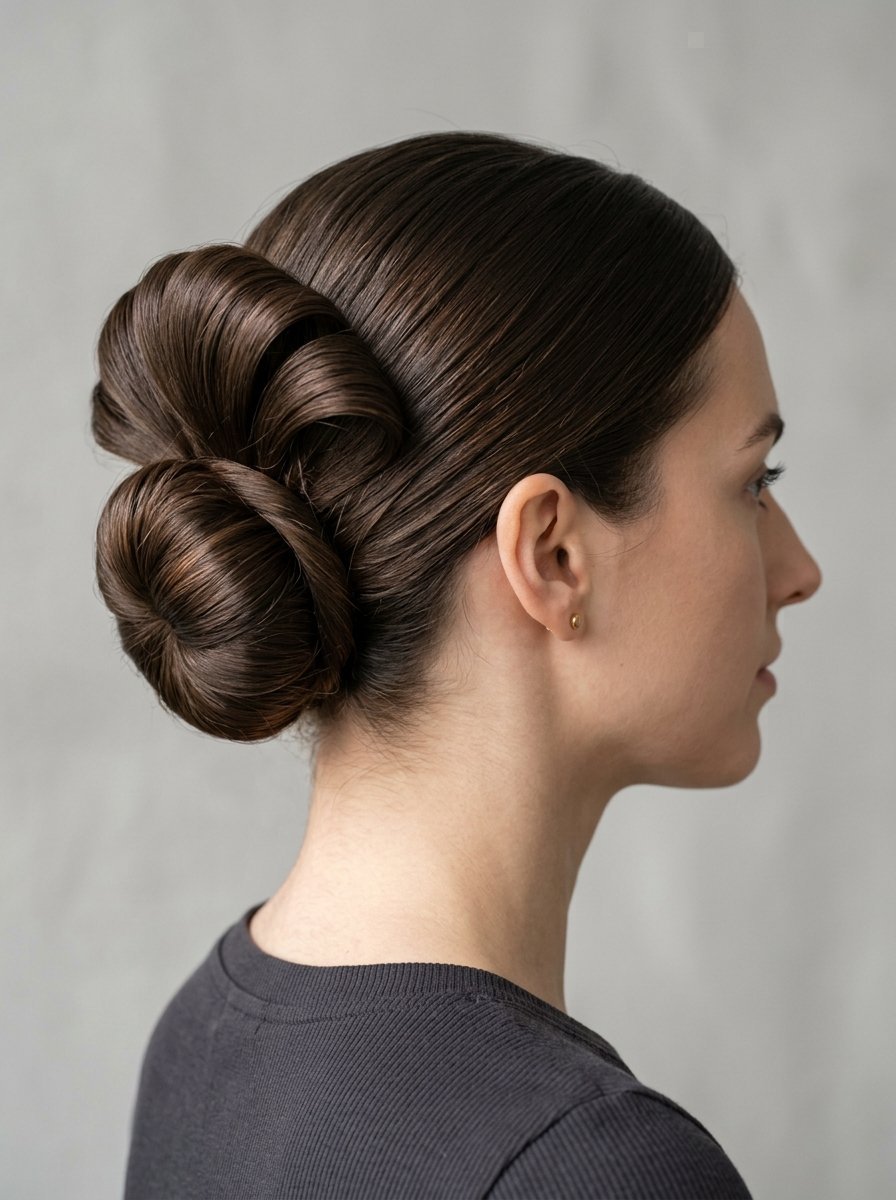
The folded fan leaves your ends free for a modern aesthetic. I prefer this over a messy bun because it looks intentional and architectural. It holds long layers perfectly without slipping out.
- Gather your hair into a high ponytail on top of your head.
- Pull the hair through the elastic band.
- On the final loop stop pulling halfway through.
- Leave a large looped fan of hair on top.
- Take the loose ends trailing from the elastic.
- Wrap those ends around the base to hide the hair tie.
- Pin the wrapped section tightly.
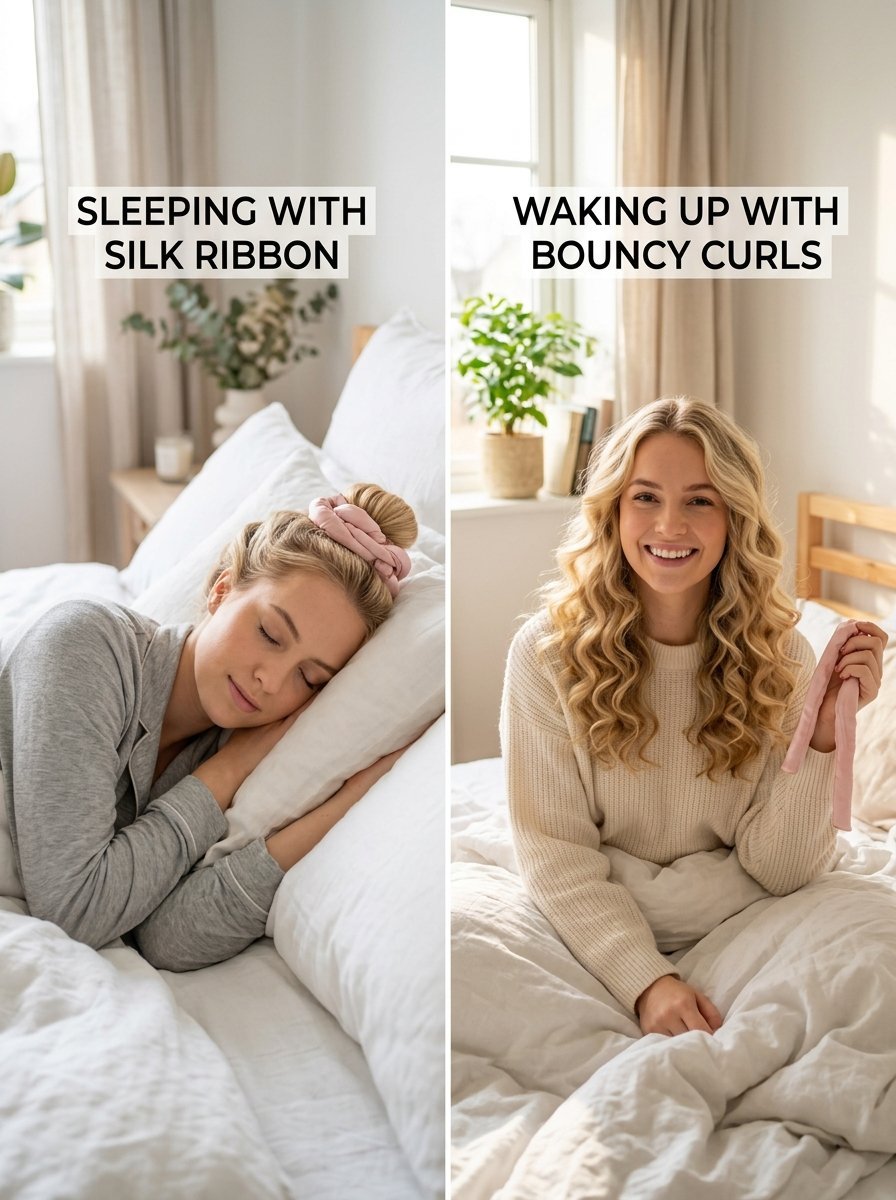
10. Silk Robe Belt Waves
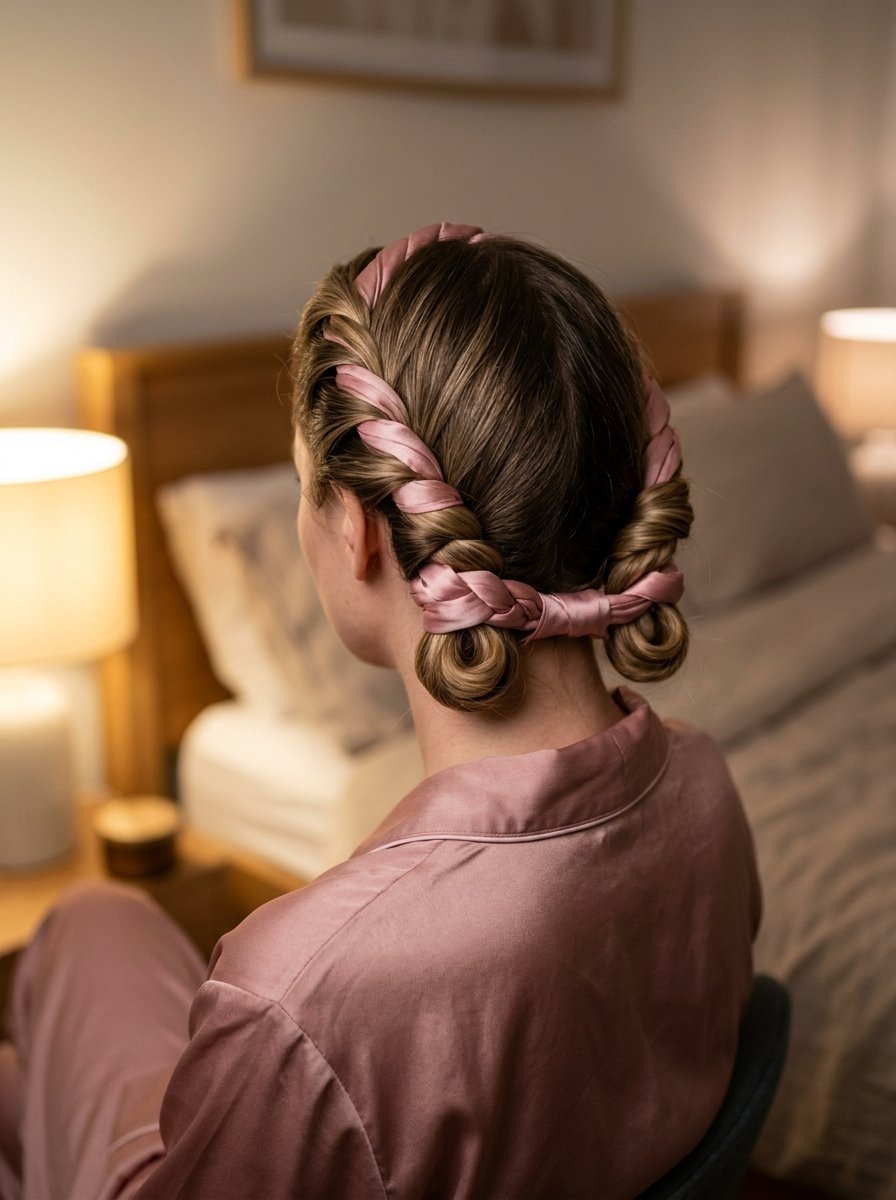
This wrapping routine creates massive bouncy curls while you sleep. The silk fabric prevents friction and stops morning frizz completely. I wake up, pull out the belt, and my hair looks styled instantly.
- Place a silk robe belt across the top of your head.
- Let the two ends hang down over your ears.
- Take a front section of hair and wrap it over the belt.
- Pull the hair tightly away from your face.
- Join a new section of hair to the first strand.
- Wrap the combined strand over the belt again.
- Tie the bottom with a silk scrunchie and repeat on the other side.
11. The Fishtail Plait
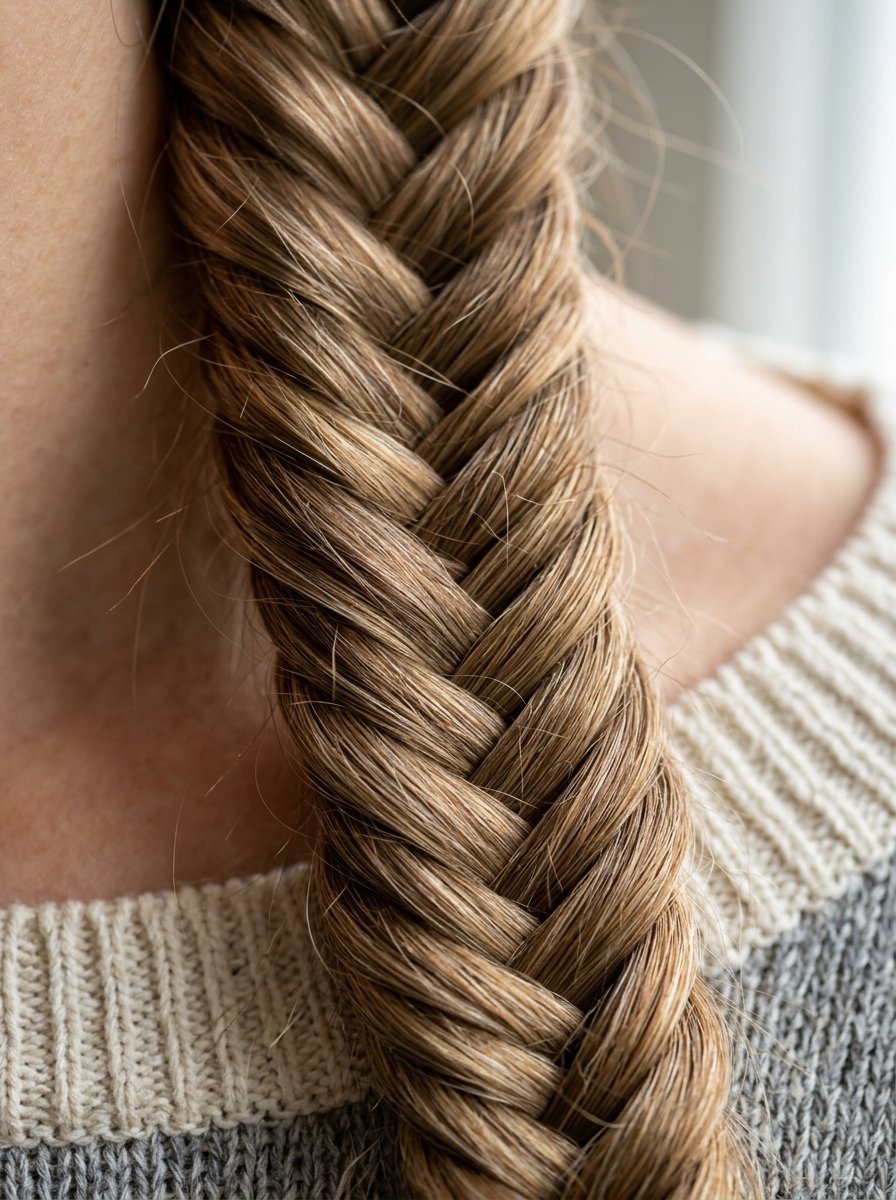
A fishtail plait firmly locks in every single long layer. The pattern relies entirely on tiny outer strands. I wear this on windy days to prevent my hair from turning into a giant knot.
- Split your entire head of hair into two large even sections.
- Grab a very thin piece of hair from the outer edge of the left section.
- Cross that thin piece over the left section.
- Drop it into the inside edge of the right section.
- Grab a thin piece from the outer edge of the right section.
- Cross it over and drop it into the left section.
- Repeat this back and forth down to the bottom.
12. Space Buns
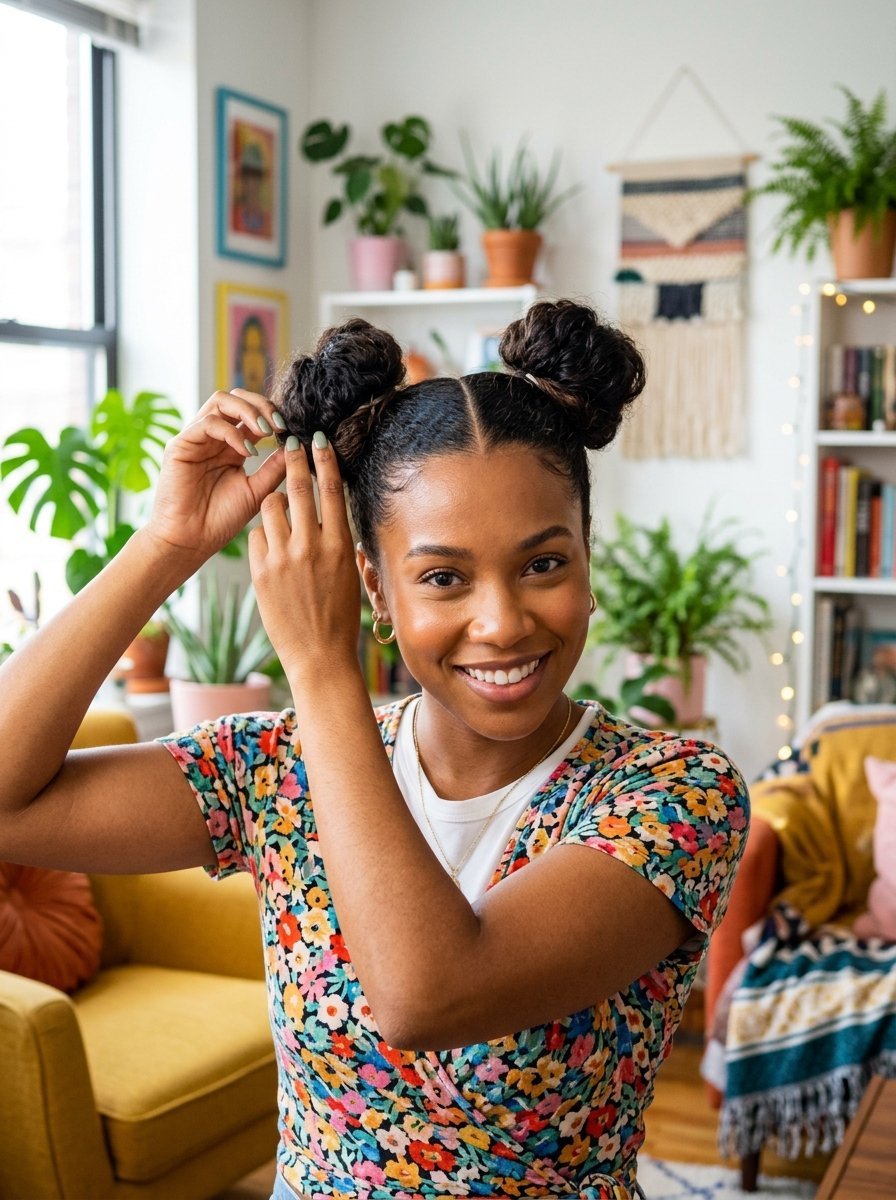
Symmetrical space buns give you a playful look while keeping hair completely off your neck. Splitting the weight stops the pulling sensation at the root. I wear these to outdoor summer festivals.
- Part your hair down the exact middle from front to back.
- Tie each side into a high pigtail using soft elastics.
- Twist the right pigtail tightly away from your face.
- Coil the twisted hair down into a tight flat bun.
- Wrap a second elastic around the bun base.
- Repeat the exact same twisting and wrapping on the left side.
13. Pull Through Faux Braid
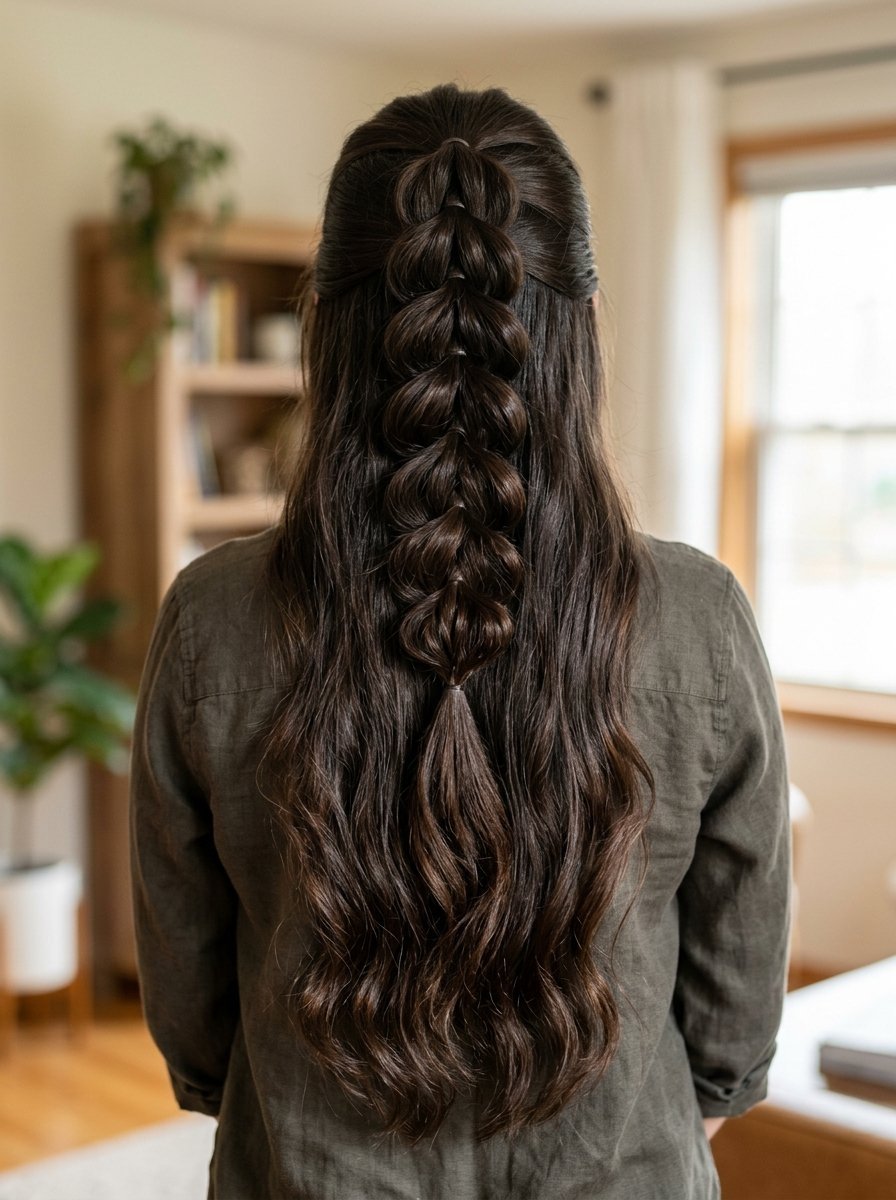
Fine hair often slips right out of regular weaves. This style uses small clear elastics to lock every section in place. I choose this look if your hair refuses to hold a standard plait.
- Gather the top section of your hair at the crown.
- Tie it with a clear elastic band.
- Gather a second section directly below the first one and tie it.
- Split the top ponytail directly in half.
- Pull the second ponytail up through the middle of the split.
- Tie the split ends together underneath the next section of hair.
- Pull the loops sideways to puff them out.
14. Triple Twisted Low Knots
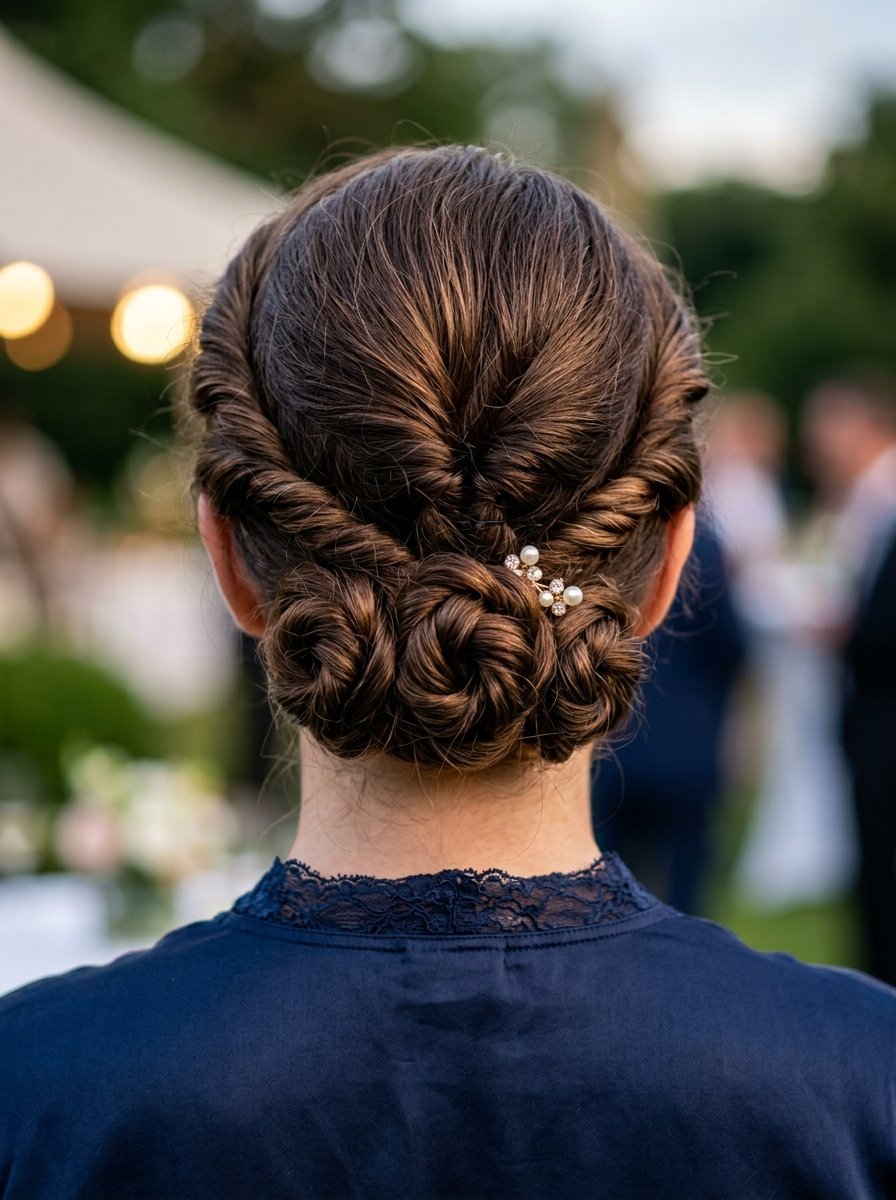
Extremely thick hair looks bulky in a single low knot. Dividing the bulk into three small sections creates a beautiful textured row. I usually finish this look in under three minutes before heading out.
- Brush your hair down to the nape of your neck.
- Split the hair into three even vertical sections.
- Twist the middle section into a tiny tight bun and pin it flat.
- Twist the left section and wrap it around the center bun.
- Pin the left section down.
- Twist the right section and wrap it around the entire cluster.
- Hide the tail end underneath the bottom and push pins in.
15. The Vintage Gibson Tuck
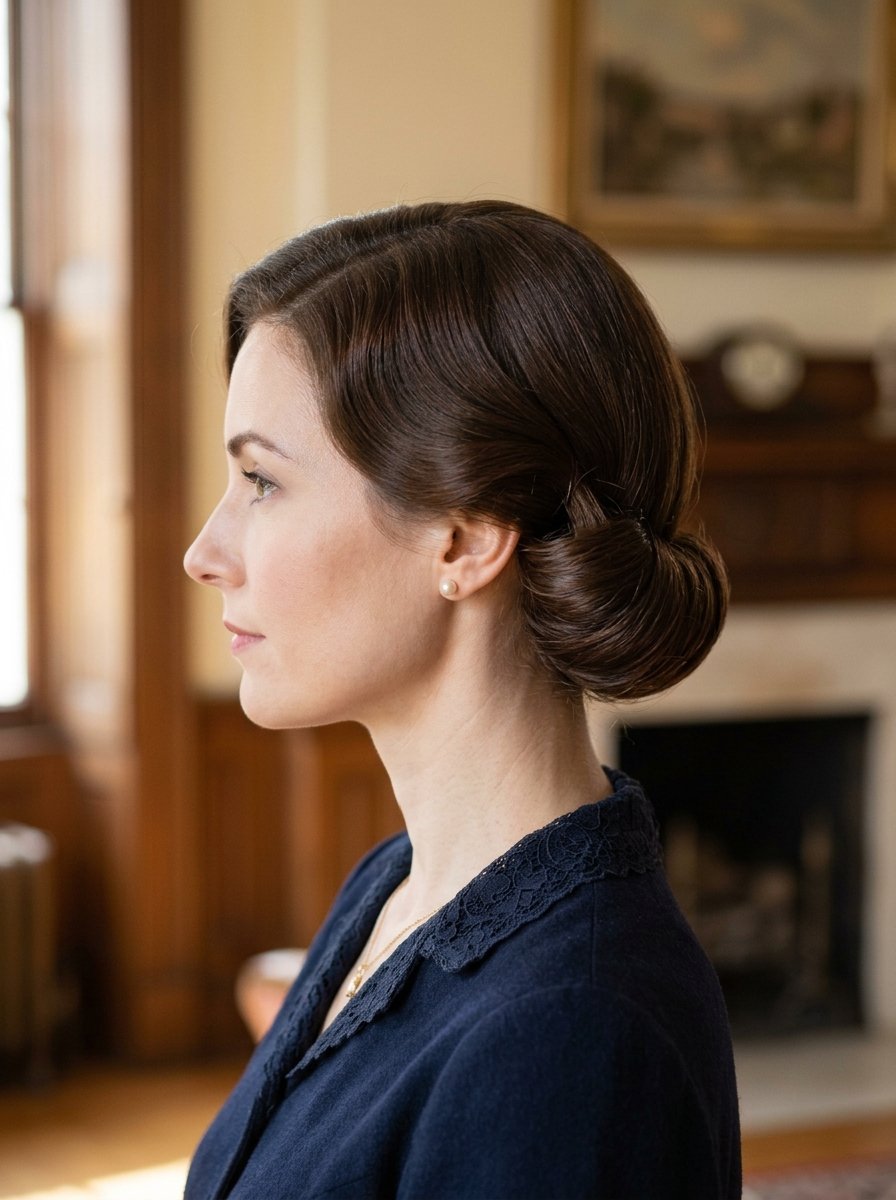
The Gibson tuck hides your extreme length inside a neat rolled pocket. I love the smooth retro profile it creates. It works perfectly when you need a formal look without visiting a salon.
- Tie your hair into a low loose ponytail.
- Pull the elastic band down about two inches.
- Use your fingers to stretch a horizontal pocket in the hair above the tie.
- Grab the end of the ponytail and roll it upward.
- Stuff the entire rolled length down into the hair pocket.
- Push multiple bobby pins into the pocket seam to close it.
16. Flexi Rod Ringlets
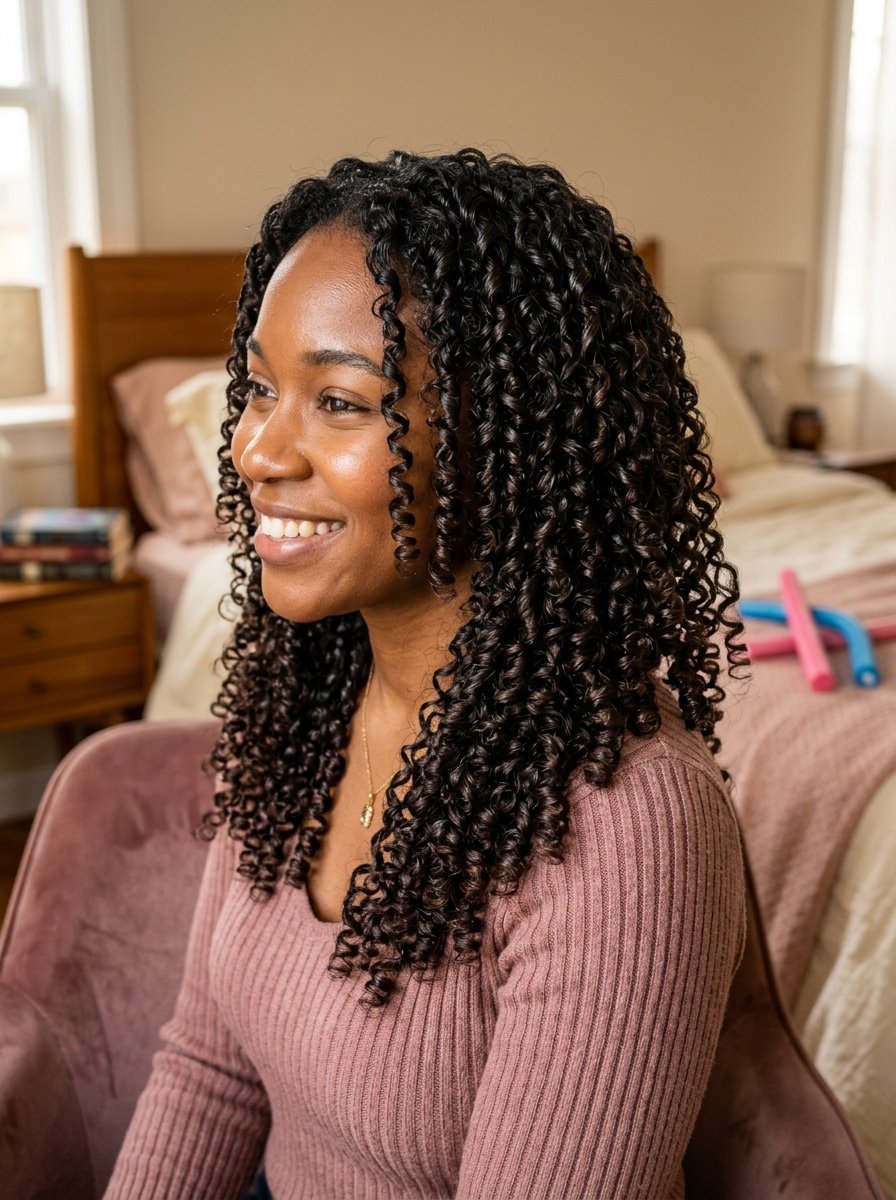
Foam flexi rods give you tight bouncy ringlets that last for days. The wire core bends easily so you do not need clips. I sleep in these once a week to maintain steady curls.
- Spray a one inch section of hair with a light water mist.
- Place the end of the hair flat against the middle of the foam rod.
- Roll the rod upward toward your scalp tightly.
- Bend both ends of the foam rod inward toward the center.
- Cross the bent ends to lock the hair onto the rod.
- Let the hair dry fully overnight before unrolling them carefully.
17. Side Swept Rope
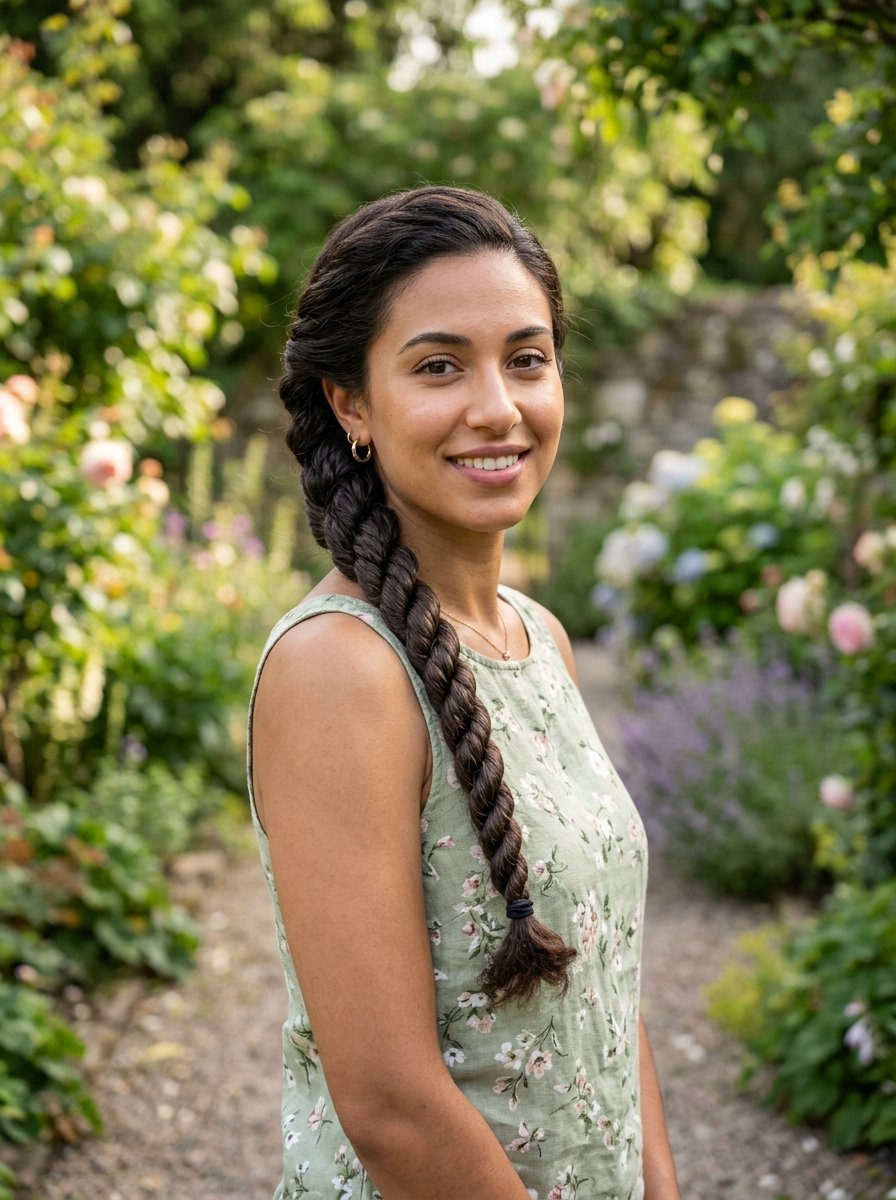
Pulling a thick rope twist over one shoulder creates a highly romantic profile. It takes less coordination than a complex plait. I wear this look on date nights when I want an effortless vibe.
- Sweep all your hair over your left shoulder.
- Divide the hair into two thick equal halves.
- Twist the left half clockwise tightly.
- Twist the right half clockwise tightly.
- Cross the right half over the left half in a counter clockwise direction.
- Continue twisting them together in the opposite direction of the individual twists.
- Tie the bottom with a silk band.
18. Metal Clip Pin Curls
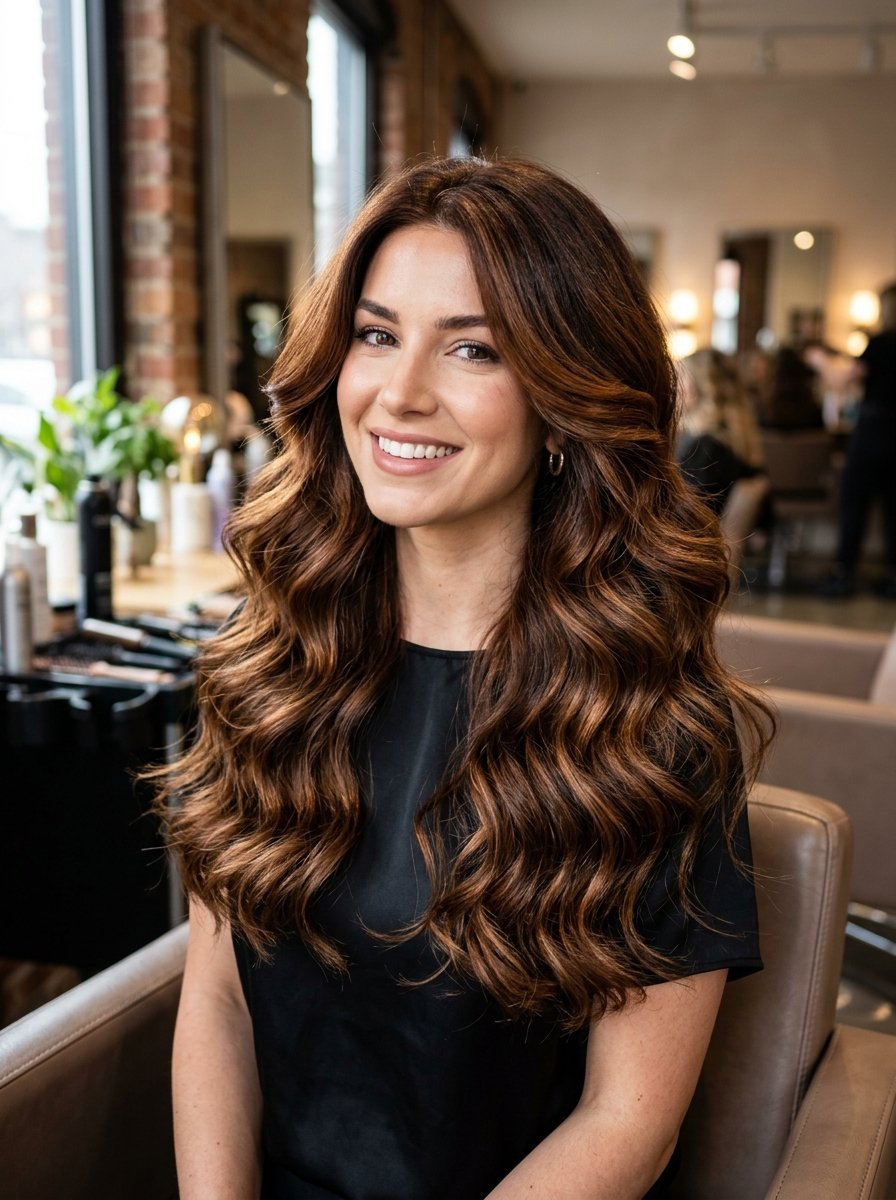
Pin curls mimic the exact volume of a professional blowout. You just need a pack of flat metal sectioning clips. I use this trick to get massive root lift without blasting a hair dryer.
- Start with slightly damp brushed hair.
- Grab a two inch square section of hair at the top of your head.
- Roll the ends up around your first two fingers.
- Slide the coiled loop flat against your scalp.
- Slide a metal clip sideways across the loop to pin it down.
- Leave the clips in until the hair feels completely bone dry.
- Remove clips and brush vigorously with a paddle brush.
19. Dutch Accent Pigtails
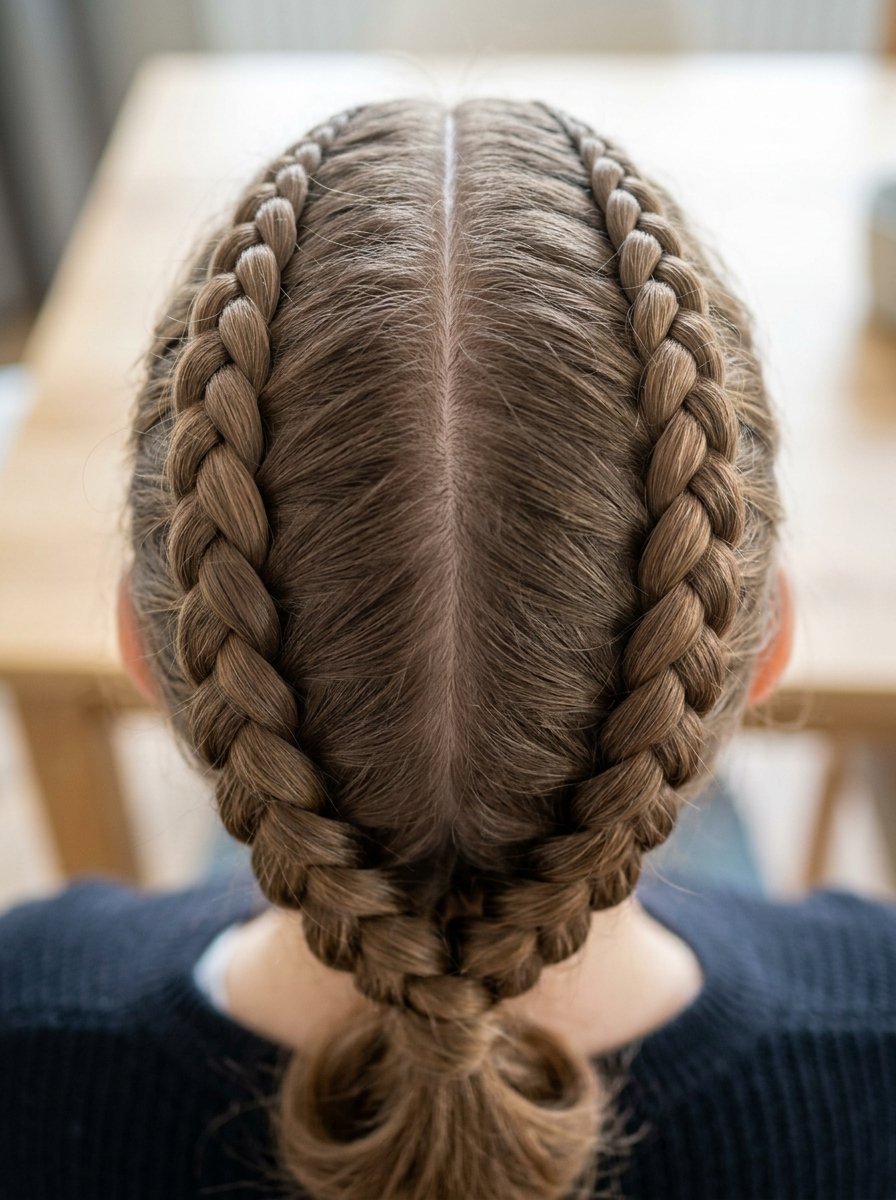
Dutch weaving pushes the pattern to the top of the surface. Leaving the bottom half loose gives you a beautiful half up look. I use this style to keep my front bangs out of my eyes.
- Draw a sharp center part down to the middle of your crown.
- Grab three small pieces of hair at your front left hairline.
- Cross the side pieces under the middle piece.
- Pick up more loose hair and join it to the side pieces before crossing under.
- Stop the pattern just above your left ear.
- Fasten the base with a tiny clear band and repeat on the right.
20. Faux Hawk Stack
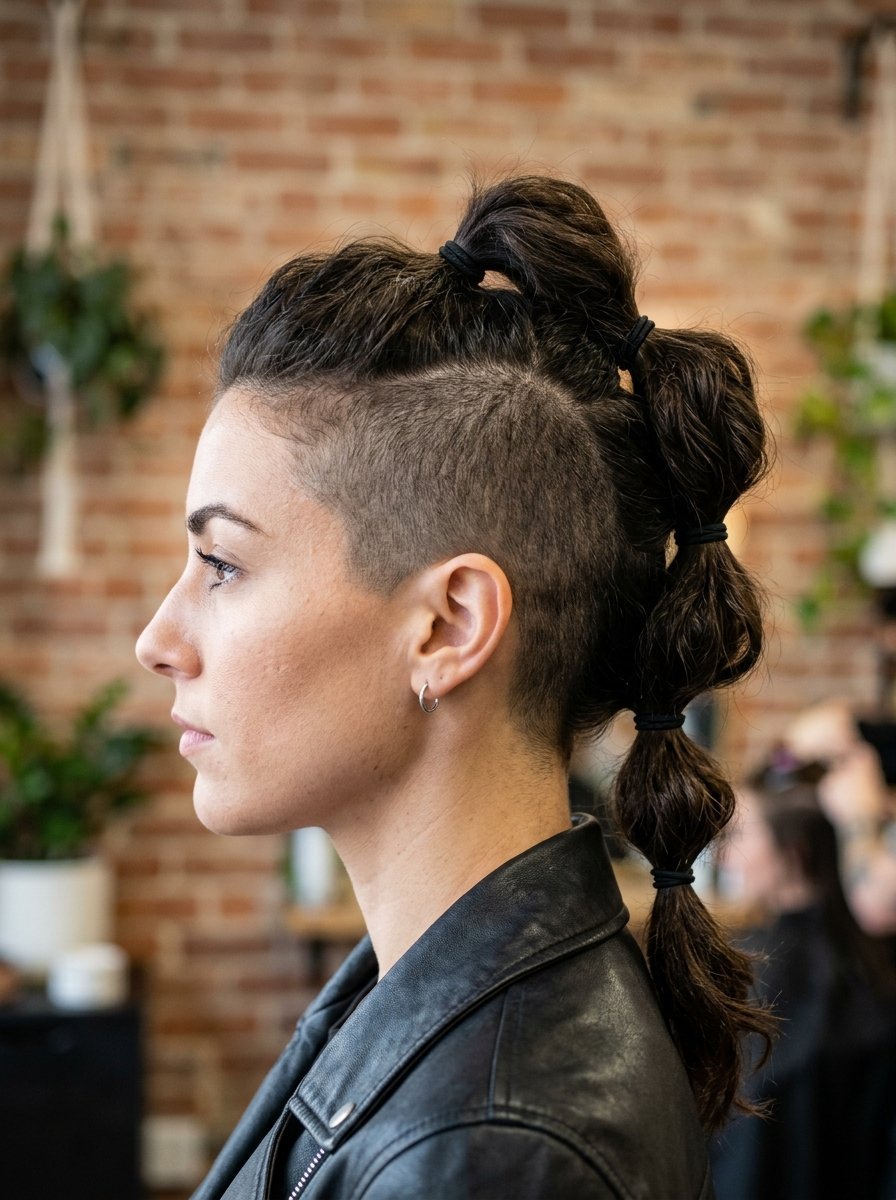
This edgy look creates a tall ridge down the center of your head. It requires zero shaving or cutting. I love wearing this to concerts because it stays perfectly tight all night long.
- Section the hair at the top front of your head and tie a ponytail.
- Create a second section directly behind the first one.
- Tie the second section into a ponytail.
- Combine the tail of the first pony into the base of the second pony.
- Create a third section behind the second one.
- Combine the previous tail into the new base.
- Continue down the back of your head to the nape.
21. Sock Bun Roll
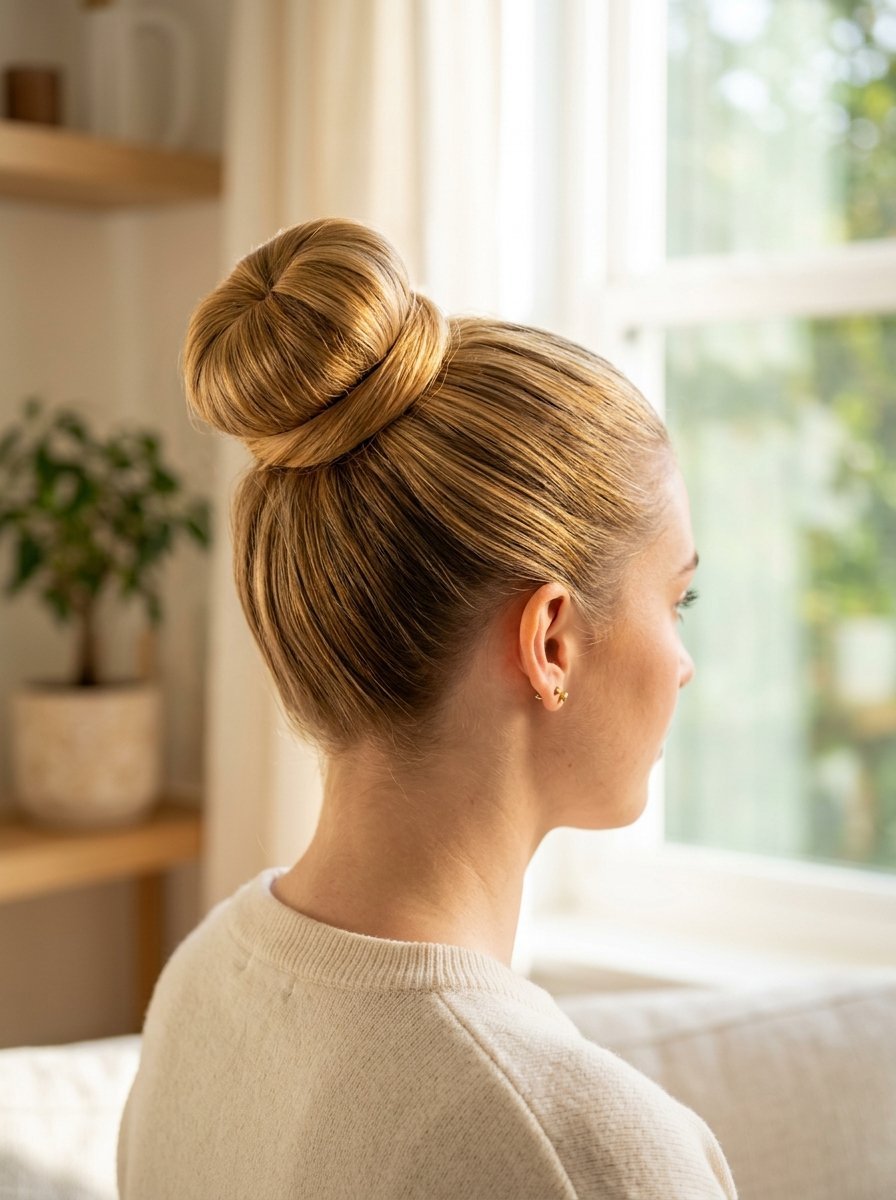
A rolled tube sock acts like a giant soft curler. It keeps your hair completely out of the way while setting the ends into soft waves. I cut the toes off my old clean athletic socks for this.
- Tie your damp hair into a very high ponytail.
- Pull the ponytail straight up toward the ceiling.
- Slip the rolled tube sock over the ends of the hair.
- Wrap the tips of your hair over the sock ring.
- Roll the sock inside out down the ponytail shaft toward your head.
- The hair will naturally wrap around the sock forming a large bun.
22. Elastic Halo Tuck
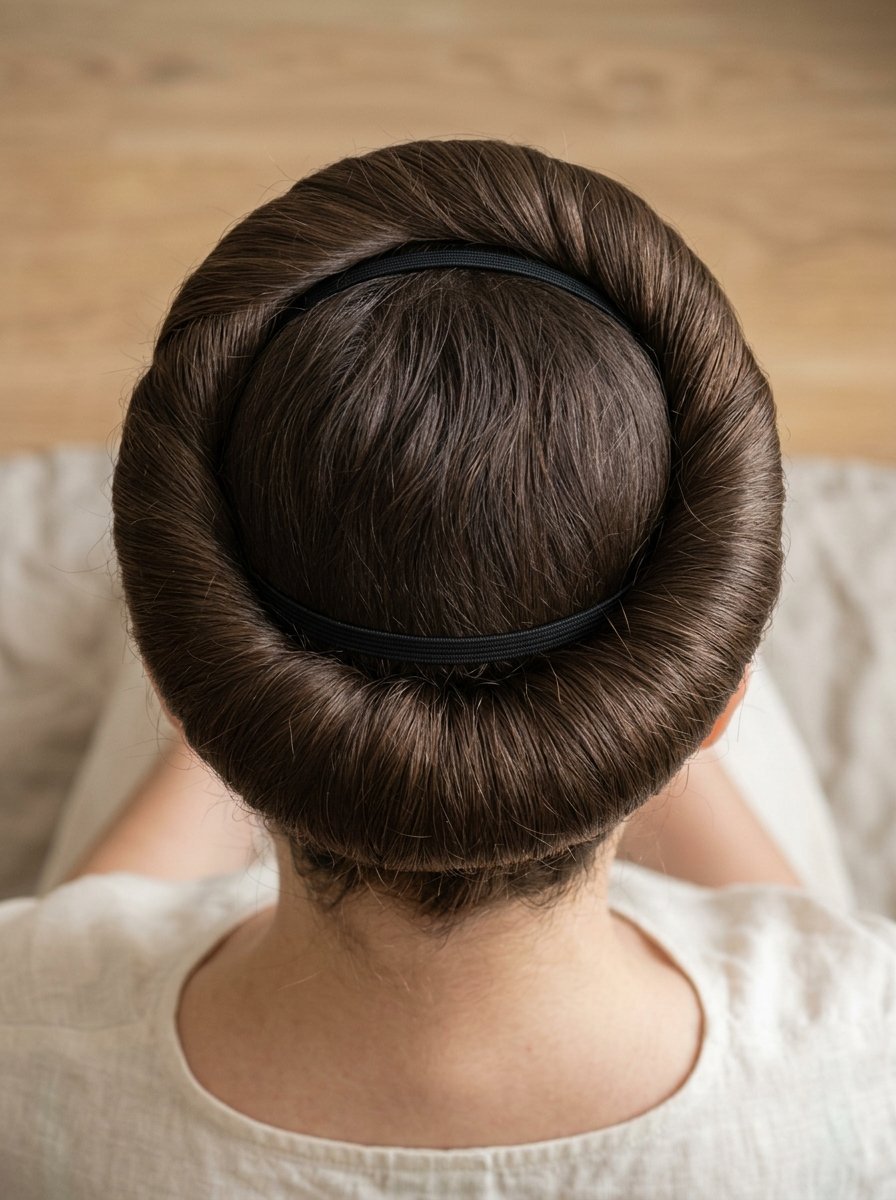
A stretchy headband provides the perfect anchor for a wrapped halo. This romantic style completely hides the length of your hair. I receive compliments every single time I wear this to a wedding.
- Place a thin stretchy headband right over the crown of your head.
- Grab a front section of hair near your left temple.
- Pull it up and tuck it down behind the headband.
- Pick up the hanging tail and join more loose hair to it.
- Loop the newly combined section behind the headband again.
- Work your way to the back center and repeat from the right side.
- Stuff the final tails into the back pocket of the band.
23. Silk Scarf Plait
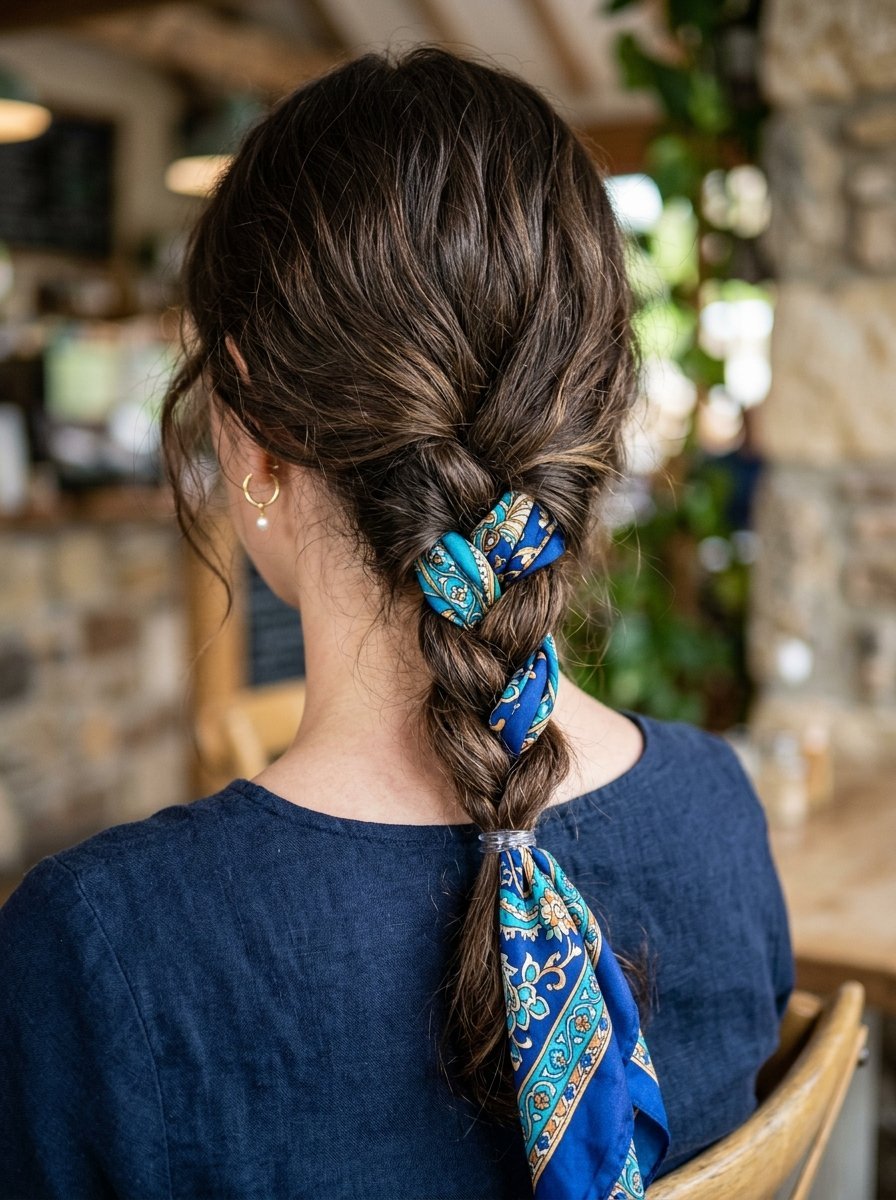
Weaving a printed silk scarf into your hair adds massive visual volume. It protects fragile strands from rubbing against your clothes. I buy vintage square scarves from thrift shops specifically for this look.
- Tie your hair into a low ponytail.
- Knot a long skinny silk scarf around the elastic base.
- Divide your hair into two thick sections.
- Use the two hanging ends of the scarf as your third section.
- Weave the hair and the fabric together normally.
- Tie the bottom off by knotting the scarf ends tightly together.
24. Mini Bantu Coils
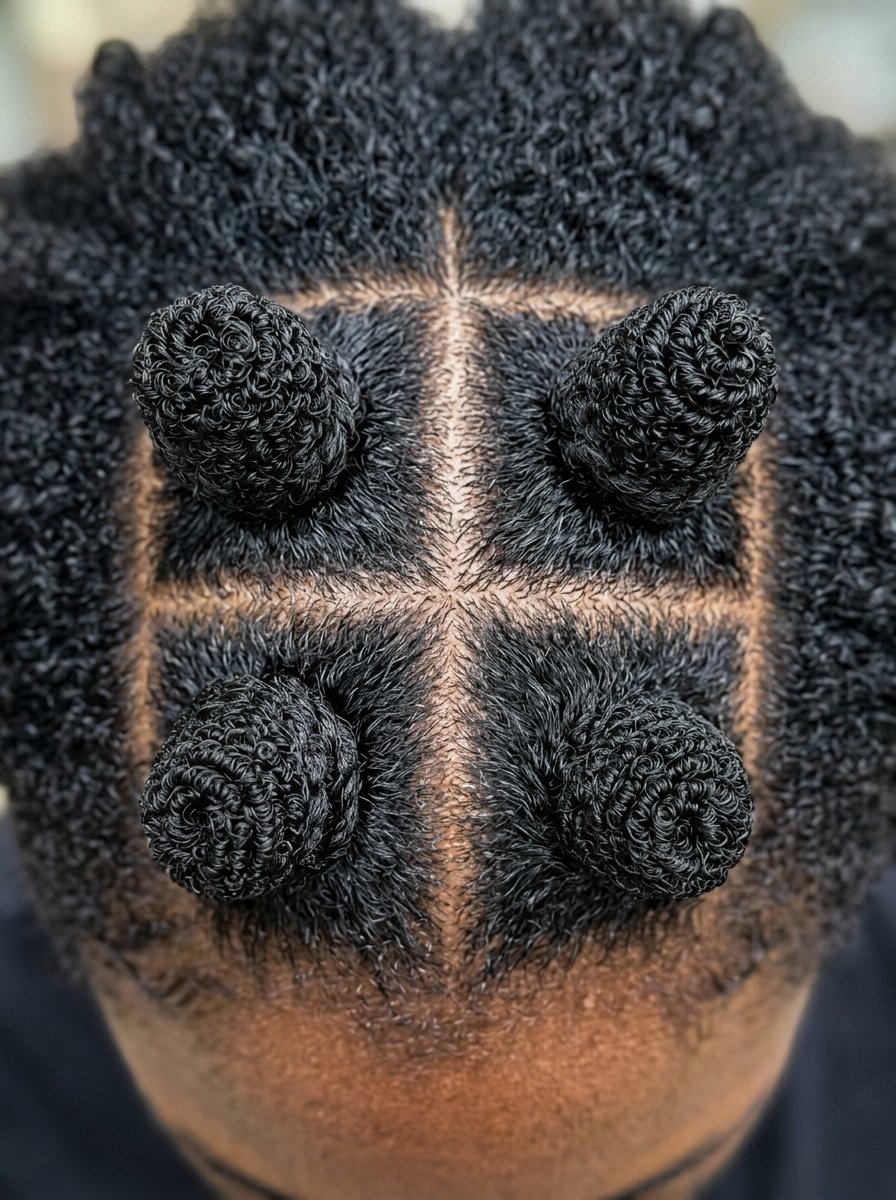
Bantu coils stretch the root and define natural curl patterns flawlessly. They look beautiful on their own or brushed out later. I rely on these when the weather feels incredibly hot and humid.
- Part damp hair into four exact square grid sections on your scalp.
- Grab the top left section and twist it between your hands.
- Twist it so tightly that the hair starts to coil like a spring.
- Wrap the twisted spring around its own base flat against the head.
- Form a neat stacked cone shape.
- Tuck the very end of the hair tightly under the bottom edge.
- Repeat for the remaining three sections.
25. Bubble Pigtails
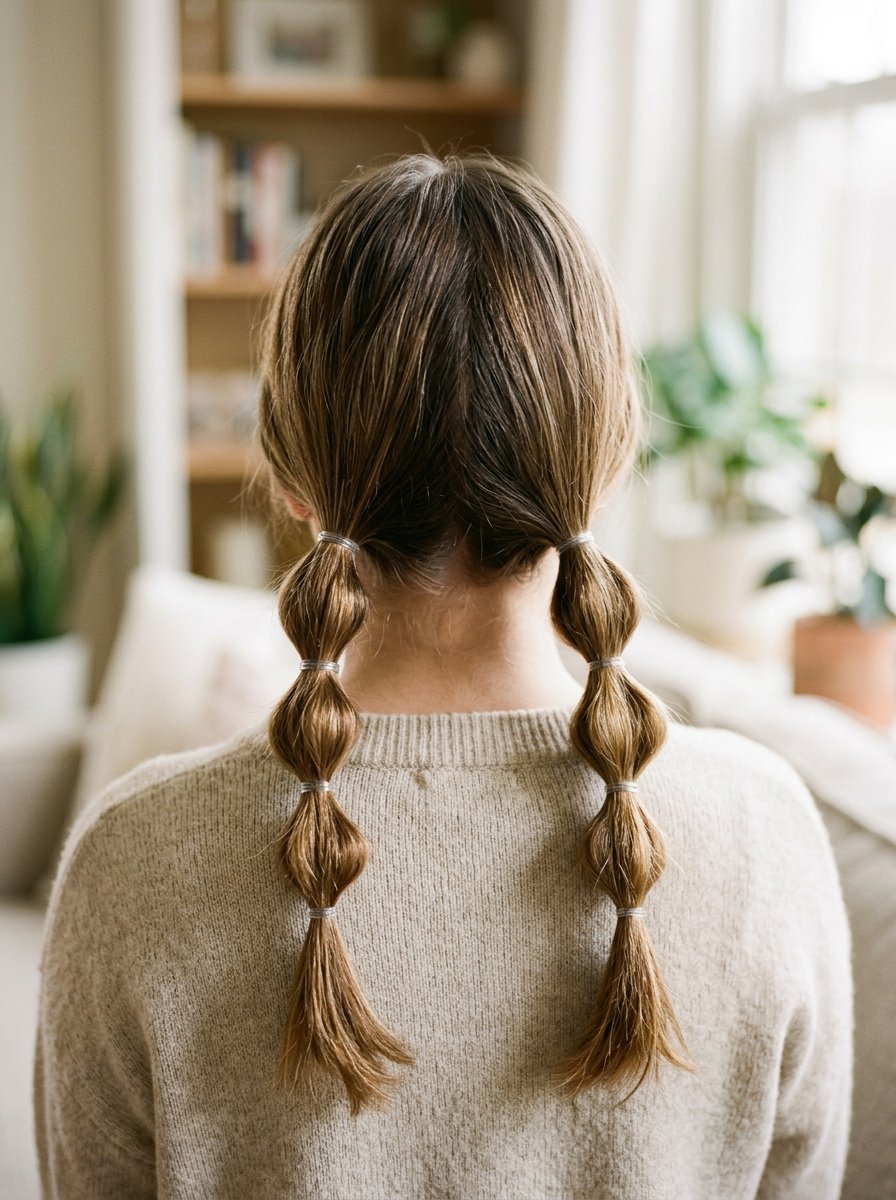
Bubble pigtails look playful and take only two minutes to build. They prevent the wind from turning your hair into a tangled mess. I wear these on weekend hiking trips to keep my hair tamed.
- Part your hair down the center from front to back.
- Tie two low pigtails just behind your ears.
- Place clear elastics two inches down on both pigtails.
- Pinch the hair between the bands and pull outward horizontally.
- Place another set of elastics two inches further down.
- Puff out the new sections identically.
- Match the spacing on both sides perfectly.
Hair Accessory Comparison Table
Picking the right accessory makes a massive difference in your morning routines. I tested dozens of options to find exactly what works best. This table breaks down my personal favorites.
- Silk Robe Belt: Best for wavy hair. Takes six hours to dry. Gives large beach waves.
- Flexi Rods: Best for straight hair. Takes five hours to dry. Gives tight spirals.
- Foam Donut: Best for fine hair. Works instantly. Creates massive bun volume.
- Metal Clips: Best for layered hair. Takes four hours to dry. Gives root lift.
- Tube Sock: Best for thick hair. Takes eight hours to dry. Gives soft end curls.
- Stretchy Headband: Best for medium hair. Works instantly. Creates halo shapes.
Troubleshooting Steps
Sometimes a heatless routine fails on the first try. I ruined plenty of morning styles before I figured out the mechanics. You can fix the most common mistakes with tiny adjustments.
Hair Falls Flat Quickly
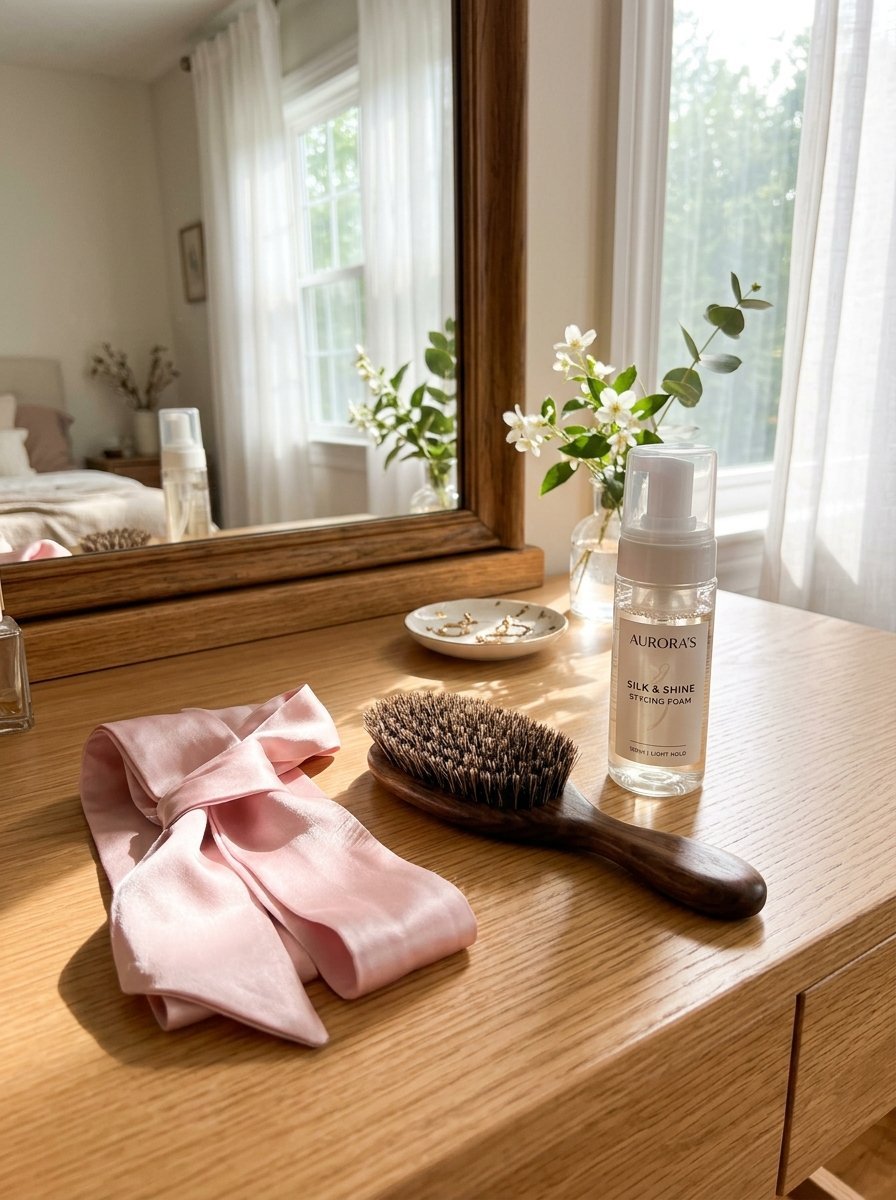
This happens when your hair lacks enough moisture to hold a new shape. Your hair must be slightly damp before twisting it. Use a fine mist spray bottle to wet the ends. You can also apply a dime sized drop of lightweight setting foam.
Ends Look Frizzy
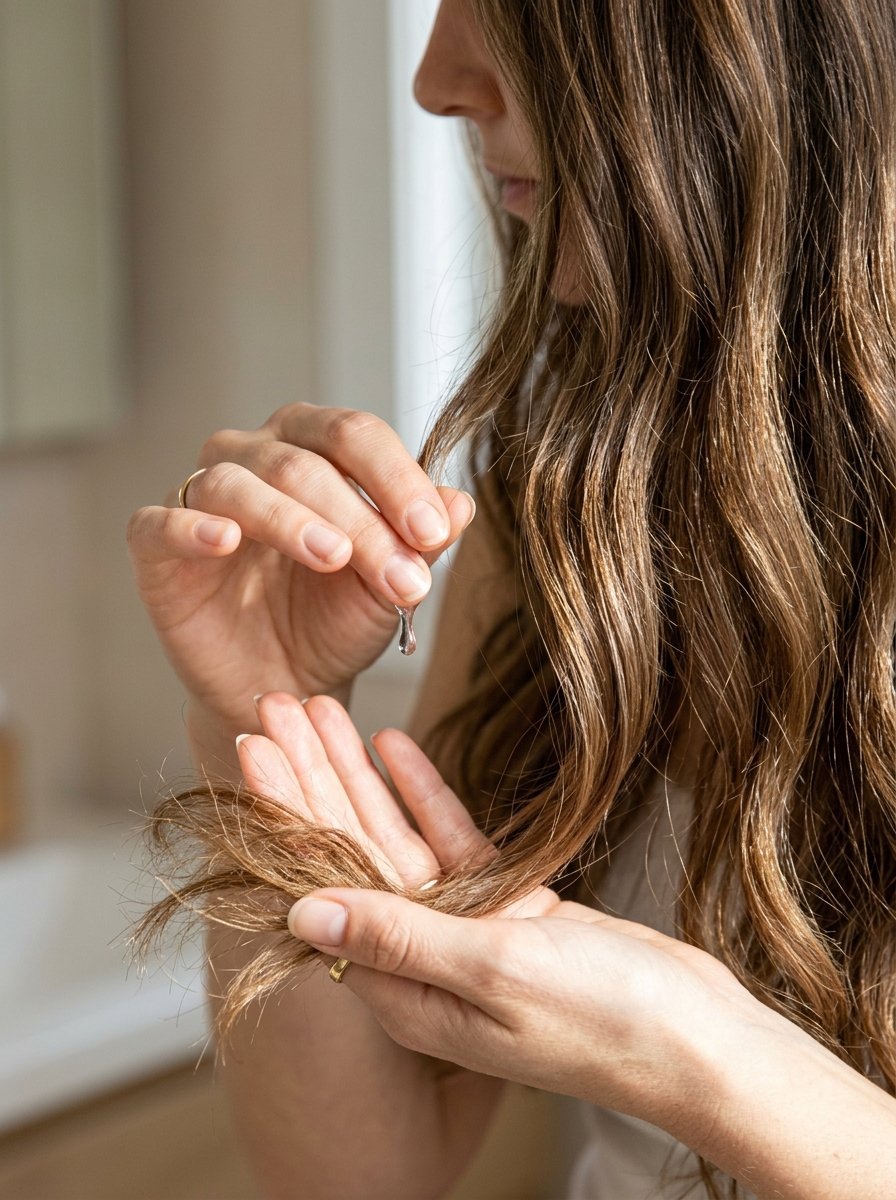
Frizz happens when the very tips of your hair bend backward during wrapping. You must smooth the tips completely flat against the roller. I run one drop of argan oil over the last inch of my hair before tying it down.
Roots Feel Sore
You are pulling the hair way too tight at the base. Tension causes headaches and damages the follicle. Loosen your twists just a fraction of an inch off the scalp. You want the style to feel firm but entirely painless.
Frequently Asked Questions
Do heatless routines save time in the morning?
Yes, you save anywhere from twenty to forty minutes daily. You wake up, pull out the pins or rollers, and shake your head. You bypass the entire hot air blowing and hot iron phase.
Can I sleep with wet hair?
You should never wrap soaking wet hair tightly. The water gets trapped inside the twists and breeds bacteria on your scalp. Let your hair air dry until it feels eighty percent dry before styling it for bed.
What keeps the curls from dropping in humidity?
A light flexible hold hairspray locks the shape in place. I spray my brush with hairspray and run it gently through the waves. A tiny bit of anti frizz serum also repels moisture from the air.
Do silk scrunchies actually matter?
Silk scrunchies slide off the hair shaft without grabbing or snapping individual strands. Standard cotton ties cause intense friction while you toss and turn at night. Investing in silk absolutely saves your ends from breaking.
Final Thoughts
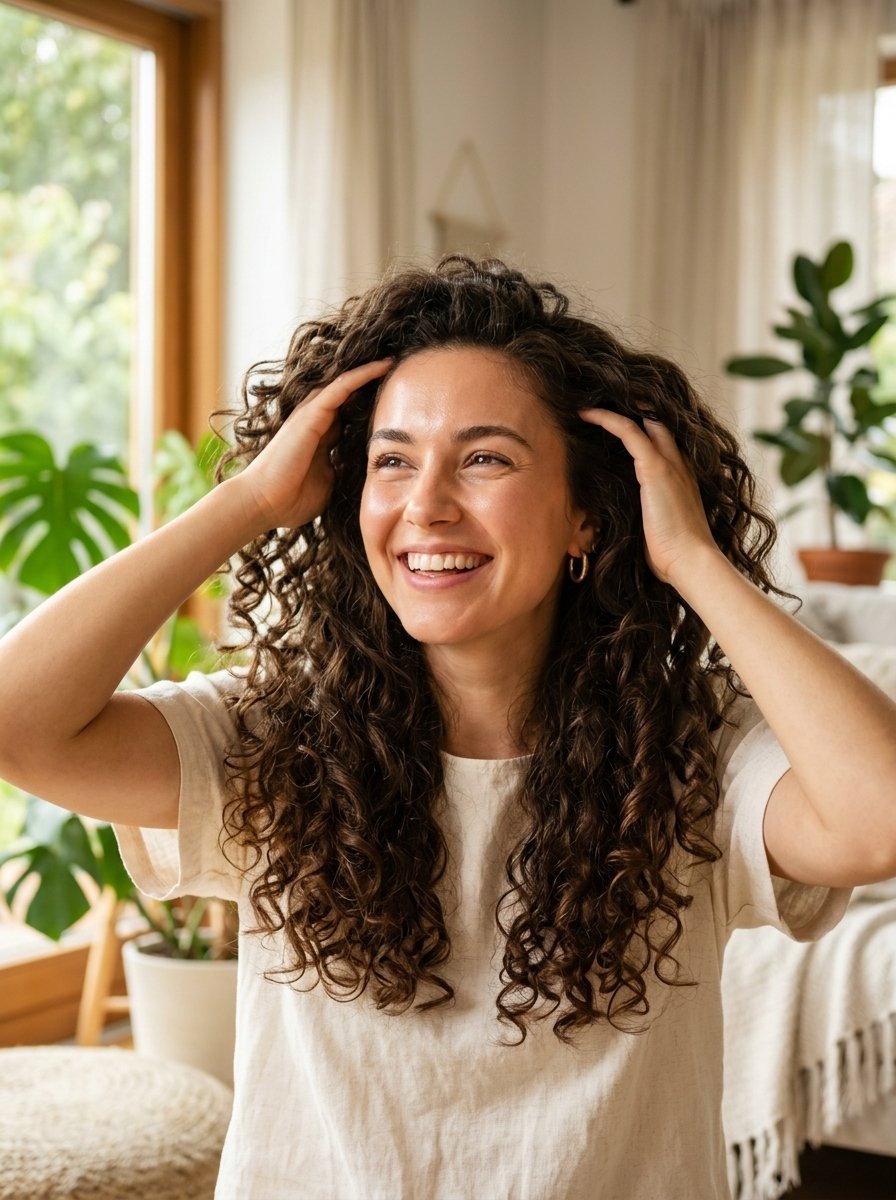
Putting down the hot tools changes the entire health profile of your hair. You restore natural moisture and stop the endless cycle of split ends. Start with the twisted topsy tail tomorrow morning. Then try the silk robe belt over the weekend. I promise you will never want to plug in a curling iron at six in the morning again. What style are you going to test first? Let me know below.

Sarah Mitchell — Founder & Editor-in-Chief
Sarah Mitchell is the founder and editorial voice behind Hair Level Up. A licensed cosmetologist with more than 15 years of experience, she has styled A-list celebrities for editorial shoots and red carpets, with work featured in Vogue, Elle, and Harper’s Bazaar. Early in her career, she trained under the legendary hairstylist Oribe in New York, an apprenticeship that still shapes her editorial eye today. Sarah founded Hair Level Up in 2020 after one bad haircut convinced her that women deserved a destination that felt like a magazine, taught like a stylist, and inspired like an art gallery. She oversees every story from concept to publication, guided by a simple belief: a good story teaches you something, but a great one makes you feel beautiful while it does.