Step By Step Guide to Tying a Bandana Like a Pinup Icon
Picture a sunny weekend morning. You want that timeless vintage look today. Tying a fabric scarf perfectly creates instant charm. Many people try this look and fail entirely. The fabric slips off immediately. The knot looks bulky. I see these mistakes happen constantly in my styling work. Three months ago a client named Jane ruined her photoshoot because her scarf kept sliding down. I stepped in and fixed it in two minutes flat. The secret lies in the fold and the fabric texture. You will master these exact tying steps today. You get the classic look without the frustration.
A perfect pinup bandana look requires specific folds and pins. You will master the exact tying steps within ten minutes. We cover the classic Rosie style and modern adaptations. I share my favorite fabrics and reliable brand choices. You save time getting ready while looking incredibly put together. This guide answers your biggest questions about slipping fabrics and short hair styling. We skip the fluff and give you exact steps. Your morning routine gets much faster. You look stylish instantly with minimal effort. This guide makes vintage styling accessible for everyday wear.
What Makes The Pinup Bandana Style Work So Well?
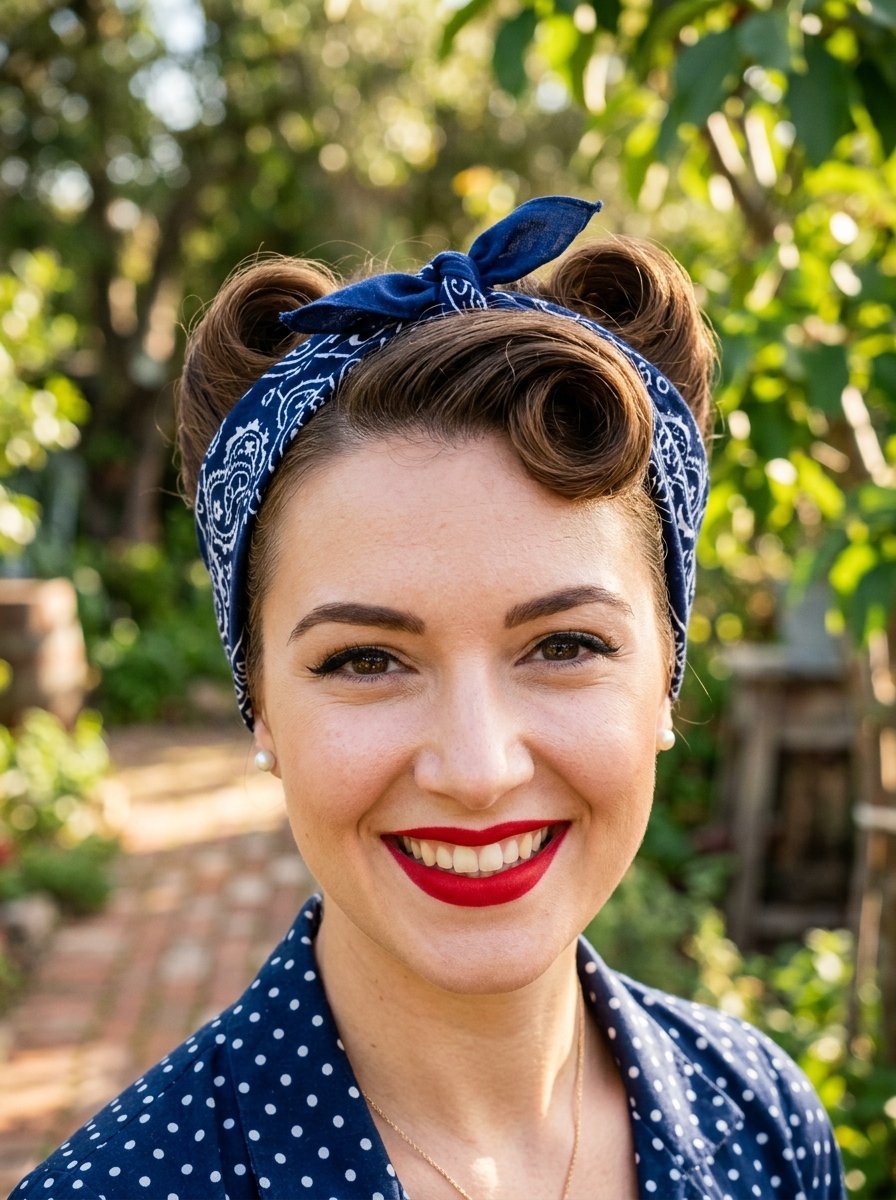
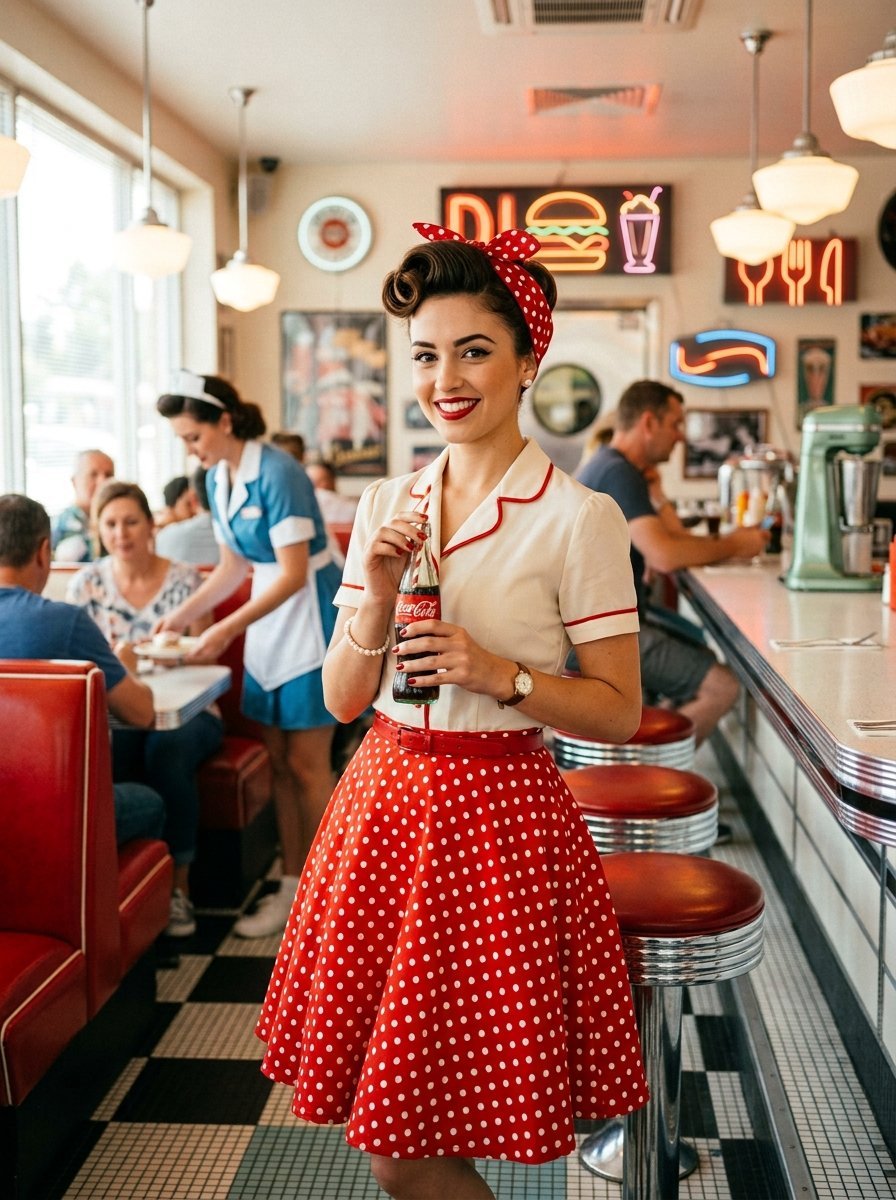
The classic pinup look relies on simple geometry. You place a wide band of fabric at the base of your neck. You tie a crisp knot at the crown. This draws the eye upward. It frames your face beautifully.
I worked with a local theater group last fall. We needed quick hair changes for seven actresses. We chose the vintage hairscarf hairstyle tutorial route. It saved us hours of styling time.
Cotton fabrics grip the hair cuticles well. Slippery synthetics slide right off. You need a material with some texture.
Here is a quick look at why this style endures.
- It hides unwashed hair easily.
- It keeps hair out of your face during work.
- It requires no heat styling tools.
- It costs very little to recreate.
You get instant vintage glamour. You spend very little money on accessories. This combination creates a perfect daily styling option.
I noticed a massive shift in my own confidence when I started wearing this style. People stop me in the grocery store. They compliment the retro vibe. The accessory does all the heavy lifting for your outfit.
Which Bandana Materials Work Best For Hair?
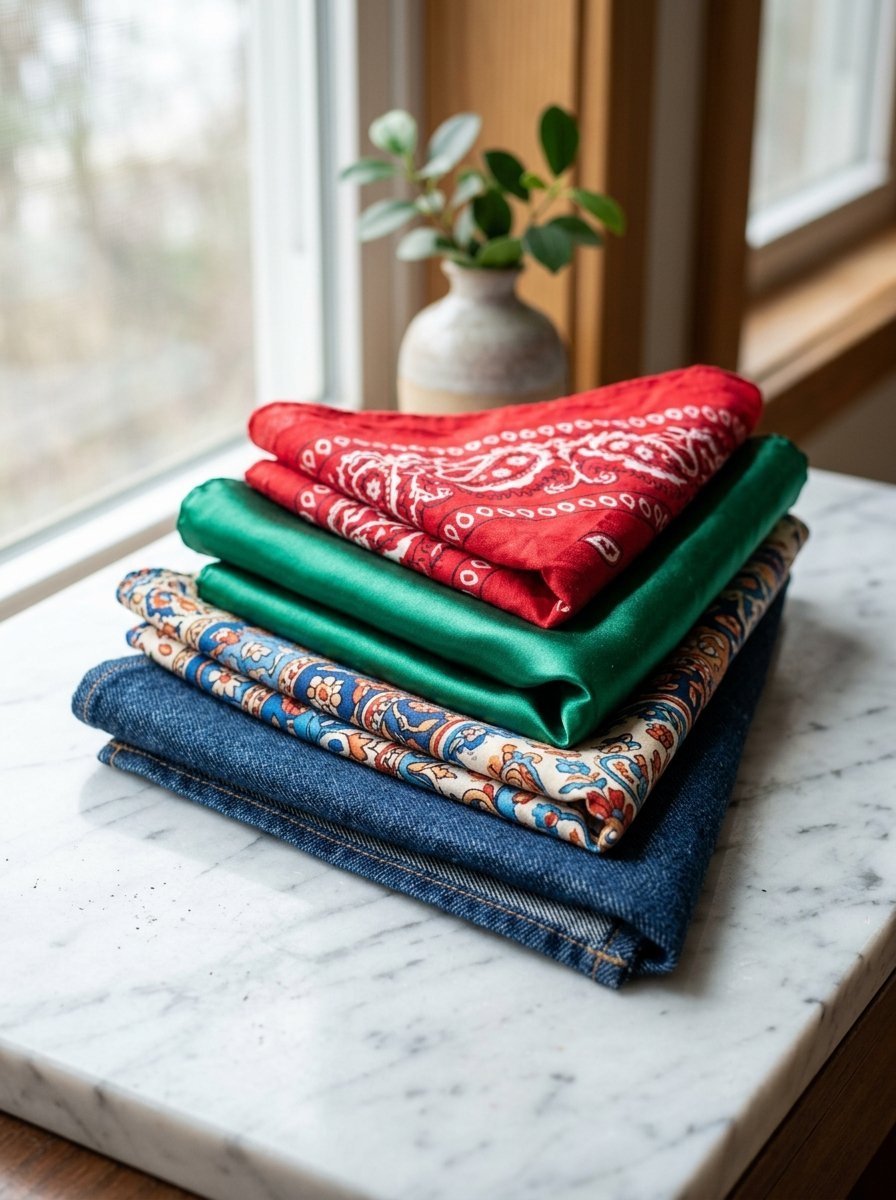
Choosing the right fabric makes tying much easier. I tested dozens of brands in my salon. Some hold tightly all day. Others fail within ten minutes. I spent hundreds of dollars testing different textiles. I want to save you that money.
Here is my direct experience with popular options on the market right now.
- Levis Classic: 100 percent cotton, high grip, costs around ten dollars.
- Madewell Silk: Pure silk, low grip, costs around thirty dollars.
- Echo New York: Poly blend, medium grip, costs around forty dollars.
- Free People: Woven cotton, high grip, costs around twenty five dollars.
- Vintage Thrifted: Various fabrics, high grip, costs around five dollars.
- Urban Outfitters: Lightweight cotton, high grip, costs around fifteen dollars.
- Target Universal: Cotton blend, medium grip, costs around eight dollars.
- Anthropologie: Rayon, low grip, costs around thirty five dollars.
Cotton bandanas give the strongest hold. Levis classic cotton squares are my top choice. They cost very little. They last for years without tearing. I buy a new color every season.
Madewell silk squares look gorgeous in photos. They slide out of straight hair rapidly. You need extra bobby pins for silk. Silk works best for very curly hair because it prevents frizz.
I prefer vintage cotton from thrift stores. The fabric feels soft from years of washing. They sit flatter against your head. Modern printed bandanas often feel stiff. You must wash new bandanas five times before they fold nicely.
Rayon blends from brands like Anthropologie feel buttery soft. They drape beautifully. They slip almost as much as silk. Keep your bobby pins close if you choose rayon.
How Do You Prep Your Hair For A Bandana?
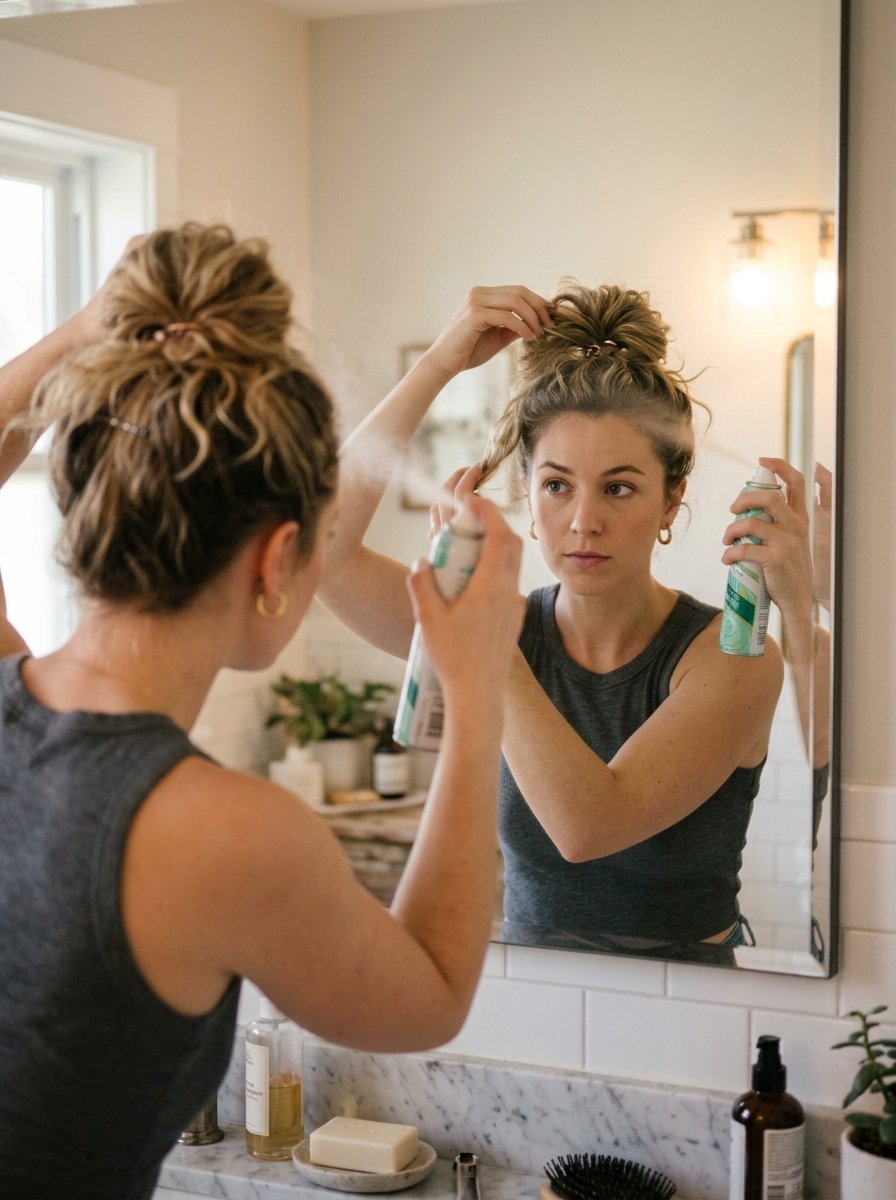
Great hair bandana tutorial steps start with proper prep. Freshly washed hair is too slippery. Day two or day three hair works much better for styling. The natural oils give your hair a slightly gritty texture. This texture holds the fabric in place.
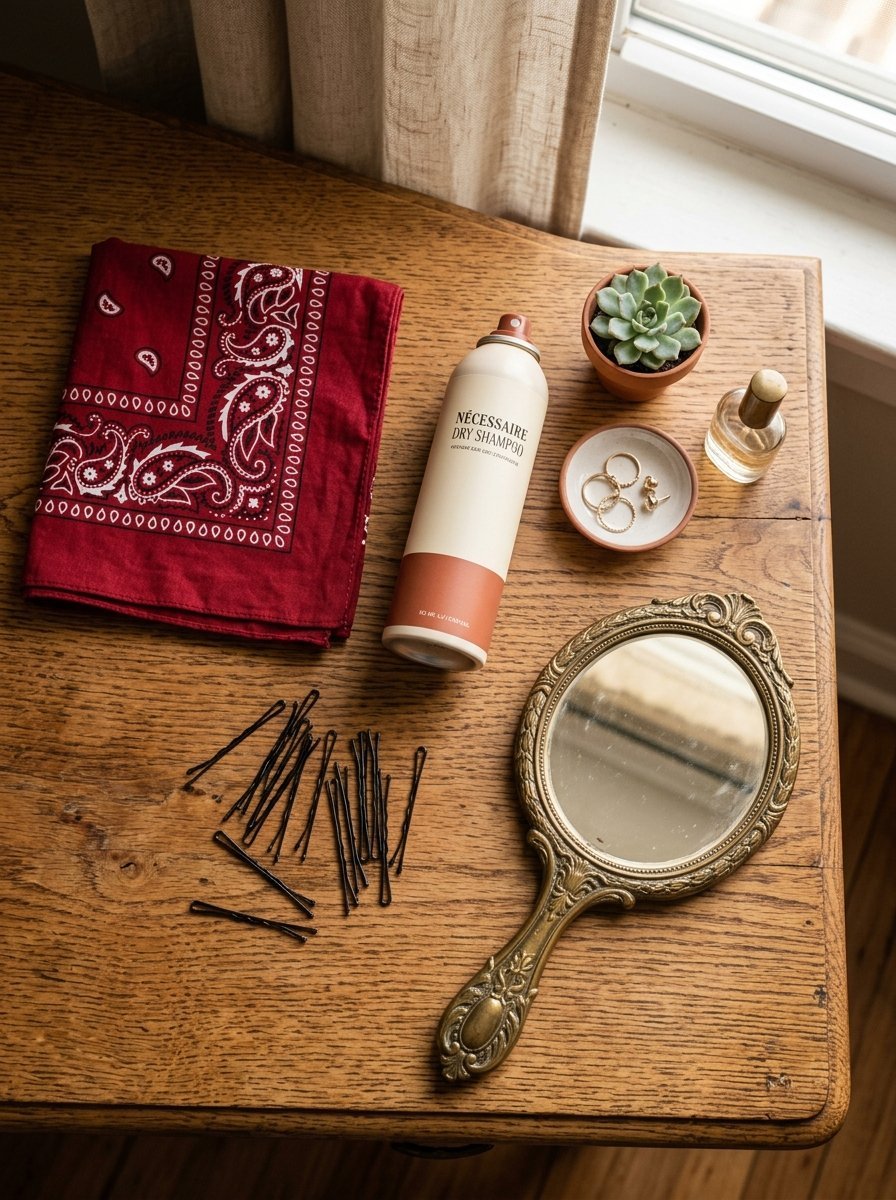
I spray dry shampoo at the roots. It gives extra grip. Tresemme dry shampoo works perfectly for this step. Spray it right at the crown and the nape of your neck. These spots hold the most tension.
Pull your hair into your base style first. A messy bun works great for casual days. A high ponytail also looks very authentic and fun. I prefer a French twist for formal events.
Use strong bobby pins for holding power. Diane brand pins grip better than drugstore brands. I buy them in bulk from salon supply stores. Goody pins work fine for finer hair types. Avoid flimsy pins that bend easily.
Pin up any loose layers in the back. The bandana needs a smooth base at your neck. This prevents the fabric from bunching up. A bunched up fabric lump ruins the entire silhouette.
Real Case Studies: Clients Who Mastered The Look
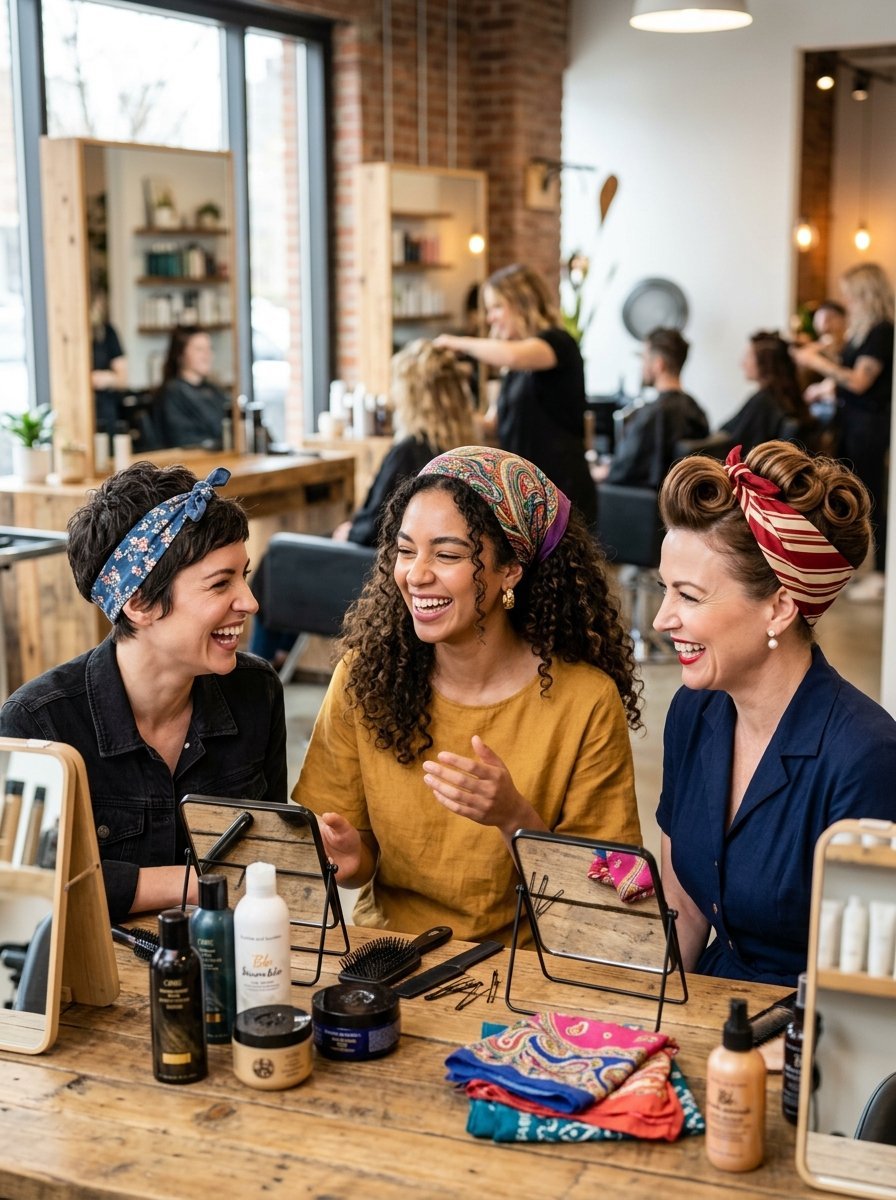
I want to share three specific stories from my chair. Real people struggle with this style. Real people also conquer it.
Sarah wanted a 1940s photoshoot. She carried a beautiful silk vintage scarf. We tied it tightly. It slipped off in five minutes. I grabbed a velvet wig grip. We placed the velvet grip under her hairline. We tied the silk scarf directly over it. The velvet caught the silk. She danced for three hours without fixing it once.
I wore a thick polyester scarf headband tutorial style to a July picnic. My scalp sweat heavily. The synthetic fabric trapped the heat. I felt miserable. I got my lesson fast. I only wear pure breathable cotton in the summer now. Cotton absorbs the sweat and keeps your head cool.
Emily had a two inch pixie cut. She felt left out of vintage styles. I folded a small hankerchief very thinly. We tied a tiny knot right at her hairline. She looked exactly like a movie star. Short hair handles this style perfectly if you scale down the fabric size.
7 Steps To Tie A Bandana Like A Pinup Icon
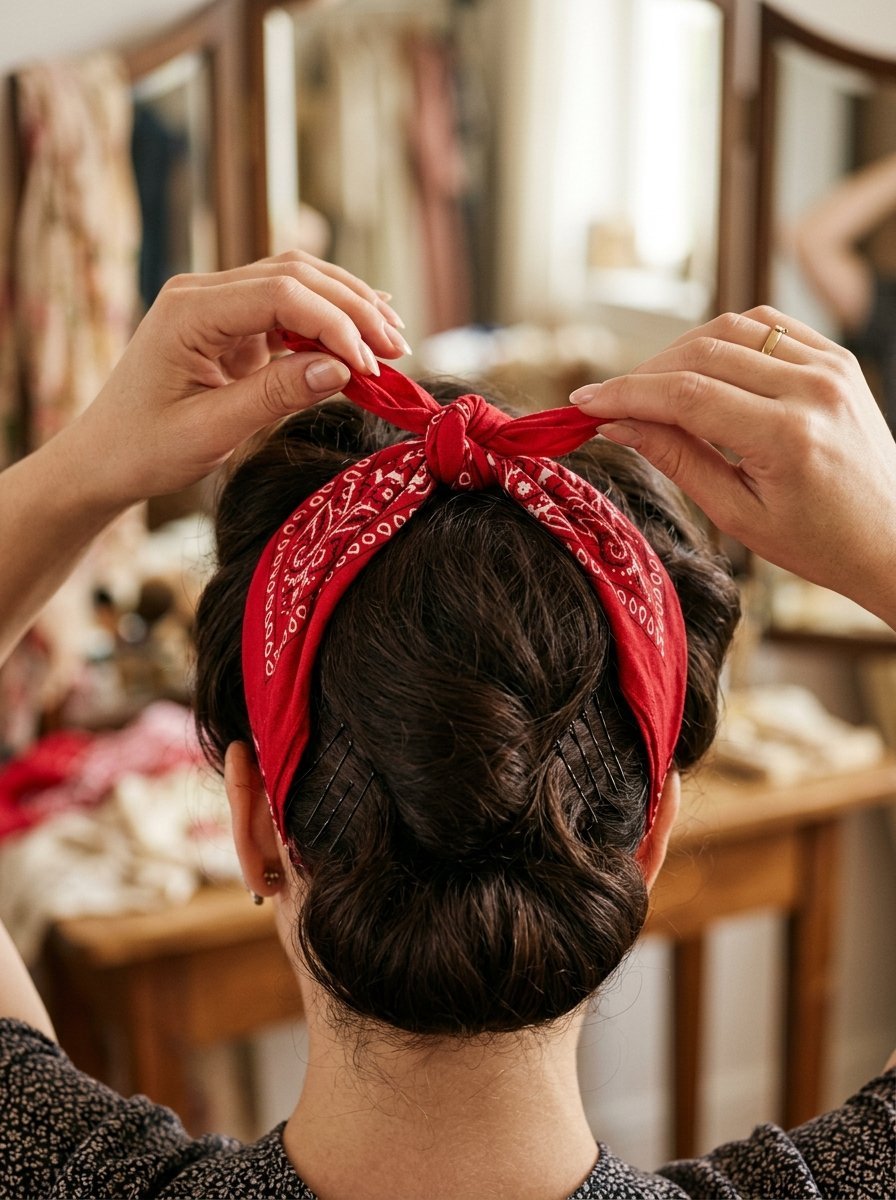
Follow these exact steps for the classic look. You need a standard twenty two inch square bandana. Do not skip the flat folding step.
1. Fold The Square Into A Triangle
Lay your fabric flat on a clean table. Match two opposite corners perfectly. You now have a large triangle. Smooth out any wrinkles with your hands. Wrinkles create a bumpy final look. Take your time here. A flat fold makes everything else easier.
2. Roll The Fabric Towards The Point
Start at the long folded edge. Roll the fabric tightly toward the sharp corner. You want a band about three inches wide. A wider band covers more hair. A thinner band looks like a modern scarf headband tutorial. Keep the rolling tension very tight. Loose rolls fall apart on your head.
3. Position The Center At Your Nape
Hold the rolled fabric by the ends. Flip your head upside down slowly. Place the center of the band against the back of your neck. The loose ends should hang toward the floor. Make sure the fabric sits below your hairline in the back.
4. Pull The Ends To Your Crown
Stand up straight. Pull both ends up toward the top of your head. Keep the tension tight against your scalp. Make sure the fabric covers the tips of your ears. Covering the ear tips creates that specific vintage shape. It also creates a lot of security for the hold.
5. Tie A Tight Double Knot
Cross the ends at the top of your head. Tie a standard single knot first. Pull it tight. Tie a second knot directly over the first. This creates a tight double knot. Do not tie a bow. Bows look messy and untidy for this specific pinup aesthetic.
6. Tuck The Loose Ends
You have two short tails sticking up. Tuck them neatly under the main band. Some people leave them out for a cute bunny ear look. Tucking them looks much cleaner and more vintage. Push the fabric down until it lays completely flat against your skull.
7. Adjust And Pin For Hold
Shift the knot slightly off center. An off center knot looks much more authentic. Take two Diane bobby pins. Slide them through the fabric into your hair behind your ears. Cross the pins in an X shape for maximum hold. This locks the style down for the entire day.
What Are Some Popular Bandana Tutorial Hairstyles?
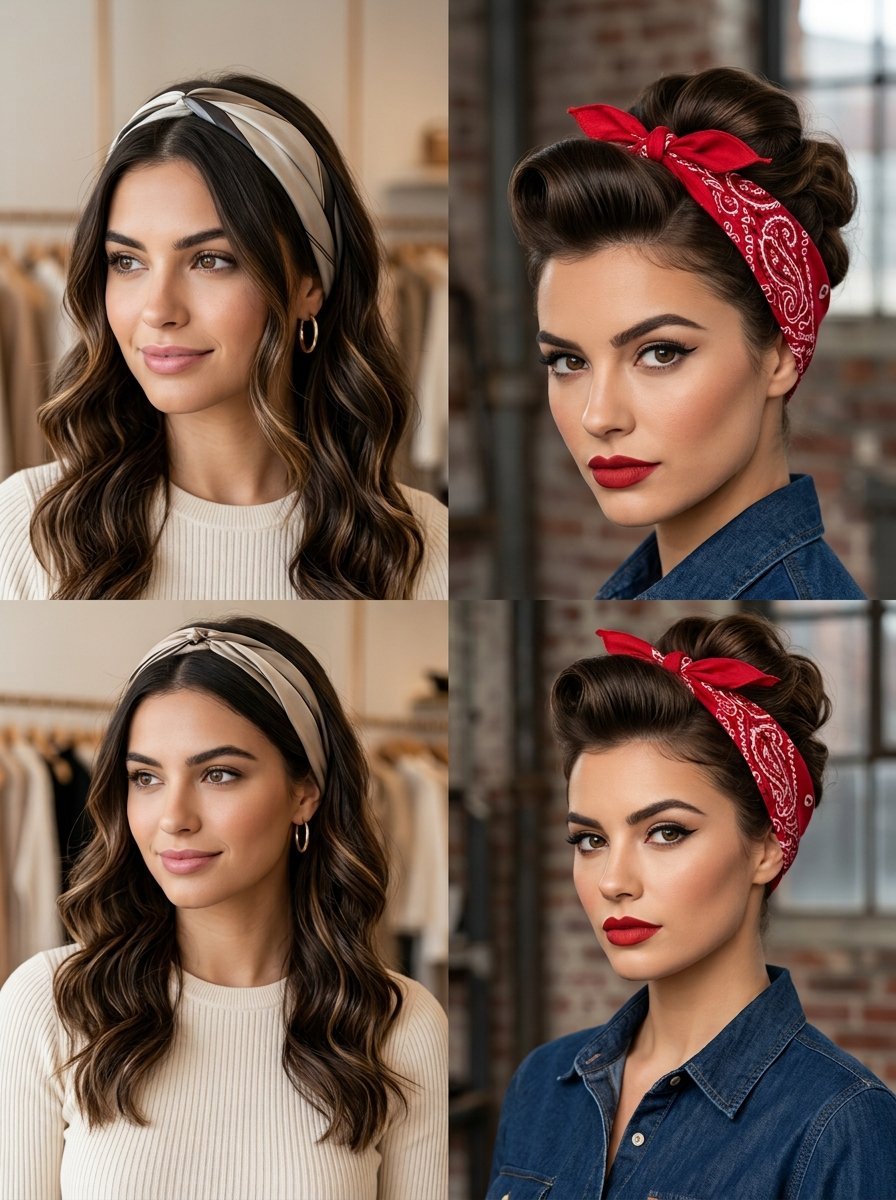
You can wear this accessory in several ways. I style these looks weekly for clients. Here are the top four variations you can try today.
The Classic Rosie The Riveter
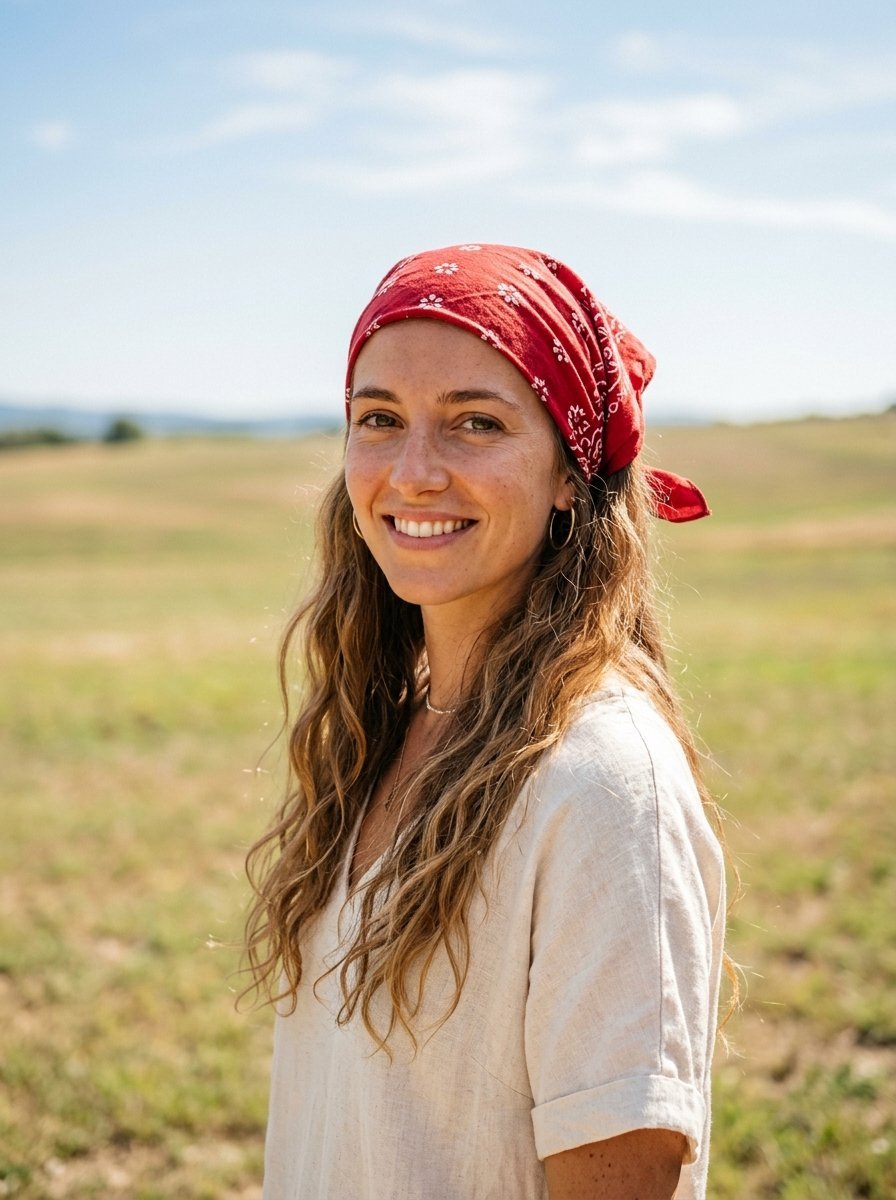
This is the exact style we just covered. It requires an updo. The knot sits near the front of your head. It keeps every strand of hair secured. Women wore this in factories to keep their hair safe. It looks tough, beautiful, and completely timeless.
The Vintage Hairscarf Headband
Leave your hair completely down. Fold the bandana into a thin strip. Tie it at the base of your neck instead of the top. The knot hides under your loose hair. This makes a beautiful scarf headband tutorial. I love this look with loose, brushed out curls.
The Retro Updo With Hankerchief
Roll your front bangs into a vintage bumper bang. Tie the bandana right behind the hair roll. This frames the face styling perfectly. It creates a very striking silhouette. You need a lot of hairspray for the front roll. L’Oreal Elnett hairspray holds the shape without looking crusty.
The Braided Crown Wrap
Braid your hair into two pigtails. Pin them across the top of your head. Wrap a thinly folded bandana right behind the braids. This looks very intricate. People think you spent hours at the salon. It actually takes about eight minutes to finish.
Troubleshooting Common Hair Styles With Bandanas Cute Fails
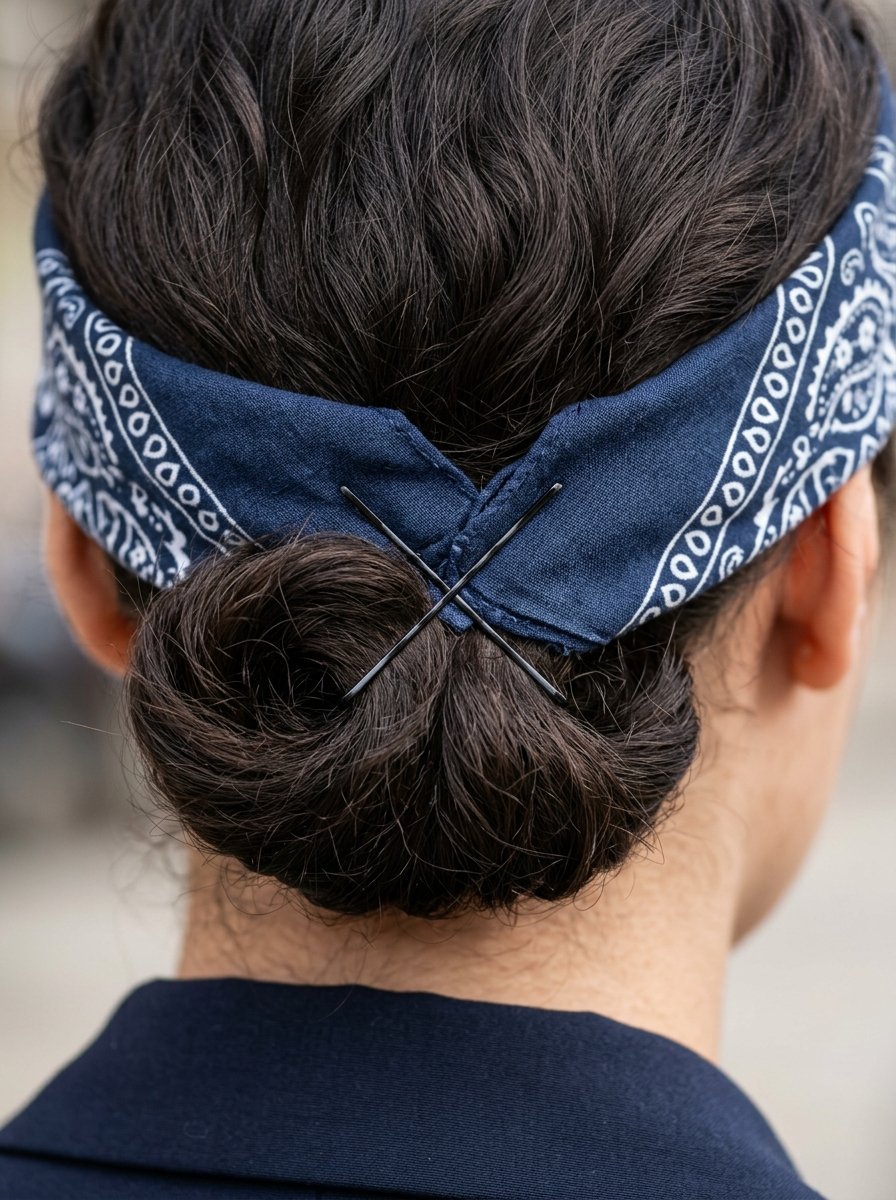
Things go wrong. I see the same three mistakes repeatedly. Here is exactly how you fix them.
The Fabric Bunches Up In The Back
You rolled the fabric too loosely in step two. Unroll it entirely. Lay it flat on a table again. Roll it much tighter this time. Pin the very center of the fabric to your neck before you tie the top knot.
The Knot Looks Huge And Bulky
You are using a fabric that is too thick. Heavy winter scarves do not work for this style. Switch to a thin cotton hankerchief. Make sure you tuck the tails deeply under the side bands.
The Whole Thing Slides Backward
Your hair is too clean. You skipped the dry shampoo. You also placed the fabric too high on the back of your head. It must sit completely under that curve at the base of your skull. Place four extra bobby pins for safety.
Frequently Asked Questions About Hair Bandanas
How do I keep a silk scarf from slipping?
Use a velvet wig grip under the silk. The velvet catches the slippery fabric instantly. Spray dry shampoo to your roots for extra friction. Cross bobby pins at the nape of your neck and behind your ears. Silk requires at least four pins to stay in place all day.
Can I wear a bandana with short hair?
Yes. Fold the fabric very thin. Tie it slightly looser. Short hair looks incredible with a vintage knot. Keep the knot small to match your hair proportions. Use a smaller eighteen inch square instead of a standard twenty two inch square.
What size bandana works best for adult heads?
A standard twenty two by twenty two inch square works perfectly for most people. Anything smaller will not tie completely. A twenty seven inch square works better for very thick hair or large updos. Always measure the fabric before buying vintage pieces online.
How often should I wash my hair bandanas?
Wash them after three wears. Hair oils collect on the fabric quickly. Cotton bandanas lose their crisp shape when dirty. Hand wash vintage fabrics to preserve the colors. Hang them dry to prevent shrinking.
Does a bandana damage your hair?
No. Cotton is very gentle. Make sure you do not tie the knot too tightly. A tight knot causes tension headaches. Silk is even gentler on your hair cuticles. Silk prevents breakage and frizz completely.
How do you tie a headscarf without pins?
You must use day old hair for natural grip. Tie the first knot extremely tight. Use a wider fold to cover more surface area. Avoid silk fabrics entirely if you skip pins. Textured cotton grips best on its own.
What is the best way to store bandanas?
Store them flat or rolled. Never leave them tied in a knot. Iron them flat after washing. A crisp fabric ties much cleaner than a wrinkled one. I keep mine in a drawer sorted by color.
Can I sleep with a bandana tied in my hair?
Yes. A silk hairscarf protects your hair cuticles at night. Use a looser knot for sleeping. Cotton might absorb your hair moisture overnight. Stick to satin or silk for bed to keep your hair healthy.
Are cotton or silk bandanas better for curly hair?
Silk is far better for curly hair. Cotton absorbs natural oils and causes frizz over time. Silk glides smoothly over the curls. You keep your moisture intact. Silk also prevents your curls from flattening out.
How do you hide the knot of a hair bandana?
Tie the knot at the back of your neck instead of the top. Let your hair fall over it. Alternatively, tuck the knot deeply under the main fabric band. It takes practice to lay it completely flat.
Can men wear pinup style bandanas?
Anyone can wear this style. The mechanics remain exactly the same. Use neutral colors like black or navy. The wide band keeps hair out of the eyes efficiently. Mechanics and factory workers use this exact tying method daily.
What hairstyles with a hankerchief look professional?
Stick to solid colors like black, navy, or cream. Keep the knot small and tucked away. Use silk instead of cotton for a refined texture. A sleek low bun with a thin silk band looks very polished for office work.
Why does my head hurt after wearing a headscarf?
You tied the base knot far too tight. The fabric puts pressure on your temporal bones. Undo the knot. Loosen it by half an inch. Rely on bobby pins to hold the fabric instead of raw tension.
Can I use a regular winter scarf for this look?
No. Winter scarves carry too much bulk. The knot will look like a large melon on your head. Stick to thin, breathable fabrics designed for spring or summer wear.
How do I fix a bandana that shrinks in the wash?
Stretch the damp fabric gently in all directions. Iron it while it remains slightly damp. Use the highest heat setting for cotton. Do not iron silk on high heat. This restores about half an inch of lost fabric.
Final Thoughts On The Vintage Headscarf Look
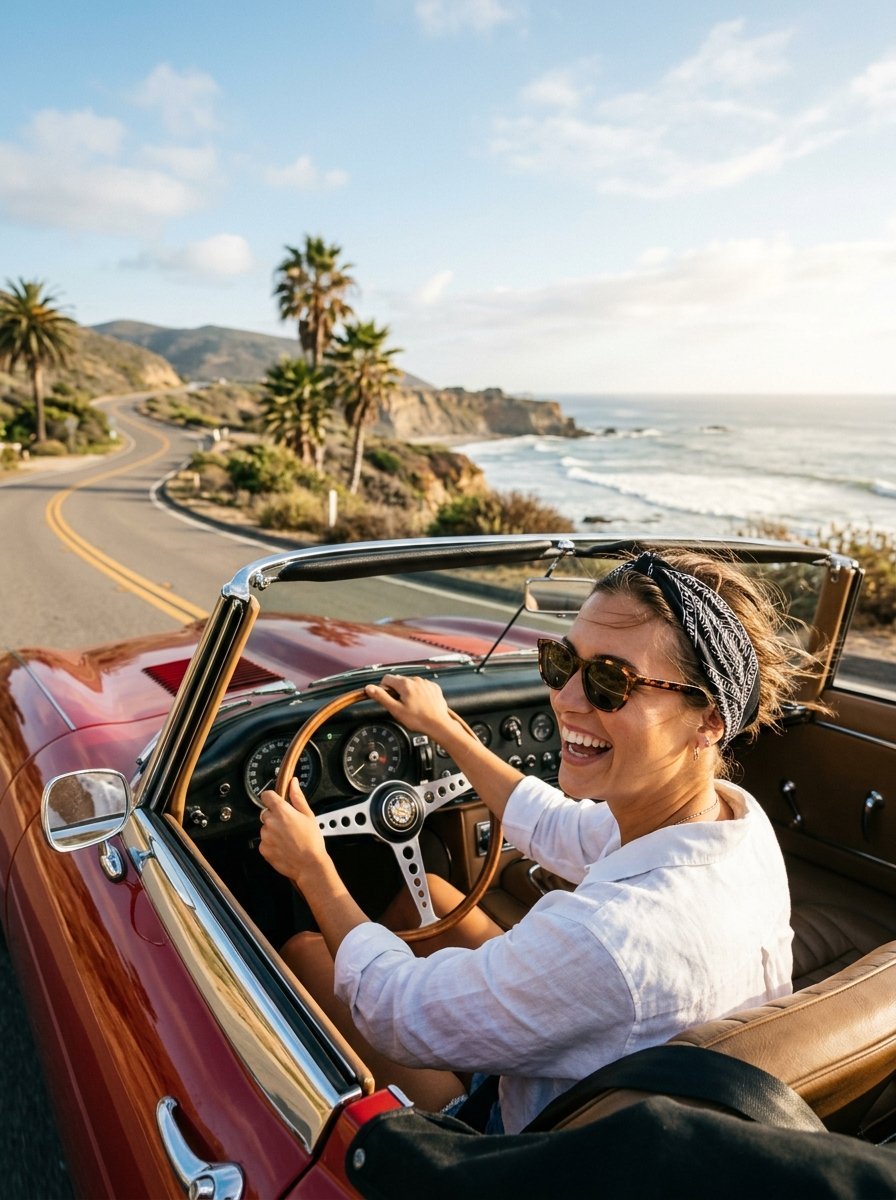
Mastering the pinup bandana look changes your morning routine entirely. You save massive amounts of styling time. You need a good cotton square and some strong bobby pins. Practice the folding steps on a flat surface first. The double knot takes just seconds once you master it. My clients love how this simple accessory hides bad hair days completely. Try it this weekend when running errands. You will feel instantly put together and stylish. This single piece of fabric fixes a messy hair day faster than any hot tool ever could.

Sarah Mitchell — Founder & Editor-in-Chief
Sarah Mitchell is the founder and editorial voice behind Hair Level Up. A licensed cosmetologist with more than 15 years of experience, she has styled A-list celebrities for editorial shoots and red carpets, with work featured in Vogue, Elle, and Harper’s Bazaar. Early in her career, she trained under the legendary hairstylist Oribe in New York, an apprenticeship that still shapes her editorial eye today. Sarah founded Hair Level Up in 2020 after one bad haircut convinced her that women deserved a destination that felt like a magazine, taught like a stylist, and inspired like an art gallery. She oversees every story from concept to publication, guided by a simple belief: a good story teaches you something, but a great one makes you feel beautiful while it does.