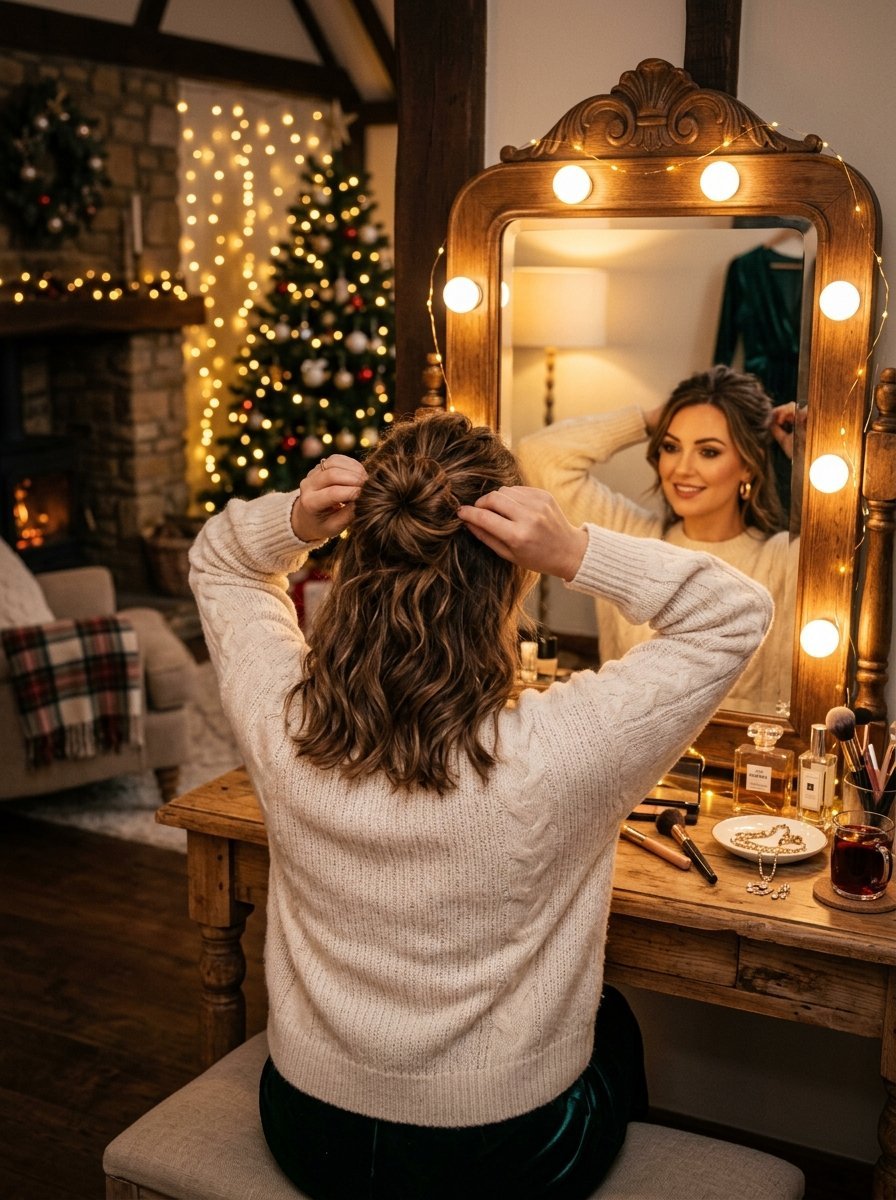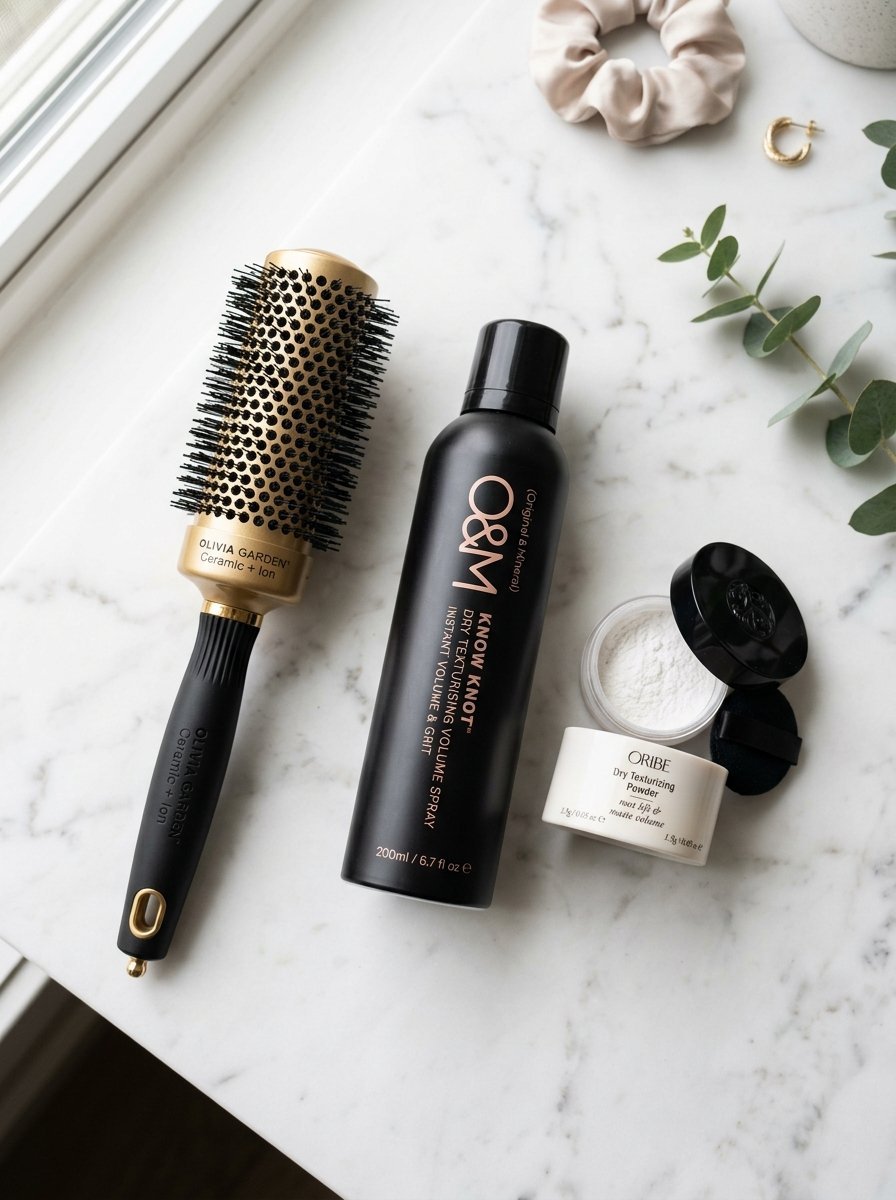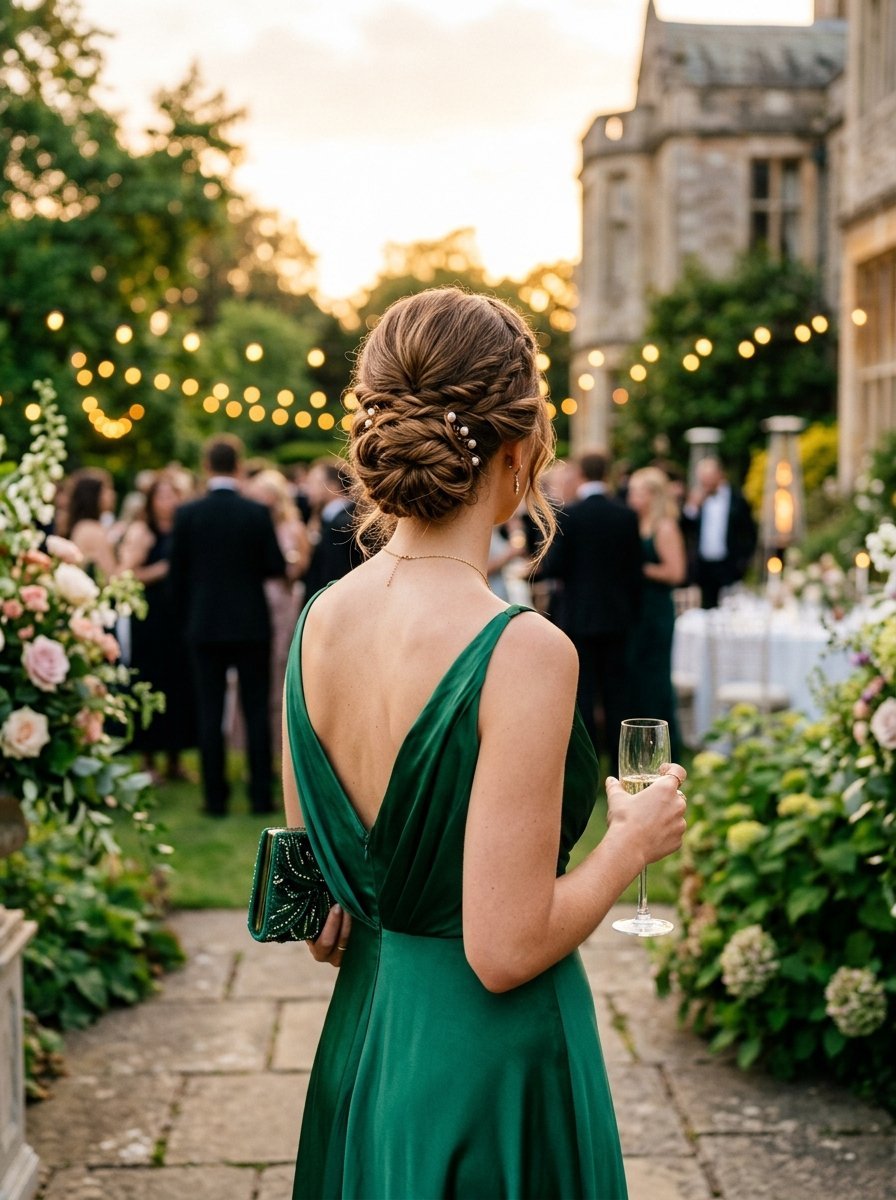
22 Wedding Guest Updo Ideas That Don’t Compete With the Bride
Finding the perfect balance as a wedding guest is tough. You want to look stunning in photos, but you absolutely cannot overshadow the woman of the hour. Your hair needs to stay secure through hours of eating, drinking, and dancing without looking like you are trying to match the bridal party.
The secret lies in clean lines, balanced textures, and positioning. Over the last five years of styling hair for major events, I have watched guests make the mistake of adding too many hair accessories or going for massive volume that blocks the view of people sitting behind them at the ceremony. A great guest updo feels effortless, holds its shape from the first toast to the last dance, and respects the unspoken rules of wedding etiquette.
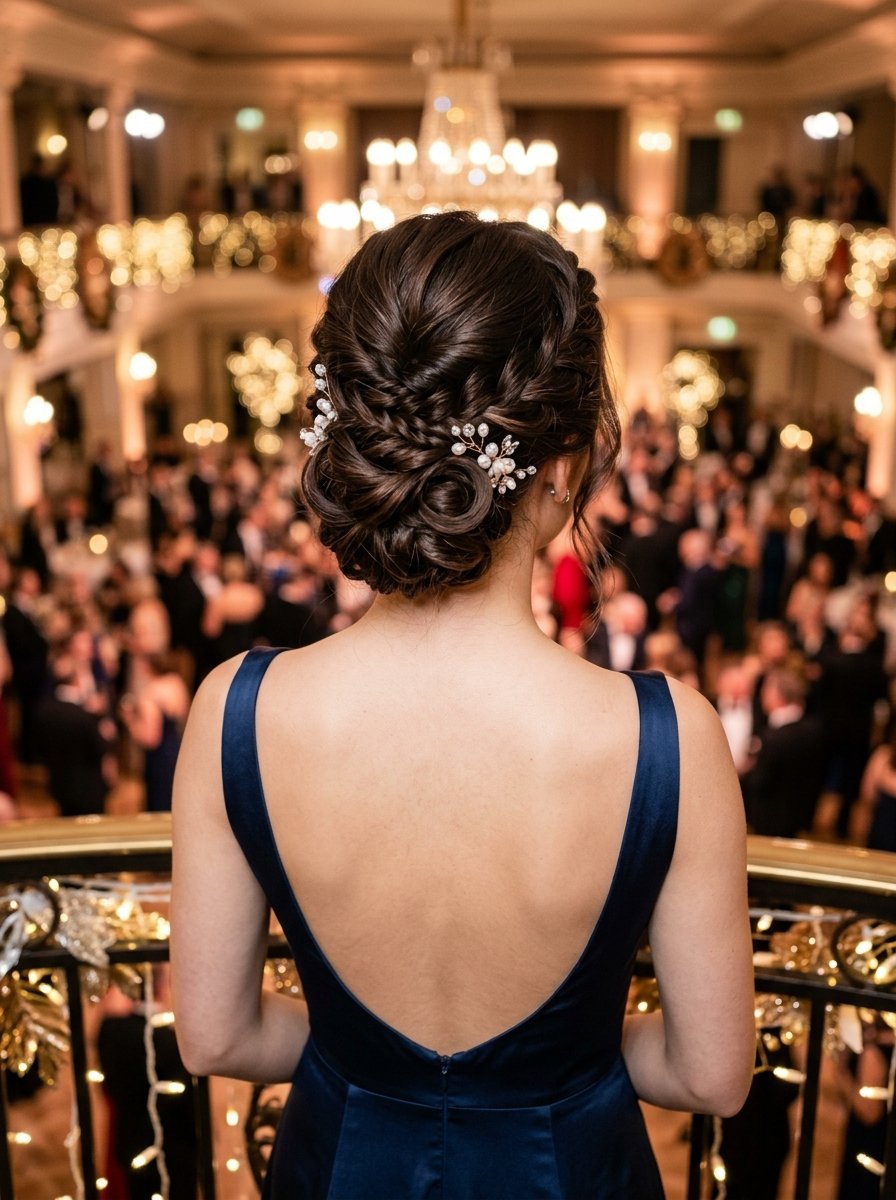
Executive Summary
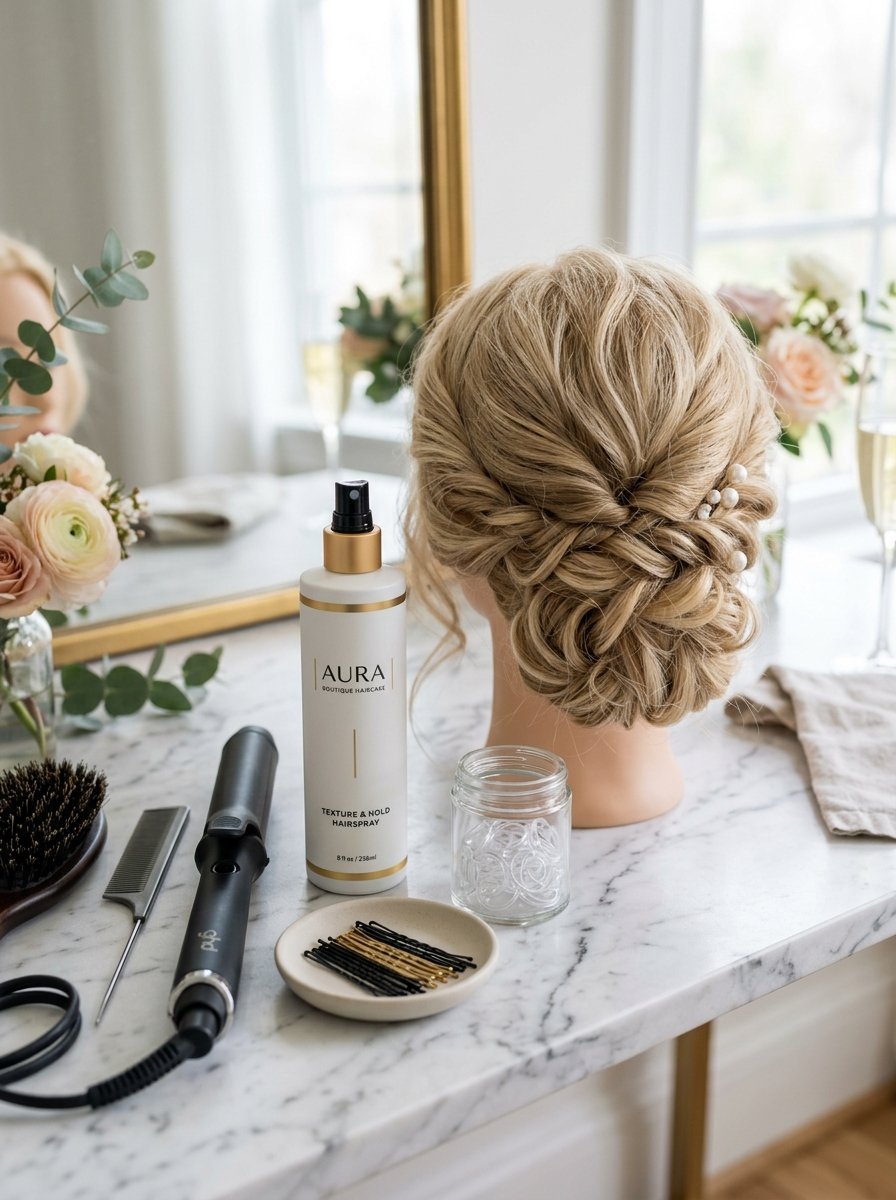
Your choice of wedding guest hairstyle hinges on your dress neckline, the venue vibe, and the expected weather conditions. This comprehensive guide delivers 22 distinct updo inspirations tailored for guests who want a polished, modern look. You will find options ranging from tailored braided buns to textured twists that work for straight, wavy, curly, and coily hair types.
Every single look outlined below balances elegance with restraint, ensuring your style remains respectful yet photo-ready. We break down the exact skill level required for each look, the specific tools you need to pack in your bag, and real-world troubleshooting steps for unexpected weather changes. You will also get an honest look at common styling blunders, including how to avoid the crunchy, frozen finish that ruins modern formal photography.
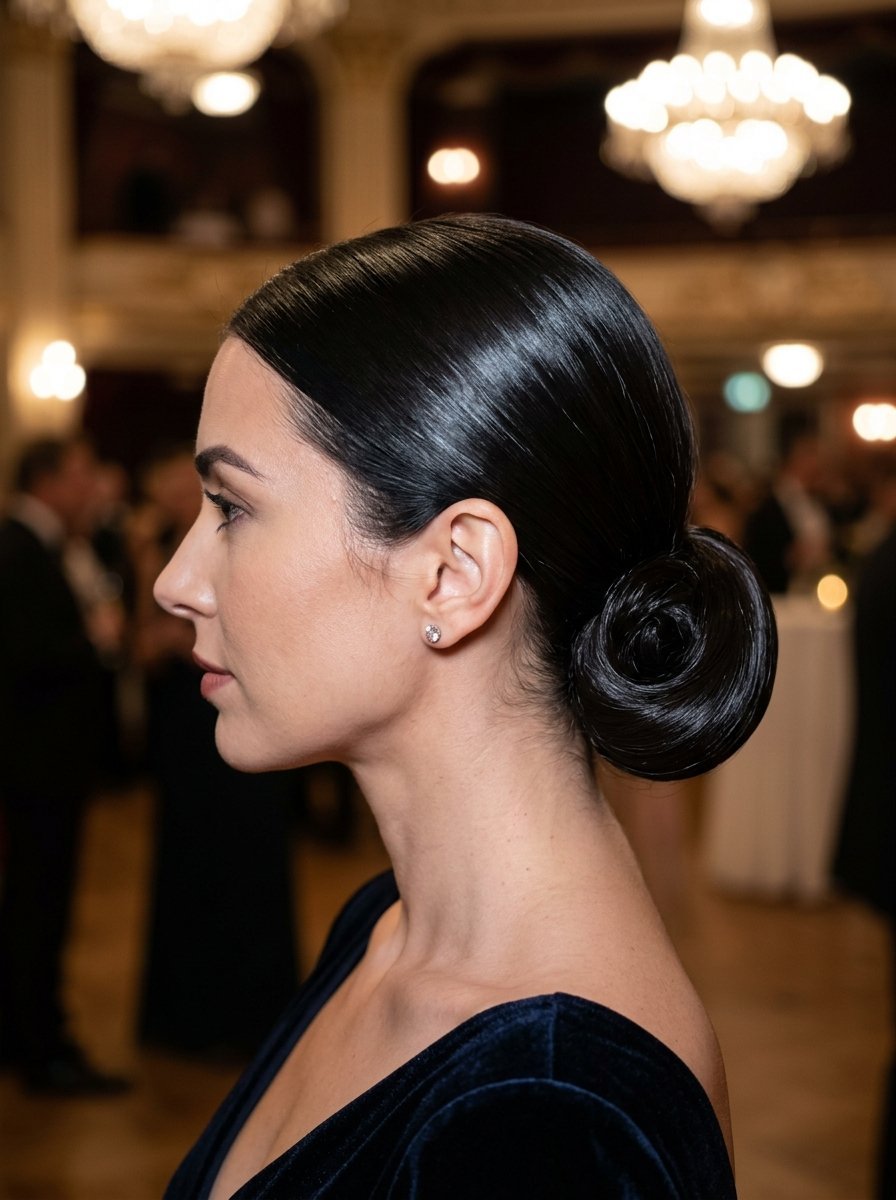
1. Classic Low Chignon
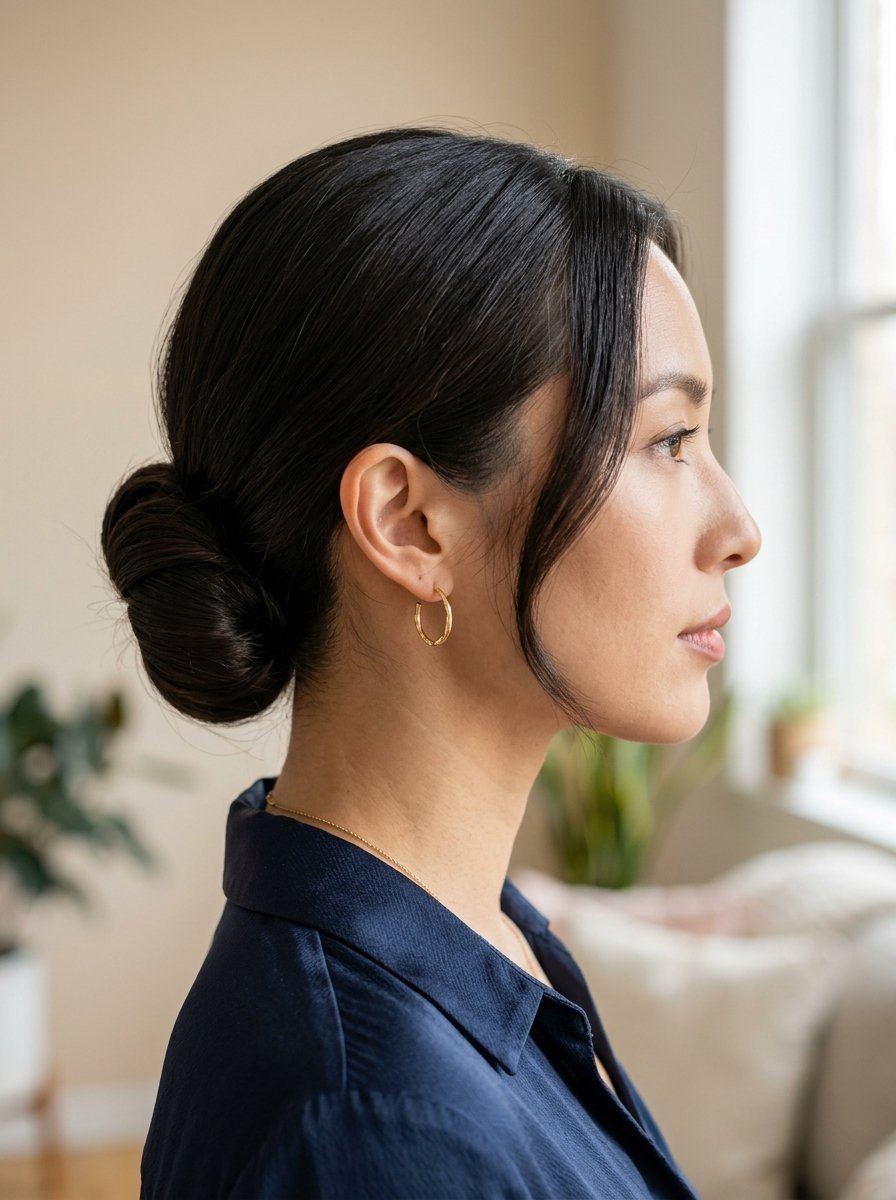
The classic low chignon sits right at the nape of the neck, offering a clean silhouette that works with any dress neckline. In my experience, this style is the ultimate safety net for formal events because it never clashes with the bride’s aesthetic.
- Best For: Straight or smoothed wavy hair.
- Skill Level: Beginner to Intermediate.
- Key Tool: Oribe Superfine Hair Spray for a touchable hold.
To execute this, secure your hair into a low ponytail. Loop the tail through the elastic, then pin the remaining ends securely underneath the base.
The biggest pitfall here is making the wrap too tight, which can make your head look disproportionately small in photos. Keep the sides slightly soft to frame your jawline.
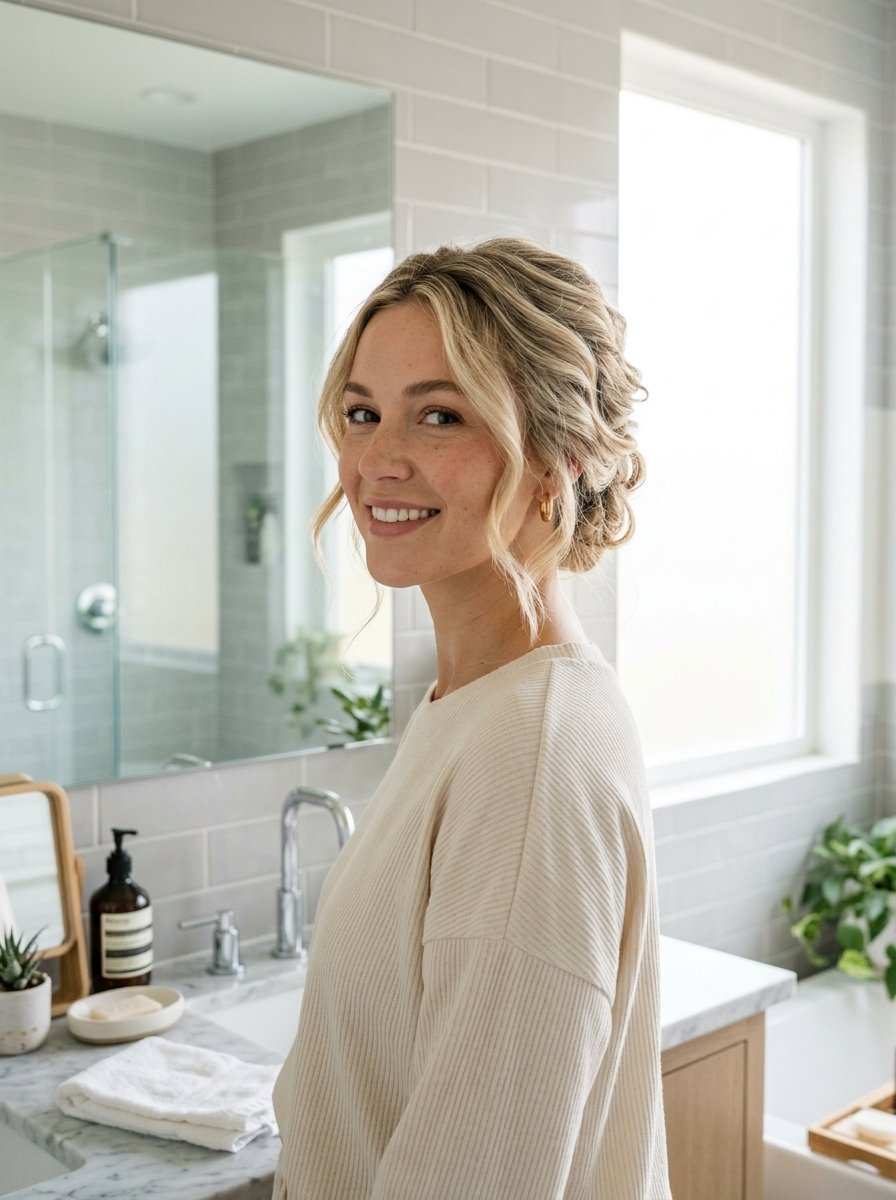
2. Texturized Messy Bun Hairstyle
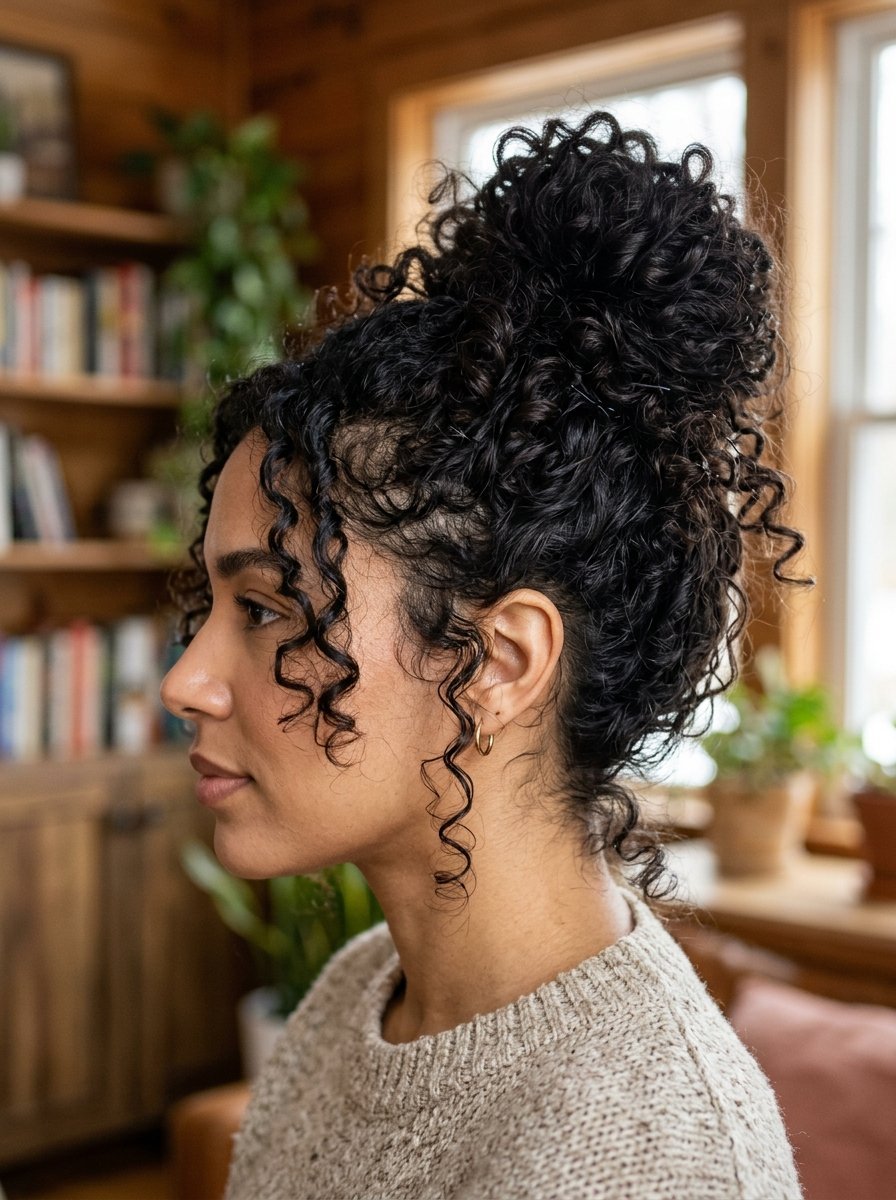
A texturized messy bun uses your natural hair pattern to create volume without relying on heavy teasing. This look feels modern and less stiff than traditional prom styles.
- Best For: Curly and coily hair patterns.
- Skill Level: Beginner.
- Key Tool: DevaCurl Frizz-Free Volumizing Foam.
Gather your hair at the crown of your head, leaving your natural curls loose. Secure loosely with a silk scrunchie, then pull small sections out to create a balanced shape.
Avoid using fine-tooth combs during preparation. Rough drying with your fingers preserves the organic texture that makes this look work.
3. Braided Low Bun
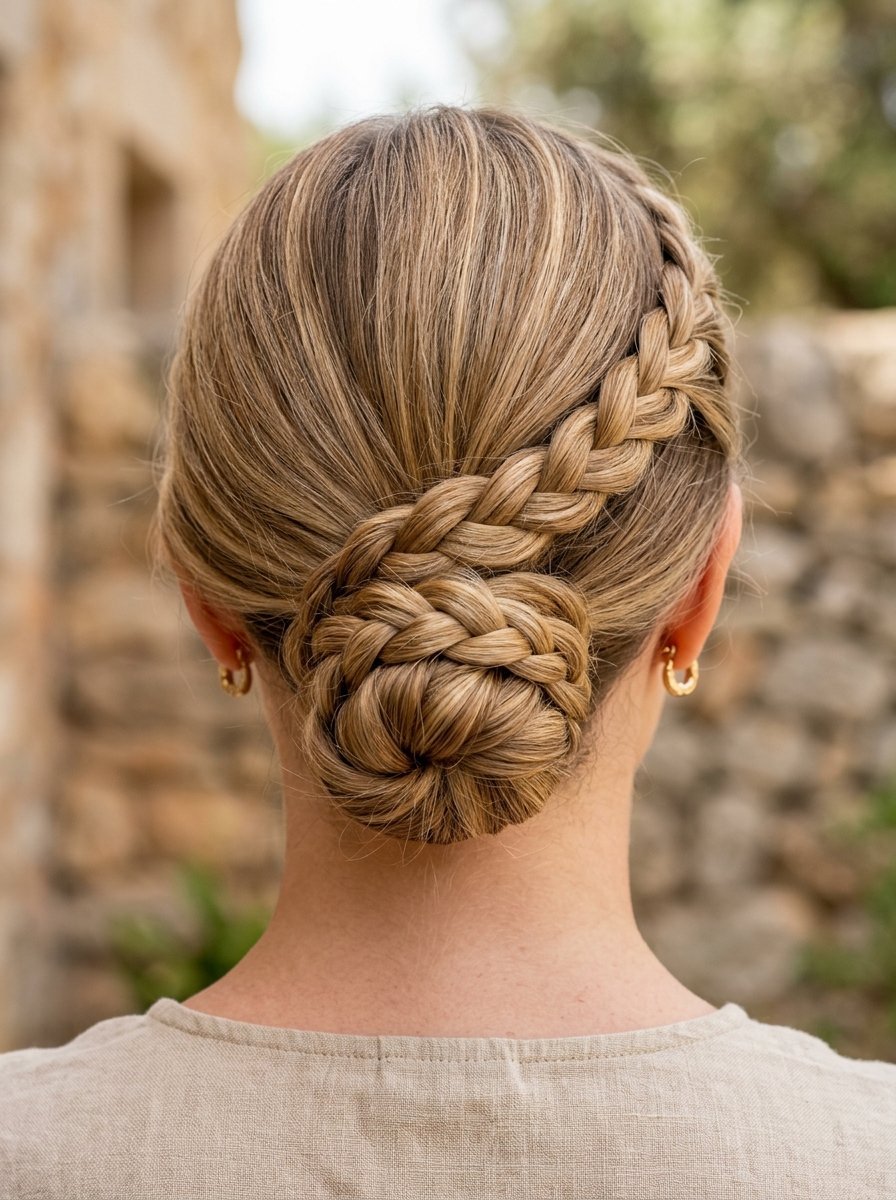
The braided low bun combines the security of a three-strand braid with the elegance of a traditional low knot. I saw this work beautifully at a humid outdoor wedding last July.
- Best For: Medium to long hair lengths.
- Skill Level: Intermediate.
- Key Tool: Redken Fashion Work 12 Spray.
Create a low ponytail, braid the length down to the ends, and secure it with a clear elastic. Wrap the braid around the base of the ponytail, pinning flat against your head.
If your hair has layers, the ends might poke out of the braid. Use a tiny dab of hair balm on your fingertips to smooth them down before wrapping.
4. French Twist with Soft Tendrils
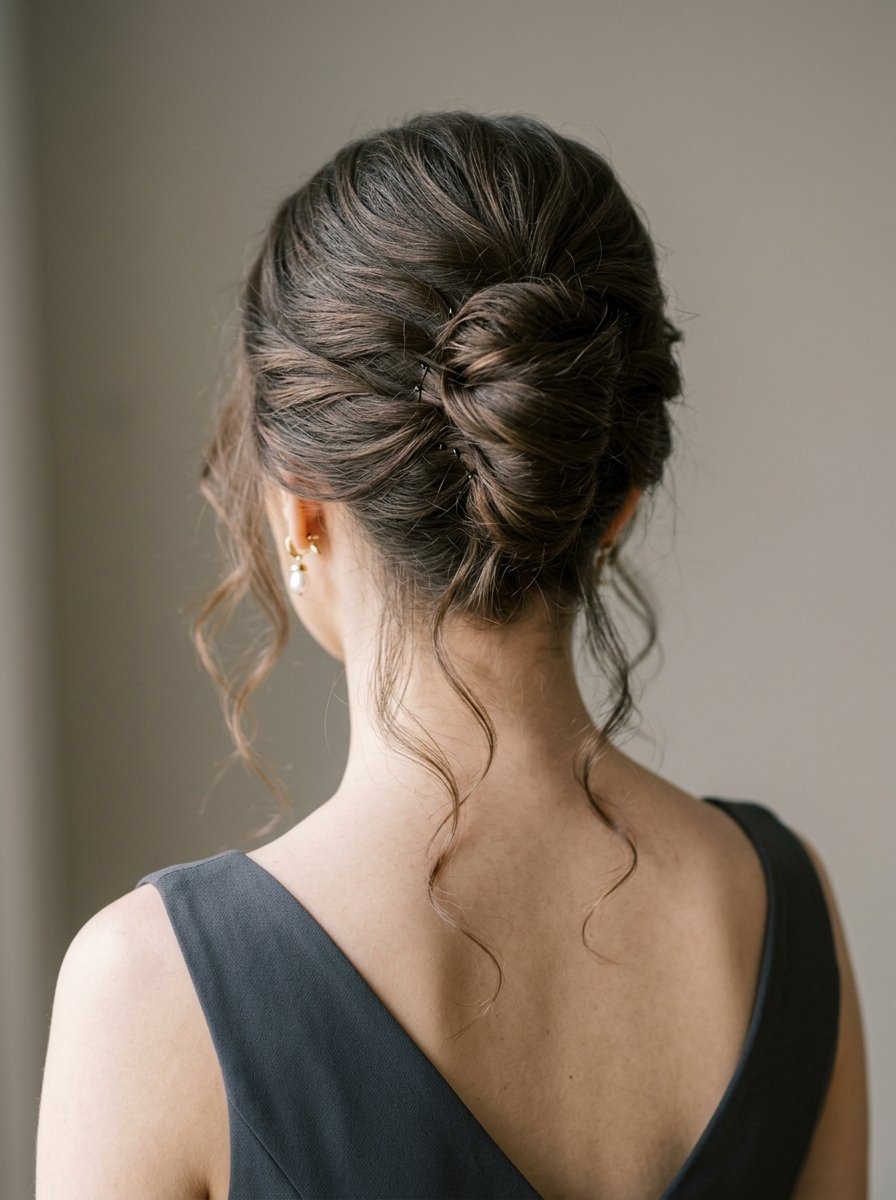
This modern take on the retro French twist skips the extreme height at the crown, keeping the look daytime-friendly. Soft tendrils around the ears break up the sharp lines.
- Best For: Fine to medium hair density.
- Skill Level: Advanced.
- Key Tool: Diane French Twist Pins.
Gather hair to one side, secure a vertical row of bobby pins up the back, then roll the hair back over the pins. Secure the roll with heavy-duty U-pins.
Do not use high-shine serums before twisting. Slippery hair will cause the pins to slide out before the cocktail hour ends.
5. Sleek Top Knot
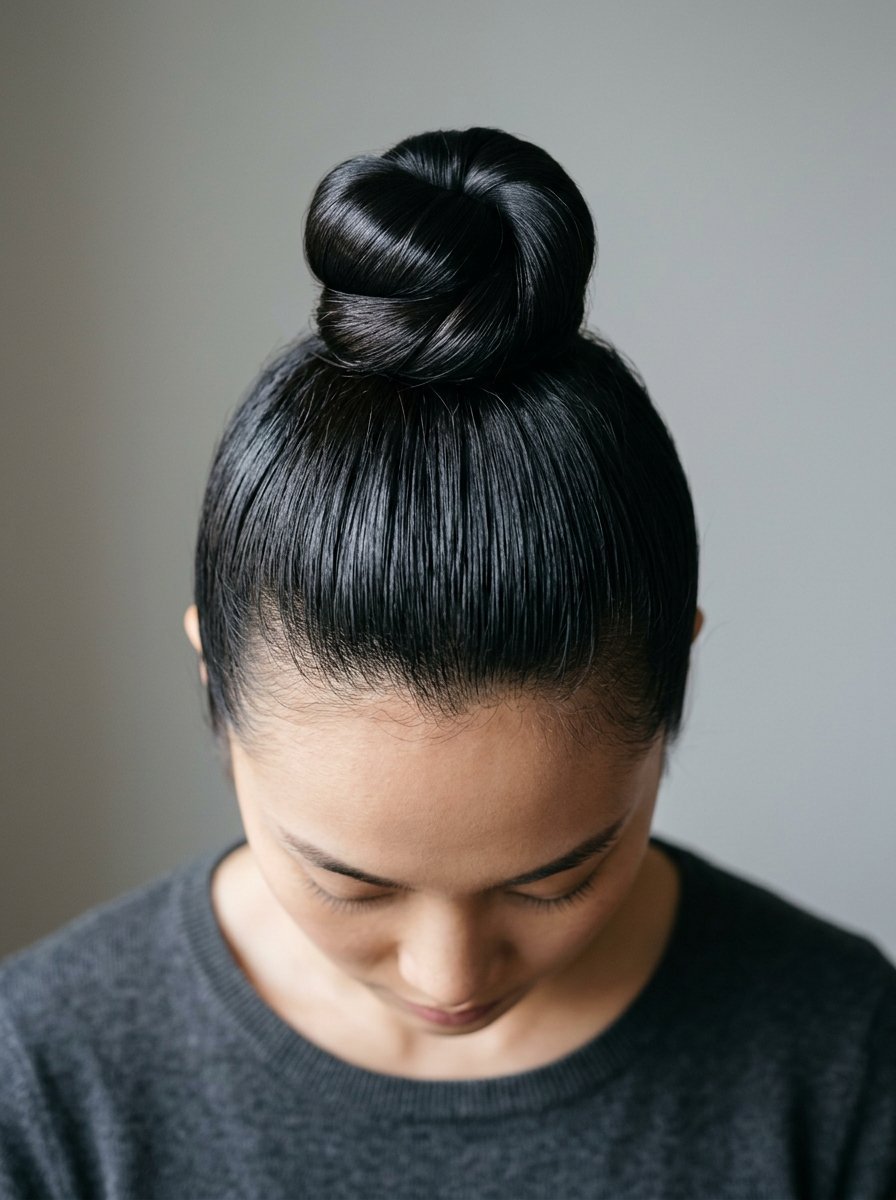
A high top knot elongates your neck and keeps your hair completely out of your face, which is perfect for hot summer receptions. It provides a striking backdrop for statement earrings.
- Best For: Long, straight hair.
- Skill Level: Beginner.
- Key Tool: Eco Styler Olive Oil Gel.
Brush hair smoothly into a high ponytail at the top of your head. Twist the length tightly into a rope, wrap it around the base, and pin flat.
Watch out for tight pulling around your hairline. It can cause discomfort over an eight-hour day and creates an artificial look in close-up photography.
6. Crown Braid Updo
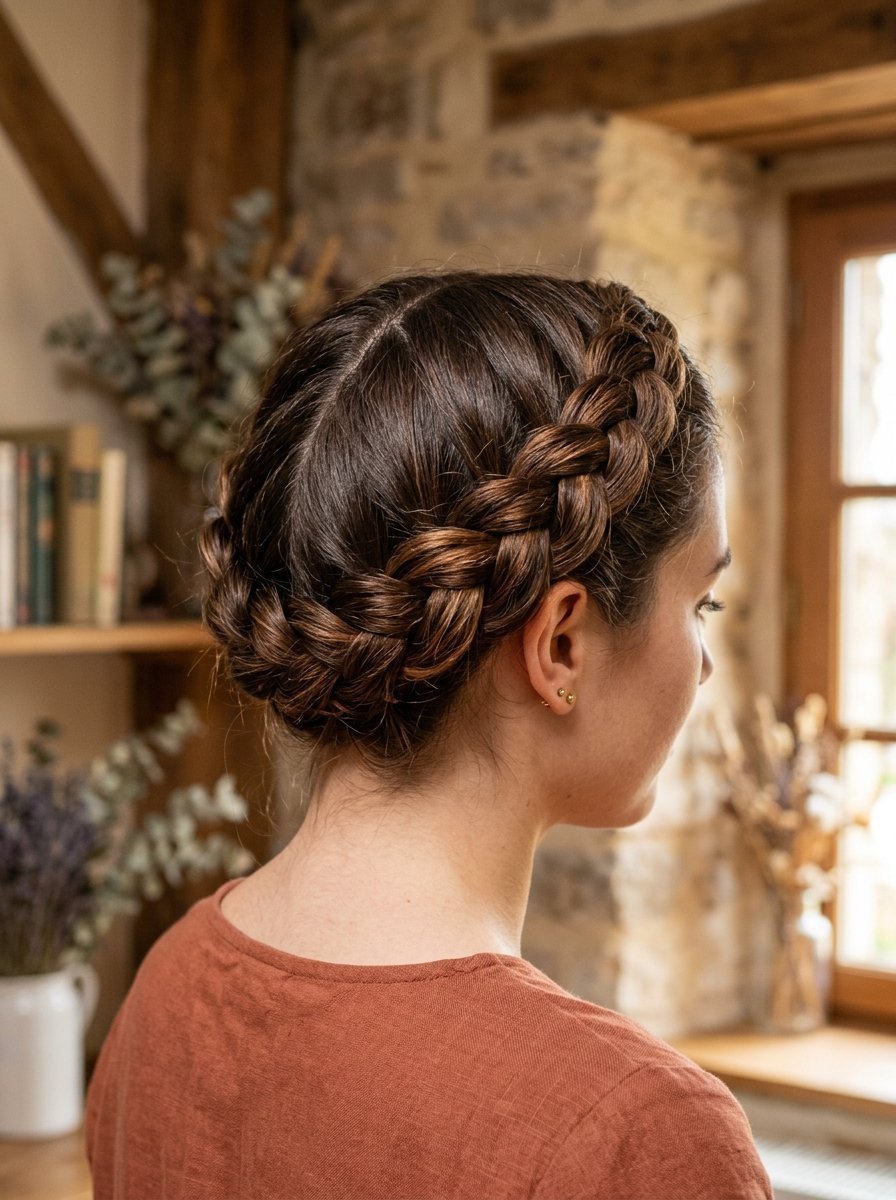
A crown braid loops fully around the head, acting as its own natural accessory without needing clips or pearls. It distributes weight evenly, making it comfortable for thick hair.
- Best For: Thick, long hair.
- Skill Level: Advanced.
- Key Tool: Kenra Platinum Dry Texture Spray.
Part your hair down the center, create two inverted French braids along the sides of your head, and cross them over the top. Pin the ends beneath the opposing braid.
Ensure you do not pull the braid loops too far apart. Pancaking the braid too much makes it look messy rather than intentional.
7. Dutch Braid Into Messy Bun
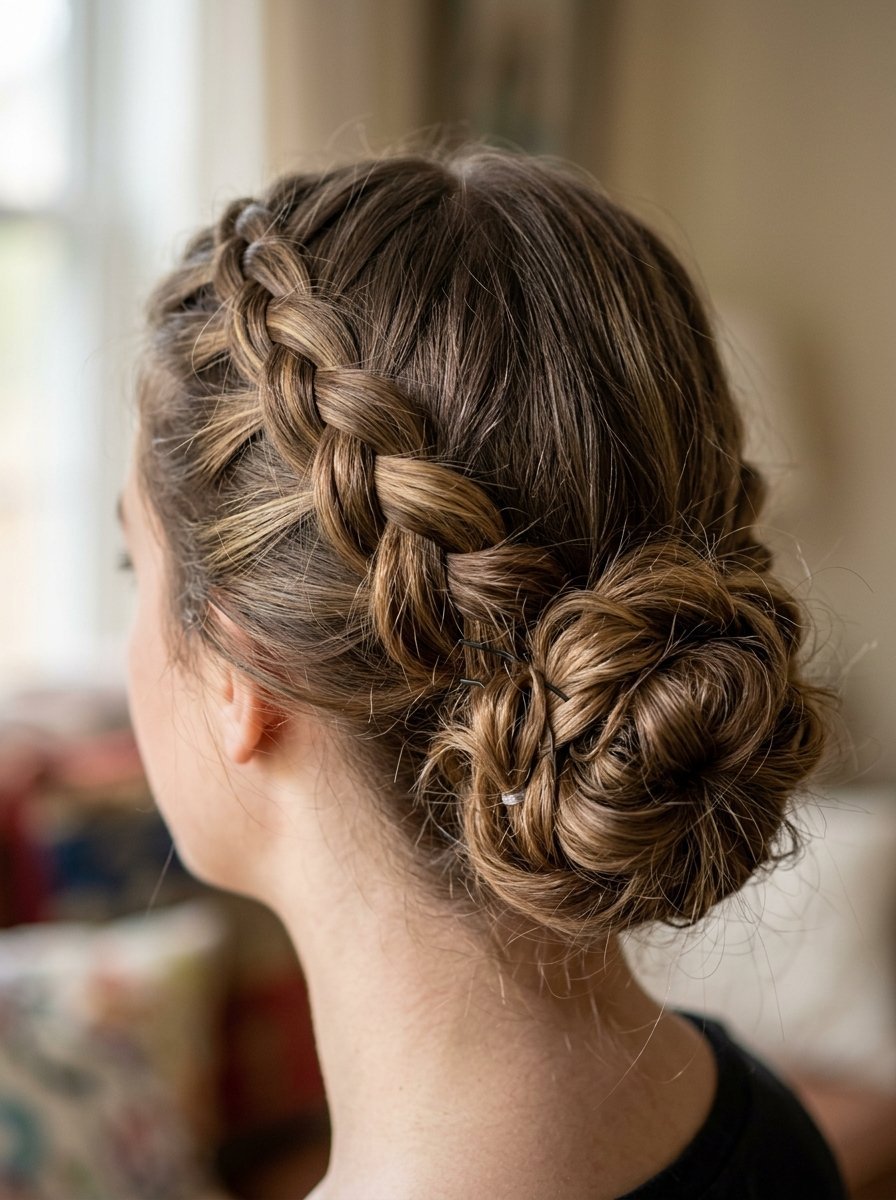
This style uses an accent Dutch braid along one side of the scalp that empties directly into a loose, comfortable bun at the back. It adds visual interest from side angles.
- Best For: Wavy hair with highlights.
- Skill Level: Intermediate.
- Key Tool: Moroccanoil Luminous Hairspray Medium.
Start a three-strand Dutch braid at your temple, moving back toward the crown. Gather the rest of your hair and the braid end into a textured bun.
Keep the braid tight against the scalp before transitioning into the bun. A loose base will sag after an hour of movement.
8. Rolled Chignon with Headband
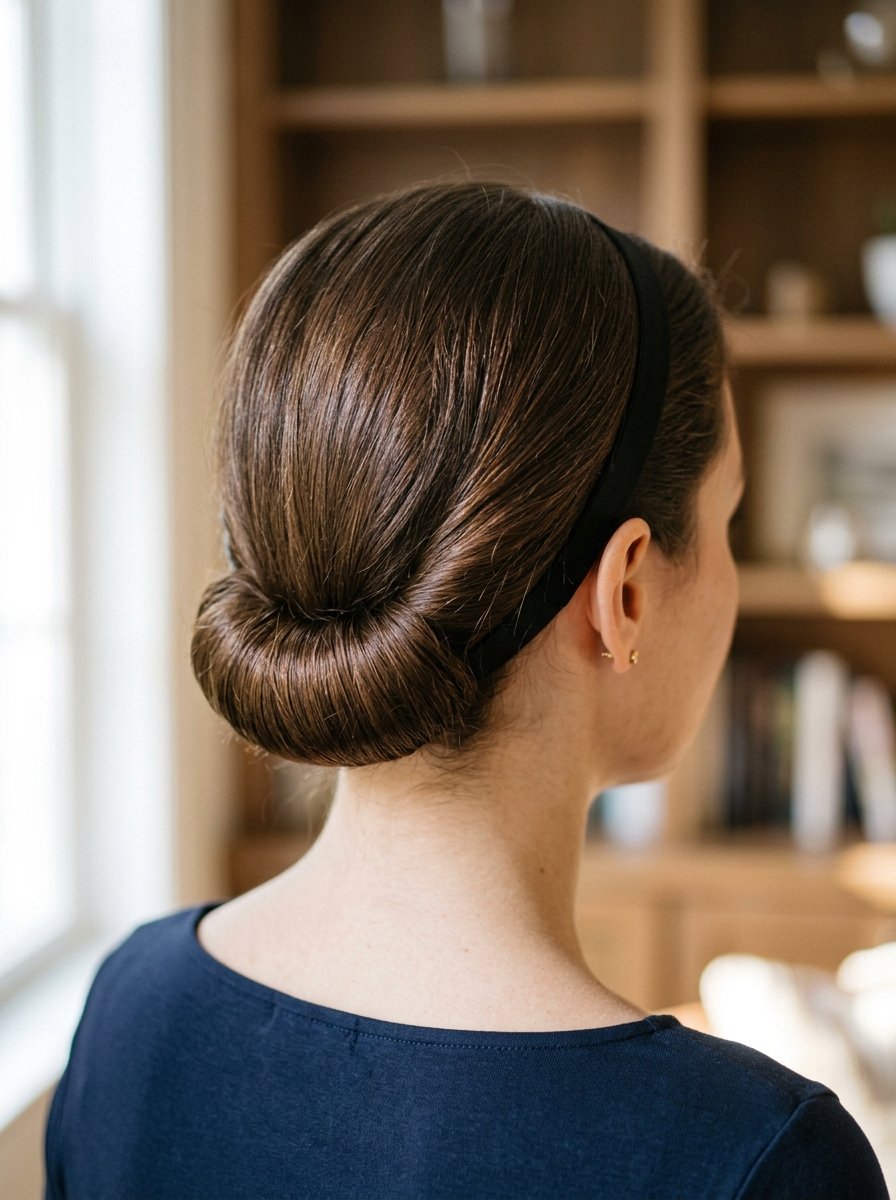
A rolled chignon utilizes a elastic fabric headband to anchor the tuck, making it incredibly simple for people who struggle with standard bobby pins.
- Best For: Fine, shoulder-length hair.
- Skill Level: Beginner.
- Key Tool: Slip Silk Headband.
Place the headband over the crown of your head like a crown. Take sections of hair from the front and loop them over and under the band until all hair is tucked.
Avoid heavy leather or embellished headbands. A simple, matte silk band keeps the focus on the styling technique.
9. Bubble Ponytail Updo
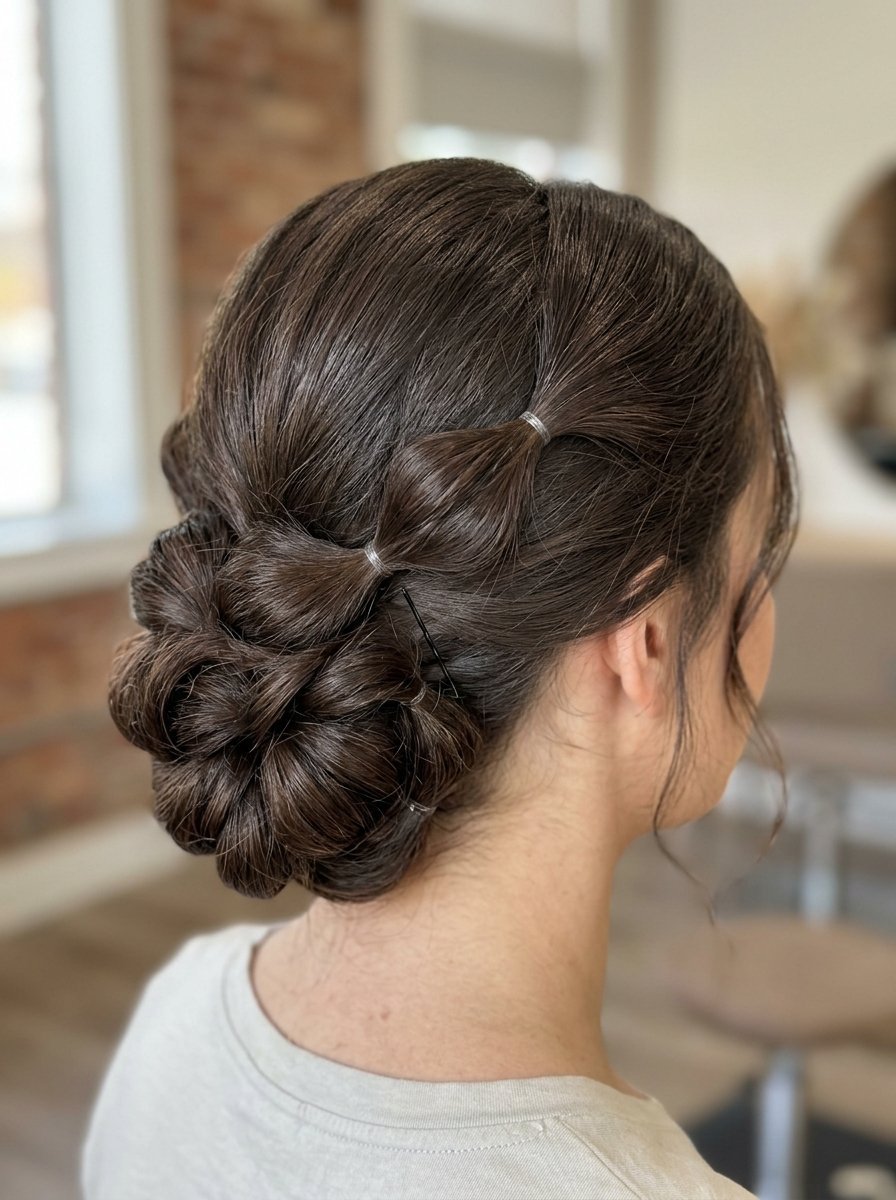
The bubble ponytail updo uses multiple small elastics down the length to create a series of rounded bubbles, which are then pinned into a compact cluster.
- Best For: Ultra-long, high-density hair.
- Skill Level: Intermediate.
- Key Tool: Blax Clear Elastics.
Create a regular ponytail, place elastics every two inches down the length, and pull the sides out to form bubbles. Roll the chain up and secure.
Make sure to use strong elastics that match your hair color or are completely clear. Colored bands disrupt the formal feel.
10. Fishtail Braided Bun
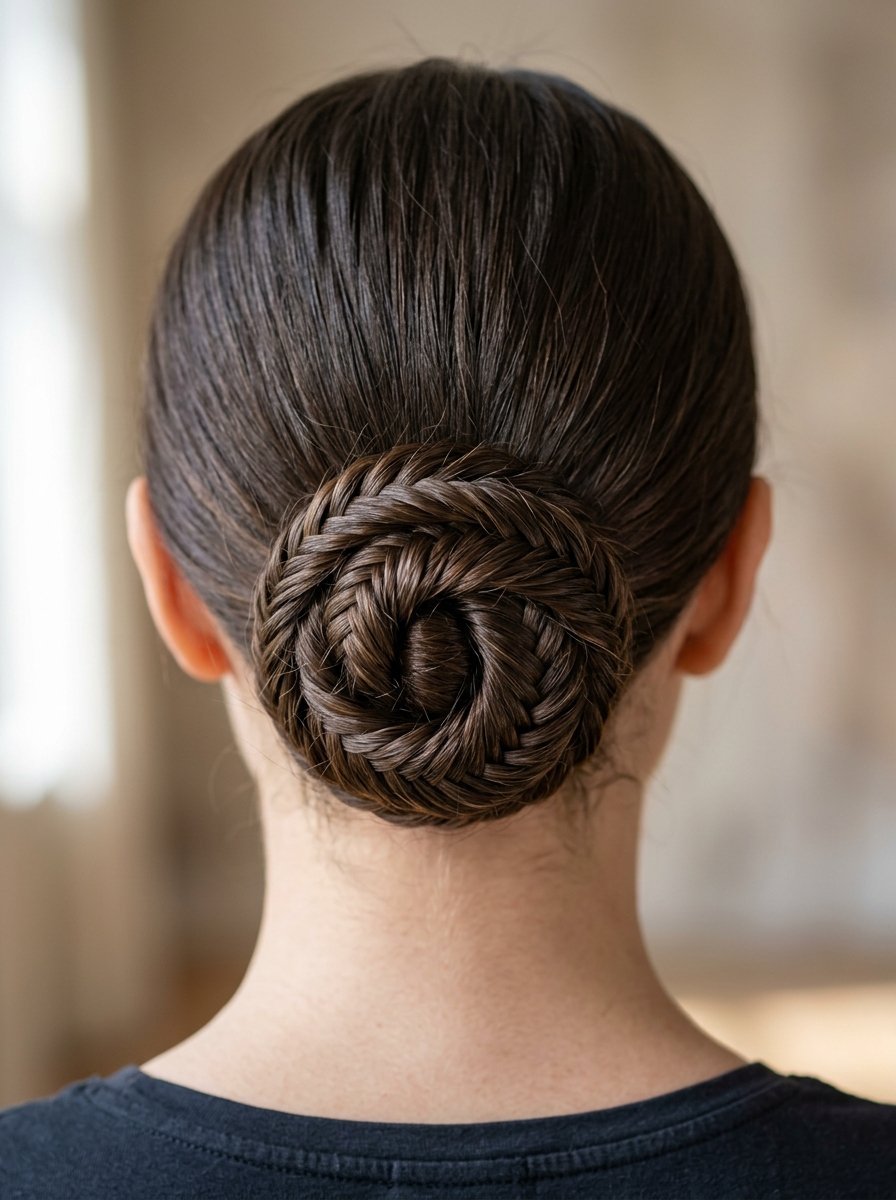
The intricate pattern of a fishtail braid gives this low bun a detailed appearance that looks far more complicated to execute than it actually is.
- Best For: Multi-tonal or balayage hair color.
- Skill Level: Advanced.
- Key Tool: Got2b Glued Blasting Freeze Spray.
Gather hair at the nape, weave a precise fishtail braid down the center, and wrap it into a flat disk shape against the head.
Fishtail braids take time to weave. Budget an extra fifteen minutes for preparation if you select this look.
11. Low Rope Twist
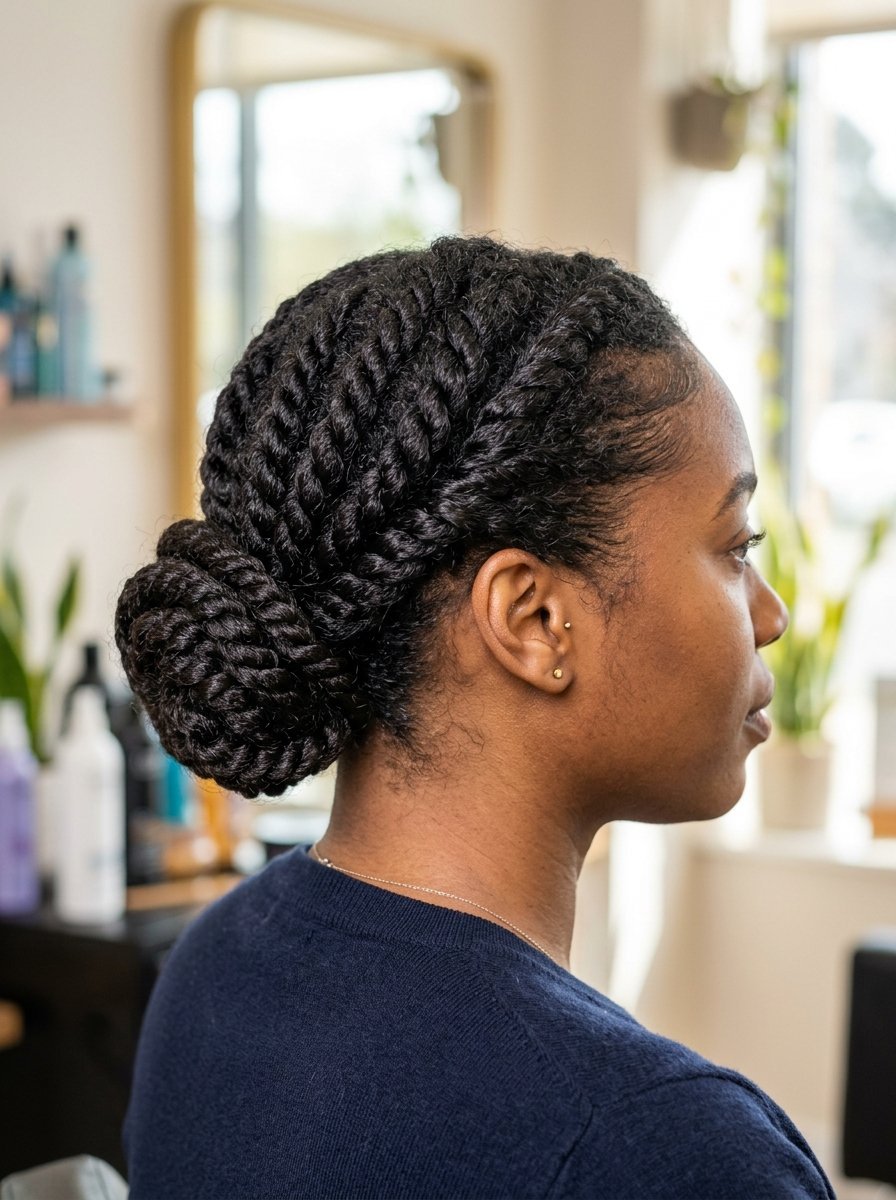
The low rope twist involves two sections of hair twisted around each other, creating a clean pattern that mimics a silk cord. It is highly resistant to wind.
- Best For: Coarse or textured hair.
- Skill Level: Beginner.
- Key Tool: SheaMoisture Coconut & Hibiscus Curl Enhancing Smoothie.
Divide a low ponytail into two equal parts. Twist both sections clockwise, then cross them counter-clockwise around each other before pinning into a bun.
Forgetting to twist the individual strands before crossing them will cause the entire structure to unravel within minutes.
12. Asymmetric Side Roll
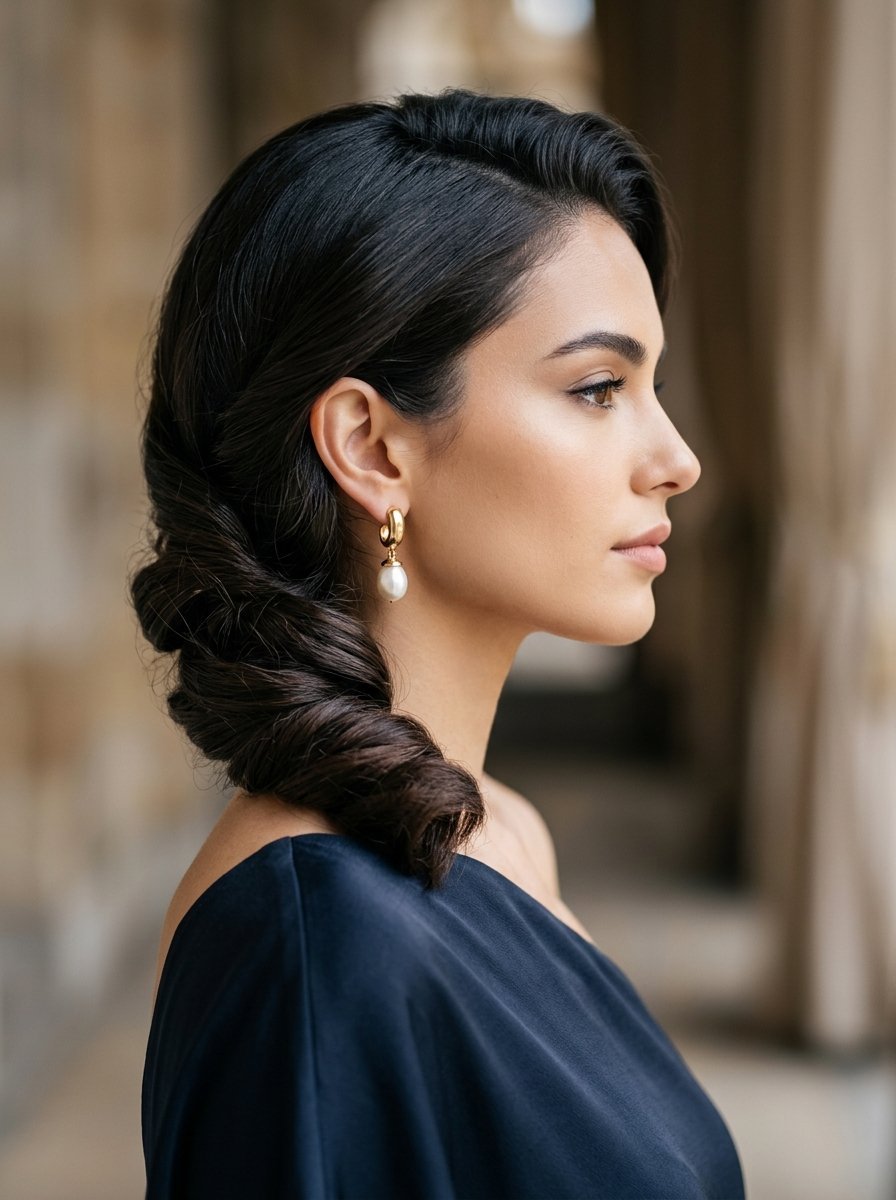
This style shifts the visual weight to one side of the neck, creating an elegant line that beautifully complements one-shoulder or asymmetrical dress styles.
- Best For: Medium-length hair with side parts.
- Skill Level: Intermediate.
- Key Tool: Living Proof Flex Hairspray.
Sweep hair across the back of the head from left to right, rolling the length inward tightly against the scalp before securing with vertical pins.
Maintain balance by keeping the opposite side completely smooth against your head.
13. Triple Stacked Buns
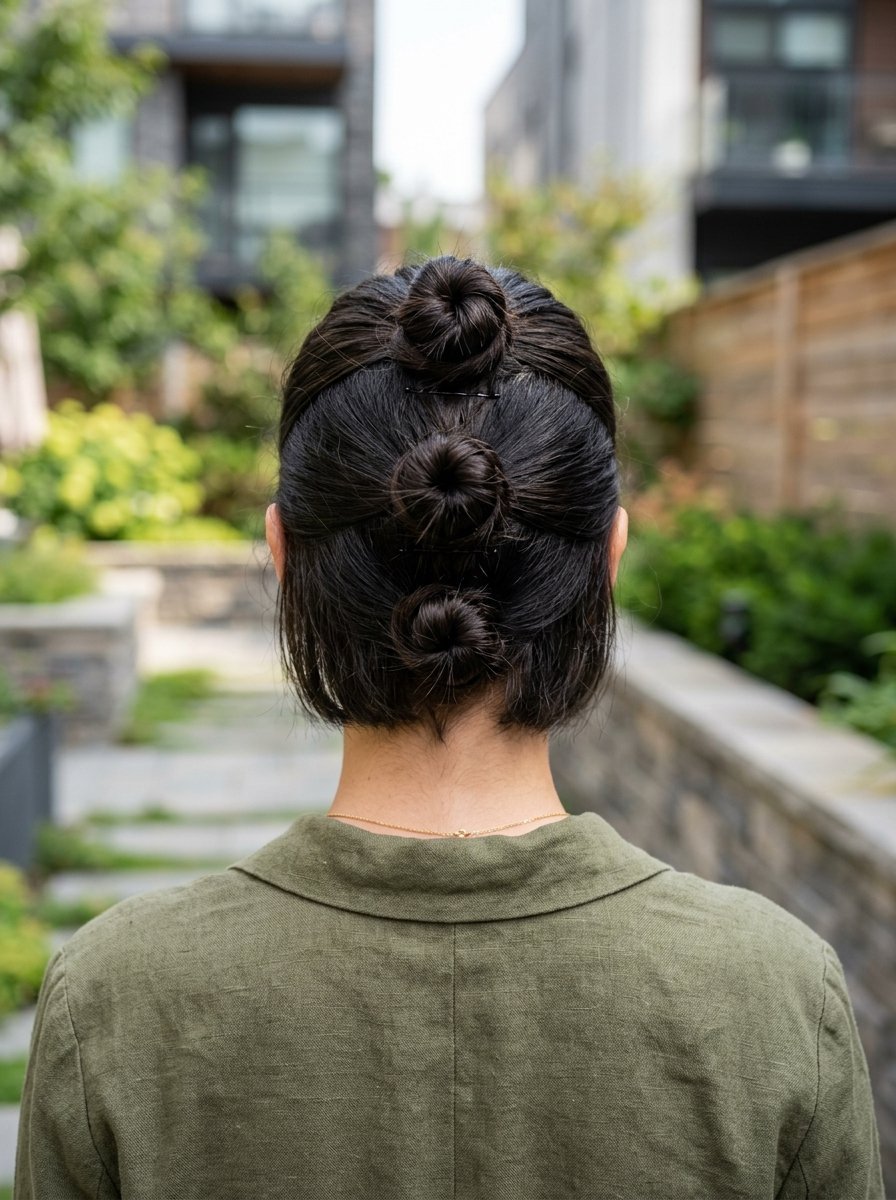
This look features three small buns placed vertically down the center back of the head, distributing the weight of thick hair while looking incredibly modern.
- Best For: Shorter hair lengths like grown-out bobs.
- Skill Level: Beginner.
- Key Tool: Scunci No-Damage Elastics.
Section hair horizontally into three equal parts. Twist each section into a tight mini-bun and pin them close together down the midline.
Ensure the buns are uniform in size. Variations in size can make the arrangement look unbalanced in profiles.
14. Gibson Girl Tuck
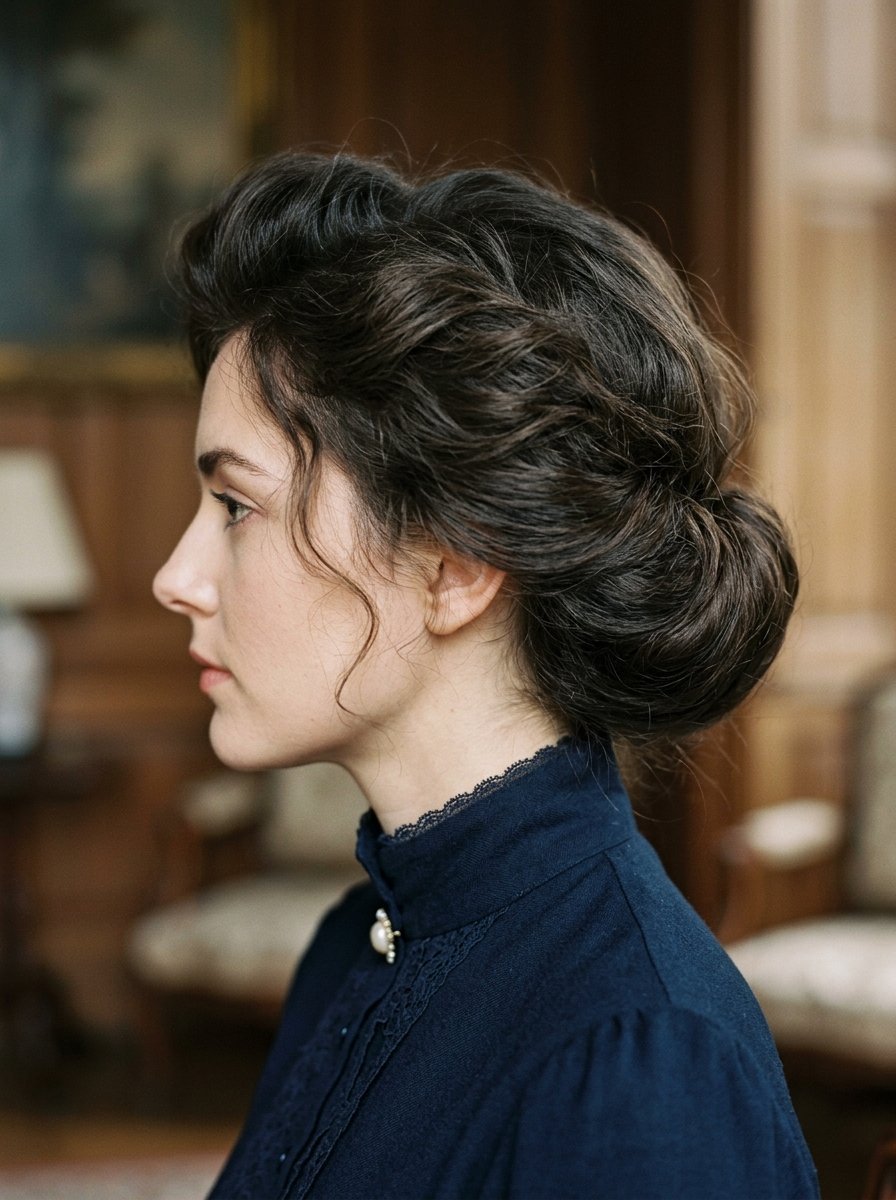
A nod to Edwardian styling, this look involves creating a pocket above a low ponytail and flipping the entire length inward to sit flat against the neck.
- Best For: Fine, straight hair.
- Skill Level: Intermediate.
- Key Tool: Bumble and bumble Surf Spray for grip.
Tie hair into a loose low ponytail, create a gap just above the hair tie, and flip the ponytail up and into that space. Pin securely.
Avoid using a tight elastic close to the scalp, or you will not have room to tuck the hair into the pocket.
15. Curly Pineapple Updo
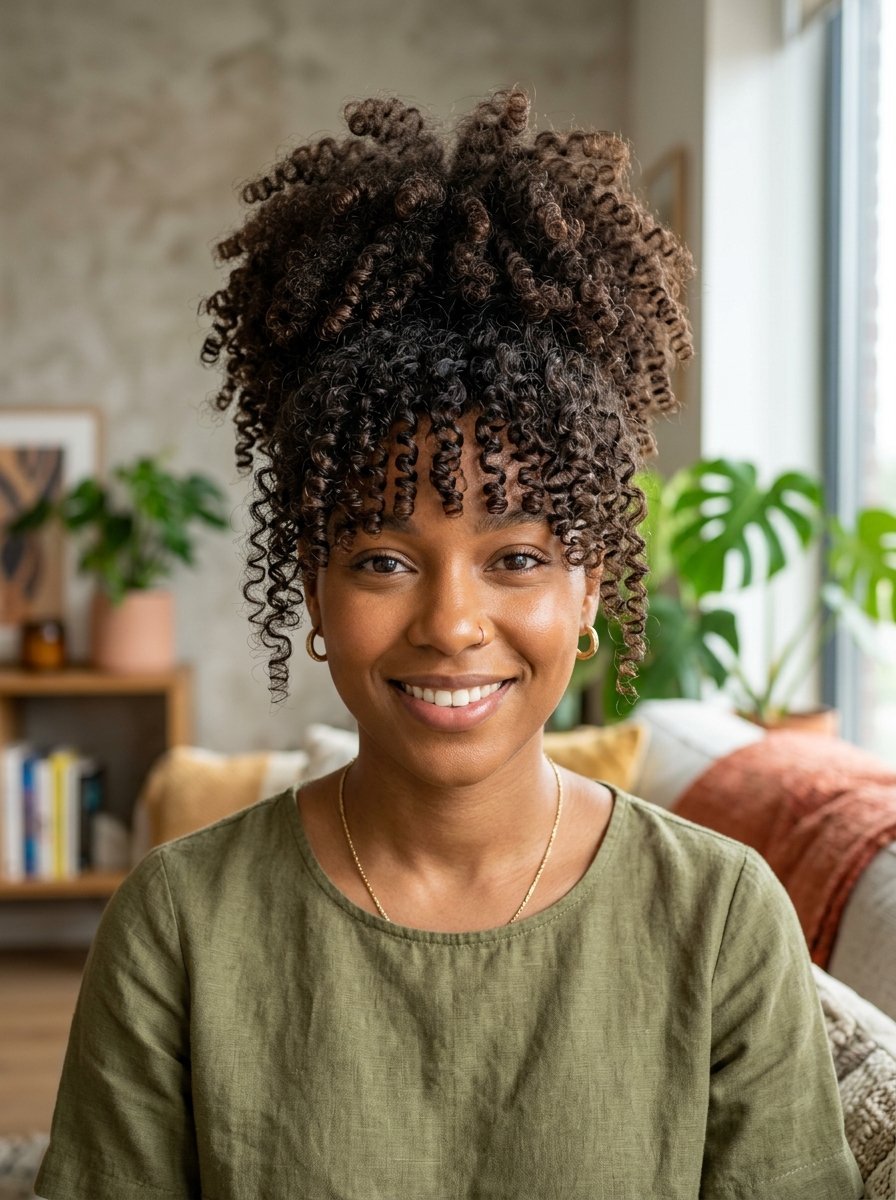
This style gathers natural curls at the very front of the crown, allowing them to spill forward over the forehead like a faux fringe while keeping the neck bare.
- Best For: 3A to 4C curl types.
- Skill Level: Beginner.
- Key Tool: Pattern Beauty Styling Cream.
Flip your head forward, gather all curls at the front hairline, and loop a silk band around the base once to prevent crushing the curl pattern.
Do not use this look if the weather forecast calls for heavy rain, as humidity will cause the front curls to shrink inconsistently.
16. Criss-Cross Low Knot
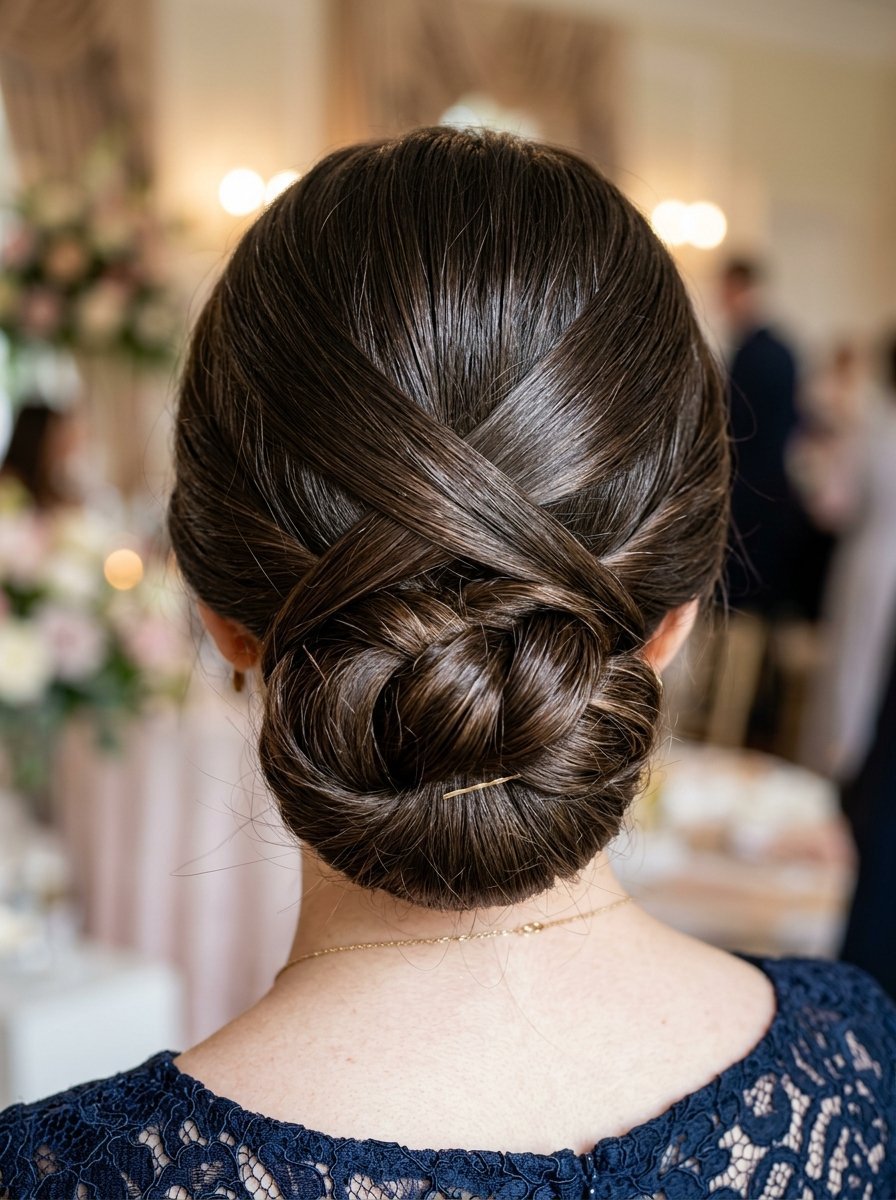
Sections from the front of the head are left out of the main bun, then crossed over the top of the finished bun to hide the base elastic.
- Best For: Medium density, shoulder-length hair.
- Skill Level: Intermediate.
- Key Tool: Matrix Vavoom Freezing Spray.
Secure the back section into a bun. Take the left front strand, pull it over the bun to the right, pin it, and repeat with the right front strand.
Keep the front sections smooth. Loose hairs here can make the cross-over pattern look muddy.
17. Braided Faux Hawk Updo
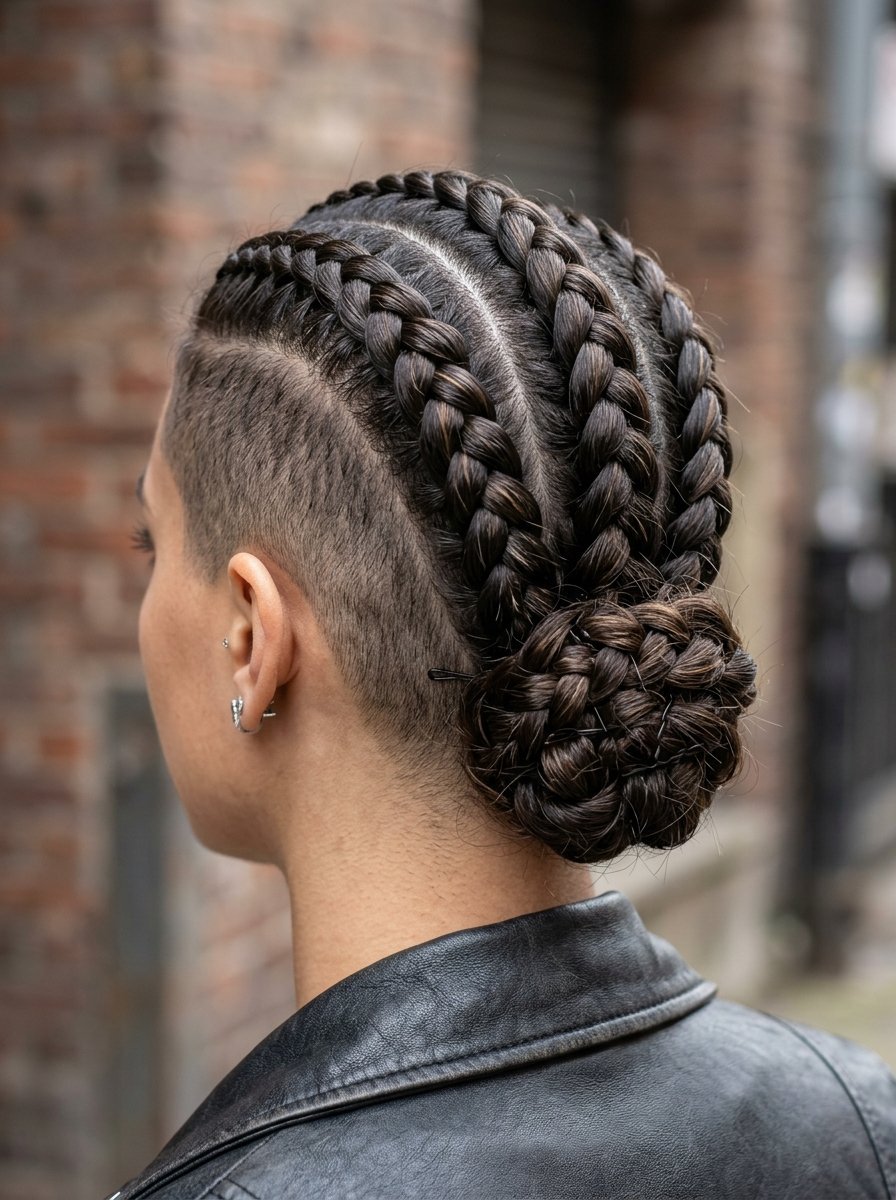
Three separate Dutch braids are run from the front hairline to the nape, with the remaining ends pinned into an edgy yet contained cluster of knots.
- Best For: Edgy style preferences and short to medium hair.
- Skill Level: Advanced.
- Key Tool: Sebastian Shaper Hairspray.
Braids must be placed close together down the center third of the scalp, keeping the side profiles completely flat.
Avoid lifting the braids off the scalp during weaving, or the center section will sag under its own weight.
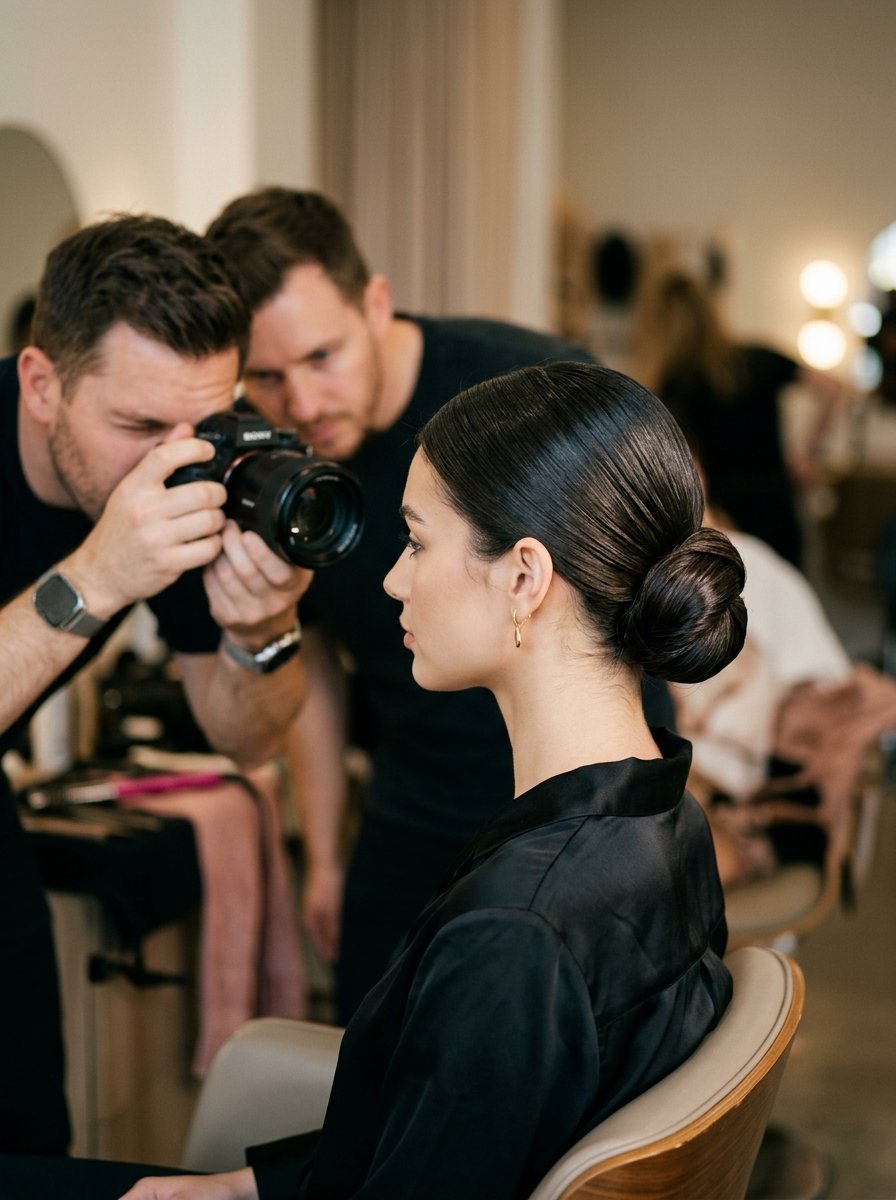
18. Sleek Ballerina Bun
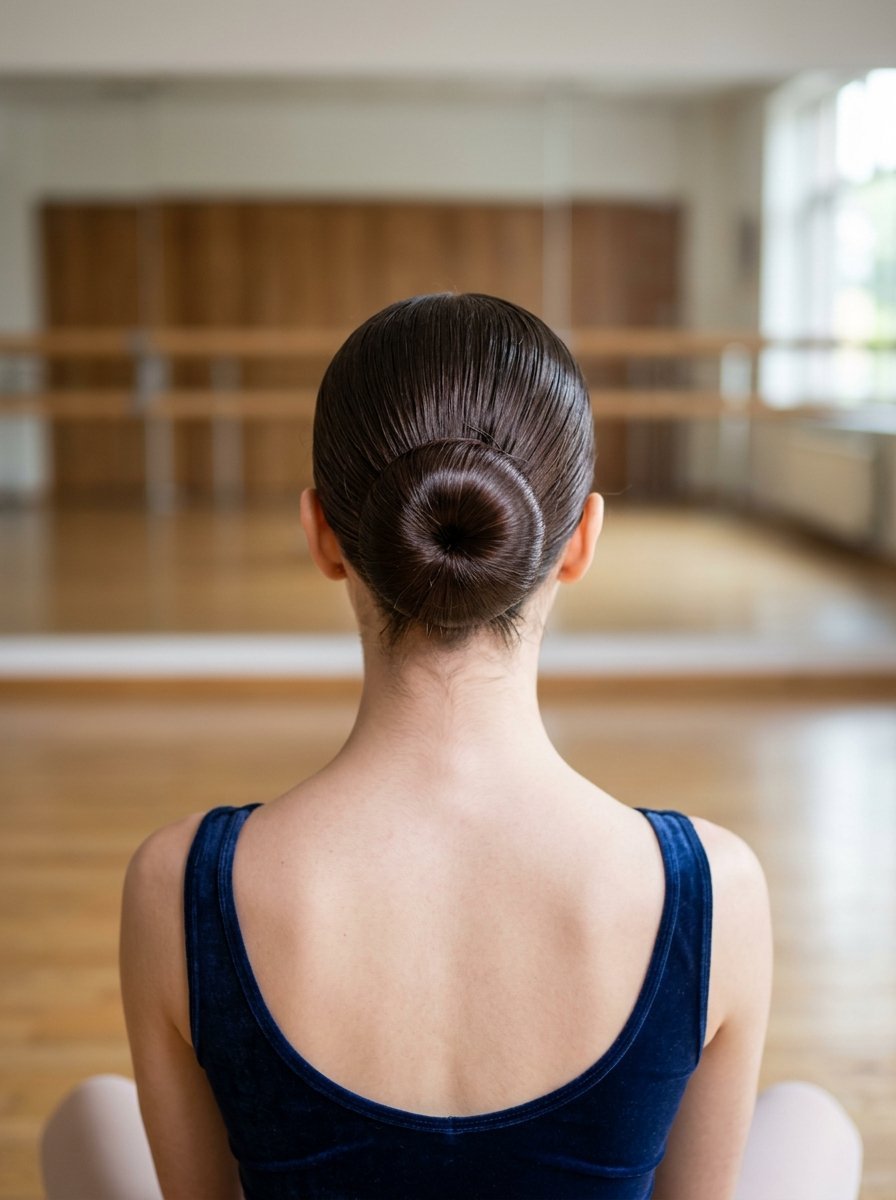
The epitome of discipline, this bun uses a hair donut mesh or precise wrapping to create a perfect circle centered directly on the back of the head.
- Best For: All hair types when smoothed down.
- Skill Level: Beginner.
- Key Tool: L’Oréal Paris Elnett Satin Hairspray.
Pull hair into a neat center ponytail, slide a mesh donut over the base, spread hair evenly over the mesh, and secure with a second elastic.
Never use a hair donut that is significantly lighter or darker than your natural hair color, as gaps will show under flash photography.
19. Twisted Halo Updo
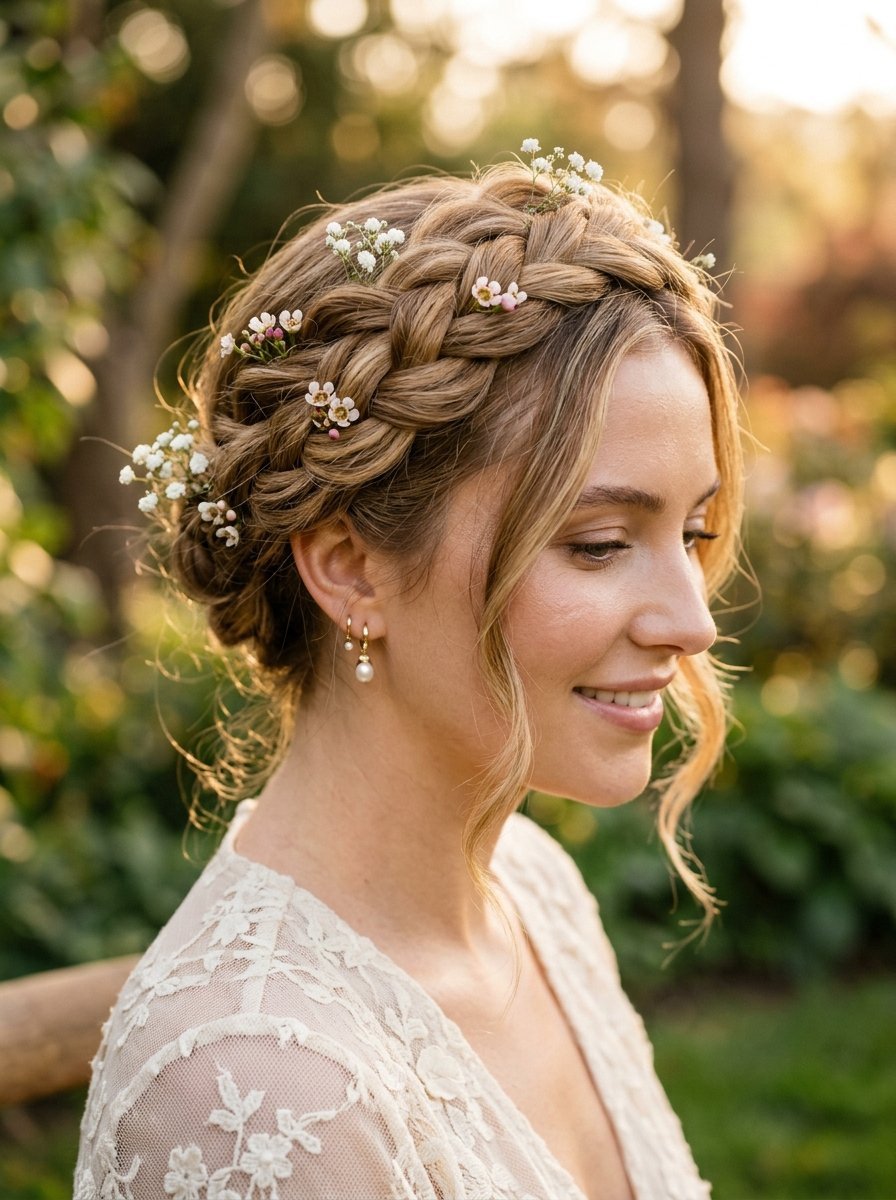
Two thick twists start at the center part and trace down the sides of the head, meeting at the back to form a continuous wreath effect.
- Best For: Soft, romantic dress styles.
- Skill Level: Beginner.
- Key Tool: Aveda Control Force Hairspray.
Take two strands at your part, twist them around each other while adding hair from the hairline, and join them at the back with a flat clip.
This look works best on second-day hair. Freshly washed hair lacks the necessary friction to keep the twists tightly coiled.
20. Segmented Chignon
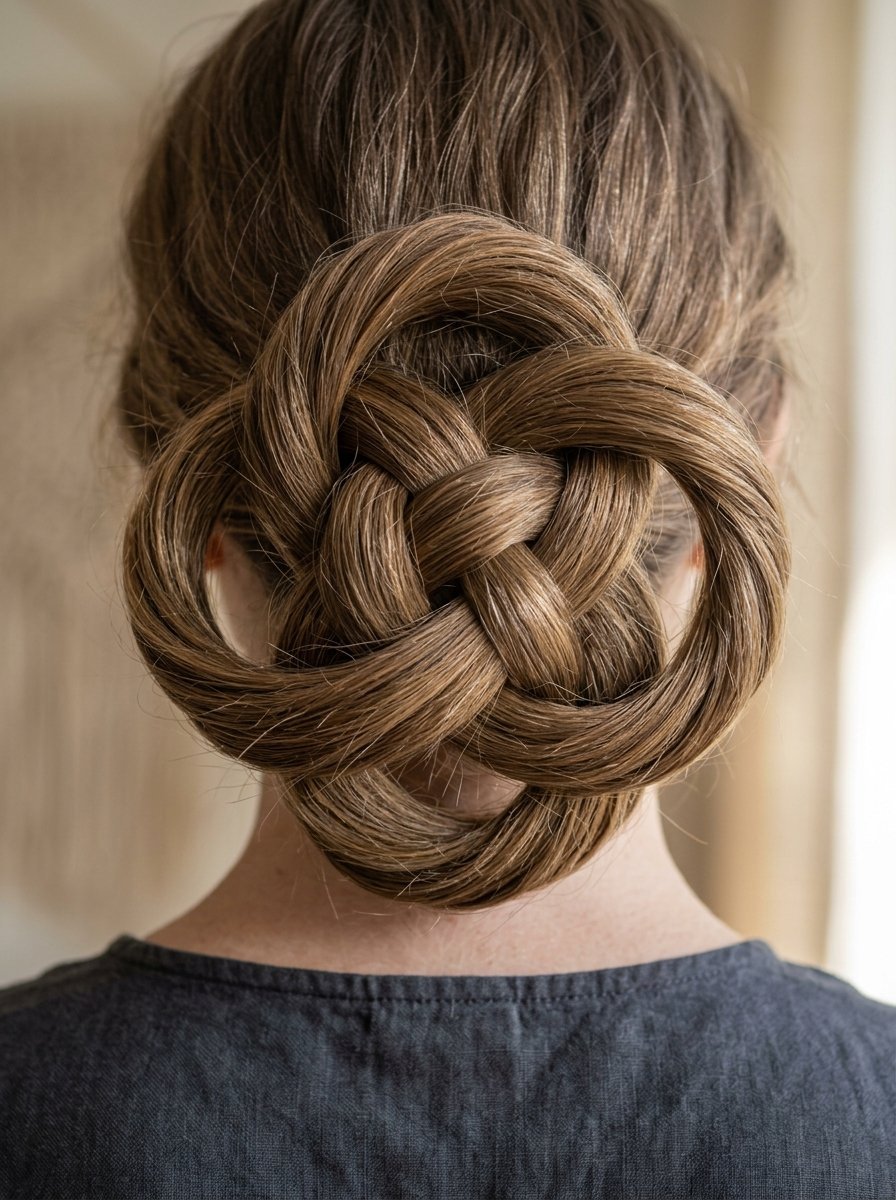
A variation where the ponytail is split into four separate strands, with each strand rolled individually to create a textured, multi-dimensional low bun.
- Best For: Very thick or coarse hair textures.
- Skill Level: Advanced.
- Key Tool: TIGI Bed Head Masterpiece Hairspray.
Create a base ponytail, divide it into a cross section of four parts, loop each part individually, and pin them interlocking with each other.
Take your time pinning each loop. Rushing this section leads to a messy shape that loses its definition.
21. Wrapped Loop Bun
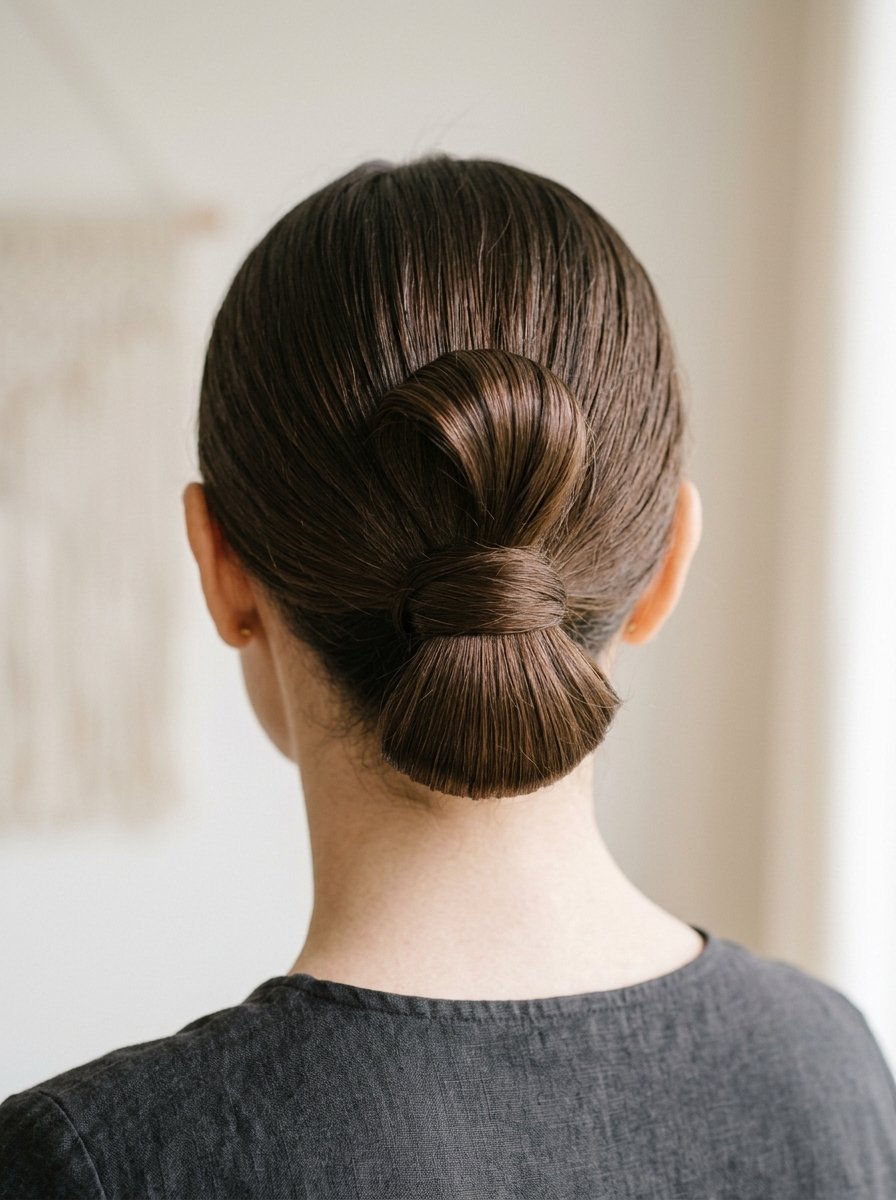
A modern minimalist option where the ponytail is pulled only halfway through the final loop of the elastic, leaving the long ends to wrap neatly around the base.
- Best For: Blunt cut, medium-length hair.
- Skill Level: Beginner.
- Key Tool: Pureology Style + Protect Lock It Down Spray.
Pull hair through the elastic twice, make a loop on the third pass, and wrap the remaining tail around the exposed band.
This style requires a clean, frizz-free texture to look intentional rather than lazy.
22. Side-Braided Low Bun
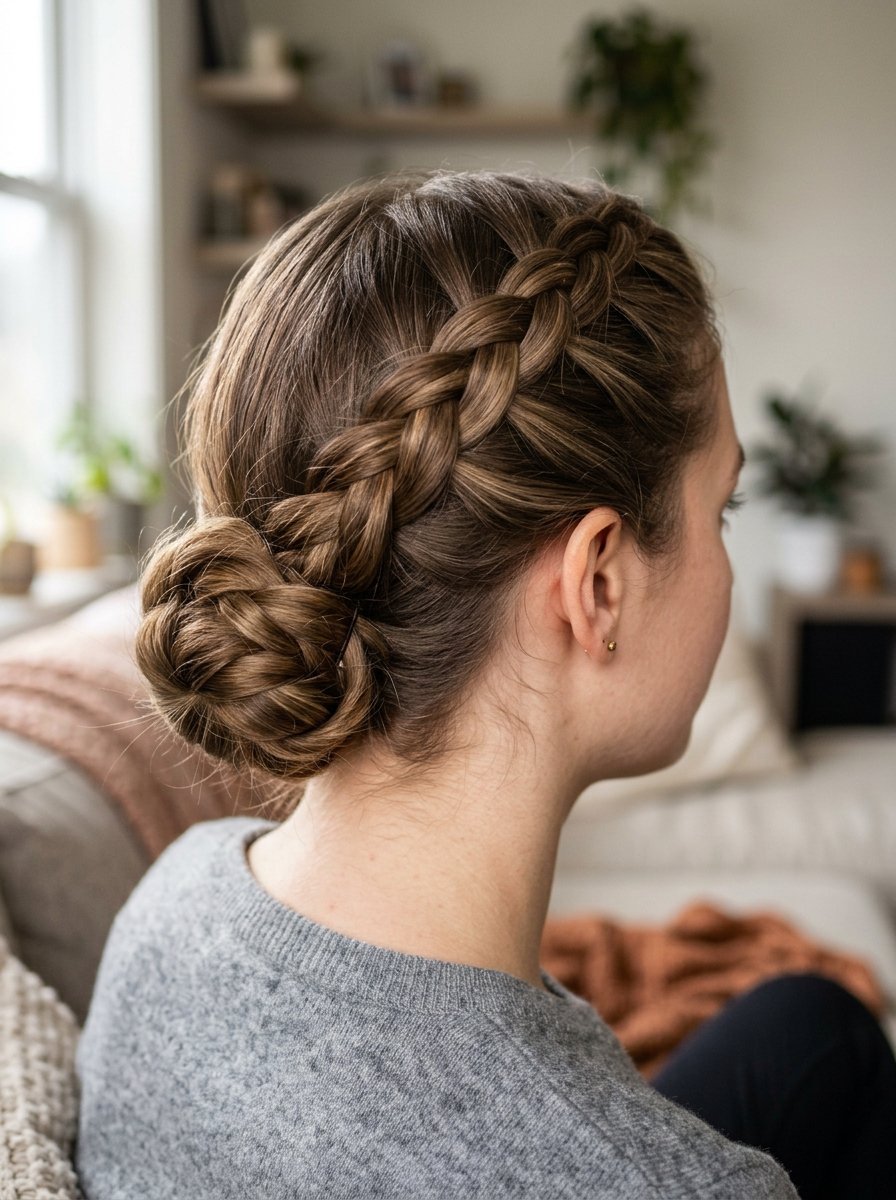
A single, thick French braid runs diagonally from the left temple across the back of the head, finishing in a neat, compact bun behind the right ear.
- Best For: Long hair with dimensional coloring.
- Skill Level: Intermediate.
- Key Tool: Sexy Hair Big Powder Play for grip at the roots.
Braid diagonally across the back of the skull, incorporating hair from both the top and bottom sections before twisting into a side bun.
Keep the tension consistent across the back of your head to prevent bagging near the neckline.
Practical Implementation Guide
To help you choose the best option for your specific situation, look at how the top five styles compare across key factors.
| Hairstyle | Best Hair Type | Prep Time | Tool Needed | Wind Resistance |
| Classic Low Chignon | Straight / Wavy | 15 Minutes | Bobby Pins | High |
| Texturized Messy Bun | Curly / Coily | 10 Minutes | Volume Foam | Medium |
| Braided Low Bun | Medium / Long | 20 Minutes | Clear Elastics | Very High |
| French Twist | Fine / Medium | 25 Minutes | U-Pins | Medium |
| Sleek Top Knot | Long / Straight | 10 Minutes | Smoothing Gel | High |
Troubleshooting Common Styling Blunders
The biggest mistake wedding guests make is over-applying product too early in the styling process. I have seen countless guests arrive at venues with hair that feels like cardboard because they panicked about humidity. If your hair feels crunchy, flash photography will catch the white reflection of the dried spray, making your hair look dusty in the couple’s professional album.
Another frequent failure point is using weak bobby pins. Cheap, shiny pins open up under pressure and slide right out of thick hair. Always invest in professional-grade, matte-finish pins that match your hair depth. When inserting them, make sure the wavy side faces down against your scalp to lock the hair into place properly.
Frequently Asked Questions
What updos work best for an outdoor summer wedding with high humidity?
Braided options like the Braided Low Bun or the Crown Braid offer the highest survival rate in humid environments. The physical structure of the braid locks strands together, preventing moisture from expanding the shaft and causing frizz.
How can I make a low chignon stay secure if I have fine hair?
The secret lies in texturizing your hair before you attempt to pin it. Spray your mid-lengths with a dry texture spray or sea salt spray, then blow-dry it completely. This creates microscopic rough zones along the hair shaft, giving your bobby pins something to grip onto.
Is it rude to wear hair accessories to a wedding as a guest?
Avoid anything large, white, pearled, or explicitly bridal, such as rhinestone vines or tiaras. Small, minimalist tortoiseshell clips, matte black pins, or simple silk bands that match your dress color are completely acceptable.
Should I wash my hair the morning of the wedding?
In almost all scenarios, second-day hair is much easier to work with than clean hair. Freshly washed hair is often too slippery to hold pins securely. If you must wash your morning of, apply a generous amount of styling mousse to damp hair before blow-drying to add some immediate grip.
What updo pairs best with a high-neck or halter-style wedding guest dress?
High-neck dresses require you to clear your hair away from your shoulders completely. A Sleek Top Knot or a high Texturized Messy Bun creates a beautiful, elongated line that showcases the dress detailing without creating clutter around your collarbone.

Sarah Mitchell — Founder & Editor-in-Chief
Sarah Mitchell is the founder and editorial voice behind Hair Level Up. A licensed cosmetologist with more than 15 years of experience, she has styled A-list celebrities for editorial shoots and red carpets, with work featured in Vogue, Elle, and Harper’s Bazaar. Early in her career, she trained under the legendary hairstylist Oribe in New York, an apprenticeship that still shapes her editorial eye today. Sarah founded Hair Level Up in 2020 after one bad haircut convinced her that women deserved a destination that felt like a magazine, taught like a stylist, and inspired like an art gallery. She oversees every story from concept to publication, guided by a simple belief: a good story teaches you something, but a great one makes you feel beautiful while it does.