How to Do a French Twist
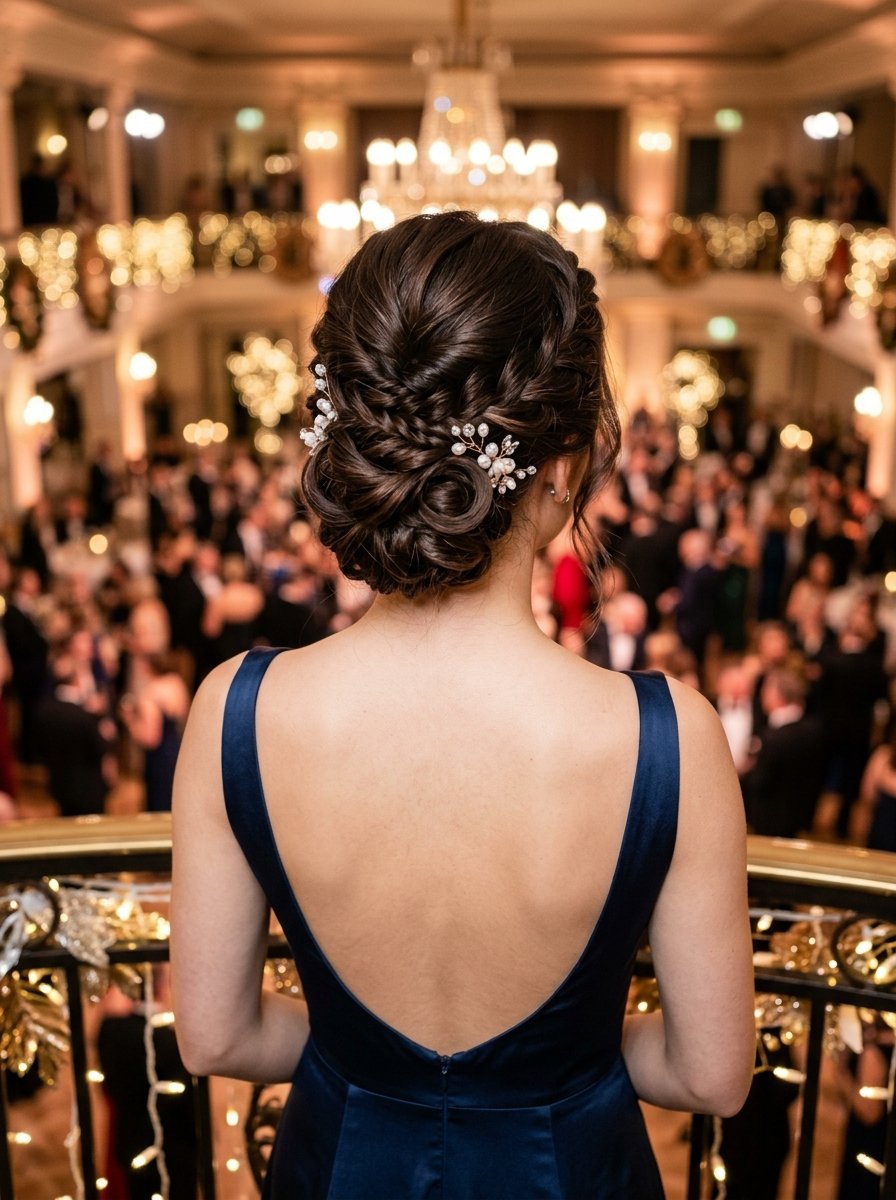
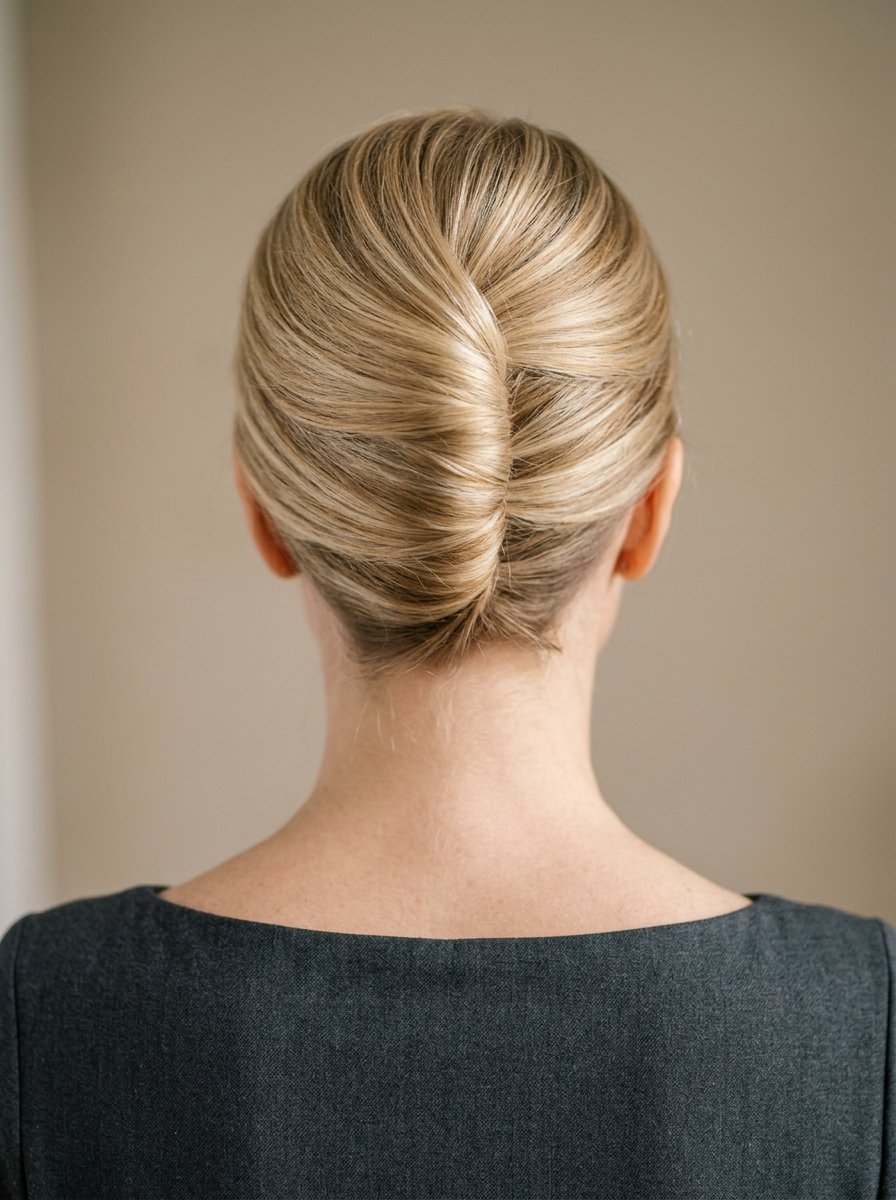
The elegant updo you see in classic movies looks impossible to replicate on yourself. You watch video tutorials, loop your hair upward, and somehow end up with a messy clump that sags within two minutes. In my experience, most people struggle with the classic updo because they try to twist the hair in mid-air without securing a firm foundation first. The secret lies in creating a tight vertical anchor with bobby pins before you even begin the rotation.
Last Saturday, I spent forty minutes backstage at a local fashion presentation trying to fix an updo that kept slipping out of a model’s fine, silky hair. The twist kept collapsing toward her neck. I pulled every pin out, started over from scratch, and focused entirely on interlocking the pins along the back of her head. Once that anchor line was solid, the hair locked into place instantly and stayed perfect through three wardrobe changes. This comprehensive guide will walk you through the precise mechanics of securing this timeless look so it stays secure all day.
Executive Summary
The traditional upward hair roll relies on tension and strategic pinning rather than styling products or complex braiding. You will discover the exact hand placements, pinning angles, and prep steps required to achieve a clean finish on any hair type. This guide covers everything from preparing slippery clean hair to executing the final lock-in stitch with professional pins. We will address length adjustments for shorter cuts, density fixes for thick hair, and troubleshooting steps for loose bases or stray ends. Expect to master the physical mechanics of the turn, understand why your previous attempts failed, and gain the confidence to style this look in under five minutes.
What Is the Secret to Making a French Twist Stay Secure?
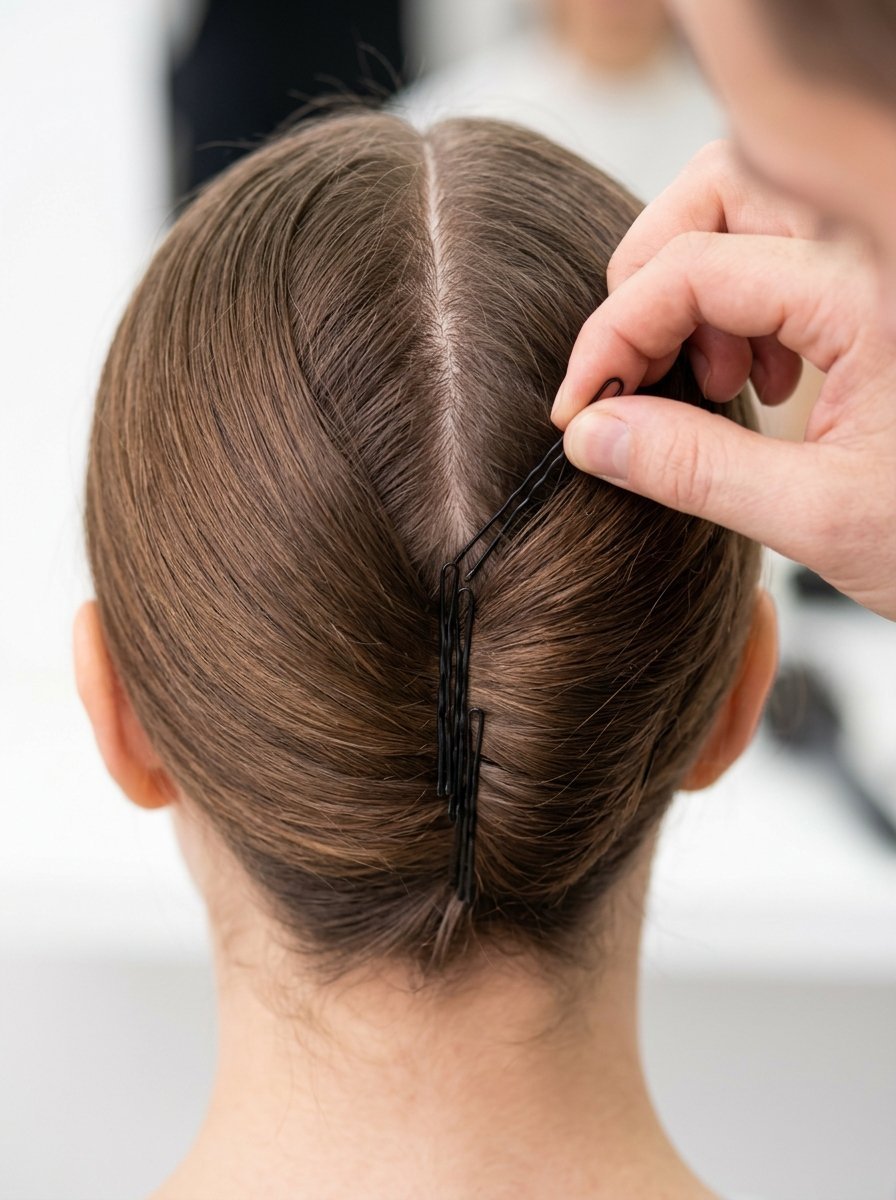
The entire structure depends on a hidden vertical row of bobby pins that acts as an anchor wall. When you roll the hair over itself, you slide the final pins directly into this hidden row, interlocking them like a zipper. Without this structural wall, the pins have nothing to grip except loose scalp hair, which causes the style to sag.
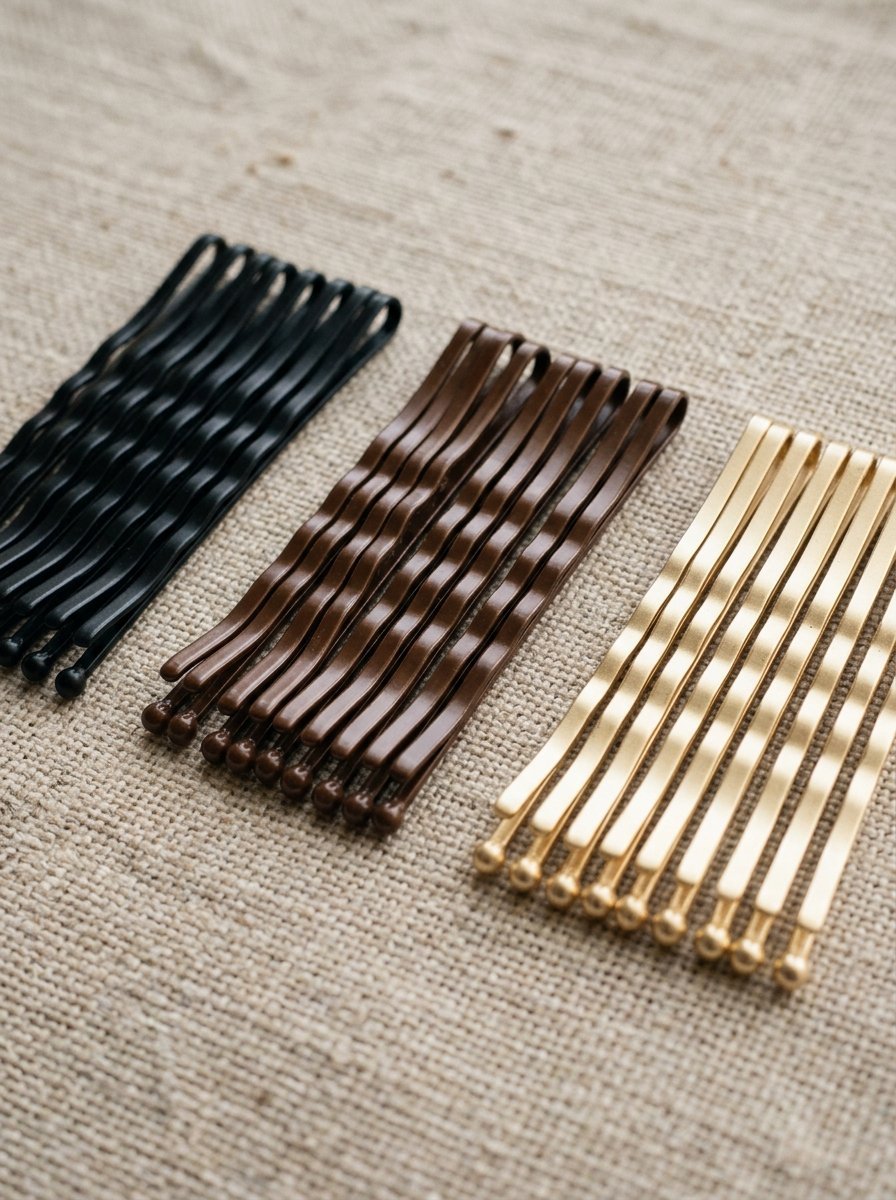
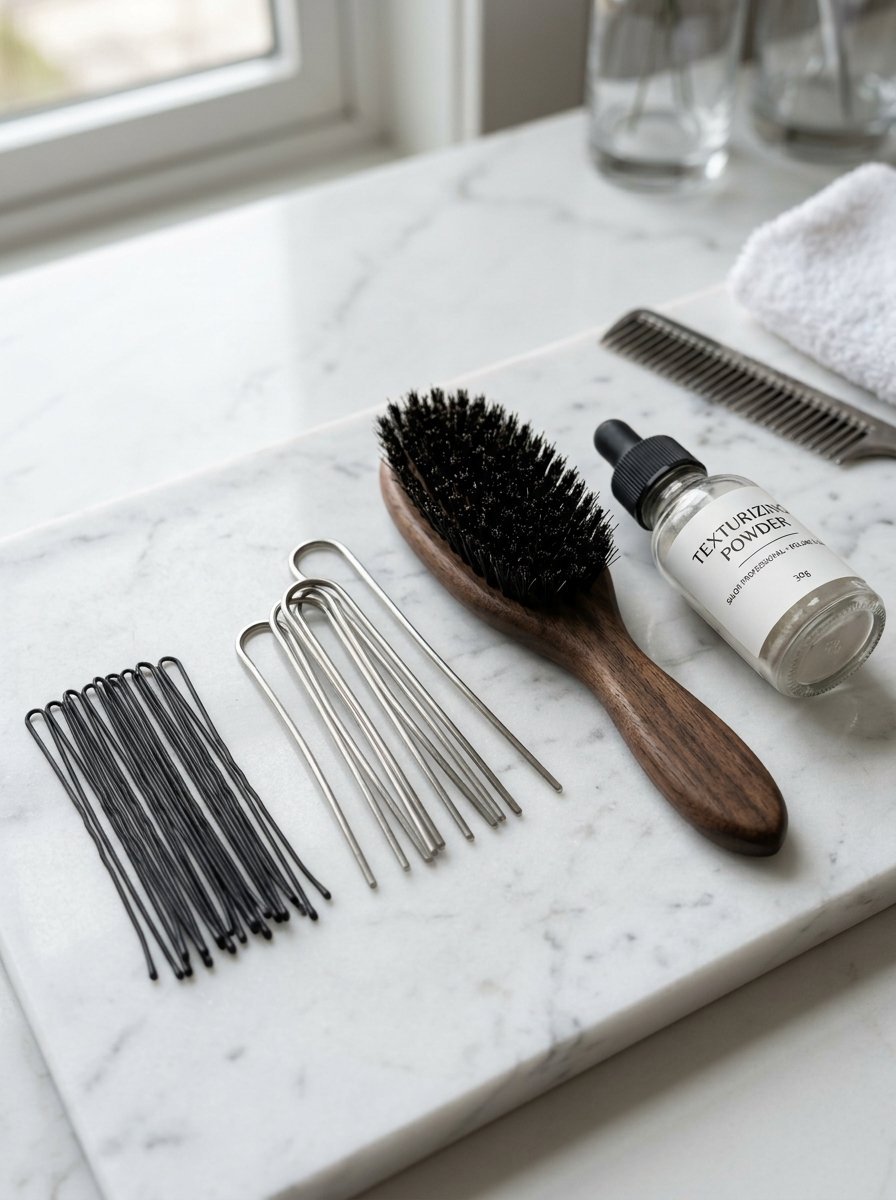
I have noticed that people often make the mistake of using standard, flimsy grocery store pins. Professional stylists rely on heavy-duty, long bobby pins with a matte finish for maximum friction. Brands like Diane or Marianna manufacture these high-tension pins that resist bending out of shape.
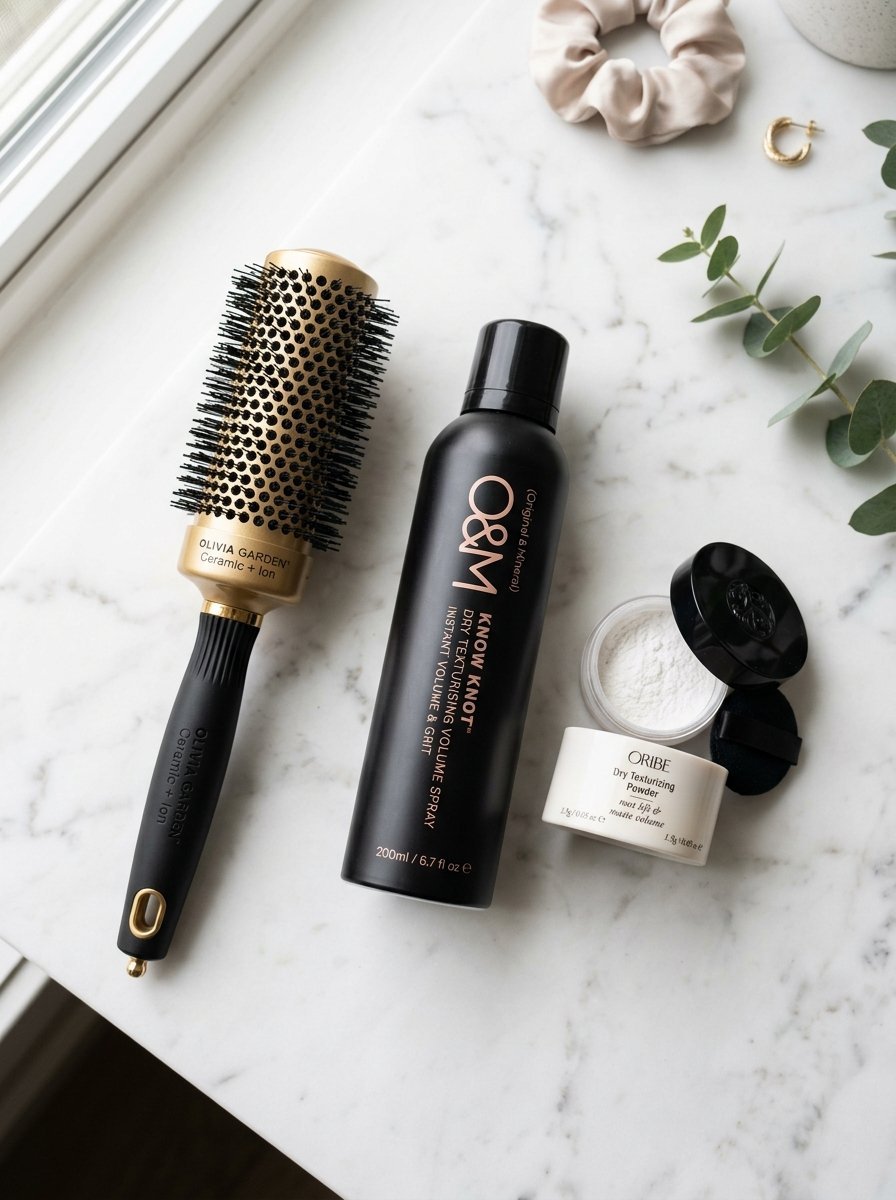
Another critical element is hair texture. Freshly washed hair lacks the grip needed to hold a tight turn. If your hair is too clean, you need to introduce grip using a texturizing powder or a dry matte paste. I prefer SexyHair Powder Play or Kristin Ess Working Texture Powder to give the strands a microscopic roughness.
How to Prepare Your Hair for a Clean Turn

Your preparation determines whether your style looks polished or falls apart by lunchtime. You need to create uniform texture from your roots to your ends so the strands move together as a single unit.
- Apply texturizing spray or dry shampoo thoroughly through the roots and mid-lengths.
- Brush the hair completely free of tangles using a high-quality boar bristle brush.
- Create a slight parting if desired, or brush everything straight back for a clean finish.
- Lightly backcomb a three-inch section at the crown of your head to add internal volume.
- Smooth the surface hair lightly with your brush to hide the backcombed texture underneath.
In my experience, skipping the smoothing step leaves the outer shell looking frizzy on Pinterest photos. A Mason Pearson boar bristle brush or a budget-friendly Denman grooming brush works best for smoothing the surface without flattening your internal volume.
Step by Step Guide to Executing the Perfect Classic Updo
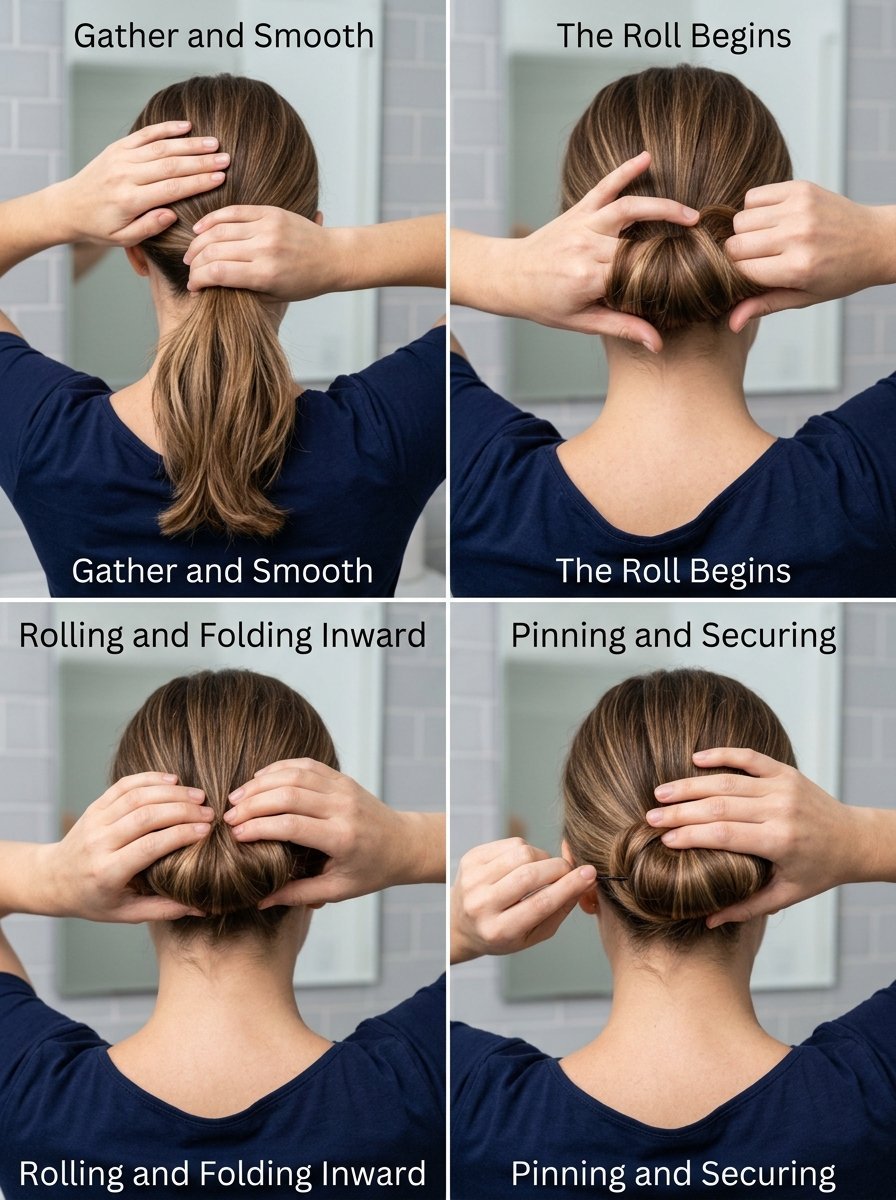
The physical execution requires deliberate hand placement and controlled tension. Read through these steps completely before attempting the movement in front of your mirror.
1.Create the Hidden Vertical Anchor Wall
Gather all your hair back as if making a low ponytail. Move the ponytail one inch to the left of the exact center of your head. Hold the hair down with your left hand. Use your right hand to insert a bobby pin vertically upward along the scalp, just to the right of the hair column. Insert three more pins vertically upward in a straight line, overlapping each pin slightly. This creates a solid metal track along the back of your head.
2.Sweep and Secure the Left Flank
Take the loose hair from the left side of your head and smooth it completely across the vertical row of pins toward the right side. Insert two horizontal bobby pins from right to left, catching the swept hair and locking it directly into your vertical anchor wall. The entire left flank of your hair should now lie flat against your scalp, pointing toward the right.
3.Gather and Roll the Main Hair Column
Hold the remaining loose hair in your right hand, pulling it straight out behind you to create uniform tension. Place two fingers of your left hand vertically against the right side of the hair column, near the mid-lengths. Wrap the hair tightly around your fingers, rolling the column inward toward the left, moving directly toward the center of your head. The ends of your hair will naturally tuck inside the pocket created by the roll.
4.Insert the Structural Locking Pins
Hold the rolled cylinder firmly against your head with your left hand. Take a long bobby pin in your right hand. Catch a small piece of hair from the outer edge of the roll, turn the pin backward so it points toward the left, and push it horizontally deep into the center of the roll. The pin must pass through the rolled cylinder and catch on the hidden vertical anchor wall you built in step one. Repeat this with four more pins spaced out along the length of the cylinder.
How to Modify the Technique for Short or Medium Lengths
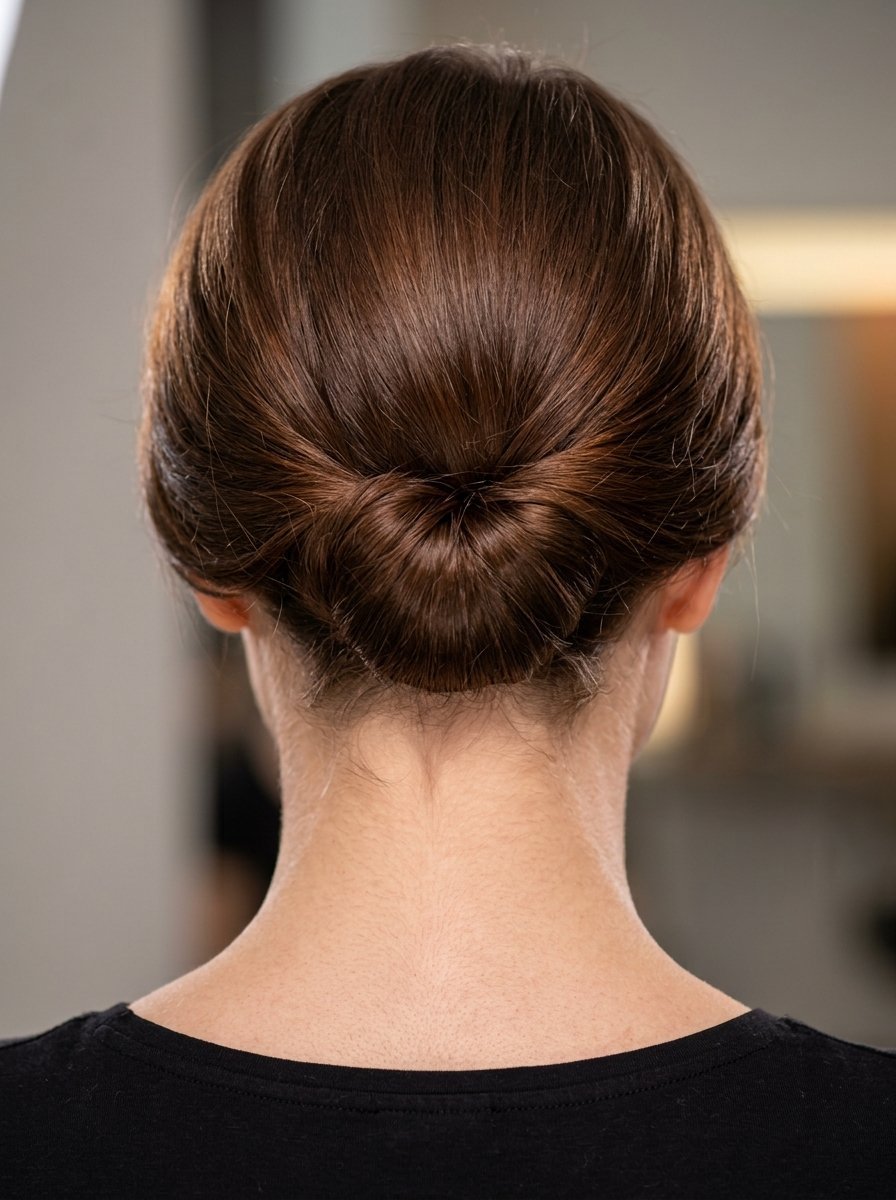
Short hair lacks the weight to wrap easily around your fingers, which often causes the lower neck sections to spill out during the turn. You must alter your approach by segmenting the hair into manageable zones.
For hair that sits above the shoulders, start by securing the lower neck section separately. Gather the bottom two inches of hair at the base of your neck, twist it upward tightly, and pin it flat against the scalp using small matte pins. This clears the neck area and creates an artificial base for the rest of the style.
Next, focus on the top and middle sections. Instead of rolling the entire length at once, use small sectioning clips to hold the roll in place as you work your way down. I have seen this work beautifully on chin-length bobs by utilizing small bobby pins, often called session pins, from brands like Muji or Sta-Rite. They hide easily within shorter layers without creating unsightly bulges.
How to Manage Thick or Long Hair Without Collapsing
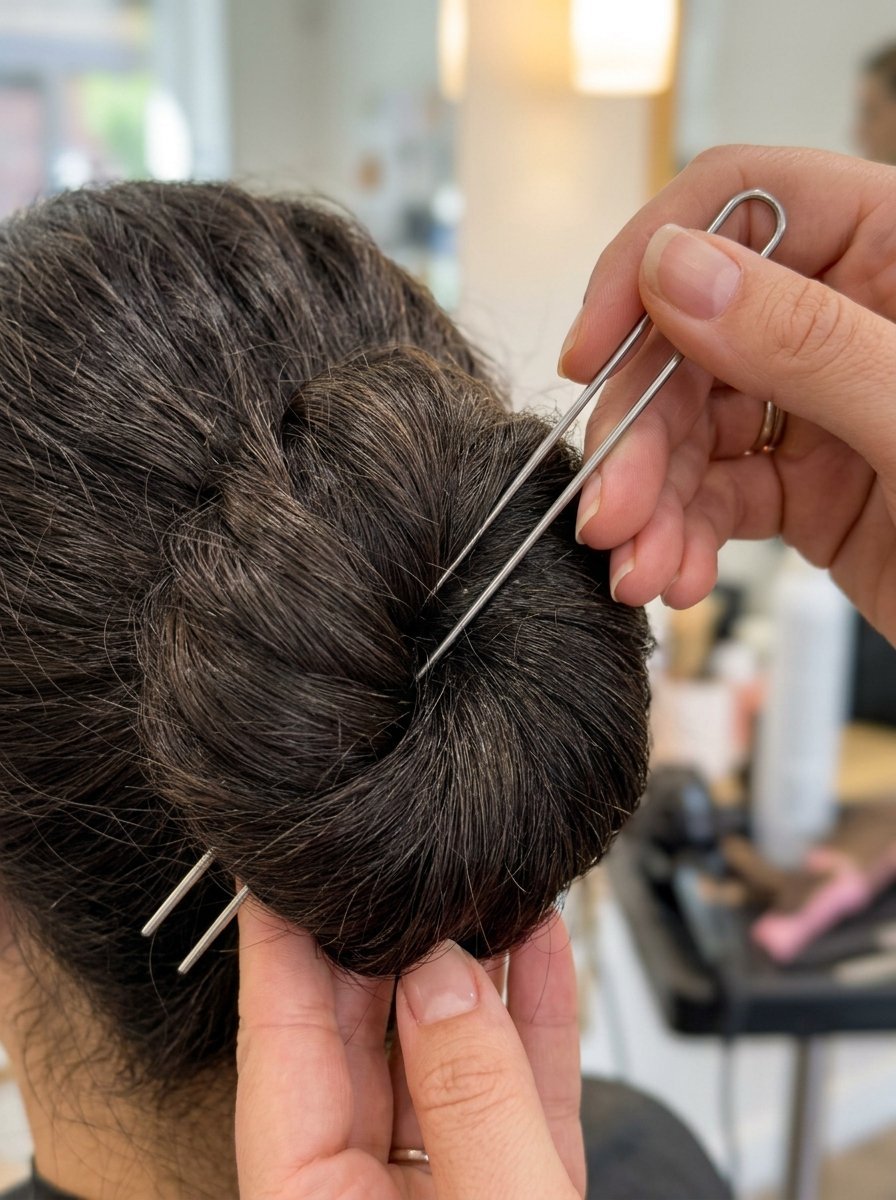
Thick hair creates heavy cylinders that easily pull standard pins away from the scalp. If your hair is exceptionally long or dense, the internal pocket fills up too quickly, leaving nowhere to hide the excess ends.
| Hair Characteristic | Primary Structural Challenge | Proven Styling Correction |
| High Density (Thick) | Heavy weight pulls pins loose | Replace bobby pins with 3-inch steel hair pins |
| Extreme Length | Internal pocket overflows | Create a hidden half-ponytail before rolling |
| Fine Texture | Lack of friction causes slipping | Apply texturizing powder to the anchor line |
For high-density hair, swap standard bobby pins for three-inch heavy steel hairpins. These pins are U-shaped and work by catching a section of the roll, touching the scalp, and rotating inward to lock the mass down. Brands like Bunheads make industrial-strength pins designed for ballet dancers that hold massive weights of hair without shifting.
If your length is past your waist, try the hidden half-ponytail trick. Section out the center core of your hair and tie it into a tight ponytail right where you want the center of the style to sit. Use this ponytail as your anchor instead of the row of pins. Roll the remaining exterior hair around this central ponytail to conceal it completely.
Common Mistakes and How to Prevent Them Immediately
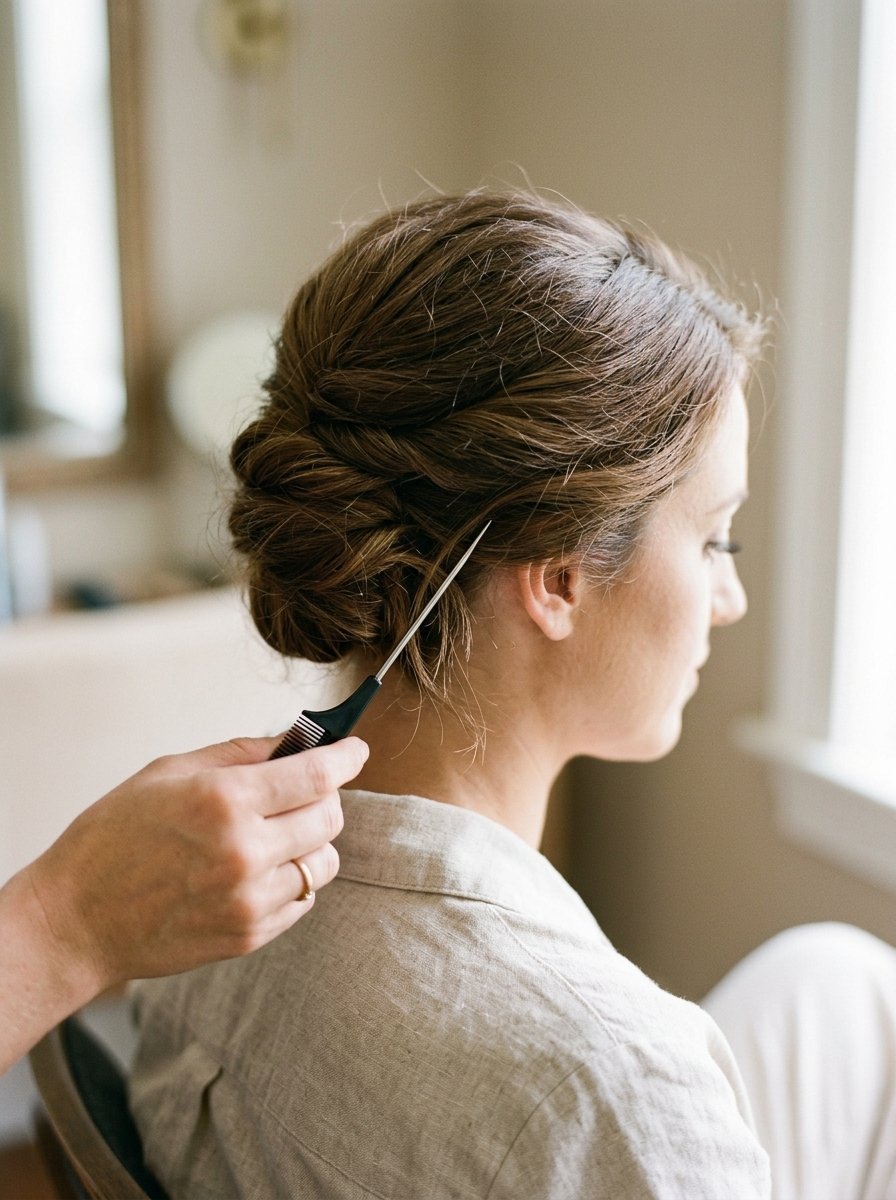
Most people experience frustration because of small errors in hand positioning or pinning direction. Recognizing these failure points allows you to correct the shape before finishing the style.
- The lower neck section sags down: This occurs when you do not pull enough upward tension on the first turn. Prevent this by pulling the hair tautly toward the ceiling before making the inward fold.
- The pins show on the outside: You are inserting the pins straight into the roll. Fix this by catching just three strands of hair on the edge of the cylinder, flipping the pin flat against your head, and sliding it inward out of sight.
- The ends poke out of the top: The hair ends were not tucked deep enough into the internal cylinder. Use the long tail of a metal teasing comb to gently shove the stray ends down into the center pocket, then secure them with a small pin.
In my experience, trying to fix a loose base by adding twenty more pins never works. It just creates a heavy, metallic mess that feels uncomfortable. If the base feels unstable after inserting four structural pins, it is always faster to pull everything out, apply more texturizing powder, and rebuild the vertical anchor wall tighter against the scalp.
Frequently Asked Questions
What pins work best for holding heavy hair?
You need three-inch structural steel pins with a matte finish. Standard smooth bobby pins from grocery stores will slide right out of thick hair within an hour. Look for professional brands like Diane or Bunheads at beauty supply stores.
Can I execute this style on damp hair?
No, wet or damp hair stretches significantly. When it dries, it shrinks and loosens, which will cause the entire updo to collapse. Always work on completely dry hair for proper tension and security.
How do I get a messy look instead of a stiff finish?
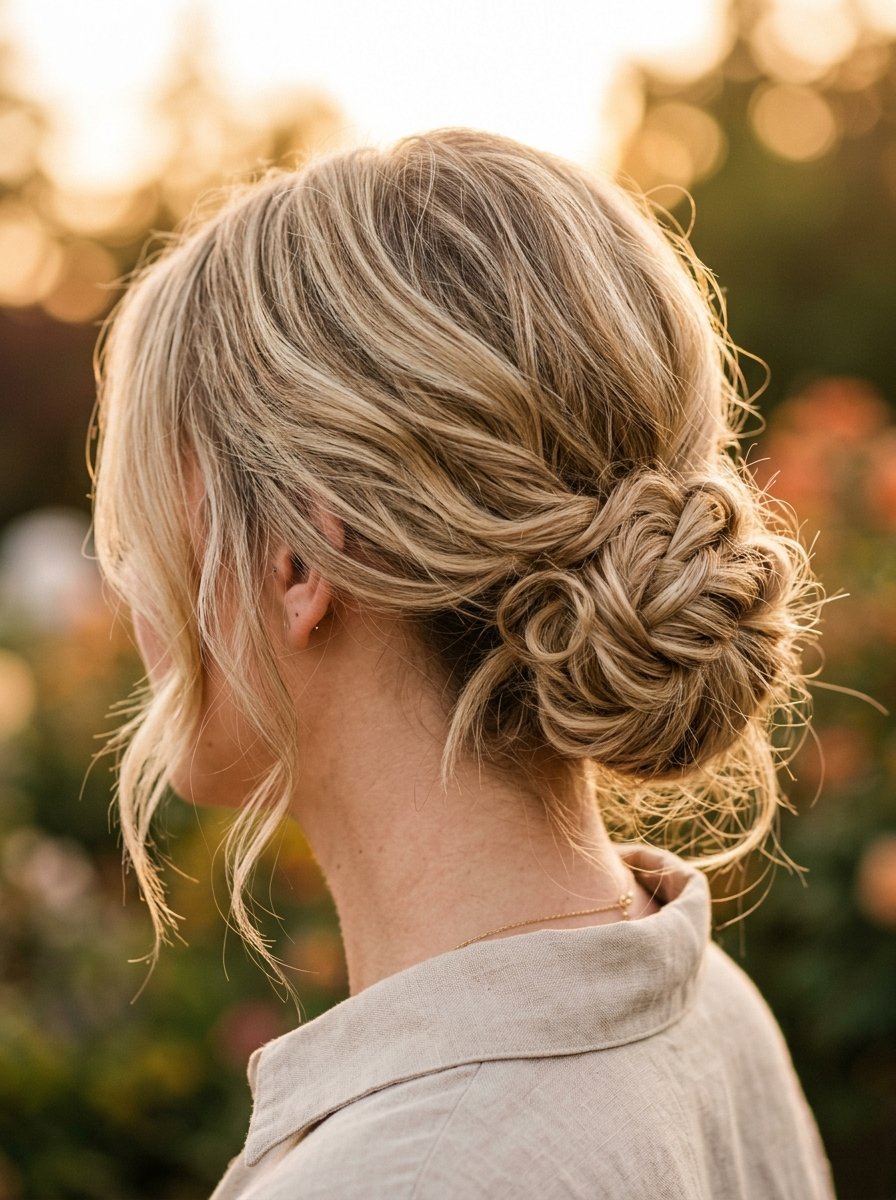
Pull out small, delicate sections of hair around your ears and hairline before you begin pinning. Once the style is fully locked in place, gently massage the sides of your head with your palms to loosen the surface tension slightly.
Why does the top of my roll look flat?
You need more internal support. Backcomb the crown section lightly before smoothing it back, or insert a small foam padding strip along your vertical anchor wall to give the hair something to roll over.
How do I stop the style from giving me a headache?
Headaches happen when pins pull too tightly on small sections of scalp hair. Ensure your structural pins are sliding parallel to your scalp through the thick anchor wall, rather than catching and pulling individual hairs at odd angles.
Should I use hairspray before or after rolling?
Use a dry texturizing spray before rolling to create friction and grip. Save the traditional liquid hairspray for the very end to lock down any remaining surface flyaways.
Practical Checklist for Long Lasting Hold
Before you step out the door, perform a quick stability check to confirm your style will last through your event. Shake your head firmly from side to side three times. If you feel any internal shifting or wobbling against your scalp, your anchor wall is too loose. Slide one more long pin vertically downward from the top of the cylinder, catching the internal core and driving it straight into the base pins.
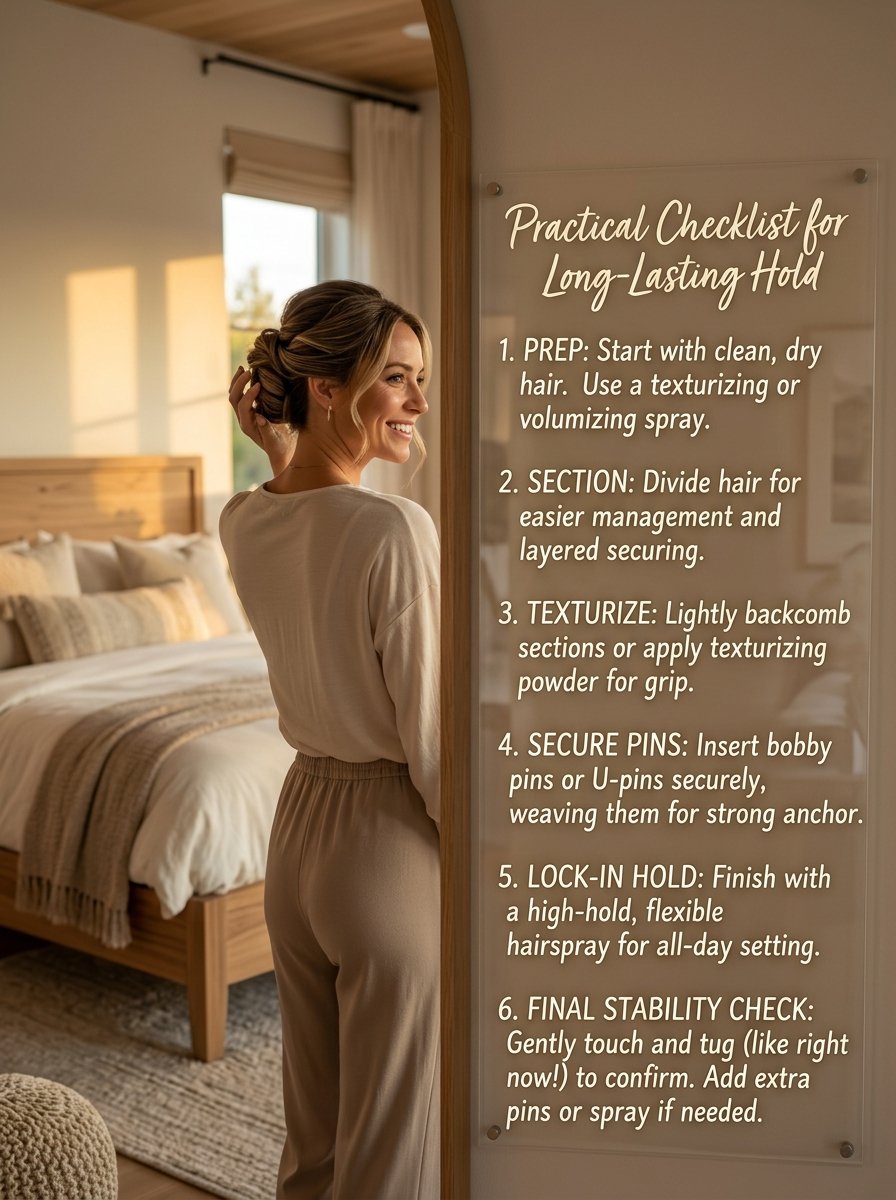
Finish the look by misting a light-hold working spray across the surface. I prefer L’Oréal Elnett or Living Proof Flex Hairspray because they block humidity without leaving a crunchy, shiny shell that ruins the soft aesthetic. Your updo should look effortless, hold firmly, and feel completely comfortable all day long.

Sarah Mitchell — Founder & Editor-in-Chief
Sarah Mitchell is the founder and editorial voice behind Hair Level Up. A licensed cosmetologist with more than 15 years of experience, she has styled A-list celebrities for editorial shoots and red carpets, with work featured in Vogue, Elle, and Harper’s Bazaar. Early in her career, she trained under the legendary hairstylist Oribe in New York, an apprenticeship that still shapes her editorial eye today. Sarah founded Hair Level Up in 2020 after one bad haircut convinced her that women deserved a destination that felt like a magazine, taught like a stylist, and inspired like an art gallery. She oversees every story from concept to publication, guided by a simple belief: a good story teaches you something, but a great one makes you feel beautiful while it does.