10 Updo Mistakes That Make Hair Look Sloppy Instead of Effortless
I stood behind the styling chair at my sister’s wedding completely frustrated. We were forty five minutes into getting ready. Her hair was supposed to look relaxed and romantic. Instead she looked like she had just rolled out of bed after a rough nap. Pieces stuck straight out. The bun sagged at the bottom. The crown sat flat against her head. I pulled all the pins out and started over. That is when I realized something. Trying to make hair look like you spent no time on it actually requires very specific steps. When you skip these specific steps your hair stops looking intentionally messy. It just looks messy. I have spent the last five years styling hair for events. I have noticed the same errors happen again and again. Most people blame their hair texture. They think their hair is too thick or too thin. That is rarely true. The real issue comes down to simple handling errors. Fixing these errors takes less than five minutes.
You are about to read exactly how to fix the ten most common errors people make when putting their hair up. You will learn why your bobby pins fall out and exactly how to place them. You will see why your buns turn into hard little knots instead of soft shapes. We will cover exact product prices. We will talk about specific tools you can buy for under ten dollars to fix these issues. You will read stories about real styling disasters and how to fix them. By the time you finish reading this you will know exactly how to style your hair for any event. You will save time. You will save money on expensive salon visits. You will stop fighting with your hair in the mirror.
1. Skipping the Prep Texture Completely
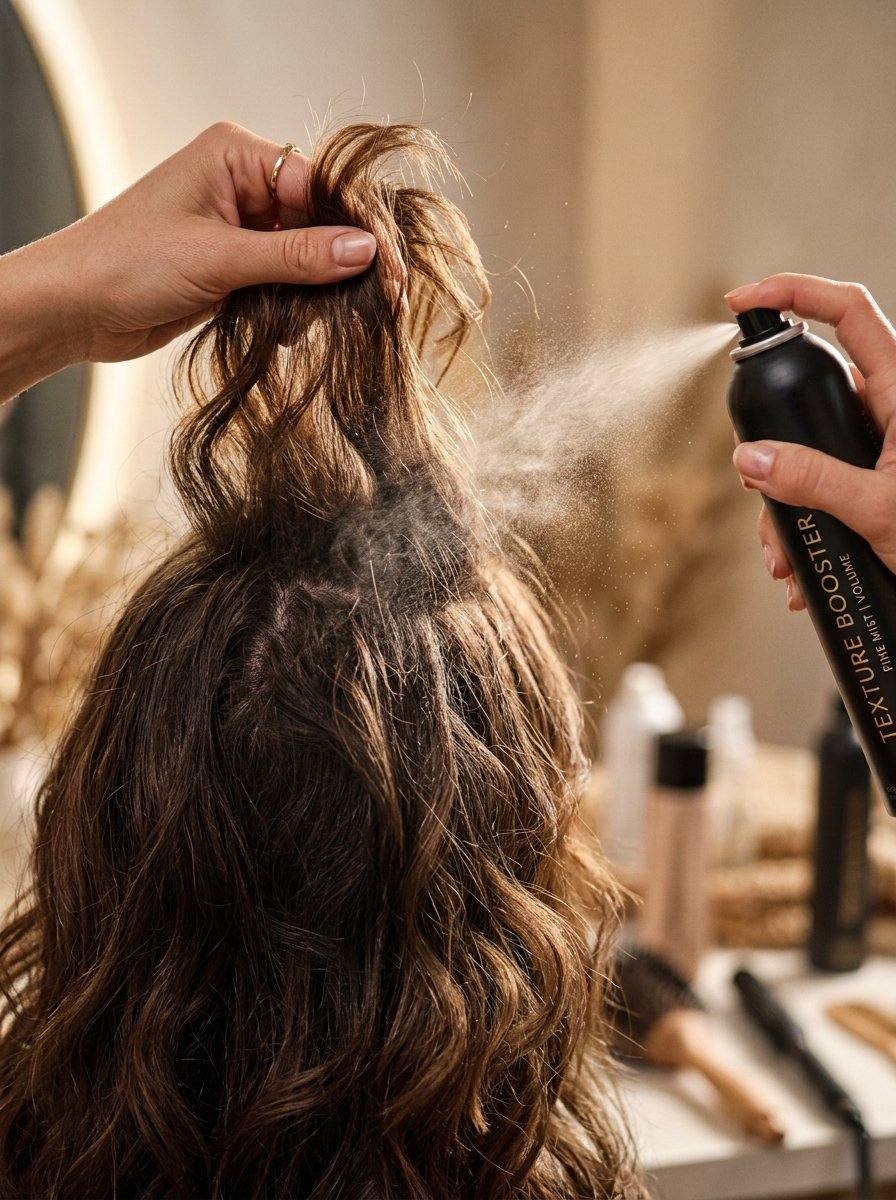
I have seen this specific error ruin more styles than anything else. You wash your hair. You dry it until it feels perfectly soft and clean. Then you try to follow a bun hair tutorial you saw online. The hair slides right out of your hands. The bobby pins refuse to hold. Clean hair acts like a slippery ribbon. You need your hair to act like velcro. You cannot create a soft look without giving the strands something to grip.
In my experience people skip texturizing products because they hate how gritty their hair feels. You must get over this feeling. The grit is exactly what holds the style together all night. I have tried building styles on clean hair. They always fall apart within an hour.
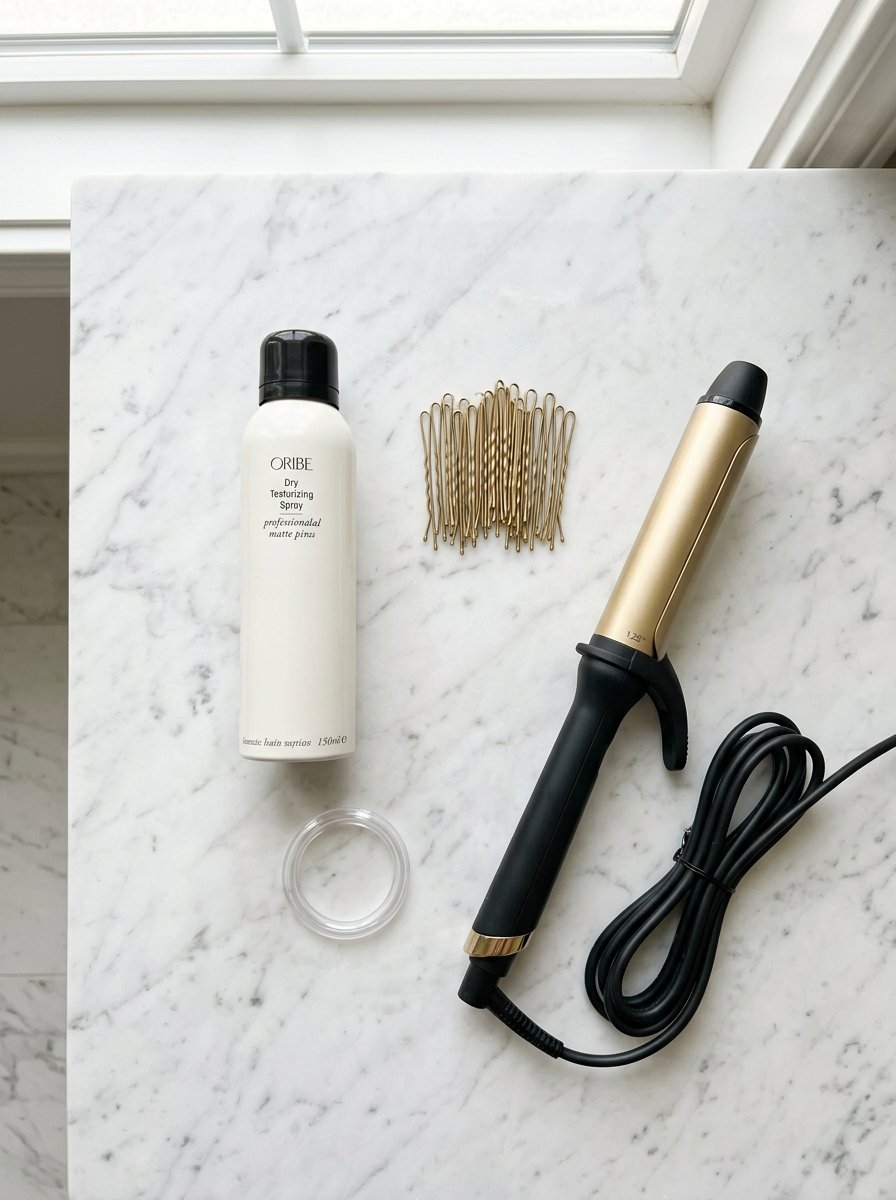
You need to add dry shampoo or texturizing spray before you even pick up a brush. I usually reach for Amika Un Done Volume and Matte Texture Spray. It costs twenty nine process dollars. If you want a cheaper option Batiste Dry Shampoo costs about nine dollars and works incredibly well.
Lift your hair in sections. Spray the product directly at the roots from ten inches away. Run your fingers through your roots. You will immediately feel the difference in the grip. This single step changes everything.
Here are the specific rules for adding texture:
- Apply product to fully dry hair only
- Focus on the roots and the middle of your hair
- Let the product sit for thirty seconds before touching it
- Massage your scalp to distribute the powder evenly
- Brush through gently once to remove white residue
2. Using the Wrong Type of Bobby Pins
I once watched a bridesmaid lose her entire hairstyle during the first dance. Her hair literally rained bobby pins onto the dance floor. We had to run to the bathroom and fix it with cheap pins from a emergency kit. The issue was not her hair type. The issue was the quality of her pins and how she used them.
Most people buy flimsy pins from the grocery store. They cost two dollars. They bend easily. They have no grip. You need professional styling pins. I buy Diane Premium Bobby Pins. A box of three hundred pins costs about six dollars. They are stiff. They have a strong grip. They will not bend out of shape.
The biggest error I see is how people open the pins. Stop using your teeth to pull the pin wide open. When you force a pin open you destroy the tension. The pin will never close tightly again. The tension is the only thing holding your hair in place.
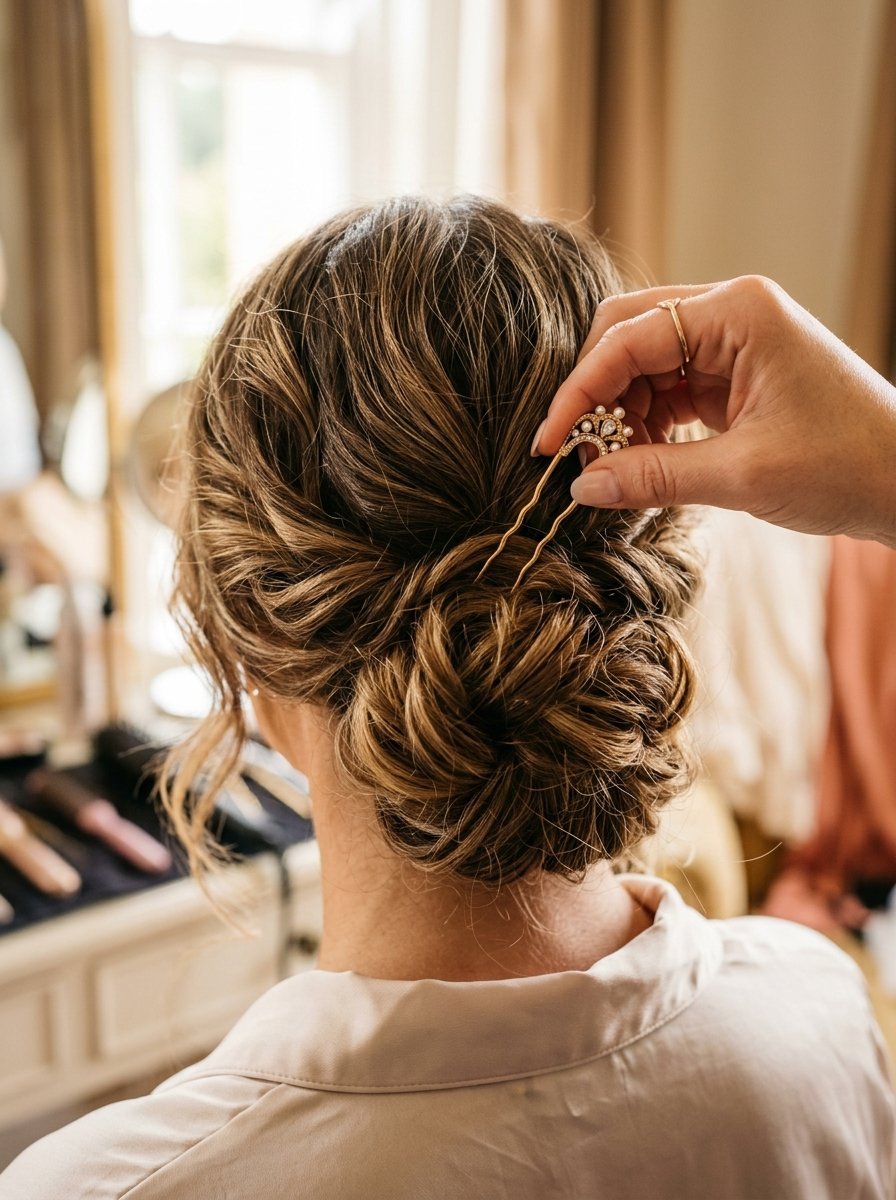
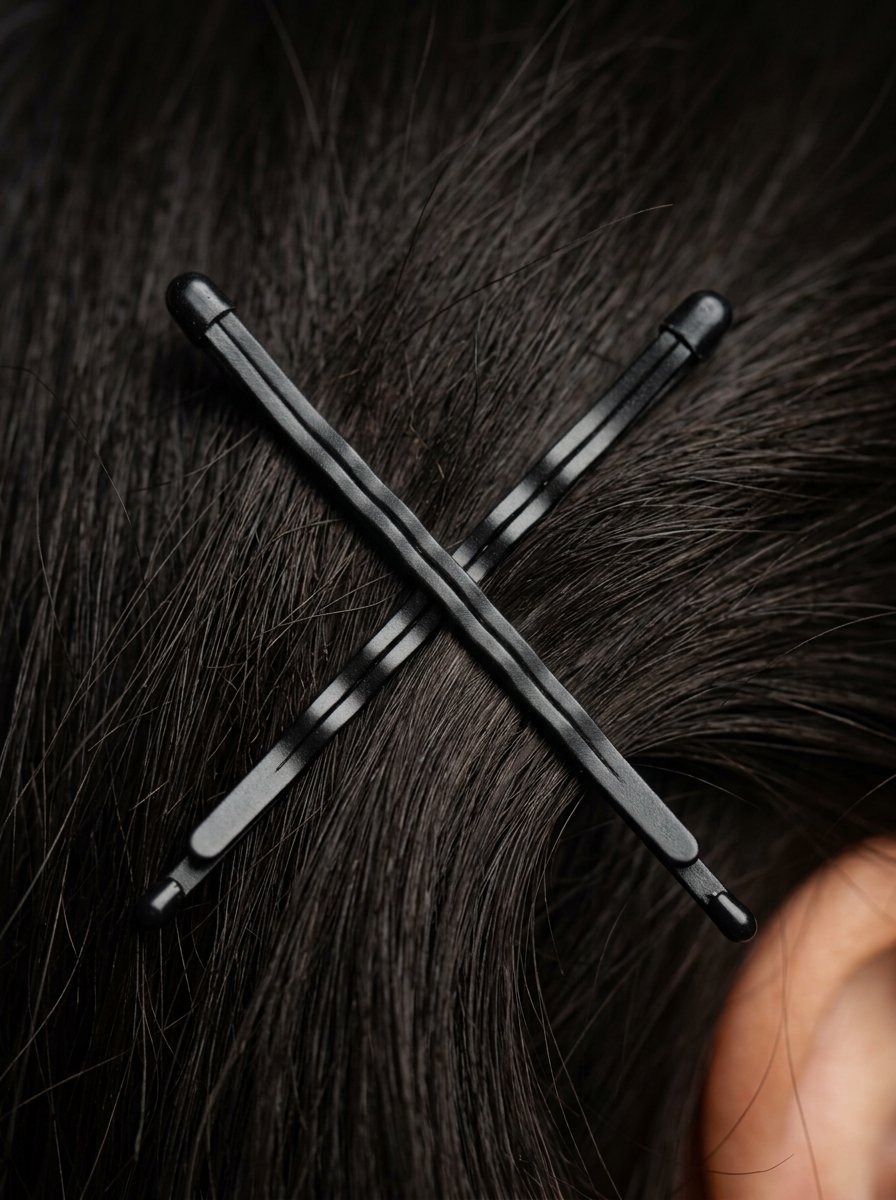
You should push the pin into your hair without opening it at all. The flat side goes up. The wavy side goes against your scalp. The waves lock the hair in place.
Here is exactly how to pin correctly:
- Grab a small section of hair
- Push the pin in without separating the metal
- Slide the wavy side against your head
- Cross two pins into an X shape for maximum hold
- Throw away any pins that have lost their plastic tips
3. Pulling Hair Too Tight at the Roots
People want a soft and relaxed look. Yet they start by scraping their hair back into the tightest ponytail possible. You cannot create a cute and simple updo if your base looks severe. Pulling the hair tightly flattens your crown. It exposes your scalp. It makes your head look much smaller than your face.
I see this happen constantly. You pull the hair tight because you want it to feel secure. Security should come from the pins and the elastic. Security should not come from stretching your hair tightly against your skull.
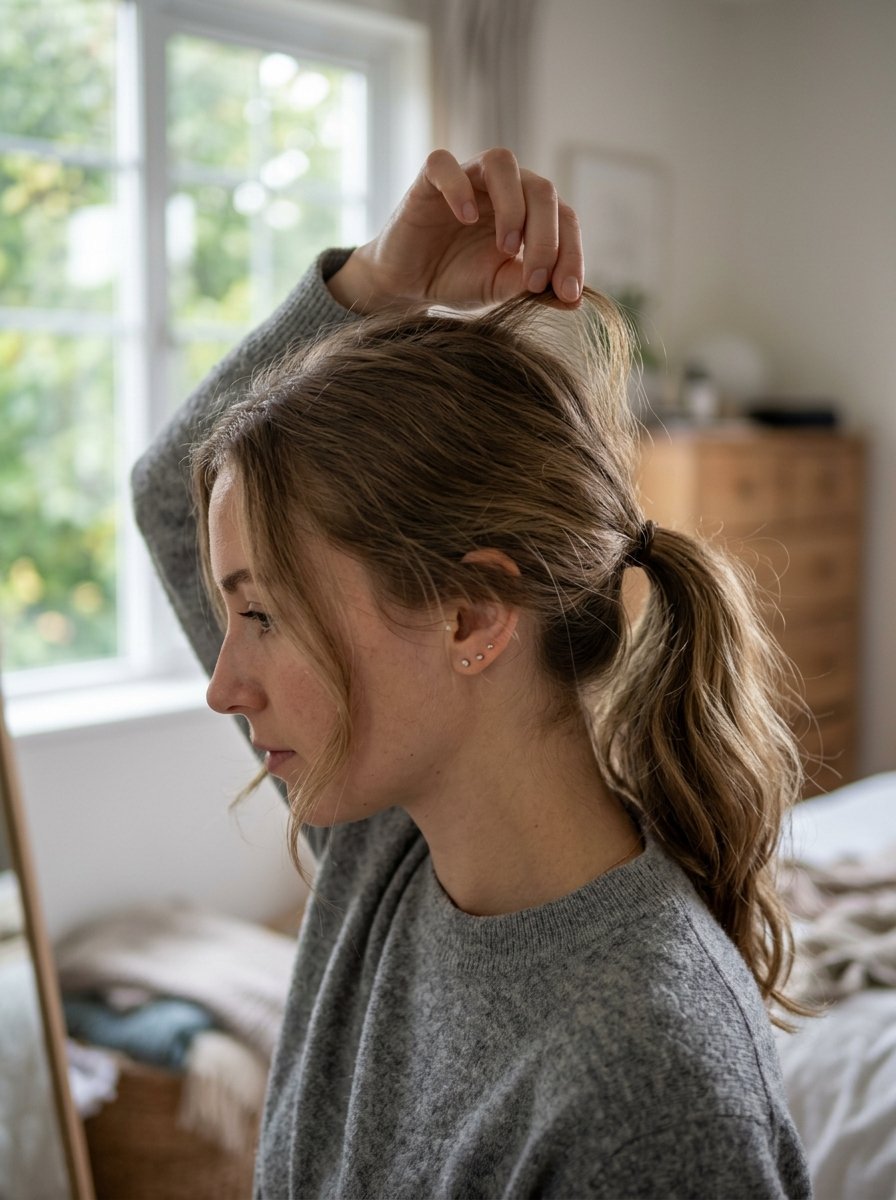
You need to create volume at the top of your head before you secure the base. I do this by pushing the hair slightly forward before tying the elastic. Once the elastic is in place I use my thumb and index finger to gently tug tiny pieces of hair at the crown. Pulling up just a few millimeters of hair creates a soft and lived in shape.
You must do this pulling before you add any hairspray. If you spray first and then pull you will create hard loops of hair sticking out.
Try these exact steps for a softer crown:
- Gather your hair loosely in your hands
- Push the gathered hair forward half an inch
- Secure the base with a soft elastic
- Pinch tiny hairs at the crown and pull up gently
- Check your side profile in the mirror to check the volume
4. Ignoring the Nape of the Neck
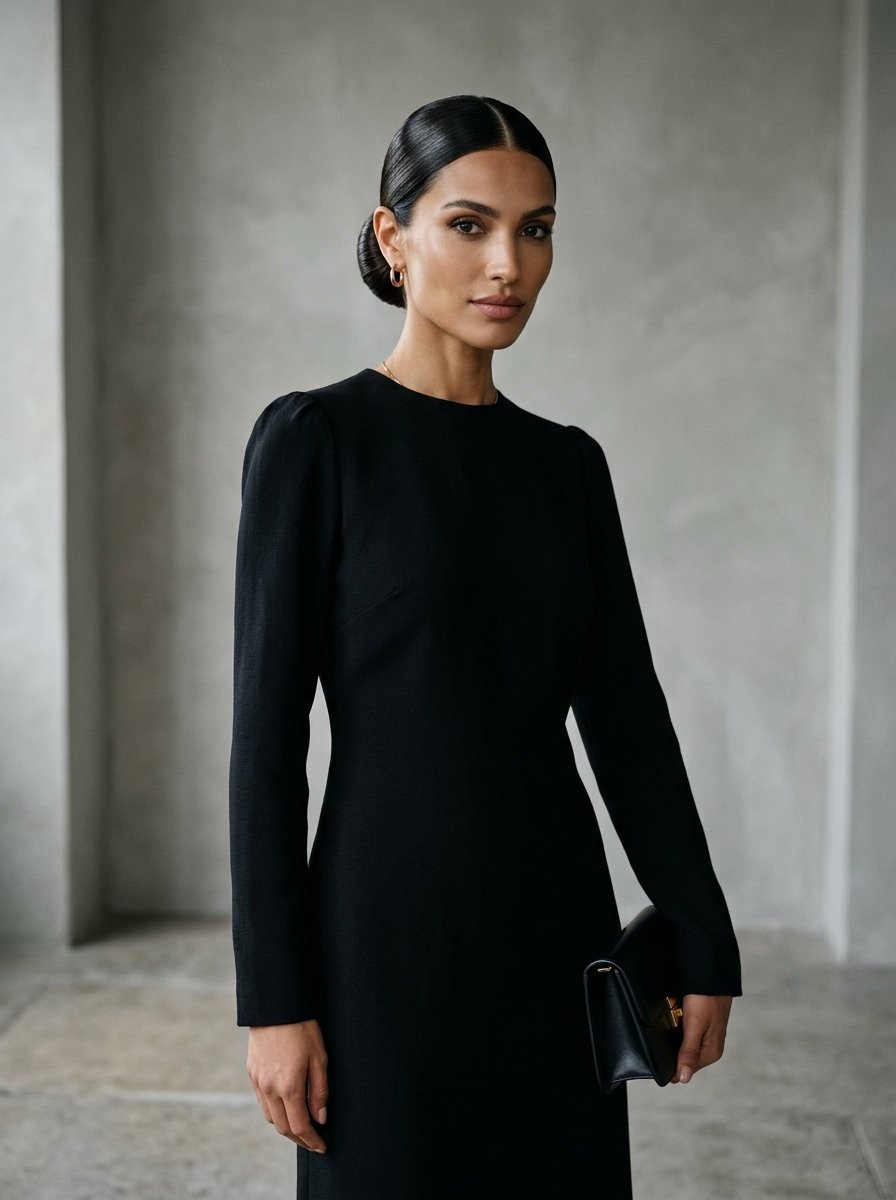
A low bun medium hair look lives or dies by the nape of the neck. If you do not secure the bottom section properly your bun will slowly slide down your neck all night. It ends up looking like a heavy sack resting on your collarbone. I have fixed this issue on dozens of clients.
The error happens when you try to gather all your hair into one big piece at the bottom. The heavy hair weighs down the thin hairs at the nape. Those thin hairs stretch out and sag.
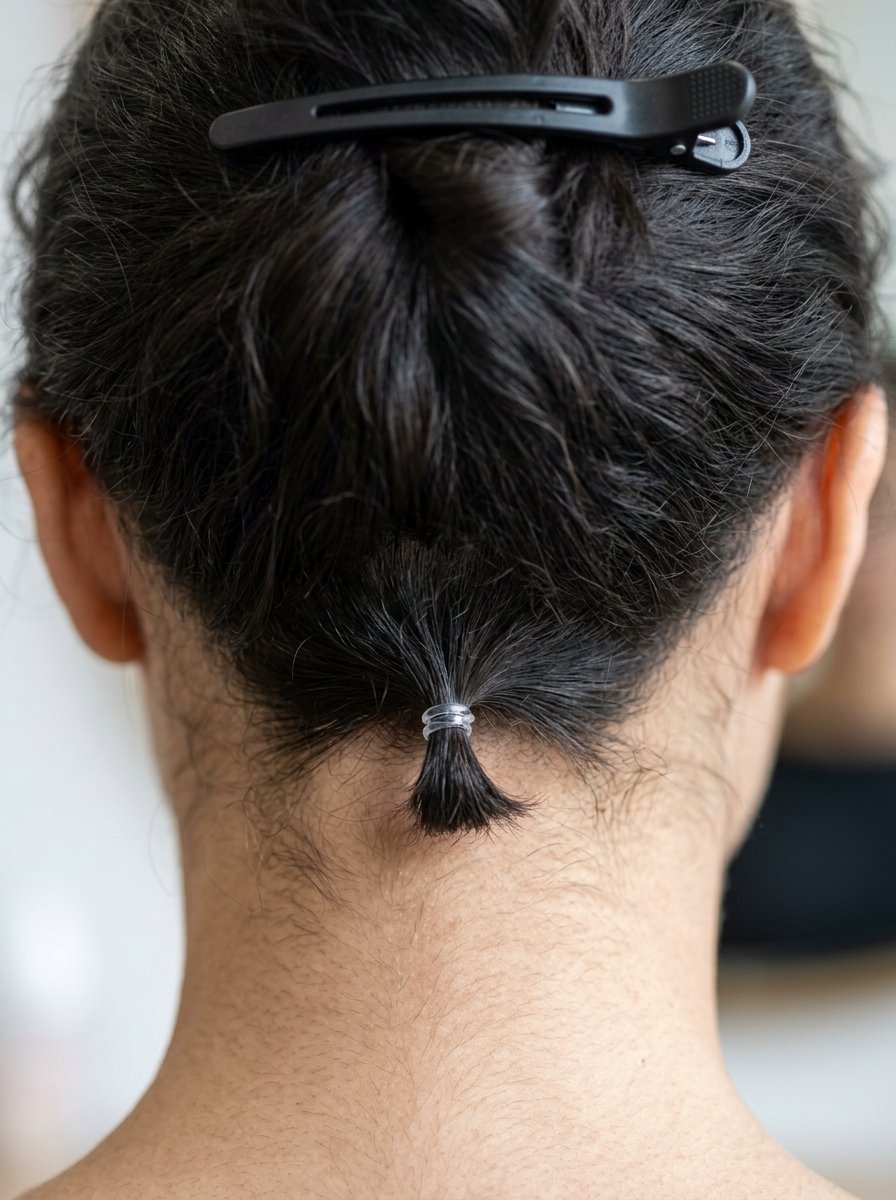
You fix this by creating a hidden anchor. Section off the bottom two inches of your hair at the nape. Tie this small section into a tiny ponytail flat against your head. Use a small clear elastic. This tiny ponytail becomes your anchor.
Now gather the rest of your hair over the anchor. Tie your main ponytail right on top of the tiny one. The top hair hides the anchor completely. Your bun is now attached to a secure base that will not stretch or drag down.
This hidden anchor takes thirty extra seconds. It saves you from redoing your hair halfway through the night.
Follow this anchor routine:
- Section off hair from behind your ears down to your neck
- Tie this bottom section with a clear elastic
- Pull the rest of your hair smoothly over the top
- Tie everything together securely
- Build your style over this solid foundation
5. Wrapping the Bun Too Tightly
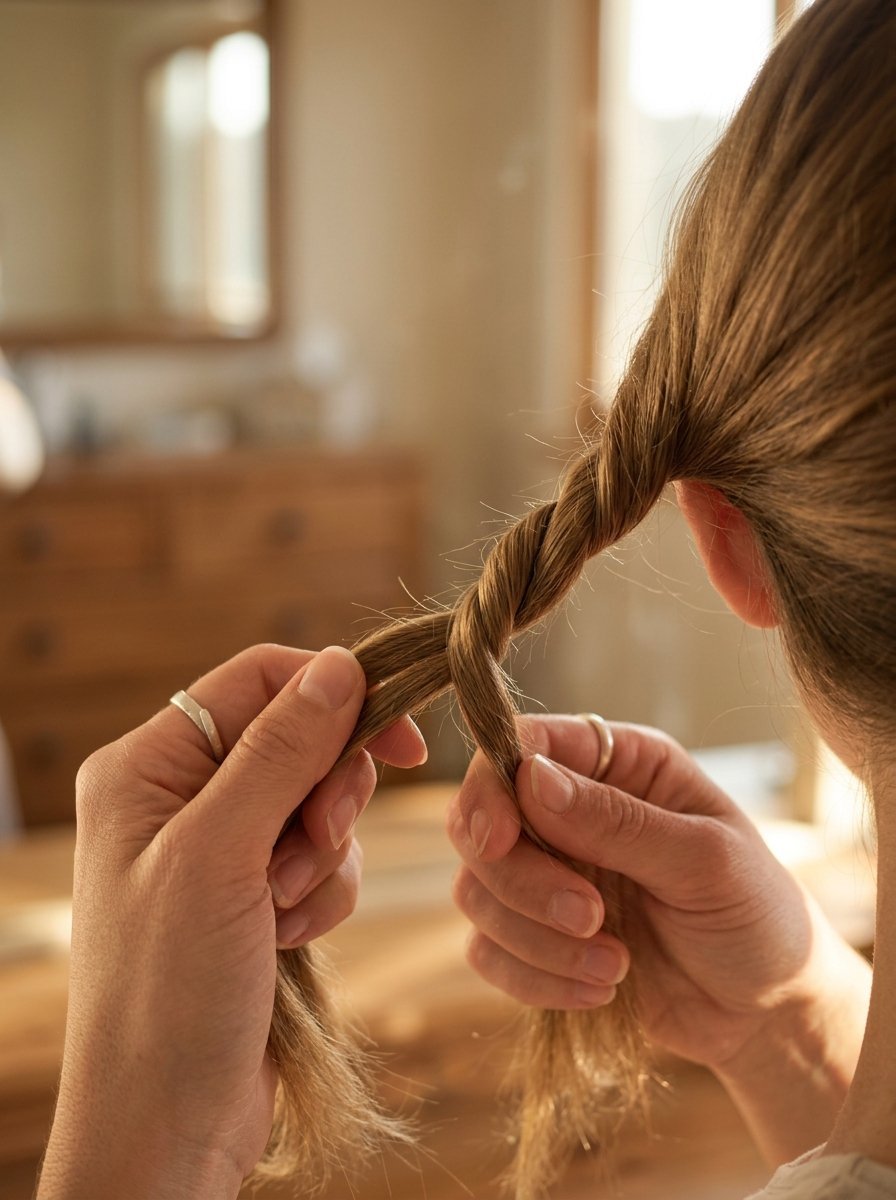
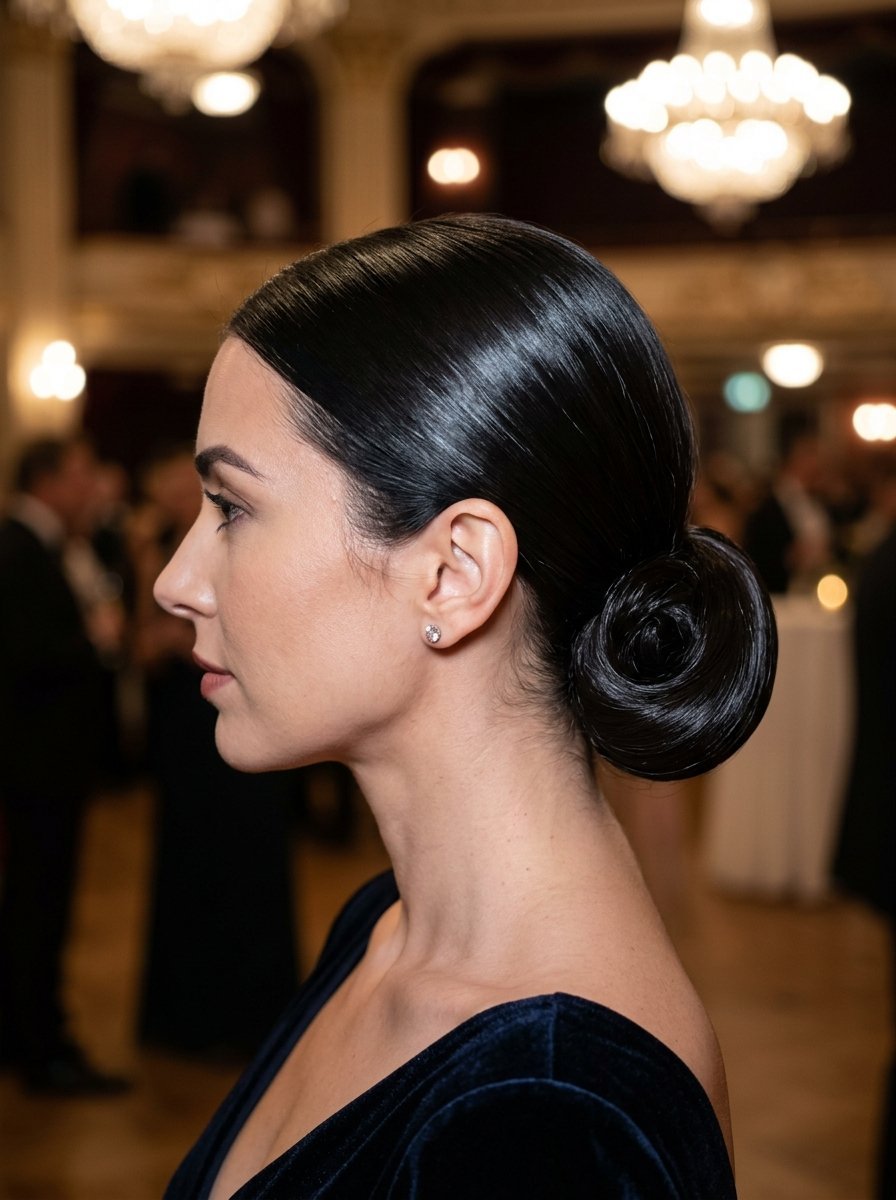
If you twist your hair tightly like a wet towel before you wrap it you will create a hard knot. It will look like a doorknob sticking out of your head. This completely ruins a low knot hairstyle. You want the bun to look full and wide. You want it to look soft.
Twisting the hair compresses it. It shrinks the visual size of your hair by half. If you have fine hair twisting it tightly makes your bun look incredibly tiny.
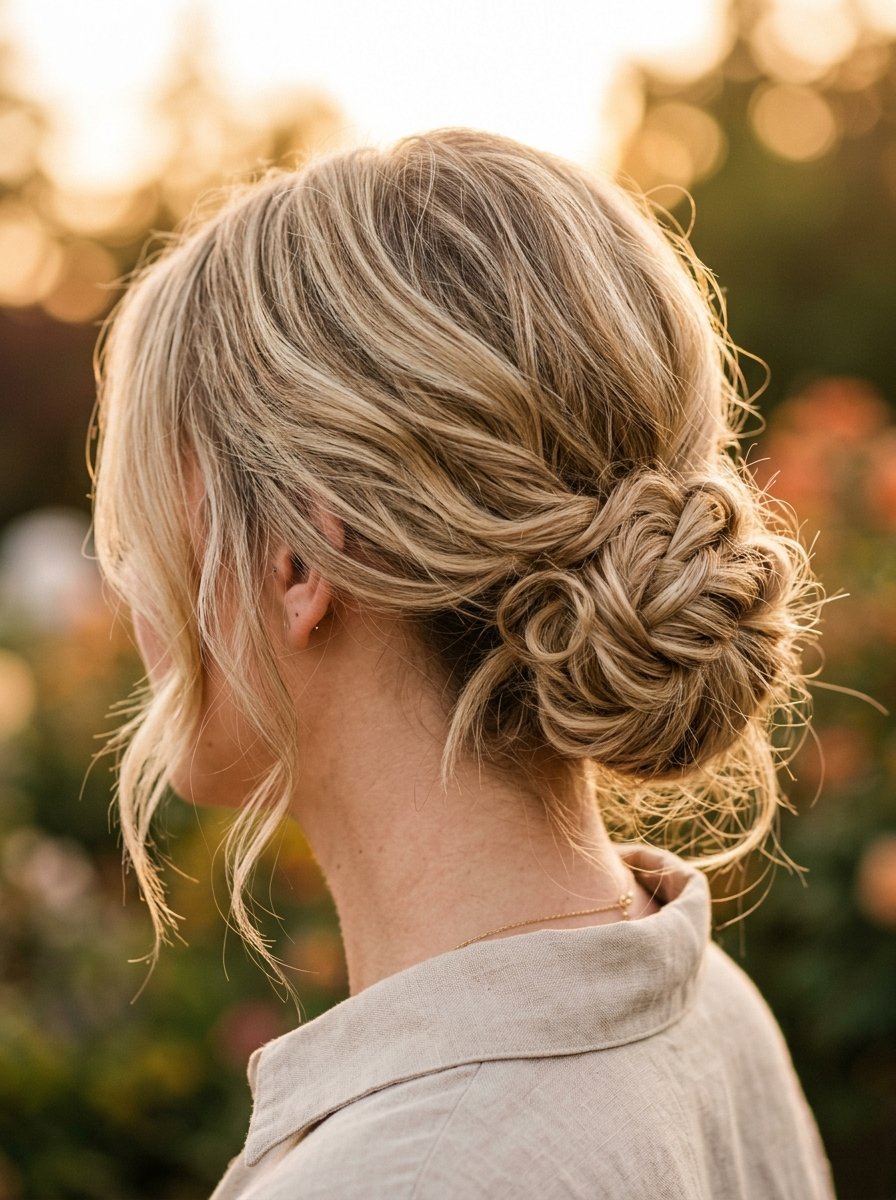
Instead of twisting the entire ponytail try doing a loose two strand rope braid. Split your ponytail into two pieces. Wrap them loosely around each other. Then take that loose rope and wrap it into a bun shape.
When you wrap the hair you must keep it flat. Think about wrapping a ribbon instead of a rope. Pin the outside edges of the bun to your head. Gently pull the edges outward to make the shape look bigger.
This is exactly how I create volume for clients with fine hair:
- Stop twisting your ponytail into a tight rope
- Split the hair into two even pieces
- Loosely wrap the two pieces around each other
- Wrap the folded hair into a flat circle
- Pin the very outer edges to stretch the shape wider
6. Using Heavy Hairspray Too Early
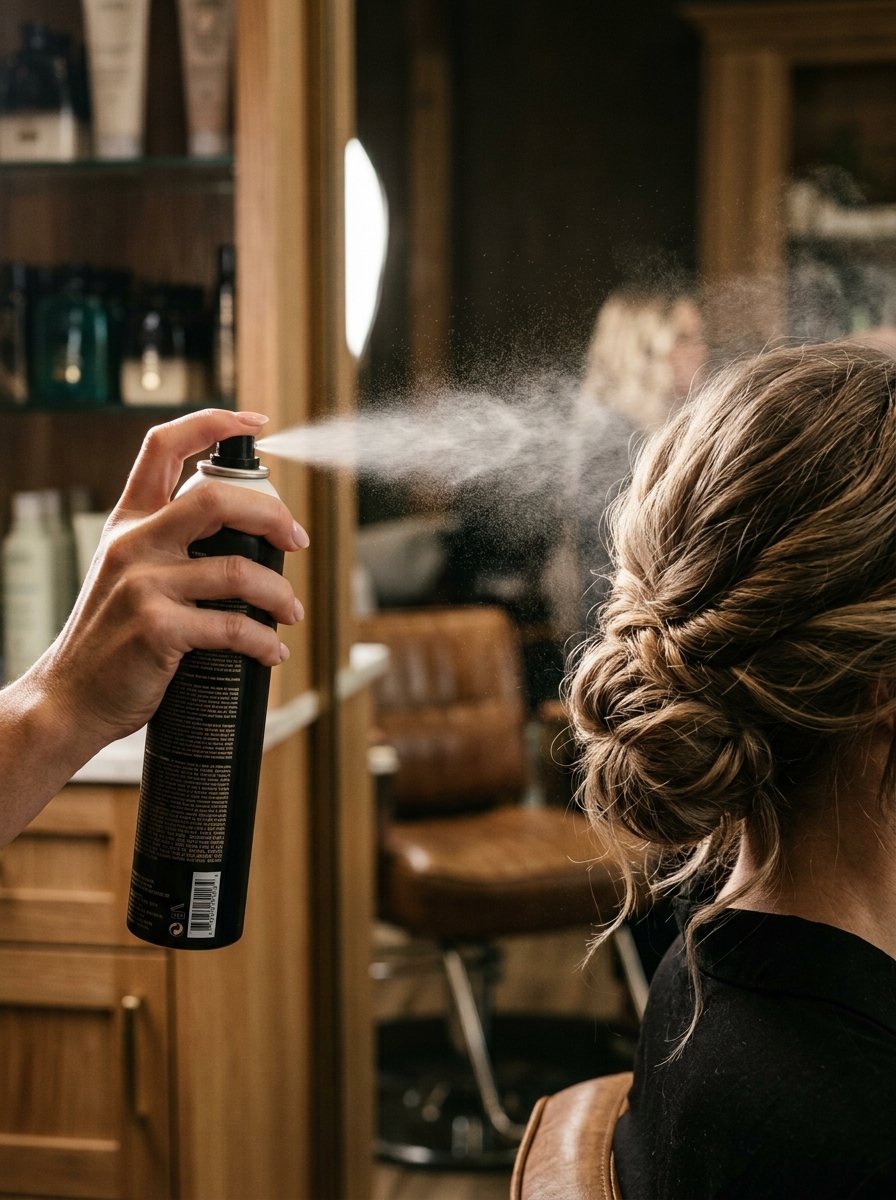
Wet and heavy hairspray is the enemy of effortless hair. When you spray your hair heavily before you finish styling you freeze your mistakes in place. I have tried to fix styles that were soaked in firm hold spray. You cannot move the hair. If you try to pull a piece loose the entire style crunches and flakes.
You should only use a flexible hold working spray while you build the style. I strongly prefer Kenra Volume Spray 25. It costs about twenty four dollars. It holds the hair but still lets you brush through it. If you need a cheaper option Tresemme Micro Mist costs seven dollars and dries instantly.
Only use your heavy finishing spray when you are completely finished. Even then you must spray from at least twelve inches away from your head. Getting the nozzle too close blasts the hair with liquid. It makes the hair look wet and greasy.
I’ve noticed people panic and spray heavily when a piece falls out. Do not spray a falling piece. Pin it. Hairspray is not glue. It cannot hold heavy pieces of hair against gravity.
Here are the strict rules for spraying:
- Only use flexible spray while pinning
- Hold the can exactly twelve inches from your head
- Spray in continuous sweeping motions
- Never spray one spot for more than a second
- Use heavy finishing spray only as the absolute final step
7. Forgetting to Balance Your Face Shape
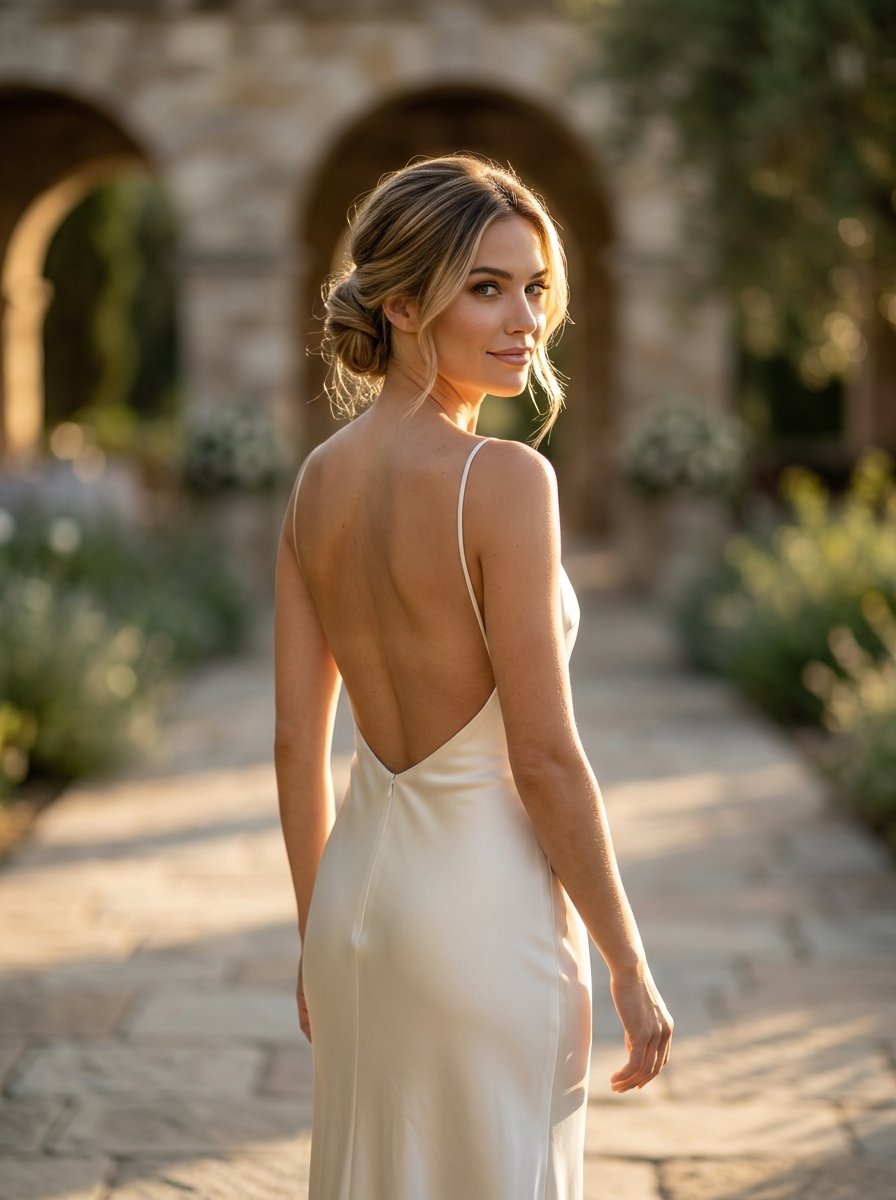
You finish your hair. You look in the mirror. Something looks harsh. You realize your hair is pulled entirely off your face. You try to pull a few front pieces out to soften the look. The pieces get stuck. You pull harder. Suddenly you have a weird gap on the side of your head.
I see this happen all the time. Pulling out face framing pieces after the style is pinned is a massive error. You end up pulling out uneven chunks. You ruin the tension of the style you just built.
You must separate your face framing pieces before you do anything else. Look in the mirror. Isolate the pieces around your temples and ears. Clip them out of the way. Then build your style.
Once your hair is pinned up you can drop the front pieces. You can curl them slightly away from your face. If you leave too much hair out you can easily pin a little bit back. It is always easier to pin hair back than it is to forcefully rip hair out of a finished style.
Follow this sequence for perfect framing:
- Comb your hair naturally around your face
- Isolate the pieces you want to leave down
- Secure those pieces with a duckbill clip
- Build your complete style in the back
- Drop the front pieces and curl them gently
8. Making the Updo Too Symmetrical
Perfect symmetry looks incredibly stiff. If your bun is perfectly round and sits exactly in the dead center of your head you will look like a ballet dancer. That is fine for a recital. It is terrible for an easy bridesmaid hairstyle.
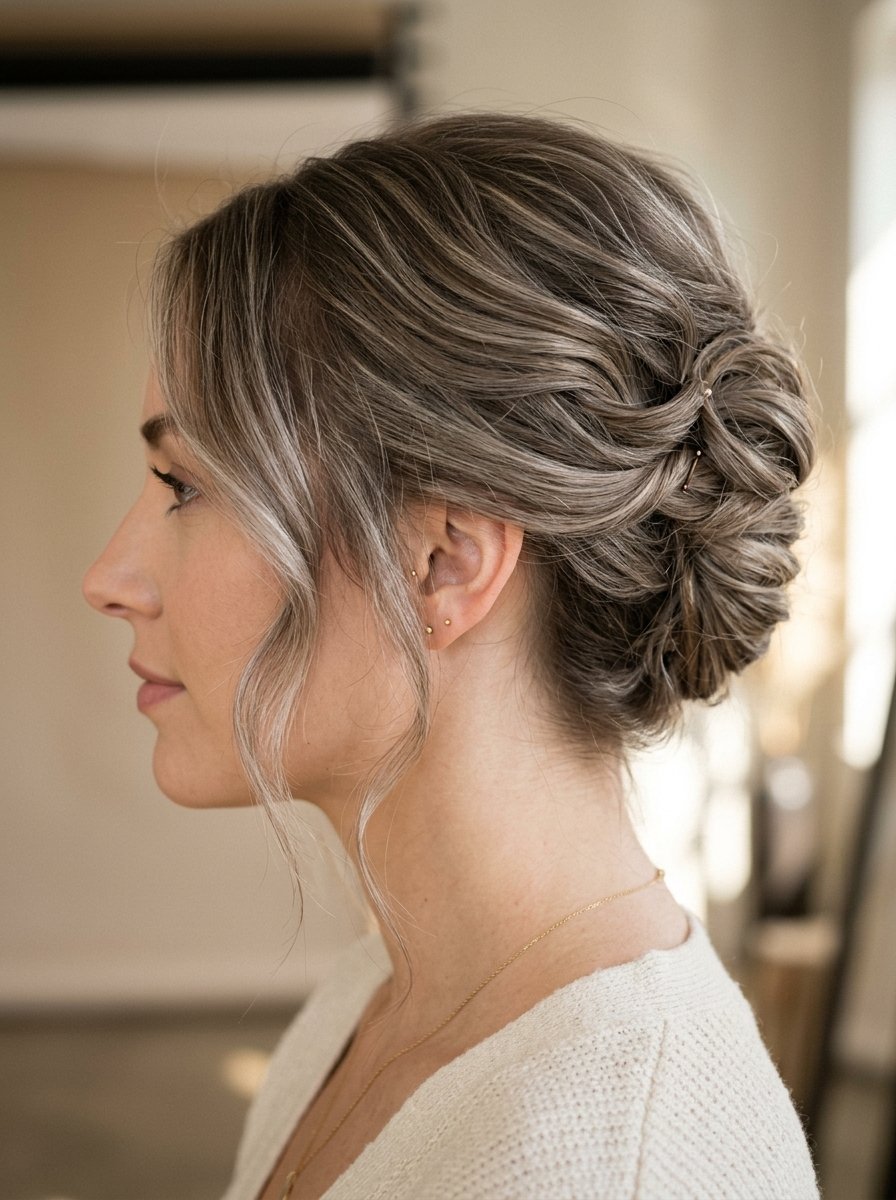
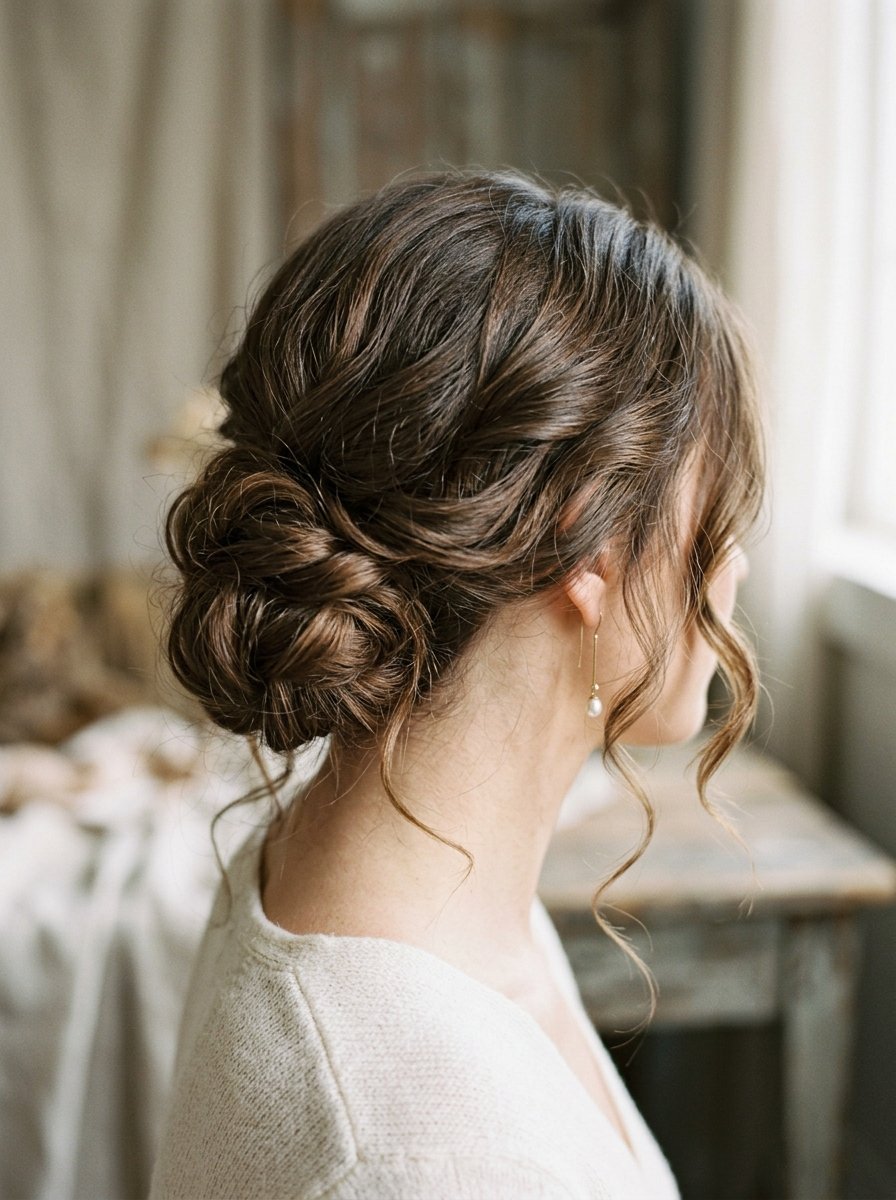
Effortless styles need organic shapes. They need slight imperfections. When I style hair for a wedding I actively try to make the shape slightly uneven. I will let one side of the bun drape slightly lower than the other. I will leave a few loops sticking out on one side.
Do not use a foam donut to build your bun. Foam donuts force your hair into a mathematically perfect circle. They look dated. They look fake.
Use your fingers to create the shape instead of a brush. Pull a few pieces of the bun out on the left side. Let the right side sit tighter against your head. Look in the mirror from the front. If you can only see the bun on one side of your neck that is perfectly fine. Asymmetry creates visual interest.
Try doing these steps to break the symmetry:
- Throw away foam bun makers
- Pin the hair in random alternating directions
- Allow small loops to break the outer circle
- Check the mirror and make one side slightly larger
- Stop trying to perfectly mirror the left and right sides
9. Leaving Ends Blunt and Straight
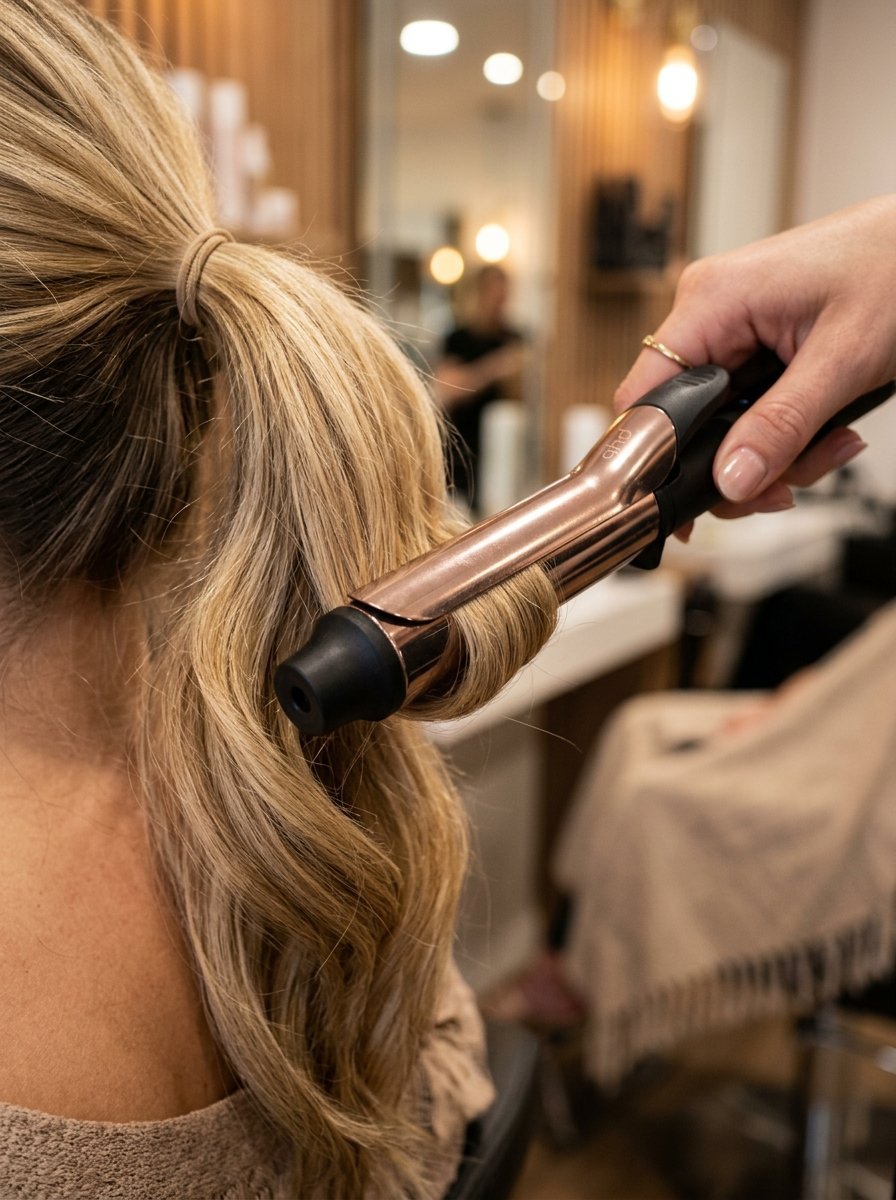
I once spent twenty minutes trying to hide straight pieces of hair poking out of a client’s bun. I kept shoving bobby pins into the style. The straight ends just kept springing back out like porcupine quills. Straight blunt ends look like mistakes. They refuse to blend into a soft simple up do hair style.
If your hair is perfectly straight you must curl the ends before you try to pin it up. You do not need to curl your entire head. Just curl the last four inches of your hair.
Curved ends naturally tuck into the shape of a bun. They hook onto each other. If a curled end pokes out of the style it looks like a romantic loose curl. If a straight piece pokes out it looks messy and unfinished.
Taking two minutes to curl your ends will save you fifteen minutes of fighting with pins. Use a one inch curling iron. Curl large chunks of hair at once. You just need a bend at the bottom.
Do this before pinning:
- Heat up a one inch curling iron
- Gather your hair into your base ponytail
- Curl large two inch chunks of the ponytail
- Focus only on the very ends of the hair
- Let the curls cool before twisting them into a shape
10. Placing the Anchor Point Too High
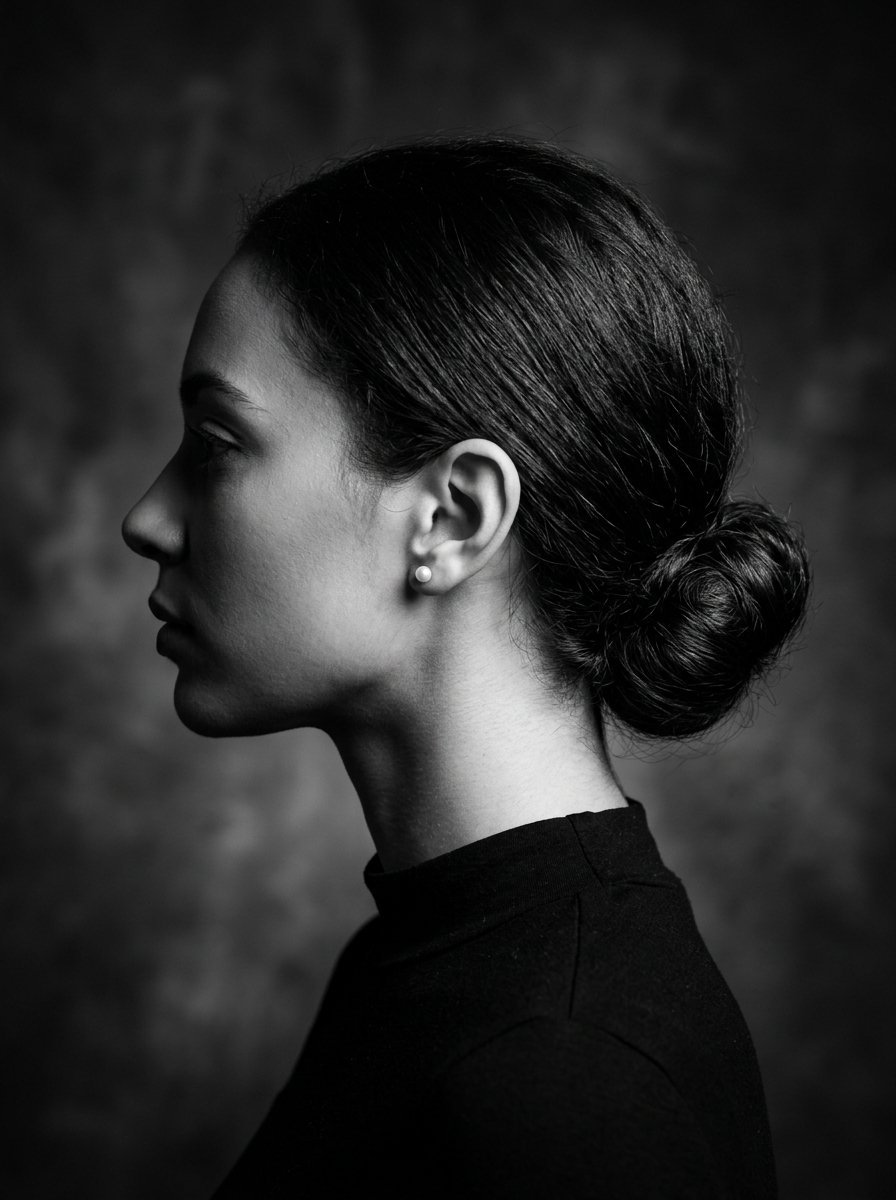
The placement of your bun changes your entire profile. The most common error I see is placing the bun directly in the middle of the back of the head. This placement looks incredibly awkward. It creates a strange bump right above your neck.
If you are looking for a low updo wedding hair how to you must understand bone structure. You have a bone at the bottom of your skull called the occipital bone. You can feel it with your fingers. It is the ridge right before your skull drops down into your neck.
Your bun must sit below this bone. It must rest in the hollow space between that bone and your neck. This is the only way a low style looks correct from the side.
When you place the ponytail below this ridge the hair drapes beautifully down the back of your head. It creates a sweeping elegant profile. If you place it too high the hair has to fight gravity.
Find your exact placement like this:
- Run your hand down the back of your head
- Find the bony ridge at the bottom of your skull
- Place your base ponytail entirely below this ridge
- Keep your chin level when tying the elastic
- Pin the final shape so it lightly touches your neck
Frequently Asked Questions About Effortless Updos
How do I make my updo hold all night?
The secret to all night hold is friction. Clean and soft hair slides right out of bobby pins. You must spray dry shampoo or texture spray directly at the roots and through the lengths of your hair. Use professional quality ribbed bobby pins instead of cheap metal ones. Always cross two bobby pins into an X shape to lock the hair securely against your scalp. Finish with a light mist of aerosol hairspray from twelve inches away.
Can I do an effortless updo with freshly washed hair?
Freshly washed hair is the hardest texture to work with. It is too soft. It lacks grip. If you must wash your hair on the same day you style it you need to add artificial grip. Blow dry your hair completely. Spray a heavy amount of texturizing spray all over your head. Massage it into your scalp until the hair feels slightly chalky. This forces the clean hair to behave like second day hair.
What is the best easy hair style for wedding guests?
A textured low knot is the safest and most flattering option for wedding guests. It looks polished but relaxed. It does not require extreme heat styling or complicated braids. You simply gather your hair at the nape of your neck and twist it loosely. Secure it with four crossed bobby pins. Pull gently at the crown to add volume. This style works with dresses and survives dancing.
How many bobby pins do I actually need?
Most people use way too many bobby pins. A heavy head full of metal gives you a headache. If you use high quality professional pins you rarely need more than ten to hold a standard bun. I typically use two crossed pins to anchor the top of the bun. I use two more at the bottom. Then I use three or four pins to secure the sides and tuck any loose pieces.
How do I stop my low bun from drooping?
A drooping bun means your foundation is weak. Never build a heavy bun on a single large ponytail. Section off a tiny piece of hair at the very bottom of your neck. Tie this into a small tight ponytail with a clear elastic. Gather the rest of your hair over this tiny ponytail. Tie them together. This hidden anchor takes all the weight and stops the bun from sliding down your neck.
Your Next Steps For Perfect Updos
You now know exactly why your hair has been falling flat. You know exactly what tools to buy and what cheap habits to drop. You know why texture is non negotiable. You know how to pin correctly without destroying tension. Stop fighting clean hair. Stop pulling your face framing pieces out after you finish. Buy the six dollar professional pins. Buy the dry shampoo. Stand in front of your mirror tomorrow and try the tiny anchor ponytail at the nape of your neck. You will immediately see the difference in how the hair sits. Your next event will be entirely stress free. Drop a comment below and share which of these ten styling errors surprised you the most.

Sarah Mitchell — Founder & Editor-in-Chief
Sarah Mitchell is the founder and editorial voice behind Hair Level Up. A licensed cosmetologist with more than 15 years of experience, she has styled A-list celebrities for editorial shoots and red carpets, with work featured in Vogue, Elle, and Harper’s Bazaar. Early in her career, she trained under the legendary hairstylist Oribe in New York, an apprenticeship that still shapes her editorial eye today. Sarah founded Hair Level Up in 2020 after one bad haircut convinced her that women deserved a destination that felt like a magazine, taught like a stylist, and inspired like an art gallery. She oversees every story from concept to publication, guided by a simple belief: a good story teaches you something, but a great one makes you feel beautiful while it does.