12 Holiday Party Updos for Christmas and New Year’s Eve
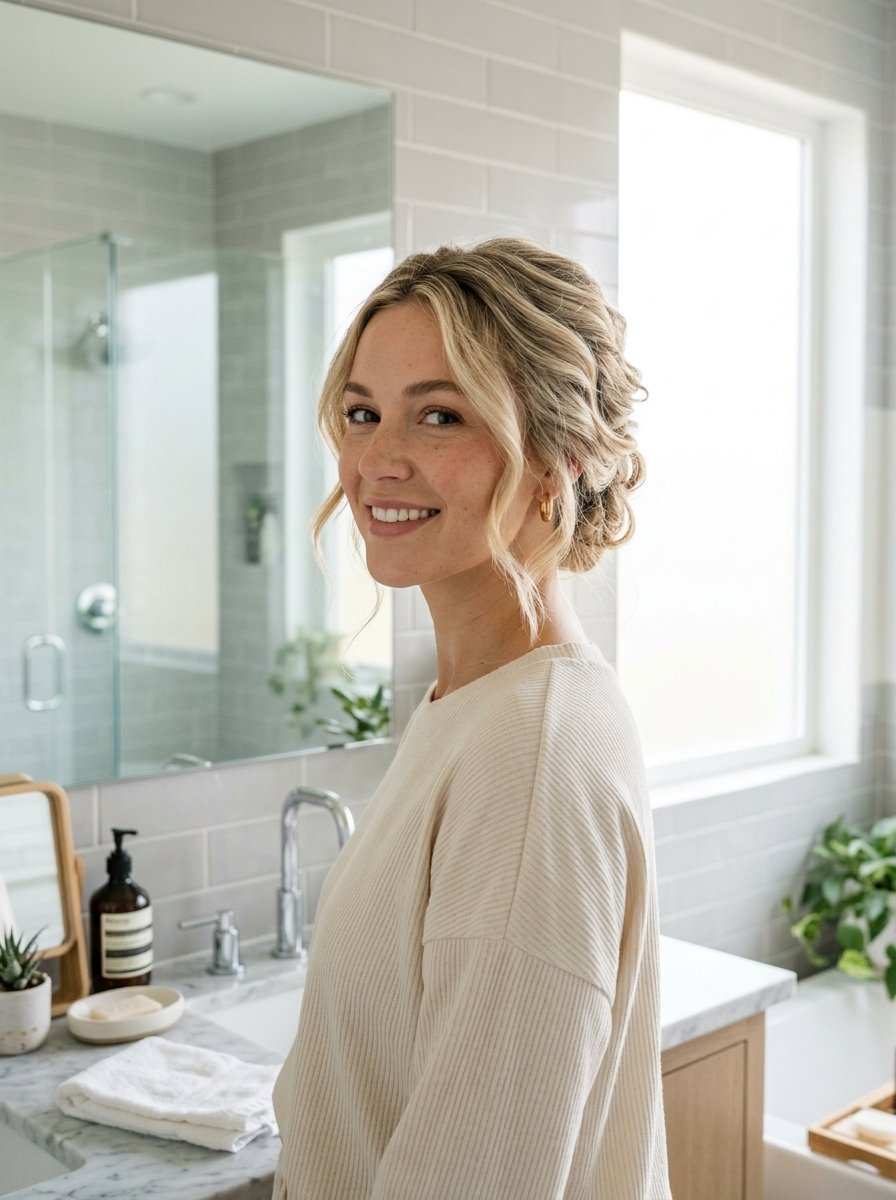
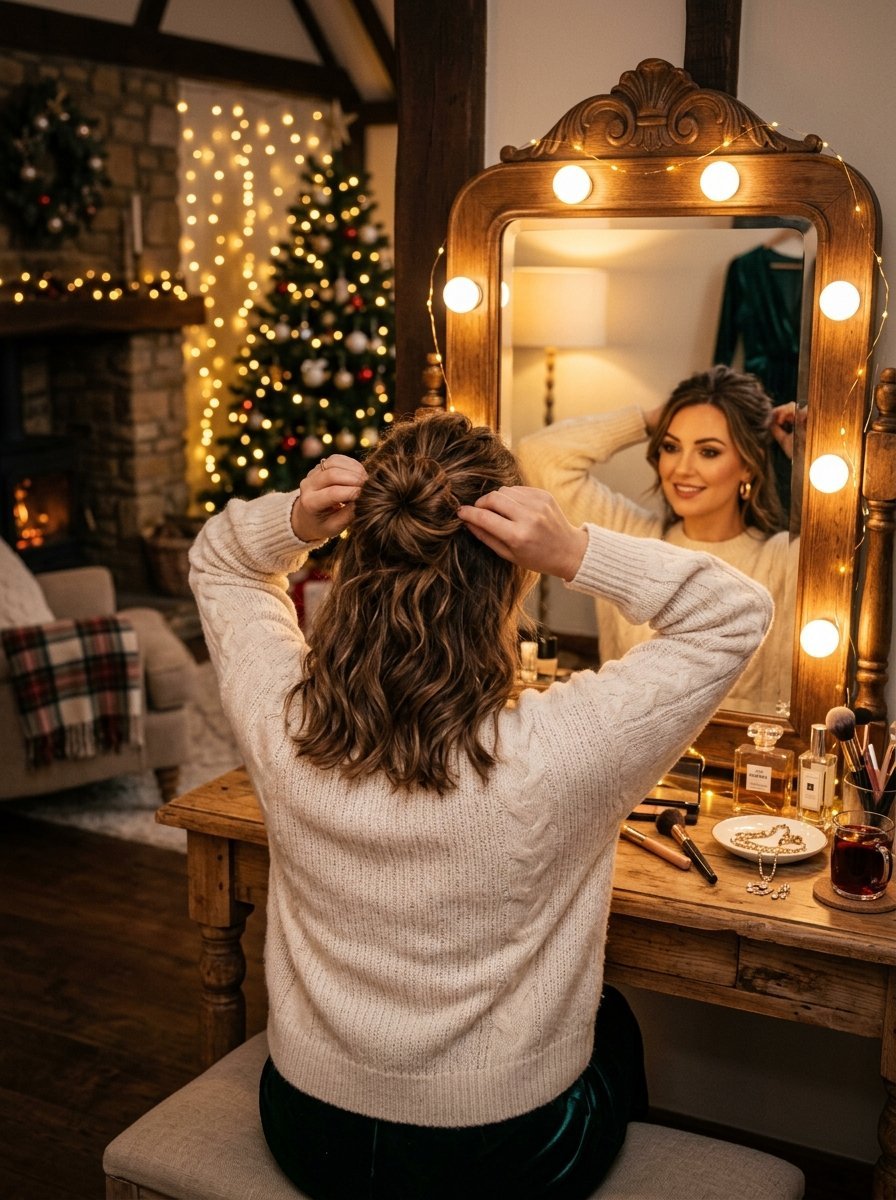
You have thirty minutes until your holiday party. Your outfit is ready. Your makeup looks great. Your hair is a flat mess. I have been in this exact spot. I remember staring at the mirror last December before a massive family gathering. Panic set in. You need something fast. You need something that holds up through dancing and photos. I tried forcing my hair into a basic ponytail. It looked completely wrong with my dress. I realized updo styling does not require a salon trip. You just need the right sequence of steps. I will show you exactly what works.
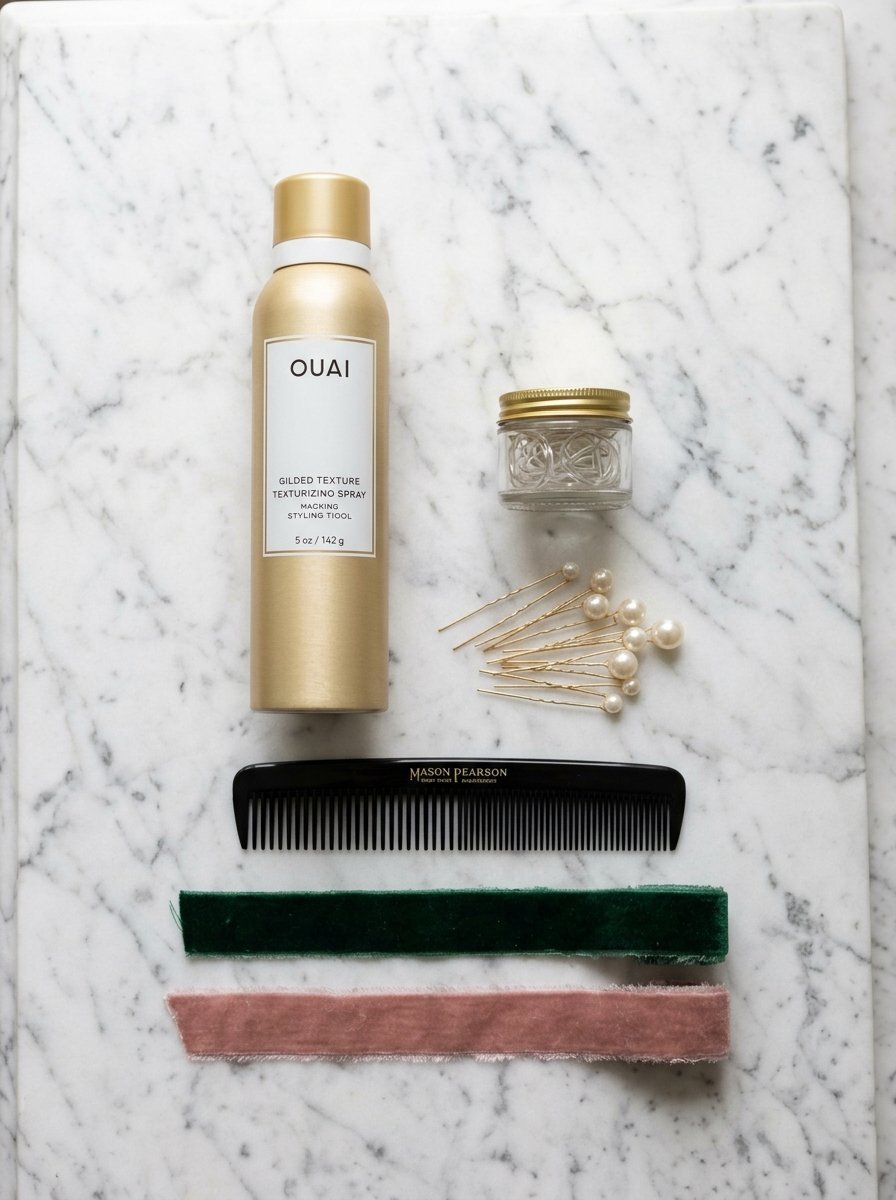
You will get twelve exact tutorials for medium hair. These styles hold firm from Christmas Eve dinner until the New Year countdown. I break down the exact bobby pins and sprays you need. Expect to spend between five and twenty minutes per style. We cover everything from messy Korean buns to sleek formal twists. You will find styles matching casual sweaters and formal gowns. I tested every single look on my own medium length hair. Many tutorials skip the middle steps. I give you every single detail. We tackle flat roots slipping pins and frizzy ends. Your hair will stay secure all night. You will save fifty to a hundred dollars skipping the salon. You get real salon quality results at home.
1. The Korean Inspired Messy Bun
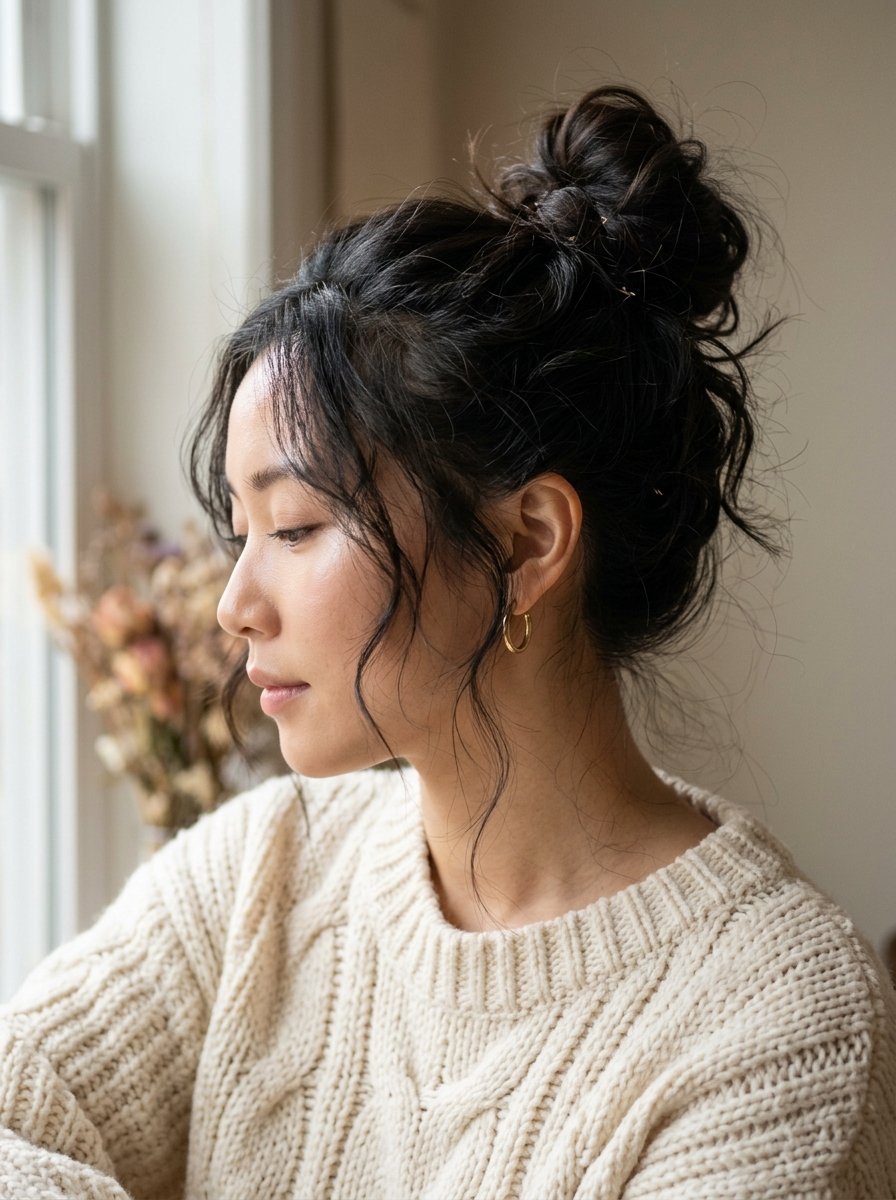
This hairdo messy bun gives you an effortless soft look. It ranks as my top pick for casual Christmas morning gatherings. You get a relaxed vibe that still looks completely intentional. Women all over Pinterest save this exact look daily.
Required Tools
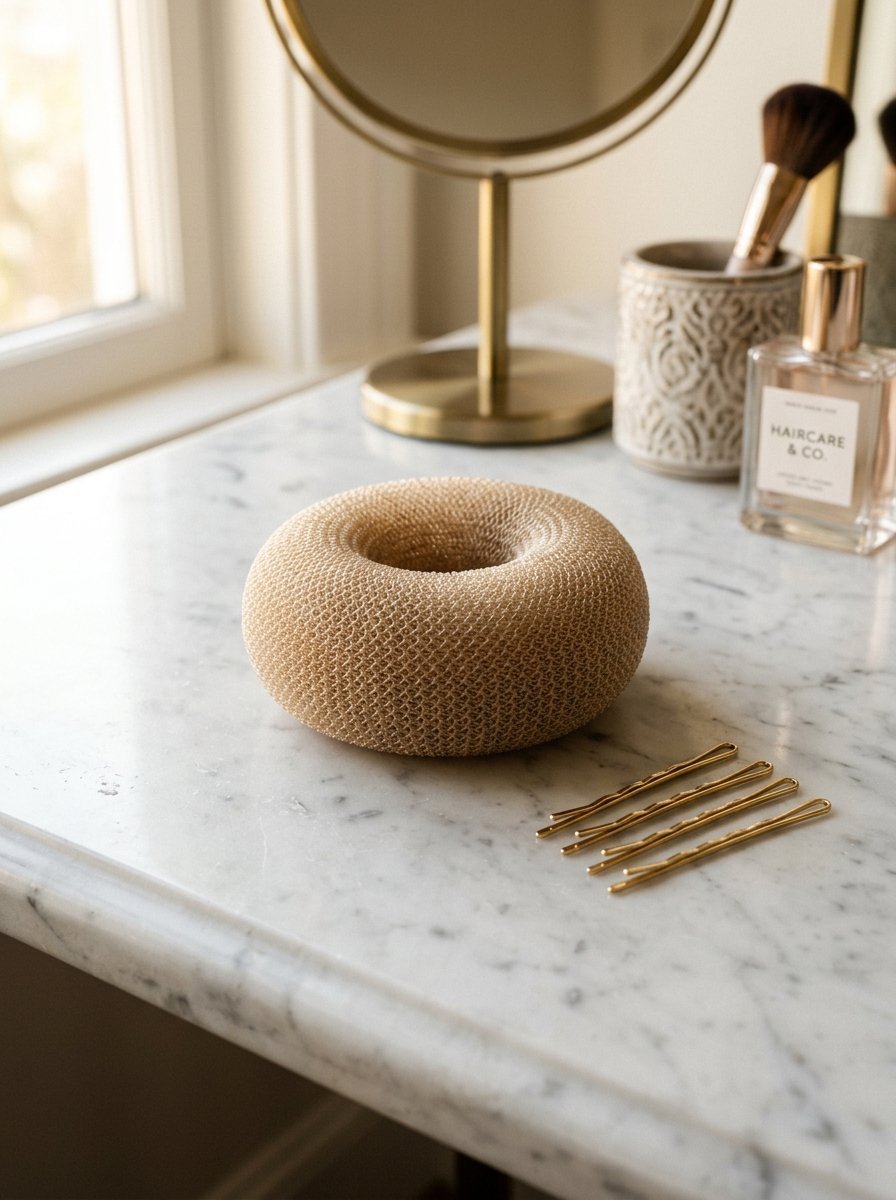
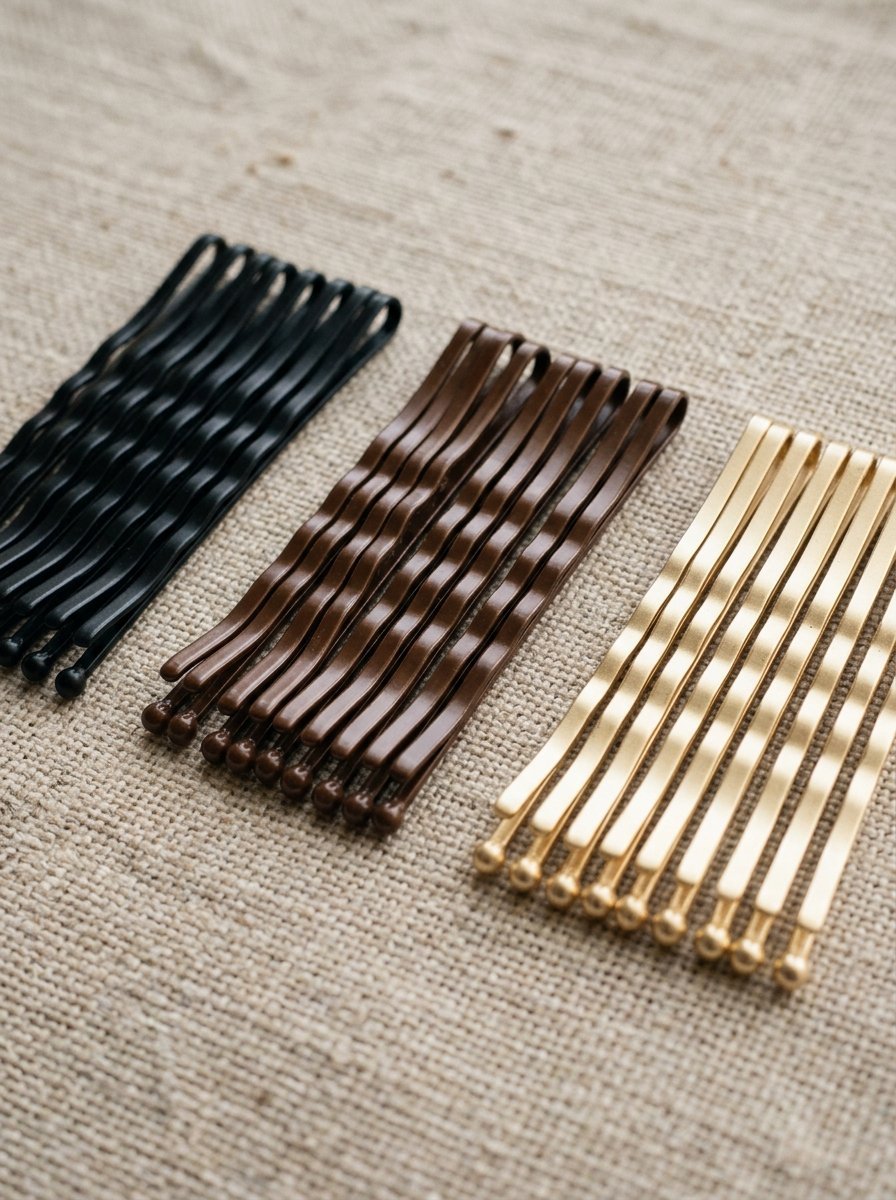
You need five minutes of prep time. Grab two clear elastics. Get six U shaped pins. I buy the Diane two inch hair pins. They cost around six dollars on Amazon. You also need a light hold spray. The Kenra Volume Spray 25 holds well.
How To Create This Look
Start by curling your front pieces away from your face. Gather your hair at the crown. Do not brush it flat. You want that natural texture intact. Secure the base with your clear elastic. Twist the ponytail loosely. Wrap it around the elastic base. Secure the bun with your U shaped pins. Gently pull a few pieces loose around your neck.
My Personal Experience
I wore this exact style last year for a dinner hairstyle. Standard bobby pins usually slide out of my hair after two hours. The U shaped pins locked everything in place until midnight. This style matches perfectly with chunky knit sweaters. You will feel comfortable all day.
2. The Velvet Ribbon Low Chignon
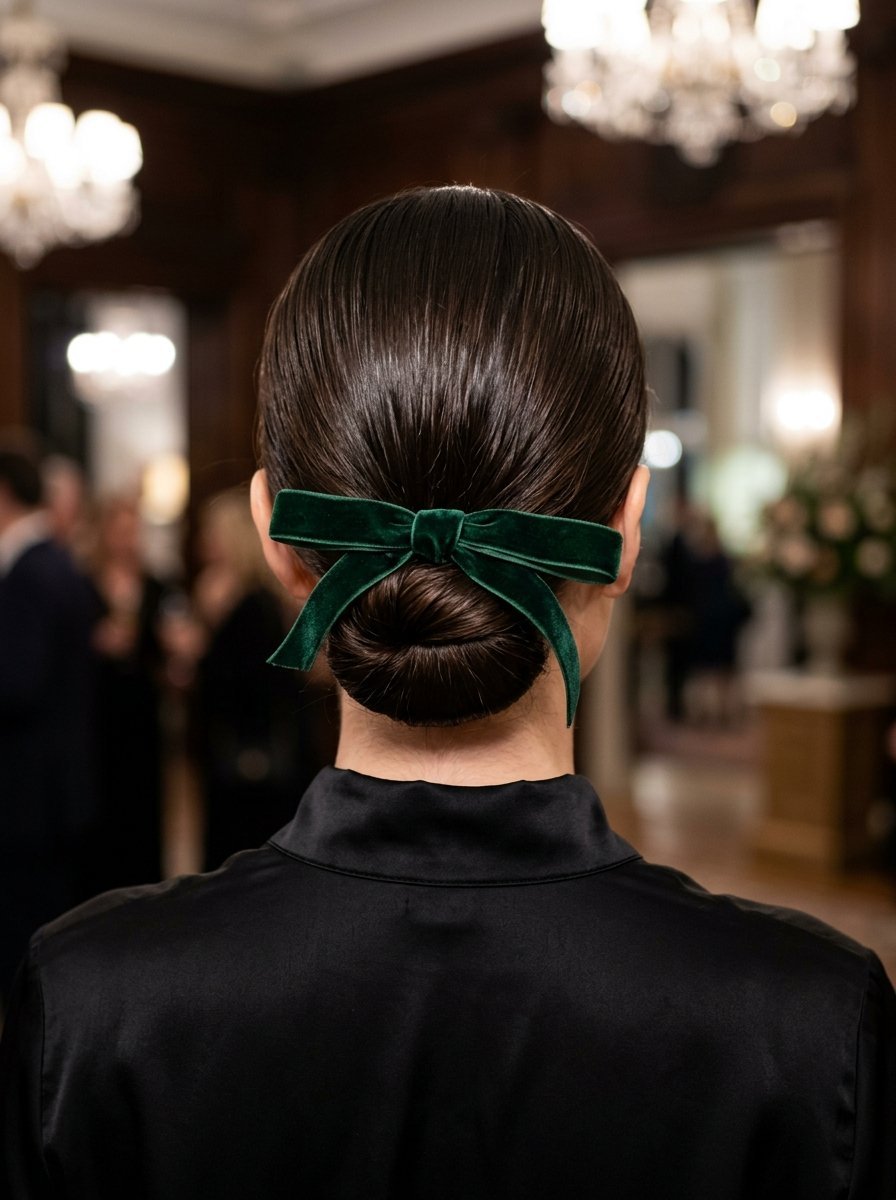
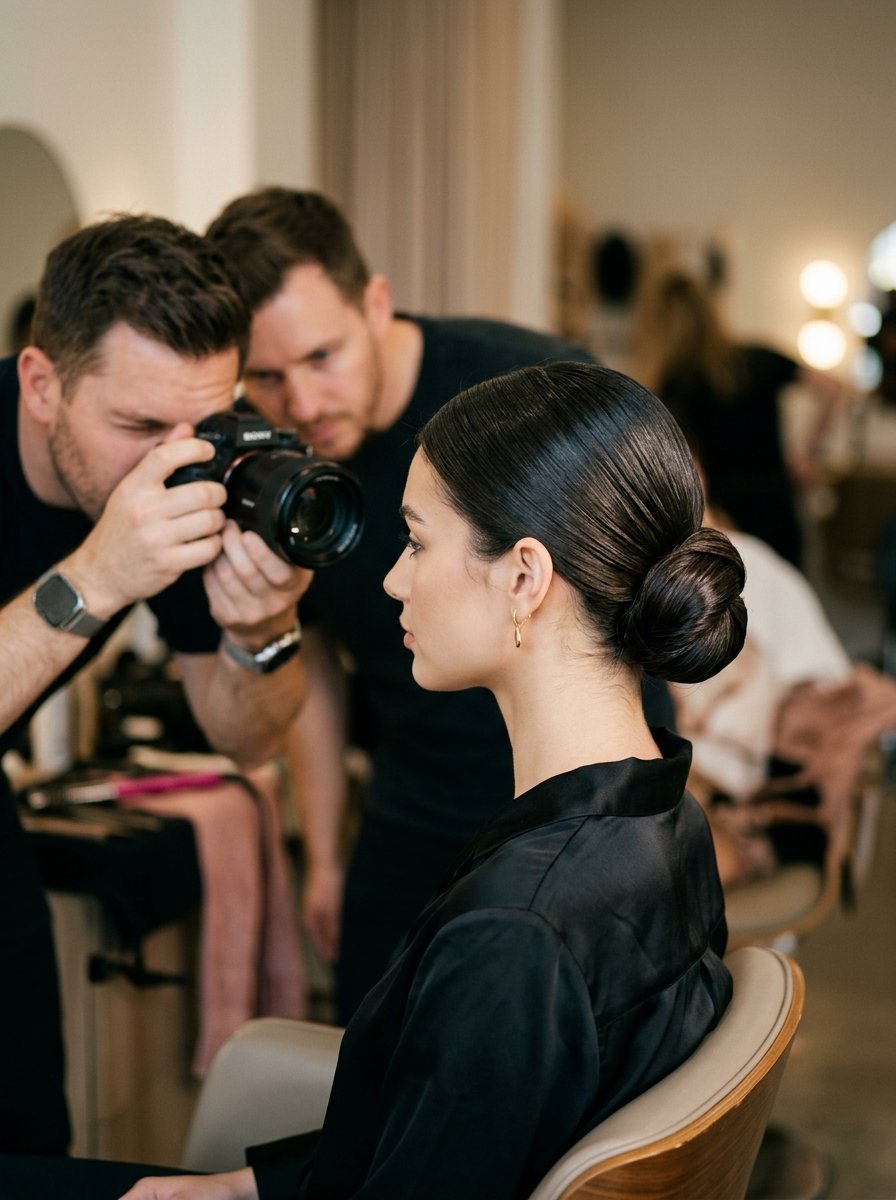
A low chignon instantly elevates your look. This style pairs beautifully with winter fabrics like velvet and silk. I always choose this when I wear a high neck sweater.
Required Tools
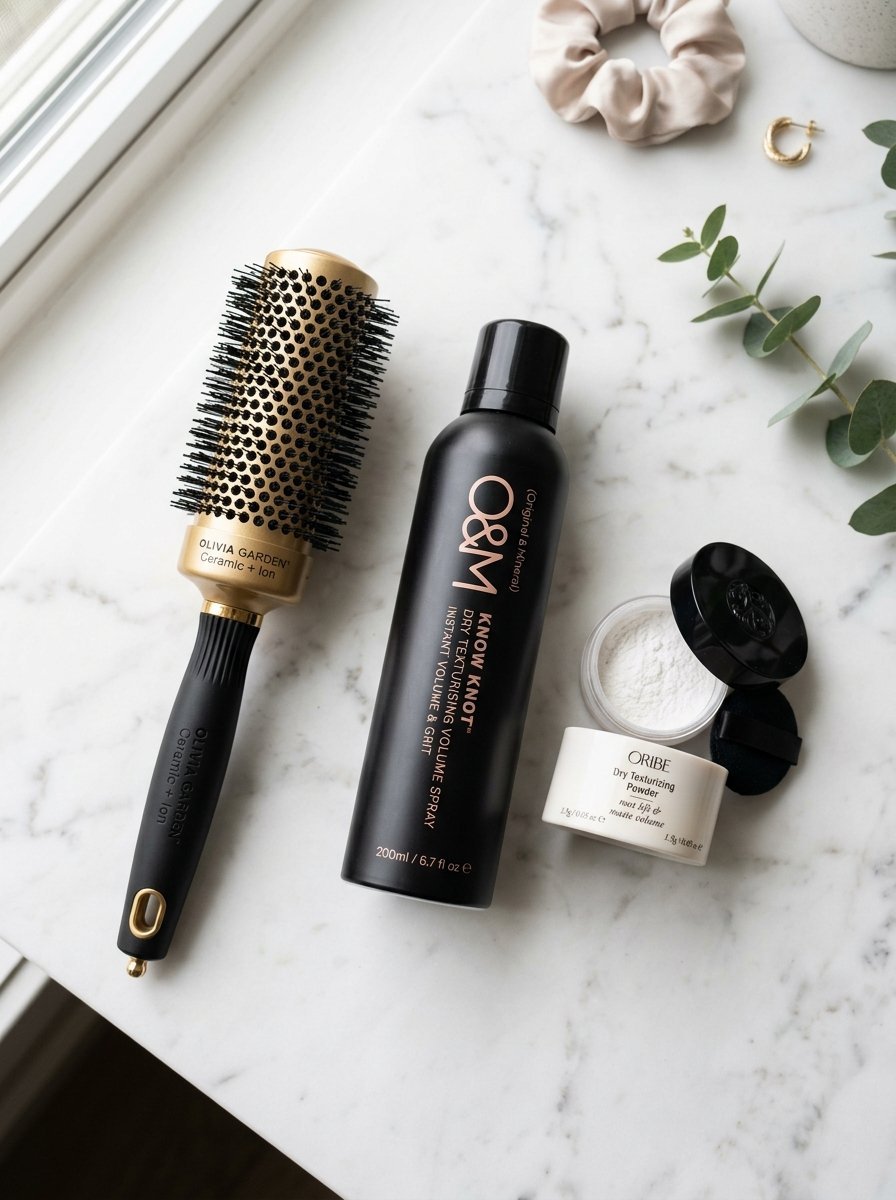
You need a fine tooth comb. Buy Goody classic bobby pins. Get a velvet ribbon from any craft store. A yard of ribbon costs about three dollars. You need Oribe Dry Texturizing Spray.
How To Create This Look
Part your hair straight down the middle. Spray the texturizing spray from roots to ends. Gather your hair at the nape of your neck. Secure it into a low ponytail. Twist the tail tightly. Coil it flat against your head. Insert the bobby pins pushing them toward the center. Tie the velvet ribbon around the base of the bun.
My Personal Experience
I tried this look for a work holiday party in 2024. I received compliments all night. The ribbon hides any messy pins perfectly. This ranks as one of the best dress hairstyles for medium hair. It takes less than ten minutes to finish.
3. The Braided Crown Sweep
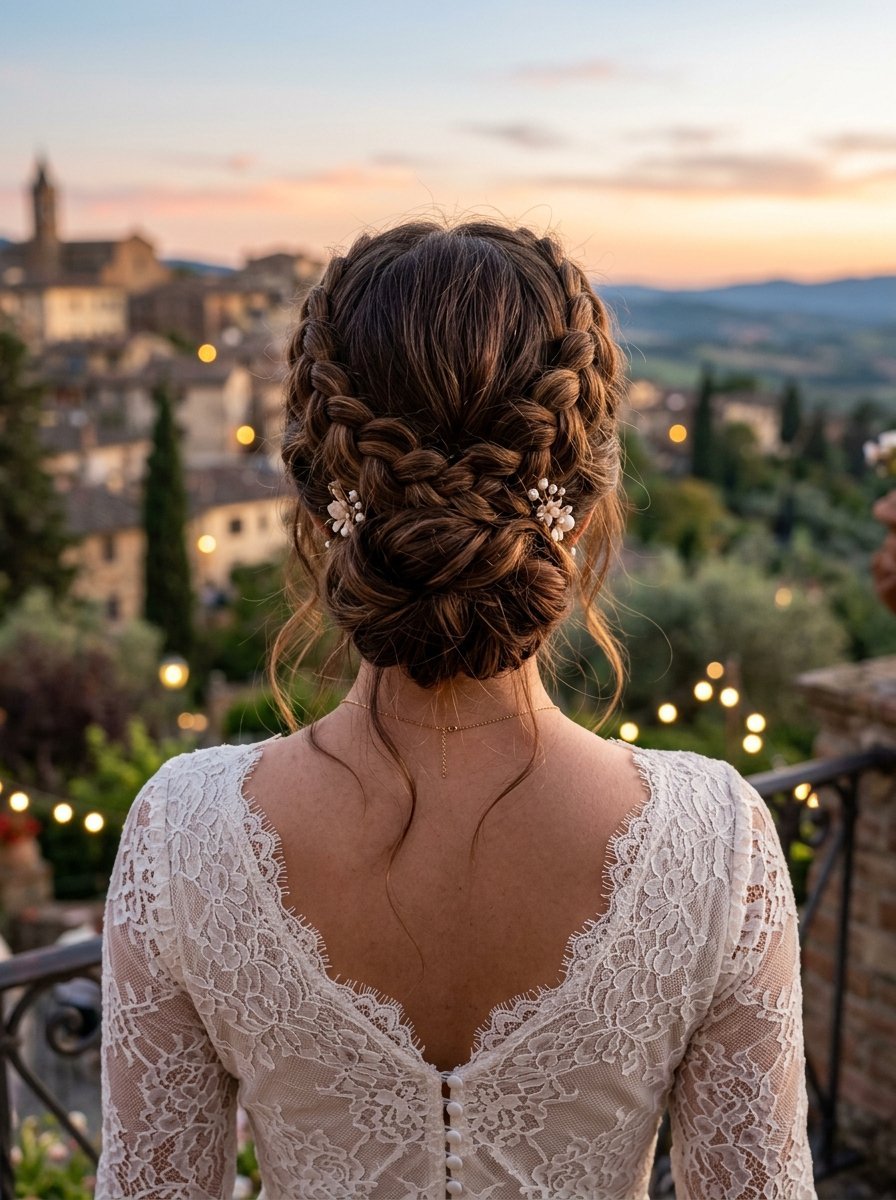
Braided crowns look incredibly romantic. They keep hair completely off your face and neck. I love this for formal gatherings where you might be dancing.
Required Tools
You need small clear elastics. Get strong hold hairspray. I use Tresemme Freeze Hold. You need about ten bobby pins. Grab a rat tail comb for clean parting.
How To Create This Look
Part your hair down the middle. Separate your hair into two low pigtails. Braid each side into a standard three strand braid. Tie off the ends with clear elastics. Pull the right braid up and over your head. Pin it securely behind your left ear. Take the left braid and pull it over your head. Pin it behind your right ear. Tuck the loose ends under the braids.
My Personal Experience
I wore this as a hairstyle bridesmaid medium hair look last spring. I realized it works perfectly for formal Christmas parties too. The trick involves pulling the braid loops slightly loose before pinning. This makes your hair look twice as thick.
4. The Pearl Embellished French Twist
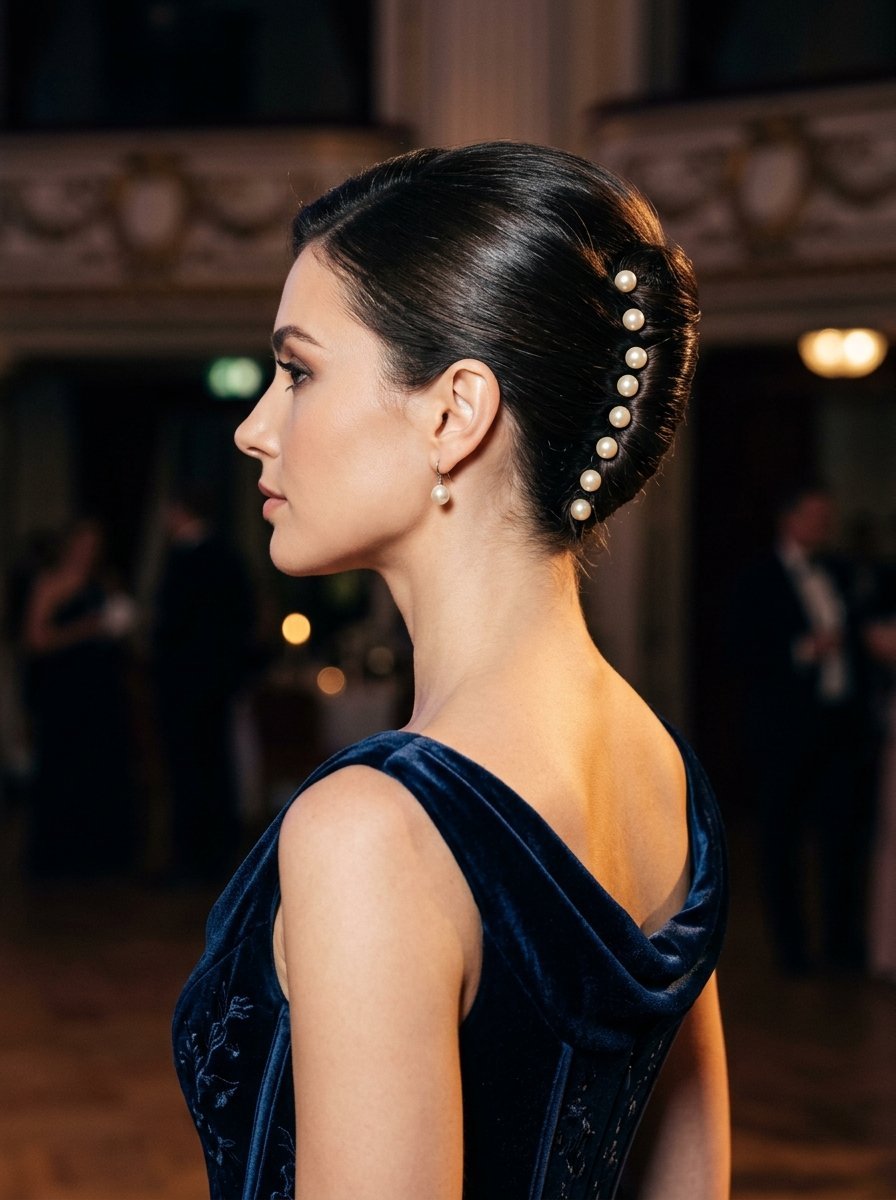
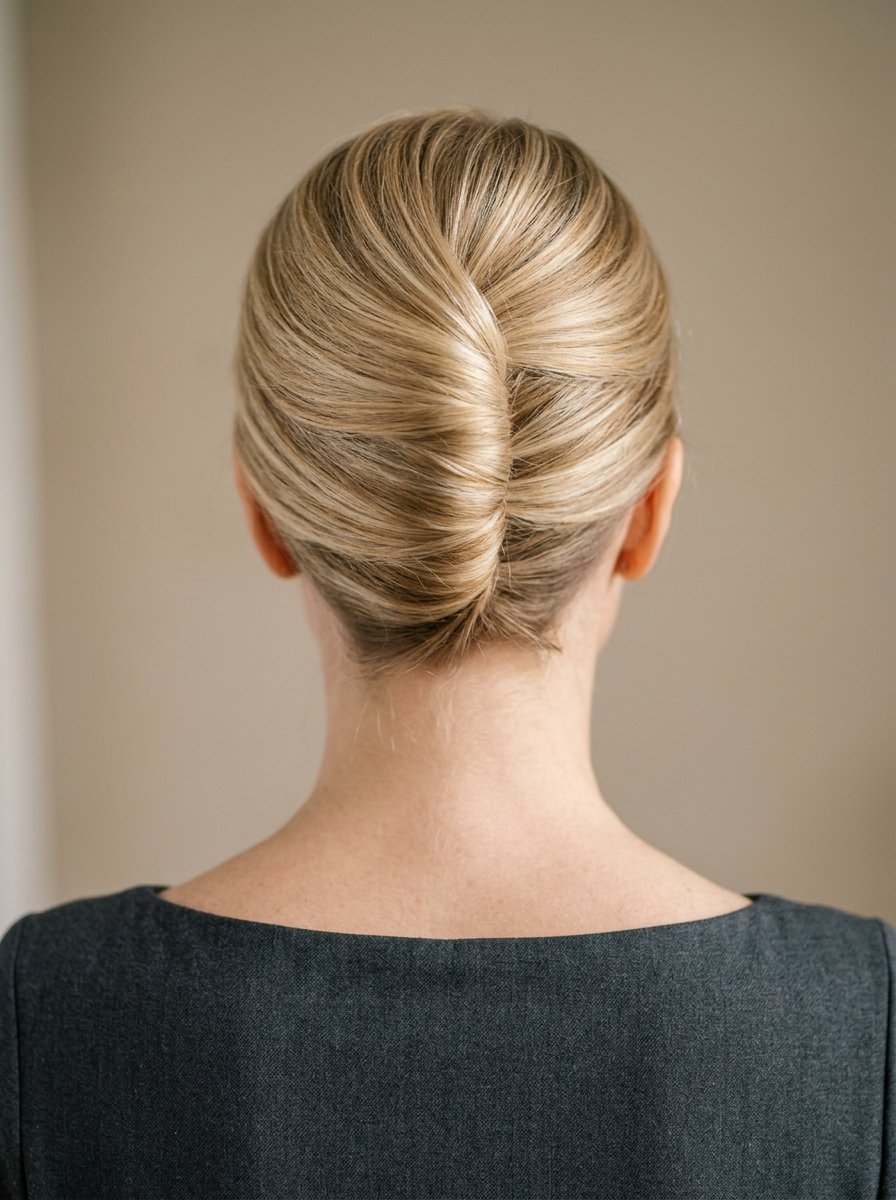
The French twist never goes out of style. Adding pearl pins gives it a modern holiday update. This is the ultimate hairstyle with gowns for formal New Years Eve galas.
Required Tools
You need a boar bristle brush. Buy decorative pearl hair pins. You can find a set of twenty on Etsy for fifteen dollars. Get a strong smoothing serum. I use Paul Mitchell Super Skinny Serum.
How To Create This Look
Apply a dime sized amount of serum. Brush all your hair over to the left side. Place a vertical row of bobby pins up the center of your head. Gather your hair in your left hand. Roll the hair tightly to the right. Tuck the ends inside the roll. Secure the roll with pins pushed horizontally. Scatter five or six pearl pins along the twist seam.
My Personal Experience
I struggled with French twists for years. The vertical pin foundation changed everything. I used this exact look when I needed a formal hair style for weeding events. It feels very secure. The pearls reflect light beautifully in photos.
5. The Textured High Updo
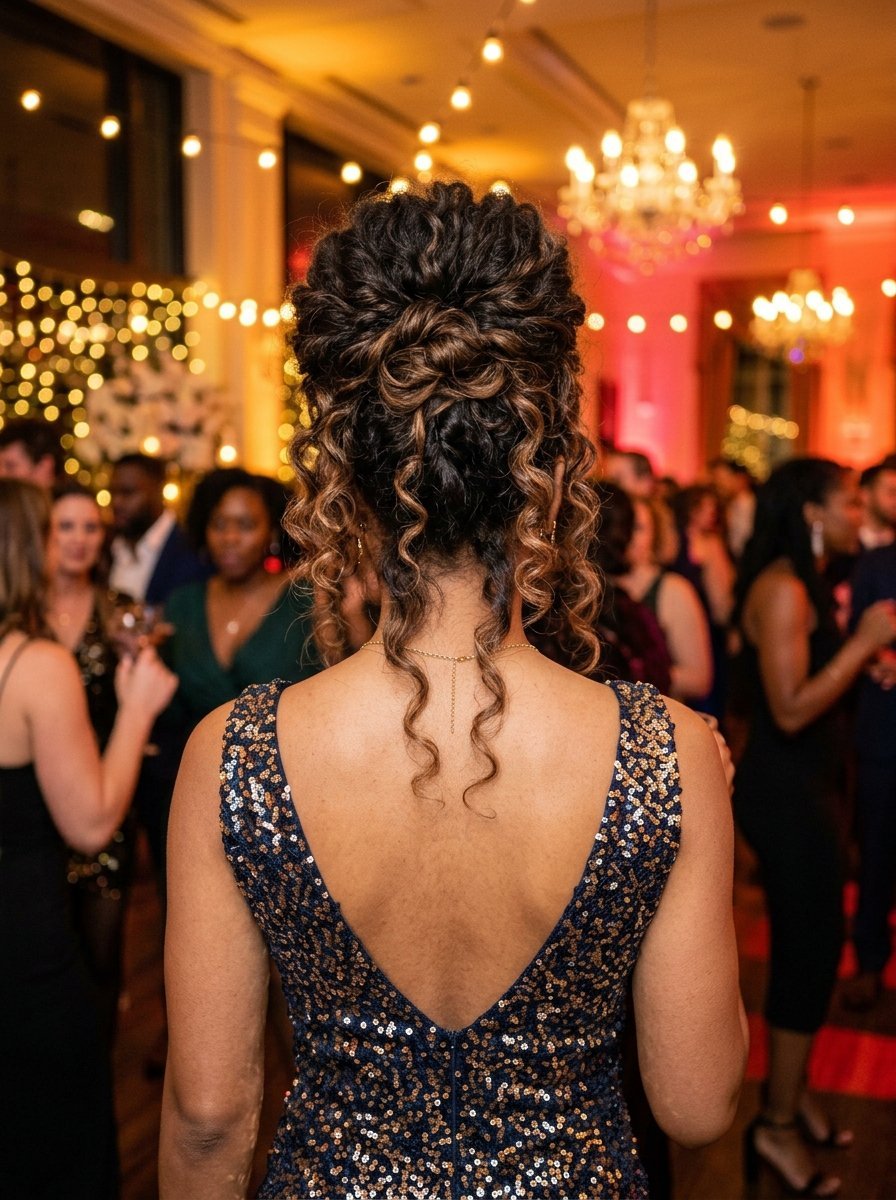
This look screams fun and festive. It keeps your hair high and bouncy. I highly recommend this as a birthday girl hairstyle or for casual cocktail parties.
Required Tools
You need a curling iron. I use the T3 Micro curling iron. You need a thick hair tie. Grab a volume powder. Batiste makes a great volume powder for eight dollars.
How To Create This Look
Curl your entire head of hair. Sprinkle volume powder at your roots. Flip your head upside down. Gather all your hair into a high ponytail. Secure it tightly. Take one inch sections of the ponytail. Loop them loosely and pin them to your head. Leave the curled ends sticking out playfully.
My Personal Experience
I love wearing this to New Years Eve parties. It looks like you spent hours at a salon. The volume powder gives your roots incredible lift. My hair naturally falls flat. This trick keeps the volume locked in all night.
6. The Sleek Middle Part Knot
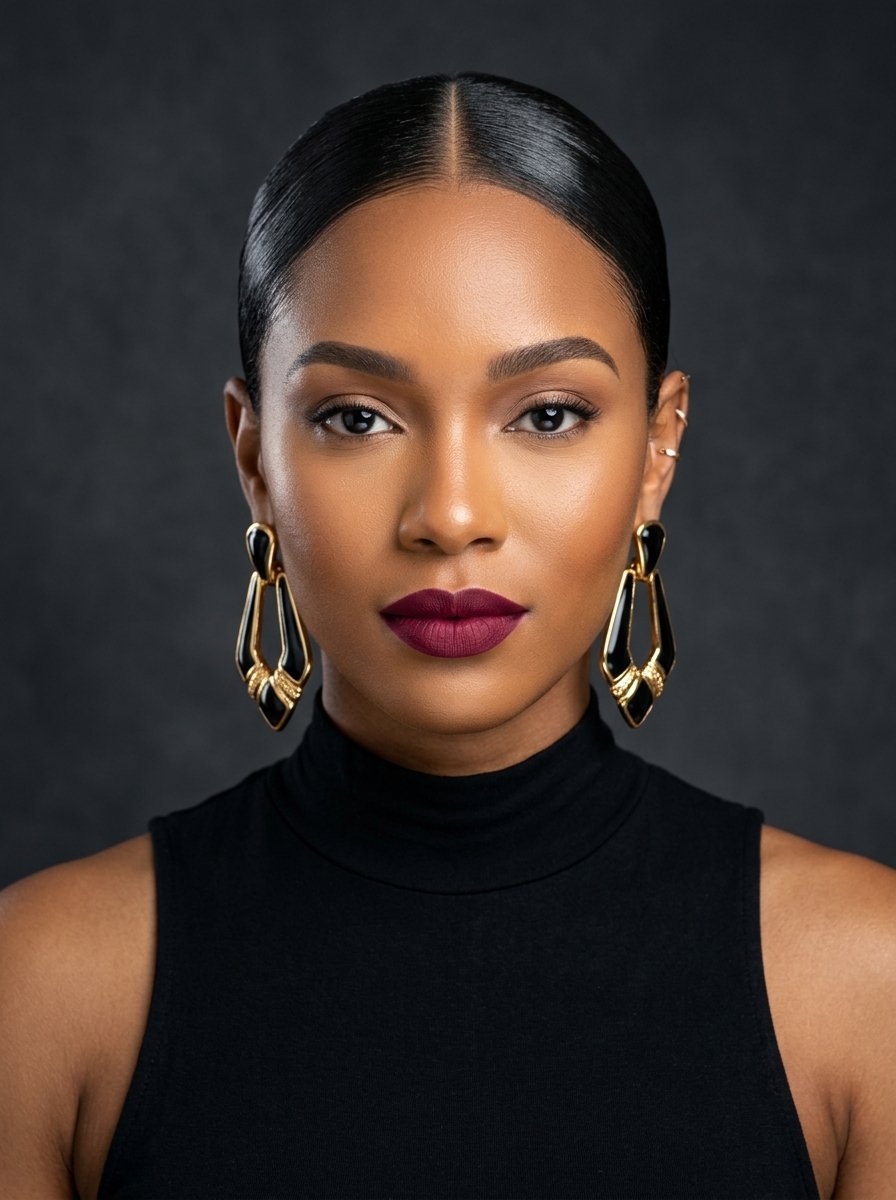
Sleek styles dominate Pinterest right now. This look is sharp and clean. It works wonderfully for conservative family gatherings or office parties.
Required Tools
You need a styling wax stick. The TIGI Bed Head wax stick costs twenty dollars. Get a dense smoothing brush. You need a strong hair tie.
How To Create This Look
Create a sharp middle part using a comb. Apply the wax stick directly to your roots. Brush your hair flat against your head. Gather everything into a ponytail at the middle of your head. Twist the ponytail extremely tight. It will naturally start to coil upon itself. Wrap it into a tight knot. Secure with pins.
My Personal Experience
This is my go to when my hair is dirty. The wax stick tames every single flyaway. I wore this to a formal dinner last month. It perfectly complements statement earrings. It takes exactly three minutes to complete.
7. The Double Rope Braid Updo
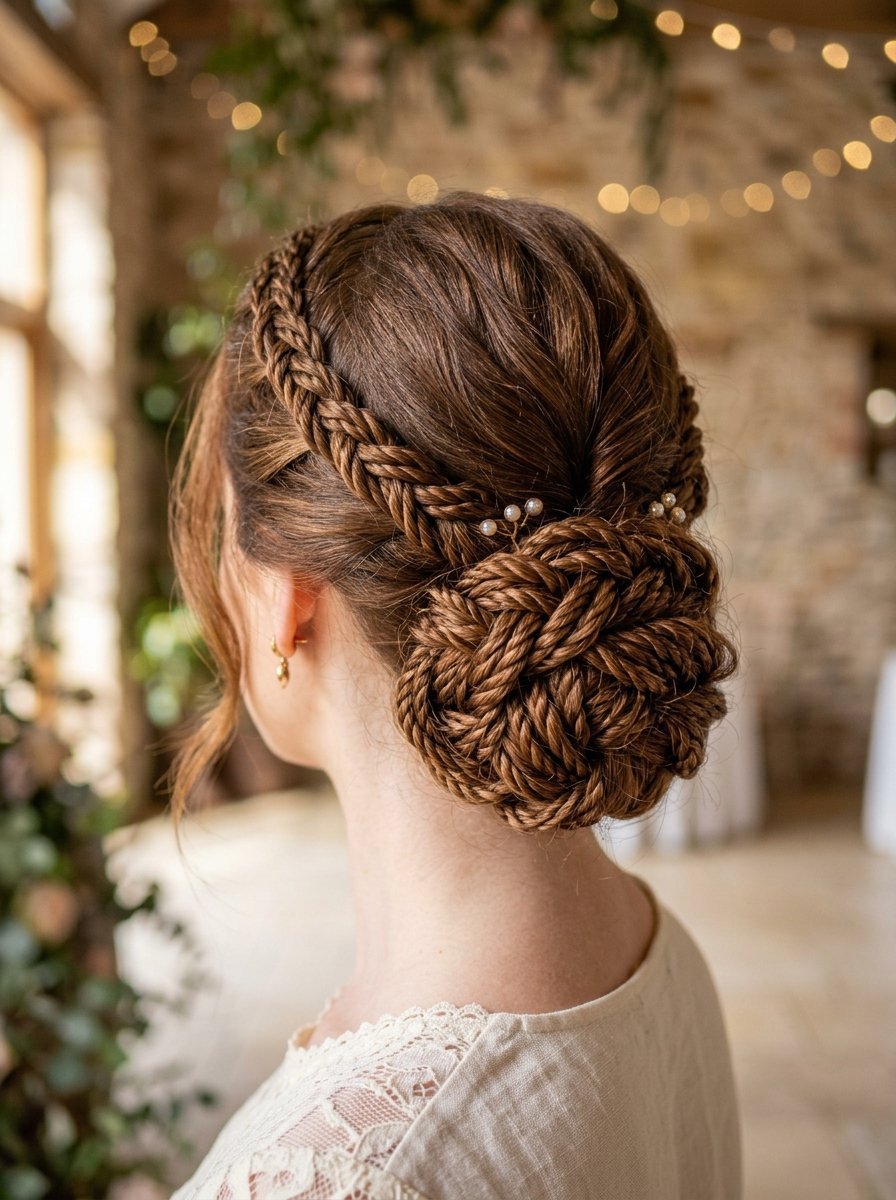
Rope braids look complicated but take seconds to do. This updo provides gorgeous texture. It ranks high for hairstyles for guest wedding events or holiday galas.
Required Tools
You need clear elastics. Grab a texture spray. You need standard bobby pins. A wide tooth comb helps prep the hair.
How To Create This Look
Divide your hair horizontally into a top half and bottom half. Tie the bottom half out of the way. Take the top half and divide it into two pieces. Twist both pieces to the right. Then cross them over each other to the left. Tie the end. Repeat this on the bottom half. Wrap both rope braids into a low bun shape. Pin securely.
My Personal Experience
I get the most questions when I wear this style. People think I paid a stylist. The twisting technique holds up incredibly well in winter weather. Even if it gets slightly messy it still looks purposeful and romantic.
8. The Sparkle Clip Side Sweep
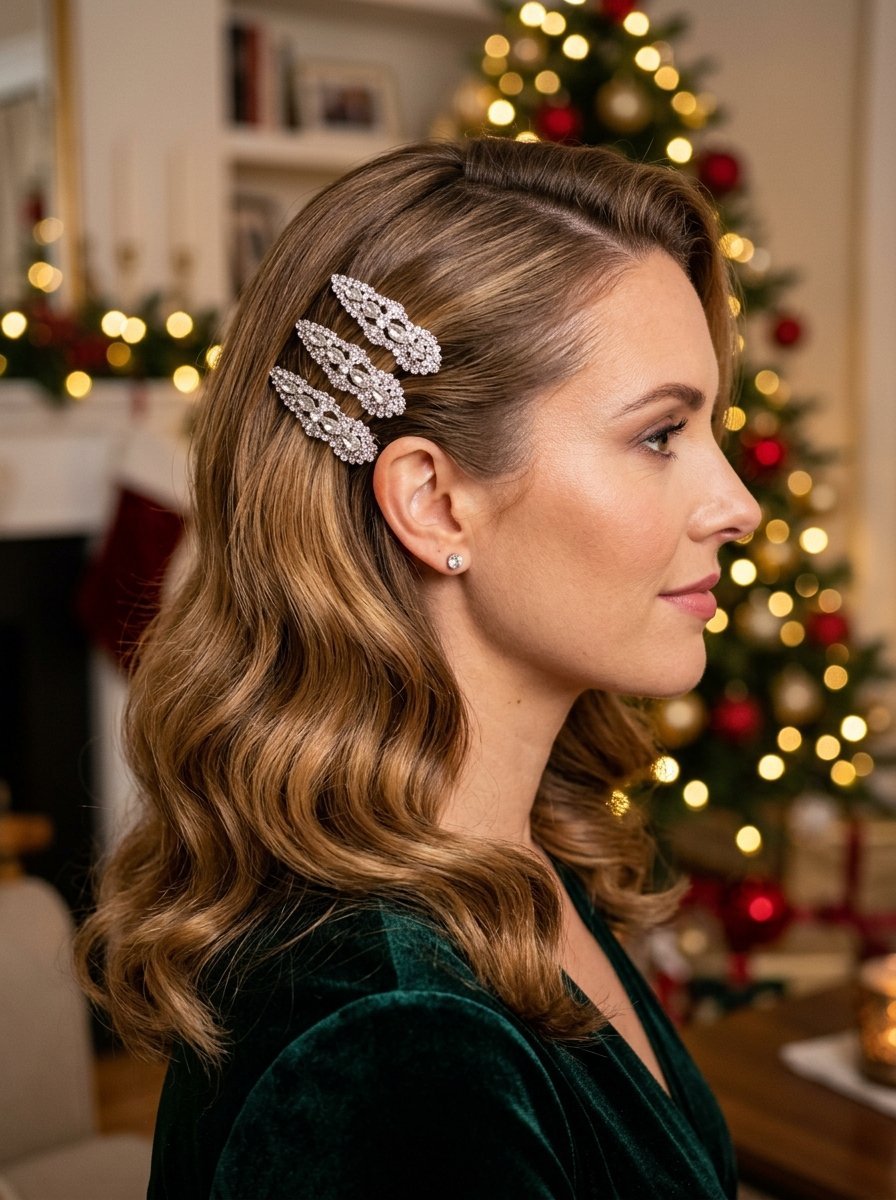
Sometimes you just want something fast with high visual impact. Statement clips do all the work here. This is perfect for those who struggle with complex styling.
Required Tools
You need a set of rhinestone or sparkle hair clips. Kitsch sells amazing rhinestone sets for twelve dollars. You need a curling wand. Get some flexible hold hairspray.
How To Create This Look
Create a deep side part. Curl your hair in loose waves. Spray lightly with flexible hairspray. On the side with less hair gather the hair tight against your scalp. Sweep it straight back behind your ear. Secure it flat against your head using two bobby pins. Place three large sparkle clips right over the bobby pins.
My Personal Experience
I wore this to a neighborhood Christmas party. The clips catch the string lights beautifully. It keeps hair out of your face while eating. It requires very little skill. Anyone can execute this flawlessly on the first try.
9. The Volume Pouf Pinned Style
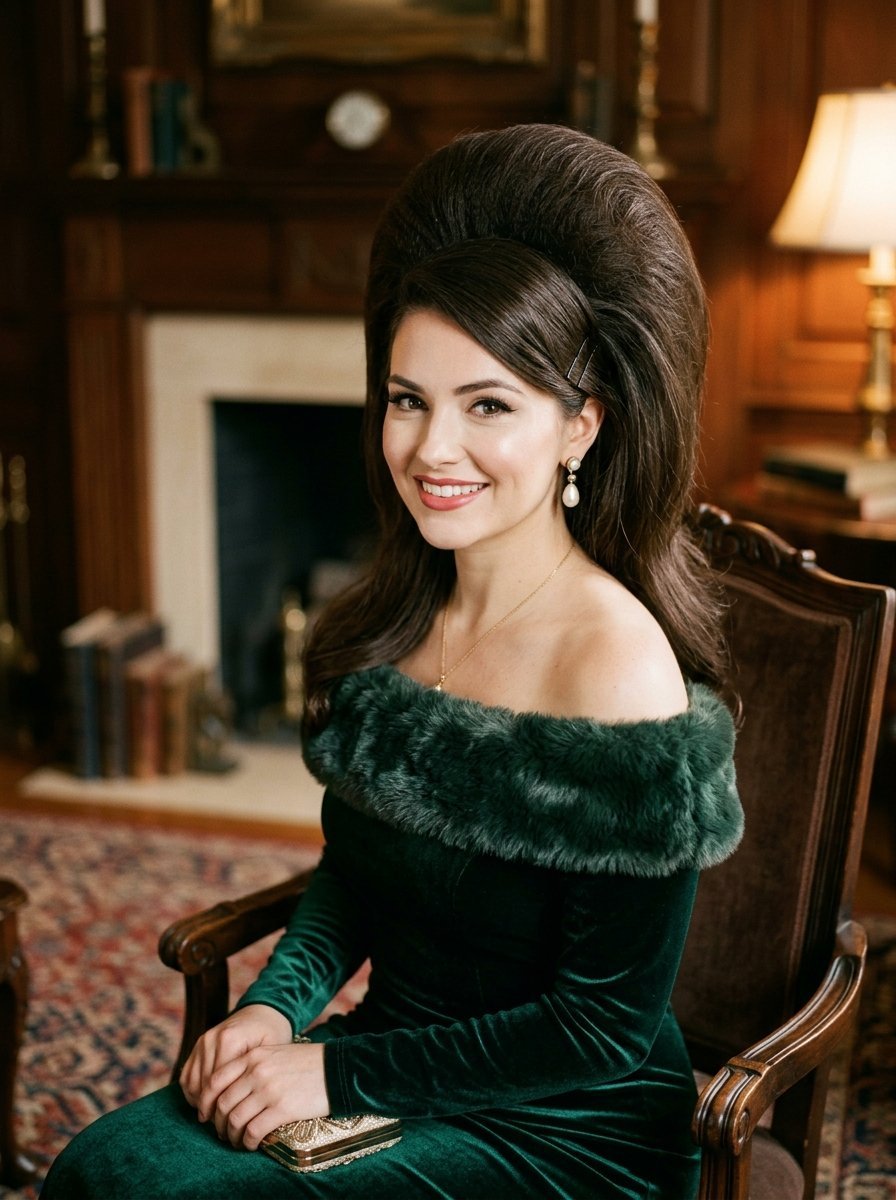
This style channels vintage glamor. It brings massive volume to the crown. It works beautifully with off the shoulder winter dresses.
Required Tools
You need a teasing comb. Get a strong root lifting spray. The Color Wow Raise the Root spray is phenomenal. You need several bobby pins matching your hair color.
How To Create This Look
Spray the root lifter at your crown. Tease a three inch section of hair at the top of your head. Smooth the top layer gently. Pin this teased section back to create a volume pouf. Gather the remaining hair from the sides. Twist them backward and pin them right under the pouf. Leave the bottom half of your hair down or pin it up into a messy bun.
My Personal Experience
I have fine hair that hates holding volume. The Color Wow spray changed my routine completely. This style gives the illusion of incredibly thick hair. I use this whenever I need a dramatic profile for photos.
10. The Bubble Braid Pinned Updo
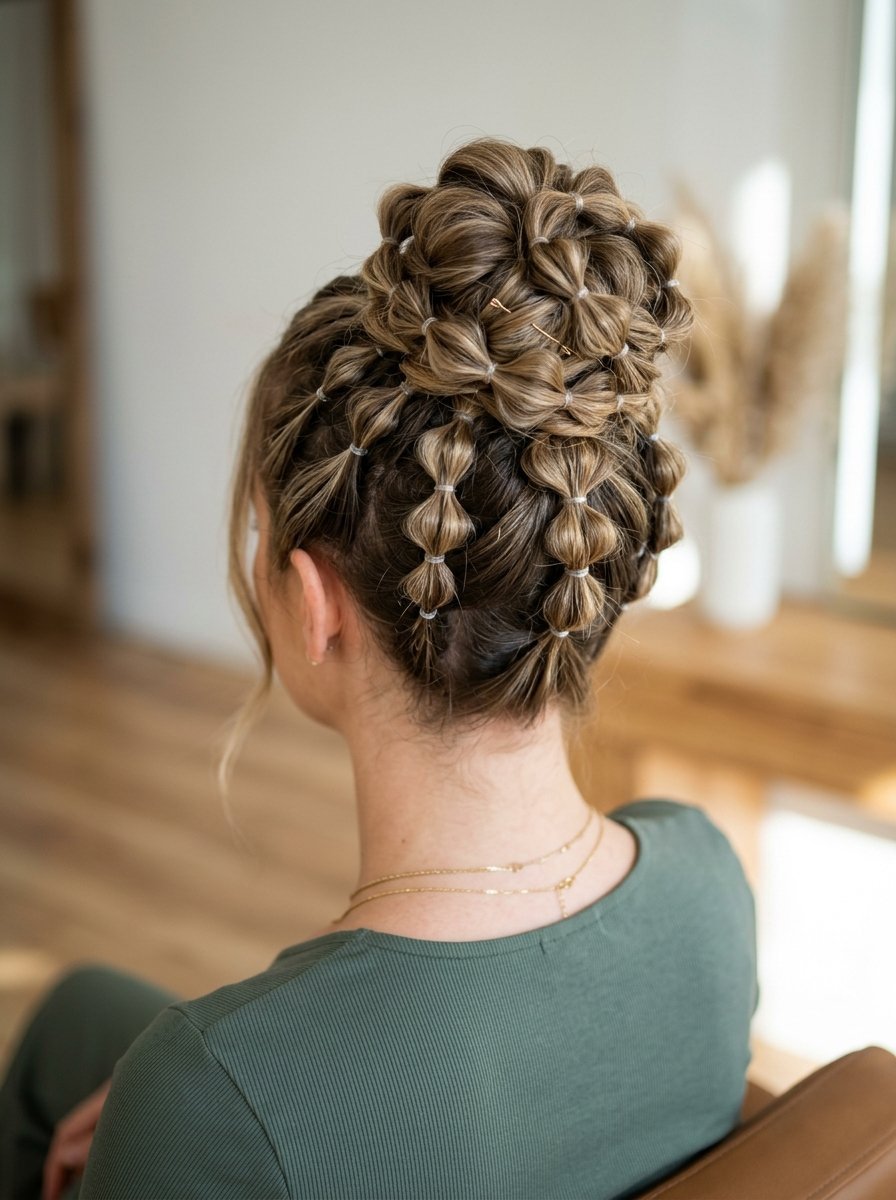
Bubble braids are playful and trendy. Pinning them up creates a unique structural look. I constantly see these as hairstyle ideas korean fashion influencers wear.
Required Tools
You need a pack of fifty clear mini elastics. Grab a light smoothing cream. The Ouai Finishing Creme works well. You need a few bobby pins.
How To Create This Look
Pull your hair into a high ponytail. Tie it off. Place a clear elastic two inches down the ponytail. Gently pull the hair between the elastics to create a bubble. Repeat this every two inches down the ponytail. Take this bubble braid and wrap it around the base like a bun. Pin it securely.
My Personal Experience
This takes more elastics than you think. I ran out the first time I tried it. Buy a huge pack. This style never budges. It survives heavy winds and active dancing. I love the youthful energy it brings to a formal outfit.
11. The Elegant Gibson Tuck
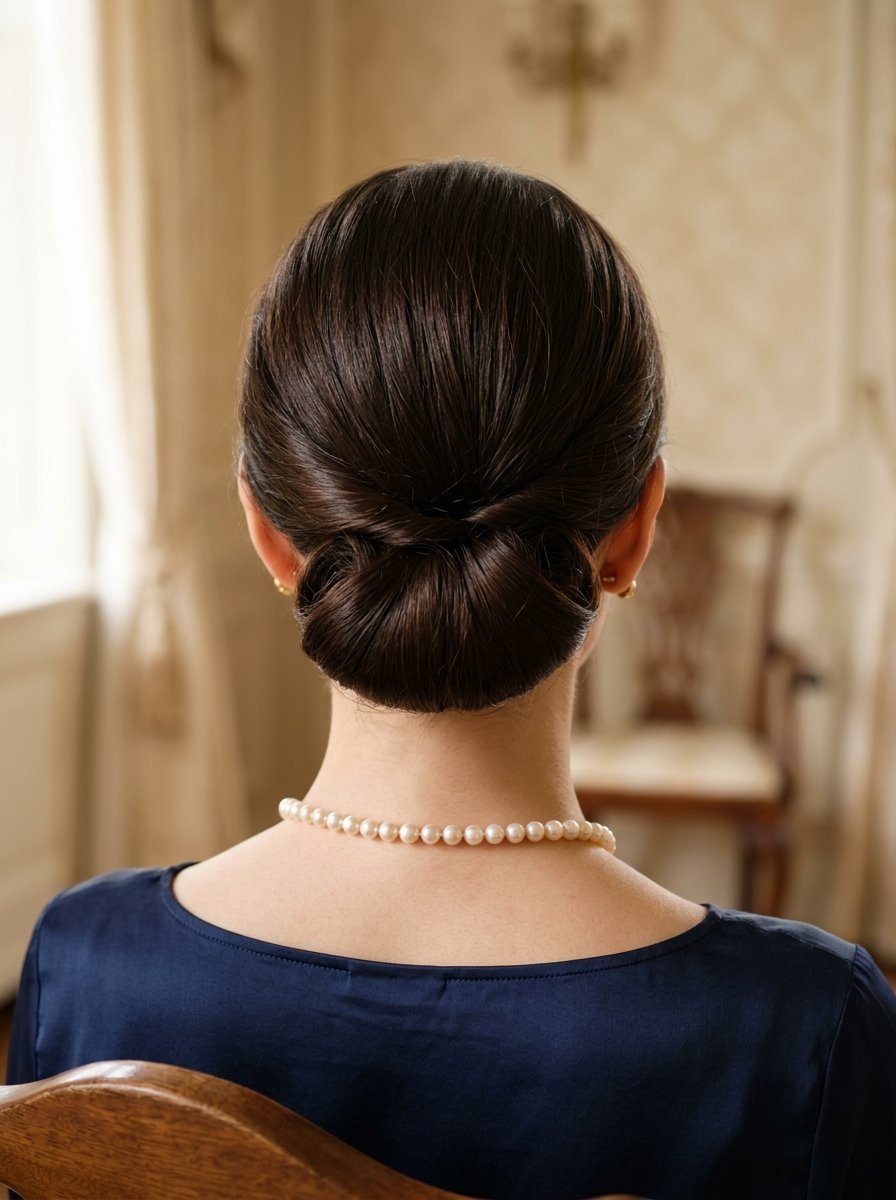
The Gibson tuck rolls your hair up into a neat pocket. It looks incredibly vintage and classy. It suits medium hair perfectly because the ends tuck away easily.
Required Tools
You need a stretchy elastic headband. Goody makes great neutral colored headbands. You need a styling comb. Get a light hairspray.
How To Create This Look
Place the stretchy headband over your hair like a crown. It should sit across your forehead or just behind your hairline. Starting from the front tuck small sections of your hair up and into the headband. Work your way around to the back. Stuff all the remaining hair into the back of the headband. Roll it tight. Pin any loose pieces.
My Personal Experience
I failed at this three times before I figured out the trick. Your hair needs some grit. Freshly washed hair slips right out of the headband. Use dry shampoo first. Once I learned that this became my fastest elegant updo.
12. The Twisted Side Chignon
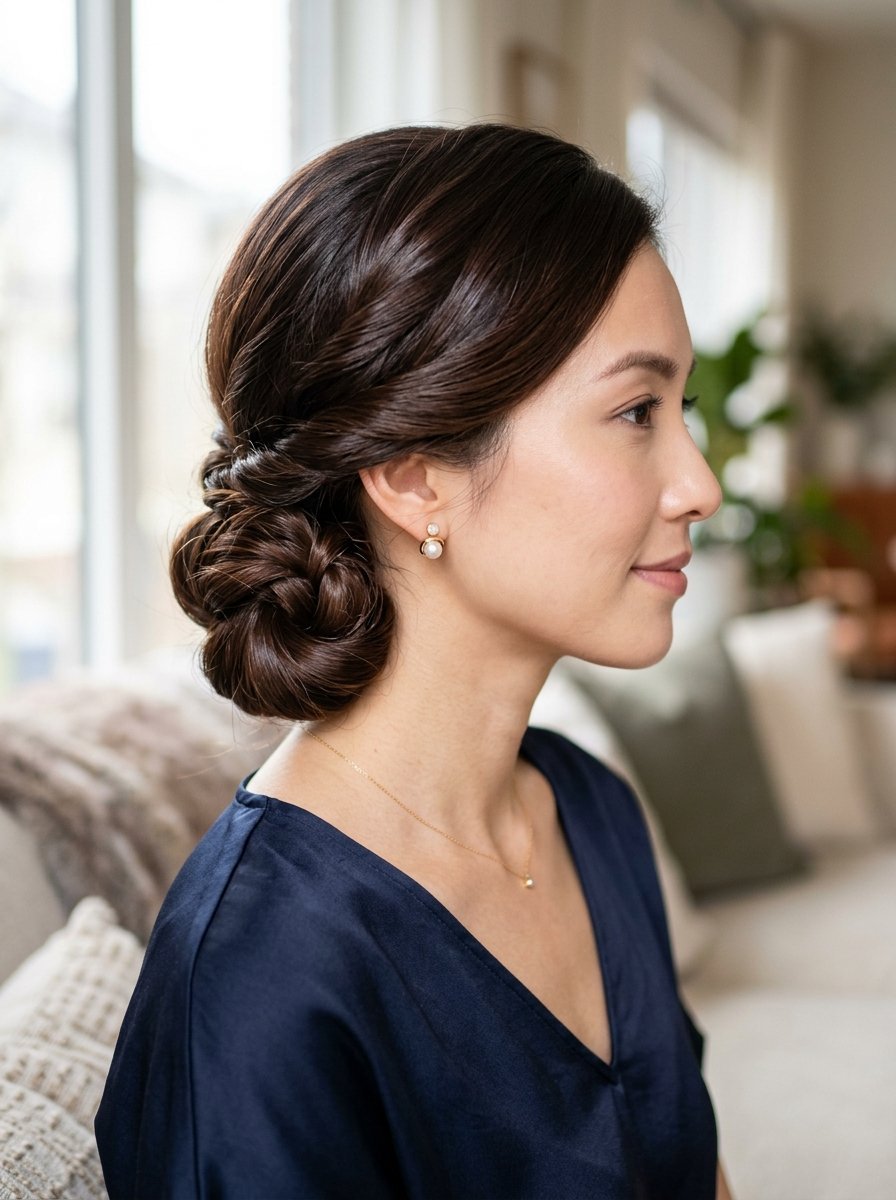
An asymmetrical style adds beautiful visual interest. A side chignon looks soft and approachable. It pairs perfectly with one shoulder tops or dresses.
Required Tools
You need a boar bristle styling brush. Grab hair elastics. You need five to eight bobby pins. Buy a shine spray. Redken Shine Flash costs twenty two dollars.
How To Create This Look
Brush all your hair over your left shoulder. Divide the hair into two equal sections. Tie them together in a literal knot near your ear. Tie them in a second knot. Secure the ends with a clear elastic. Roll this knotted section up toward your ear. Pin it flat against your head. Spray with shine spray.
My Personal Experience
I discovered this by accident when I had no mirror. Knotting the hair creates a much more secure base than twisting it. The shine spray gives it a professional glass like finish. I wear this to formal family dinners every single year.
Frequently Asked Questions
How do I make my updo last all night?
You must start with texturizing spray. Clean hair is too slippery. Apply a liberal amount of dry shampoo or texture spray to your roots and mid lengths. This gives the hair pins something to grip. Always finish with a freeze hold hairspray.
What is the best hairspray for fine hair?
I highly recommend Kenra Volume Spray 25. It costs about twenty dollars. It holds fine hair perfectly without making it look wet or crunchy. You can still brush through it the next day.
Should I wash my hair before an updo?
Do not wash your hair the same day. Day old hair holds styles much better. The natural oils give your hair structure. If you must wash it that day use a heavy mousse before blow drying.
How do I hide my bobby pins?
Push the bobby pin in backward. Catch a small piece of hair with the open end of the pin. Turn the pin over and push it into the bun. The pin will slide entirely under the hair and disappear.
Can I do these styles with layered hair?
Yes you can. Layers often stick out of buns and braids. Use a strong styling wax or pomade on the ends of your layers before styling. This glues the ends together. Pin any runaway layers separately.
What is the right way to use dry shampoo?
Hold the can ten inches away from your scalp. Spray it purely on the roots. Let it sit for two full minutes before touching it. This gives the powder time to soak up the oils. Massage it in with your fingers.
How do I get more volume at the roots?
You need to backcomb the hair properly. Take a one inch section of hair. Hold it straight up. Push a fine tooth comb down toward the scalp three times. Spray the teased area with hairspray immediately.
Are U shaped pins better than bobby pins?
U shaped pins hold significantly more hair than standard bobby pins. They work perfectly for securing thick buns or French twists. Standard bobby pins work better for holding small sections or taming flyaways flat against the head.
How do I stop my scalp from showing?
Use a root touch up powder. Color Wow makes a great root powder. Take a small brush and dab the colored powder directly onto your scalp where the hair parts too widely. It creates the illusion of dense hair.
What styles work best with high neck dresses?
Always put your hair entirely up when wearing a high neck dress. Topknots classic chignons and French twists work best. Leaving your hair down with a high neckline makes your neck look very short.
How do I secure heavy hair?
Use spin pins instead of standard pins. Spin pins look like tiny metal corkscrews. You twist them into your bun. One spin pin holds the same amount of hair as twenty regular bobby pins. They are life savers for thick hair.
Should I curl my hair before putting it up?
Curling your hair first makes updo styling much easier. Straight hair slides out of twists and braids. Curls provide built in texture and movement. Even a fast sloppy curl job improves the final updo drastically.
Final Thoughts
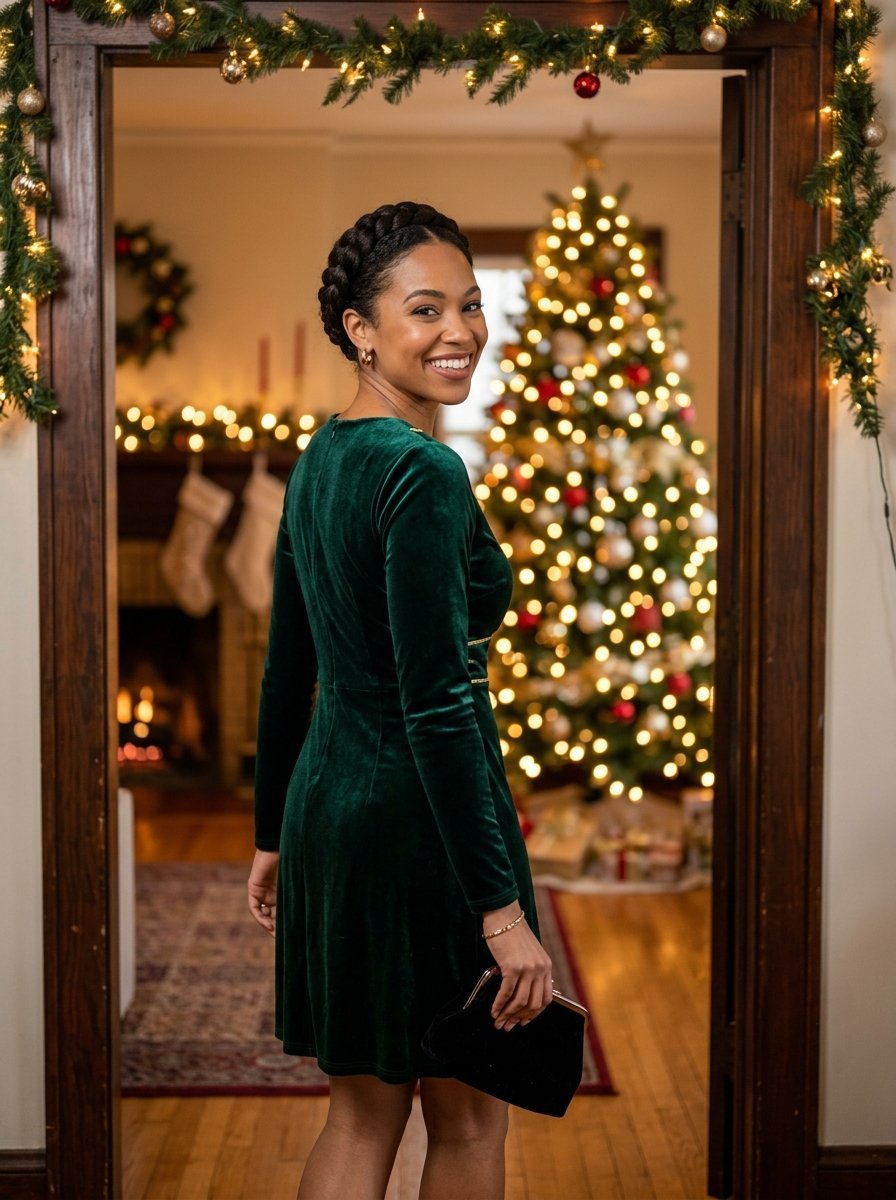
I look back at that panicked moment in front of the mirror with a smile now. Hair styling should never cause you stress before a fun event. You now have twelve specific routines to rely on. These styles save you money. They save you massive amounts of time. You do not need to be a professional to make your hair look completely stunning. Grab your pins and your spray. Try one of these looks tonight before your shower. Which style are you going to try for your next big holiday party?

Sarah Mitchell — Founder & Editor-in-Chief
Sarah Mitchell is the founder and editorial voice behind Hair Level Up. A licensed cosmetologist with more than 15 years of experience, she has styled A-list celebrities for editorial shoots and red carpets, with work featured in Vogue, Elle, and Harper’s Bazaar. Early in her career, she trained under the legendary hairstylist Oribe in New York, an apprenticeship that still shapes her editorial eye today. Sarah founded Hair Level Up in 2020 after one bad haircut convinced her that women deserved a destination that felt like a magazine, taught like a stylist, and inspired like an art gallery. She oversees every story from concept to publication, guided by a simple belief: a good story teaches you something, but a great one makes you feel beautiful while it does.