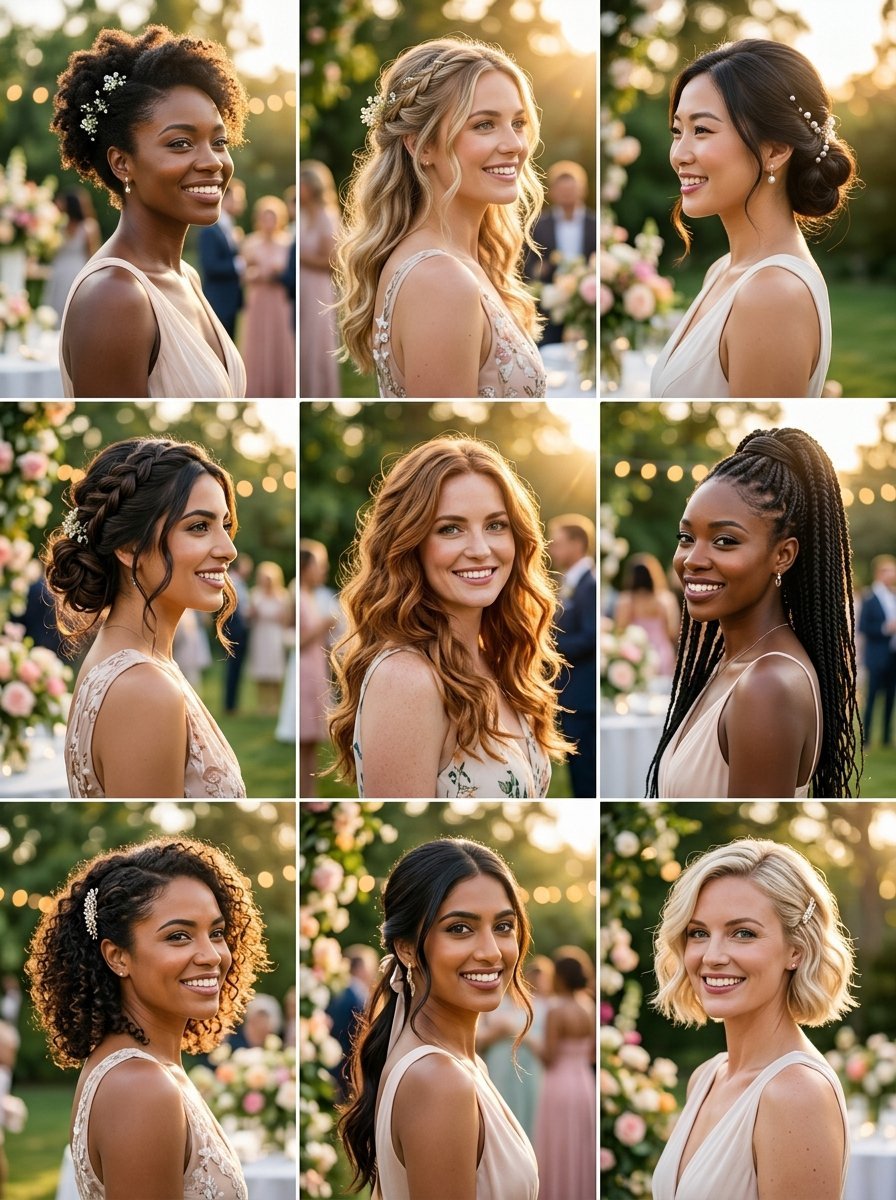
Spring Wedding Guest Hairstyles This Year
The morning sun streams through the window as your phone buzzes with a calendar alert. The date is circled in gold: your best friend’s wedding is finally here. You look at your dress hanging on the closet door, a gorgeous piece that fits perfectly, but panic sets in as you face the bathroom mirror. Your hair is flat, uncooperative, and completely lacks that effortless, romantic movement you saw on your social media feeds last night. Standard salon bookings are completely full, and the pressure to look polished without appearing overdone feels immense. Achieving that balanced aesthetic is a challenge every wedding attendee faces. You want something that stays secure through hours of dancing, looks stunning in professional photographs, and takes less than thirty minutes to create.
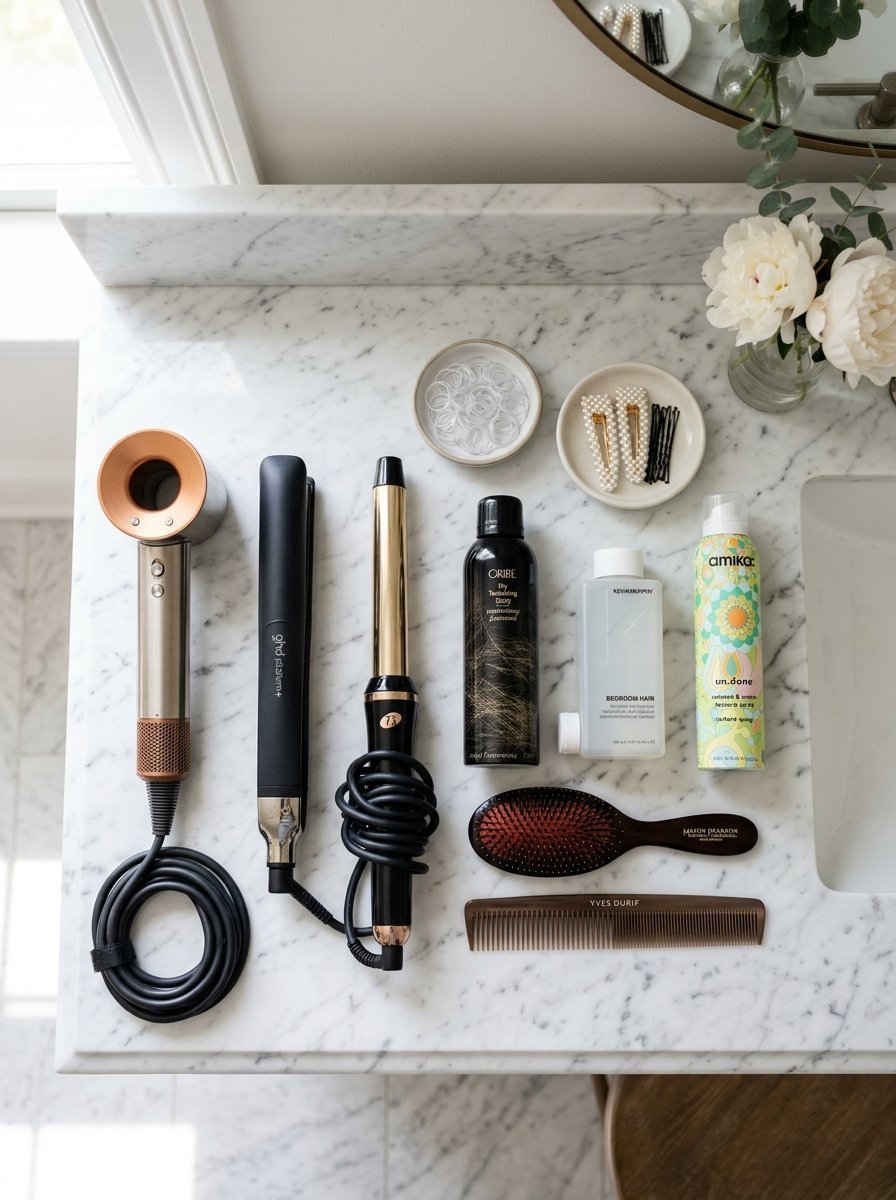
This deep dive changes everything about your special occasion hair routine. This guide breaks down ten distinct, reliable styles that deliver maximum visual impact with minimal frustration. You will learn the exact texturizing methods that professional stylists use behind the scenes to make fine hair look thick and keep thick hair from falling flat. This tutorial covers precise pin placement, heat setting timelines, and product combinations that prevent your style from drooping before the reception even begins. We will review how to match your choice to your specific neckline, how to prep your texture the night before, and how to fix common mistakes like exposed bobby pins or stiff, crunchy hair. By the time you finish reading, you will possess a complete roadmap to executing a picture-perfect look right at your own vanity.
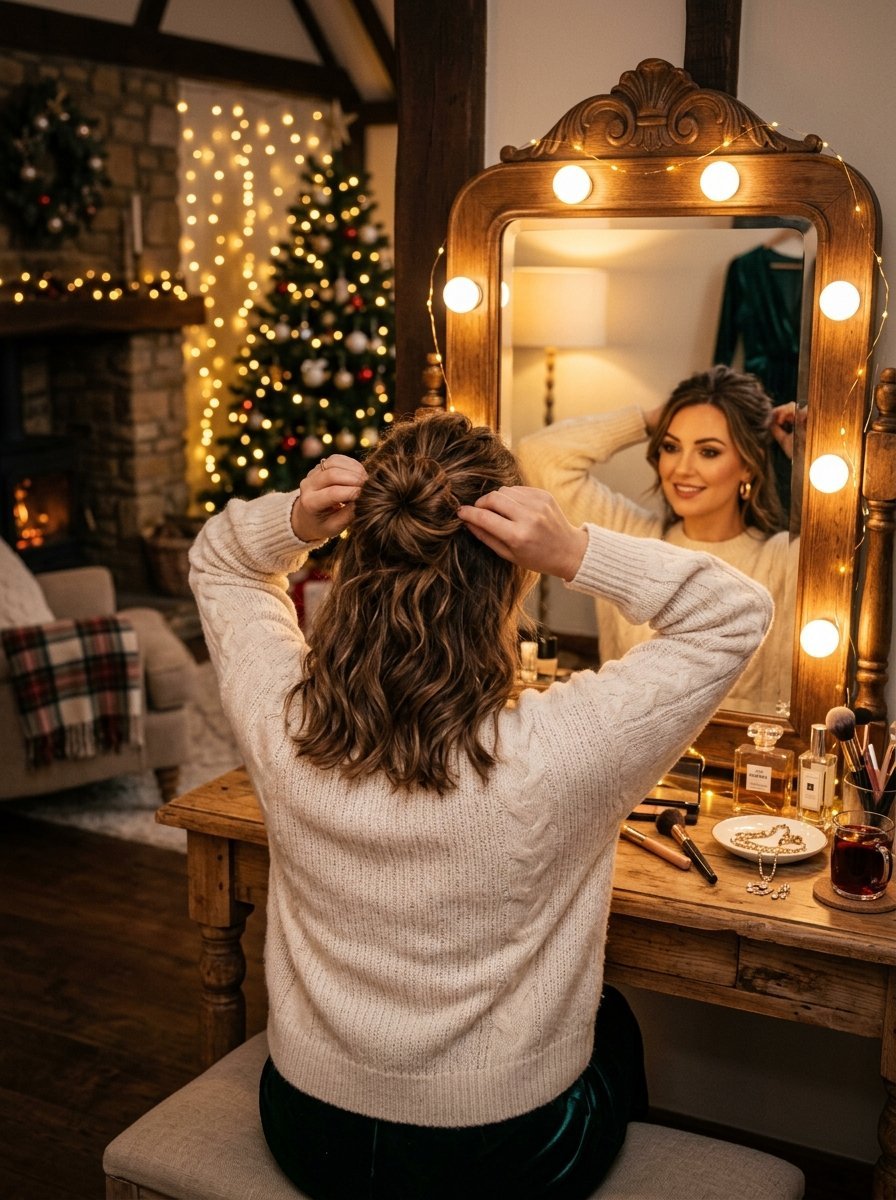
1. The Dimensional Half Up Half Down Braid With Textured Bangs
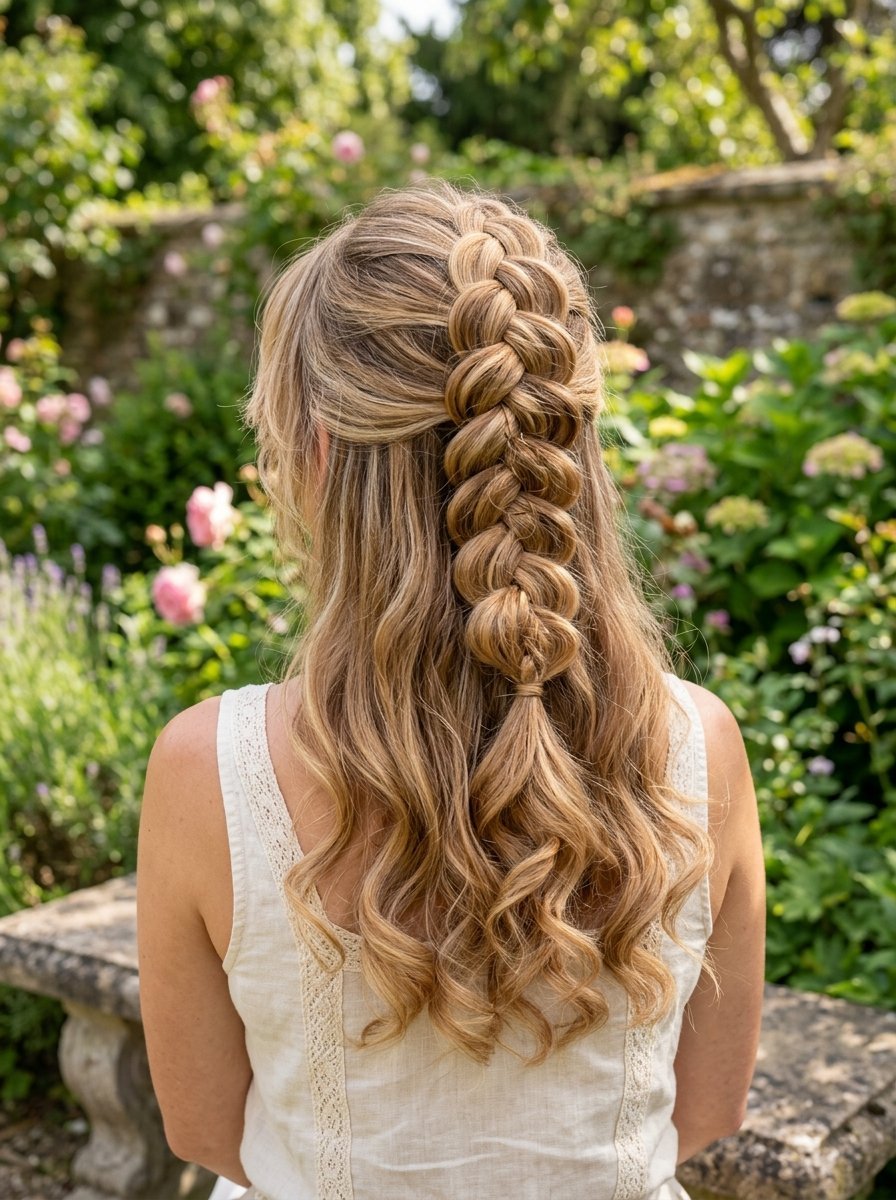
A classic half-up design offers the security of an updo with the soft framing of a down style. This variation incorporates dimensional plaiting to lift the crown, while loose front strands frame your face to create movement. It works beautifully on medium to long lengths and adds instant volume to finer textures.
Start by prepping dry hair with a generous mist of texturizing spray to give the strands grip. Isolate your bangs and a few fine strands around the money piece areas to frame your face later. Gather the top section of hair from just above the ears, pulling it toward the back of your head. Separate this section into three equal parts and create a loose, classic three-strand plait.
Secure the end with a small, clear elastic band. Hold the base of the braid with one hand while using your other hand to gently pull at the outer edges of each loop. This pancaking technique widens the plait, making fine hair appear twice as thick. Wrap a small piece of loose hair around the elastic to hide it, tucking the end underneath and securing it with a bobby pin pushed upward into the base. Finish by running a flat iron over your bangs, curving them slightly outward to catch the light.
2. The Polished Front Twist Hair Framework
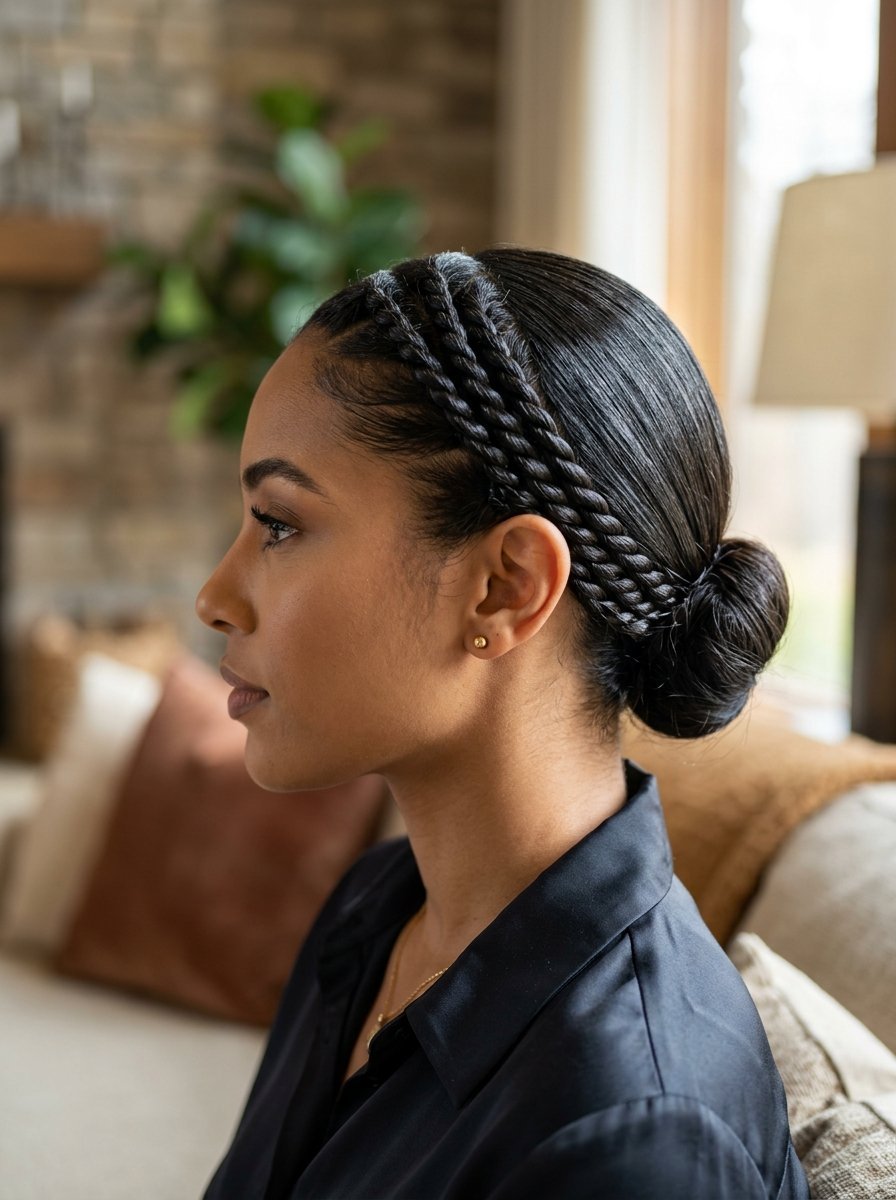
This sleek approach offers a modern alternative to traditional braiding by using two-strand rope twists to pull hair away from the face. It keeps your hair completely out of your eyes while showcasing the length and shine of your down hair. This option shines brightest on silky, straight, or gently waved textures.
Create a clean center part using a metal pin tail comb for precision. Separate a two-inch wide section of hair along the front hairline on the left side. Divide this small section into two equal halves. Twist the front piece over the back piece, away from your face.
As you move down the hairline, add a tiny bit of loose hair to the front strand before crossing it over again, similar to a French braiding technique but using only two strands. Continue this pattern until you reach the top of your ear. From this point, finish twisting the remaining length normally without adding new hair.
Pull the completed twist tightly toward the back of your head, positioning it flat against your scalp just behind your ear. Slide two bobby pins over the twist in an ‘X’ shape to lock it firmly in place. Repeat this identical process on the right side of your head. Mist the back length with a lightweight gloss spray to create a uniform, luminous finish.
3. The Seamless Half Up Hair For Bridesmaids
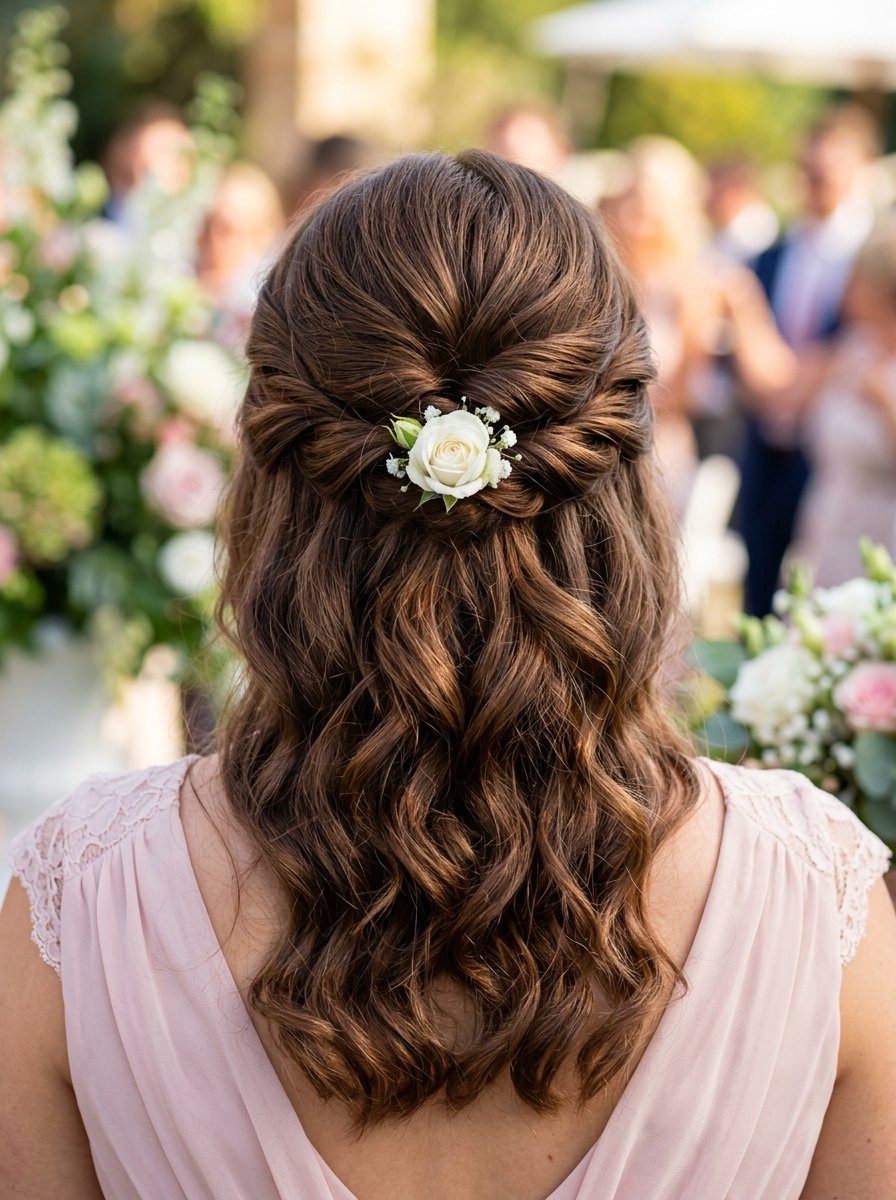
Bridesmaids need a style that looks unified in group photos but adapts easily to different hair thicknesses. This seamless design uses hidden anchors to create a soft, romantic drape across the back of the head without creating an awkward bulge or lump. It functions perfectly as a canvas for securing a decorative comb or fresh floral accents.
Gather a one-inch section of hair from the left temple and a matching one-inch section from the right temple. Bring both sections to meet at the exact center back of your head. Tie them together securely using a single clear elastic band, creating a small half-up ponytail.
Create a small opening in the hair just above the elastic band by separating it with your fingers. Lift the tail of the ponytail up, loop it over the band, and push it down through the opening to create a simple inversion flip. This action creates two beautiful, rolled pockets of hair on either side of the elastic.
Take a new one-inch strand of hair from just below your left ear, pull it back, and tuck it directly down through the left rolled pocket. Repeat this step on the right side with a strand from below the right ear. Tug the ends gently to tighten the structure. This layering hides the elastic completely and builds a cascading, tiered appearance that stays secure all day.
4. The Modern Half Up With Bold Money Pieces
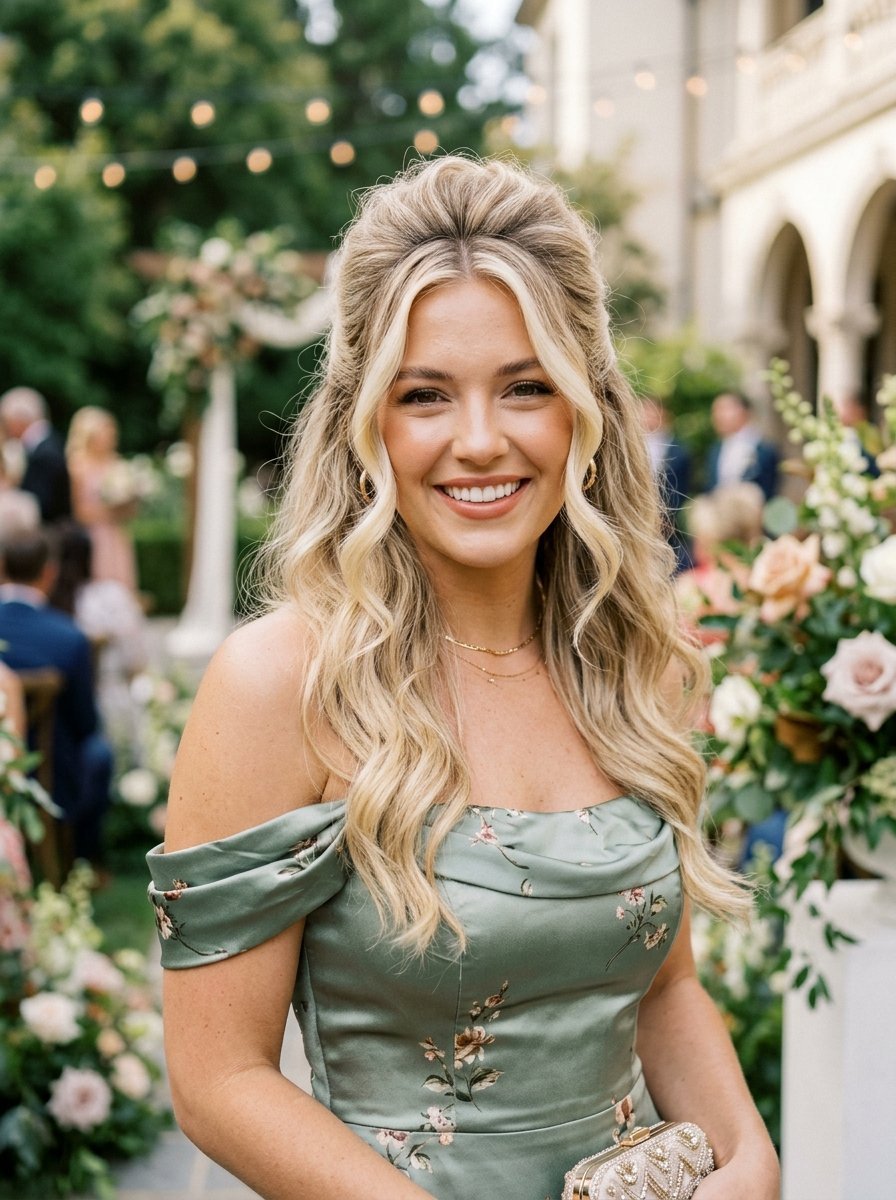
This look focuses heavily on the front profile, making it excellent for high-necked gowns or bold statement jewelry. By pulling the sides back tightly and leaving chunky, well-defined front sections free, you create a striking contrast that flatters round and oval face shapes.
Section off the front portions of your hair, starting from the center part down to the front of your ears on both sides. These are your money pieces; clip them away so they stay completely separate. Comb the remaining hair on the sides of your head up and back toward the upper crown, smoothing any bumps with a boar bristle brush.
Secure this top section tightly with a sturdy elastic that matches your hair color. To create a lifting effect, split the ponytail tail into two sections and pull them firmly in opposite directions, which slides the elastic closer to your scalp. Unclip your front money pieces.
Apply a light coat of heat protectant to these front strands. Using a one-and-a-half-inch curling iron barrel, wrap the money pieces away from your face, keeping the iron vertical. Let the curls cool completely for five minutes, then brush through them gently with your fingers to transform the tight coils into soft, face-framing waves.
5. The Effortless Down Do For Sophisticated Bridesmaids
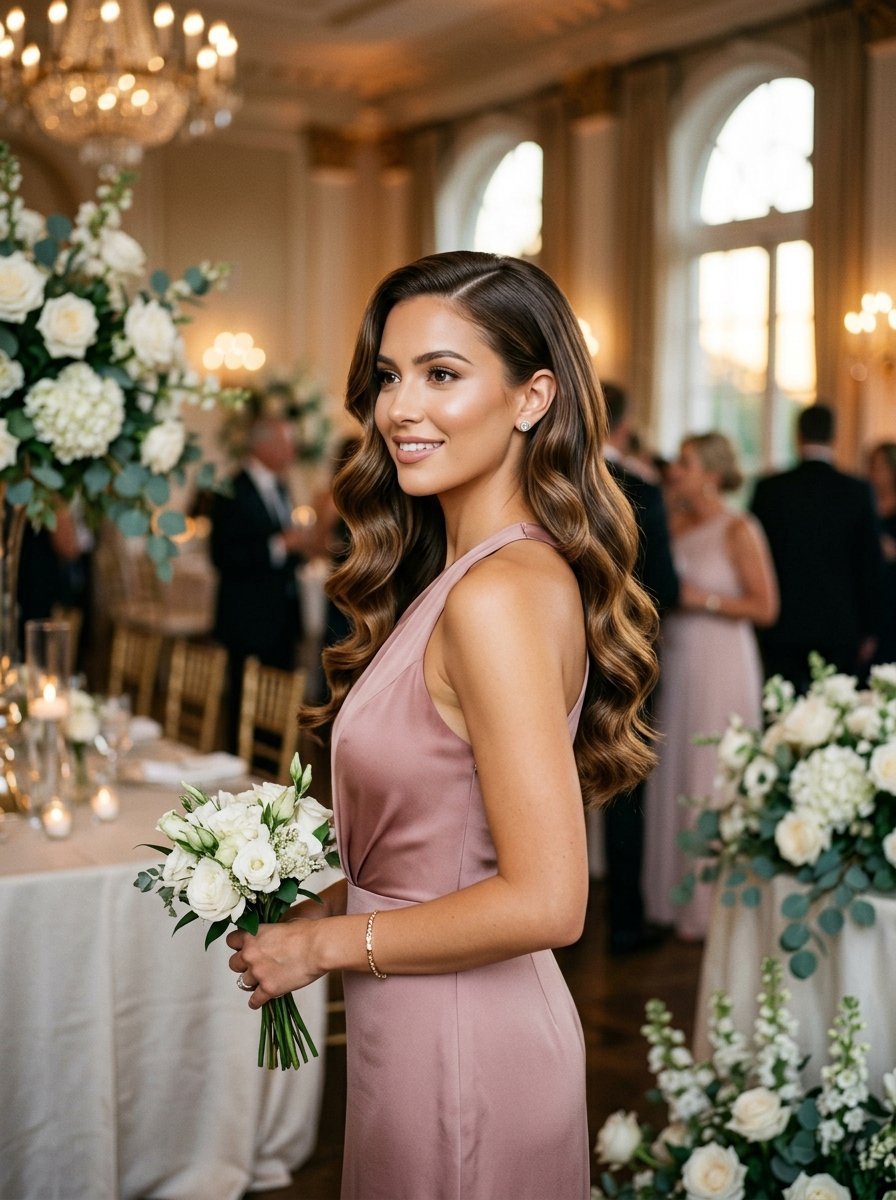
When a bridal party prefers a fully down style, the main challenge is preventing the hair from looking like a basic, everyday blowout. This look utilizes a deep side part and structured, Hollywood-inspired waves that stack together perfectly. It offers a formal look while letting the hair flow naturally over the shoulders.
Establish a deep side part that aligns directly with the highest arch of your left eyebrow. Work in horizontal layers starting from the nape of your neck, clipping the top hair out of the way. Take a one-inch wide section of hair, place a one-inch curling iron barrel horizontal to the floor, and wrap the hair around it from ends to roots. Ensure you curl every single section in the exact same direction, wrapping downward toward the floor.
Hold the iron in place for five seconds, then slide the barrel out while keeping the curled coil intact in your palm. Clip the hot coil flat against your scalp using a metal duckbill clip. Repeat this process across your entire head.
Allow the pinned coils to cool completely for fifteen minutes while you apply your makeup. Remove all the clips carefully. Mist a flat paddle brush with flexible hold hairspray, then brush through the curls from roots to ends. The separate curls will magically lock together, creating a singular, glossy wave pattern that moves beautifully.
6. The Quick Red Carpet Ribbon Wave
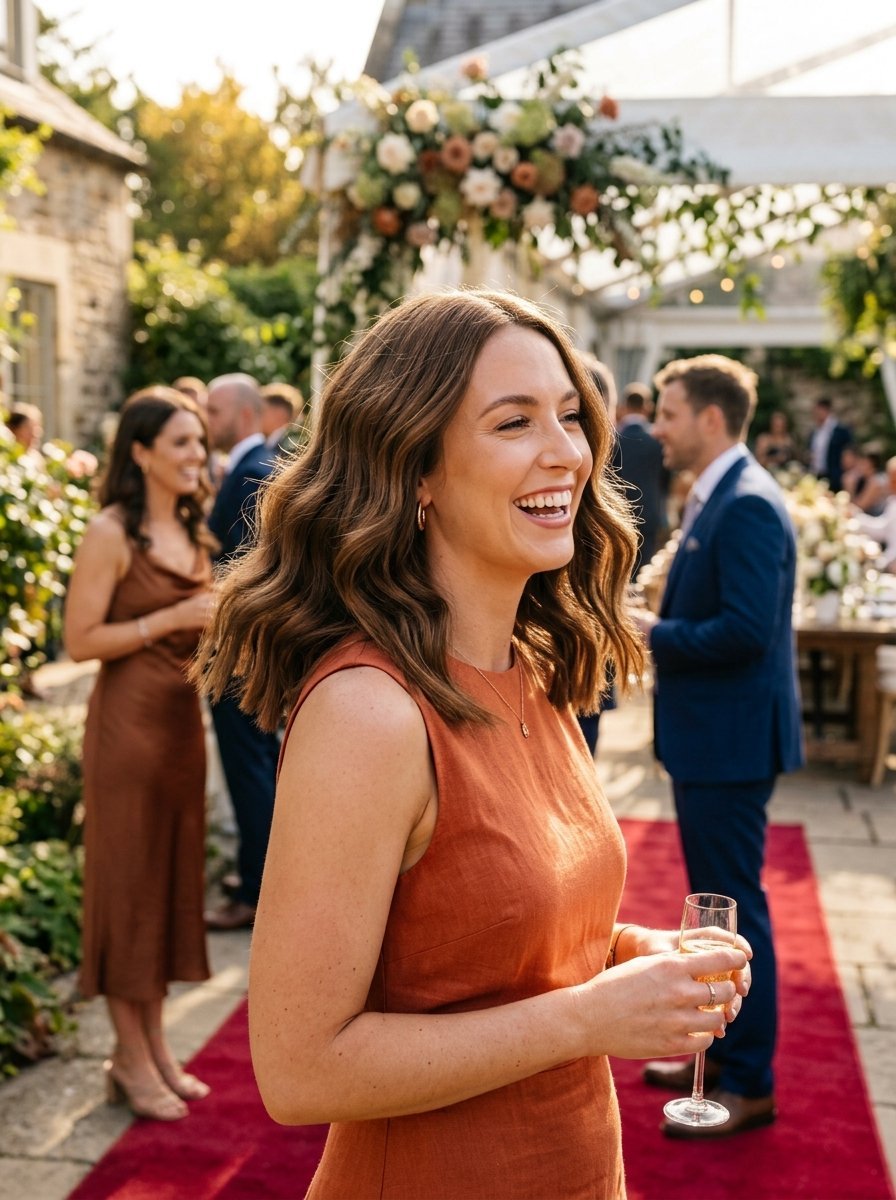
This option is perfect for guests who are short on time but still want a highly polished look. It relies on a flat iron technique that creates flat, ribbon-like bends in the hair rather than round curls. It is incredibly quick to execute and holds its shape well in humid outdoor environments.
Divide your hair vertically down the center back, then split each side in half to create four large quadrants. Working on the front left quadrant, hold a flat iron with the heating plates facing straight up. Clamp the iron into the hair roughly three inches down from your roots.
Immediately pivot your wrist one hundred and eighty degrees backward, wrapping the strand over the top of the iron. Maintain light pressure on the plates as you glide the iron slowly and smoothly straight down toward the floor. Keep the iron moving constantly to avoid creating harsh crease marks.
Stop sliding when you reach one inch before the ends, leaving the tips completely straight. This contrast gives the style its modern, red-carpet edge. Repeat this single motion on the remaining three sections of hair. Once the hair cools, tilt your head backward and spray a dry texturizing mist onto your roots, shaking the style out with your fingers to create effortless body.
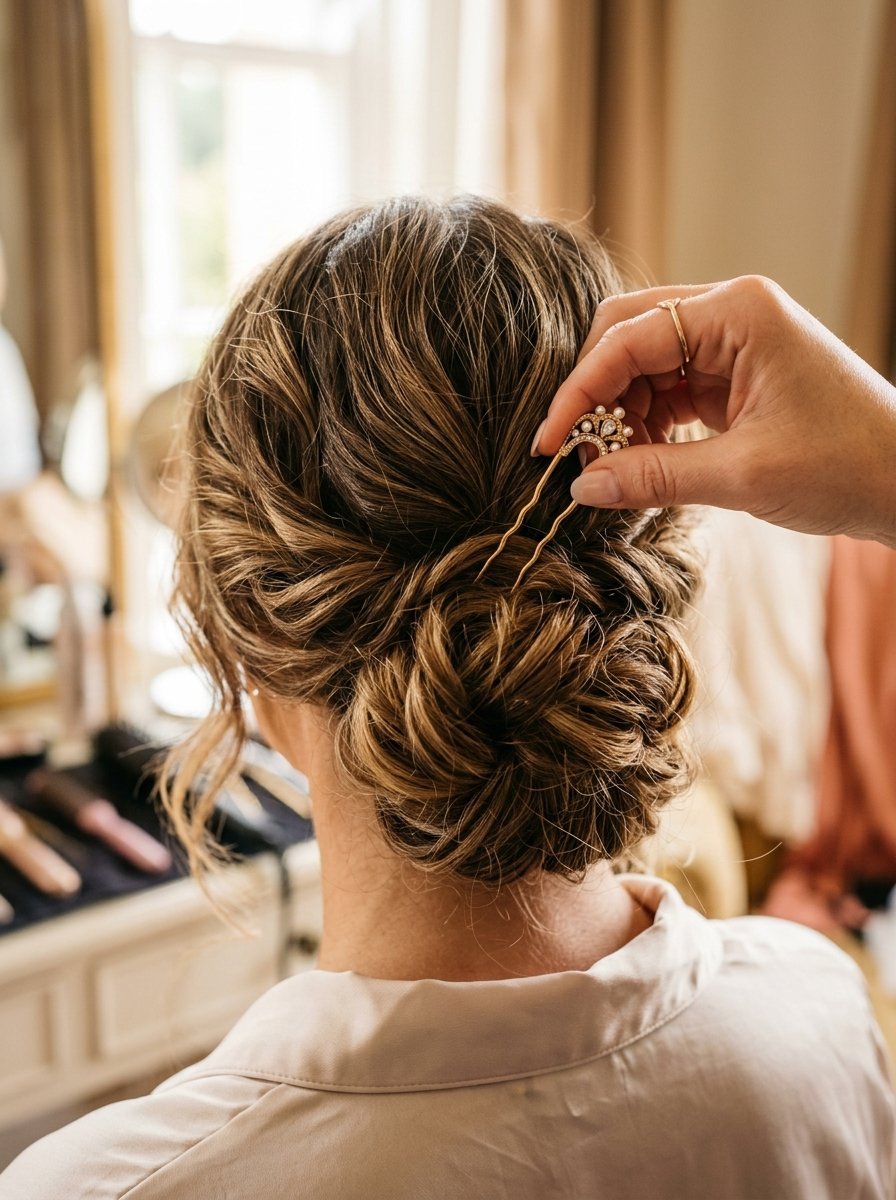
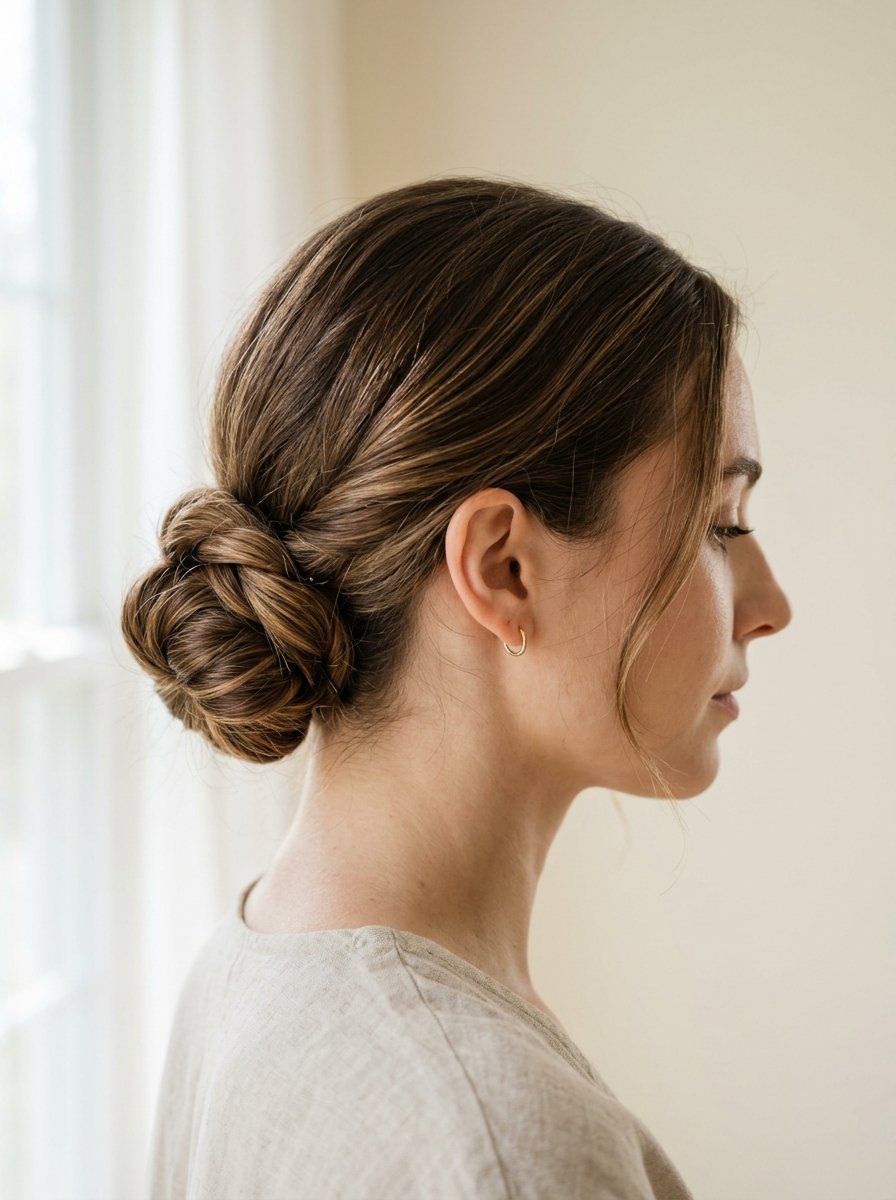
7. The Architectural Low Chignon With Crown Volume
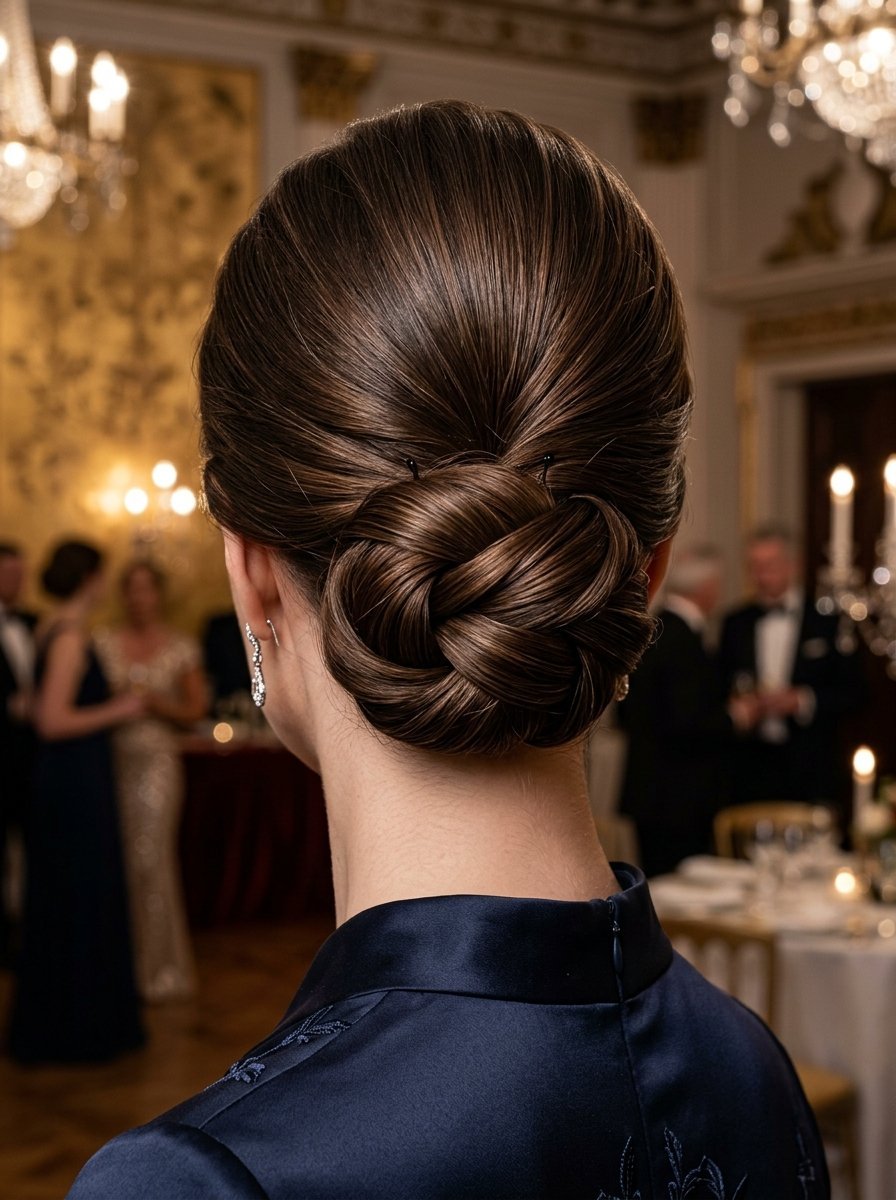
A low chignon is the gold standard for formal elegance. This architectural version uses internal backcombing to ensure the crown never goes flat, while the low bun is constructed using a knotting technique that naturally resists loosening. It pairs beautifully with backless dresses or detailed necklines.
Take a three-inch section of hair at your upper crown, lift it straight up, and spray the roots with a firm-hold hairspray. Use a fine-tooth teasing comb to brush downward toward the scalp three times on the underside of the section. Drop the hair back down and use a soft bristle brush to gently smooth the top layer so the teasing is completely hidden. Gather all your hair together tightly at the nape of your neck.
On the final pass of your hair elastic, pull the hair only halfway through the band to create a neat loop bun, leaving the long tail ends pointing downward. Take this remaining tail section, twist it lightly, and wrap it clockwise around the base of the elastic band to hide it completely.
Insert three large bobby pins through the wrapped tail, catching both the elastic band and the base hair to secure the foundation. Gently pull the sides of the loop bun outward to widen the shape, creating an elegant crescent silhouette along the neckline. Mist the entire updo with a strong-hold finishing spray to block out humidity.
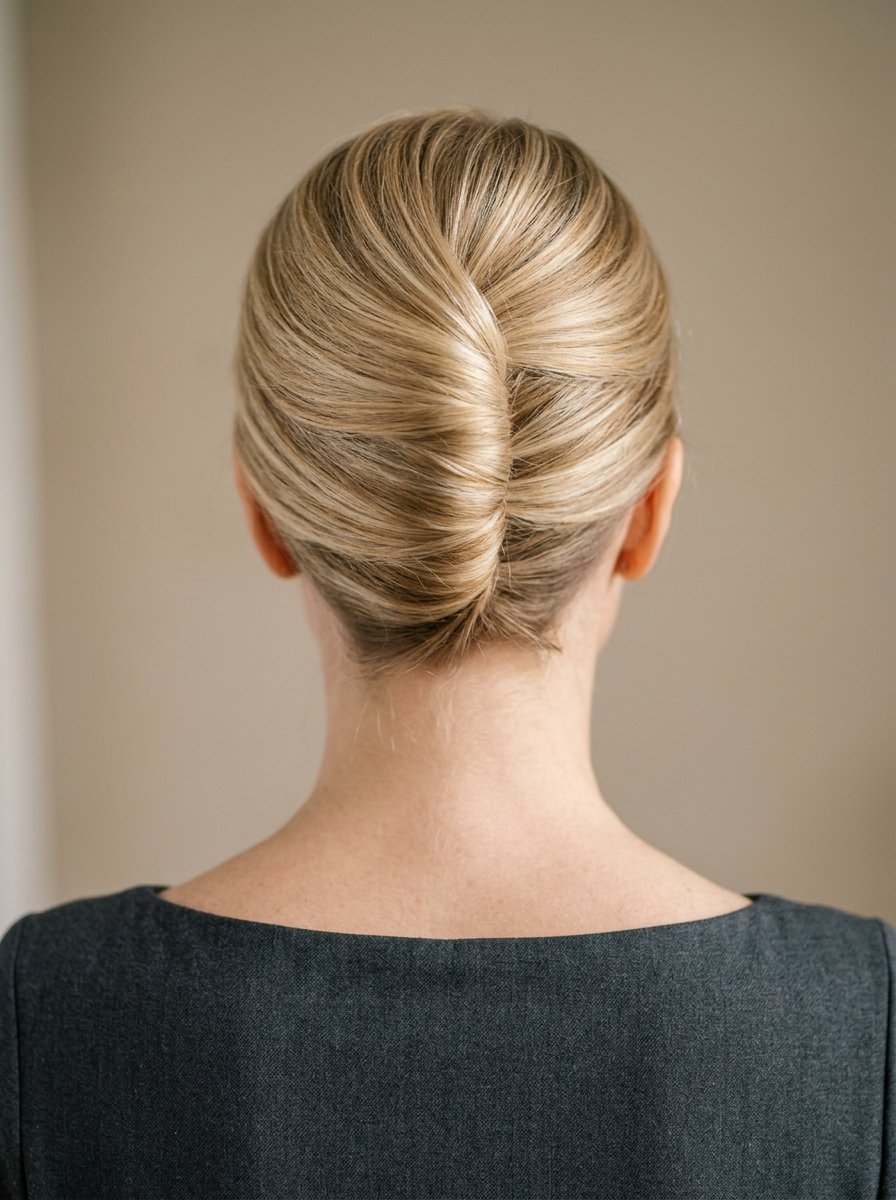
8. The Romantic French Twist Hybrid
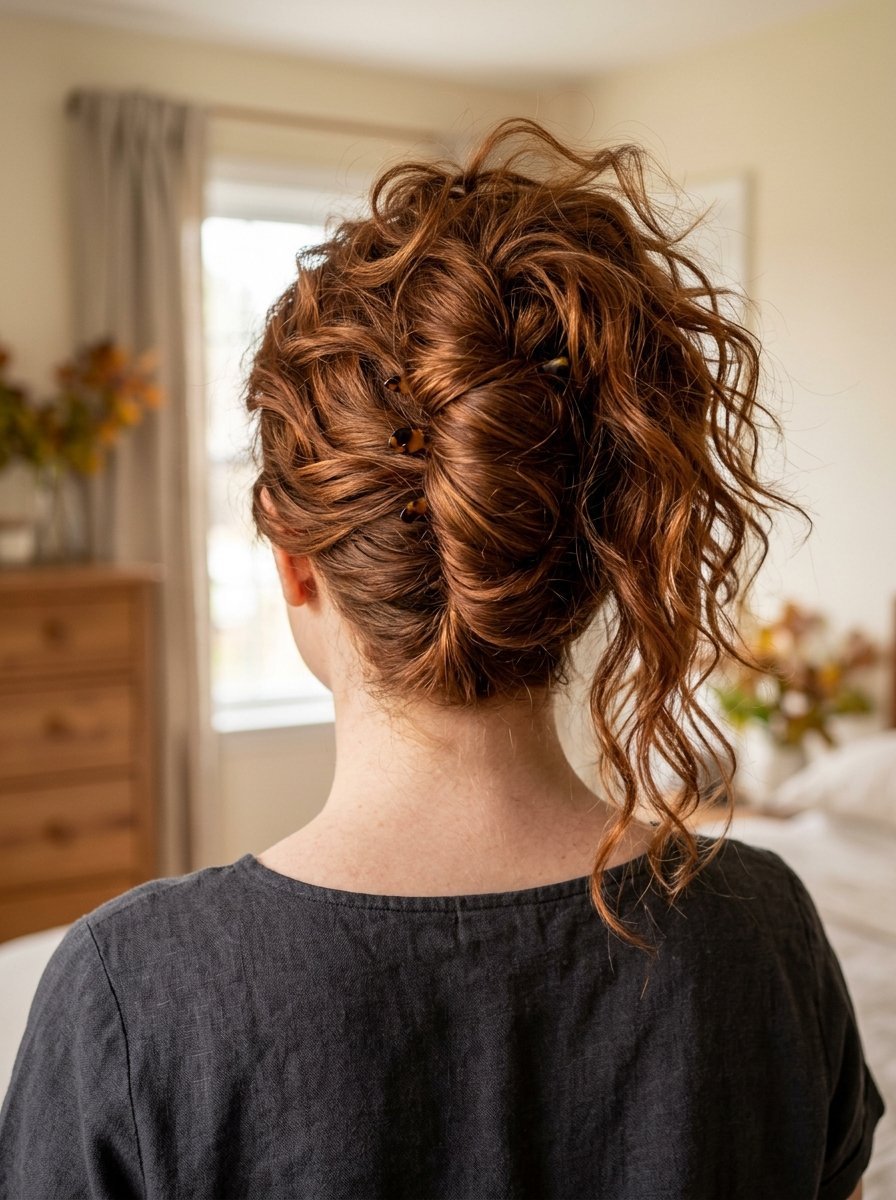
This hybrid approach modernizes the traditional, stiff French twist by leaving the ends loose and textured rather than tucking them tightly inside the roll. It creates an elongated, flattering line along the back of the neck while maintaining a fresh, youthful energy up top.
Brush all your hair over to the left side of your head past the center line. Working vertically from the nape of your neck up to your crown, insert a row of bobby pins straight up and down to hold the hair flat against the back of your head. This row of pins forms the internal tracks for your entire style. Gather the loose hair into your right hand and roll it tightly backward toward the center, moving from left to right.
This motion forms a smooth, vertical roll that sits directly on top of your pinned tracks. Hold the roll firmly against your head with one hand. With your other hand, slide bobby pins horizontally into the seam of the roll, catching the vertical pins underneath to lock the style.
Allow the top ends of your hair to spill out naturally over the top of the roll instead of tucking them in. Apply a small dab of defining pomade to these loose ends, pieceing them out with your fingers to create a textured, modern finish that balances the formal structure below.
9. The Vintage Regal Pompadour Ponytail
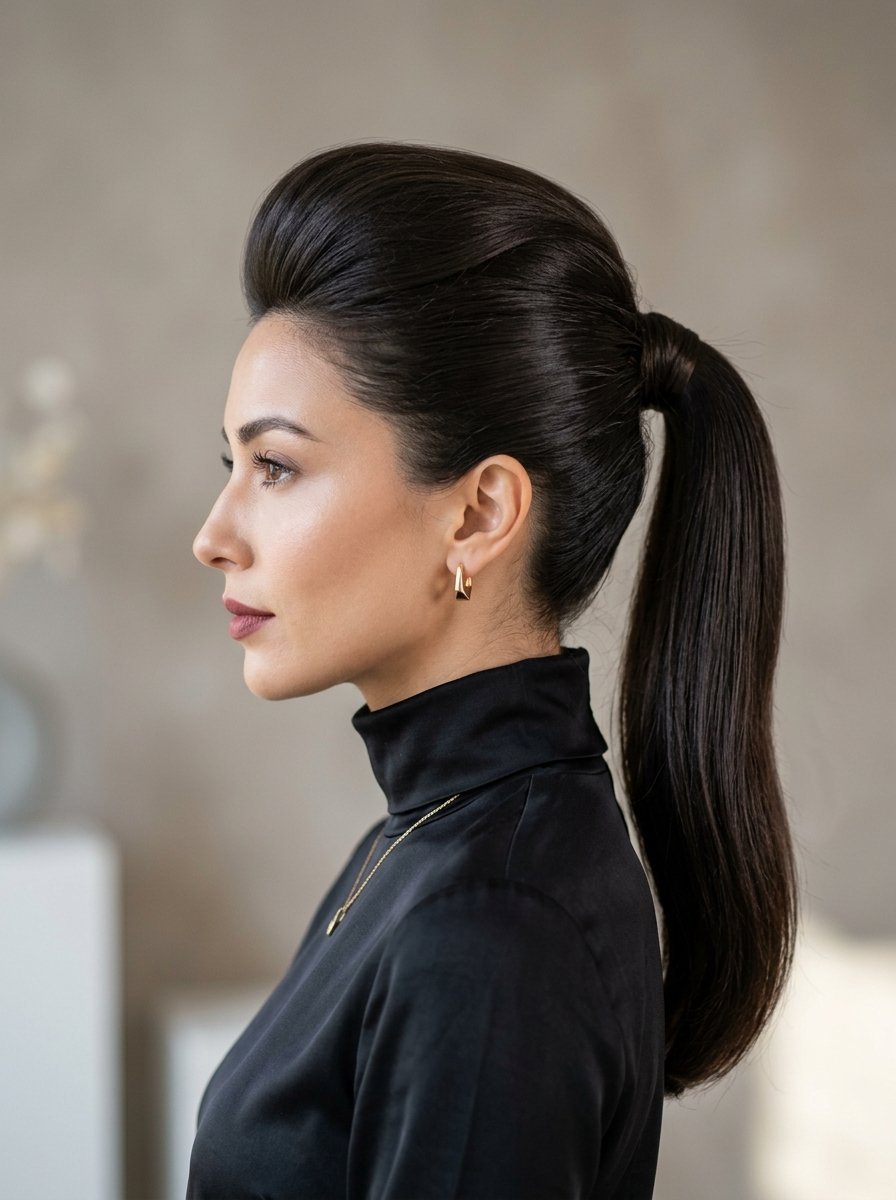
A ponytail can look incredibly high-fashion when you add structured height to the front profile. This look channels a vintage aesthetic by rolling the front section into a soft pompadour before securing the rest into a sleek, mid-height ponytail. It is a fantastic option for showcasing your makeup or dramatic earrings.
Isolate a triangular section of hair at the front of your head, starting from your temples and meeting at a point at your upper crown. Lift this entire section straight up toward the ceiling. Spray the middle part of the strands with texturizing mist, then twist the base of the section one full turn clockwise.
Push the twisted base forward toward your forehead. This action forces the front hair to buckle upward, creating a smooth, structured arch with excellent height. Secure this twist flat to your scalp at the upper crown using two bobby pins.
Gather all the remaining loose hair from the sides and back of your head, bringing it up to meet the tail of your front pompadour at the middle back of your head. Bind everything together using a heavy-duty hair elastic. Wrap a half-inch strand of hair from the ponytail around the elastic to cover it, securing it underneath with a pin. Smooth the sides of your head with a tiny bit of hair oil to eliminate flyaways.
10. The Bohemian Twisted Crown Braid Illusion
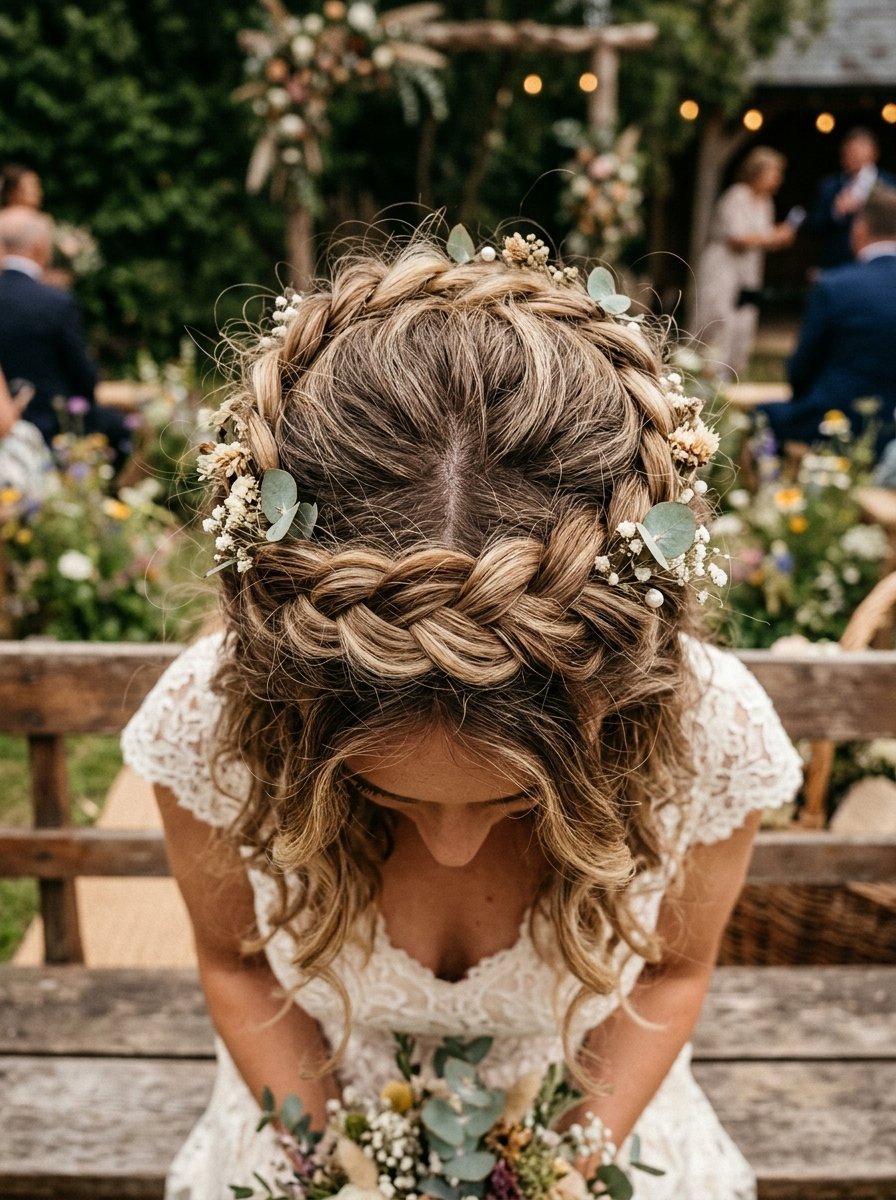
If you love the look of a full milkmaid braid but lack the length or braiding skills, this twisted illusion method is the perfect solution. It uses simple two-strand rolls that run along the sides of the head, meeting in the back to create the appearance of a continuous, intricate crown.
Divide your hair down the center back into two equal left and right halves. Starting on the left side near the temple, begin twisting the hair tightly inward along your hairline, working down toward the nape of your neck. Keep the twist close to your scalp, picking up loose hair as you move backward.
Once you reach the nape, finish twisting the remaining length normally to create a tight rope cord. Secure the end temporarily with a clear elastic. Repeat this exact process on the right side of your head.
Take the left twisted cord, pull it firmly across the nape of your neck toward the right ear, and pin it flat against your scalp using large bobby pins. Take the right twisted cord, pull it across toward the left ear, positioning it directly above the first twist. Tuck the raw ends of both cords underneath each other to hide the elastics completely, pinning them securely. Gently pinch the twists along the sides of your head to loosen them slightly, creating a soft, romantic finish.
Style Performance Metrics
Choosing the perfect look depends heavily on your specific hair type and the neckline of your outfit. Use this comparison data to find your ideal match quickly.
| Hairstyle Option | Ideal Hair Type | Recommended Dress Neckline | Setup Time | Longevity Rating |
| Dimensional Half Up Braid | Fine to Medium | V-Neck / Off-the-Shoulder | 20 Minutes | 8 / 10 |
| Polished Front Twist | Straight / Silky | Strapless / Sweetheart | 15 Minutes | 9 / 10 |
| Seamless Half Up Design | Thick / Wavy | High Neck / Halter | 15 Minutes | 7 / 10 |
| Modern Money Piece Look | All Textures | Square Neck / Scoop | 25 Minutes | 8 / 10 |
| Hollywood Wave Down Do | Medium to Thick | One-Shoulder / Asymmetrical | 35 Minutes | 6 / 10 |
| Quick Ribbon Waves | Fine / Normal | Boatneck / Sabot | 10 Minutes | 9 / 10 |
| Architectural Low Chignon | Coarse / Thick | Backless / Low Cowl | 30 Minutes | 10 / 10 |
| Romantic French Twist | Fine to Medium | High Collar / Illusion | 25 Minutes | 9 / 10 |
| Regal Pompadour Ponytail | Thick / Long | Deep Plunge / V-Neck | 20 Minutes | 10 / 10 |
| Twisted Crown Illusion | All Textures | Crew Neck / Jewel | 20 Minutes | 8 / 10 |
Mastering the Foundation: Expert Preparation & Troubleshooting
The secret to a wedding guest hairstyle that lasts past midnight lies entirely in your preparation steps. In my experience, applying styling products to soaking wet hair before drying creates an internal support structure that dry products simply cannot match. If your hair is naturally slippery, wash it the night before the event instead of the morning of. This allows your natural oils to return slightly, giving the strands vital traction and grip.
The Ultimate Longevity Regimen
- The Double Wash: Always shampoo your hair twice using a clarifying formula. The first wash breaks up styling product buildup, while the second deep cleanses the scalp to prevent oil production during long events.
- Skip the Heavy Masks: Avoid deep conditioning treatments or heavy silicone masks right before a wedding. These products weigh down the hair shaft, causing curls to drop and pins to slide out within hours.
- The Dry Temperature Check: Before using any hot tool, ensure your hair is completely dry. If you hear a sizzling sound or see steam, stop immediately. The heat is boiling internal moisture, which destroys curl retention and causes instant frizz.
Quick Fix Troubleshooting Guide
If an hour before the ceremony your style begins to look flat or messy, do not panic and start completely over. If a bobby pin feels loose, do not simply push it further in. Pull it completely out, spray the pin with dry shampoo to give it a matte texture, and slide it back into the hair with the wavy side facing down against your scalp.
For stubborn flyaways along your part line, spray a clean mascara wand or a toothbrush with firm-hold hairspray. Gently comb the bristles over the stray hairs to lay them flat without creating a stiff, wet appearance across the rest of your hair. If your curls look too tight or stiff, rub two drops of lightweight hair oil between your palms and run your hands over the ends, which breaks up the product cast and leaves the hair looking touchable and soft.
Frequently Asked Questions
How do I stop my hair from getting frizzy during an outdoor summer wedding reception?
Frizz happens when dry hair absorbs humidity from the air, causing the hair shaft to swell. To prevent this, apply a generous layer of an anti-humidity seal spray to damp hair before blow-drying. These products use heat-activated polymers to coat the hair in an invisible, water-resistant shield. If you are already at the venue, avoid touching your hair with your hands, as the heat and sweat from your fingers will instantly trigger frizz.
What is the best way to hide dark bobby pins if I have blonde or light brown hair?
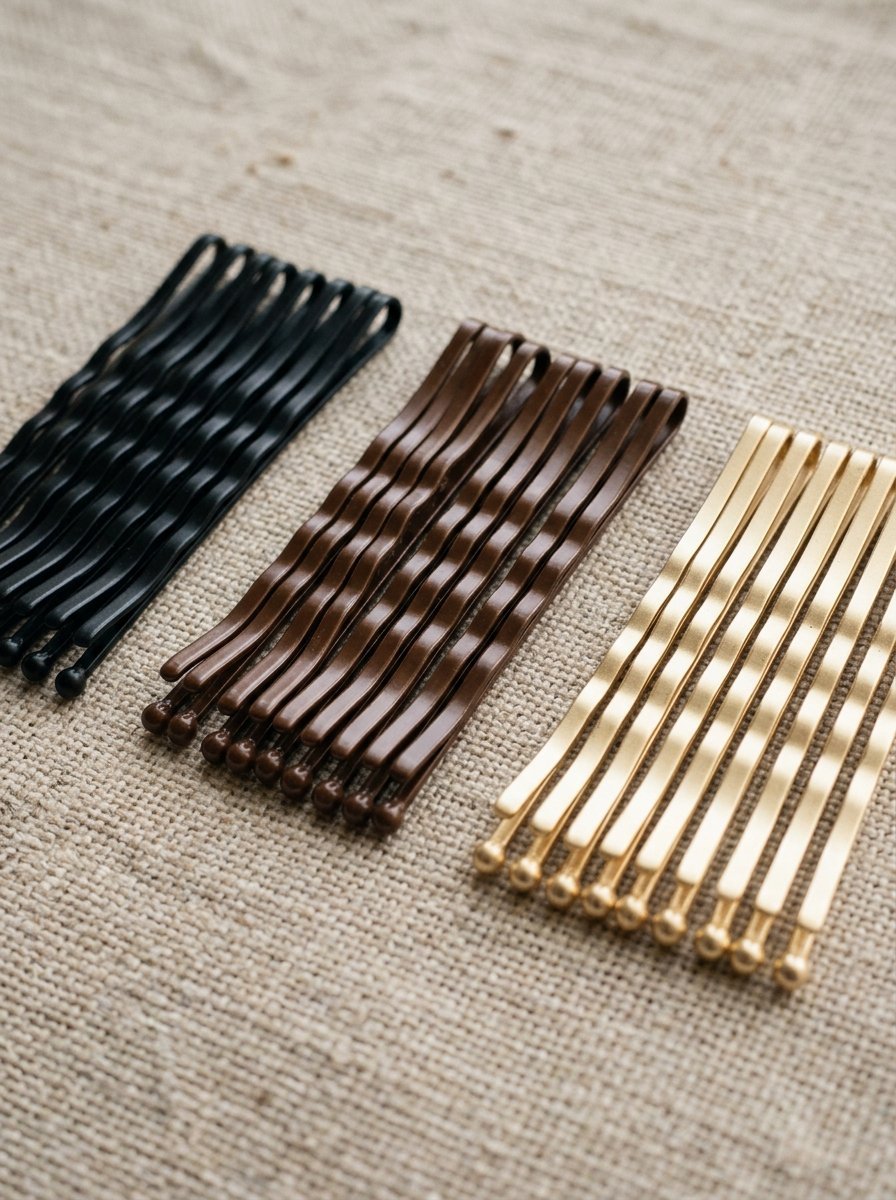
Always match your pins to your hair color rather than your outfit. You can purchase blonde, brown, and red pins at any beauty supply store. If you only have black pins on hand, color the flat tops with a metallic gold or bronze permanent marker before sliding them into your hair. Always insert the pins deep into the core of your style, hiding the metal bodies completely underneath the top layers of hair.
My hair is incredibly fine and never holds a curl. Can I still wear a fully down style?
Yes, but you must change your prep work. Avoid heavy styling creams. Instead, apply a volume-building mousse to damp roots and a texturizing spray to dry lengths before curling. Use a smaller curling iron barrel than you think you need, such as a three-quarter-inch iron. Let the tight curls cool completely while pinned flat to your scalp. Brushing them out at the very last minute will expand the fine strands into a full, voluminous wave pattern that lasts.
Should I put my hair accessories in before or after applying my final layer of hairspray?
Always apply your final layer of hairspray first and let it dry for two minutes before adding your jewelry, combs, or fresh flowers. The alcohol and polymers in hairsprays can dull the shine of pearls, create a sticky residue on metal components, and cause fresh flower petals to wilt or turn brown prematurely.
How do I transition a day wedding style into a high-energy evening look quickly?
The easiest transition is moving from a sleek front twist look into a high pompadour ponytail. Simply unpin the back elements, gather all your textured length up into a secure middle ponytail, and use a comb to gently lift the top section for instant evening drama. Add a swipe of bold lipstick, and you are ready for the dance floor.
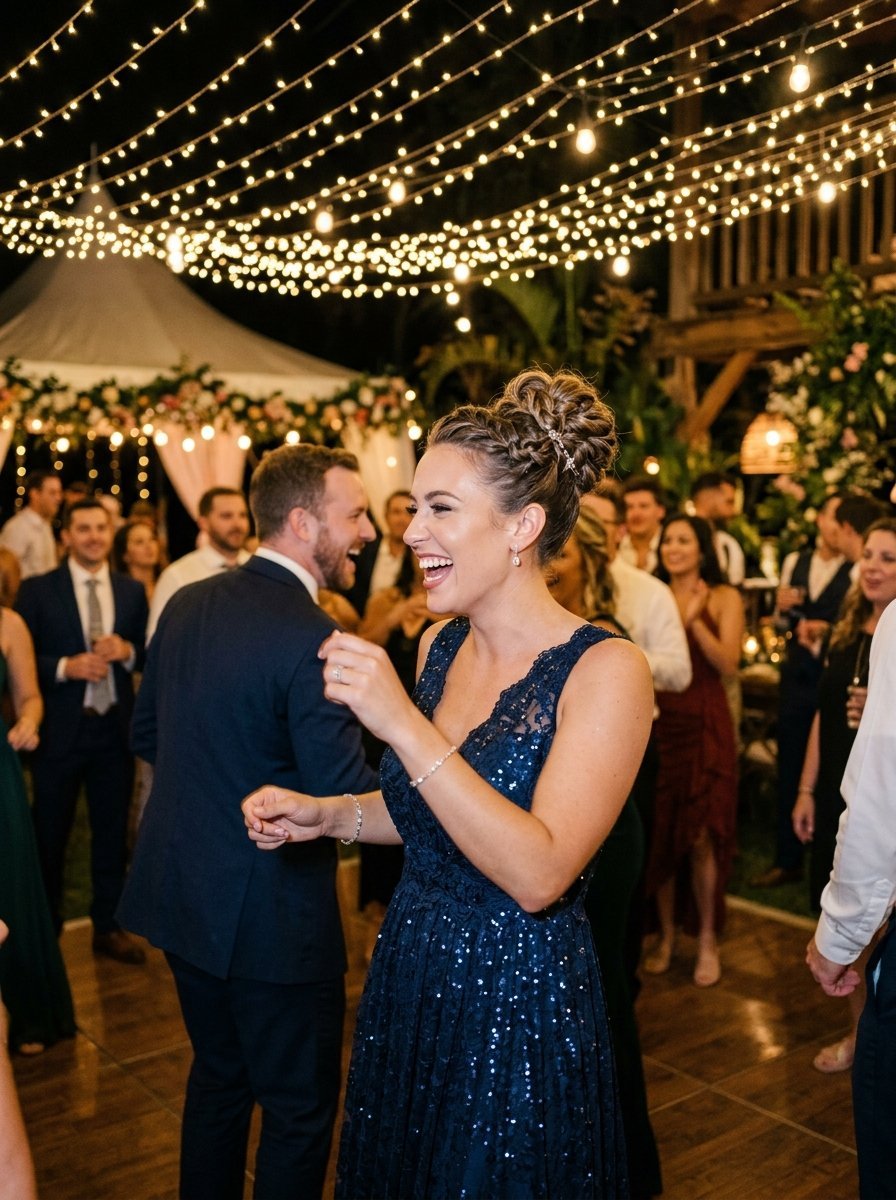
The perfect wedding guest hair relies on preparation, proper sectioning, and high-quality product application. By matching your choice to your dress neckline and prepping your texture correctly, you create a look that looks stunning in photos and holds up beautifully through hours of celebrating. Pick your favorite design from this guide, practice it once a few days before the event, and enjoy the celebration with complete confidence in your style.

Sarah Mitchell — Founder & Editor-in-Chief
Sarah Mitchell is the founder and editorial voice behind Hair Level Up. A licensed cosmetologist with more than 15 years of experience, she has styled A-list celebrities for editorial shoots and red carpets, with work featured in Vogue, Elle, and Harper’s Bazaar. Early in her career, she trained under the legendary hairstylist Oribe in New York, an apprenticeship that still shapes her editorial eye today. Sarah founded Hair Level Up in 2020 after one bad haircut convinced her that women deserved a destination that felt like a magazine, taught like a stylist, and inspired like an art gallery. She oversees every story from concept to publication, guided by a simple belief: a good story teaches you something, but a great one makes you feel beautiful while it does.