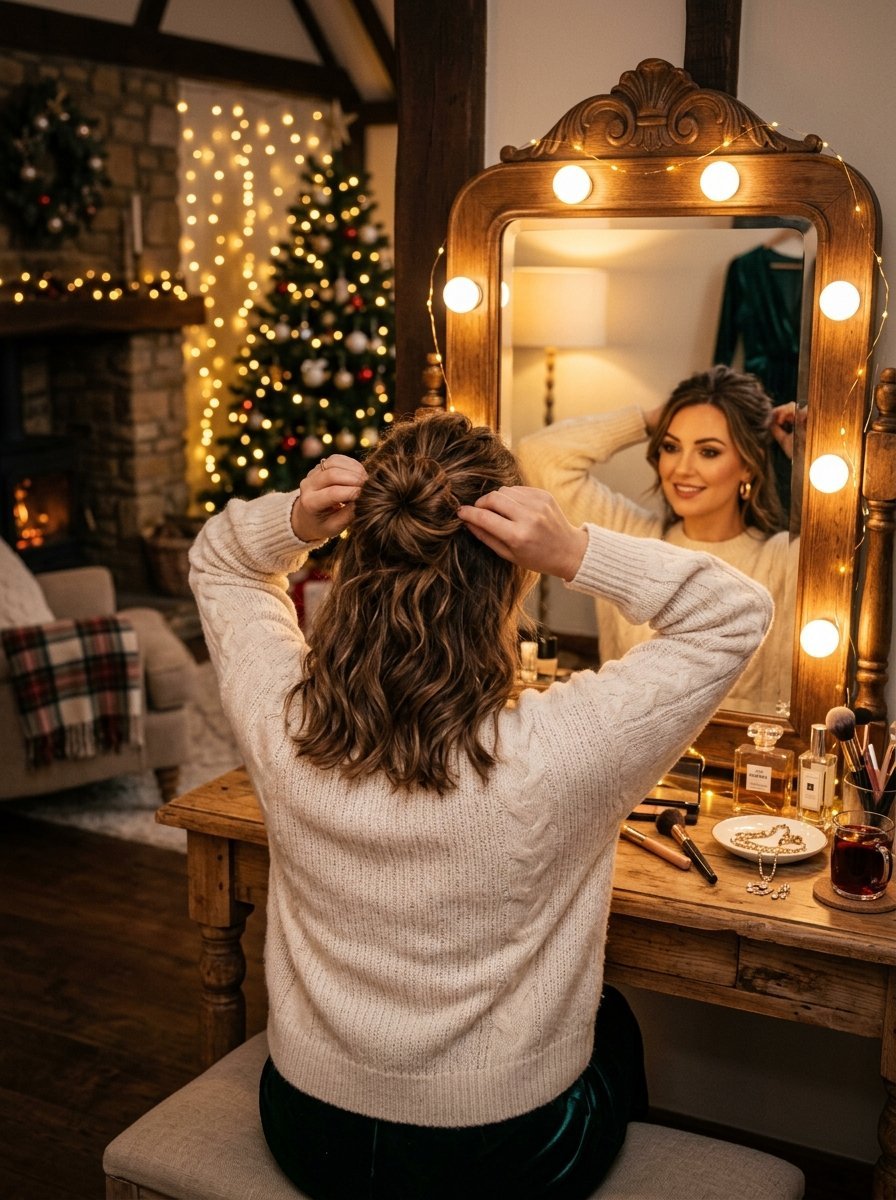
12 Steps to Pin an Updo So It Lasts All Night
You spend an hour styling your hair for a big event. You walk out the door feeling great. Two hours later, your hair falls apart. I have watched this happen too many times. Pinning an updo so it lasts all night takes skill. You need the right tools and proper preparation. I have tried countless ways to fasten hair over the years. This guide shows you exactly how to make your hair stay put until morning.
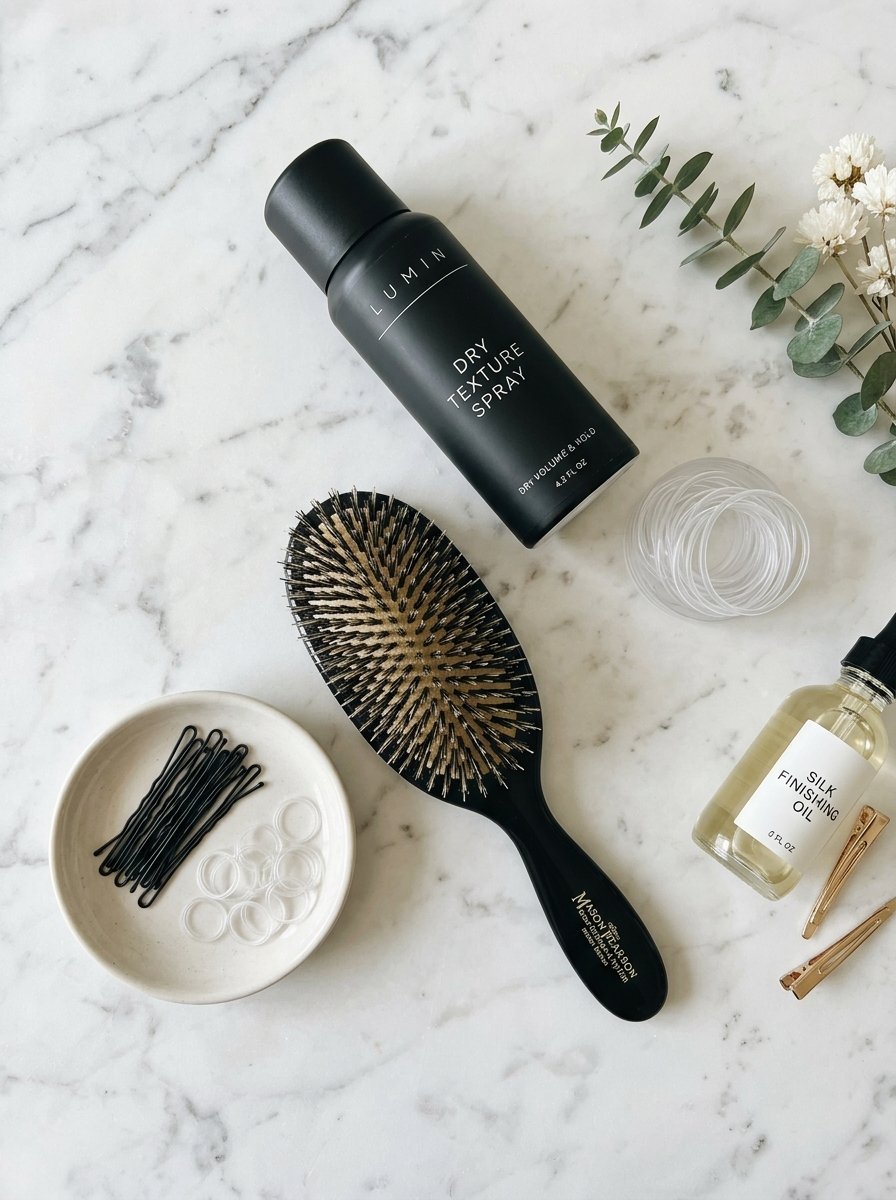
You will master the exact sequence for a strong hold. We look at hair preparation and product selection. You will see how to lock bobby pins correctly. We also look at specific styles like a layered hair low bun. I will share my personal rules for hiding pins. You will get exact timelines for product application. Your hair will survive hours of dancing or working. You can apply these rules to any style you choose.
1. Start with the Right Hair Texture
Freshly washed hair slips out of pins easily. You want hair with some grit. Wash your hair the day before your event. This gives your natural oils time to coat the strands. The oils give the pins something to grip.
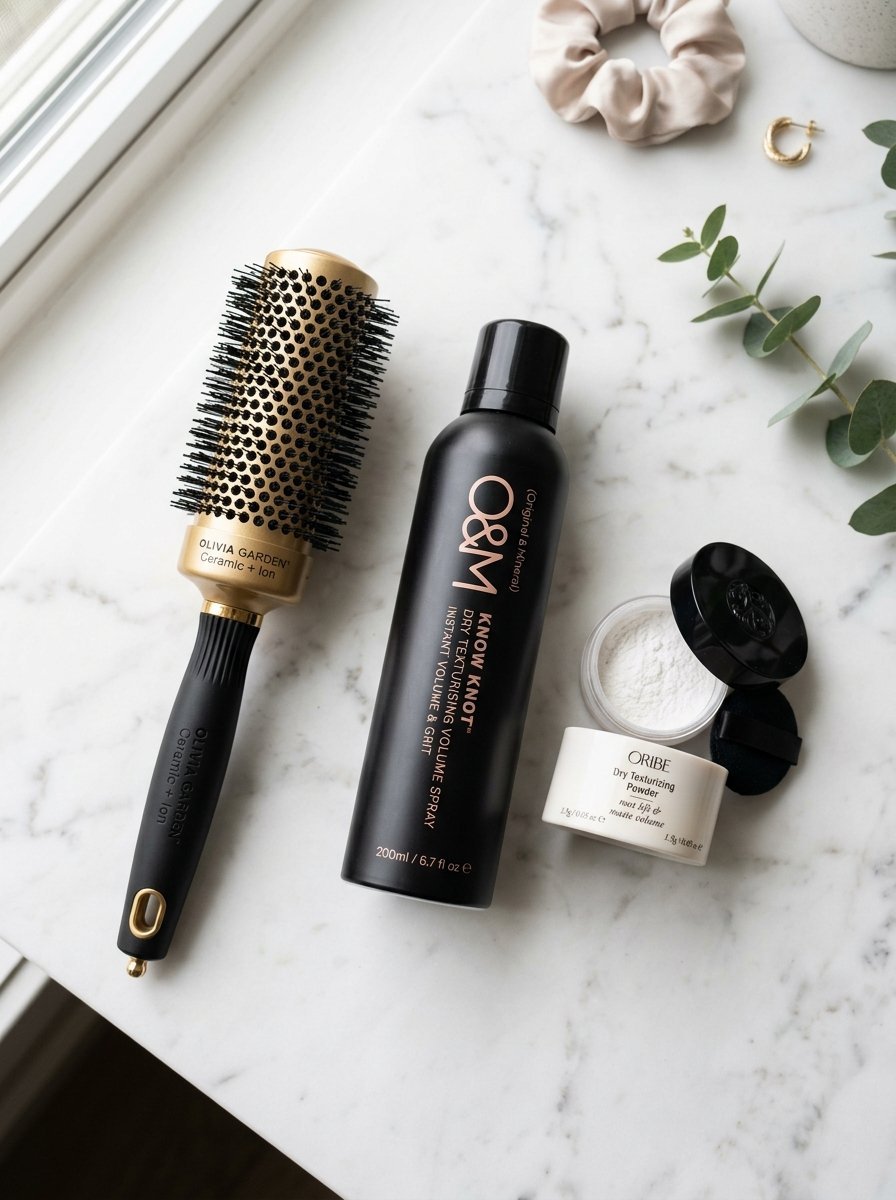
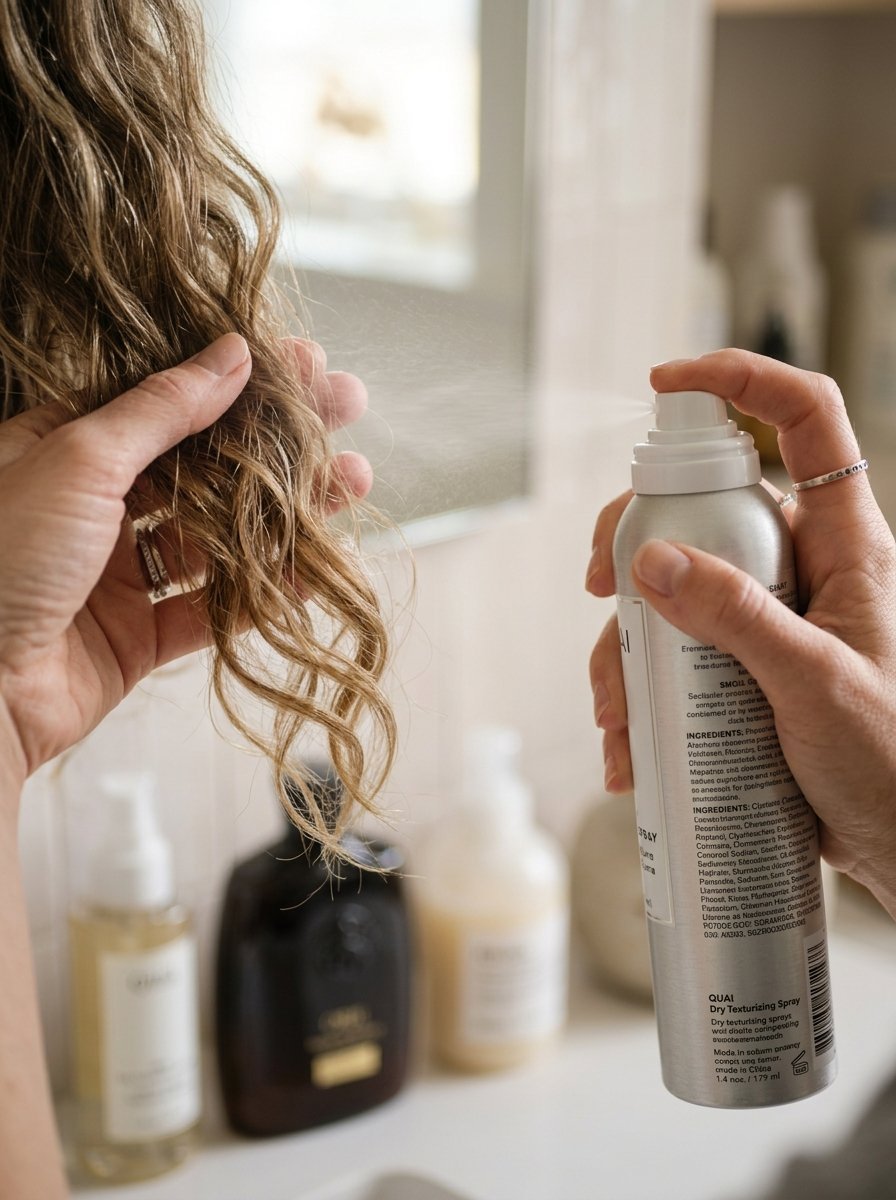
If you must wash your hair the same day, apply a texturizing spray. I have noticed Oribe Dry Texturizing Spray works perfectly for this. Spray it directly onto your roots. Massage it in with your fingertips.
This preparation changes everything for long events. I tell everyone doing hairstyles for guest wedding events to follow this rule. Your hair needs texture to hold the shape. Smooth hair rejects metal pins almost instantly. You must create friction between the hair and the pin.
I rely on Batiste Dry Shampoo when I need quick grit. It costs less and does a fantastic job. You just spray it near the scalp and brush it through. Your hair instantly becomes manageable and ready for pinning. Never skip this first step if you want a long-lasting hold.
Follow these rules for texture preparation:
- Wash your hair a full twenty-four hours before styling. This gives your scalp time to produce natural oils that act like glue.
- Apply dry shampoo to the roots for extra grip. Do this even if your hair feels dirty to create friction.
- Brush the product evenly through your strands. Use a brush to distribute the powder from root to tip.
2. Choose the Correct Bobby Pins
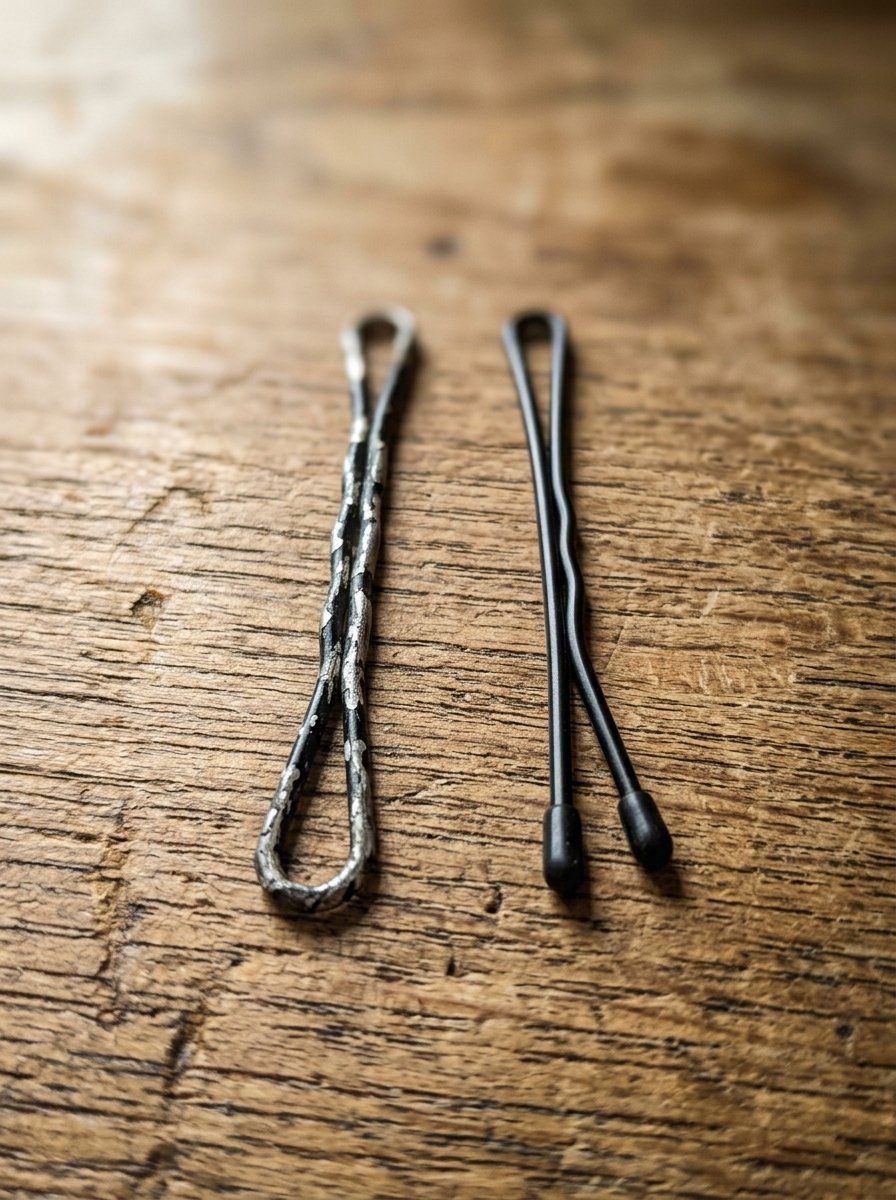
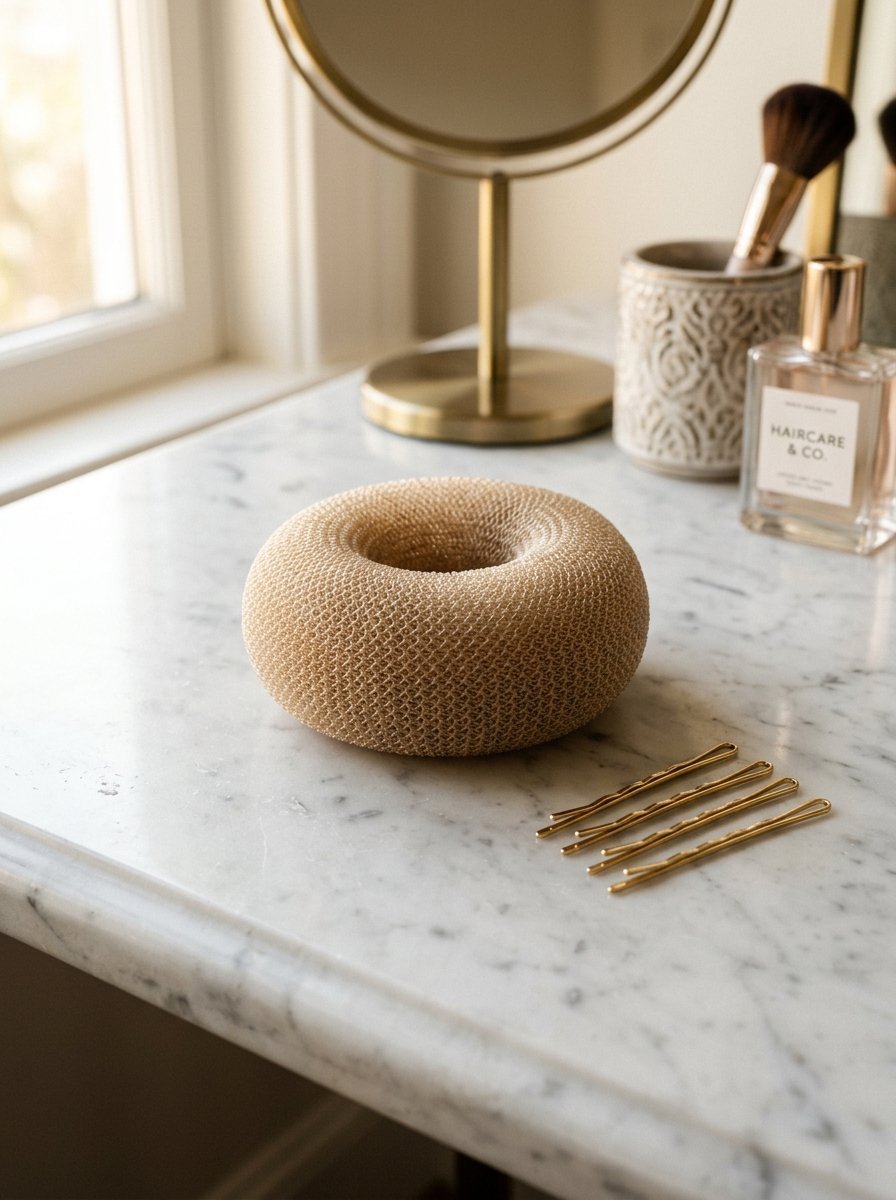
Not all pins do the same job. You need high quality pins with a strong grip. Cheap pins lose their shape after one use. Look for pins with rubber tips. The rubber tips prevent scalp irritation. They also stop the pin from sliding out.
You need two different types of pins. Regular bobby pins hold flat sections of hair. U-shaped pins hold large rolls or twists. I use Diane French Hair Pins specifically for simple hair buns. You slide the U-pin in and weave it through the hair. It catches more hair than a regular pin.
Throw away any pins that have bent open. They will not hold your hair tightly. Keep a fresh box of professional pins on hand. I tell my friends to buy MetaGrip Premium Bobby Pins. They grip the hair tightly and never slip.
You can find them at most beauty supply stores. They cost slightly more but they save you hours of frustration. Your choice of tools dictates how long your style survives.
Check your pins before using them:
- Inspect every bobby pin before you use it. Look closely at the tips and the shape of the metal.
- Discard any pins missing the rubber tip. Bare metal scrapes your scalp and slides out of your hair.
- Sort your pins by size and shape for quick access. This saves you time when you have your hands full of hair.
3. Create a Solid Foundation
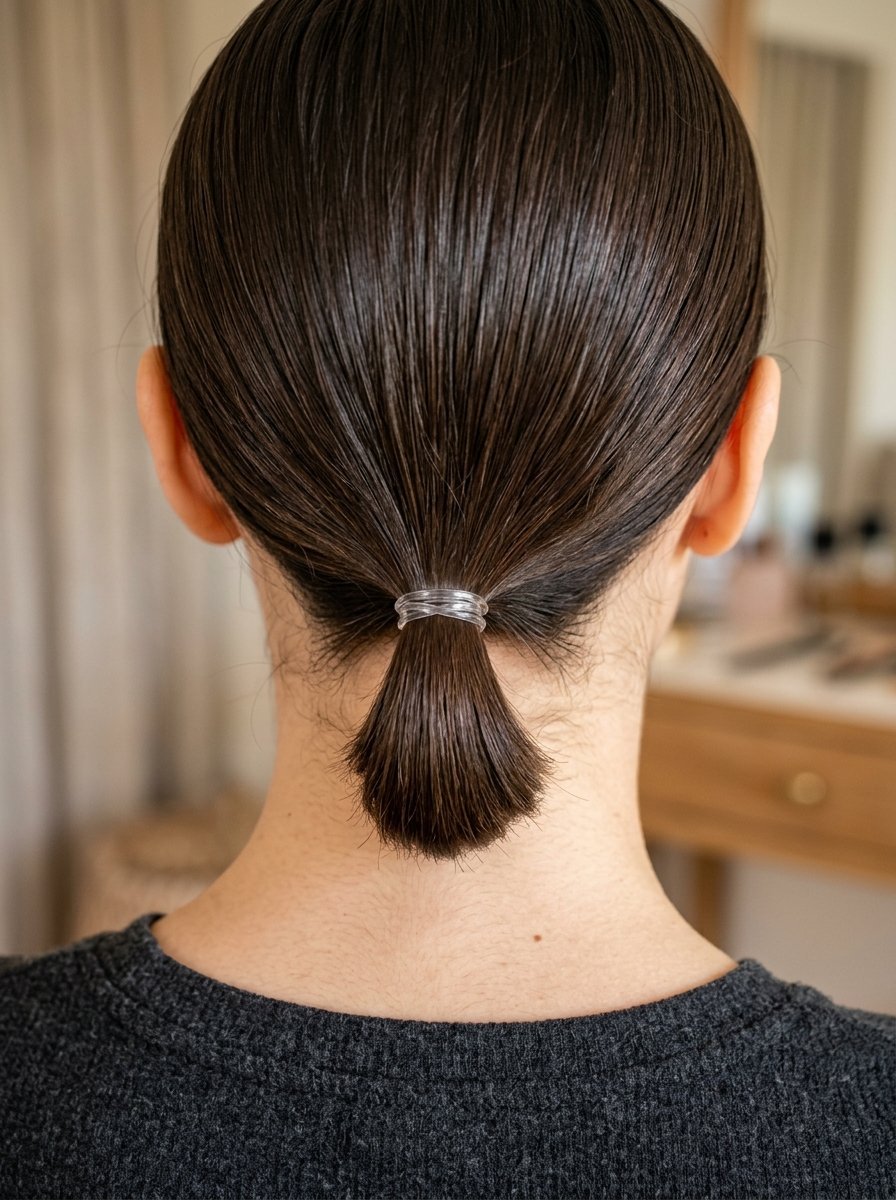
Your updo needs an anchor to stay in place. You cannot pin heavy hair to loose hair. Create a small braid or a tight ponytail at the base. This anchor gives your pins a solid place to bite.
I always start with a secure anchor at the nape of the neck. You then pin the rest of your hair to this solid base. This works exceptionally well for a clean short hairstyle. Short hair often slips out if you just use random pins. The anchor keeps everything locked down tightly.
Tie your anchor with Blax Clear Hair Elastics. Make sure the elastic feels tight against your scalp. You will push your bobby pins directly into this elastic. The rubber on the pin grips the rubber of the elastic perfectly.
Without an anchor, your pins just float in loose hair. They will eventually slide down your neck. Take five minutes to create this foundation before doing anything else.
Follow these steps for a tight base:
- Part a small section of hair at the nape of your neck. This hides the base completely from view.
- Tie this section tightly with a clear rubber elastic. Pull it tight so it rests flush against your skin.
- Push your first structural pins directly through this elastic band. This gives your heavy hair a concrete foundation to rest on.
4. Master the Locking Motion
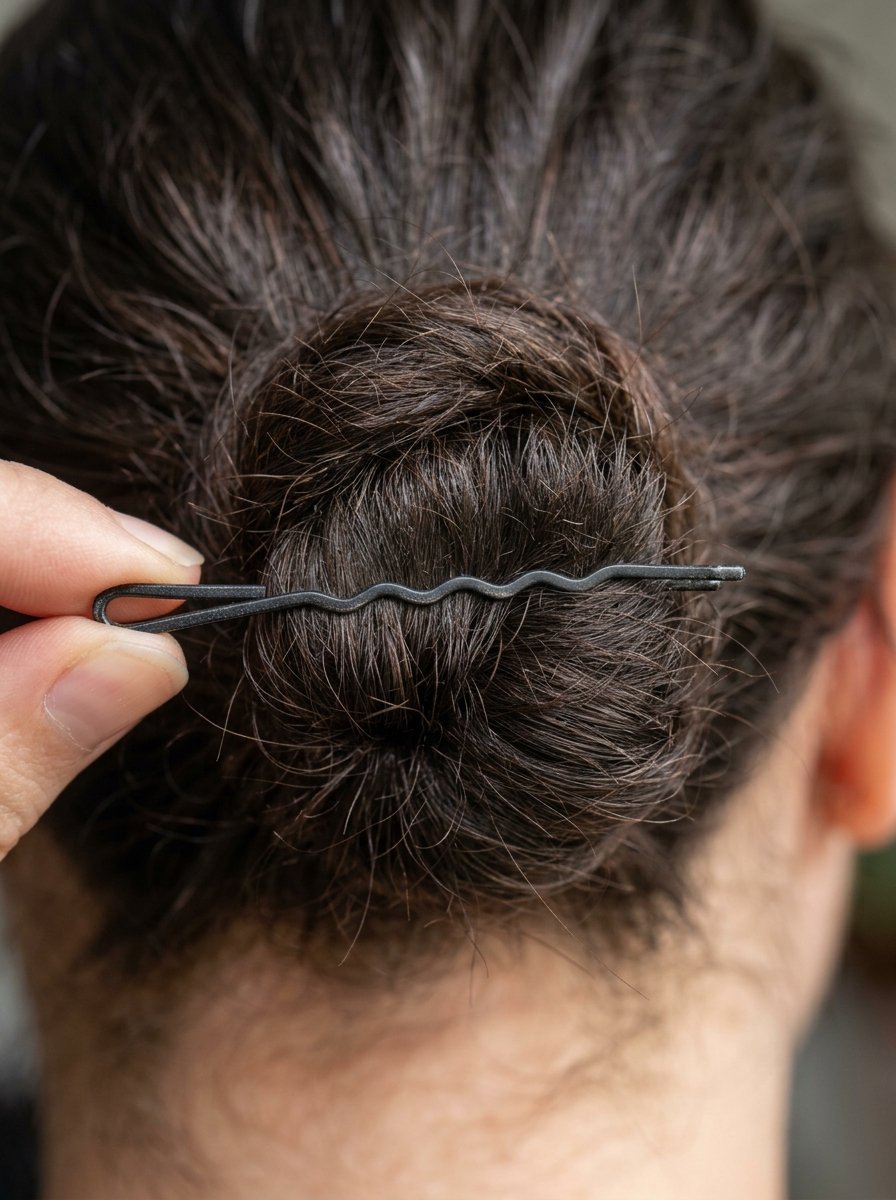
Pushing a pin straight into your hair does nothing. You must use the locking motion. Open the pin slightly. Catch a small piece of the hair you want to fasten.
Push the pin against the direction of the hair growth. Turn the pin over so the wavy side faces your scalp. Push the pin deeply into your base or anchor. This weaving motion locks the hair in place.
The pin cannot slide out backward. I have seen this work perfectly for a tight and close hairstyle. You need the hair to lay flat against your head. Never open the bobby pin too wide.
Opening it too wide ruins the tension. The pin should feel tight as you push it in. Practice this motion a few times before your big event. Once you master it, you will never lose a pin again. Your hair will feel locked down and completely solid.
Remember these rules for locking pins:
- Always face the wavy side of the pin downward. The waves are designed to grip the scalp firmly.
- Catch a very small amount of hair first. Catching too much hair forces the pin open permanently.
- Push firmly in the opposite direction of the hair flow. This creates the tension needed for an all-night hold.
5. Hide the Pins Correctly
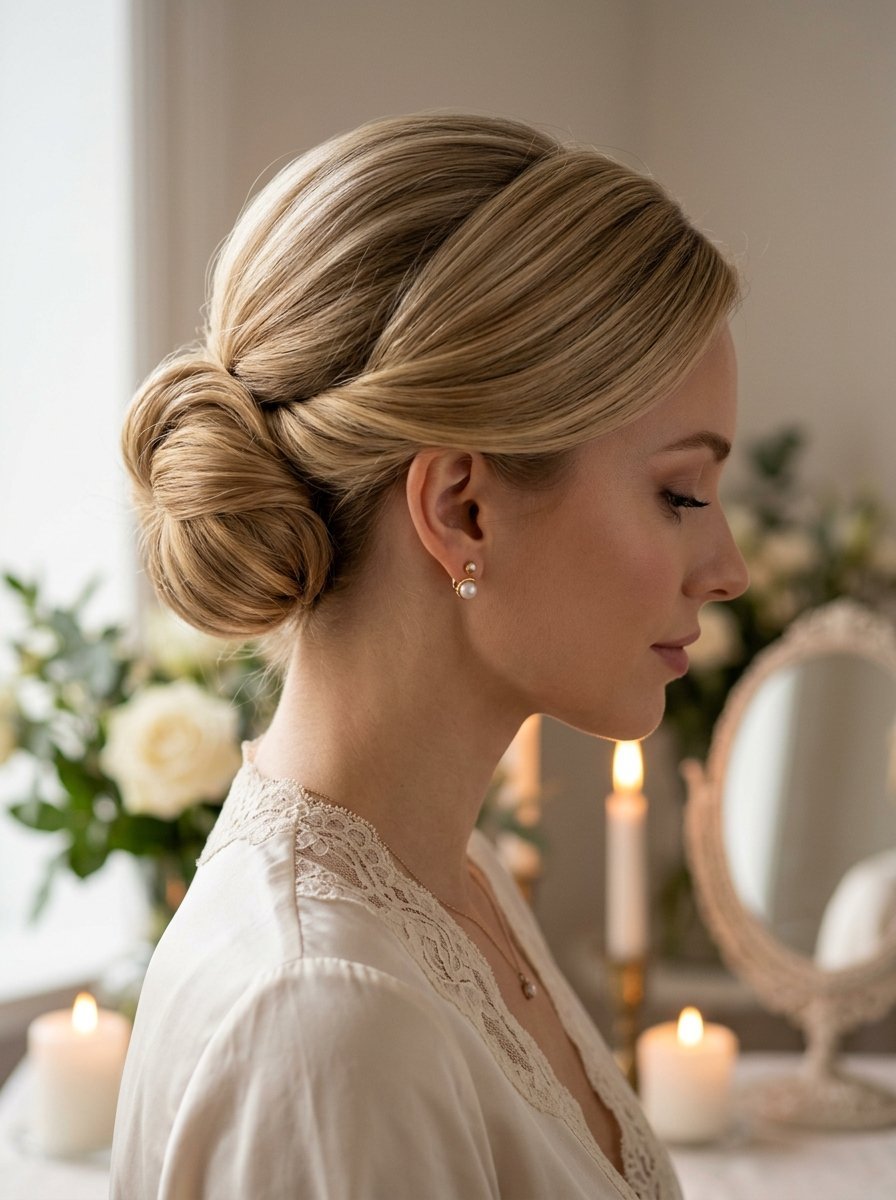
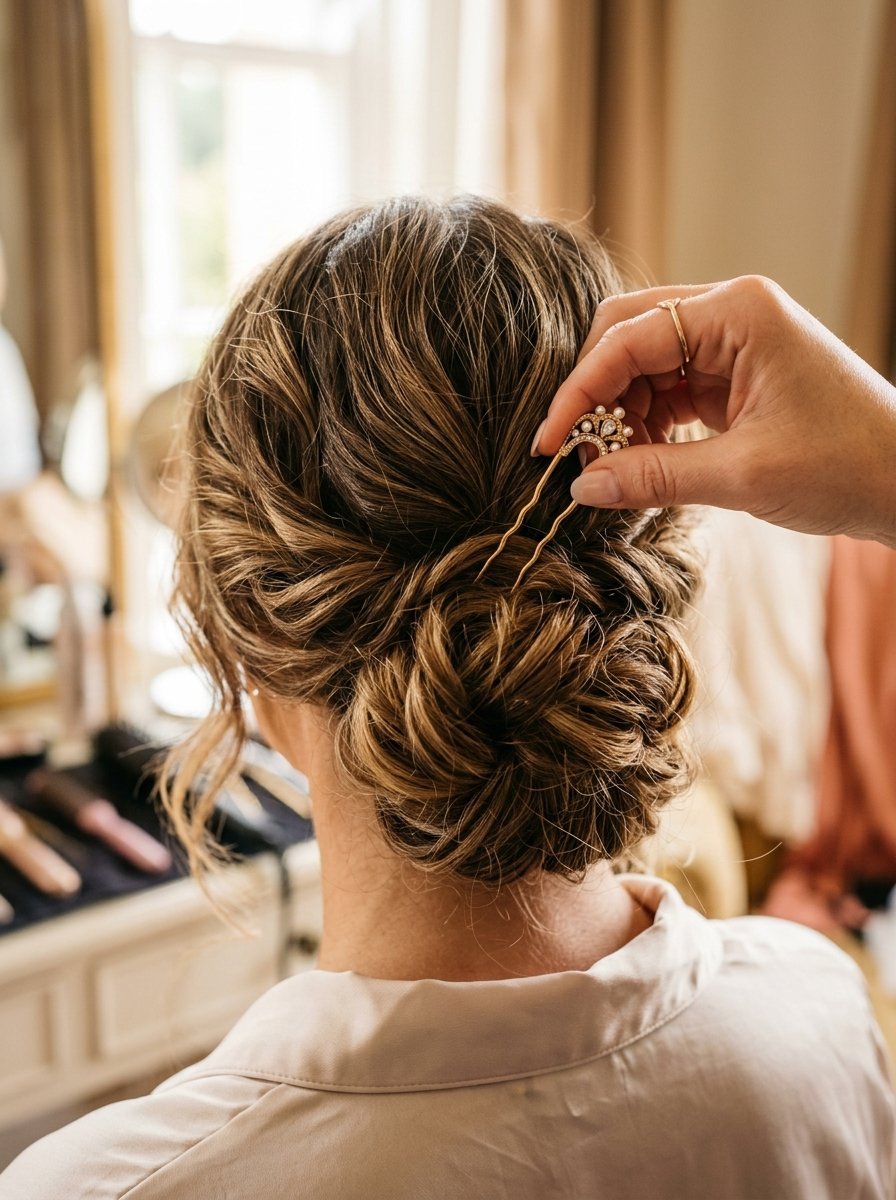
Exposed pins look messy and unprofessional. You want your updo to look magical. You must hide the pins within the hair itself. Always push the pin underneath the top layer of hair.
Let the hair fall over the metal naturally. Match the pin color to your root color. Do not match the pin to your highlights. I always do this when creating a simple hairdo for bridesmaid events.
You want the photos to look flawless from every angle. Push the pin deep enough so the end disappears. If a pin sticks out, remove it and try again. Do not just push another pin on top of it.
Use a tail comb to gently pull hair over any exposed metal. The style looks polished when people cannot see the mechanics holding it together. It gives the illusion that your hair just naturally stays up. Goody brand makes pins in six different hair colors for exact matching.
Hide your pins flawlessly every time:
- Buy pins that match the darkest part of your hair. Dark pins hide better in shadows than light pins.
- Lift a small piece of hair before placing the pin. Drop the piece of hair back down to cover the metal.
- Use the tail of a comb to adjust the top layers. Gently pull loose strands over any shiny metal pieces you see.
6. Balance the Weight of the Hair
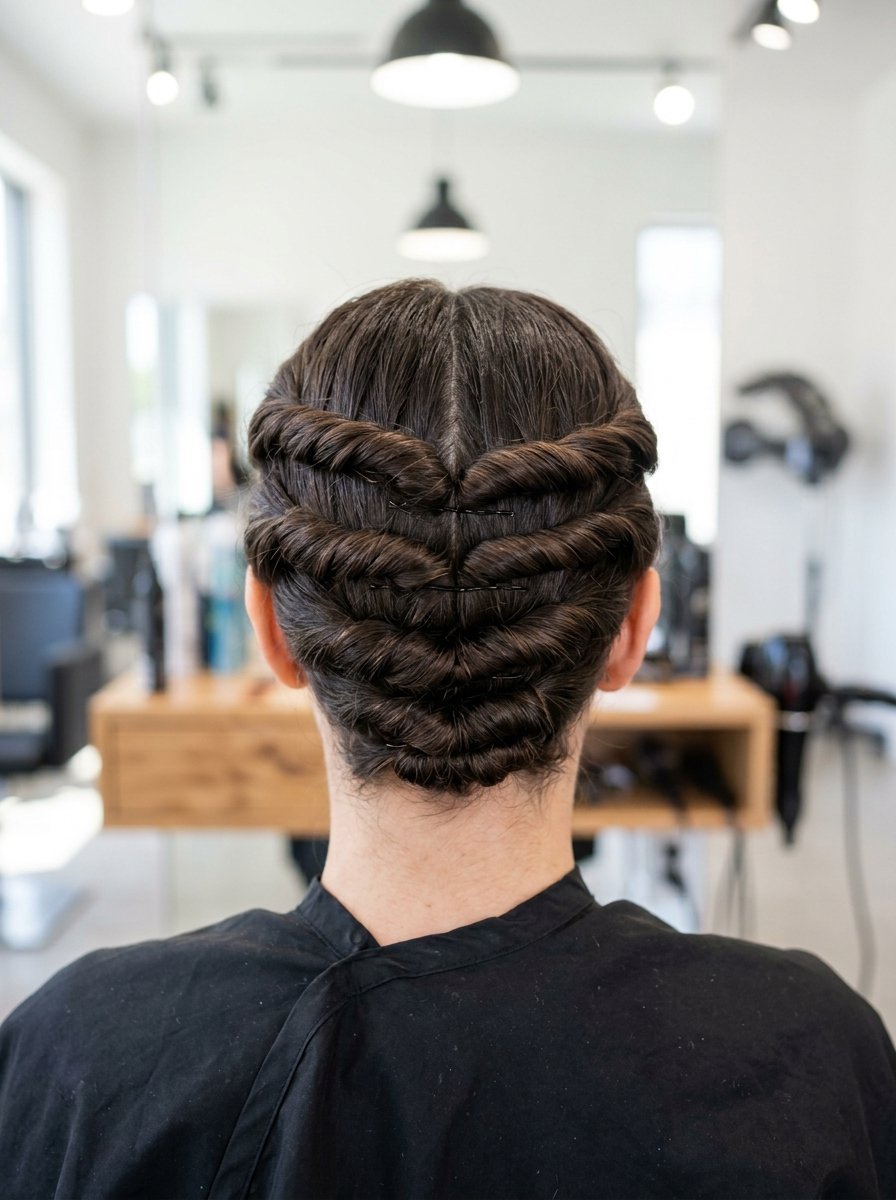
An updo falls apart if one section carries too much weight. You must distribute the weight evenly across your head. Divide your hair into smaller sections before pinning. Pin one small section at a time.
This prevents a single pin from carrying all the tension. Heavy hair requires more anchor points. I use this weight distribution idea for simple hairstyles for office wear. You need a style that lasts through eight hours of work.
If your scalp hurts, a pin carries too much weight. Take that pin out and divide that section of hair in half. Use two pins instead of one. The tension should feel completely balanced. A balanced updo causes zero headaches.
You should forget you even have pins in your hair. I advise using a Mason Pearson Boar Bristle Brush to smooth each section. It keeps the sections neat before you pin them.
Balance the weight evenly:
- Divide thick hair into at least six different sections. Work with one small section at a time.
- Check your scalp for any pulling or pain sensations. Pain means one pin is carrying way too much weight.
- Use multiple U-pins to support heavy buns or twists. Spread them out evenly across the entire shape.
7. Lock in the Base with Spray
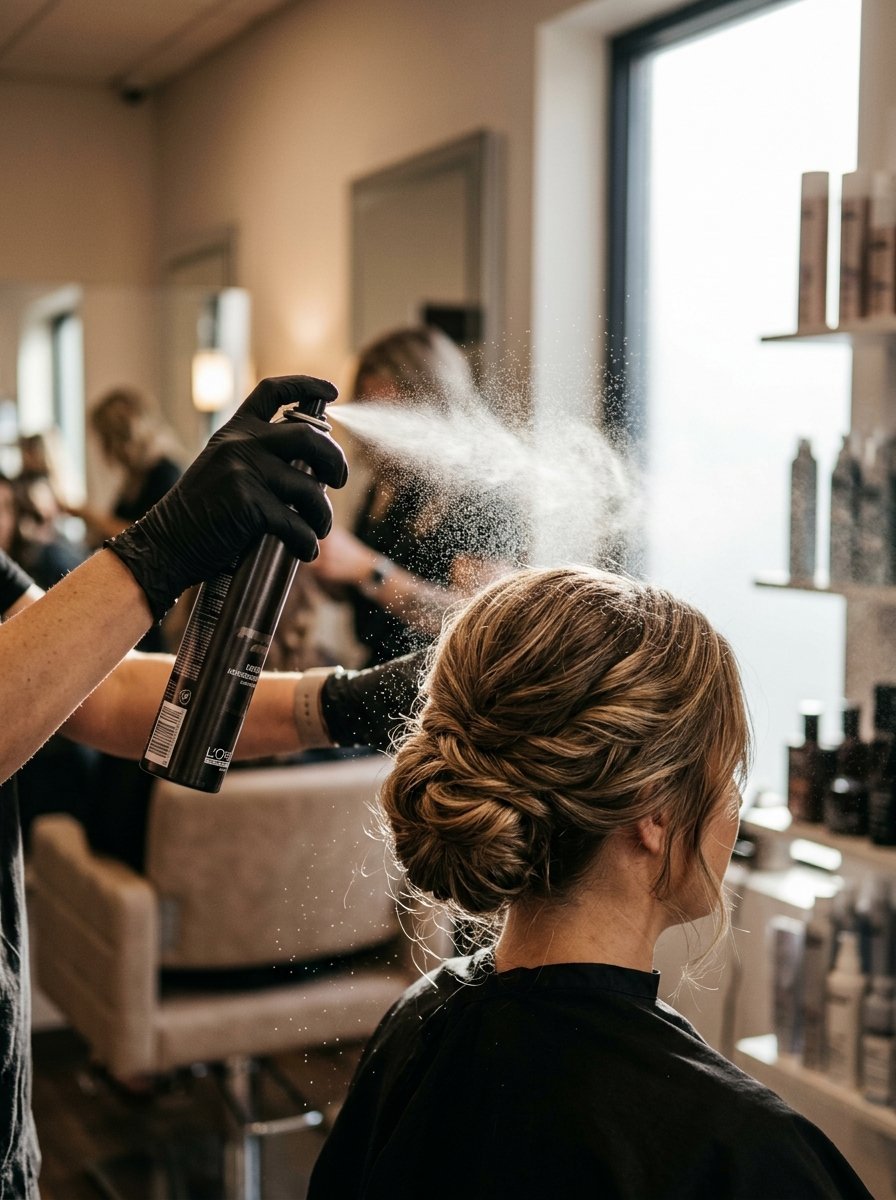
Pins alone cannot hold flyaways and baby hairs. You need a strong hold hairspray to finish the job. Do not spray too close to your head. Hold the can ten inches away from your hair.
Spray an even mist over the entire updo. Wait for the first layer of spray to dry completely. Apply a second light layer for extra security. I do this for all hairstyles for outing events.
Wind and humidity will test your hair immediately. The spray creates a protective shield over your pins. It freezes the hair cuticles in place. I trust Redken Control Addict 28 for this final step.
It holds everything without making the hair look wet. Do not touch your hair while the spray dries. Touching wet hairspray creates white flakes and ruins the style. Let the air do the drying for you.
Apply hairspray properly:
- Keep the can far away from your head while spraying. This prevents wet spots and sticky clumps of hair.
- Allow the first coat of spray to dry entirely. A dry base layer provides a foundation for the second coat.
- Never touch your hair once the spray hits it. Your fingers will break the chemical bond and create white flakes.
8. The Cross-Pinning Strategy
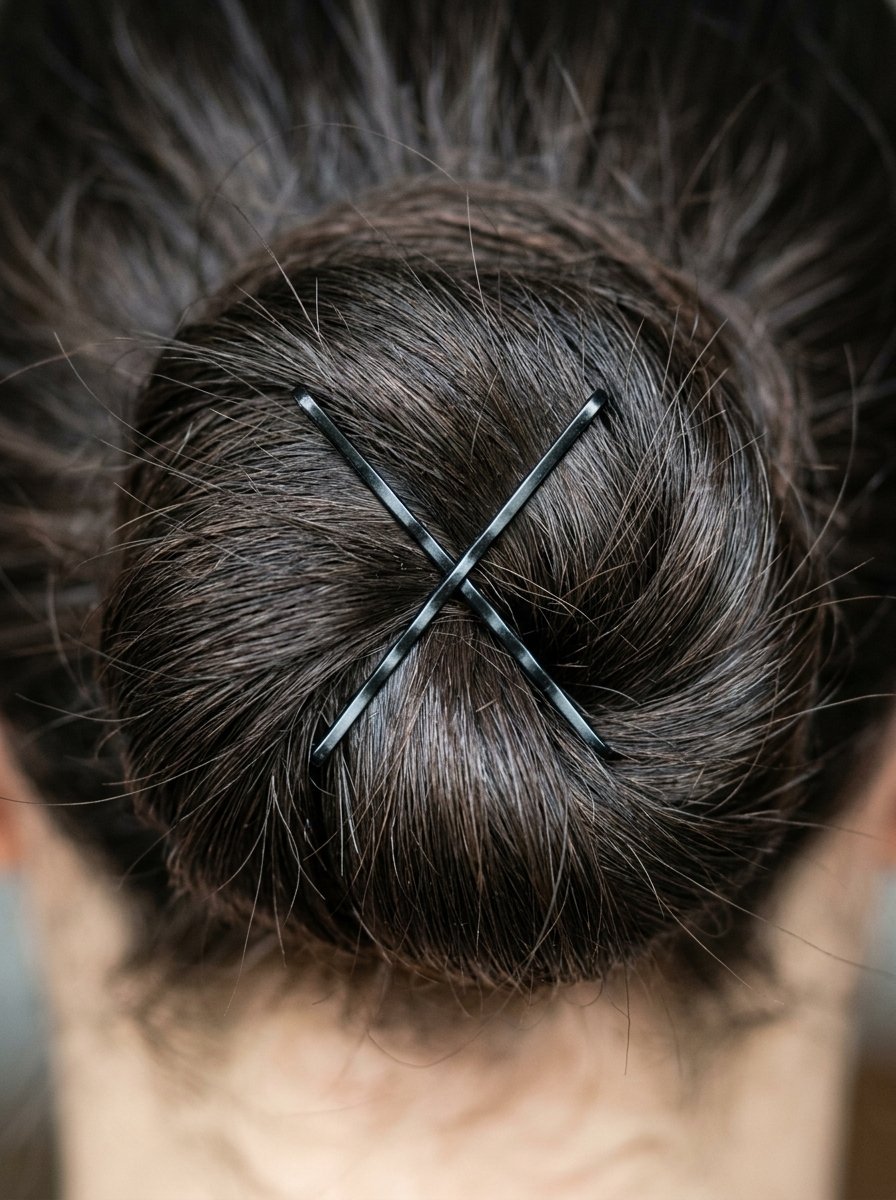
Sometimes one locked pin is not enough. You need the cross-pinning tactic for stubborn hair. Push your first pin into the hair using the locking motion. Take a second pin and push it directly across the first pin.
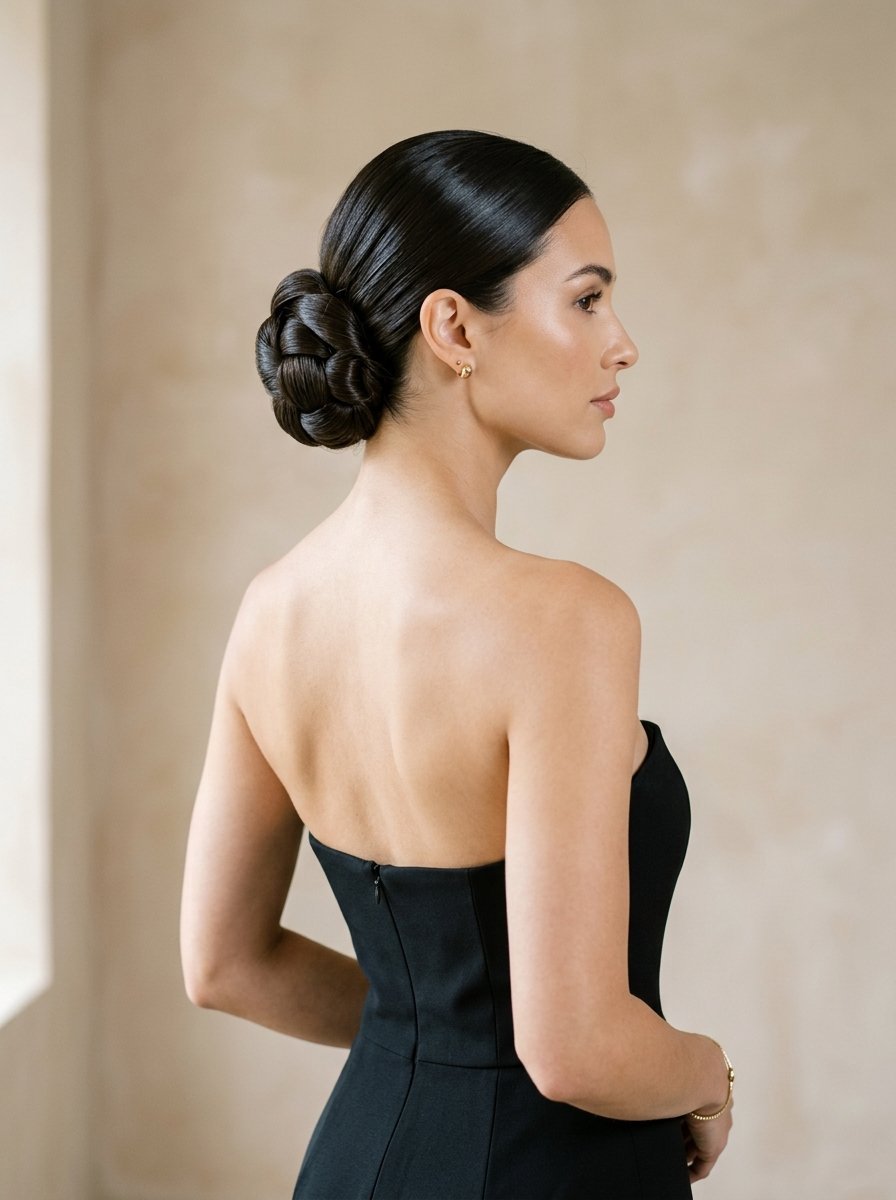
The two pins should form an X shape inside the hair. The friction between the two metal pins locks them together. I have tried this specifically for a layered hair low bun. Layered hair wants to poke out of buns constantly.
The X shape traps the short layers securely. You will feel an instant tightening when the pins cross. Use this tactic on the heaviest parts of your updo. It provides double the security of a single pin.
I tell all my friends to cross their pins for heavy hair. It completely changes how the style holds up throughout the night. It locks down layers that normally fall out.
Execute the cross-pin tactic properly:
- Push the first pin securely into the base of the hair. Make sure it feels tight before adding the second.
- Insert the second pin at a sharp angle to the first. The metals must touch and cross each other.
- Listen for a tiny clicking sound when the pins cross. This tells you the metal ridges have locked together properly.
9. Adapt for the Dress Neckline
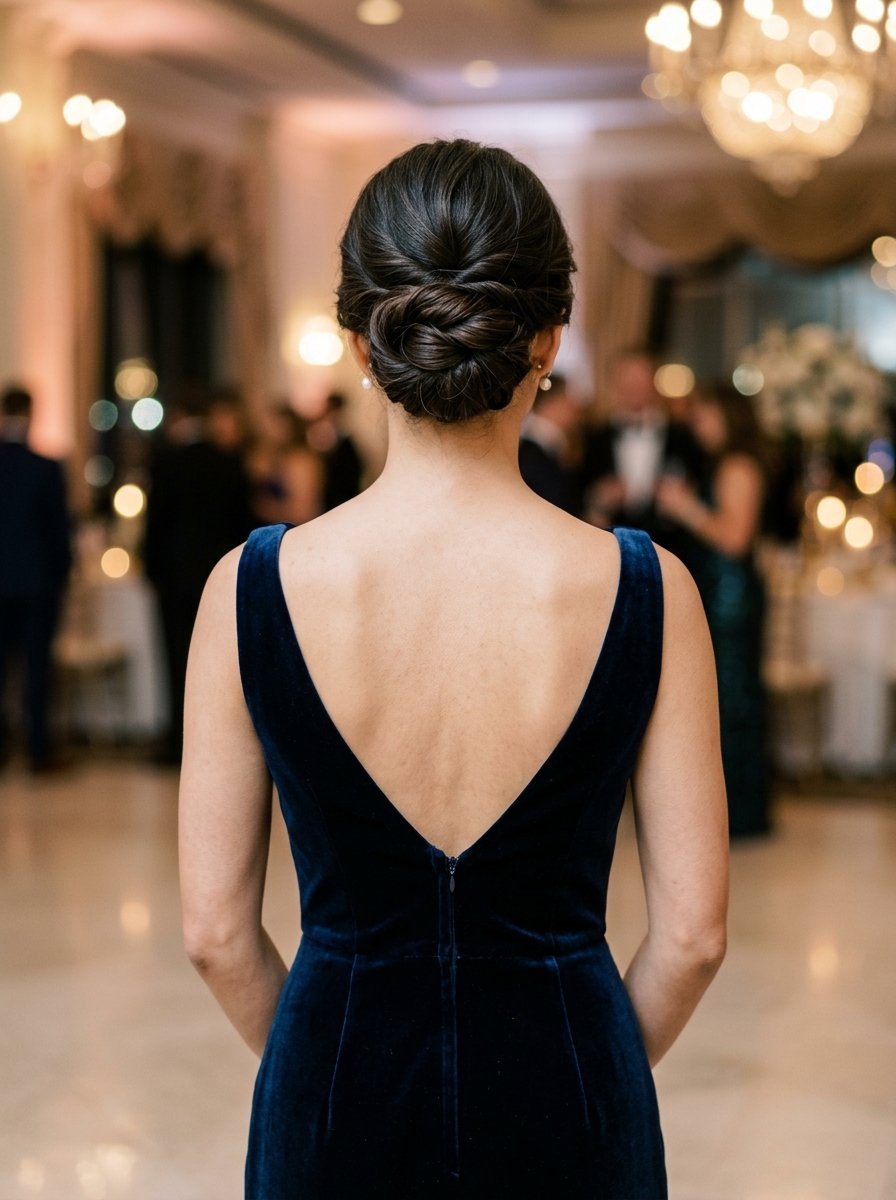
Your clothing changes how your updo rests on your neck. A high collar rubs against low buns and pulls out pins. You must place your updo according to your outfit.
Keep the bun higher on your head for high collars. A low chignon works beautifully as hair for V neck dresses. The open neckline allows the hair to rest freely. I always check the outfit before deciding where to place the pins.
If your dress has a zipper in the back, test the clearance. Turn your head side to side. The hair should never touch the fabric of your dress. Friction from clothing pulls pins out faster than anything else.
Keep the structural pins at least one inch above your collar. This small distance protects your hard work from rubbing away. It also keeps your neck comfortable while dancing.
Plan your style around your clothing:
- Wear your dress or a similar shirt while doing your hair. This helps you see exactly where the fabric hits your neck.
- Move your head around to test the friction points. Make sure the hair clears the collar completely.
- Choose a high topknot if your dress has a tall collar. Keep the hair far away from thick fabrics.
10. Do a Final Shake Test
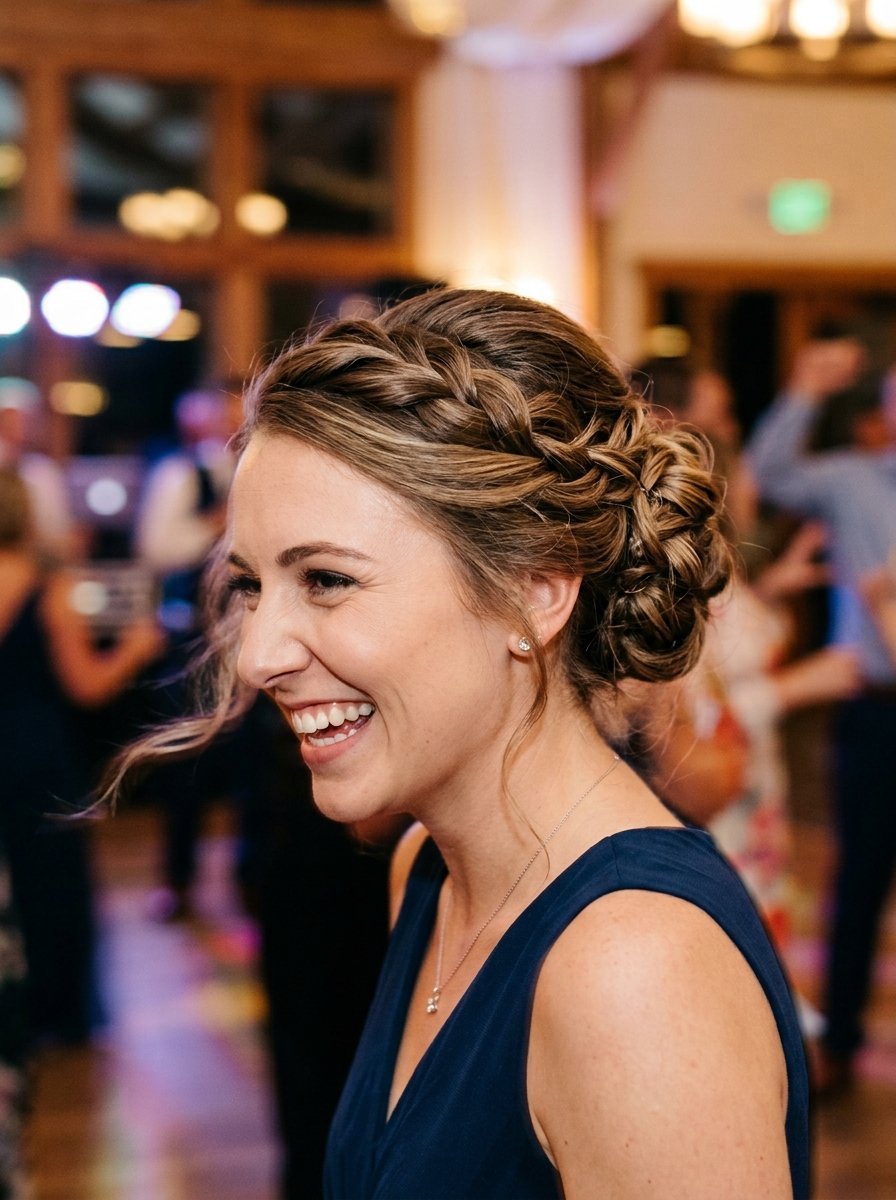
You must test your updo before you leave the house. Stand in front of a mirror. Shake your head from side to side vigorously. Look downward toward the floor and shake your head again.
If anything feels loose, you need more pins. I always perform this test to find weak spots. The loose sections will immediately flop down. Catch those loose pieces and fasten them with a cross-pin.
It feels much better to fix a loose piece at home. Do not wait until you start dancing to find out your hair is loose. For tiny flyaways, I tap a tiny bit of Gorilla Snot Gel on the edges.
It lays the baby hairs down flat. Your updo should feel solid like a helmet but look soft. Once it passes the shake test, you are ready to go out.
Pass the shake test before leaving:
- Shake your head vigorously from left to right. Pay attention to any pieces that hit your neck or face.
- Look straight down at your feet for five seconds. Gravity will pull any loose pins entirely out of your hair.
- Add extra cross-pins to any sections that moved during the test. Retest the style until nothing moves at all.
11. Manage Wind and Weather Conditions

Outdoor events ruin updos faster than anything else. Humidity makes hair swell and push pins out. Wind pulls loose pieces completely free from your anchor. You must plan for the weather before you start styling.
I always check the forecast when getting ready. If rain is coming, I use Kenra Volume Spray 25. It blocks moisture from entering the hair shaft. For high wind, I double the amount of cross-pins I use.
I place extra pins at the nape of the neck. The nape is where wind catches the hair first. Use a smoothing serum on the top layers of your hair. This stops humidity from creating a halo of frizz around your head.
If the weather looks truly terrible, opt for a tighter style. Loose buns do not survive severe weather. Keep the hair pulled tight against your scalp.
Prepare for bad weather:
- Apply a heavy humidity blocker spray if rain is predicted. Coat the hair evenly to repel water droplets.
- Double up your cross-pins at the nape of your neck. Wind always attacks the bottom of your hair first.
- Choose a tight braided style if the forecast calls for storms. Braids hold together much better than loose twists.
12. Pack an Emergency Repair Kit
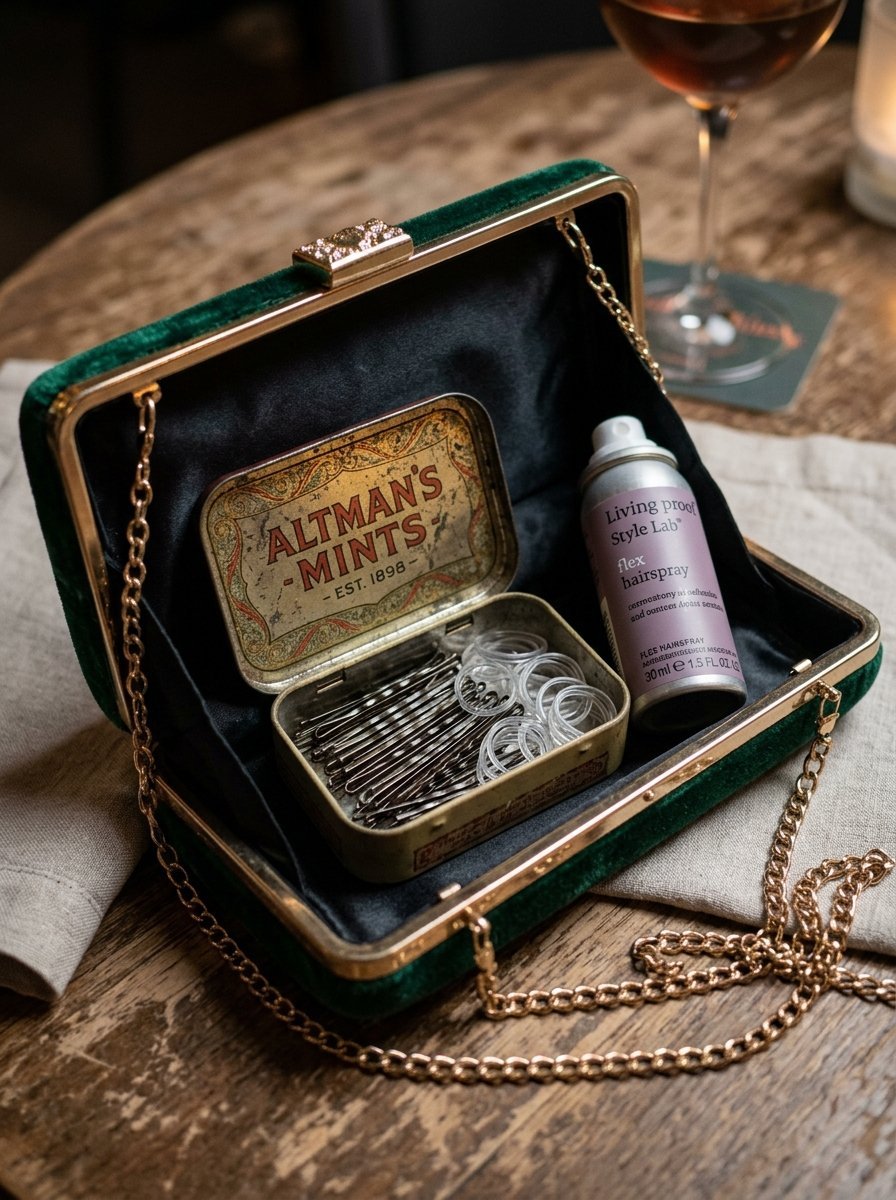
Even the most tight updo might need a minor touch up. You should always carry a small repair kit in your purse. I have saved many styles by having supplies on hand.
Do not rely on finding hair supplies at the venue. Pack ten extra bobby pins that match your hair color. Put them in an empty mint tin to keep them organized. Bring a travel size can of Living Proof Flex Hairspray.
It fixes flyaways without making your hair stiff. Carry a few clear elastic bands for emergency anchor repairs. If one section falls, you can quickly twist it back up.
Go to the restroom and re-pin it securely. Having this kit gives you peace of mind all night long. You will feel ready for anything that happens. A Tangle Teezer compact brush also fits perfectly in a small purse.
Build your survival kit:
- Store ten bobby pins in a small metal tin. This stops them from getting lost at the bottom of your bag.
- Buy a travel size can of your favorite hairspray. Use it to fix small sections that blow loose outside.
- Keep clear elastic bands tucked in your wallet. You can use them to build a new anchor quickly.
Frequently Asked Questions
Why do my bobby pins always slide out?
Your hair might be too clean and slippery. You might also be pushing the pins in the wrong direction. Always use the wavy side against your scalp. Make sure you use a texturizing spray first.
How many pins should I use for a tight updo?
You should use enough pins to balance the weight. This usually means fifteen to thirty pins for medium hair. Thick hair might require fifty pins. Never overload one single spot with too many pins.
Can I sleep in a pinned updo?
You should remove all metal pins before sleeping. Pins can stab your scalp and cause pain. They also cause severe breakage if you roll over on them. Always take your hair down at night.
How do I hide pins in thin hair?
Use miniature bobby pins instead of full size ones. Match the color exactly to your roots. Push them deeply into a braided anchor so they disappear. Avoid crossing pins in thin areas.
What is the best way to handle thick hair?
Use heavy duty U-pins for the main structure. Rely on a very tight ponytail as your base anchor. Divide the hair into six or more sections before pinning. Never try to pin a massive chunk of hair at once.
Can I use dry shampoo on clean hair?
You absolutely should use dry shampoo on clean hair for updos. It adds the exact texture metal pins need to grip. Spray it lightly at the roots and brush it through completely.
How do I remove the pins without hurting my scalp?
Pull the pins out in the exact reverse order you put them in. Pull gently straight back. Never rip them sideways out of tangled hair. Use your fingers to open them slightly before pulling.
Does the shape of my face dictate my updo?
Your face shape can guide where you place the bulk of the hair. Place the bun high for round faces. Place it low for longer faces. Always check your profile in the mirror first.
Wrapping Up
Pinning an updo properly takes practice and patience. You now have the exact blueprint for making your hair last. The right tools make the job much easier. Quality pins and strong hairspray do most of the heavy lifting. I want you to try these steps before your next big night out. Do a practice run on a lazy Sunday. Test the locking motion and the cross-pinning tactic. Once you master the anchor base, everything else falls into place. Your days of fixing loose hair in bathroom mirrors are over. Step out the door with total confidence in your style.

Sarah Mitchell — Founder & Editor-in-Chief
Sarah Mitchell is the founder and editorial voice behind Hair Level Up. A licensed cosmetologist with more than 15 years of experience, she has styled A-list celebrities for editorial shoots and red carpets, with work featured in Vogue, Elle, and Harper’s Bazaar. Early in her career, she trained under the legendary hairstylist Oribe in New York, an apprenticeship that still shapes her editorial eye today. Sarah founded Hair Level Up in 2020 after one bad haircut convinced her that women deserved a destination that felt like a magazine, taught like a stylist, and inspired like an art gallery. She oversees every story from concept to publication, guided by a simple belief: a good story teaches you something, but a great one makes you feel beautiful while it does.