The Beginner’s Guide to Updo Tools and Techniques
The right updo changes how you hold your head. It changes how you walk into a room. For years, I watched women struggle with hair pins, getting frustrated when their slick buns turned into loose messes before lunch. I used to be one of them, burning my fingers on curling irons and using half a can of hairspray just to keep a basic twist from collapsing.
Everything changed when I stopped fighting my hair and started learning the actual mechanics of updos. Creating a gorgeous style is not about having a hidden talent. It comes down to using the correct tools, understanding how hair locks together, and preparing your texture properly.
Executive Summary
This guide breaks down the exact methods for building beautiful, secure updos at home. You will learn how to choose pins that hold all day, how to prepare your hair texture so it resists slipping, and how to create balanced shapes that flatter your features. We cover step-by-step foundations, advanced professional secrets, and real troubleshooting fixes for when a style feels loose or hurts your scalp.
Why Do Updos Fall Flat?
The biggest mistake is working with freshly washed, slippery hair. Clean hair lacks the friction needed to hold a pin in place. In my experience, clean strands simply slide out of position within twenty minutes.
Another issue is using the wrong pins. Standard bobby pins are designed to grip small amounts of hair against the scalp. They are not meant to hold a heavy bun. Forcing too much hair into a single bobby pin spreads the metal metal prongs apart, which ruins the tension and makes the pin useless.
Your hair density determines your strategy. Fine hair needs products that add volume and grit before you style. Thick hair requires strong internal structures, like hidden ponytails, to anchor the weight.
1. Preparing the Perfect Foundation
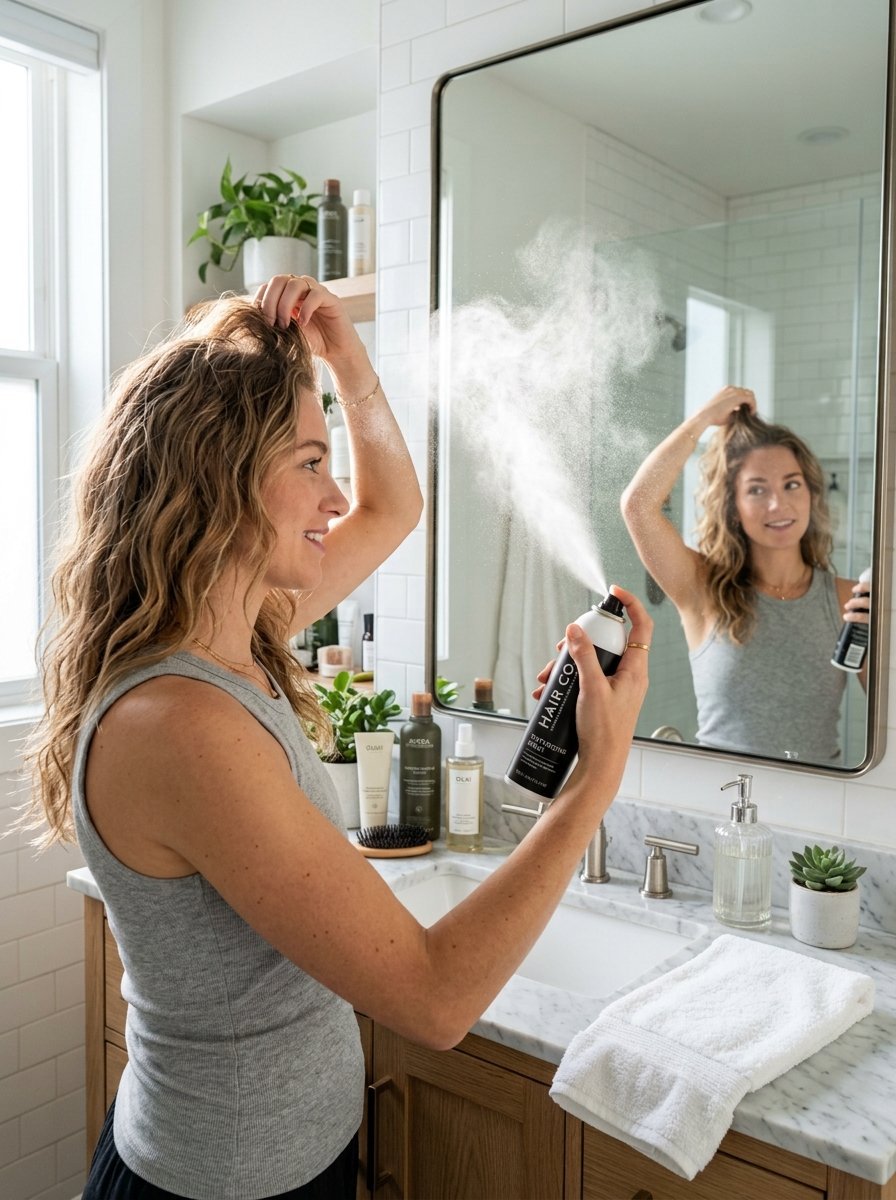
Great updos are created hours before you insert the first pin. Your hair needs texture, grip, and hold.
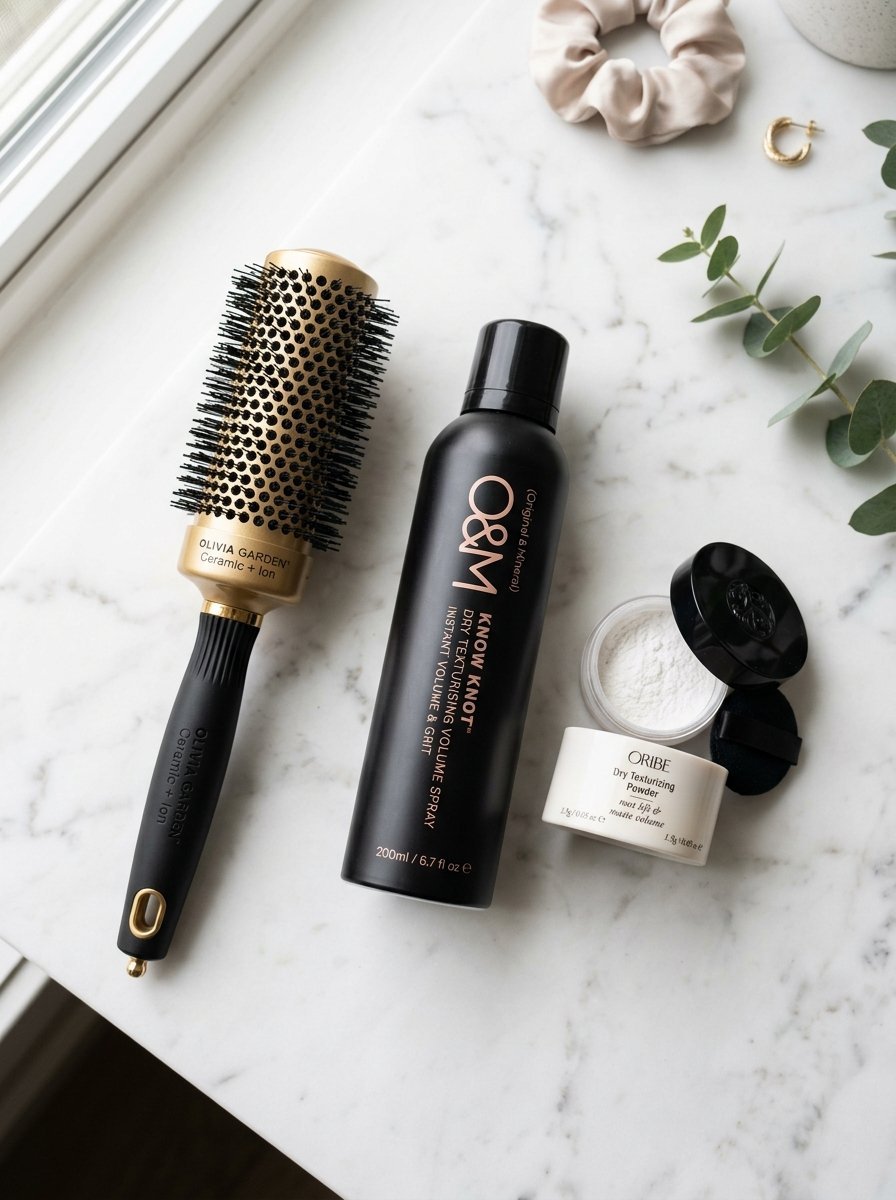
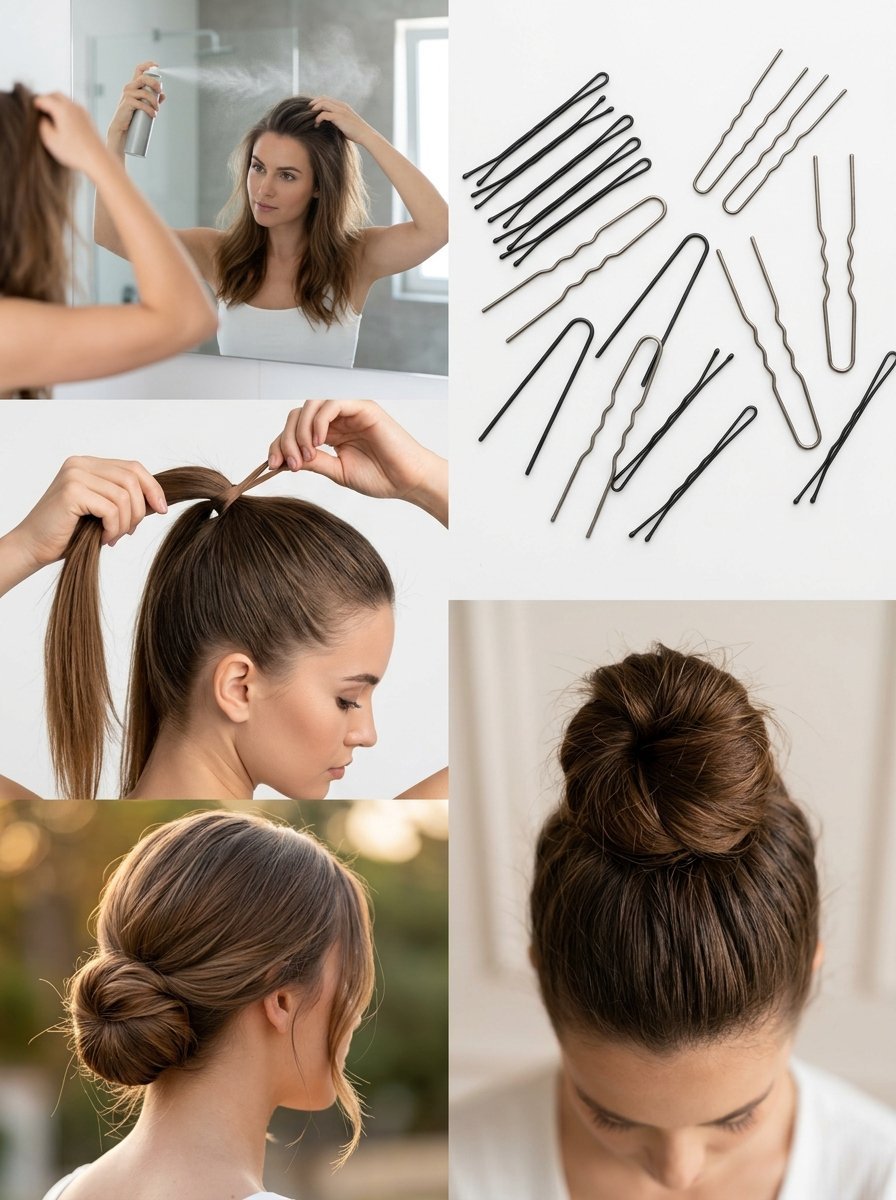
- Apply dry shampoo to your roots, even if your hair is clean. The starch coats individual strands, which provides the friction pins need to stay put.
- Use a texturizing spray through the mid-lengths and ends. This creates a rougher surface that prevents your style from separating.
- Blow-dry your hair with a round brush to build volume at the crown. Flat hair makes an updo look dated and bottom-heavy.
2. Choosing Your Hardware
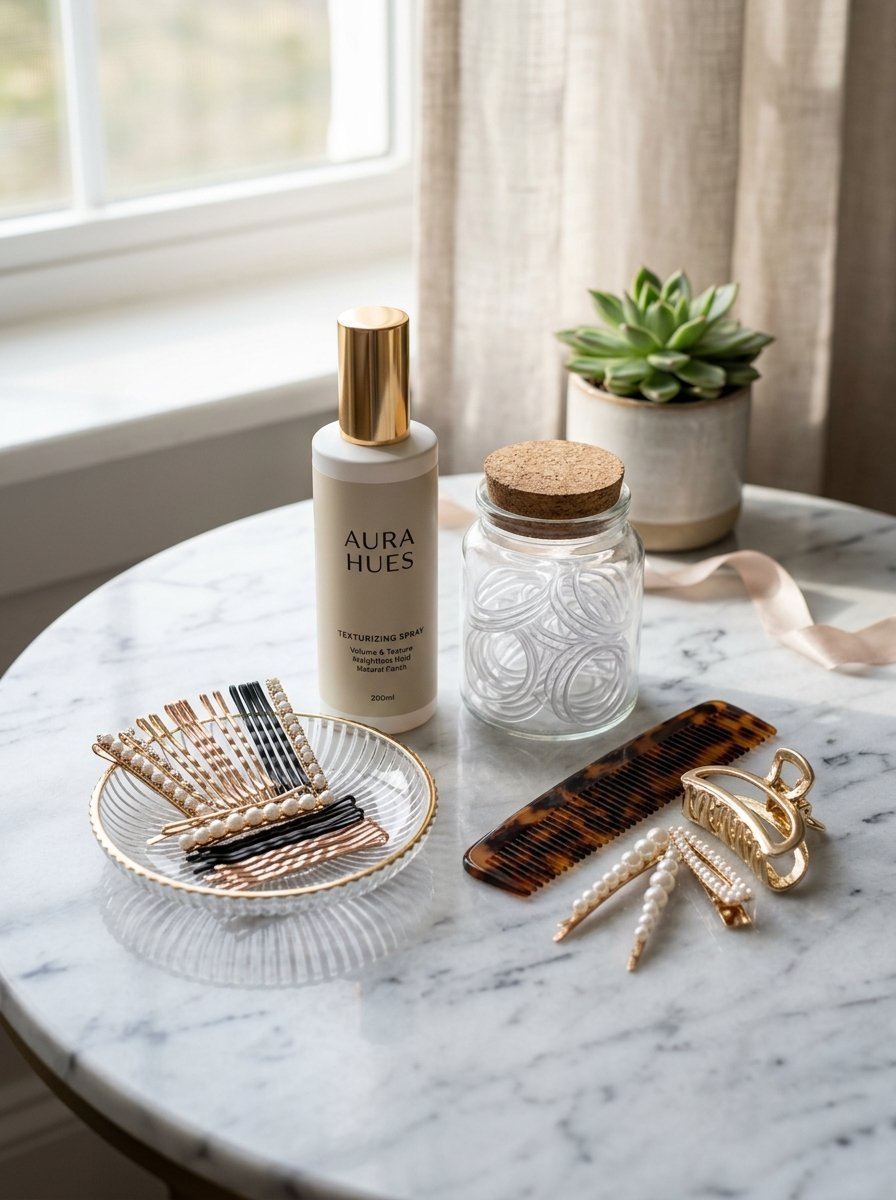
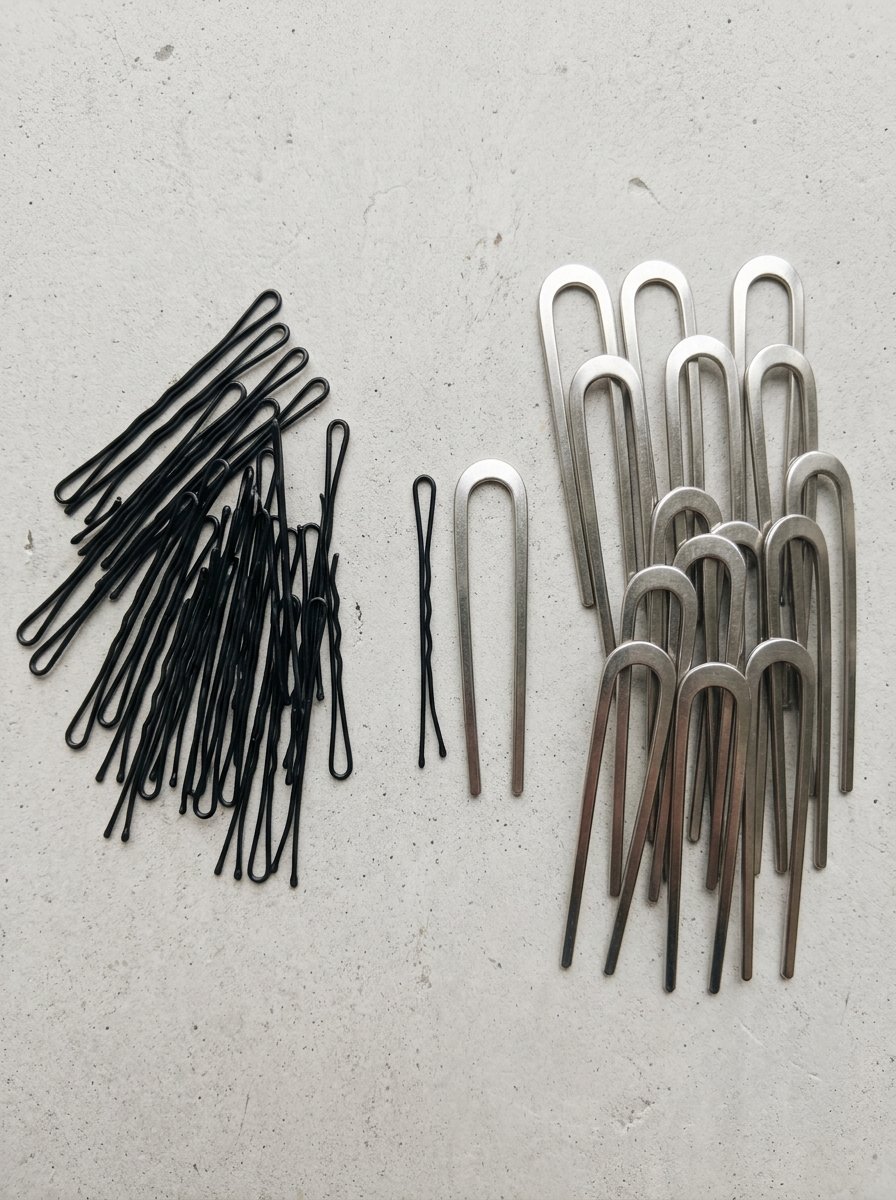
Using cheap hair accessories guarantees a frustrating experience. High-quality pins make a massive difference in how comfortable and secure your style feels.
- Premium bobby pins have ball tips that will not scrape your scalp. They feature a tight, springy snap that retains its shape after multiple uses.
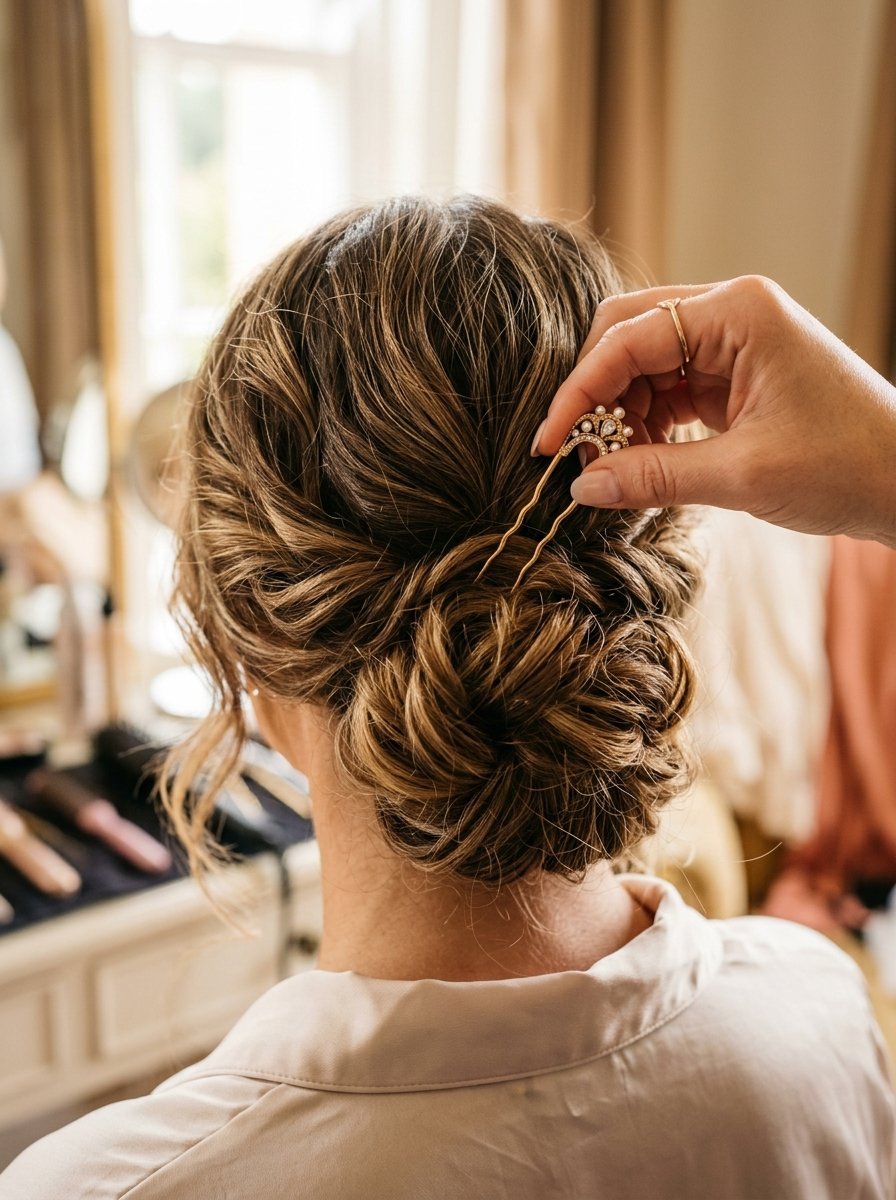
- U-shaped hair pins are essential for securing twists and chignons. They weave through the hair to lock the style without crushing the volume.
- Silicone elastic bands hold secure sections without snapping or cutting into the hair shaft.
3. The Core Anchoring Techniques
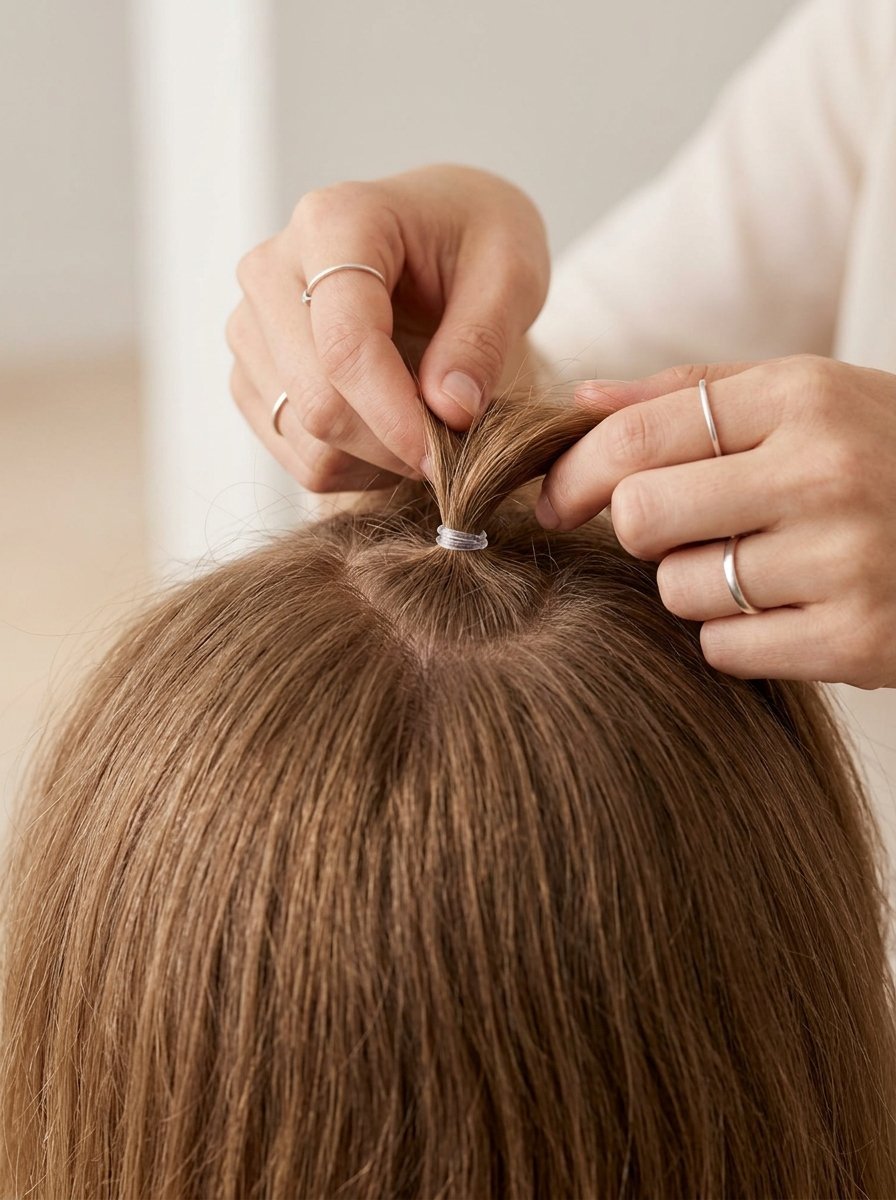
An updo needs a solid anchor point. Without one, gravity pulls the weight downward, which causes sagging.
- Create a small, hidden ponytail at the crown or nape of your neck to serve as your main anchor.
- Insert bobby pins in a criss-cross pattern. Crossing two pins creates an “X” that locks the hair between them.
- Slide pins against the direction of the hair movement. If you pull a section to the right, insert the pin from right to left to lock it.
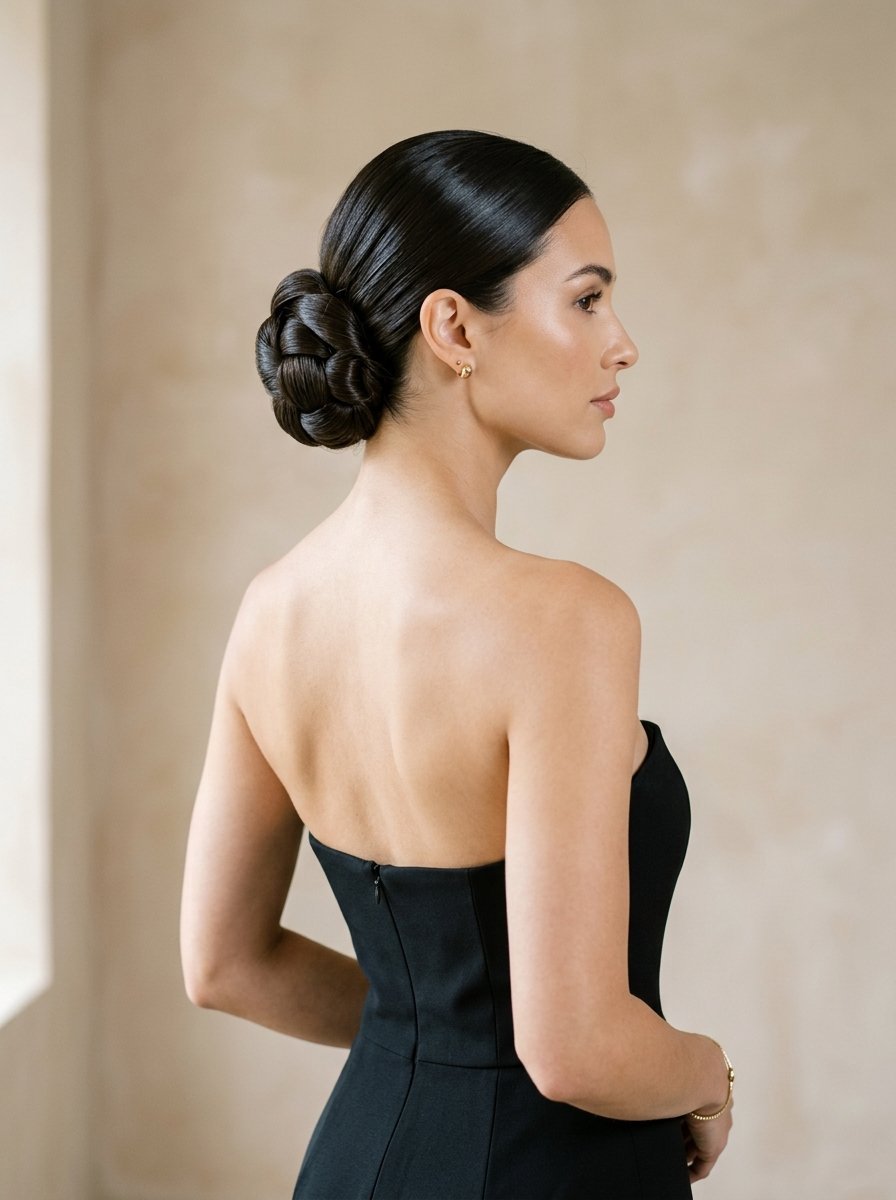
4. Master the Classic Low Chignon
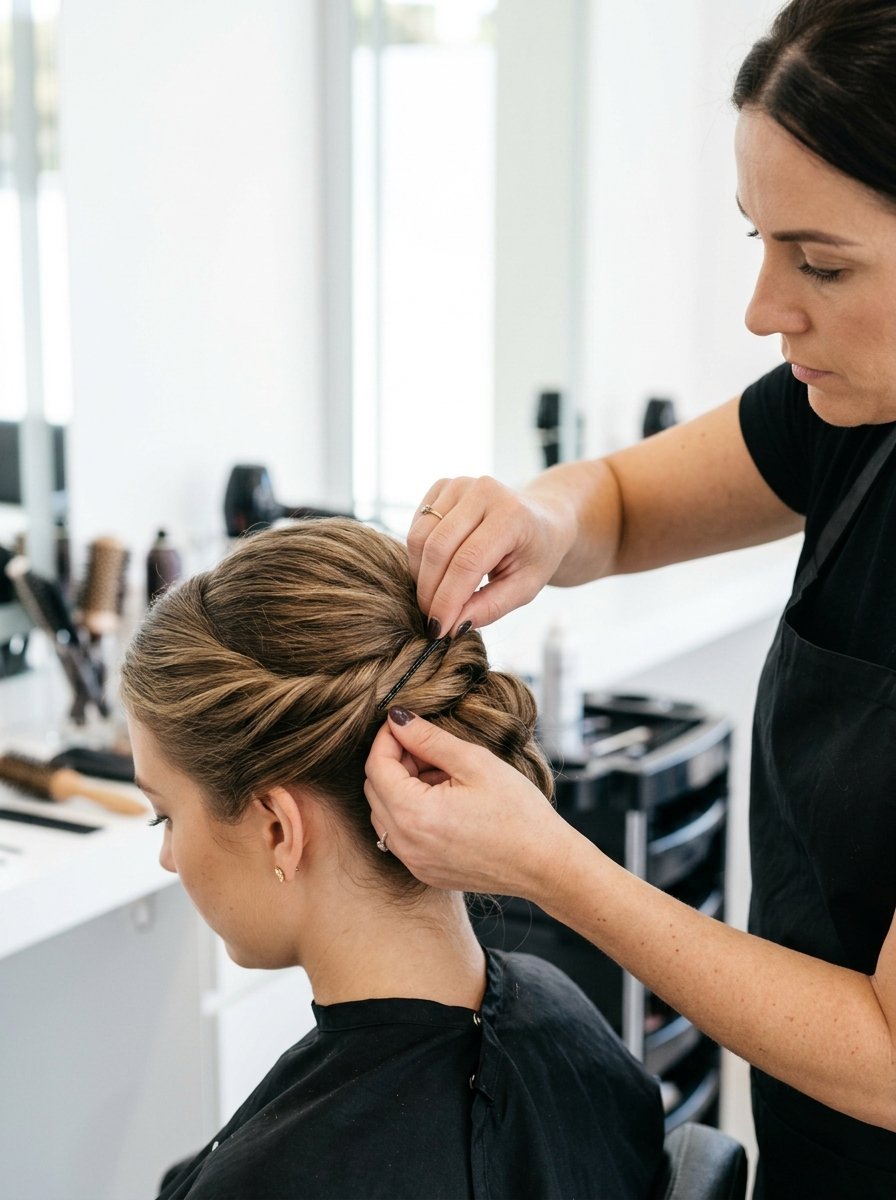
The chignon is a timeless style that works for weddings, work meetings, or casual days.
- Gather your hair into a low ponytail at the nape of your neck and secure it with a clear elastic.
- Split the hair above the elastic to create a small pocket, then loop the ponytail down and through the opening.
- Roll the remaining hair upward toward your neck and secure the edges with U-shaped pins.
5. The Textured Top Knot
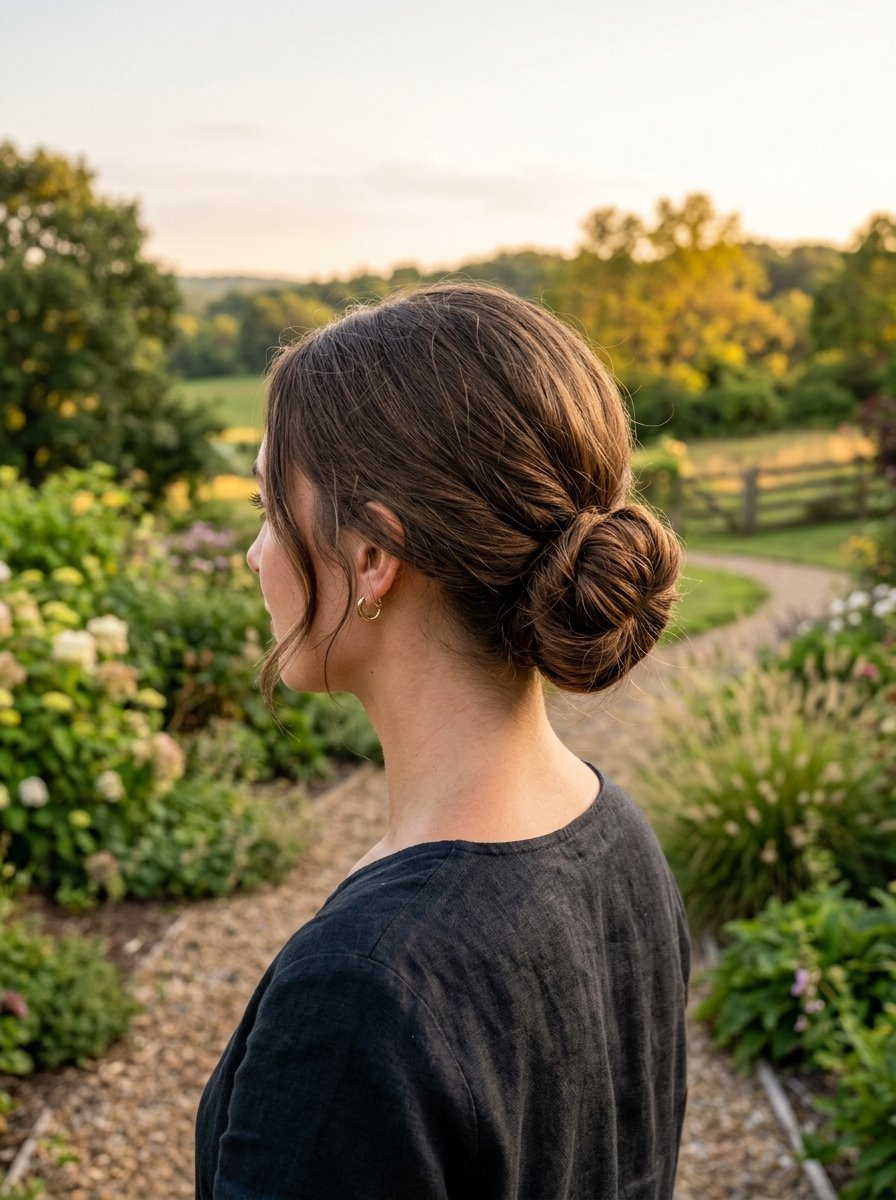
This style offers a modern, effortless look that lifts your features and stays secure all day.
- Flip your head upside down and gather your hair at the high crown of your head.
- Twist the length of the ponytail loosely, then wrap it around the base of the elastic band.
- Pull gently on the outer edges of the bun to create soft volume, then pin the base securely.
6. The French Twist Made Simple
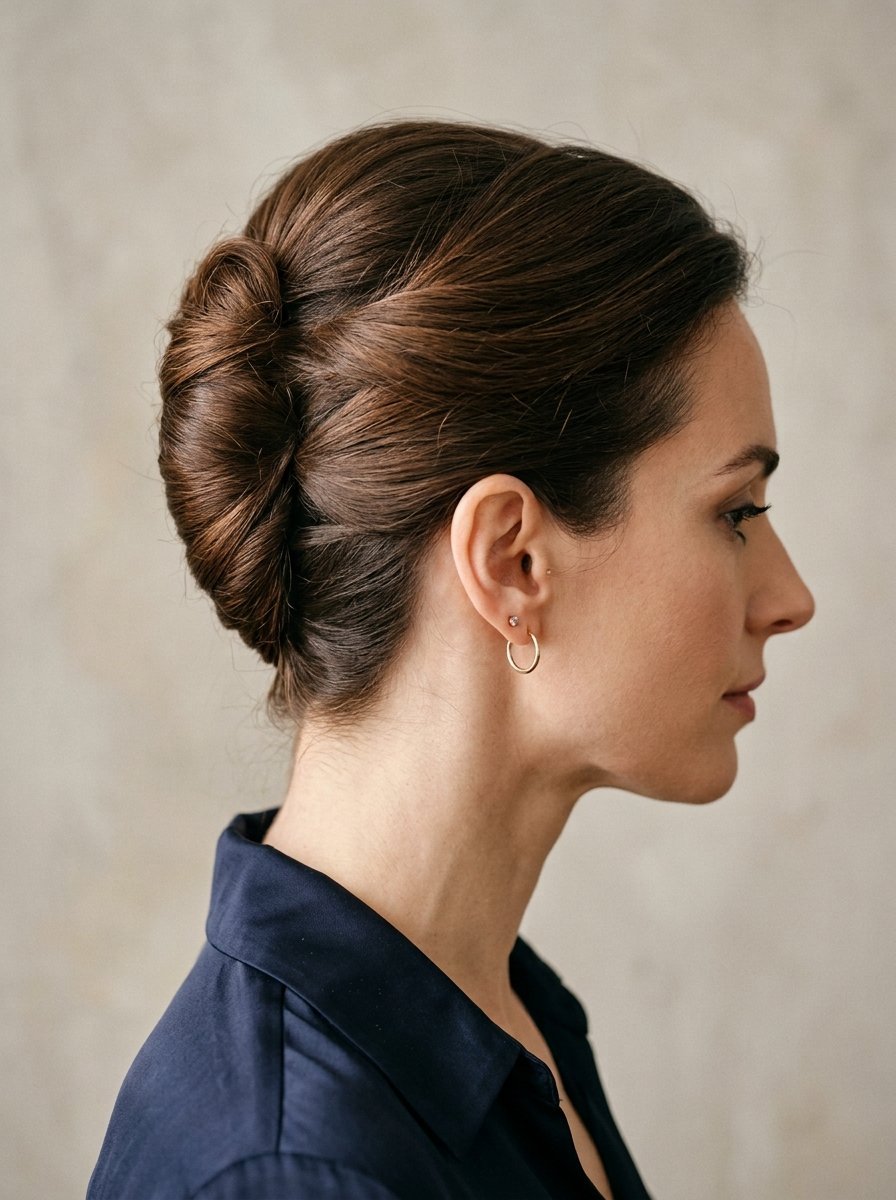
Many people find the French twist intimidating, but the secret lies in a vertical row of pins.
- Sweep all your hair to one side of your head and hold it in place with a vertical row of interlocking bobby pins.
- Gather the hair, roll it back over the pins toward the center, and tuck the ends inside the seam.
- Insert U-shaped pins along the seam line, catching both the twist and the underlying anchor pins.
7. Working With Different Lengths
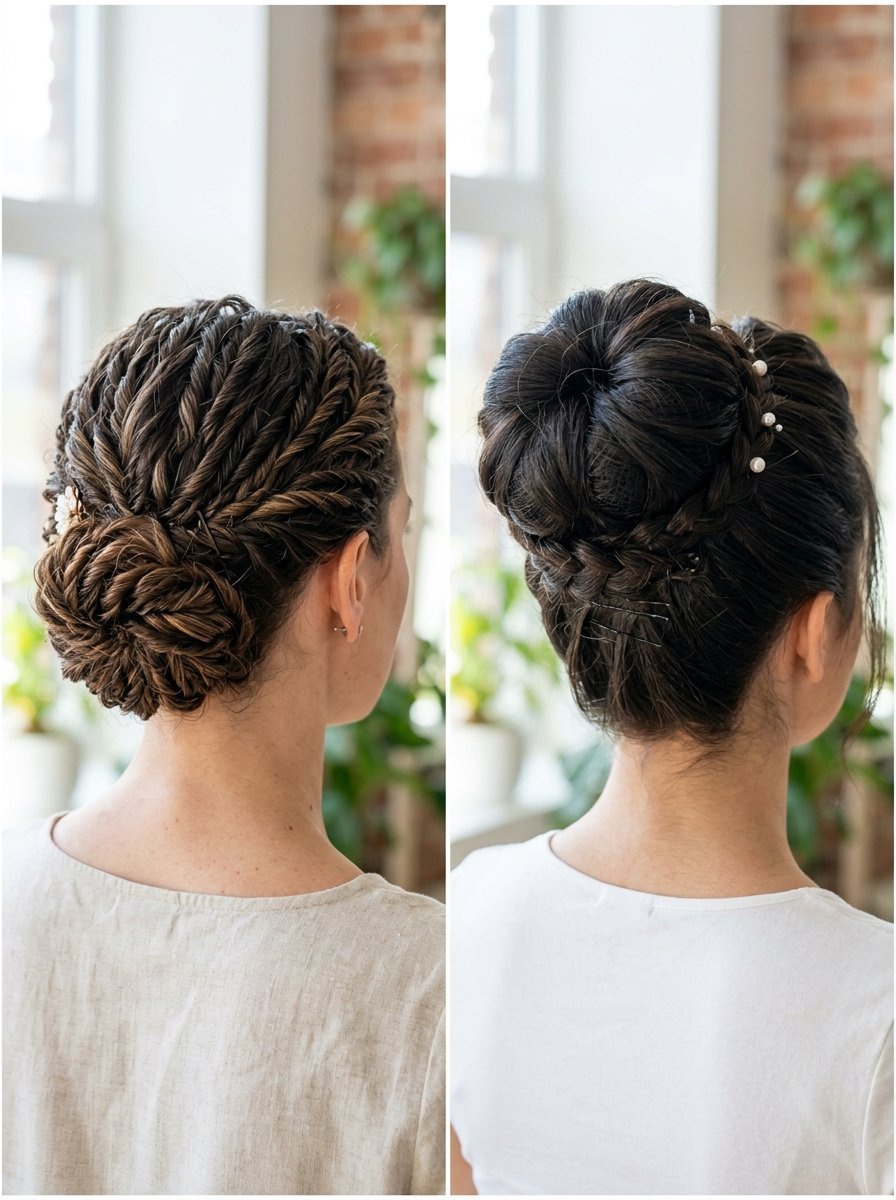
Your approach changes based on how much hair you have available.
- Short hair requires multiple small sections rather than one large wrap. Use small twists along the neckline to pin shorter pieces up.
- Medium hair is ideal for updos because it has enough length to twist without excessive weight.
- Long hair needs heavy-duty support. Distribute the weight across two or three smaller ponytails before pinning the style together.
8. Balancing Your Face Shape

An updo should balance your natural proportions.
- Round faces benefit from height at the crown. Leave soft, face-framing pieces out to elongate your look.
- Square faces look best with soft, romantic updos. Avoid slick styles that emphasize a sharp jawline.
- Oval faces can wear almost any style, from sleek top knots to low, asymmetrical buns.
9. Troubleshooting Mid-Day Disasters
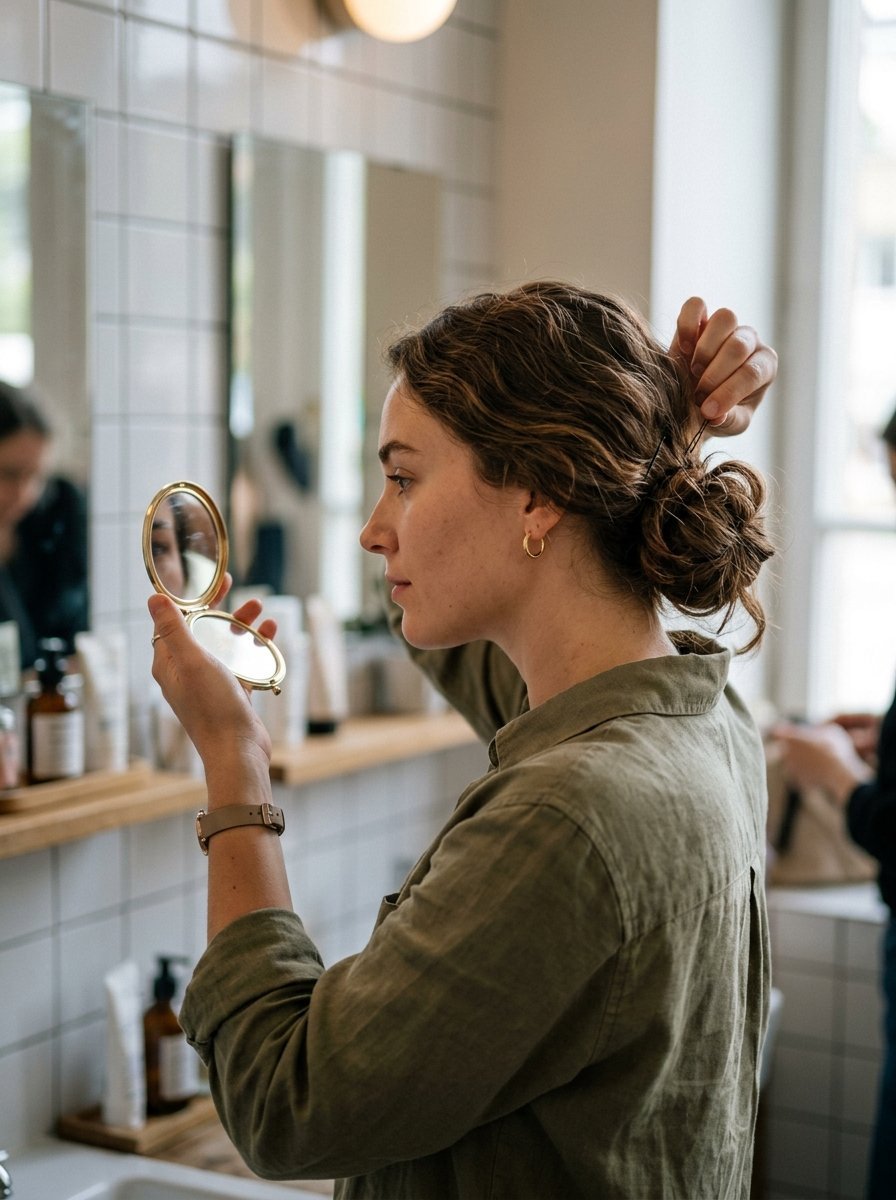
When your style starts to slip, you can fix it without starting completely over.
- Carry a small travel pouch with extra U-shaped pins and a miniature texturizing spray.
- If a section sags, lift it back into place and insert a pin downwards through the top of the bundle.
- Spray hairspray onto your fingertips, then smooth down flyaways along your hairline.
10. Removing Your Updo Safely
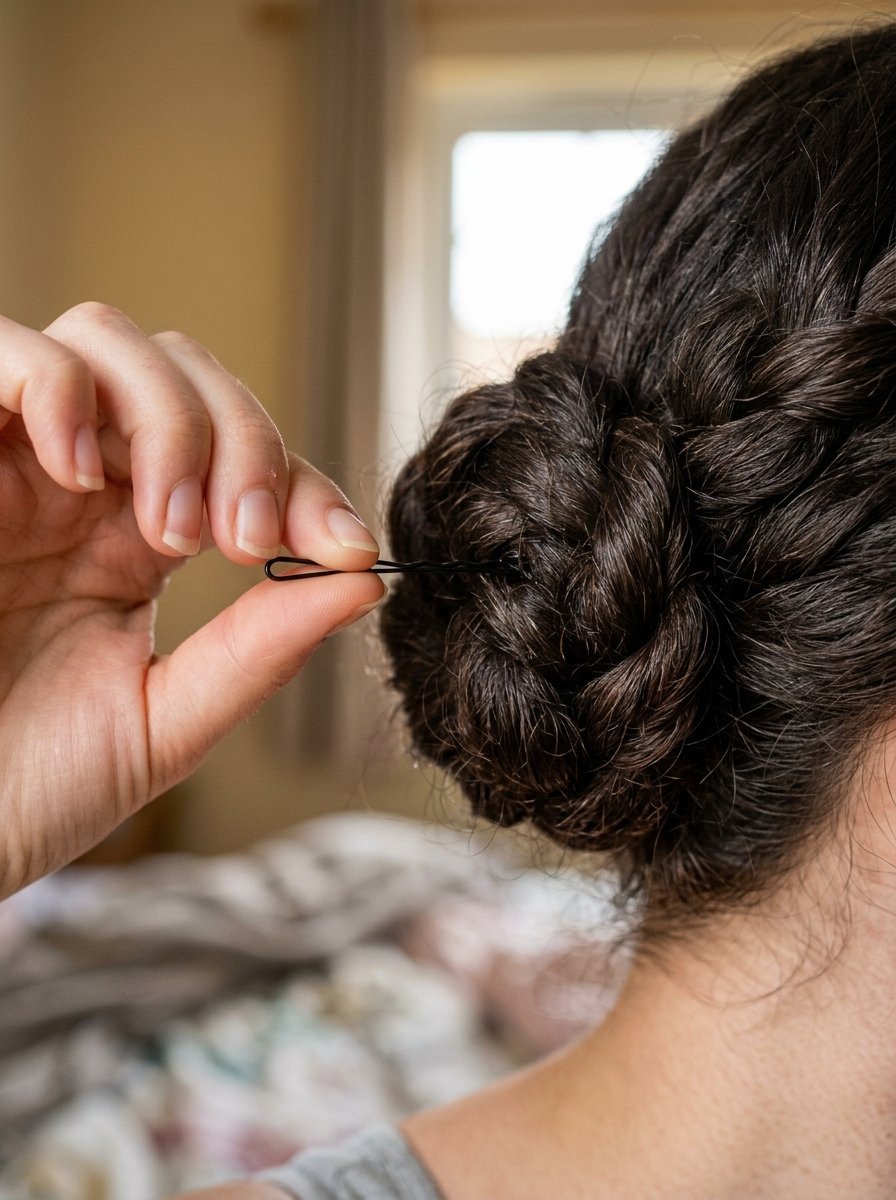
Ripping pins out damages your hair and causes breakage.
- Find the ends of each pin and pull them out in the opposite direction they were inserted.
- Do not pull or drag a closed bobby pin down the length of your hair strand.
- Brush your hair gently from the ends upward before stepping into the shower to wash out the product buildup.
Updo Tool Comparison
Selecting the right tool saves time and prevents your hair from slipping out of place.
| Tool Type | Primary Function | Best Hair Type | Grip Level |
| Bobby Pin | Anchoring bases, securing flat sections | Fine to Medium | High |
| U-Shaped Pin | Securing large buns, maintaining volume | Thick, Textured | Medium |
| Clear Elastic | Creating base ponytails, sectioning | All Hair Types | Maximum |
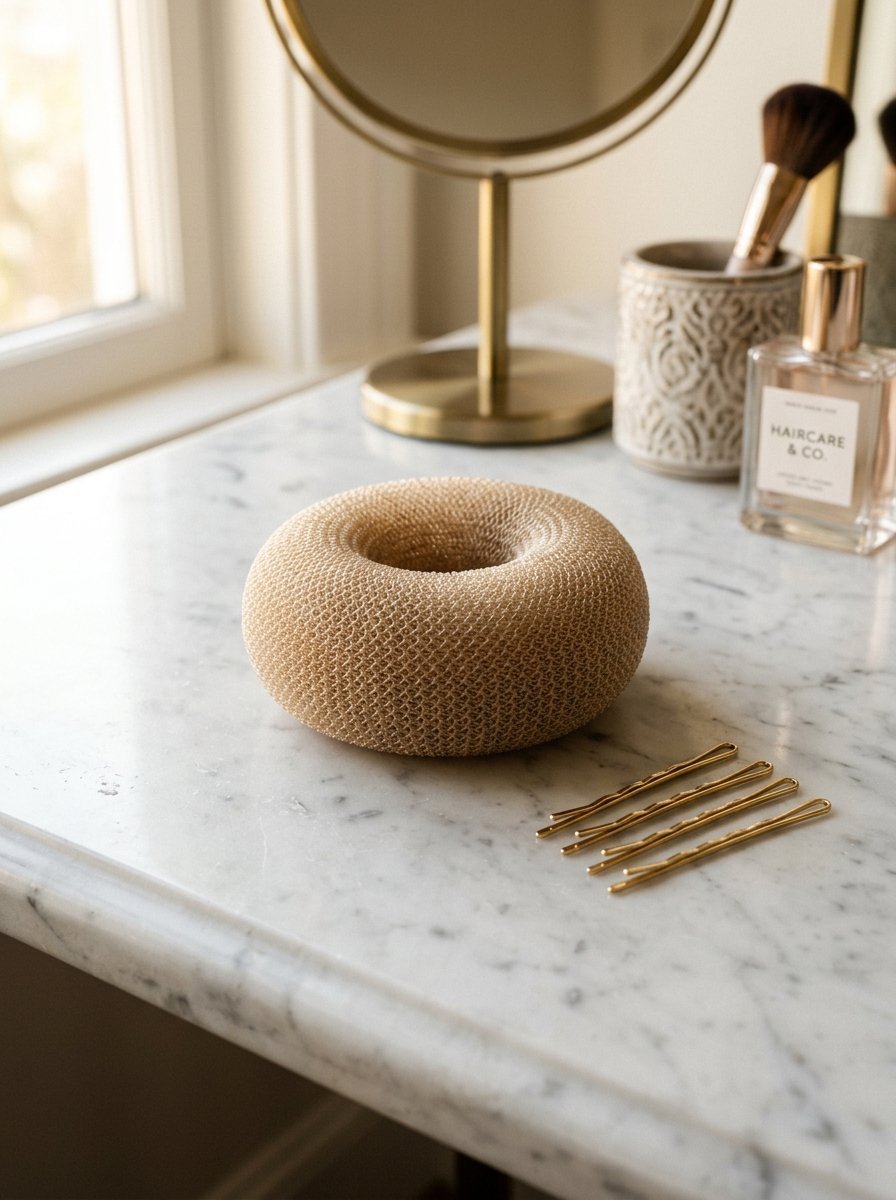
| Hair Donut | Adding internal shape and volume | Fine, Thin Hair | Medium |
Frequently Asked Questions
How do I make my updo stay in place all day?
Prepare your hair with dry shampoo or texturizing spray before styling. Secure the style using a strong base, like a small hidden ponytail, and cross your bobby pins in an “X” shape to lock them together.
Why does my updo give me a headache?
Headaches happen when a pin pulls too tightly on a small group of hair strands. Distribute the weight evenly across a larger section, or use wide U-shaped pins instead of tight bobby pins.
Can I create a nice updo with short hair?
Yes, you can create a beautiful style by pinning your hair up in smaller sections. Focus on securing the lower half at the back of your neck first, then layer the top sections down over it.
What should I do if my hair is too slippery?
Avoid using heavy conditioners right before styling. Apply a generous amount of texturizing dust or matte paste to your fingers, then work it through your hair to create immediate grip.
Is hairspray necessary for a secure hold?
Hairspray helps seal the style, but it cannot fix a weak foundation. Focus on proper pinning techniques first, then finish with a light mist of hairspray to tame remaining flyaways.
How can I make a bun look thicker?
Wrap your hair around a lightweight mesh hair donut that matches your hair color. This provides an internal structure that makes fine or thin hair look instantly full.
Conclusion

Building a great updo takes a bit of practice, but understanding the fundamentals changes everything. Once you master the art of proper preparation, secure anchoring, and using the right pins, you can create gorgeous styles that stay comfortable from morning until night. Start with a simple low chignon, get a feel for how the pins slide into place, and build your confidence from there.

Sarah Mitchell — Founder & Editor-in-Chief
Sarah Mitchell is the founder and editorial voice behind Hair Level Up. A licensed cosmetologist with more than 15 years of experience, she has styled A-list celebrities for editorial shoots and red carpets, with work featured in Vogue, Elle, and Harper’s Bazaar. Early in her career, she trained under the legendary hairstylist Oribe in New York, an apprenticeship that still shapes her editorial eye today. Sarah founded Hair Level Up in 2020 after one bad haircut convinced her that women deserved a destination that felt like a magazine, taught like a stylist, and inspired like an art gallery. She oversees every story from concept to publication, guided by a simple belief: a good story teaches you something, but a great one makes you feel beautiful while it does.