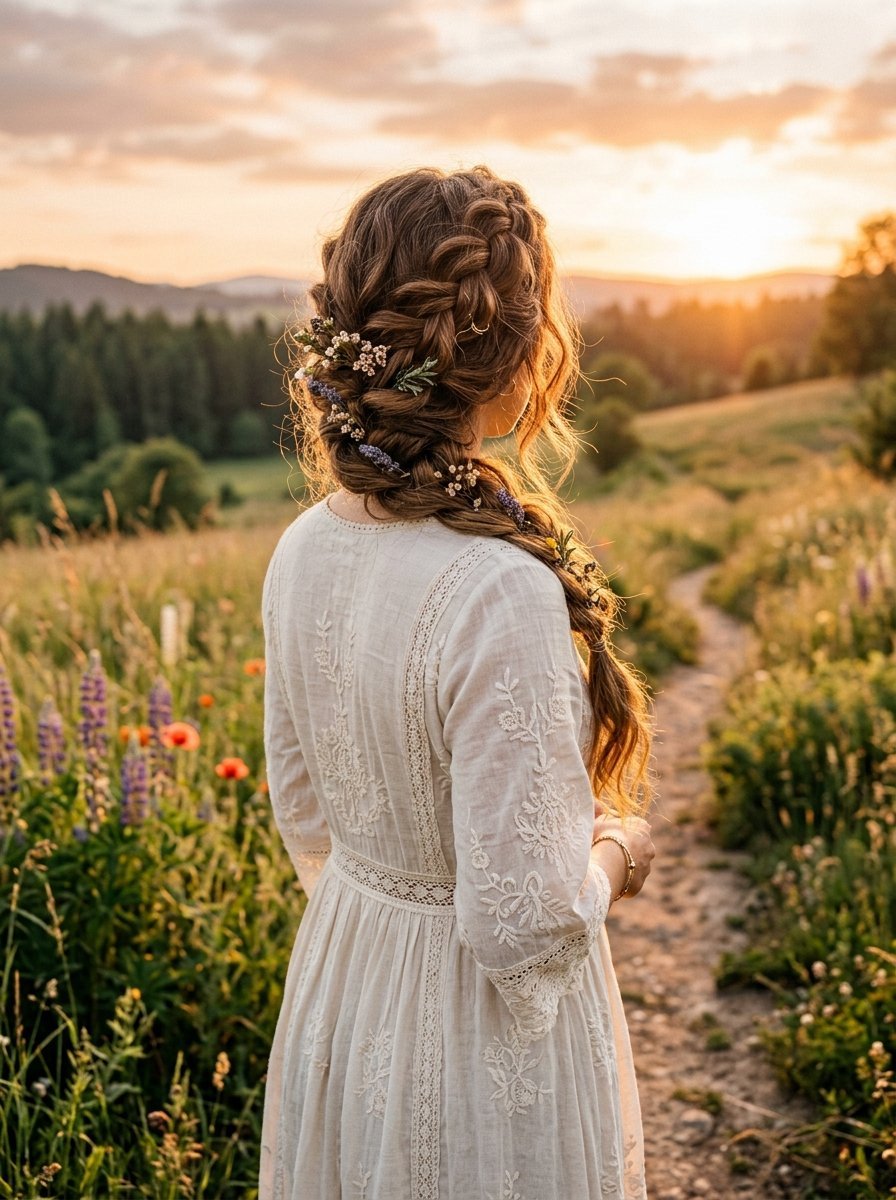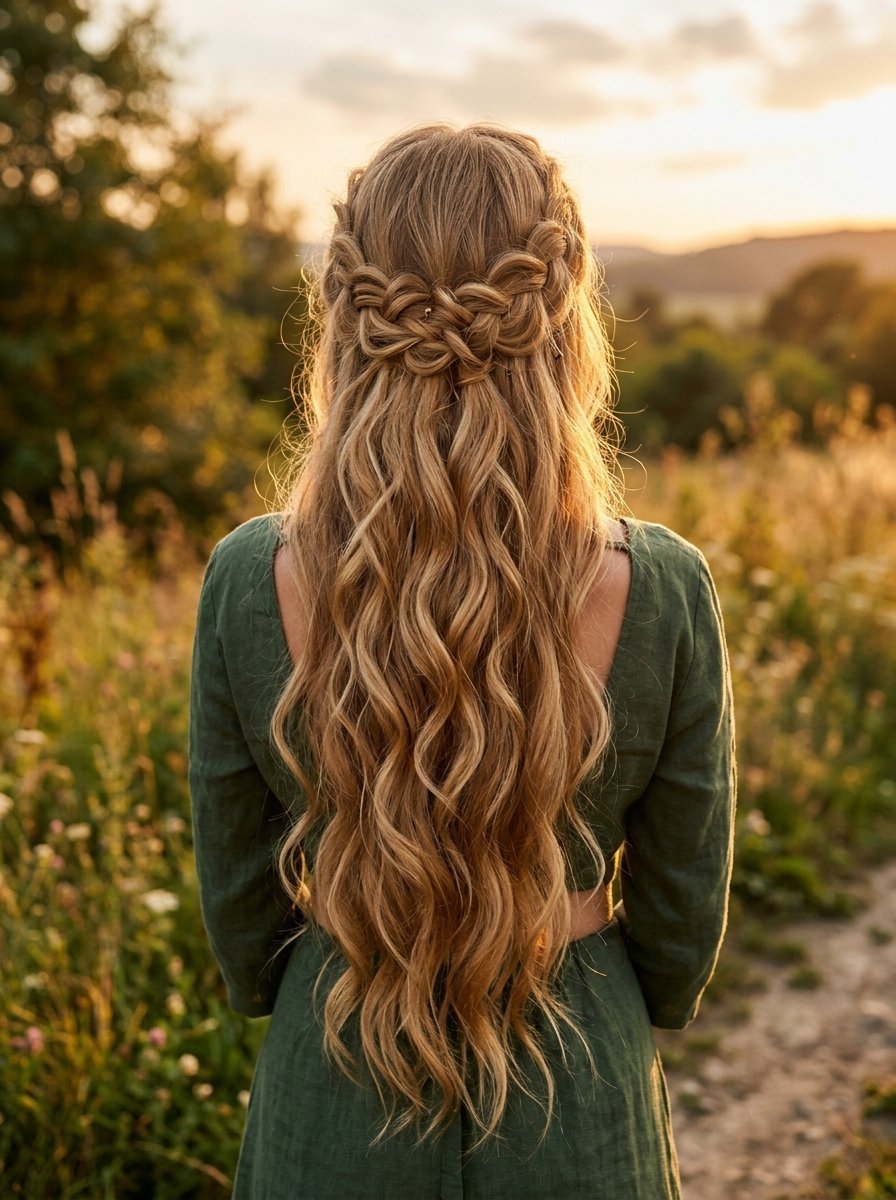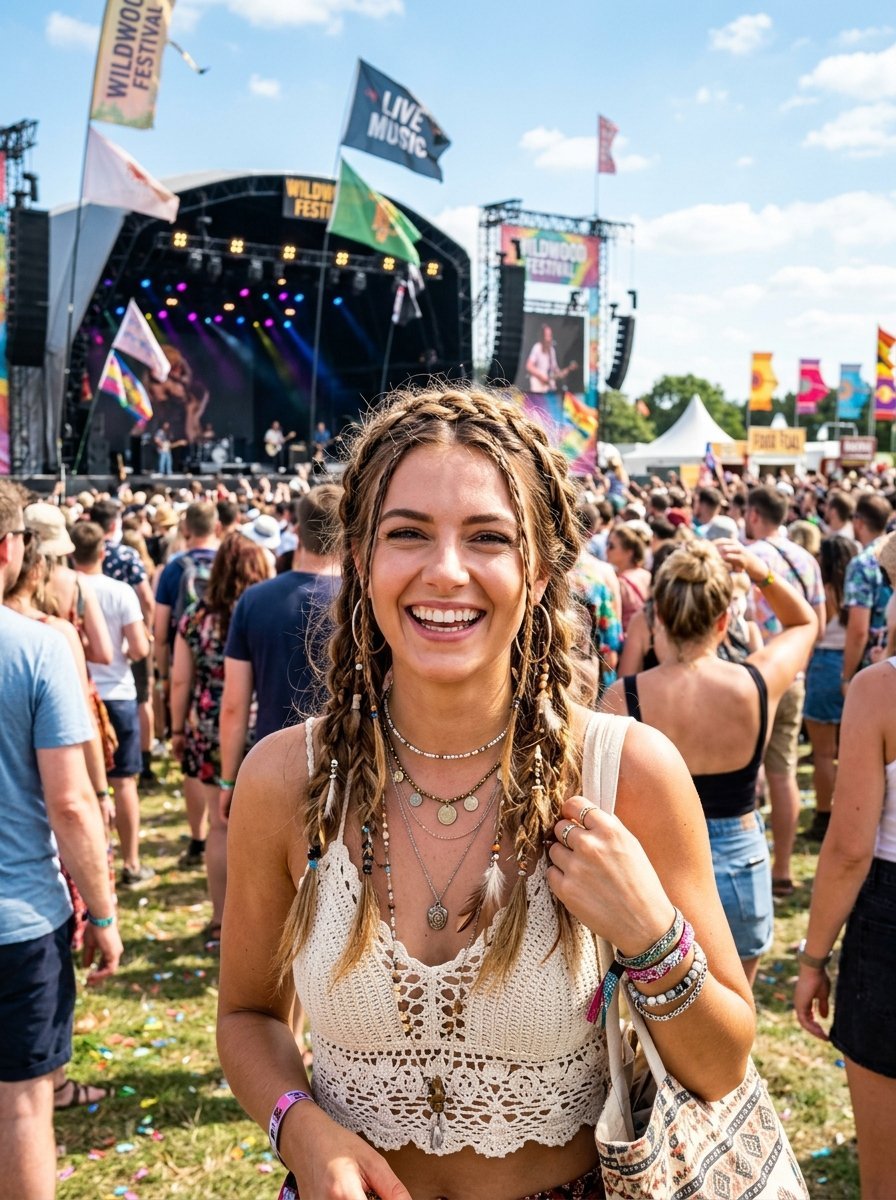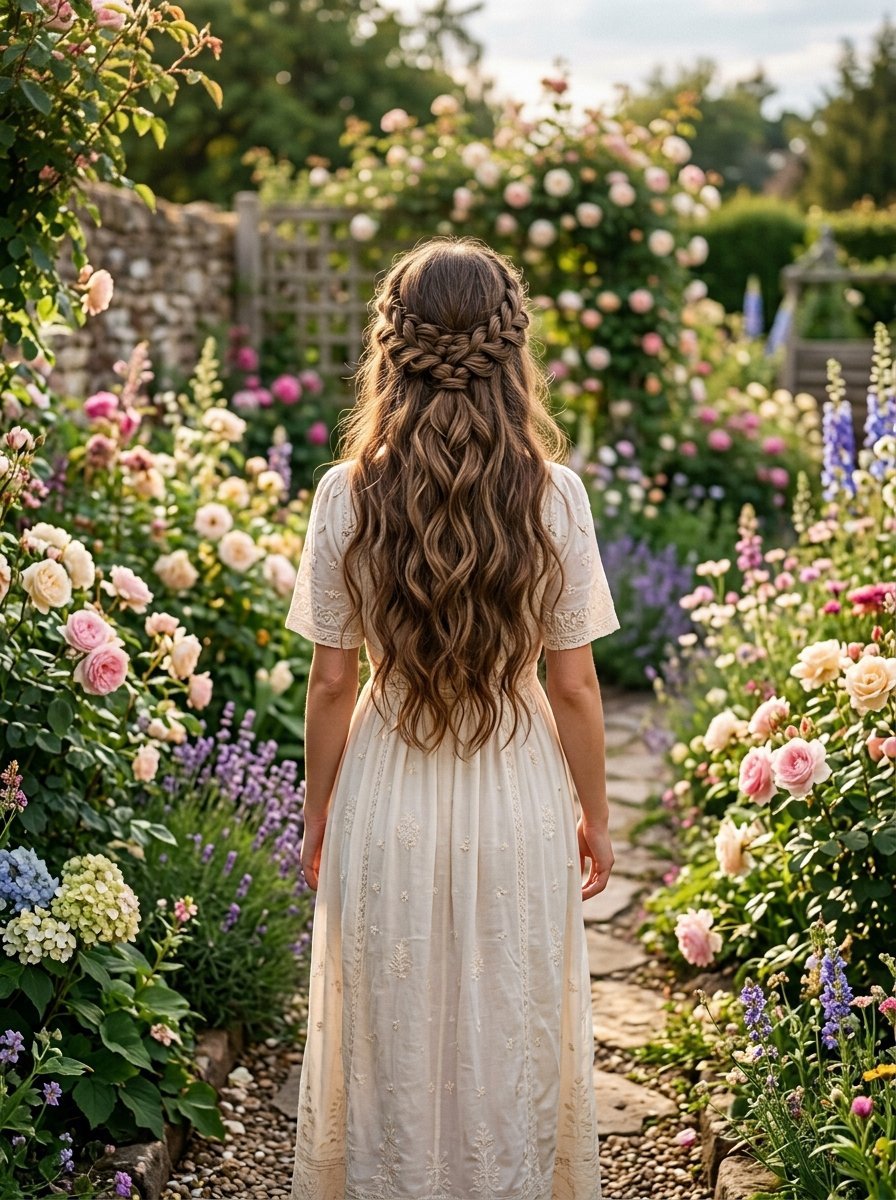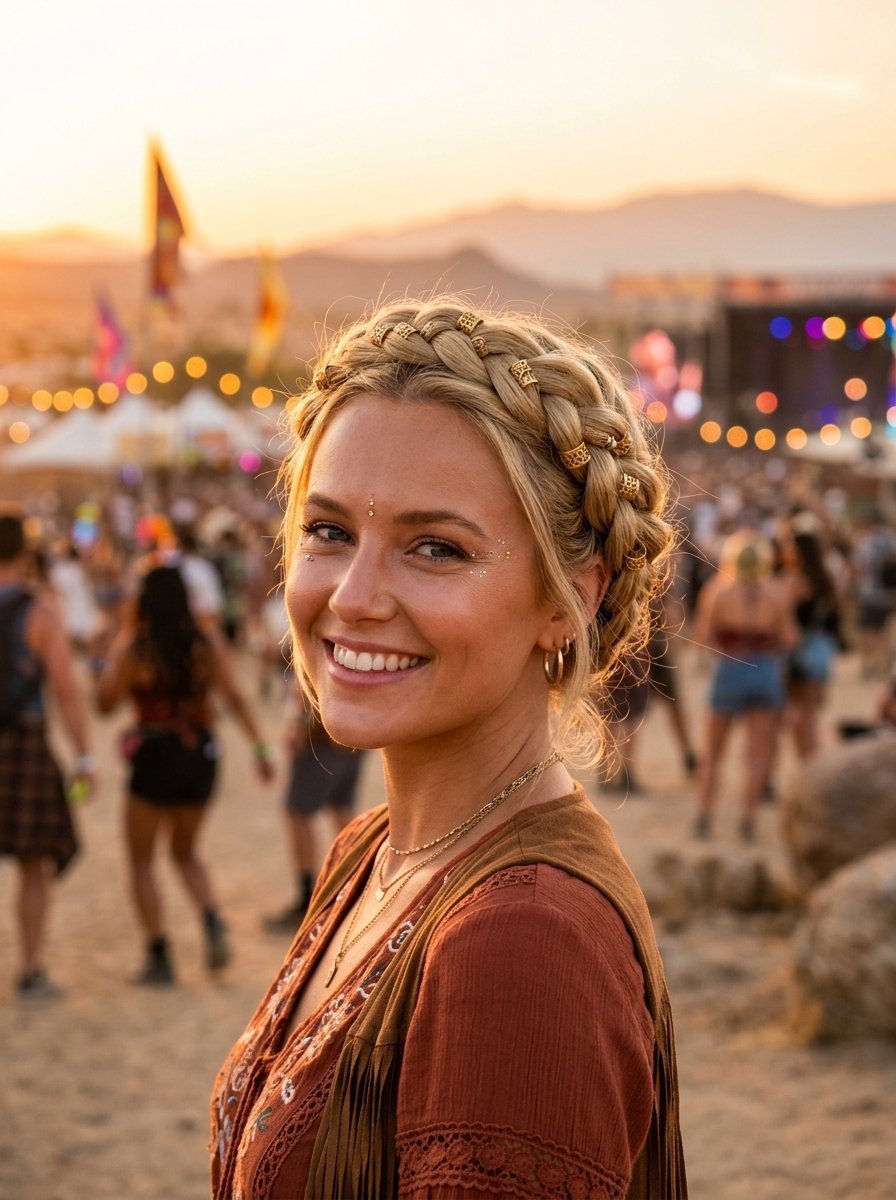
Step-by-Step Guide to a Festival-Ready Crown Braid
Picture the scene at Coachella three years ago. The sun beats down at 95 degrees. My hair sticks to my neck. My carefully styled waves fall flat in ten minutes. I spent two hours curling my hair that morning. It ruined my entire mood for the day. I needed a fix that could survive desert heat, sweat, and endless dancing. That weekend changed my entire approach to festival hair. I tested different easy braids until I found the exact formula that works. The crown braid solves every outdoor music event problem perfectly. I have tried this look at five different festivals since then. It stays put for 14 hours straight.
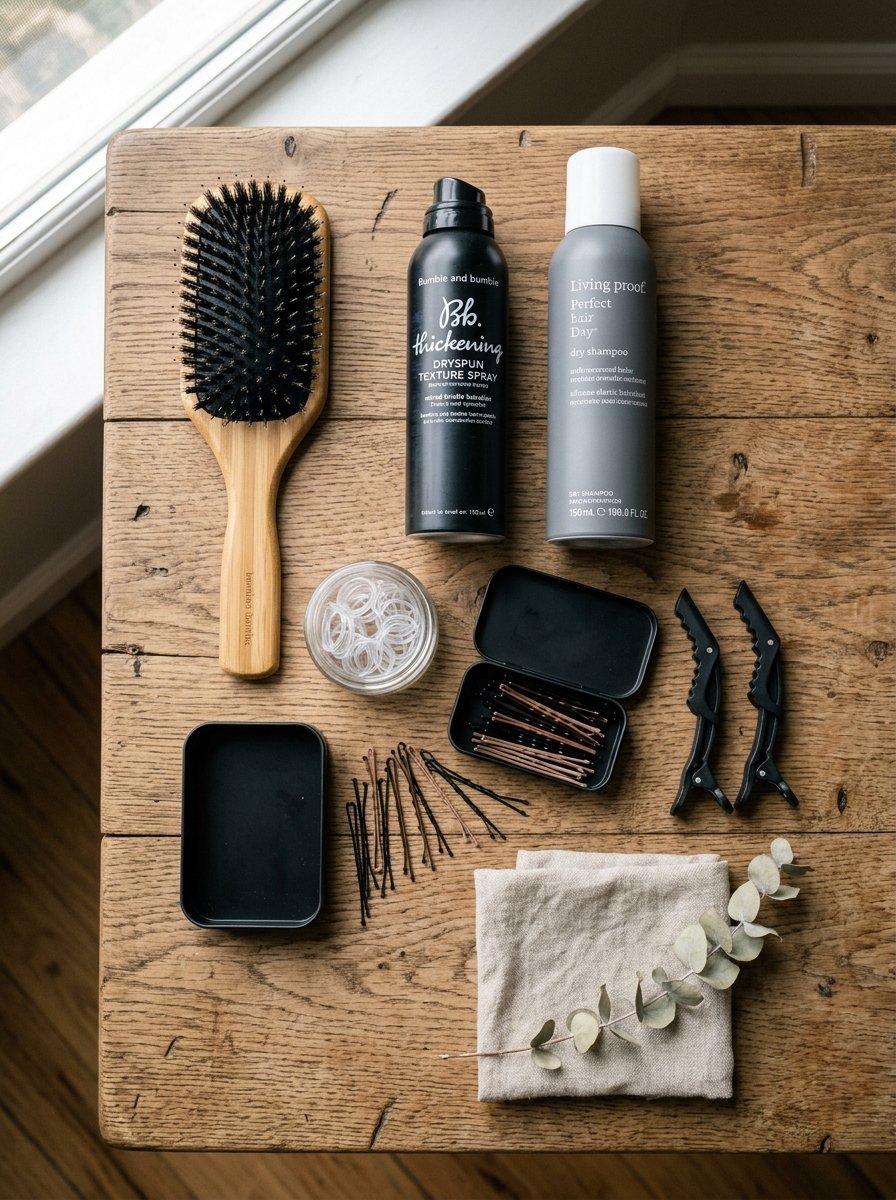
This step-by-step guide gives you a specific blueprint for all-day wear. You will get a completely sweat-proof style in under 15 minutes. We will cover exact product combinations that cost under 30 dollars total. You will see why standard boho hairstyles fail in high humidity. I will share my personal trick for hiding loose ends perfectly. This braid tutorial skips complicated salon steps completely. You just need a few basic tools to make it happen. We will look at exactly how to secure your hair so it survives jumping in the crowd. Your hair will stay off your neck and look incredible from every single angle.
Why the Crown Braid Beats Standard Festival Looks
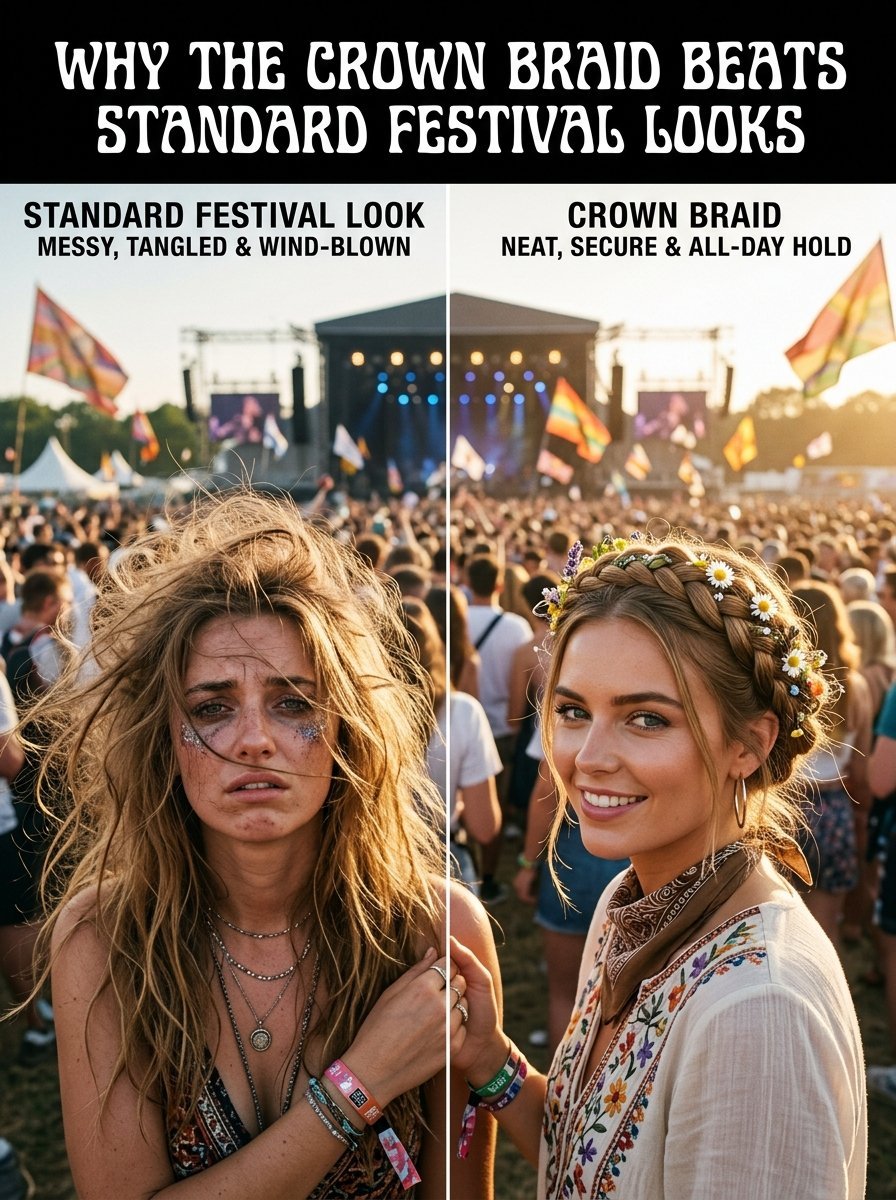
Most people default to wearing their hair loose at music events. They spend hours with a curling iron in their tent or hotel. Down hairstyles look beautiful for the first hour of pictures. Then the reality of outdoor events sets in quickly. Wind tangles the lengths into giant knots. Sweat ruins the root volume almost instantly.
I figured this out the hard way at Bonnaroo in 2021. My hair became a literal blanket trapping heat against my skin. It felt heavy and uncomfortable.
A crown style fixes all these daily struggles immediately. It lifts the weight off your shoulders. It hides greasy roots when you cannot wash your hair for three days. You get a natural vibe without the constant maintenance.
Other easy braids fall apart when you jump around. A tightly secured braided circle creates an anchor on your head. It distributes the weight evenly so you never get a headache. I noticed my friends with regular ponytails adjusting their hair twenty times a day. I never touched my head once.
You save hours of getting ready each morning. You can spend that time eating breakfast or getting to the front of the stage. The convenience alone makes this look worth trying.
Specific Tools Required for Your Hair Kit
You cannot create a lasting style without the right foundation. I wasted money on the wrong grips and sprays for years. You just need specific items to execute this braid tutorial perfectly.
- Goody Ouchless clear elastics for invisible securing
- Scunci brunette or blonde bobby pins matching your shade
- A Mason Pearson mixed bristle brush for smoothing flyaways
- Batiste Original dry shampoo for root grip
- Oribe Dry Texturizing Spray to thicken the sections
- Got2b Glued blasting freeze hairspray for final hold
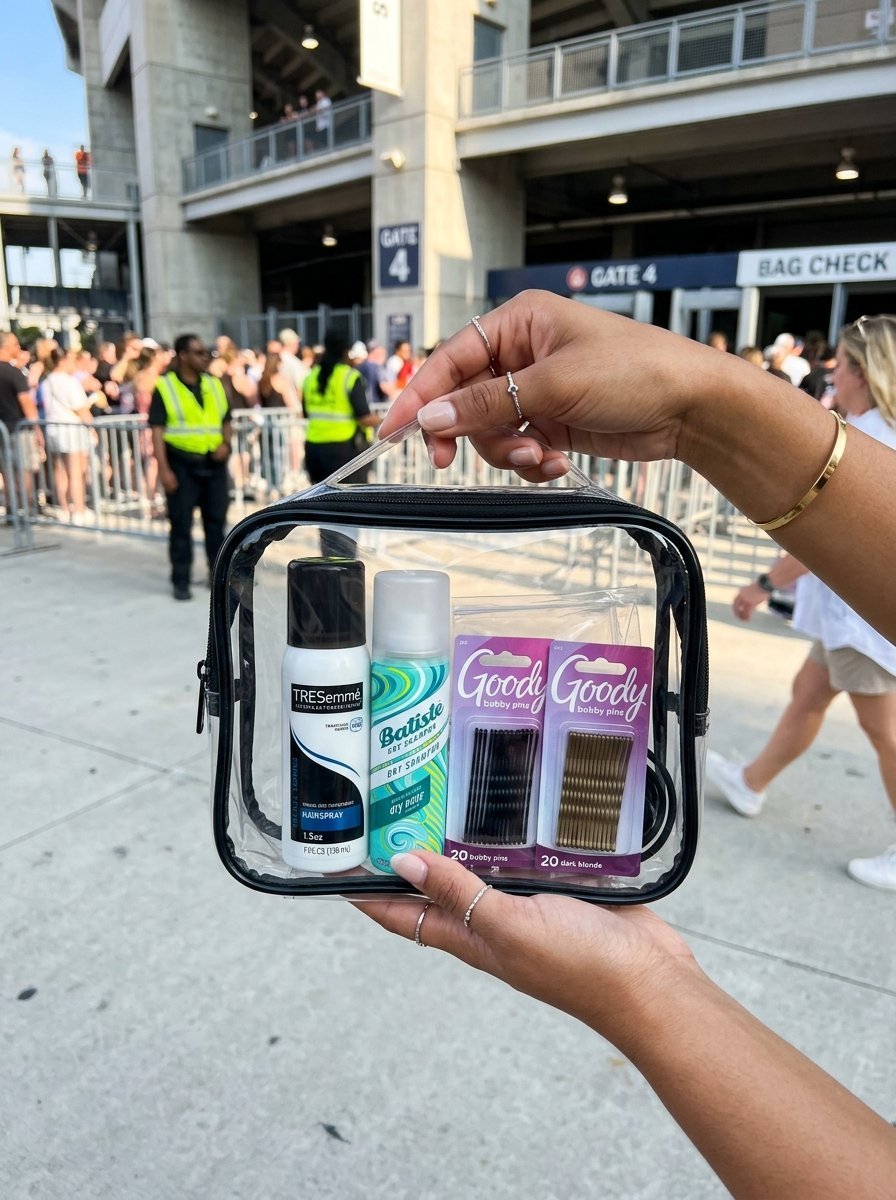
These tools cost around 65 dollars total if you buy the premium options. You can easily find drugstore versions for under 25 dollars. Tresemme Extra Hold hairspray works perfectly for a tight budget.
I highly recommend buying the exact match bobby pins. Metallic or shiny pins catch the light badly. You want people to wonder how the style stays together. Clear elastics remain completely invisible against any hair color.
Pack these items in a small clear bag for your trip. They take up very little space in your luggage. Having the exact right tools prevents frustration in a cramped hotel bathroom.
Prepping Your Hair for Maximum Hold
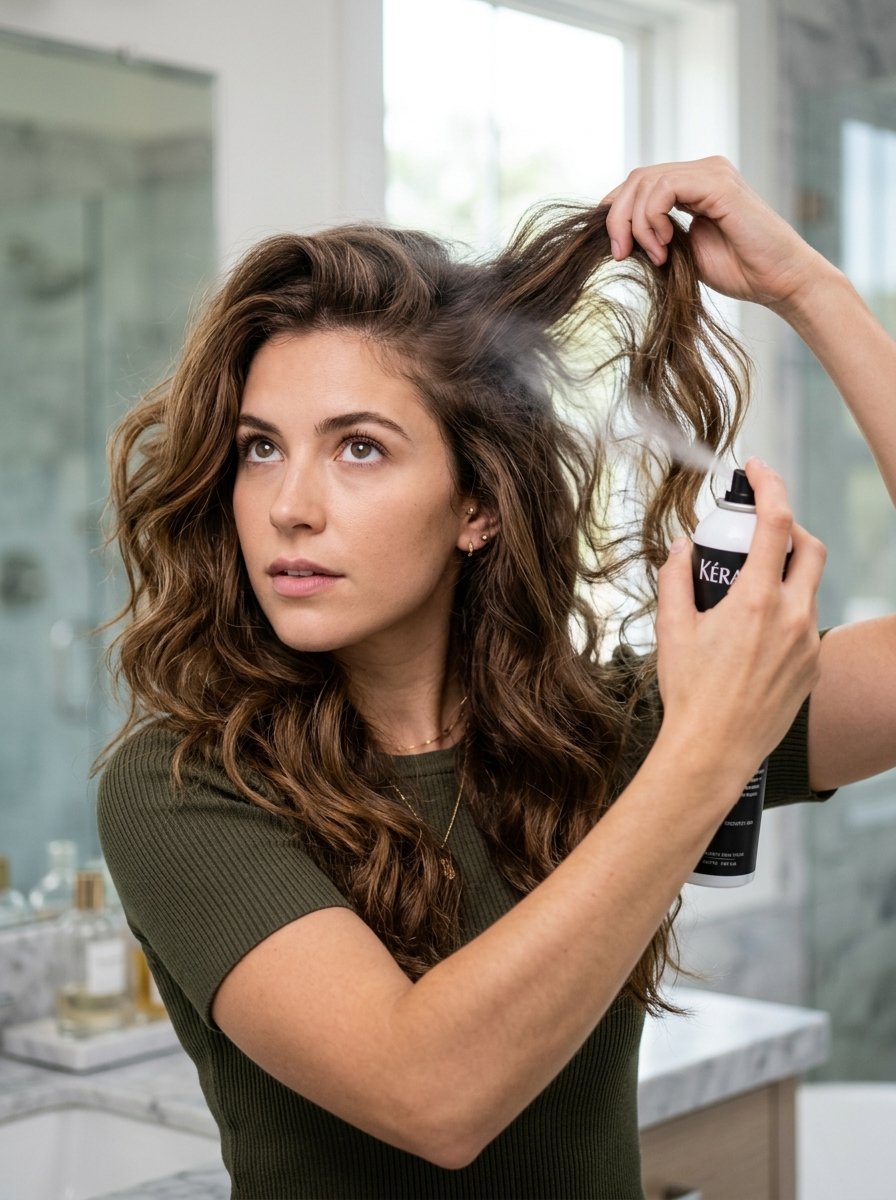
Squeaky clean hair acts like silk. It slips right out of any tight hold. Your hair needs texture and grip to survive a 12-hour concert day.
Start with second or third-day hair if possible. I always plan my wash schedule around the festival weekend. Dirty hair holds shapes much better than freshly washed strands.
If your hair feels too clean, spray Batiste dry shampoo directly at the roots. Massage it in vigorously with your fingertips. This absorbs excess oil while giving the roots a gritty texture.
Next, spray Oribe Dry Texturizing Spray through the mid-lengths and ends. This single step changed my entire styling game. It makes fine hair feel twice as thick. A thicker strand braid looks much more impressive in photos.
Brush through the lengths gently to remove any knots. You want texture, but you do not want tangles. Part your hair down the exact center from your forehead to the nape of your neck. You will have two equal sections resting over your shoulders.
Tie one side away with a clip so it stays out of your way. This keeps your sections clean and separate.
Step-by-Step Guide to the Base Sections
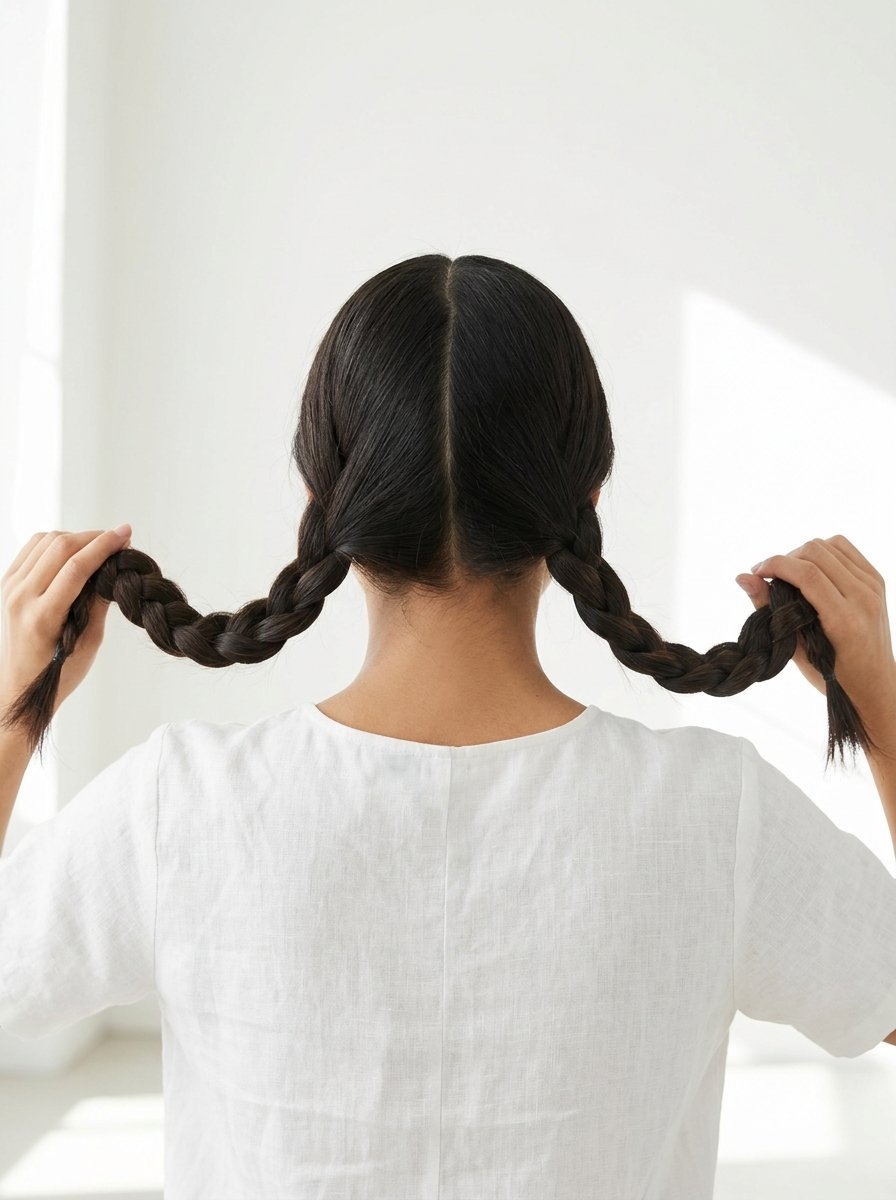
Most tutorials teach a French braid around the entire head. That takes too much upper body strength. My routine uses two simple sections that anyone can manage.
Start on the left side of your head. Take a small triangle section near your ear.
Begin a standard three-section braid. Braid it tight and angle it slightly backward as you work down. Keep your hands close to your jawline while you work.
Stop braiding when you reach two inches from the bottom. Secure it tightly with a Goody clear elastic.
Repeat this exact motion on the right side of your head. You now have two basic pigtail braids sitting on your shoulders.
Here is my favorite insider trick. Gently pull the edges of each section outward. We call this “pancaking” the hair. It makes the hair look massive and full. Start from the bottom elastic and work your way up to the ear.
Pull slowly so you do not rip the whole thing apart. You just want to loosen the outer loops slightly. This gives that messy, lived-in vibe that festival looks demand.
Securing the Sections Over The Top
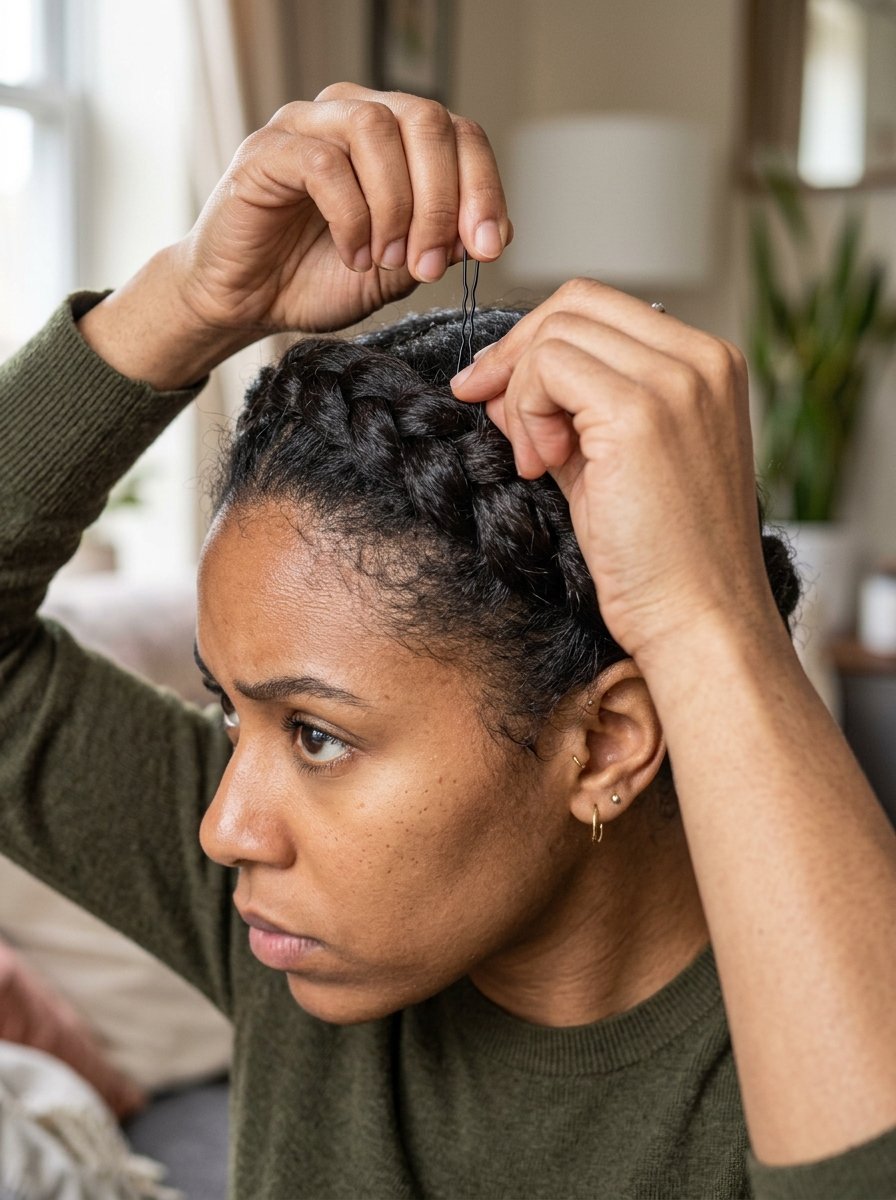
This step turns the basic pigtails into an over the top masterpiece. It requires patience and a handful of sturdy pins.
Take your left section and pull it up over the top of your head. Position it right behind your hairline. It should sit like a natural headband.
Pin it securely using your Scunci bobby pins. Slide the pins in wavy side down for maximum grip. Space them out every two inches. Push them deep into the twisted sections.
Take the right section and pull it up right behind the first one. Cross it over to the left side.
Pin it tightly into place just like the first one. The two pieces should sit snug against each other.
I always give my head a hard shake test at this point. I jump up and down three times. If anything wiggles, I put three more pins in that spot. You want it feeling like a solid helmet.
Do not worry if it feels slightly tight at first. It will loosen naturally as you walk around the festival grounds.
Fixing Loose Ends and Hidden Flyaways
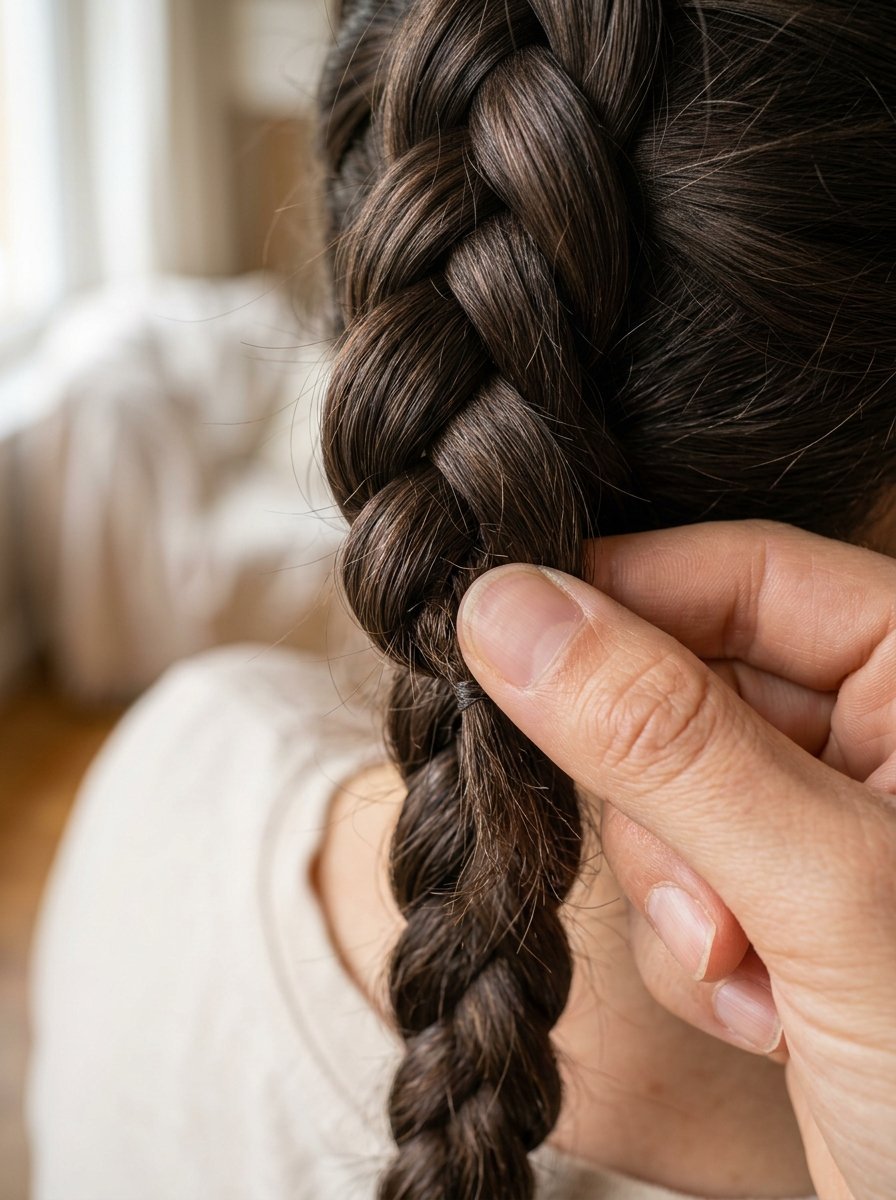
Visible elastics ruin the magic of this hairstyle completely. You have to tuck those loose ends perfectly to create a continuous circle.
Take the tail of the first section and tuck it under the body of the second section. Pin it flat against your scalp. Make sure the clear elastic stays hidden beneath thick hair.
Take the tail of the second section and bury it under the first section. Push a bobby pin straight down through the thickest part to lock it.
If you have short layers poking out, do not panic. Small flyaways fit the boho hairstyles vibe perfectly. They frame the face nicely.
For stubborn pieces sticking straight up, spray got2b Glued onto your fingertips. Gently tap the piece down against the main base. It will freeze into place instantly.
Never spray hairspray directly at a close distance. It creates a crunchy, wet look that reflects badly in flash photography. Mist it from a full arm’s length away.
Dealing With Different Hair Textures
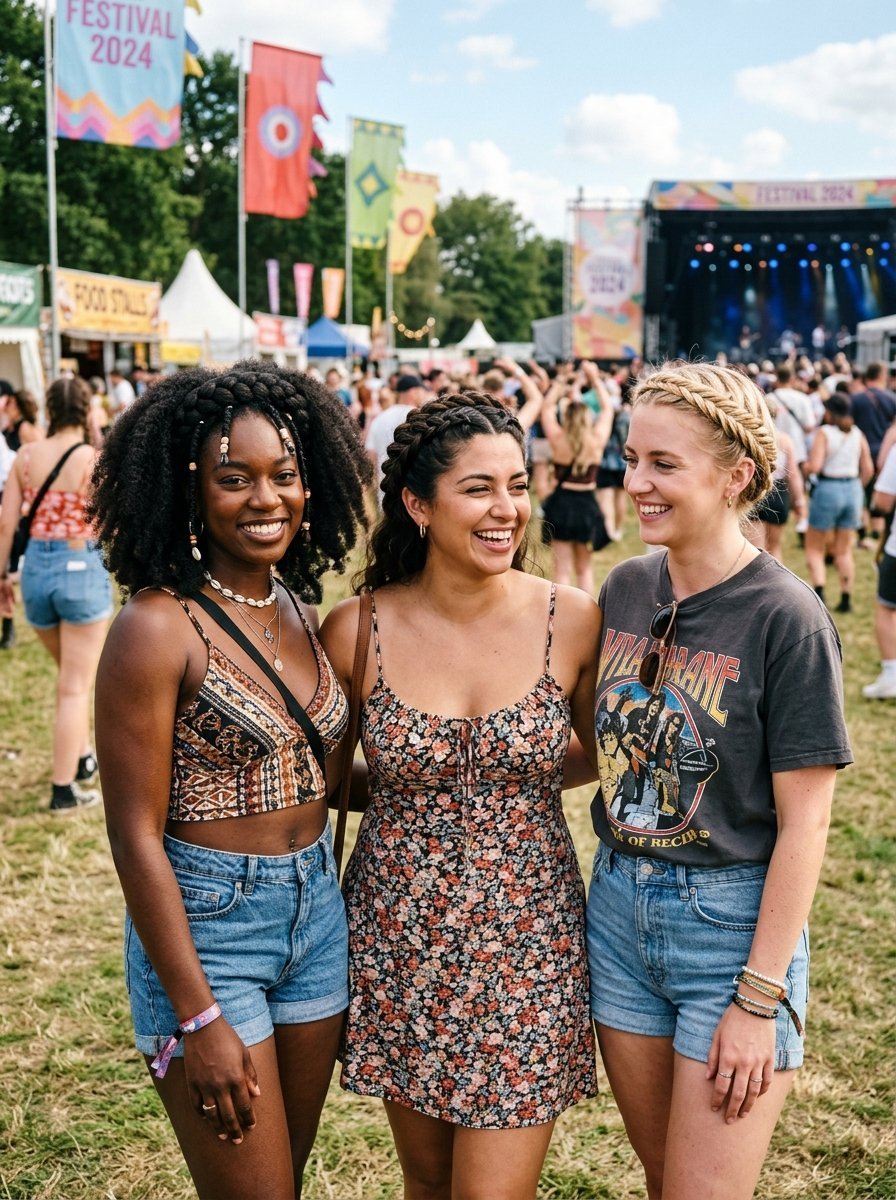
Every hair type requires a slightly different approach to hold this style perfectly.
Straight, fine hair needs the most prep work. You must use a generous amount of texturizing spray. Without it, the pins will slide right out after two hours. I spray my fine-haired clients until the hair feels almost chalky.
Thick, curly hair holds this style effortlessly. You can skip the dry shampoo completely. Simply work a light styling cream through your ends before you start braiding. It helps tame excess frizz while keeping the natural volume.
Wavy hair offers the perfect middle ground. You get natural texture without fighting against tight coils. I usually run a smoothing serum over wavy ends to keep them neat when tucking them away.
For color-treated hair, be careful with heavy hairsprays. Sometimes they leave a white cast on dark brown or black hair. Always test your hairspray on a small hidden section first.
Sleeping in Your Festival Hair
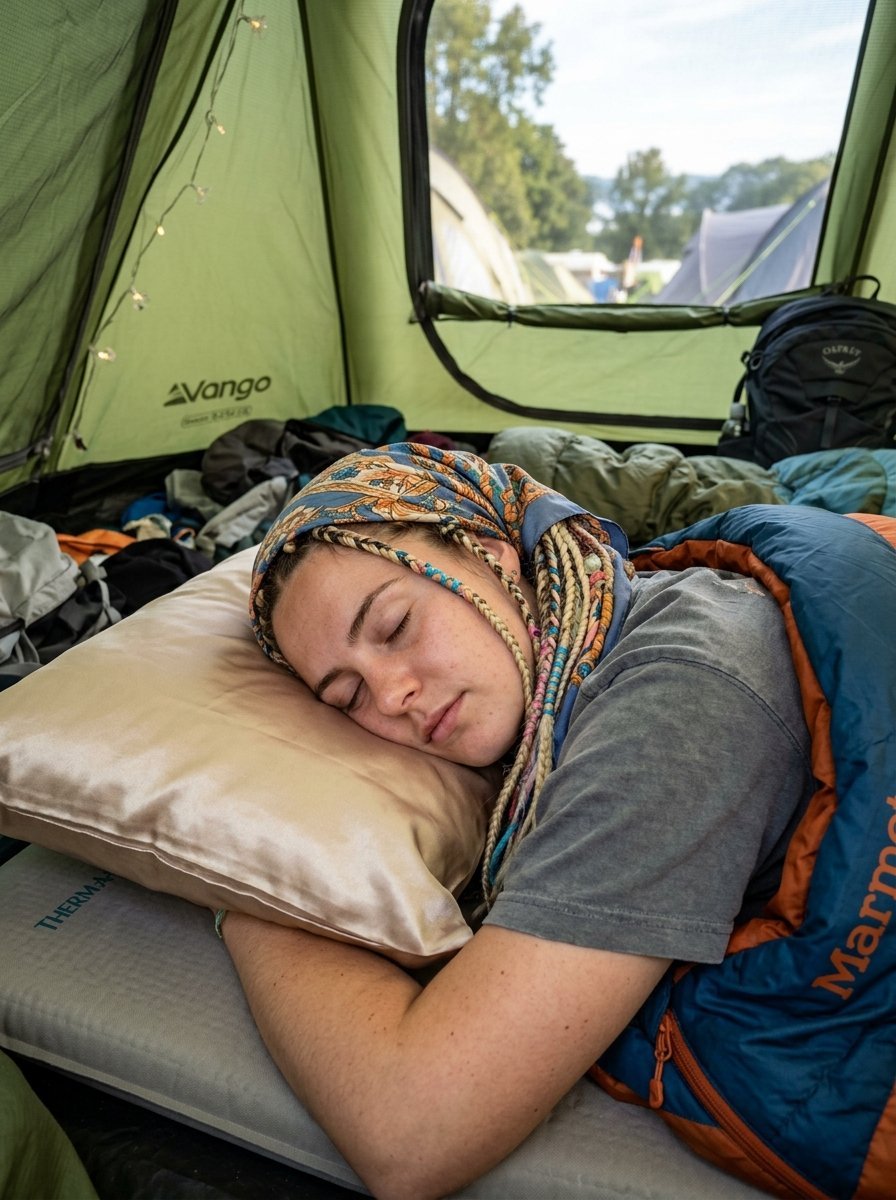
You can easily wear this look for 48 hours straight. I do this at camping festivals every single year. It saves me from waking up early in a hot tent.
The trick lies in how you prepare for bed. Never sleep on a standard cotton pillowcase. Cotton grips the hair cuticles and rips them out while you toss and turn.
Pack a silk or satin pillowcase in your bag. Silk allows your head to slide smoothly across the fabric. The friction drops to zero.
Before you go to sleep, wrap a silk scarf gently around your hairline. Tie it loosely at the nape of your neck. This protects the delicate front pieces from rubbing against your shoulders.
When you wake up, do not take the pins out. Simply remove the scarf. Spray a little dry shampoo at the roots if they look oily.
Smooth down any wild pieces with a tiny drop of hair oil. Your hair will look slightly messier than day one, which fits the festival vibe perfectly.
Simple Upkeep Throughout the Day

Even the tightest style needs a quick check during a long event. I pack a very small touch-up kit in my fanny pack or clear stadium bag.
My daily kit includes just three items.
- Five extra bobby pins
- One extra clear elastic
- A travel-size bottle of texturizing spray
When you use the restroom between sets, glance in the mirror. Push any loose pins back deep into the hair. Sometimes jumping around causes them to slide up slightly.
If the wind pulls a big chunk loose, do not panic. Just twist that piece tightly and pin it right back into the main base.
I see girls carrying full-size brushes and straighteners in their backpacks. You do not need any of that. This look thrives on looking slightly undone. Embrace the messy texture that happens naturally by 8 PM.
Elevating Easy Braids for Special Events
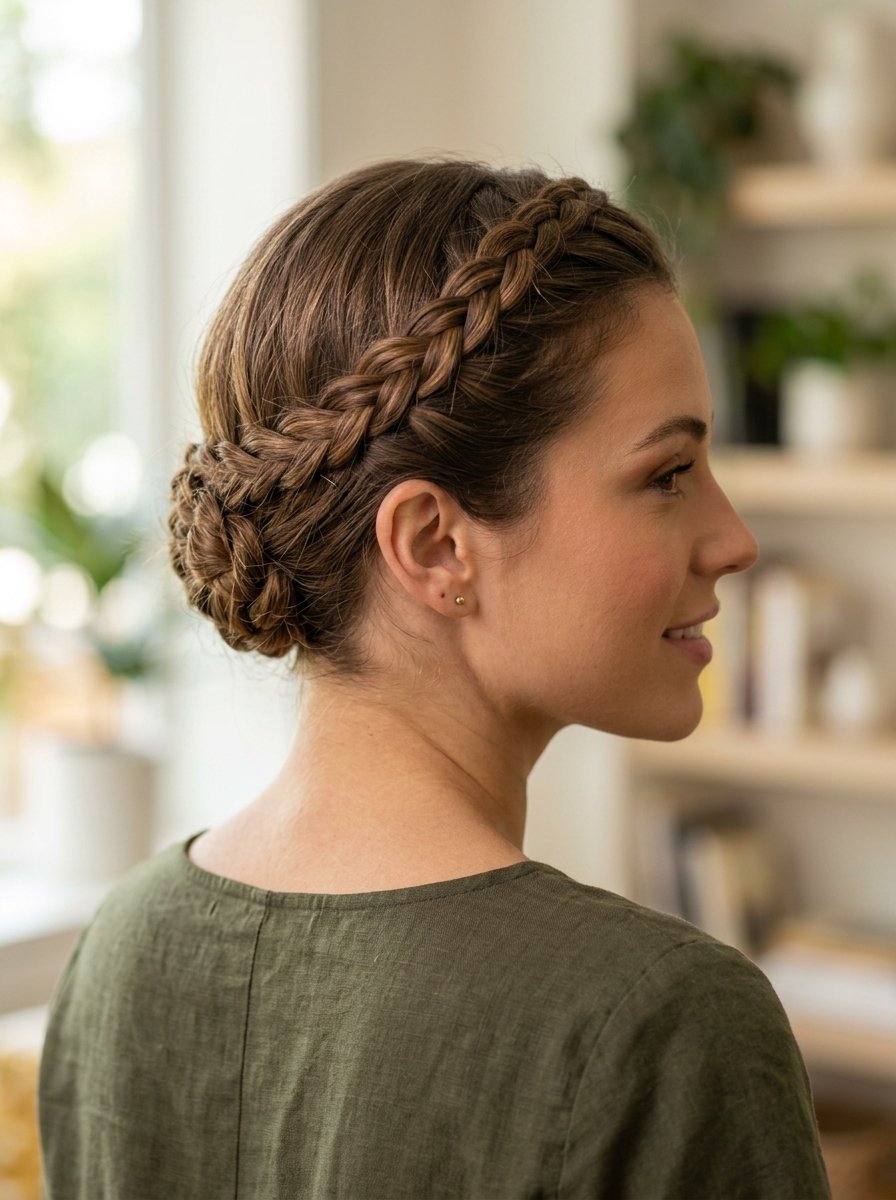
A standard setup looks great, but festivals demand something extra visually. You can take this basic foundation and make it incredibly loud.
I love weaving a thin velvet ribbon through the sections before I pin them up. I buy cheap craft ribbon from Michaels for two dollars a spool.
You can also thread small gold cuffs onto the front sections. They catch the sunlight beautifully during golden hour photos. I buy packs of fifty cuffs on Amazon for six dollars.
For nighttime sets, I have woven tiny LED wire lights directly into the hair. You just tuck the battery pack into the back center where the pieces cross.
Glitter roots remain a popular choice. I mix chunky cosmetic glitter with standard clear hair gel. I paint it right down the center part with a cheap foundation brush. It looks amazing and washes out easily with warm water.
Choosing Between a Crown Braid and Down Hairstyles
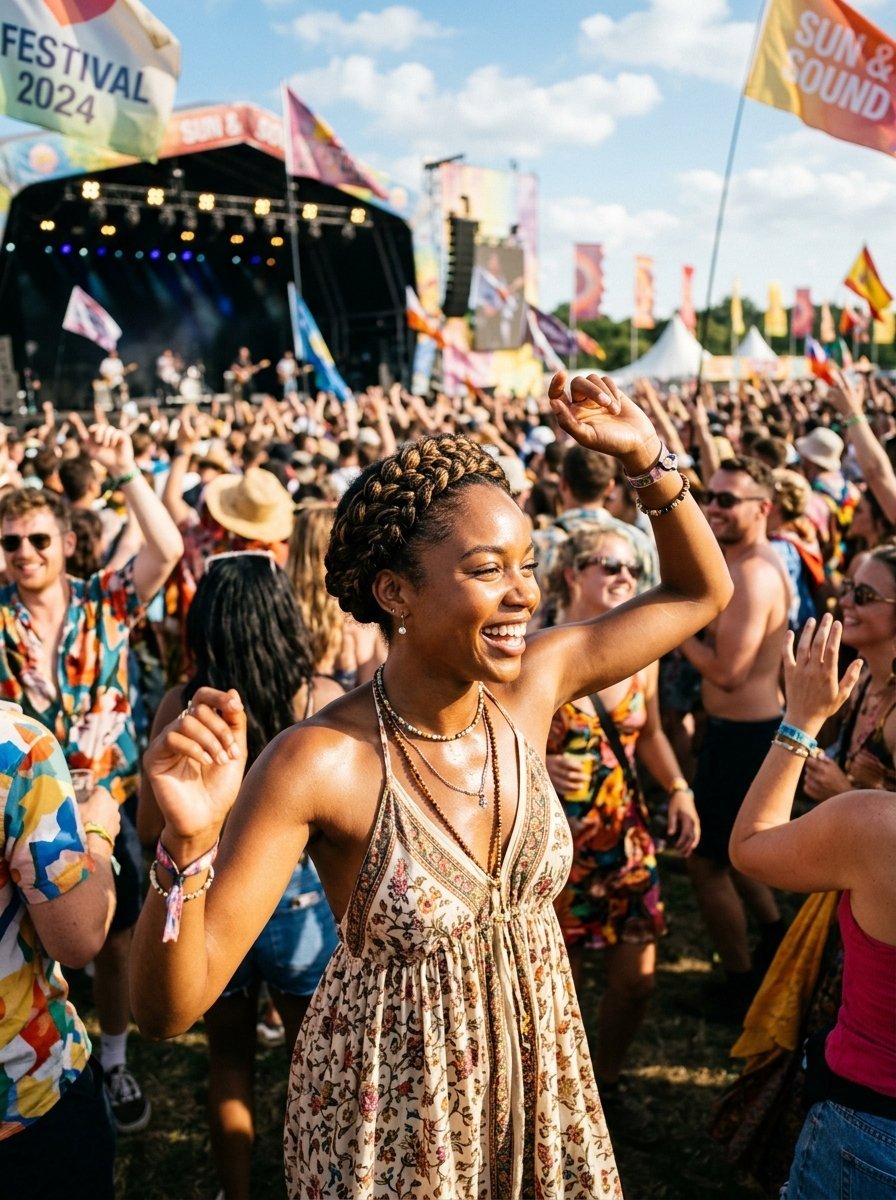
I see girls constantly adjusting down hairstyles in the crowd. They brush it out, tie it up, then take it down again.
A crown style eliminates hair anxiety entirely.
- Wind cannot ruin it
- Sweat actually helps it stay together
- Other people will not accidentally pull it in a tight crowd
- Backpack straps never tangle your ends
Down styles trap heat on your neck. When temperatures hit 90 degrees, that makes a massive difference in your comfort level.
I tracked my phone temperature at Stagecoach last year. It hit 98 degrees by noon. My friends with loose hair had to leave the main stage to cool down in the shade.
I felt perfectly fine with my hair up and away from my skin. It acts like natural air conditioning for your neck. You will drink less water and feel much more energized.
Frequently Asked Questions
Can I do this with short hair?
Yes. If your hair reaches your shoulders, you can make this work. You just need to create four smaller sections instead of two. Pin them up in overlapping pieces. It creates the exact same visual circle around your head.
How do I prevent headaches from tight pins?
Do not scrape the pins against your scalp. Slide them into the thickest part of the twisted hair instead. The hair itself should hold the tension, not your skin. Take out any pin that pinches immediately.
Will this style last multiple days?
I routinely wear this style for 48 hours. I sleep on a silk pillowcase to prevent frizz. The next morning, I just smooth the edges with dry shampoo and put in two fresh pins. It saves so much time in camp.
What if my hair is very thin?
You must use a texturizing product first. I buy Bumble and bumble Thickening Spray. Pancake the sections extremely gently so they look wider. You can also clip in two small wefts of extensions before you start.
Do I need to wash my hair beforehand?
Dirty hair works much better. Freshly washed hair slips right out of the pins. If you just washed it, spray sea salt spray all over and blast it with a blow dryer for artificial grit.
How long does the styling take?
Beginners usually take twenty minutes. I can do it in eight minutes now. Practice twice before the actual event day so your arms get used to the motions.
Are metallic pins okay to use?
Try to avoid them. Metallic pins catch the light and break the visual illusion. Always buy pins that match your exact root color perfectly. Matte finish pins work best.
Can I swim with this hairstyle?
It holds up surprisingly well in water. If you go entirely underwater, it will get frizzy. Just let it air dry in the sun. The messy texture actually looks great for beach days.
What is the best hairspray for extreme heat?
Got2b Glued blasting freeze spray remains the absolute strongest hold. Kenra Volume Spray 25 works beautifully too. Both block humidity completely and stop frizz in its tracks.
How do I handle bangs with this look?
Leave your bangs out entirely. Pulling them back looks too harsh. Style them straight or curl them slightly away from your face for a softer frame around your eyes.
Can men with long hair wear this?
Absolutely. It keeps long hair completely out of the way. I have styled this on male friends for camping trips. It works perfectly and needs zero maintenance over the weekend.
How do I remove the glitter from my part?
Never try to brush it out dry. Get in the shower and put cheap conditioner directly onto the dry glitter. Let it sit for five minutes. The conditioner dissolves the gel and everything rinses right down the drain easily.
Final Thoughts on the Ultimate Festival Look

Your time at a music event costs hundreds of dollars. You should spend those hours enjoying the bands, not fighting with your hair in a mirror. This crown braid gives you back your time and peace of mind.
The first time you try it, your arms might get tired. The second time, you will master the tucking technique. By your third try, you will do it perfectly without even looking in a mirror.
Grab your texturizing spray and elastics right now. Practice this look before your next big weekend trip. You will never go back to high maintenance styles once you feel the freedom of this reliable hold.

Sarah Mitchell — Founder & Editor-in-Chief
Sarah Mitchell is the founder and editorial voice behind Hair Level Up. A licensed cosmetologist with more than 15 years of experience, she has styled A-list celebrities for editorial shoots and red carpets, with work featured in Vogue, Elle, and Harper’s Bazaar. Early in her career, she trained under the legendary hairstylist Oribe in New York, an apprenticeship that still shapes her editorial eye today. Sarah founded Hair Level Up in 2020 after one bad haircut convinced her that women deserved a destination that felt like a magazine, taught like a stylist, and inspired like an art gallery. She oversees every story from concept to publication, guided by a simple belief: a good story teaches you something, but a great one makes you feel beautiful while it does.