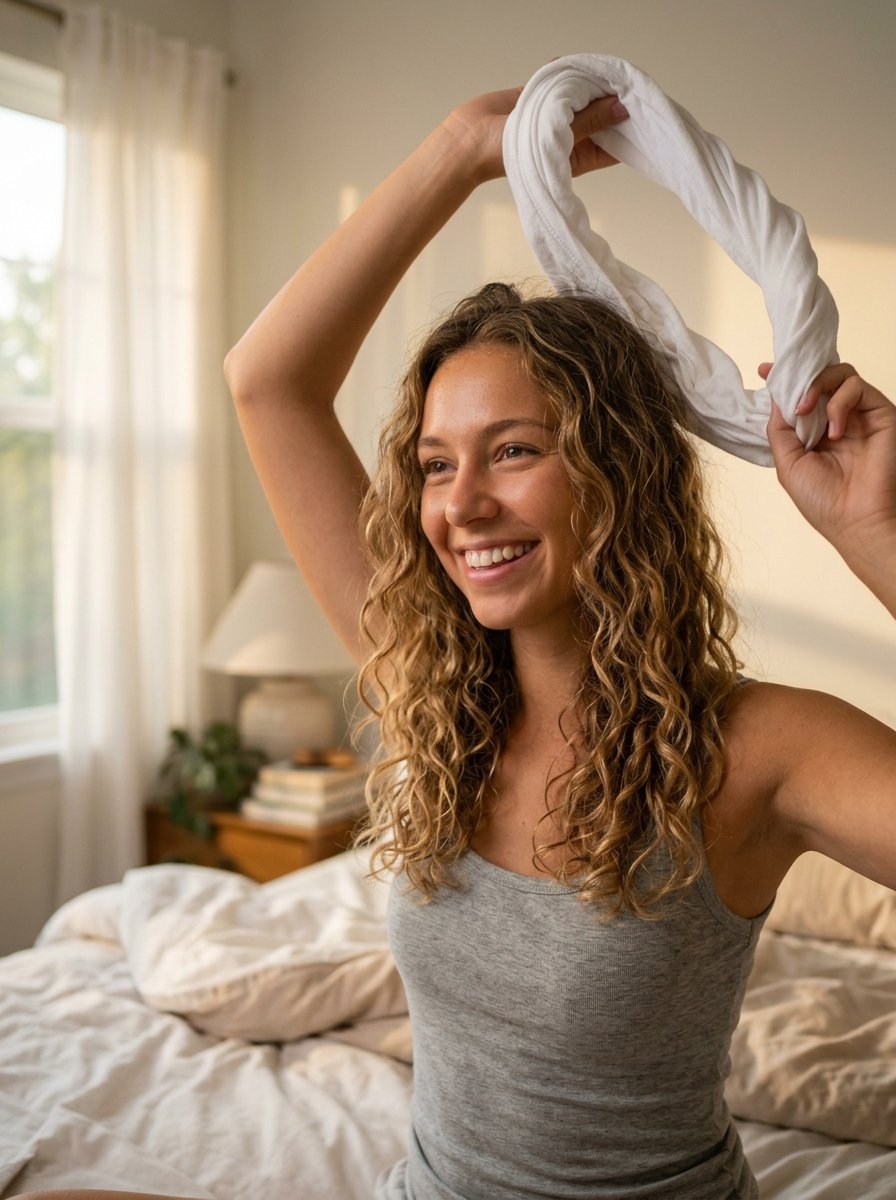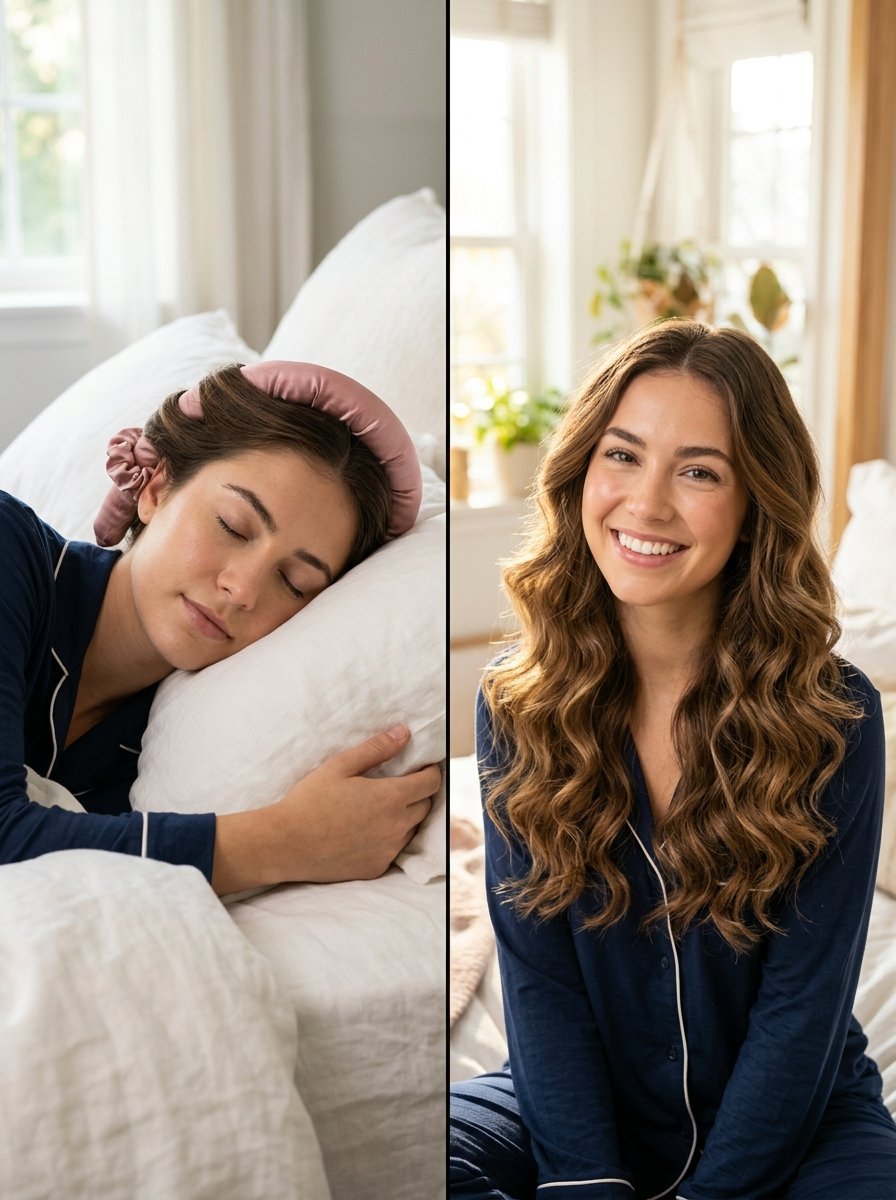
How to Set Heatless Curls That Hold for 3 Days
I woke up with flat hair every morning for years. Curling irons fried my ends. My hair looked damaged and dry. Then I tried curling without heat. My first attempts failed completely. My hair fell flat by noon. The ends looked frizzy and bent. I spent three months testing different routines. I tested silk rods and robe ties. I tested five different holding sprays. I finally cracked the code for a lasting style. You need the right dampness level. You need the correct wrapping direction. I will share my exact steps with you today. Your curls will stay intact for 72 hours.
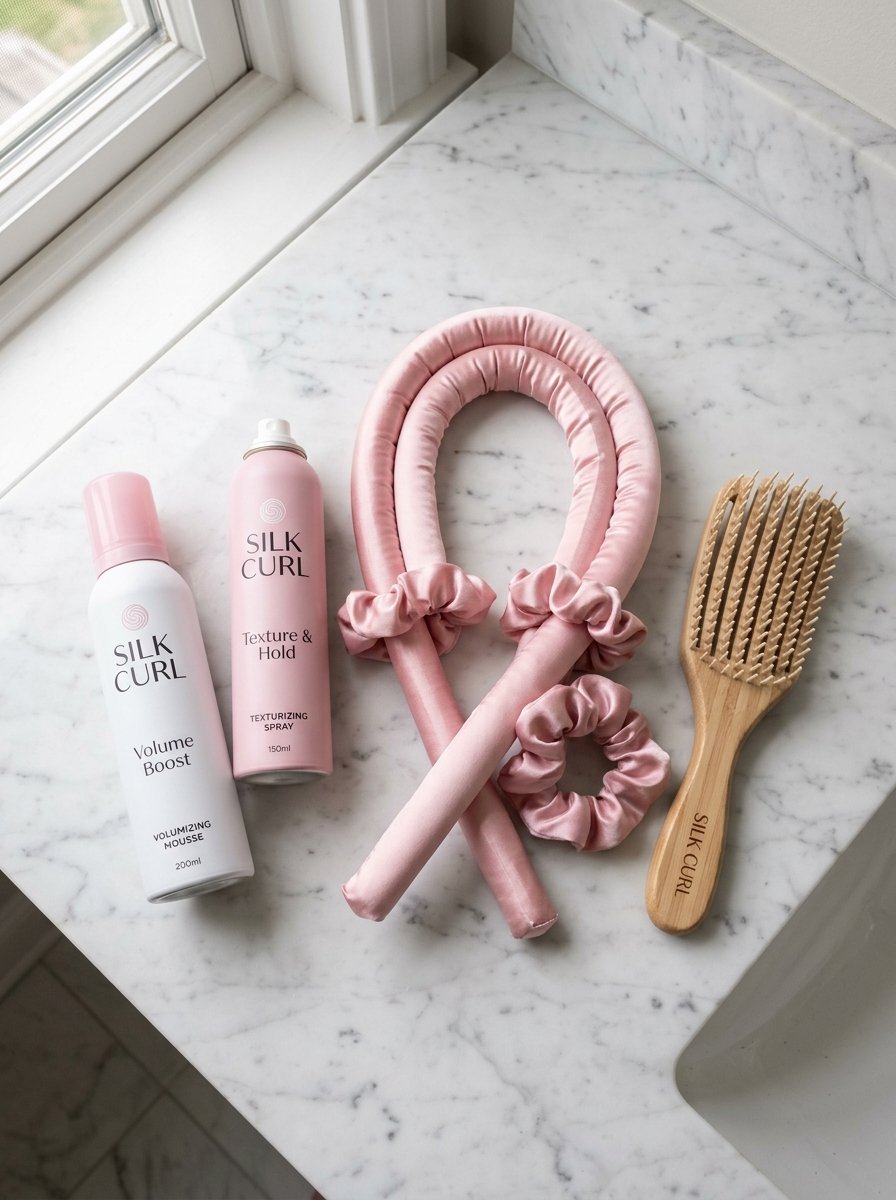
This guide covers everything you need to know about setting a heatless curls hairstyle. I will show you exactly what tools you need. I will break down the exact costs of the top products. You will learn the correct way to apply mousse. I will explain how to sleep comfortably without neck pain. You will get a day by day maintenance plan. This plan keeps your hair looking fresh. I will share real case studies from my own testing. You will learn how to fix common mistakes. We will cover frizz prevention and dent removal. Your morning routine will become incredibly fast. You will save your hair from heat damage.
Why Do Your Heatless Curls Fall Flat So Fast?
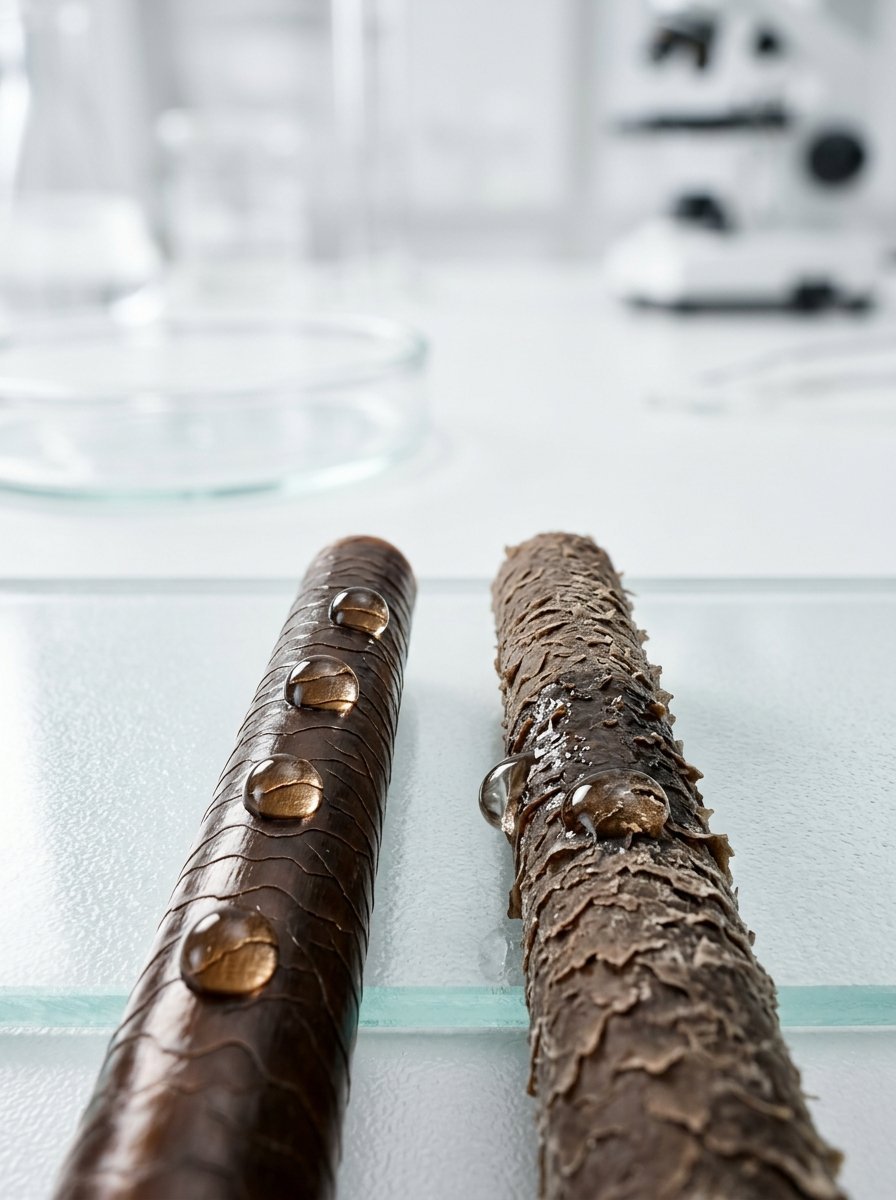
Many people struggle with their curls falling out quickly. I see this happen constantly. You put the curler in at night. You wake up with beautiful bouncy hair. By lunch time your hair is completely straight again. This happens for three specific reasons.
Hair Porosity And Moisture Retention
Your hair porosity controls how it holds a shape. Low porosity hair repels water and product. High porosity hair absorbs water quickly. Most people make a critical moisture mistake. They start with hair that is too wet. Wet hair cannot dry completely inside a tight wrap. The inside remains damp. You take the curler out in the morning. The dampness weighs the hair down immediately. Gravity pulls the curl straight.
The Lack Of Styling Products
You cannot expect water alone to hold a shape. Heat tools change the hydrogen bonds in your hair. Curling without heat requires products to lock the shape. I tested this theory extensively last month. I used a silk rod with zero product. The style lasted two hours. I repeated the test with a volumizing mousse. The style lasted three full days. You need a grit giving product.
Wrapping The Hair Too Loosely
Tension dictates the final shape of your curl. A loose wrap creates a slight wave. A tight wrap creates a defined ringlet. I noticed many beginners wrap their hair very loosely. They are afraid of pulling too hard. A loose wrap slips down during the night. The silk rod moves around while you sleep. You wake up with weird dents instead of curls. You must wrap the hair tightly against the rod.
What Tools Actually Work For Curling Without Heat?
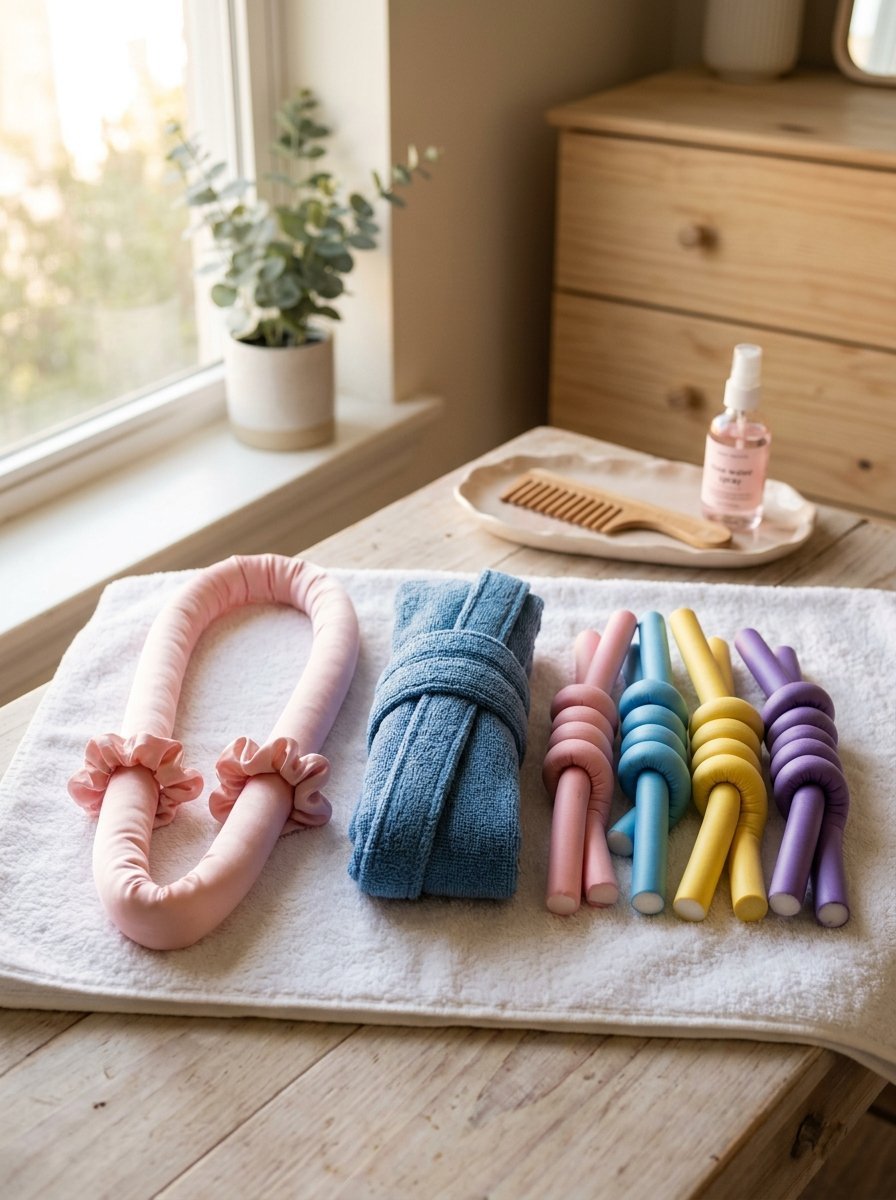
The beauty market is flooded with heatless curler options. I bought the top eight sellers to test them all. Most of them are terrible. Some are too thick. Some are too hard to sleep on. I narrowed the list down to the absolute best choices.
The Kitsch Satin Heatless Curling Set
This is my top recommendation for beginners. The set costs eighteen dollars right now. The rod uses a very soft foam core. The satin covering prevents friction and frizz. It measures one inch in diameter. This size creates the perfect bouncy wave. I used this specific rod for my three day tests. The satin prevents your hair from drying out.
The Bathrobe Tie Alternative
You do not have to buy a specific tool. A soft microfiber bathrobe tie works exceptionally well. My client Jessica uses a robe tie exclusively. She has very thick hair past her waist. The robe tie lies flat against her head. This makes it very comfortable for sleeping. The microfiber material absorbs excess moisture overnight. The only downside is a slightly messier end curl.
Recommended Products For Long Lasting Hold
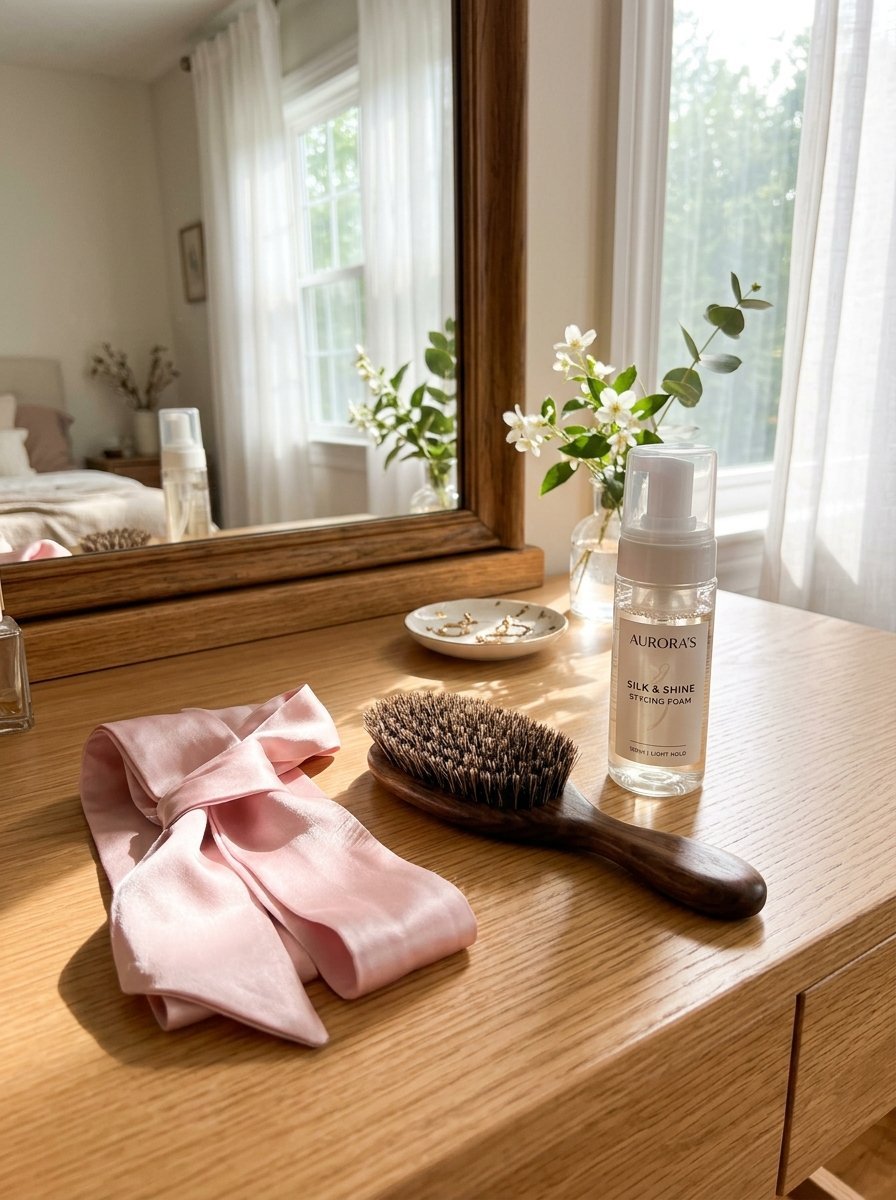
You need a good mousse and a texture spray. The Amika Plus Size Volume and Body Mousse costs twenty eight dollars. I apply a golf ball sized amount. This gives fine hair extreme grit. For texture spray I love the Oribe Dry Texturizing Spray. It costs forty nine dollars but lasts six months. I spray this after removing the rod. It gives the hair memory and bounce.
How To Prepare Your Hair For The Heatless Hair Curl
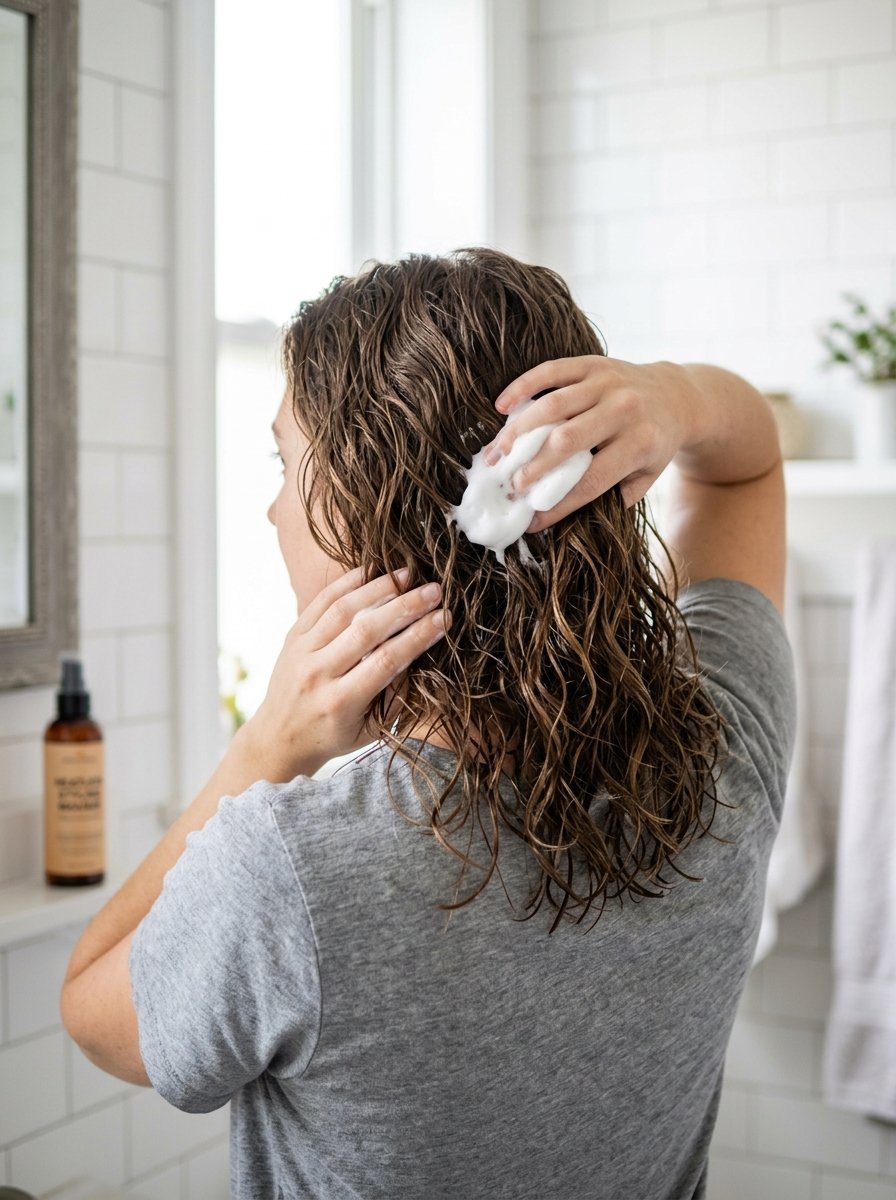
Preparation dictates the longevity of your style. You must start with a clean base. Product buildup will weigh your roots down heavily.
Starting With The Right Dampness Level
Do not start with soaking wet hair. Wash your hair normally in the evening. Squeeze out the excess water with a microfiber towel. A regular cotton towel creates rough cuticles and frizz. Let your hair air dry for about thirty minutes. Your hair should feel eighty percent dry. It should feel slightly cold to the touch. It should not drip any water at all. If it is too wet grab a blow dryer. Blast the roots until they are completely dry. Keep the mids and ends slightly damp.
Applying Mousse And Texture Spray Correctly
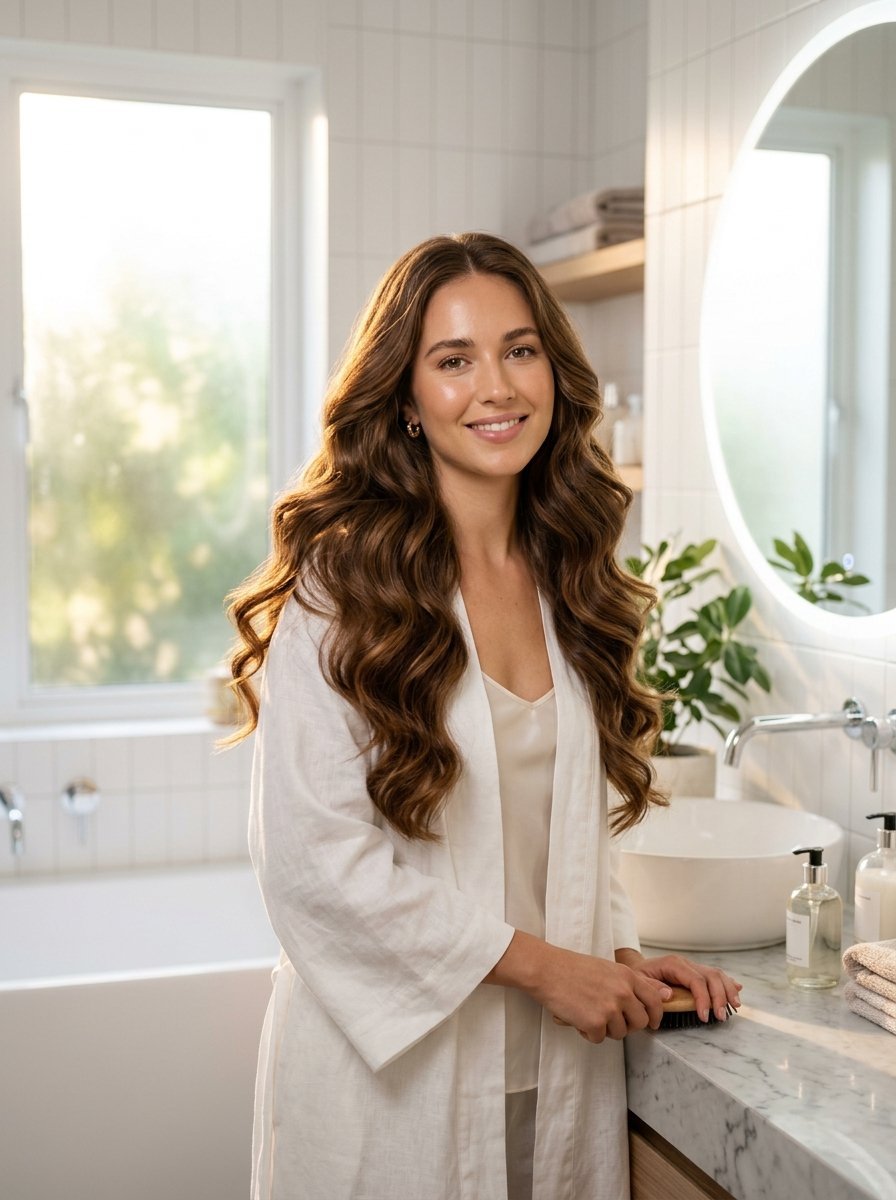
Now apply your styling products. Dispense a large dollop of volumizing mousse into your hands. Rub your hands together to emulsify the product. Rake your fingers through your damp hair. Start at the root and pull down to the ends. Use a boar bristle brush to distribute the product evenly. This step is non negotiable. You must coat every single strand.
Brushing Out All Tangles
You must remove every single knot before wrapping. A tangle will dry into a permanent dent. I use a flexible detangling brush. I brush from the bottom up. Once the hair is smooth part it down the middle. Make sure the part goes all the way to the back. You want two even sections of hair.
How To Put In Heatless Curls Step By Step
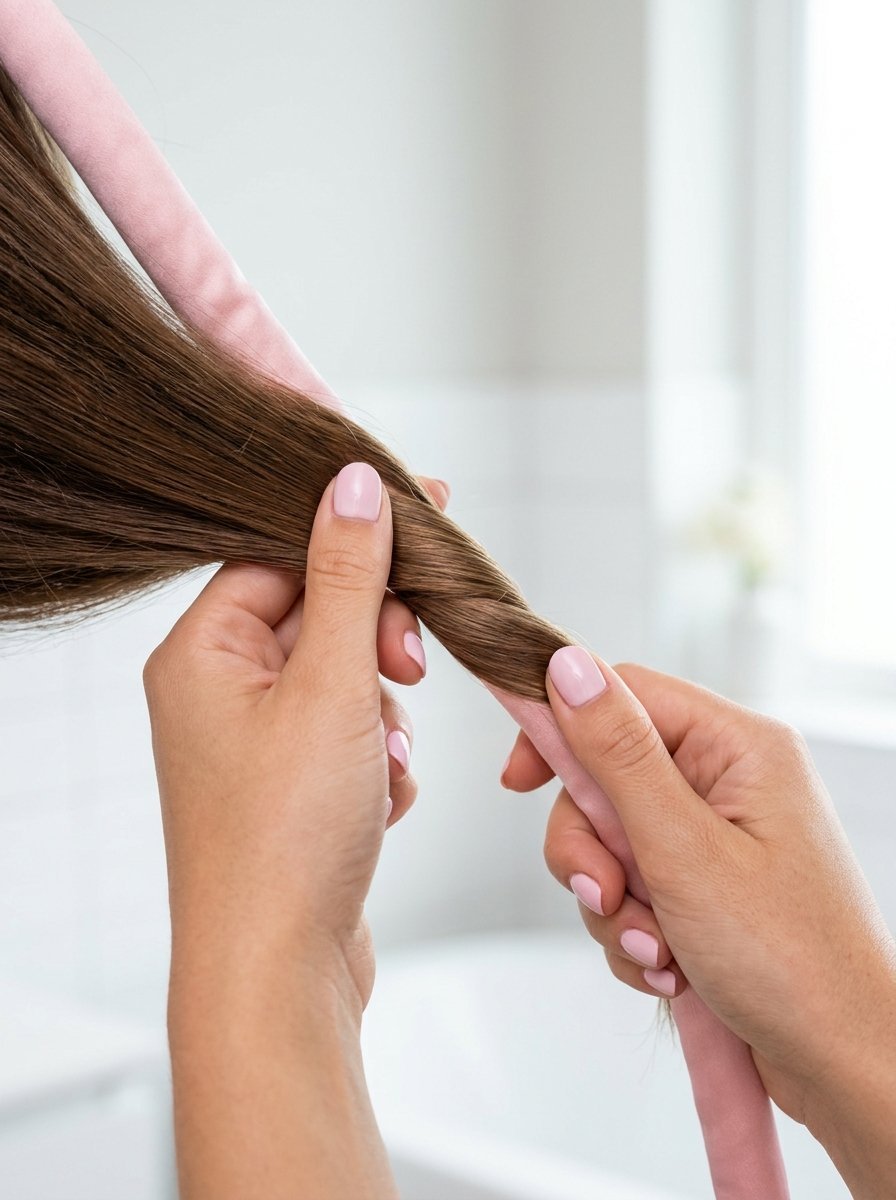
Now you will learn how to put in heatless curls. The wrapping technique requires some practice. Your arms might get tired the first few times. Do not rush this part.
Positioning The Rod Correctly
Take your silk rod or robe tie. Place the center of the rod on top of your head. It should sit about two inches behind your hairline. Secure the rod at the top with a claw clip. This keeps the rod from shifting while you wrap. Grab the left side of your hair. Pin the right side out of the way.
The Face Framing Pieces
Take a one inch section of hair near your forehead. Wrap it backward over the top of the rod. Pull it tightly underneath the rod. Now drop it. Pick up a new section of hair from the back. Wrap it forward over the rod and pull it under. This is the figure eight method. I prefer a simpler method for a heat curls tutorial alternative. Simply wrap the front piece backward over the rod.
Continuing The Wrap Downward
Pick up the first piece you wrapped. Add some more hair from the hairline. Wrap the combined section backward over the rod again. Pull it tightly underneath. Keep adding hair from the front and back alternately. Wrap tightly and keep the hair flat. Do not let the hair bunch up on itself. Smooth it out with your fingers as you go.
Securing The Ends To Prevent Frizz
Wrap the hair all the way to the very bottom. You must leave about one inch of hair unwrapped. Grab a silk scrunchie. Wrap the scrunchie tightly around the ends and the rod. Do not use regular elastic hair ties. Regular ties will create a sharp crease in your ends. Repeat this exact wrapping sequence on the right side. Make sure both sides mirror each other. Both sides must wrap backward away from your face.
How To Sleep Comfortably With A Heatless Curler
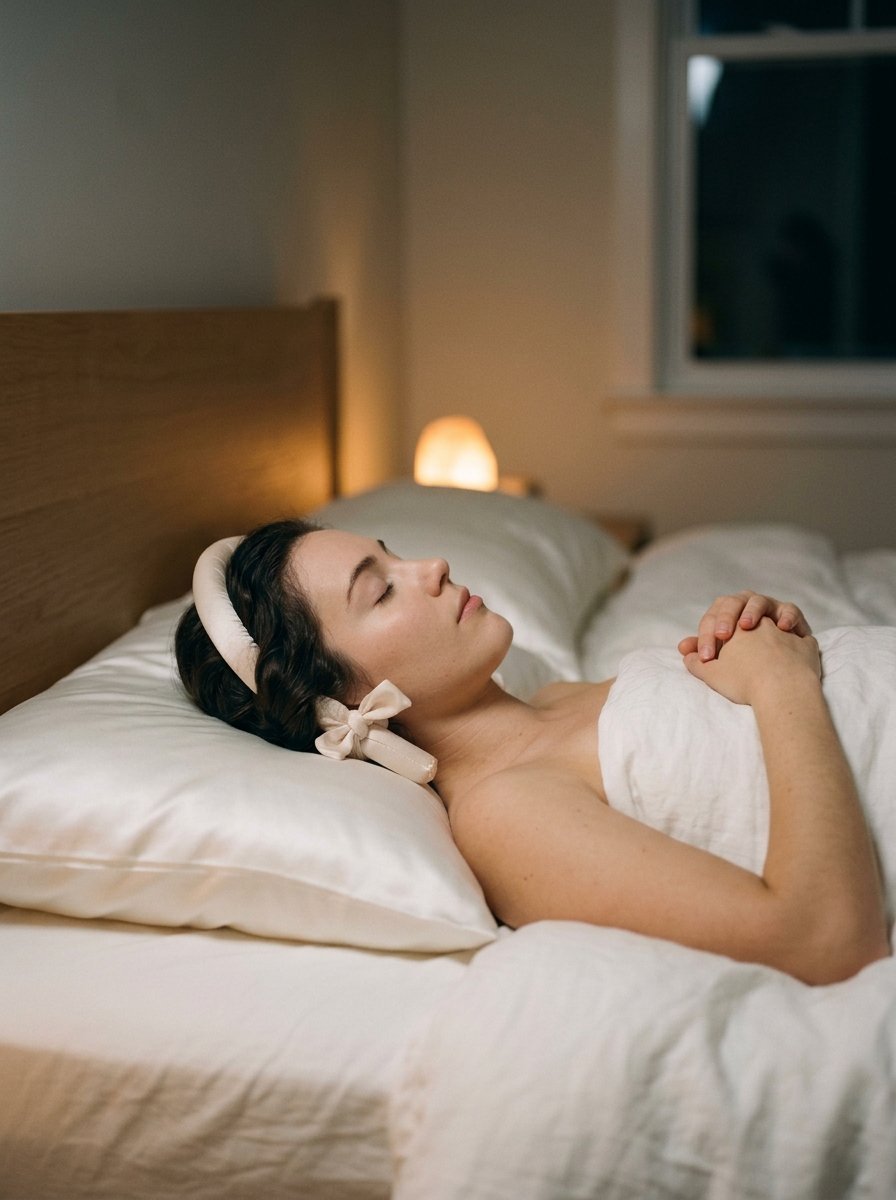
Sleeping with a foam rod can feel strange at first. Many people quit because they experience neck pain. I found a foolproof way to make it comfortable.
The Halo Tying Method
Do not leave the two sides hanging down. They will get caught under your shoulders while you toss and turn. Grab the bottom of the left rod. Grab the bottom of the right rod. Pull them both to the back of your head. Cross them over each other. Tie them together with a soft scrunchie. This creates a secure halo around your head. It keeps the rods entirely off your neck.
Neck Placement For Zero Pain
If you sleep on your side you will feel the rod. I trained myself to sleep flat on my back. I use a silk pillowcase to reduce friction. If you must sleep on your side use a travel neck pillow. The U shape cradles your ear perfectly. The curler drops right into the empty hole. You will not feel any pressure on your jaw.
Using A Silk Bonnet For Extra Protection
A silk bonnet protects your style even further. The halo method keeps the rods out of the way. The bonnet keeps the smaller hairs from frizzing. I buy cheap silk bonnets online for ten dollars. Put the bonnet over the entire halo setup. This setup looks ridiculous. I admit that freely. My husband laughs at my bedtime look. The morning payoff makes it totally worthwhile.
The Morning Reveal And Styling Your Heatless Curls Hairstyle
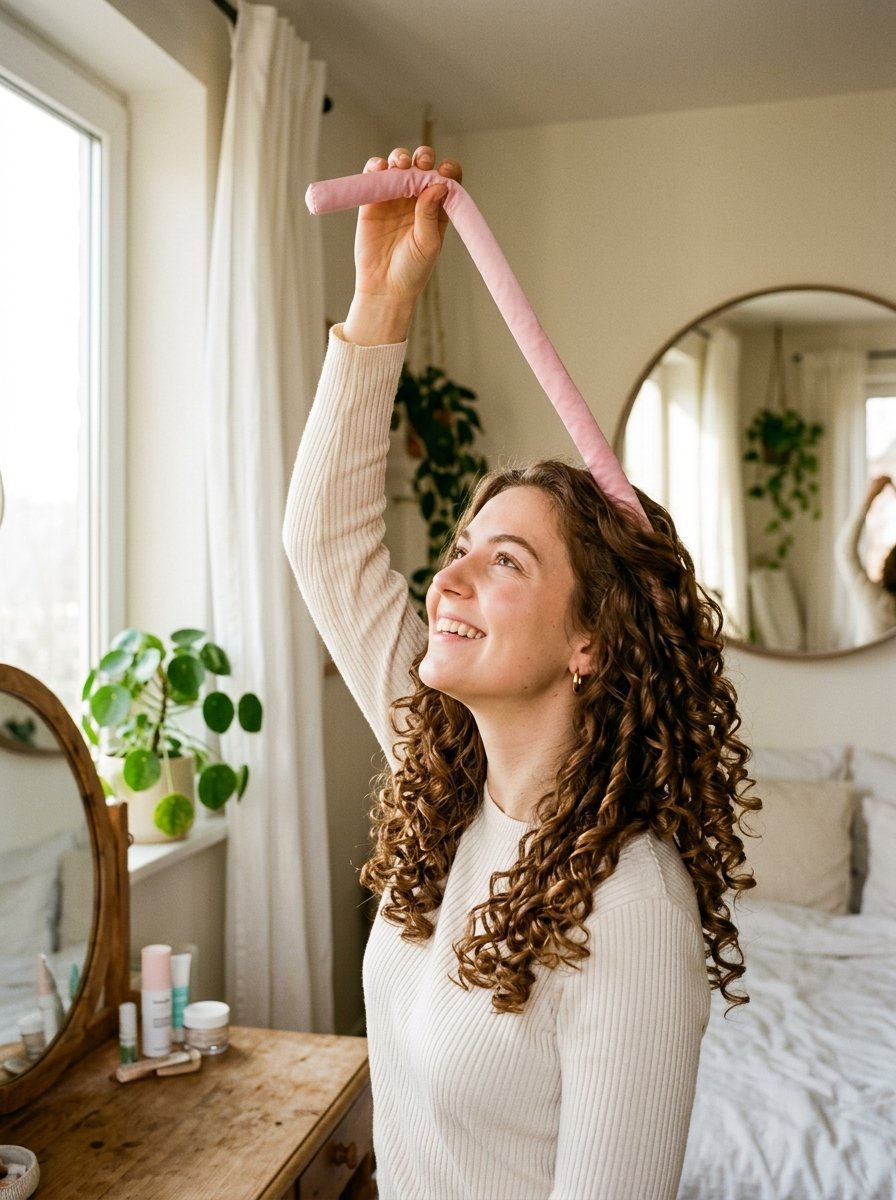
The morning unboxing is the best part. Do not rush this step. Rushing causes unnecessary friction and stringy ends.
Removing The Curler Without Snagging
Take the bonnet off your head. Unclip the back scrunchie that connects the two rods. Unclip the top claw clip. Now carefully remove the bottom silk scrunchies. Do not unwrap the hair manually. Grab the top center of the rod. Pull it straight up toward the ceiling. The rod will slide out smoothly. Your hair will fall into tight Shirley Temple ringlets.
Breaking Up The Curls Properly
Do not grab a brush yet. Brushing immediately creates a giant poof. Dispense two drops of lightweight hair oil into your palms. Rub your hands together vigorously. Flip your head upside down. Gently rake your fingers through the ringlets. Shake your roots aggressively with your fingertips. This breaks up the clumps naturally.
Setting The Style For The Day
Flip your head back up. Find your natural part. Now you can use a wide tooth comb. Gently comb through the mid lengths and ends. This merges the individual ringlets into a cohesive wave. Grab your texturizing spray. Lift small sections of hair and spray the roots. Spray the body of the waves lightly. Do not use a heavy hairspray. Heavy sprays make the hair crunchy and prone to breakage.
How To Make Heatless Curls Last Longer Day By Day
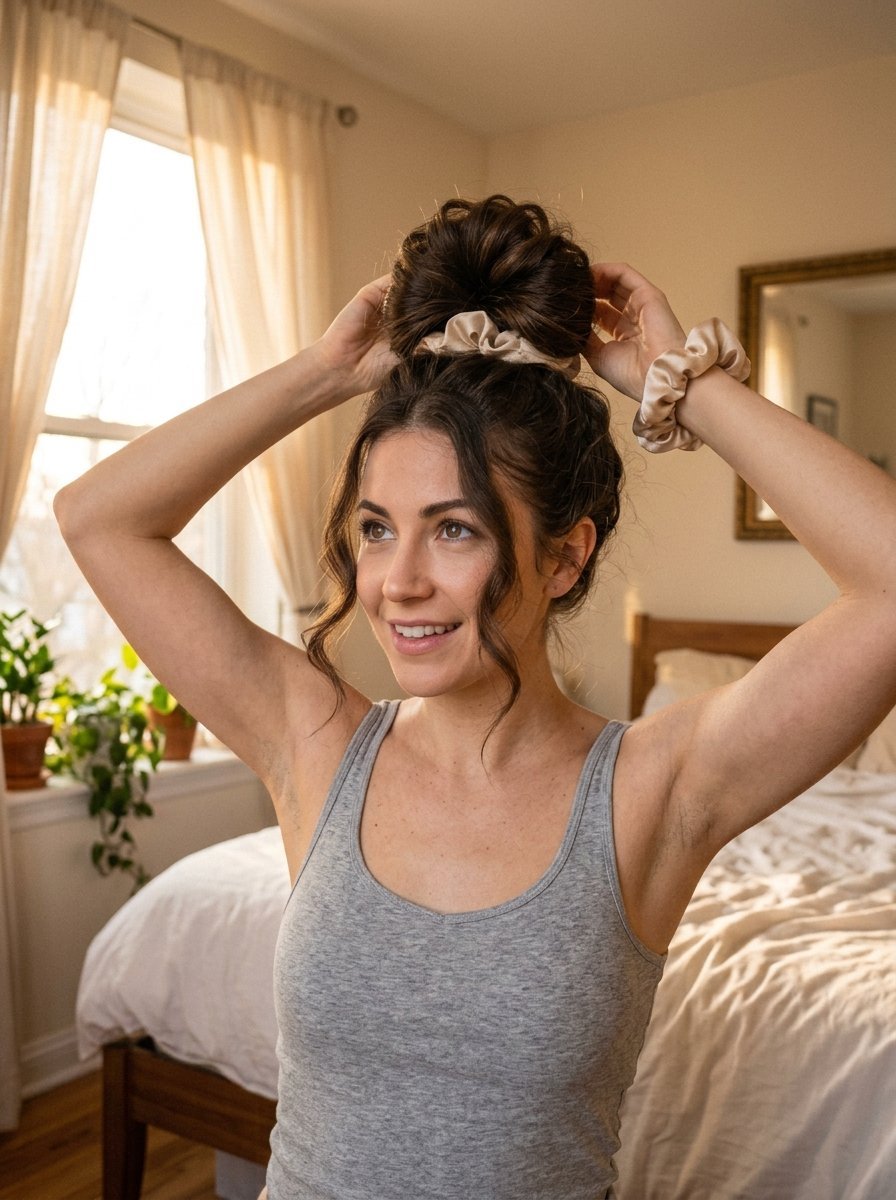
This section is where the real magic happens. Anyone can get one day of decent waves. Stretching this style to three days requires a specific routine. This is how to make heatless curls last longer.
Day One Maintenance Routine
You wore your beautiful waves all day. Now it is time for bed. Do not just lay on your pillow. The friction will destroy the style by morning. Gather all your hair at the very top of your head. Twist the hair gently into a loose topknot. Secure it with a silk scrunchie. Do not wrap the scrunchie tightly. One loose loop is enough. Go to sleep on your silk pillowcase.
Day Two Touch Ups And Dry Shampoo
Wake up and take out the silk scrunchie. Shake your head side to side. The waves will drop down beautifully. They will look a bit more relaxed than day one. The roots might look slightly flat. Grab a good dry shampoo. I love the Living Proof formula. Spray it exclusively at your root area. Wait exactly two minutes. Massage the dry shampoo into your scalp. This absorbs oil and adds massive volume. Your day two hair will look like a fresh blowout.
Day Three Styling Hacks
Day three hair requires a little creativity. The waves will be very loose now. The ends might look slightly dry. Apply one more drop of hair oil to the very ends. I usually wear half of my hair up on day three. I clip the top section back with a nice claw clip. The loose waves frame my face perfectly. This gives a very messy chic vibe. You still look incredibly put together. You have not used heat for three full days.
Hair Curling Tutorial Heatless Fails And Fixes
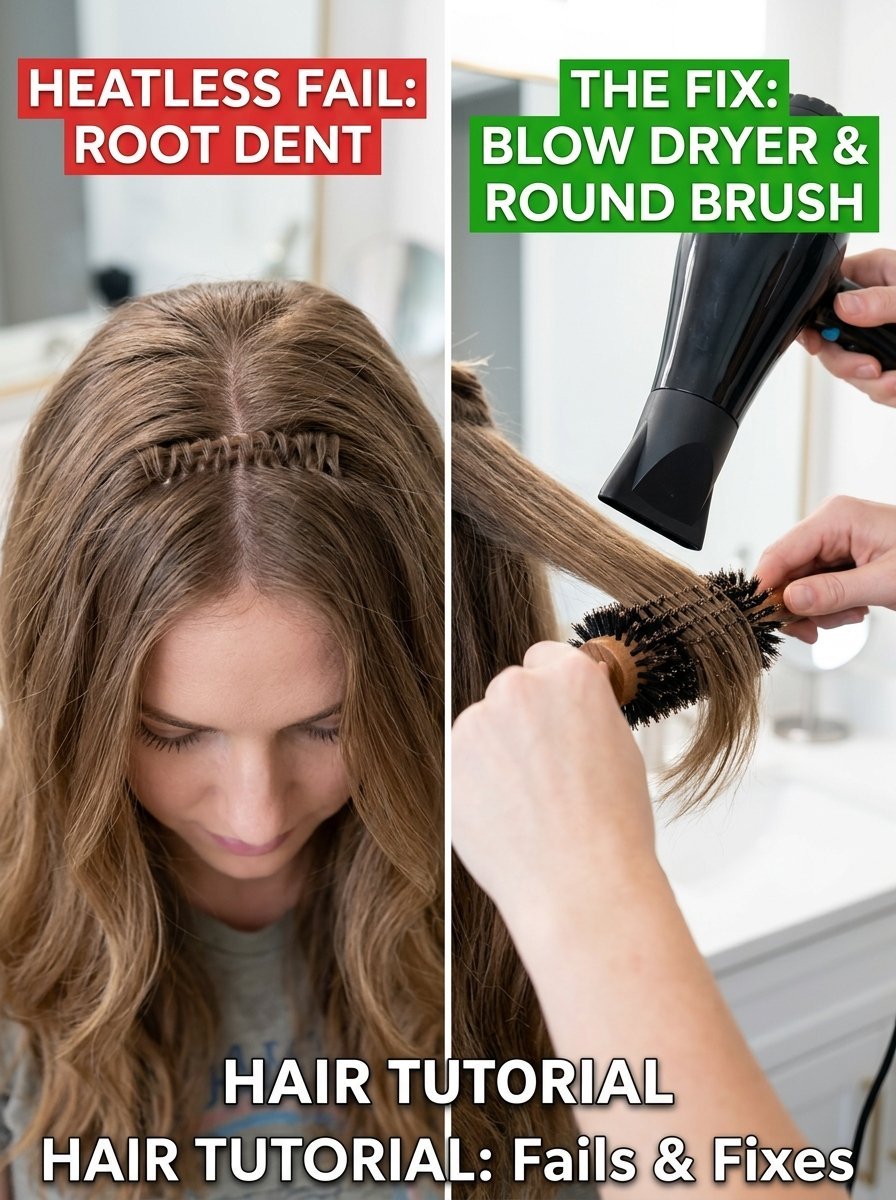
Things will go wrong when you are learning. I ruined dozens of styles during my testing phase. Here is how to fix the most common mistakes fast.
Fixing Weird Dents From The Silk Rod
Sometimes you wake up with a sharp dent near your part. This happens when the top clip pinches the hair. Do not wash your hair to fix this. Wet your fingertips with warm water. Rub your wet fingers over the dented area. Grab a blow dryer and a round brush. Hit that specific spot with warm air for ten seconds. The dent will vanish instantly. The rest of your style remains safe.
Smoothing Out Frizzy Ends
Frizzy ends happen when you do not secure the bottom properly. The hair slips out of the scrunchie overnight. You wake up with beautiful waves and straight fluffy ends. Grab a tiny amount of styling cream. Smooth the cream over the frizzy ends. Wrap the ends around two fingers tightly. Hold it for thirty seconds. Release your fingers. The ends will curl back up smoothly.
Reviving Flat Roots
Flat roots happen when your hair was too wet initially. The weight pulls the top flat. Flip your head upside down. Spray a liberal amount of texturizing spray at the roots. Massage vigorously with your fingertips. Flip back up and part your hair on the opposite side. The deep side part creates instant volume.
Frequently Asked Questions About Heatless Curls
I get asked these exact questions every single week. I want to clear up all the confusion right now.
Can I Do Heatless Curls On Completely Wet Hair?
No. This is the biggest mistake beginners make. Your hair will not dry wrapped around a foam rod. The inner layers will stay damp for twelve hours. You will take the rod out and your hair will just look wet and crimped. Always start with eighty percent dry hair.
Do Heatless Curlers Work On Short Hair?
Yes. I have seen this work on bob length hair beautifully. You just need a different tool. The standard thick Kitsch rod will not work. You will only get half a wrap around it. You must use a thinner tool. A thin silk scarf works perfectly. Small flexi rods also work great for chin length hair.
How Often Should I Wash My Silk Curler?
You need to wash your silk rod regularly. It absorbs oils and hair products every single night. A dirty rod will cause forehead breakouts. I wash my silk rod every two weeks. Fill your sink with cold water and a drop of gentle laundry soap. Squeeze the rod gently in the water. Rinse it clean. Lay it flat on a towel to air dry.
Can I Use A Hair Dryer To Speed Up The Process?
Yes. Sometimes you do not want to sleep in the rod. You want beautiful hair for an evening event. Put the rod into eighty percent dry hair. Put a shower cap over the whole setup. Take your blow dryer. Blast hot air over the shower cap for fifteen minutes. Let it cool completely for another fifteen minutes. Remove the rod. You will have gorgeous waves in thirty minutes.
Does The Wrapping Direction Really Matter?
Yes. Wrapping the hair away from your face opens up your features. Wrapping toward your face covers your eyes. Always wrap backward over the top of the rod. This creates a very flattering winged out shape at your cheekbones.
Final Thoughts On Mastering Heat Curls Tutorial Alternatives
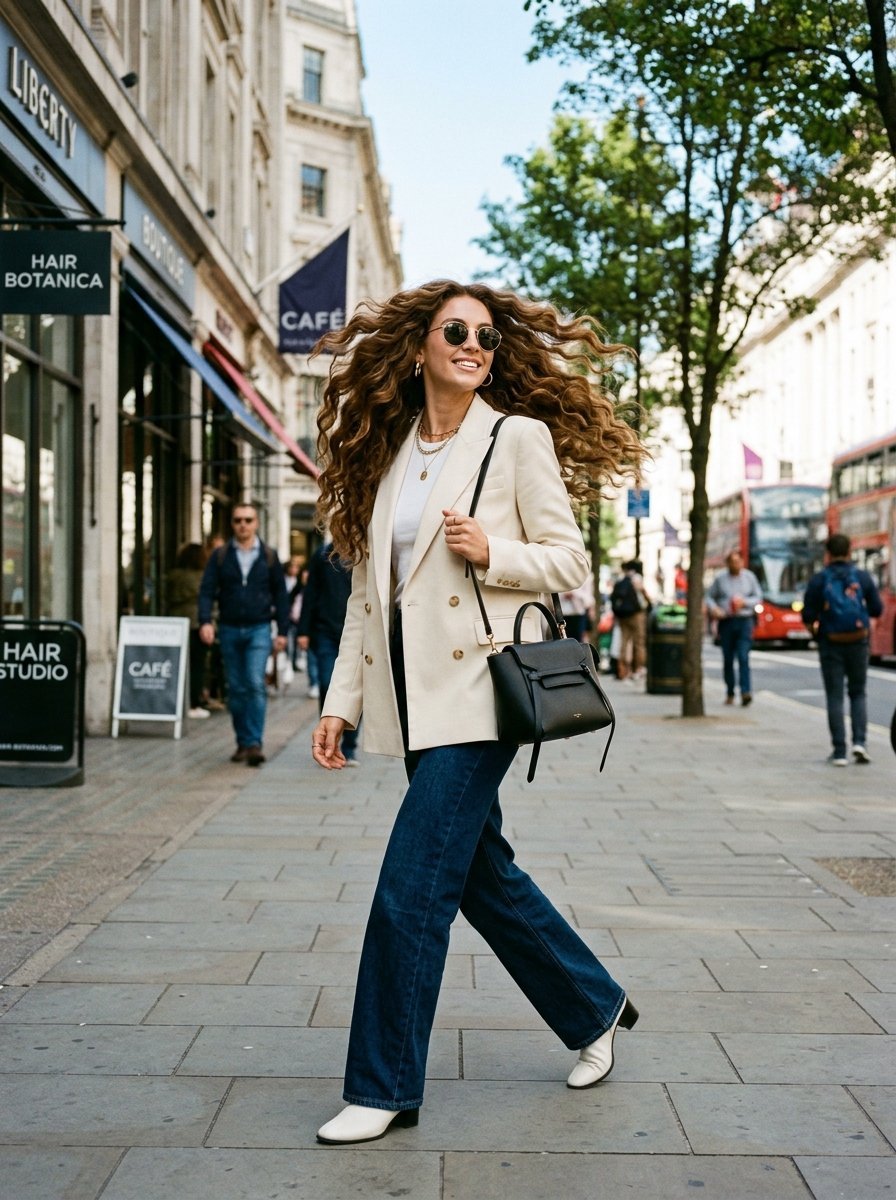
Mastering a heatless hair curl routine saves your hair from severe damage. My hair grew three inches this year alone. My ends no longer snap off from daily curling iron use. Getting the hang of the wrapping takes a few tries. Do not quit if your first attempt looks messy. Follow my exact product recommendations. Manage your dampness levels carefully. Try the back tying halo method for comfortable sleep. Your morning styling routine will drop to two minutes. You will wake up with gorgeous bouncy hair every single day.

Sarah Mitchell — Founder & Editor-in-Chief
Sarah Mitchell is the founder and editorial voice behind Hair Level Up. A licensed cosmetologist with more than 15 years of experience, she has styled A-list celebrities for editorial shoots and red carpets, with work featured in Vogue, Elle, and Harper’s Bazaar. Early in her career, she trained under the legendary hairstylist Oribe in New York, an apprenticeship that still shapes her editorial eye today. Sarah founded Hair Level Up in 2020 after one bad haircut convinced her that women deserved a destination that felt like a magazine, taught like a stylist, and inspired like an art gallery. She oversees every story from concept to publication, guided by a simple belief: a good story teaches you something, but a great one makes you feel beautiful while it does.