How to Do Robe Sash Curls Step by Step With Photos
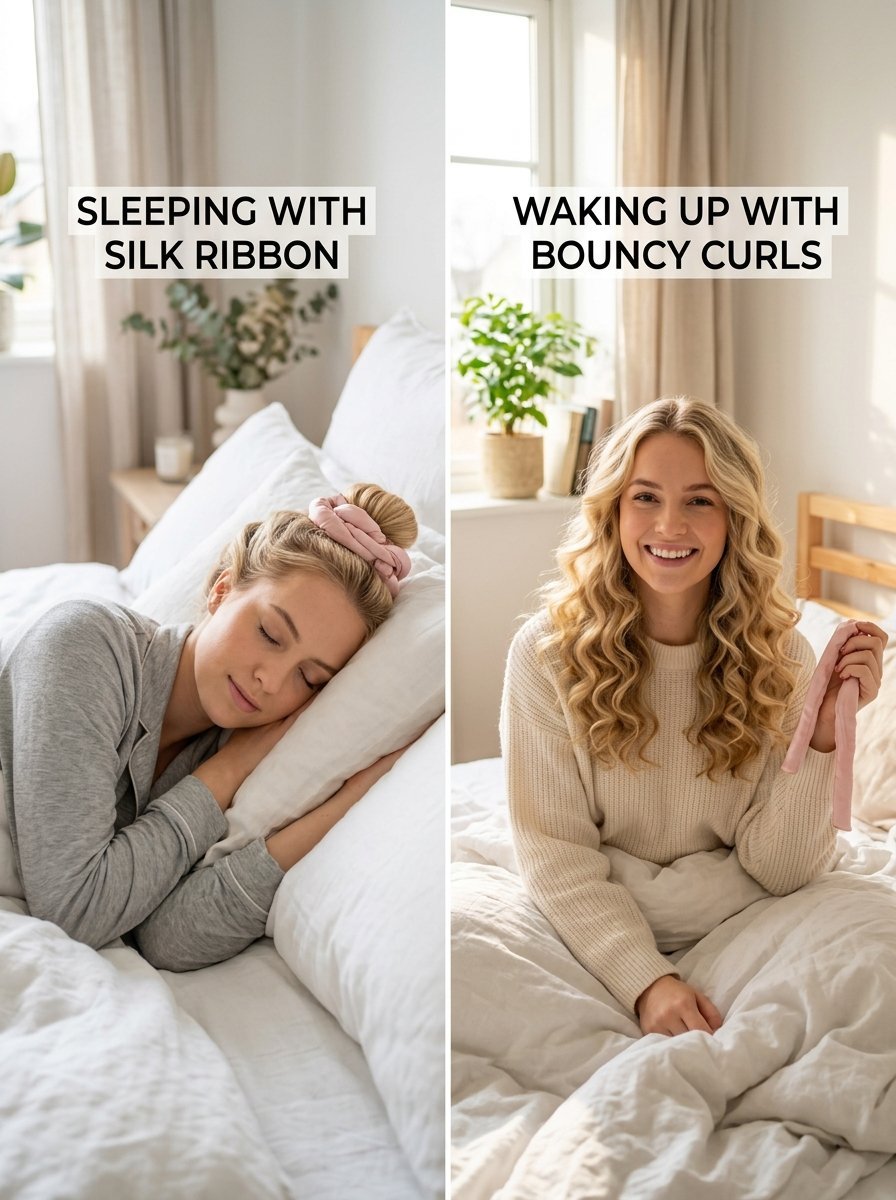
The demand for gorgeous, bouncy hair without heat damage has never been higher. Everyone wants those perfect, voluminous shapes without frying their ends with a curling iron. Enter the robe sash method. This technique blew up online because it uses a soft bathrobe belt to wrap damp hair overnight. It costs nothing, saves your hair from splitting, and takes under ten minutes before bed. You wake up with stunning, heatless shapes that look like a professional salon blowout.
Many people try this method and wind up with frizzy, uneven texture or flat roots. The secret is all in the tension, the dampness of your strands, and how you section your scalp. Wrapping too wet leaves you with damp, limp sections by morning. Wrapping completely dry won’t set the shape at all. This guide walks through the exact process to get flawless results on your first attempt.
Executive Summary
Achieving flawless overnight shapes requires balancing moisture and wrapping technique. This guide details how to turn a standard fleece or cotton bathrobe belt into the ultimate heatless styling tool. You will discover the exact dampness levels needed for success, the precise zig-zag wrapping pattern that prevents harsh parting lines, and the right styling products to lock in the look for days. The guide covers adjustments for different lengths, common mistakes like wrapping too loosely, and a comparison of alternative household items. By following these steps, you can eliminate daily heat tool use, protect your ends from splitting, and save twenty minutes every morning.
Why Choose Heatless Ribbon Wrapping Over Hot Tools?
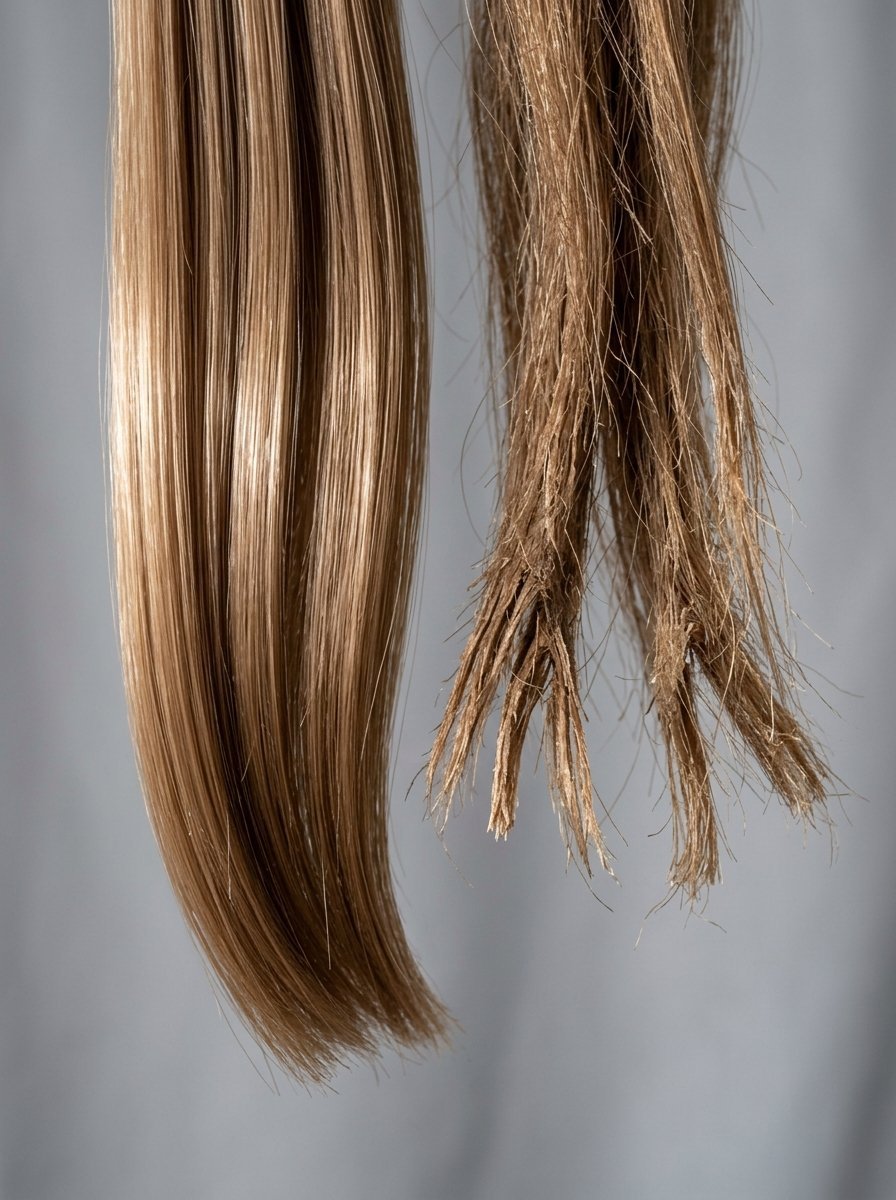
Using hot irons every day strips moisture from the hair shaft. This creates brittle textures, frayed ends, and dullness that no serum can fully fix. Heatless wrapping relies on setting the hair as it dries from damp to dry, which is far gentler on the cuticle. The cuticle stays smooth, trapping natural oils inside rather than scorching them away.
Hot Tools: High Heat ➔ Scorched Cuticle ➔ Moisture Loss ➔ Split Ends
Robe Sash: Air Drying ➔ Sealed Cuticle ➔ Oil Retention ➔ Smooth Shine
In my experience, making this switch twice a week completely changes your hair health. I used to rely on a curling wand every single Monday. My ends felt like straw by Wednesday. When I switched to a fleece sash, my hair retained its natural shine, and my split ends decreased significantly within a month.
What Supplies Do You Need for This Styling Method?
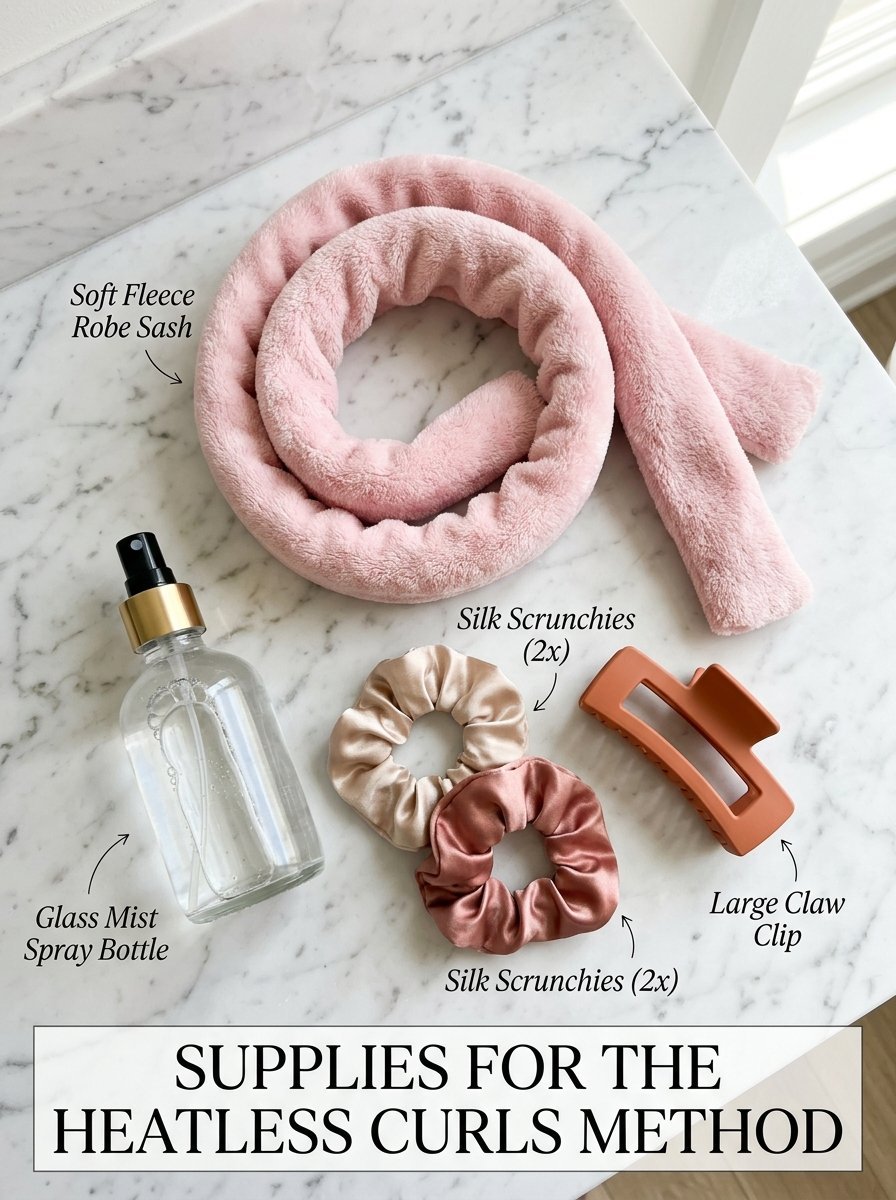
You do not need an expensive silk roller kit to start. Look around your home for these basic items.
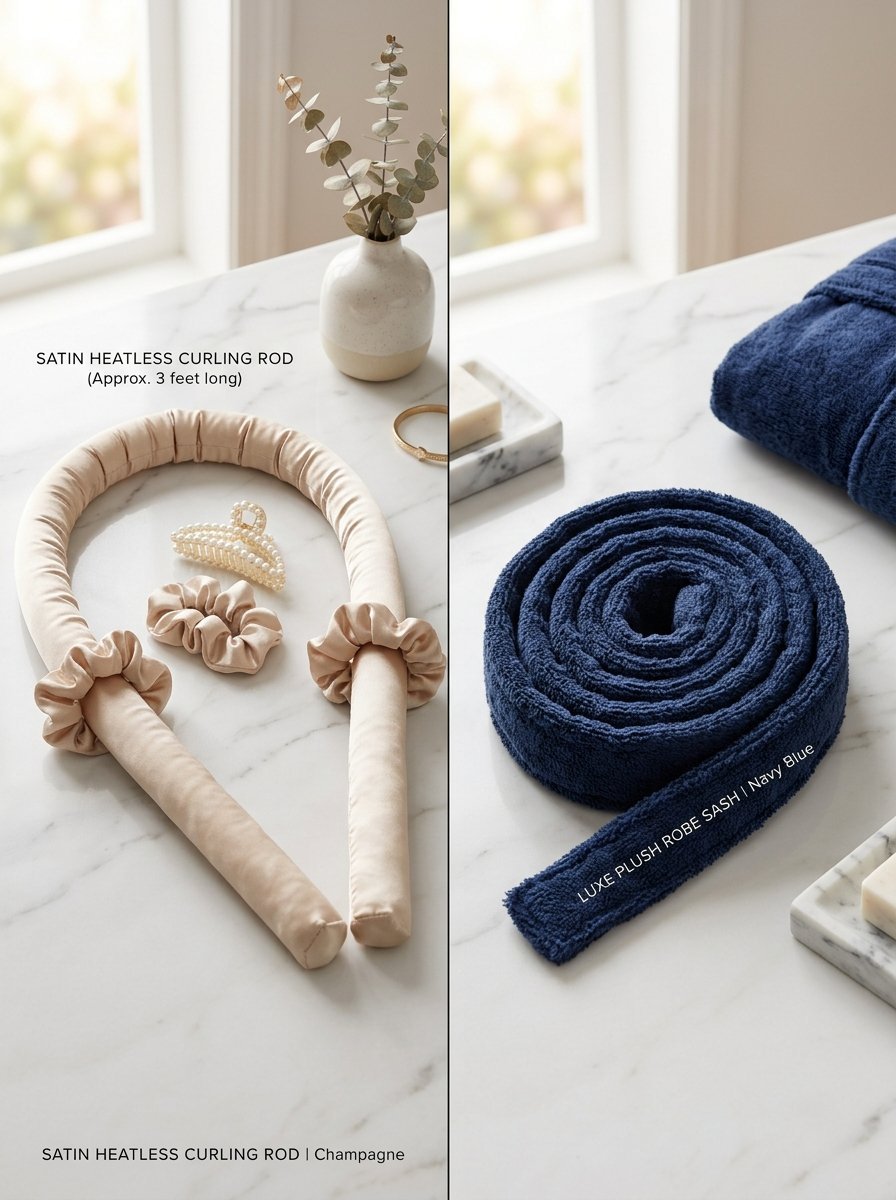
- A soft bathrobe sash: Fleece works best because it grips the hair gently without slipping. Cotton or silk sashes work well for coarse textures that need less grip.
- Two large scrunchies: These secure the ends without leaving harsh dents or creases.
- One large claw clip: This holds the sash firmly on top of your head while you wrap the first side.
- A fine-mist spray bottle: This helps control the exact moisture level of your sections.
- A lightweight leave-in conditioner or styling cream: This primes the hair, smooths frizz, and adds subtle hold.
How to Prepare Your Strands for the Best Hold
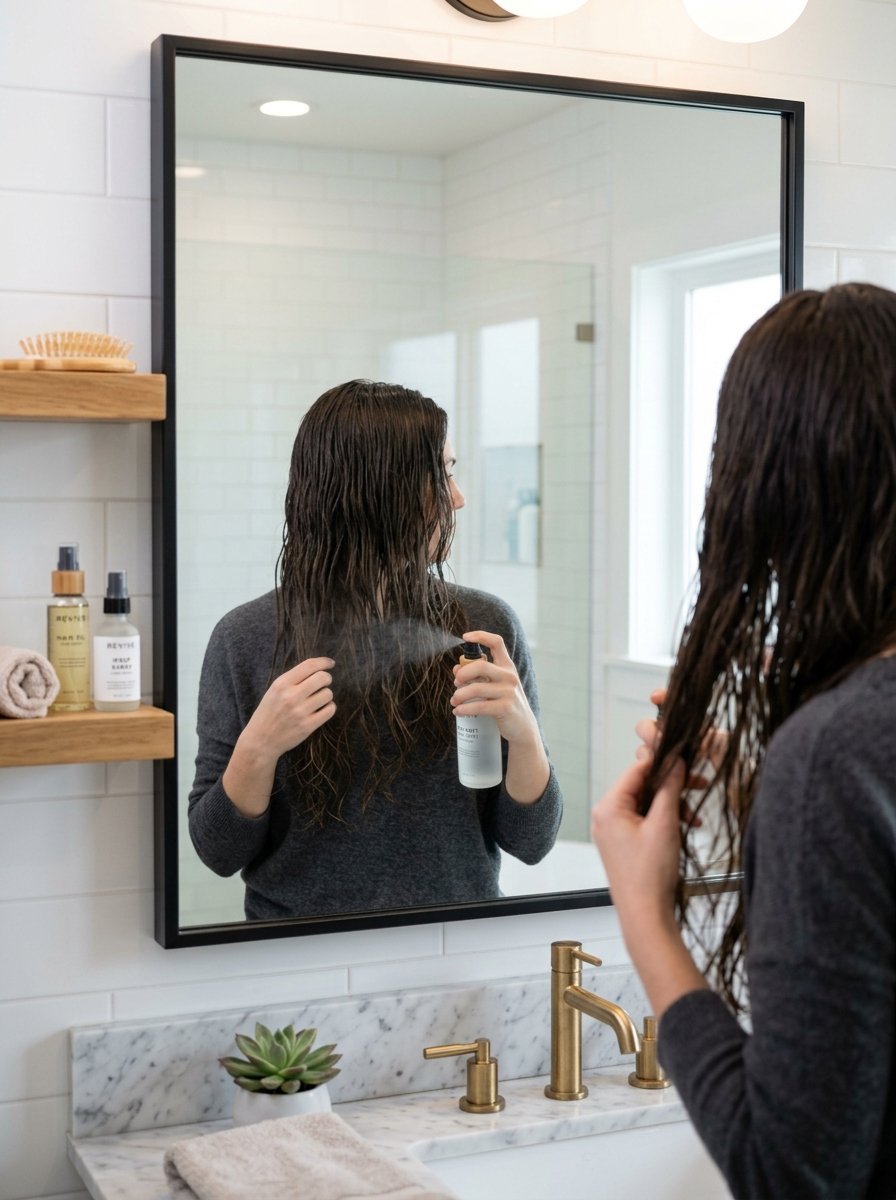
Preparation determines whether your curls last all day or fall flat within an hour. Never start with soaking wet hair. Wet hair stretches too much when wrapped, and it will not dry completely overnight.
Wash your hair as usual, then air-dry or blow-dry until it is roughly eighty percent dry. Your roots should feel completely dry to the touch, while the lengths should feel cool and slightly damp. If your hair is already dry, mist it lightly with a spray bottle from the mid-lengths down.
Apply a nickel-sized amount of styling cream or mousse through your lengths. distribute it evenly with a wide-tooth comb. This ensures every strand has a touch of styling product to hold the shape once the sash comes out.
Step-by-Step Guide to Wrapping Your Hair
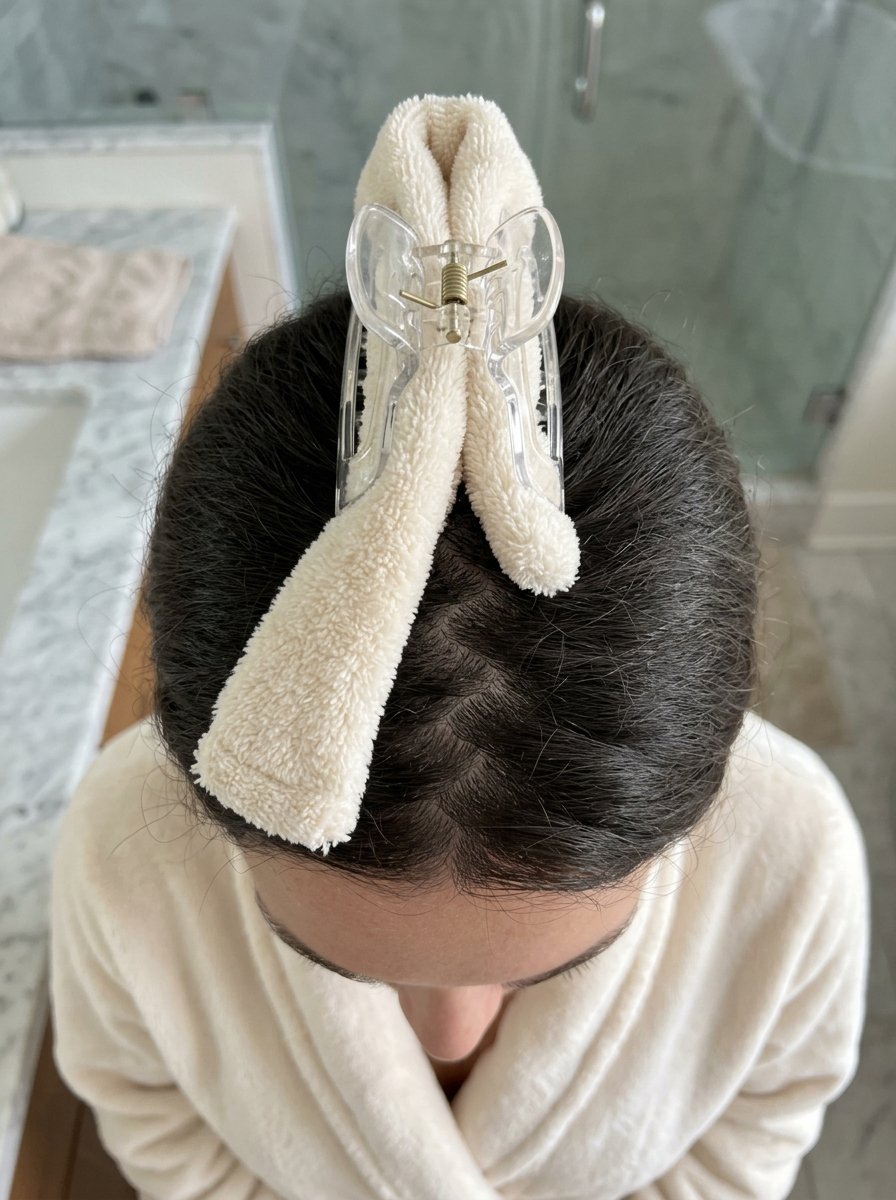
Follow these steps carefully to ensure your wrapping stays secure all night.
1.Position the Sash:2 minutes.
Place the bathrobe sash flat across the top of your head. Center it so equal lengths hang down on both sides. Place a large claw clip right on top of your head to secure the sash to your hair. This keeps the ribbon from sliding forward or backward while you work.
2.Wrap the First Front Section:3 minutes.
Divide your hair down the middle into two main sides. Go to the left side and take a small, two-inch section of hair near your front hairline. Pull this section up and wrap it completely over the sash, moving away from your face. Loop it all the way around so it comes back to the front.
3.Gather and Incorporate New Hair:4 minutes.
Before making the next loop, gather a new small section of loose hair from just behind the first one. Merge it with your original section, exactly like creating a French braid. Take this combined section of hair and wrap it over and around the sash. Repeat this process, working down toward the nape of your neck.
4.Secure the Ends:1 minute.
Once all hair from that side is incorporated, wrap the remaining tail tightly around the sash in a spiral pattern. Leave about an inch of loose ends at the very bottom. Grab a soft scrunchie and wrap it tightly around the hair and sash together to lock everything in place. Release the claw clip from the top of your head and repeat the entire process on the right side.
How to Handle Different Hair Lengths and Textures
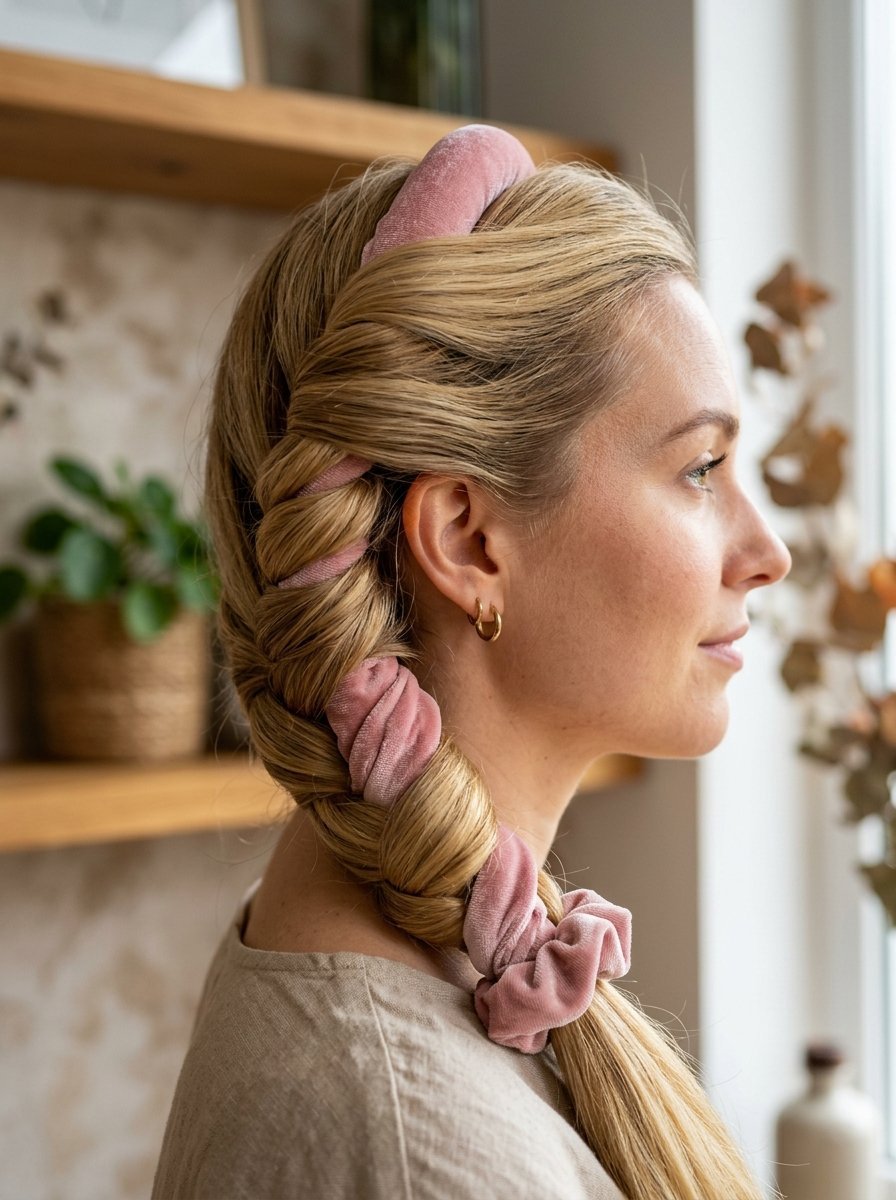
Different hair types require slight adjustments to this method.
- Short Hair: If your hair sits above your shoulders, use a thinner sash, like a silk scarf. Thick fleece sashes are too bulky for short layers to wrap around properly. Take smaller sections to ensure the hair wraps around the form at least twice.
- Long Hair: Long hair requires a longer sash to accommodate the length of the tail. Ensure you spread the wraps evenly down the sash so the hair does not bunch up into a thick, damp ball that cannot dry.
- Fine Hair: Fine strands slip easily. Use a fleece or velvet sash for extra grip. Apply a volumizing mousse to damp hair before wrapping to build body at the roots.
- Coarse or Thick Hair: Thick hair takes longer to dry. Ensure your hair is closer to ninety percent dry before wrapping. Use a silk or satin sash to prevent friction and minimize volume overload.
How to Ensure Comfort While Sleeping
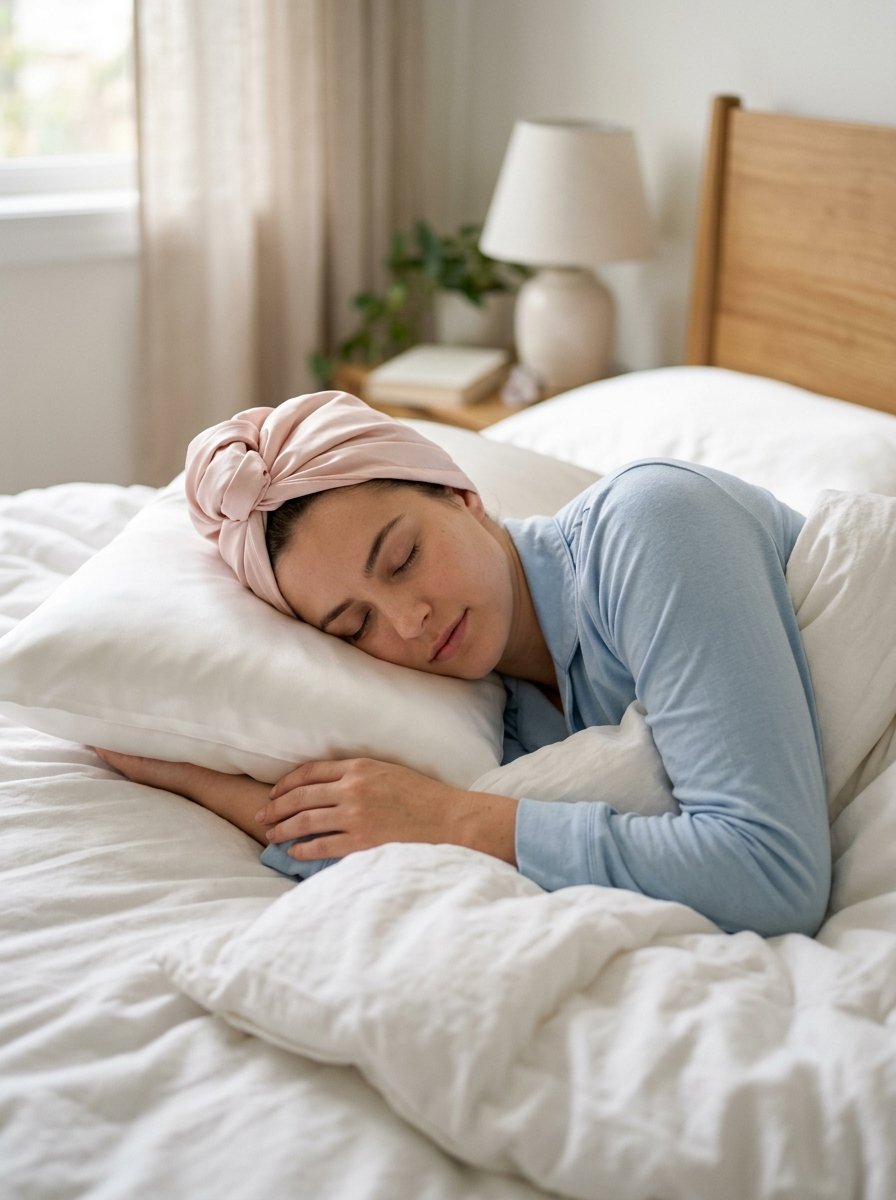
Sleeping with a bulky sash on your head takes some adjustment. To prevent the wraps from shifting against your pillow, gather the two hanging tails and tie them together loosely behind your neck. This keeps the tubes close to your head and prevents them from swinging forward.
Alternatively, cross the tails over your forehead and tie them at the top of your head, creating a halo shape. This keeps the back of your head completely flat, making it much easier to sleep comfortably on your back. Using a silk or satin pillowcase reduces friction against the wraps, preventing morning frizz.
The Morning Unwrapping and Styling Routine
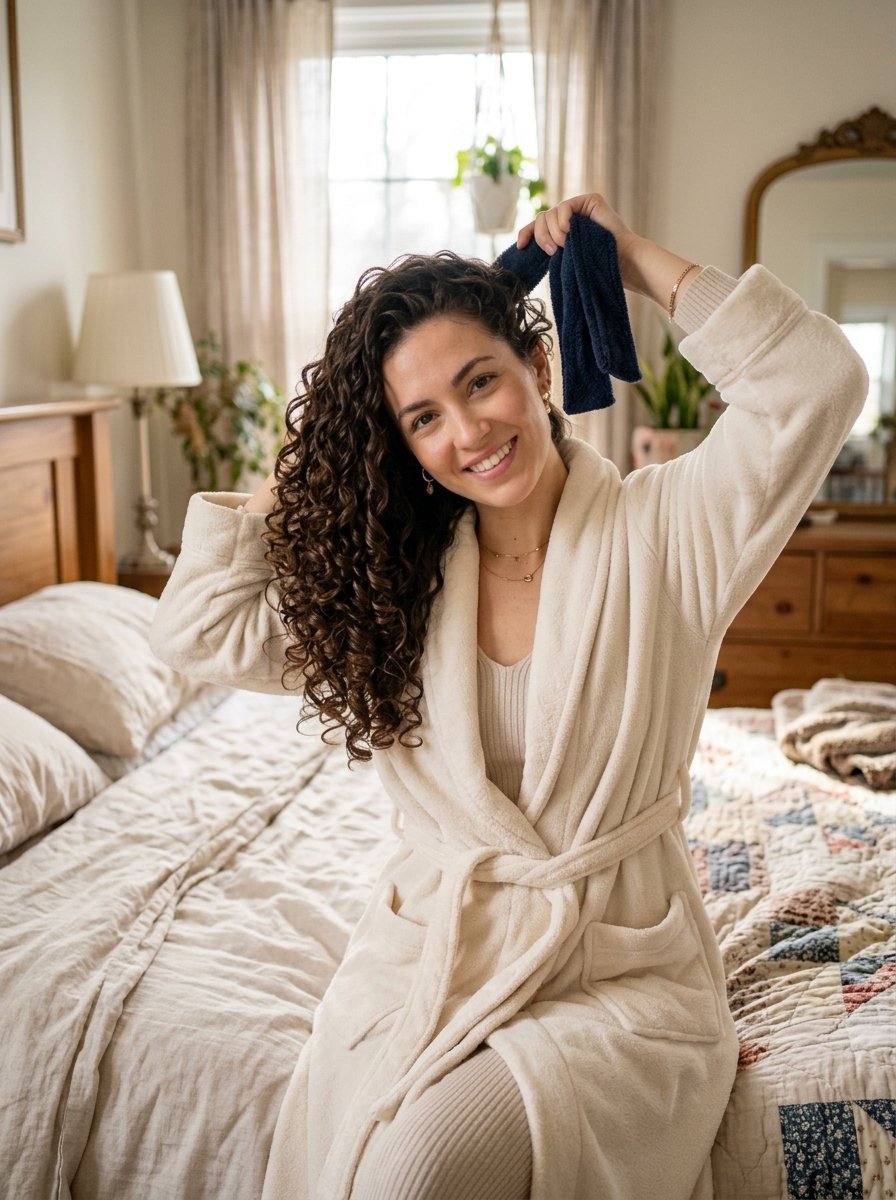
Do not rush the unwrapping process. When you wake up, touch the center of the hair wraps to ensure they feel completely dry and warm. If they feel cold or damp, leave them in while you make breakfast, or run a blow dryer over the wrapped tubes for three minutes on a cool setting.
Remove the scrunchies from the bottom of both sides. Gently slide the bathrobe sash upward, out of the top of your head. Let the coils drop naturally over your shoulders. Avoid pulling or tugging the hair down forcefully.
Remove Scrunchies ➔ Slide Sash Upward ➔ Let Coils Drop ➔ Finger Comb ➔ Apply Oil
Let the curls sit untouched for two minutes to allow the shape to cool and set. Shake out your roots gently using your fingers. Avoid using a fine-tooth brush, as this can break up the shapes into a frizzy cloud. If the coils look too tight, run a wide-tooth comb through the lengths to transform them into soft, cascading Hollywood waves. Finish with a tiny drop of hair oil rubbed between your palms to smooth any flyaways.
Common Mistakes That Ruin Your Overnight Results
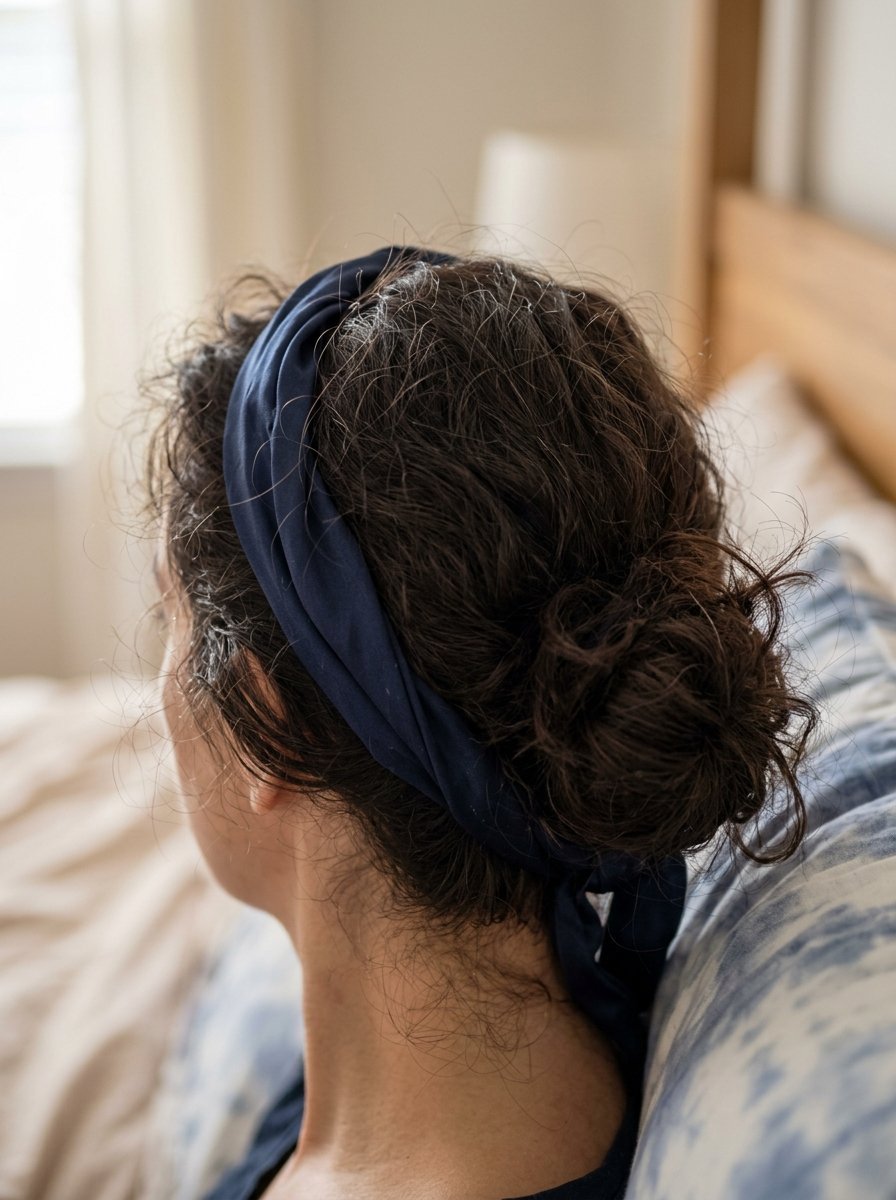
If your curls did not turn out perfectly, you likely hit one of these common road bumps.
- Wrapping dripping wet hair: The hair inside the wrap will not get enough airflow to dry. You will wake up with cold, damp strands that flatten instantly when brushed.
- Wrapping too loosely: If the hair slides freely along the sash, the shapes will look messy and unformed. Keep firm, consistent tension as you pull each section around the ribbon.
- Uneven section sizes: Taking a huge chunk of hair followed by a tiny one creates an inconsistent pattern. Keep your sections uniform to get a polished look.
- Forgetting product: Hair needs a setting agent to hold a new shape. A light mousse, gel, or styling cream provides the necessary support to keep the waves from dropping by noon.
Alternative Household Items You Can Use
If you do not have a robe sash handy, several other common household items can deliver similar results.
| Tool Alternative | Best For | Pros | Cons |
| Long Tube Socks | Short to medium hair | Excellent grip, soft to sleep on | Can create tighter, less bouncy shapes |
| Leggings | Thick or very long hair | The waistband sits comfortably on top | Bulky to wrap around the ears |
| Silk Scarf | Fine hair prone to frizz | Maximum shine, zero friction | Slippery to wrap without practice |
| Paper Towels | Tight, spiral coils | Lightweight and cheap | Single-use, tears easily during wrapping |
Frequently Asked Questions
Can I do this on completely dry hair?
Yes, but the shapes will not last very long. Hair sets as it changes from wet to dry because water breaks down hydrogen bonds, allowing the hair to reform into a new shape. If your hair is dry, mist it lightly with water or a flexible hairspray before wrapping to give the style staying power.
My curls always fall out after two hours. How do I fix this?
This usually means your hair lacks product or was too dry when you wrapped it. Try applying a firm-hold mousse to damp hair before wrapping. Once you unwrap the hair in the morning, mist the shapes with a light hairspray before combing them out.
Will this method work on naturally curly or coily hair?
This method works best for smoothing and stretching natural texture into larger, looser waves. If you have coily hair, blow-dry or stretch your hair first using a heatless method, then wrap it around a silk sash to create smooth, voluminous shapes without altering your natural pattern permanently.
How long does my hair need to stay wrapped?
Your hair must stay wrapped until it is completely dry. This usually takes between six to eight hours, making it perfect for an overnight style. If you are in a rush during the day, you can speed up the process by applying heat with a blow dryer for fifteen minutes, then letting the hair cool completely before removing the sash.
Is a fleece sash better than a silk ribbon?
Fleece is much easier for beginners because the textured material keeps the hair from slipping out of place while you sleep. Silk or satin ribbons provide more shine and less friction, making them excellent for coarse or damage-prone hair, though they require a tighter wrapping technique to stay secure.
How do I prevent flat roots at the top of my head?
Pull each section of hair upward and slightly forward as you wrap it around the sash. If you pull the sections downward while wrapping, you flatten the hair against your scalp, resulting in flat roots. Wrapping upward creates immediate lift at the crown once the sash is removed.
Summary of the Wrapping Method
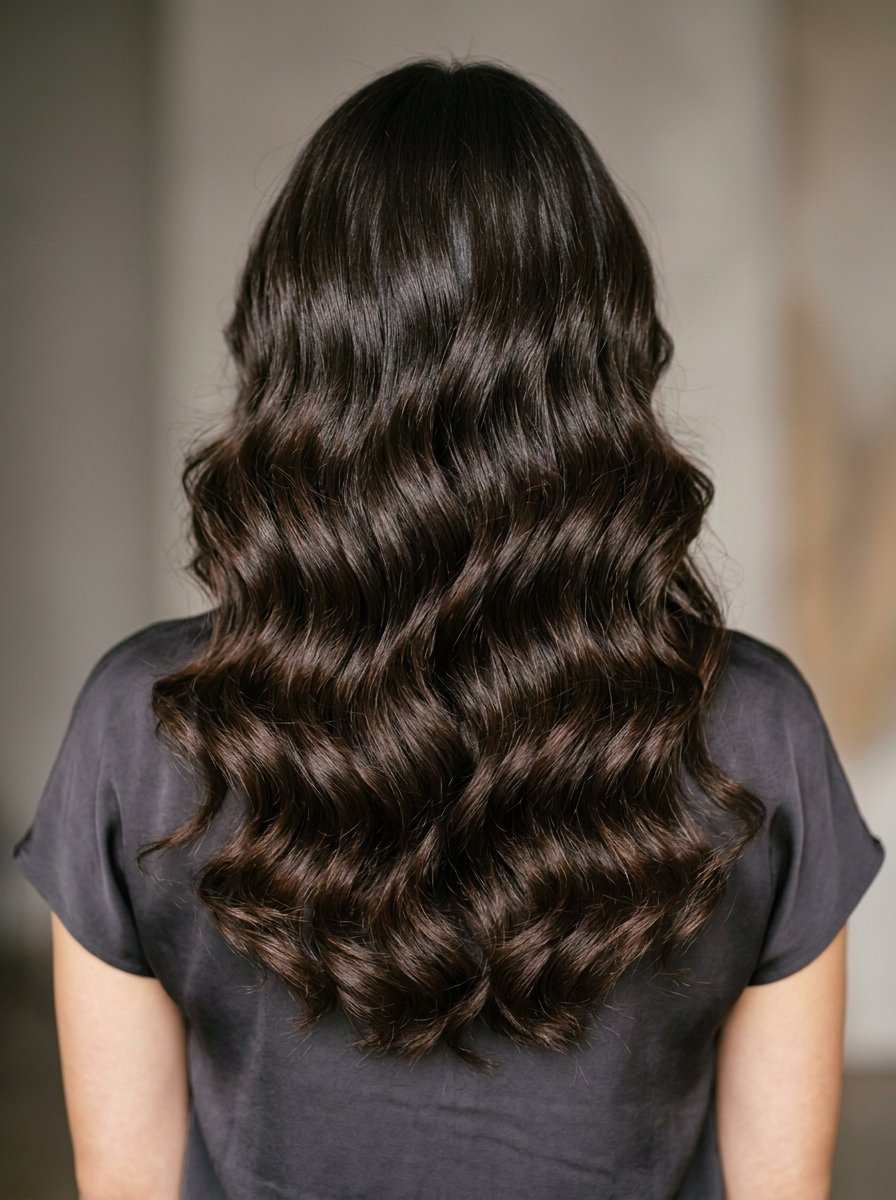
Transforming your hair routine does not require expensive tools or high heat. By mastering the robe sash method, you protect your cuticle from heat damage while achieving beautiful, voluminous shapes every single morning. Start with slightly damp hair, maintain firm tension as you wrap away from your face, and ensure your hair dries completely before sliding the sash out. Adjust your tools based on your specific hair length and texture to find the perfect fit. With a little practice before bed, you can save valuable time in the morning and build a healthier, shinier mane over time.

Sarah Mitchell — Founder & Editor-in-Chief
Sarah Mitchell is the founder and editorial voice behind Hair Level Up. A licensed cosmetologist with more than 15 years of experience, she has styled A-list celebrities for editorial shoots and red carpets, with work featured in Vogue, Elle, and Harper’s Bazaar. Early in her career, she trained under the legendary hairstylist Oribe in New York, an apprenticeship that still shapes her editorial eye today. Sarah founded Hair Level Up in 2020 after one bad haircut convinced her that women deserved a destination that felt like a magazine, taught like a stylist, and inspired like an art gallery. She oversees every story from concept to publication, guided by a simple belief: a good story teaches you something, but a great one makes you feel beautiful while it does.