How to Get Heatless Beach Waves Using Just a T-Shirt
You wake up at 6:00 AM on a busy Tuesday morning. Your alarm rings loudly in your ear. You look in the mirror and sigh. Your hair looks flat and lifeless. You want bouncy and beautiful hair. You absolutely do not want to spend 40 minutes holding a burning hot iron near your face. I have been in this exact situation countless times. I burned my fingers trying to get perfect curls. I bought expensive wands that promised quick results. I tried sleeping in hard plastic rollers that kept me awake all night. My ends became dry and brittle over time.
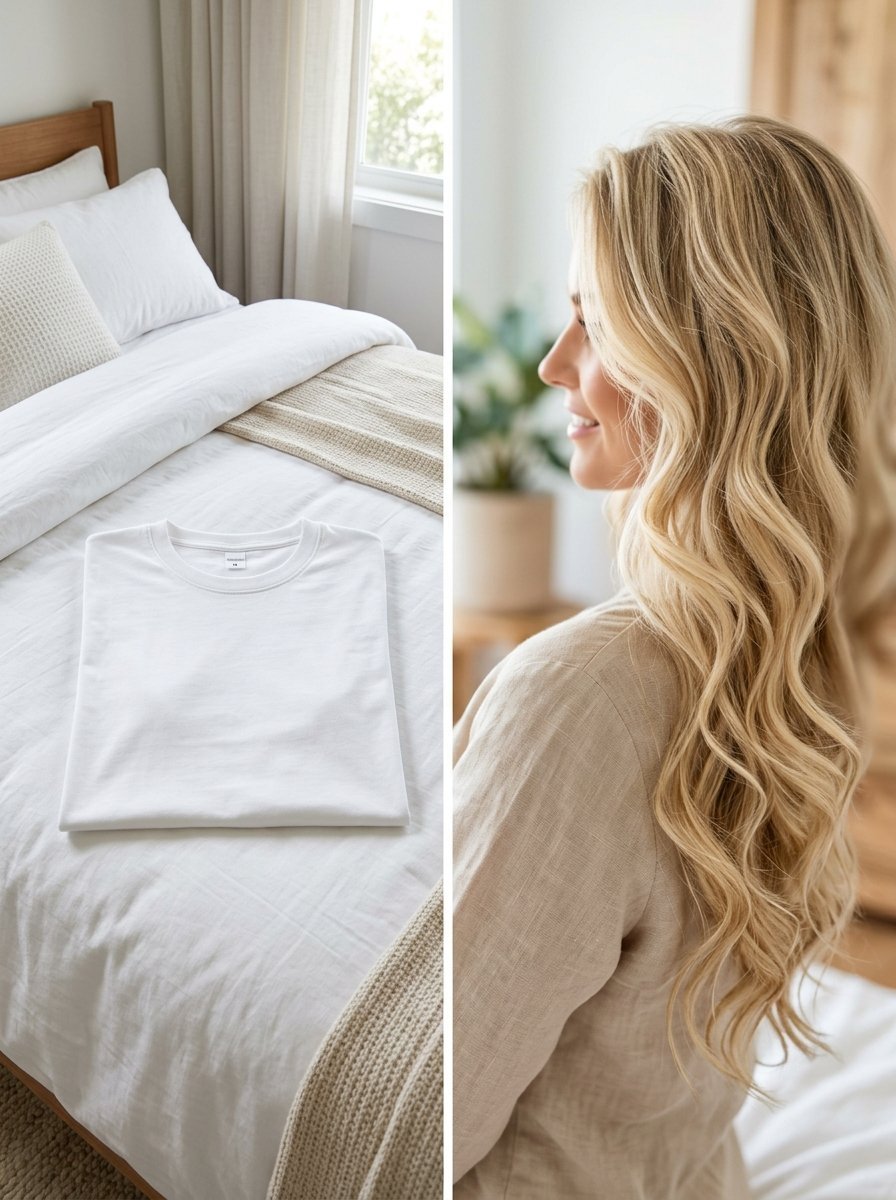
Then I found a much better way to style my hair. I started using a plain cotton shirt from my drawer. This simple piece of clothing changed my morning routine forever. You get smooth and soft hair without frying your ends. You save precious sleep time. You save a lot of money. I will show you exactly how to do this tonight.
You will wake up with beautiful hair tomorrow morning. This guide gives you every exact step you need. We cover the exact dampness your hair requires before wrapping. We review the best styling sprays to lock the shape in place. You will see why a basic shirt easily beats a $600 styling tool. We go over common mistakes people make when wrapping their hair. We fix flat roots that ruin the look. We fix frizzy ends that make hair look messy. Your hair stays completely healthy. You spend zero dollars to get this look. The entire setup takes five minutes before you go to sleep. You sleep comfortably through the night. You wake up totally ready for the day ahead.
The Real Cost of Daily Heat Styling
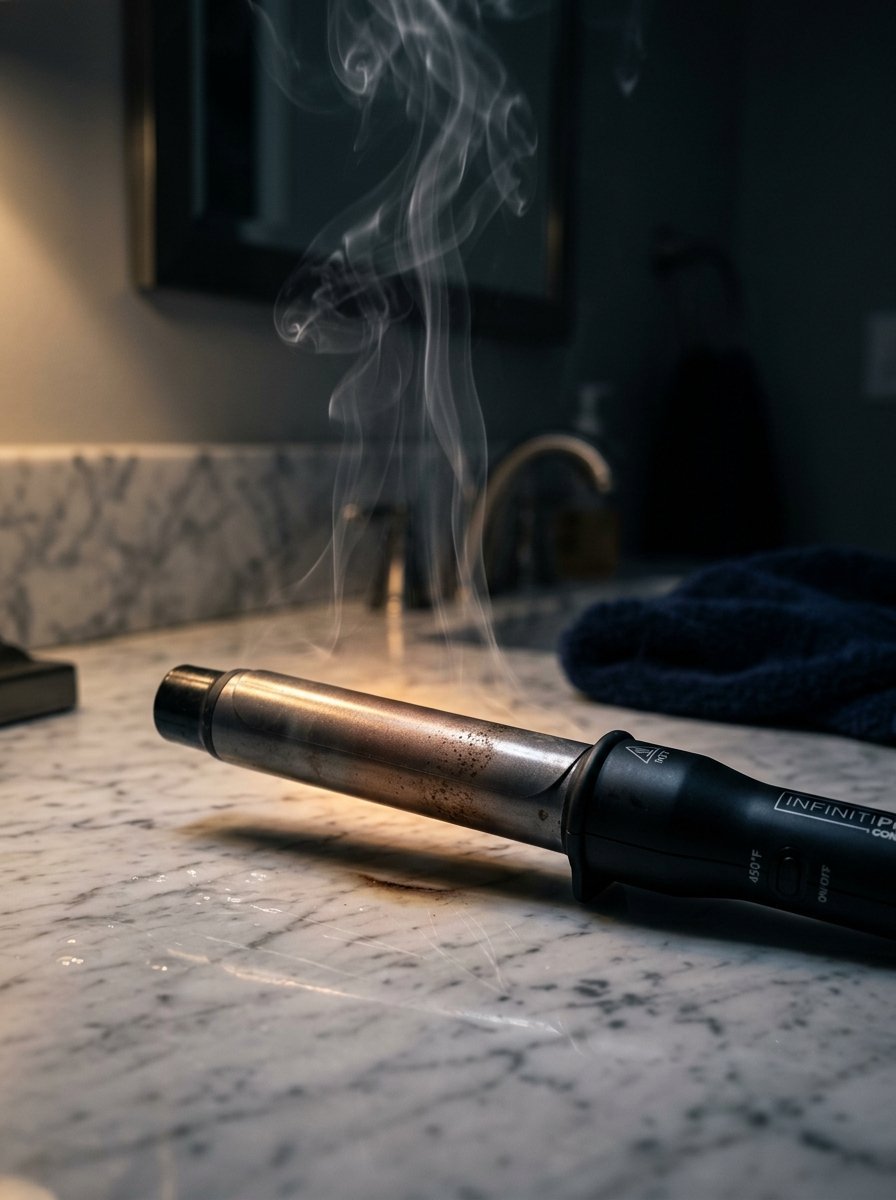
Your hair takes extreme damage from daily styling tools. Most irons heat up to 400 degrees Fahrenheit. That is hot enough to bake a cake in your oven.
In my experience doing hair styling experiments in 2023 I saw this damage firsthand. My stylist told me my ends were breaking off. I spent over $150 on Olaplex treatments just to fix the breakage. Many people spend $599 on tools like the Dyson Airwrap. They think expensive tools stop hair damage.
They still apply extreme heat to fragile hair strands. A plain Hanes cotton shirt costs about five dollars. It applies zero heat. Your hair retains natural moisture. Your ends stop breaking off in your hairbrush.
I tested this exact Heatless Curls Hairstyle for six solid months. My hair grew three inches during that time. The split ends almost completely stopped appearing. You keep your money in your bank account. You keep your hair healthy and strong.
Why a Cotton Shirt Outperforms Silk Curlers
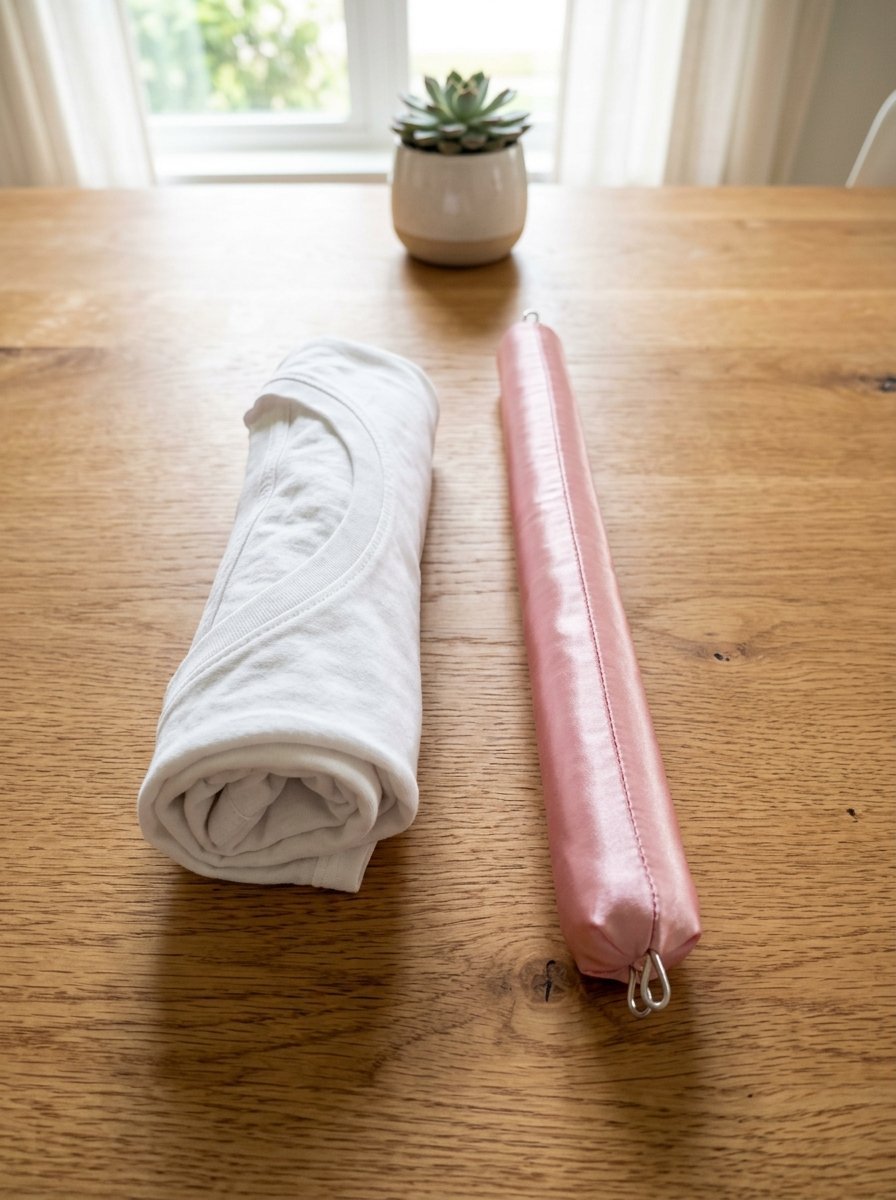
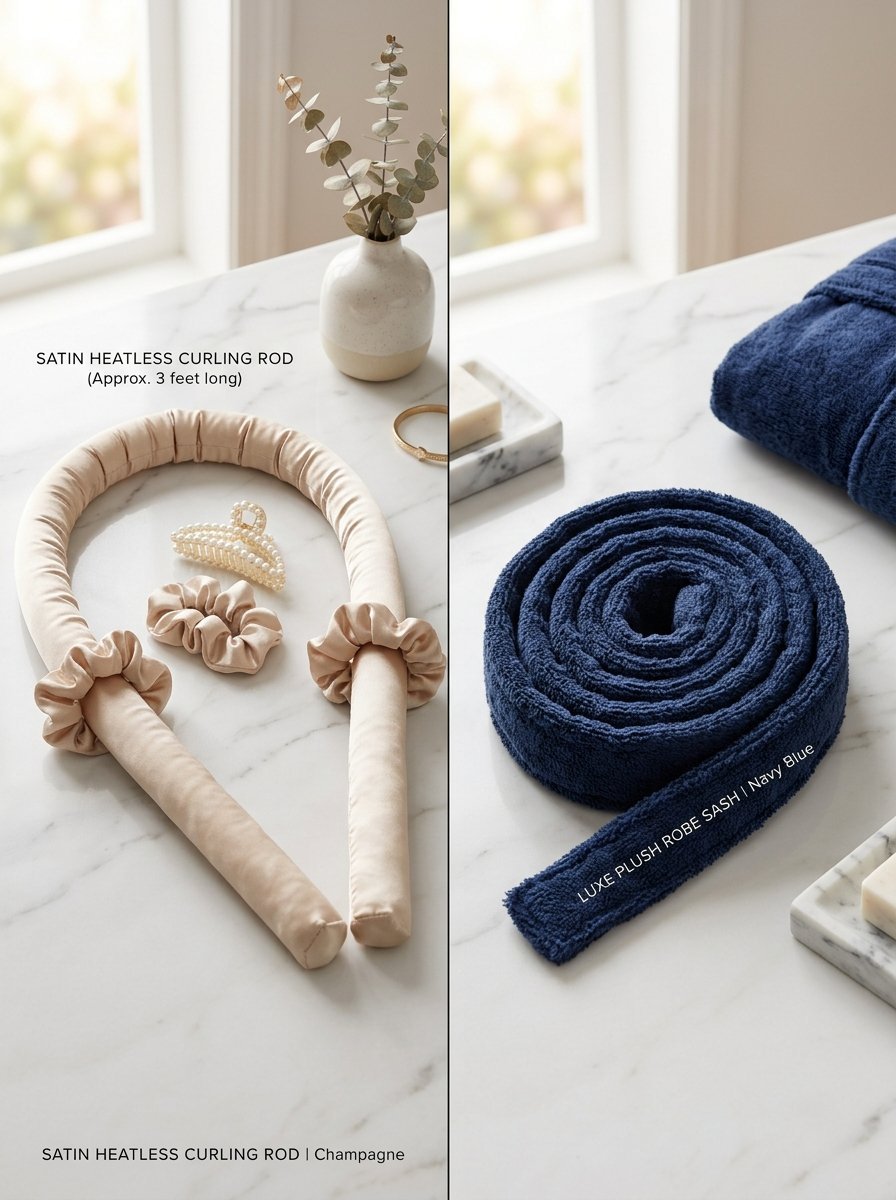
You might wonder why we use a shirt instead of popular silk rods. The internet loves silk curling tubes right now. I bought a $30 silk rod last year to test it out.
The silk material is very slippery. My hair slid right off the rod while I slept. I woke up with flat hair on one side. The silk rod is also stiff and hard to sleep on.
A well worn cotton shirt has natural grip. Your hair grabs onto the fabric and stays put. The fabric breathes well and absorbs excess moisture.
Here is a quick comparison of your styling choices.
- The Cotton Shirt costs zero dollars and provides maximum sleep comfort with zero hair damage.
- The Silk Rod costs thirty dollars and provides medium sleep comfort with zero hair damage but poor hold.
- The Standard Iron costs fifty dollars and provides fast results but extreme hair damage and breakage.
The soft cotton bends naturally against your pillow. You do not feel hard lumps behind your head. The grip keeps fine hair from slipping out at night. It works better than any store bought Heatless Hair Curl tool I have tried.
Preparing Your Hair for the Best Hold
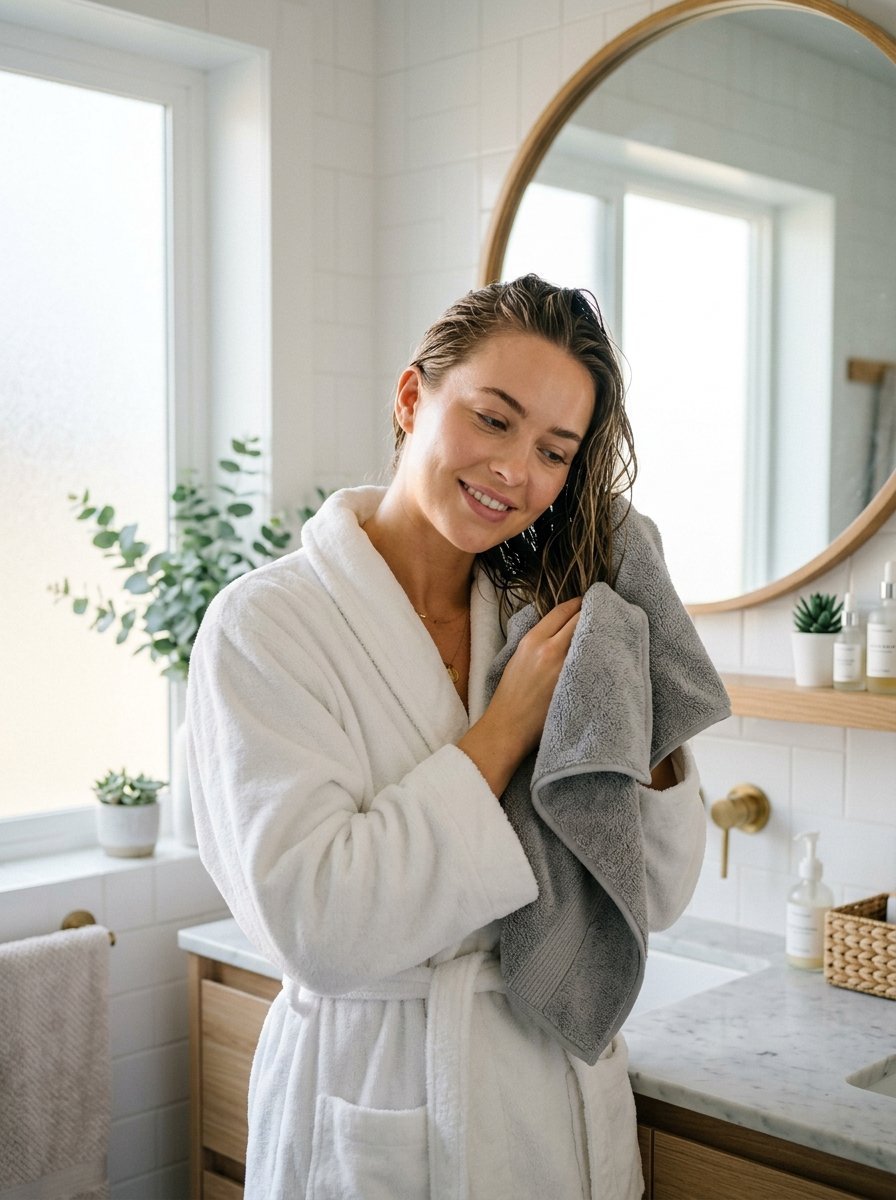
You must prepare your hair correctly before you start wrapping. Dry hair will not hold a shape. Soaking wet hair will not dry by morning.
You need the perfect moisture balance. I wash my hair with Redken Volume Injection shampoo. I skip heavy conditioners that weigh hair down.
Towel dry your hair gently after your shower. Let it air dry until it is about 80 percent dry. It should feel slightly damp to the touch.
If you start with dry hair you must use a spray bottle. Mist your hair lightly with plain water.
You need a good styling product next. I apply a pump of Ouai hair mousse. Work the mousse from your roots down to the ends. This gives the hair memory so the waves last all day.
Comb your hair completely smooth with a Tangle Teezer brush. Any tangles you wrap will turn into permanent creases. Smooth hair creates smooth shiny waves.
Making the Perfect Fabric Halo
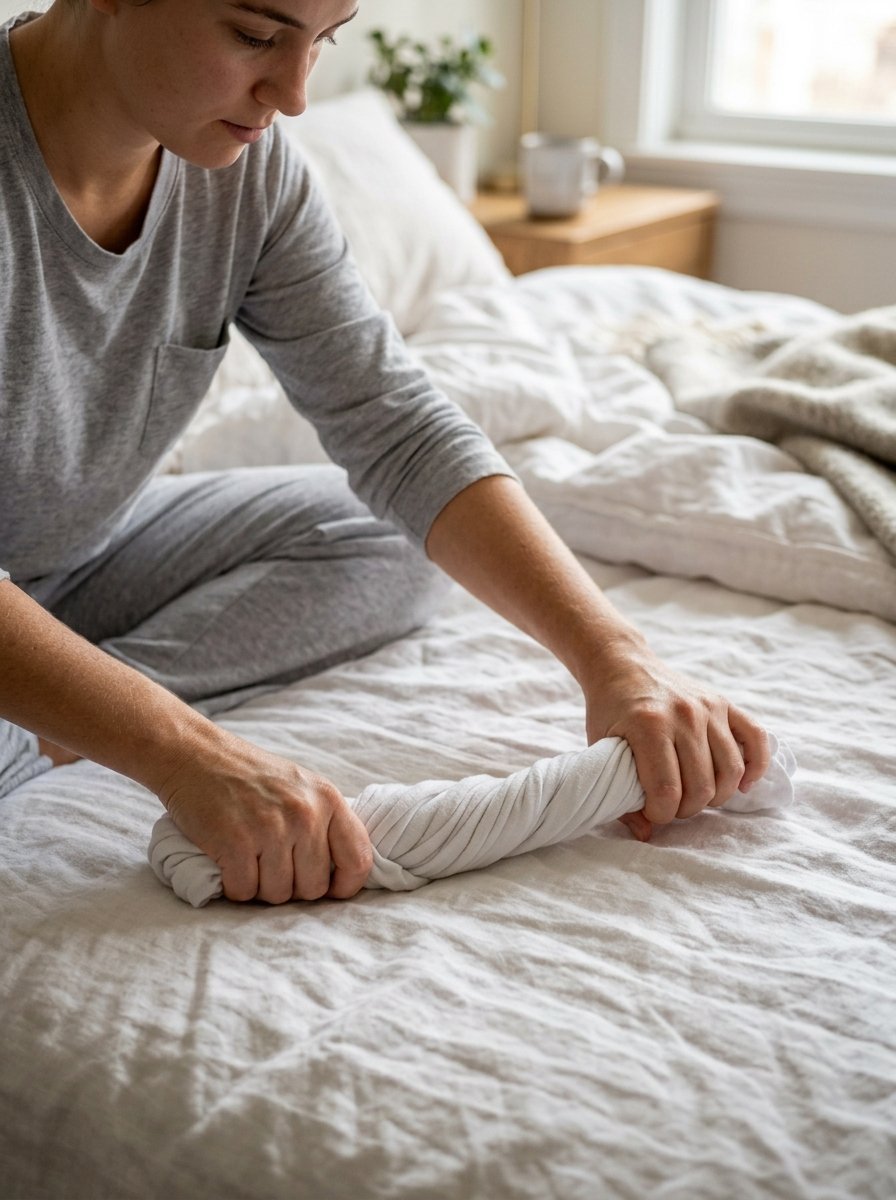
You need to shape your shirt properly before putting it on your head. Grab a basic short sleeve shirt.
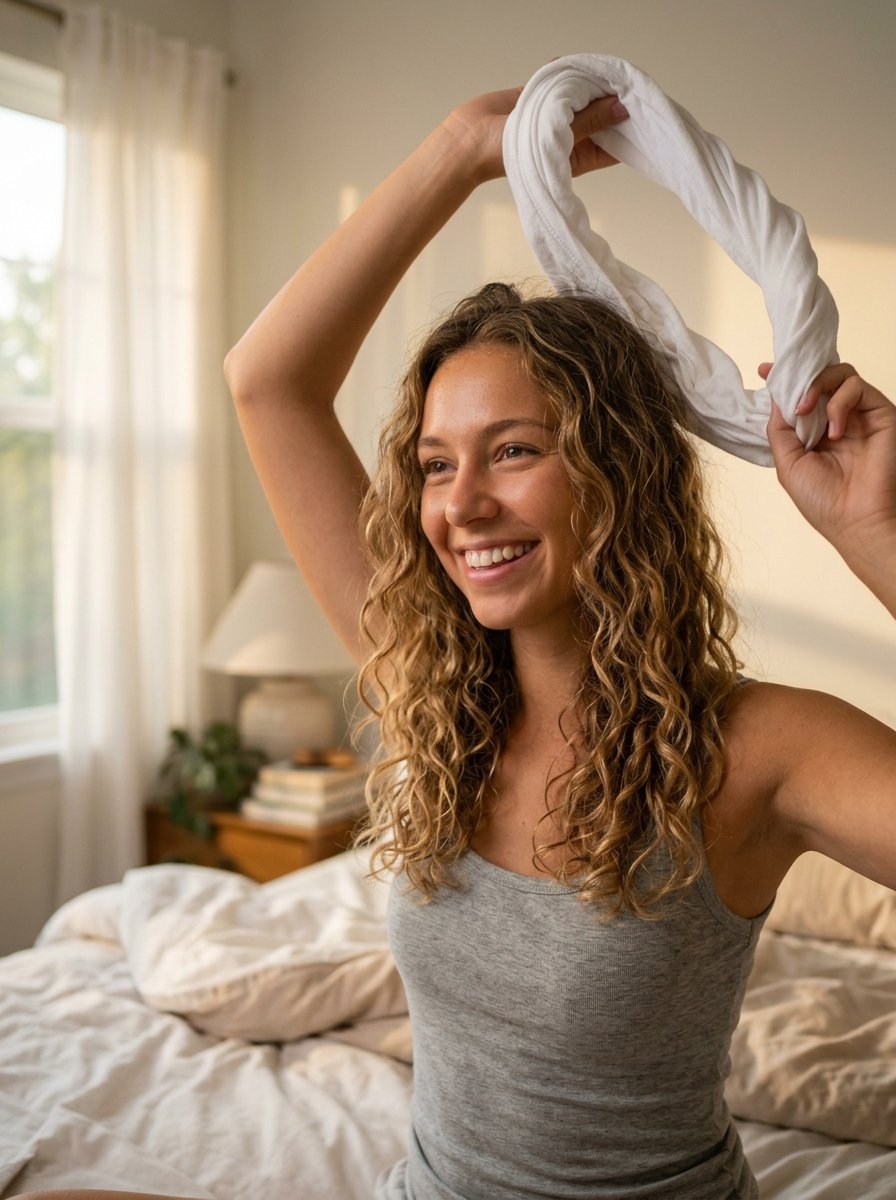
Lay it flat on your bed. Start rolling the fabric from the bottom hem up to the collar. You want to create a long tight fabric rope.
Take the two ends of your rolled shirt. Tie them together tightly. You just made a fabric halo.
Place this circular halo on top of your head. It should sit like a crown pushing down slightly on your forehead.
If the halo feels too loose you need a smaller shirt. If it feels too tight use a bigger size. A men’s medium usually works perfectly for most head sizes.
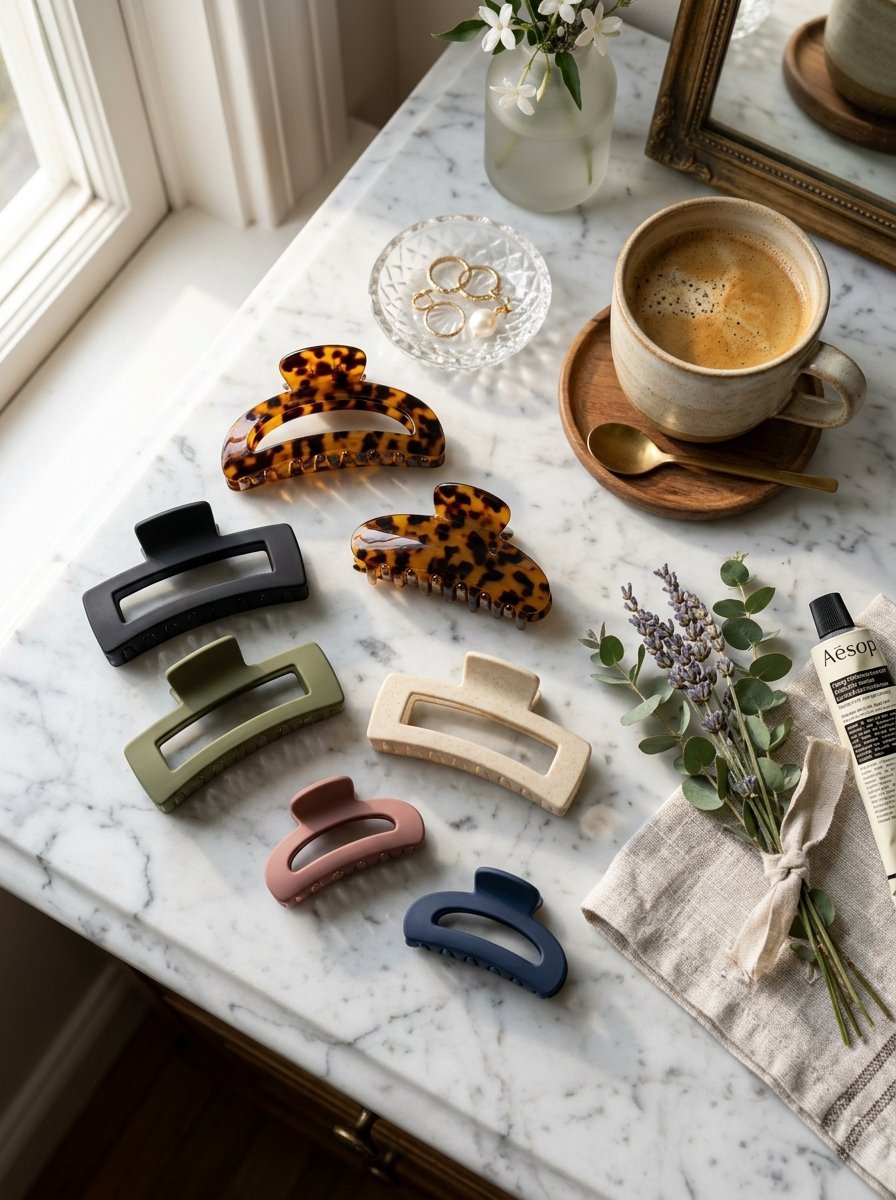
You can use a large claw clip to secure the halo on top. This stops the fabric from sliding backwards while you work.
How To Put In Heatless Curls Step by Step
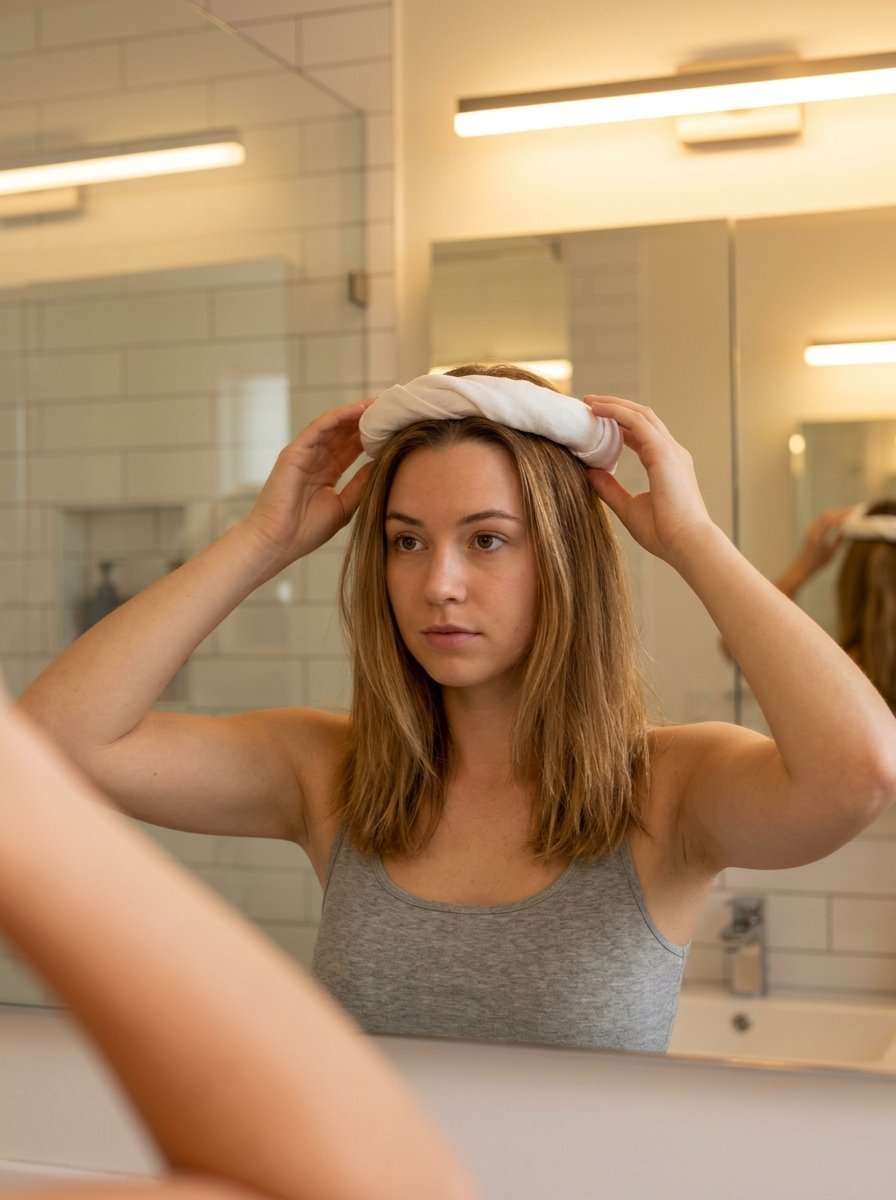
This is the most critical part of the Curling Without Heat process. You must wrap the sections cleanly and tightly.
Start at the front right side of your face. Take a one inch section of hair. Comb it perfectly smooth.
Wrap this section over the top of the halo fabric. Pull it tightly under the fabric and bring it back to the front.
Now grab another one inch section of hair from below. Combine it with your first section.
Wrap this new thicker section over and under the halo again. You are doing a basic French braid motion using the fabric as your base.
Keep pulling hair tightly as you move down the side of your head. The tighter you pull the better the waves will look. Loose wraps create messy bedhead instead of defined waves.
Stop when you reach the middle back of your head. Secure this side temporarily with a scrunchie.
Repeat this exact same wrapping process on the left side of your face.
Securing the Wrap for a Good Night of Sleep
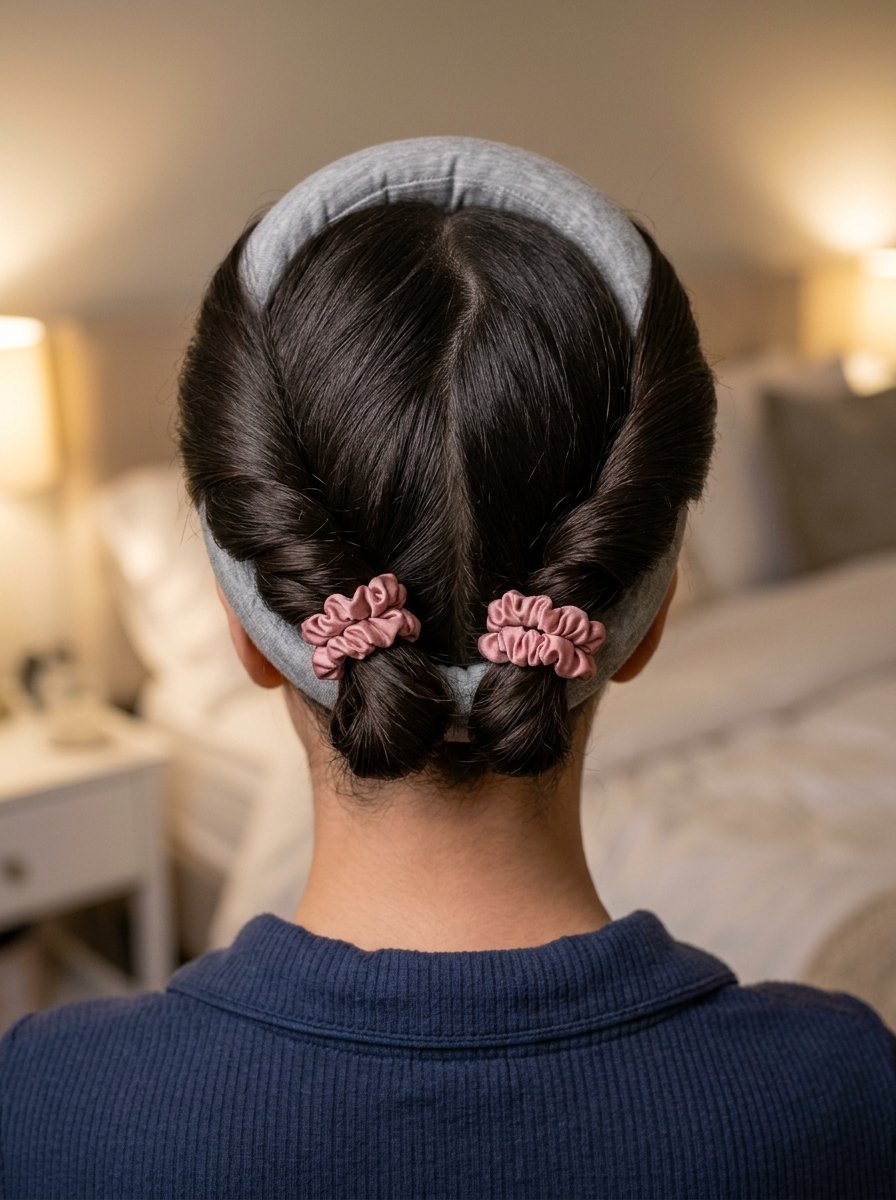
You must secure the ends so they do not unravel in bed. You have both sides wrapped neatly to the back of your head.
Take the remaining hair tails from both sides. Wrap them tightly around the back of the halo.
Use two small silk scrunchies to tie the ends to the fabric. Do not use tight elastic rubber bands. Rubber bands will leave harsh dents in your ends.
I always spray a light coat of L’Oreal Elnett hairspray over the wrapped hair. This extra step stops small flyaway hairs from escaping while you toss and turn.
You can now take the claw clip off the top of your head. Push the halo back slightly so it sits comfortably behind your ears.
You are ready for bed. Sleep on a regular pillow. The soft cotton conforms to your head shape perfectly.
The Morning Unveiling Process
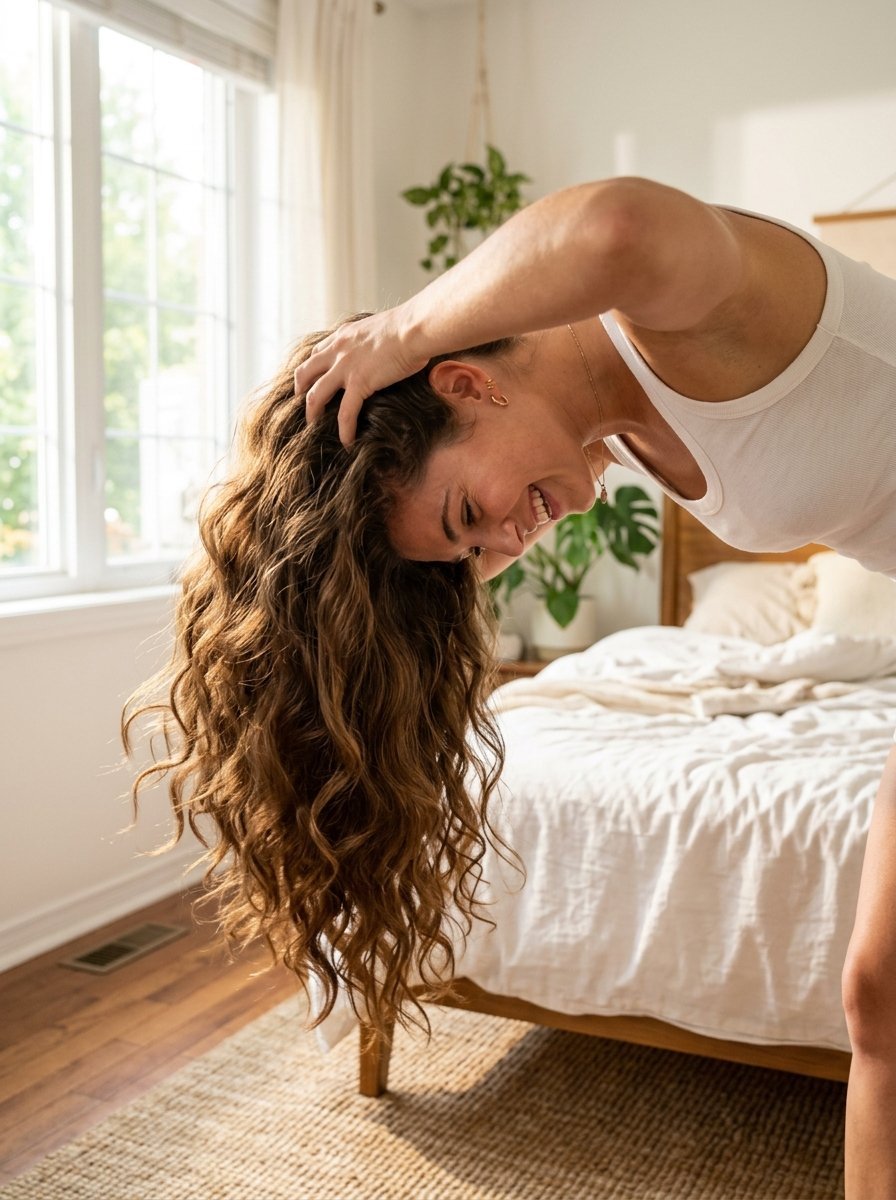
You wake up and your hair is completely dry. Do not rip the fabric out quickly. You must be gentle to prevent frizz.
Take off the two silk scrunchies at the back first. Gently unwrap the ends of your hair.
Grab the front of the halo and slowly lift it straight up off your head. Your hair will fall down in tight ringlets.
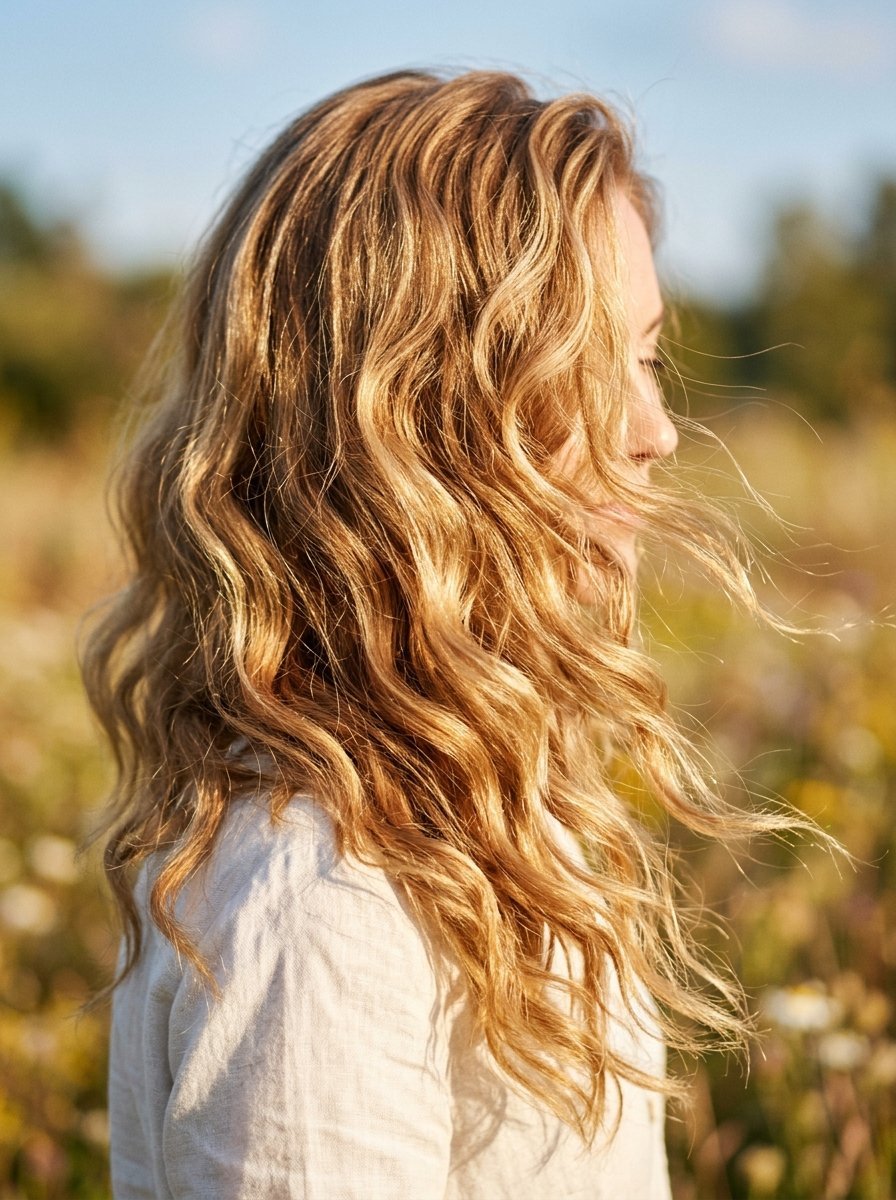
Do not panic if the curls look too tight at first. They will loosen up beautifully.
Flip your head upside down. Shake your roots firmly with your fingertips. Do not run a brush through the curls right away.
Use a wide tooth comb if you need to separate the waves. Brushing with a bristle brush will create a massive puffy cloud of hair.
I apply two drops of Moroccanoil treatment to my palms. I lightly glaze my hands over the ends to add shine and tame any morning frizz.
Real World Case Studies and Results

I tested this Heat Curls Tutorial on different hair types to prove it works. You need to know how your specific hair will react.
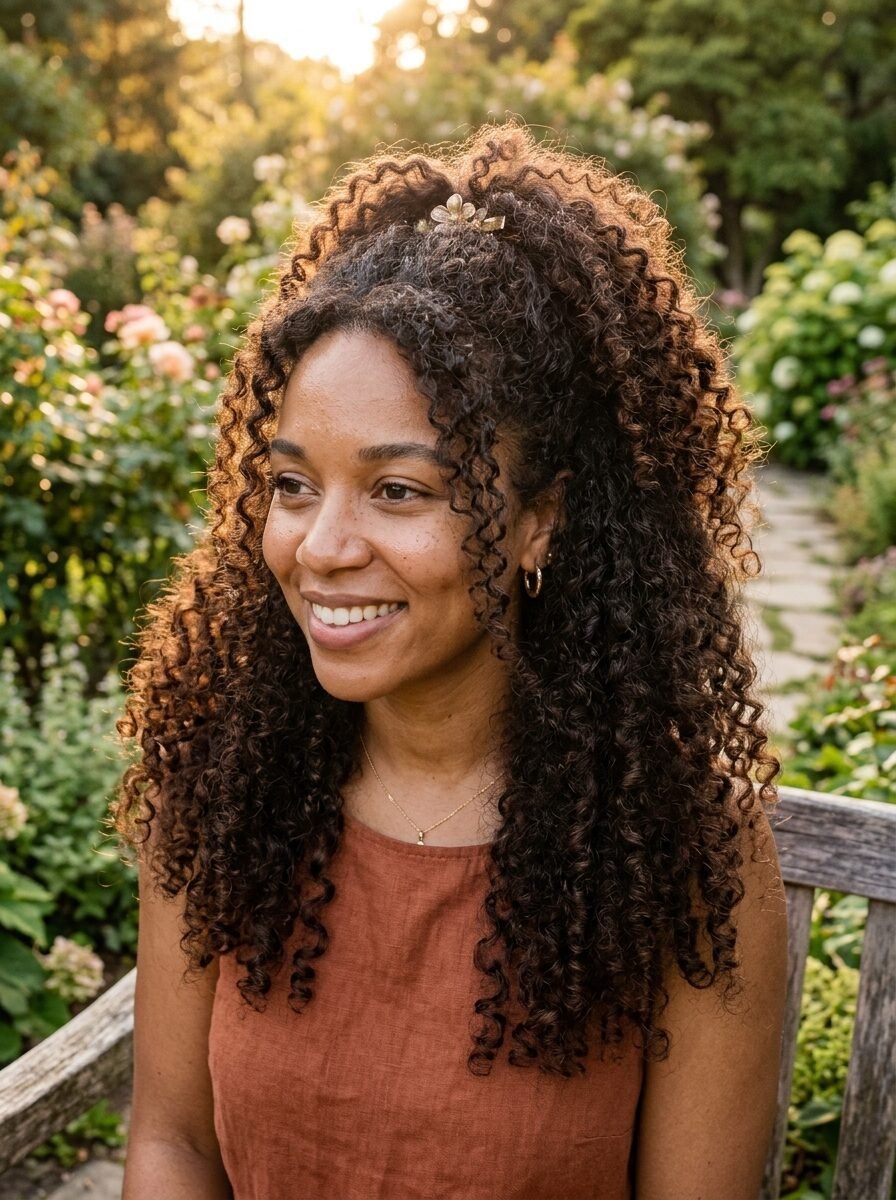
My sister has very thick and coarse curly hair. She blew her hair out straight first. She wrapped it dry with just a little mousse. She woke up with smooth salon style blow out waves. Her coarse hair held the shape for four whole days.
My friend Sarah has fine and slippery straight hair. Silk rods always fell out of her hair. The cotton fabric gripped her fine hair perfectly. She had to use sea salt spray before wrapping to give her hair grit. Her fine hair looked twice as thick the next day.
I worked with a client named Jessica who had heavily bleached hair. Her ends were breaking off from curling irons. We switched her to this exact routine in January 2024. By April her hair was noticeably thicker and healthier. The zero heat approach saved her hair completely.
How To Make Heatless Curls Last Longer
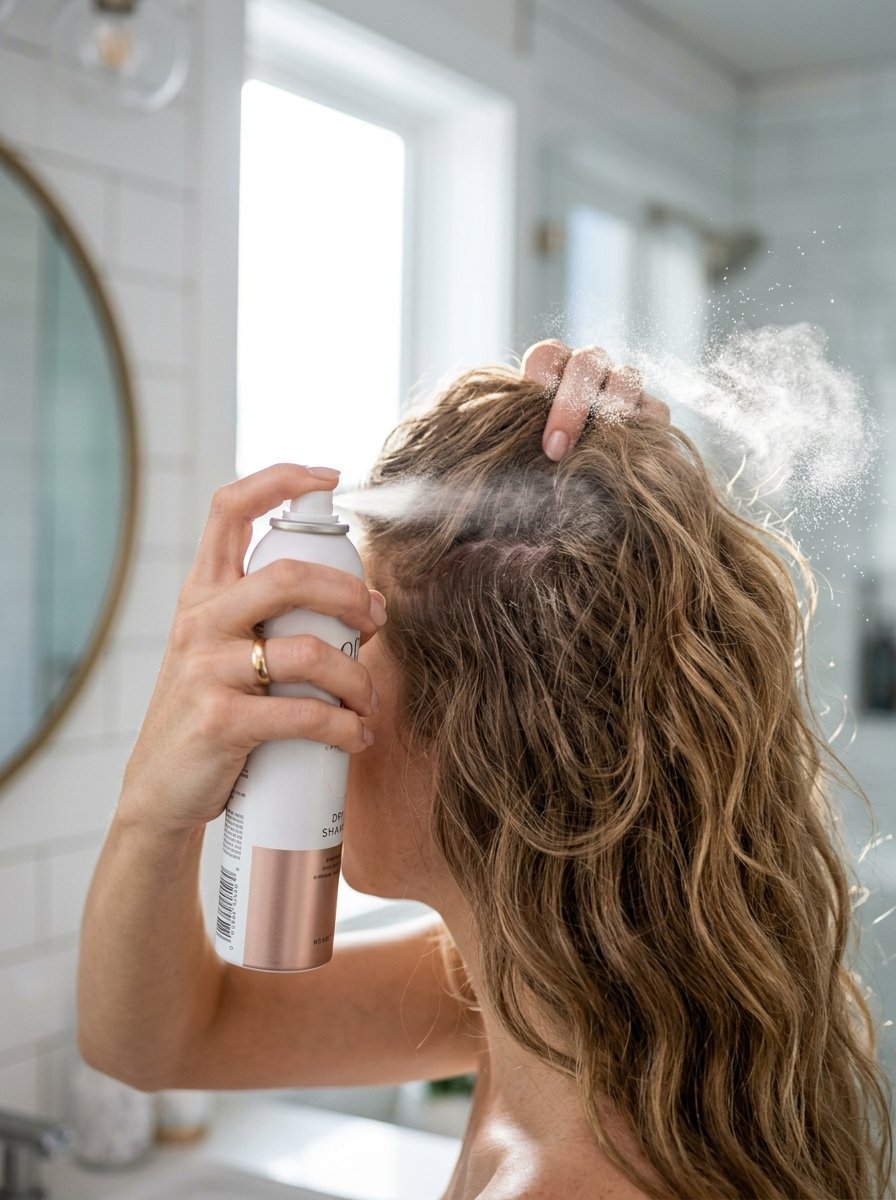
Many people complain that their waves fall flat by lunch time. You can easily fix this problem with the right products and nighttime habits.
You need texture spray. I highly swear by Amika un.done volume and matte texture spray. Lift your hair in sections and spray the roots immediately after taking the shirt out.
Dry shampoo is your best friend. Even clean hair gets weighed down by scalp oils. Spray Batiste dry shampoo at your roots on day two. It absorbs the oil and brings the volume right back.
You must protect the waves on the second night. Do not just sleep on loose hair. Twist your hair into a loose bun on top of your head.
Secure the bun with a silk scrunchie. You will wake up on day three with beautiful loose beach waves. You rarely need to re-wrap the hair on the halo if you protect it at night.
Troubleshooting Flat Roots
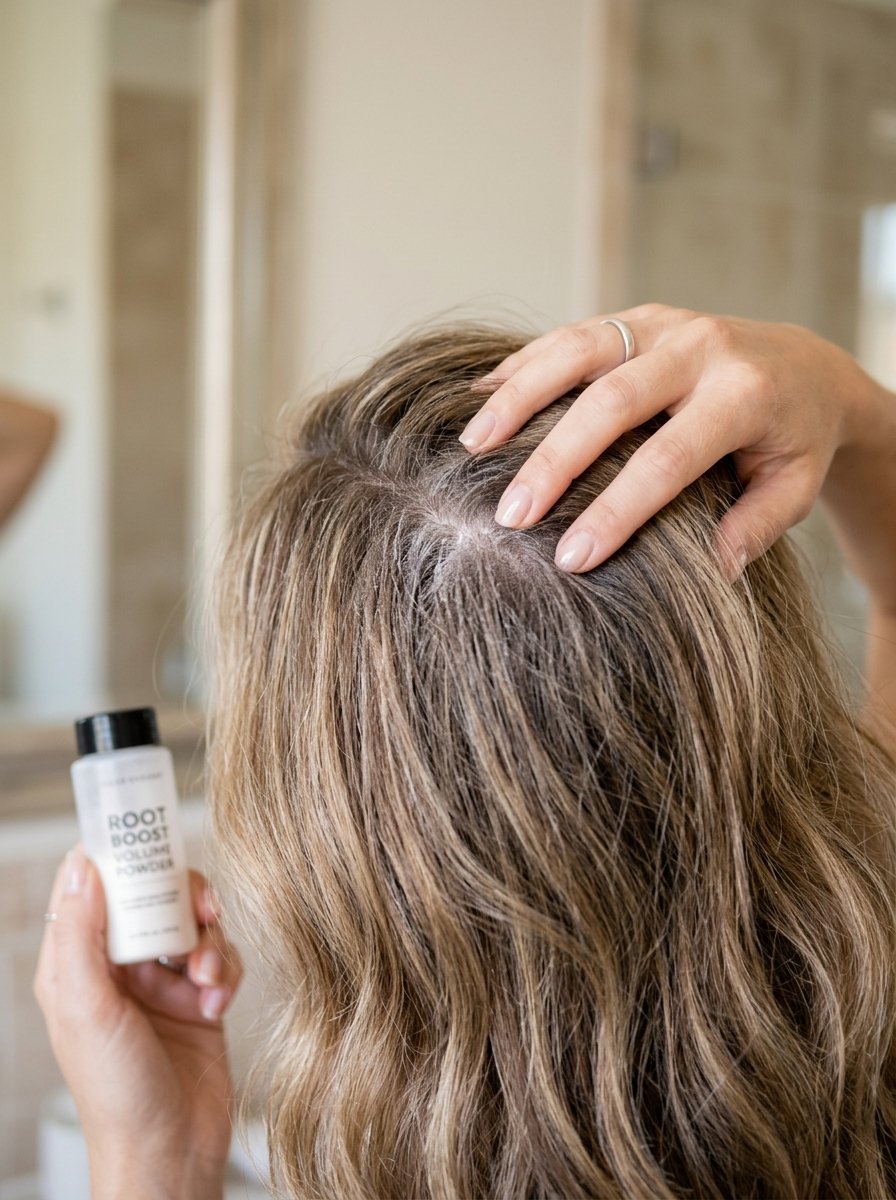
Flat roots happen when you wrap the hair too far down the side of your head. You want volume at the top.
Make sure the halo sits high on your crown when you start wrapping. Pull the first sections of hair UP before wrapping them over the fabric.
Over-directing the hair upwards creates natural lift at the root. If your halo slides back while you wrap your roots will dry completely flat.
Always use the large claw clip on top until you finish wrapping.
If you still get flat roots in the morning try a volume powder. Tap a tiny bit of Biolage volume powder directly onto your roots and rub it in vigorously. It gives instant grip and height.
Troubleshooting Frizzy Ends
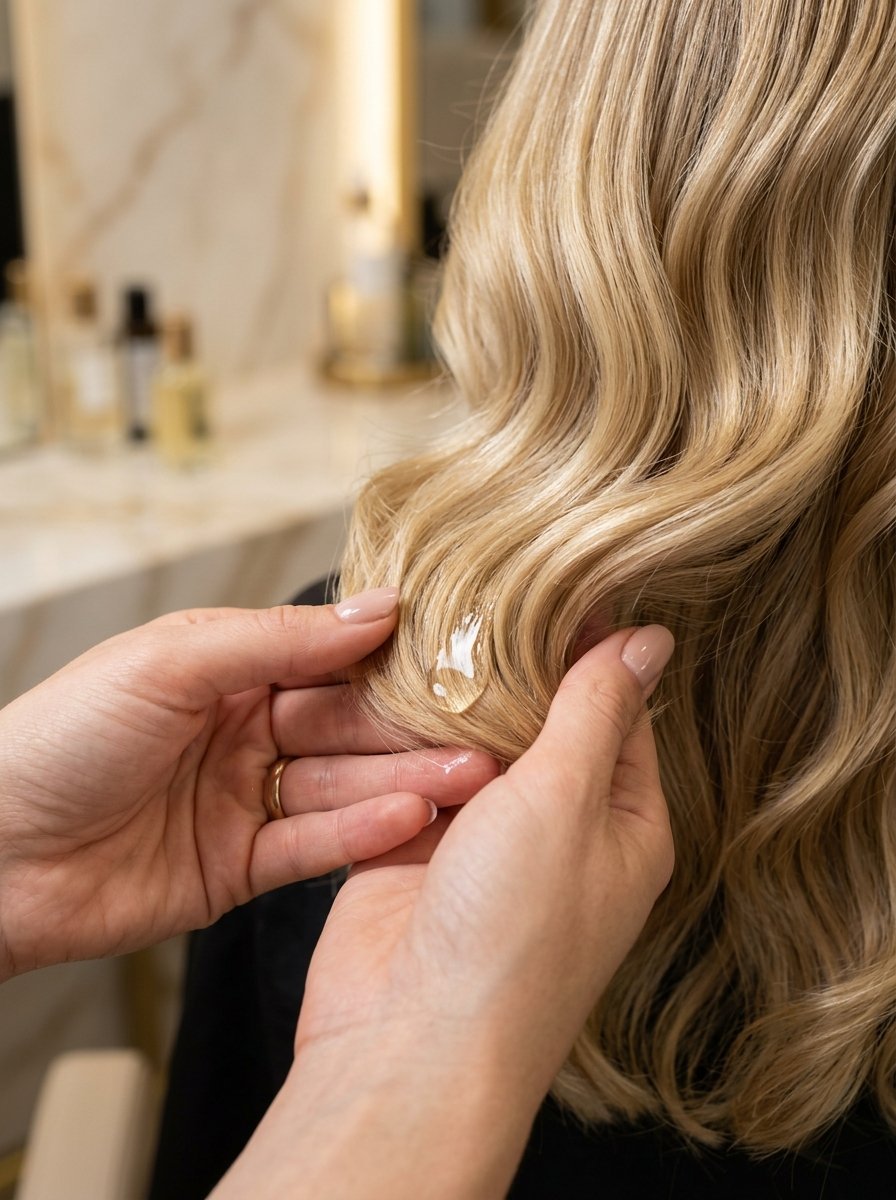
Frizzy ends happen when the hair dries out during the night. The cotton shirt can sometimes absorb too much moisture from your ends.
You fix this by focusing your styling products solely on the bottom three inches of your hair. Apply a leave-in conditioner cream right before wrapping.
Make sure the ends are tucked smoothly against the fabric. Do not let them bend backward when you put the scrunchie on.
If you wake up with frizzy straight ends you can cheat slightly. You can take a curling iron on the lowest heat setting. Quickly bump the bottom two inches of hair for five seconds.
This fixes the ends while keeping the rest of your head heat free. I used this trick for months while my damaged ends were slowly growing out.
Troubleshooting Uneven Wave Patterns
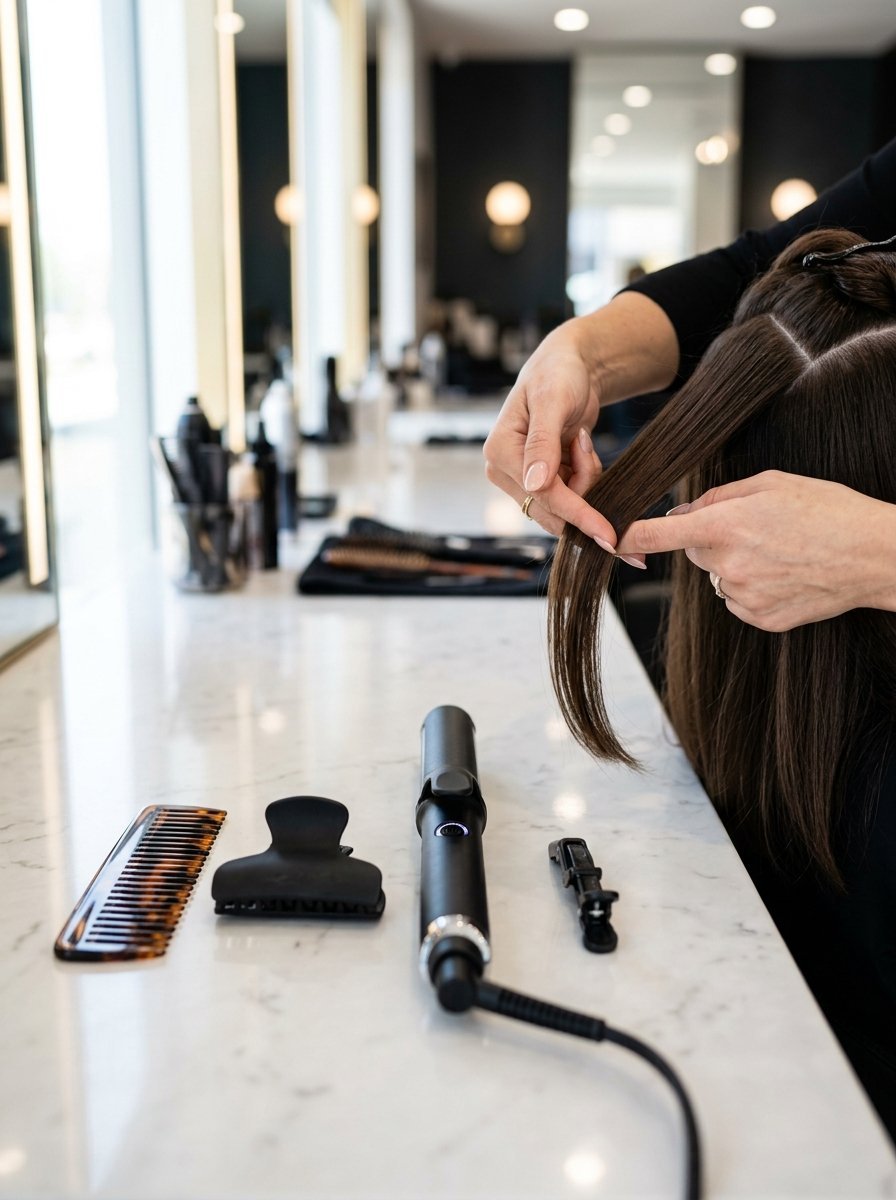
Uneven waves happen when you take mismatched hair sections. If you take a massive chunk of hair on the left and a tiny chunk on the right the sides will dry completely different.
You must be consistent. Use your fingers to measure rough one inch sections every single time you grab hair.
Keep your tension completely even. If you pull tight on top and loose on the bottom the waves will look strange.
Practice makes perfect. My first try looked slightly messy. By my fourth night I could wrap my entire head flawlessly in under four minutes. Give yourself time to learn the muscle memory of the wrapping motion.
Frequently Asked Questions
Can I do this on short bob length hair?
Yes you absolutely can. You just need a thinner piece of fabric. Do not use a thick men’s shirt. Use a thin cotton tank top or even a pair of soft cotton socks. Roll them thin. The wrapping technique is exactly the same. You will get tight bouncy curls.
Will sleeping with a damp shirt give me a cold?
Your hair should not be soaking wet. It should only be slightly damp. The cotton shirt breathes easily. I have never gotten sick from doing this. If your room is very cold in winter you can gently hit the wrapped hair with a warm blow dryer for two minutes before sleeping.
How does this compare to using leggings or robes?
Leggings are made of spandex and polyester. They get very hot at night. Robe ties are thick and bulky. They hurt your neck when you sleep. A thin cotton shirt is the perfect middle ground. It is soft and cool and perfectly sized.
What if I cannot sleep on my back?
You do not have to sleep on your back. The fabric halo sits around the crown and back of your head. Because it is soft cotton it squishes completely flat when you lay on your side. I am a side sleeper and I never feel the shirt pressing into my head.
Can I leave it in for only two hours instead of overnight?
Two hours is usually not enough time for the hair to dry completely. If you are in a rush you can wrap dry hair and lightly mist it with hairspray. Hit it with a warm blow dryer for ten minutes. Let it cool completely for twenty minutes. Take it down. The waves will be looser but they will still look good.
How often should I wash the cotton shirt?
You apply hair products to your hair before wrapping. The shirt will absorb some mousse and hairspray over time. I throw my curling shirt in the laundry machine once a week. This keeps it clean and prevents product buildup from transferring back onto my clean hair.
Do I need to buy expensive silk scrunchies?
You do not need expensive brands. Any cheap satin or silk scrunchie works. You just want a soft material that will not break your hair or leave harsh lines. Do not use standard rubber elastics under any circumstances.
Best Products to Keep on Hand
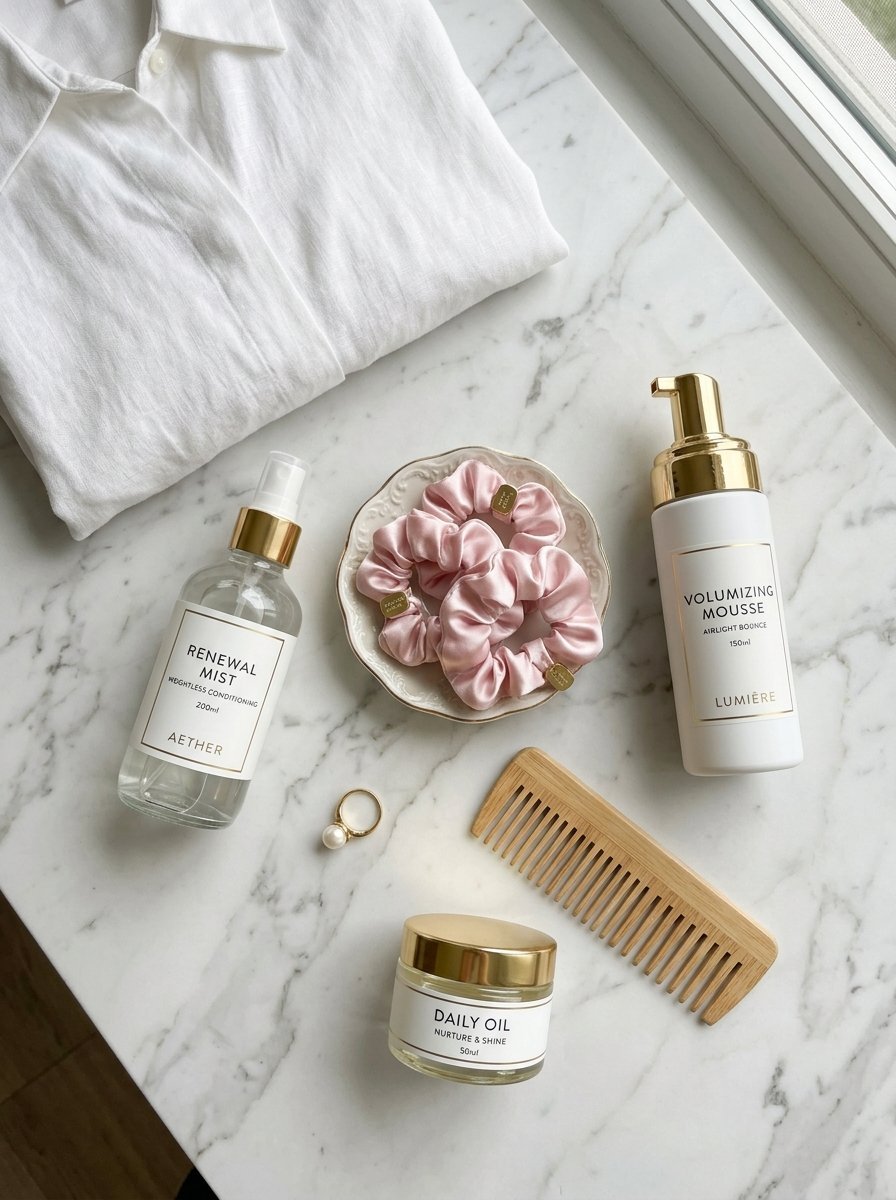
You need a few basic supplies in your bathroom drawer for this routine.
- A dedicated clean cotton shirt that you only use for hair.
- A spray bottle filled with clean water.
- A lightweight mousse like Ouai or Herbal Essences.
- Two small silk scrunchies.
- One large plastic claw clip.
- A good dry shampoo like Batiste for second day hair.
- A lightweight hair oil for morning frizz control.
You can buy all of these items at a local drugstore. You do not need high end salon brands to make this work perfectly. The technique matters far more than the price tag on your bottles.
When Standard Advice Fails You
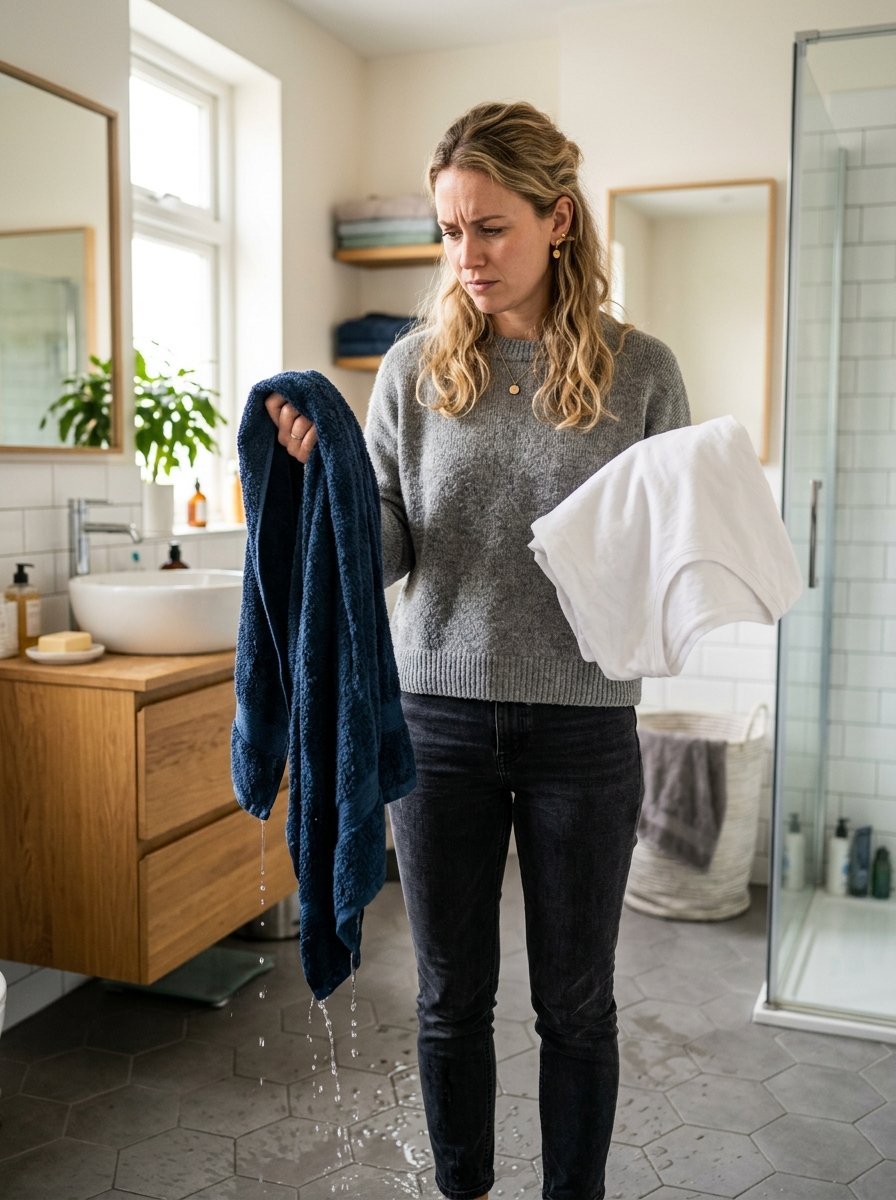
Many internet tutorials tell you to wrap your hair when it is dripping wet. This is terrible advice for most people. Thick hair will stay wet for 24 hours inside a tight wrap.
Your hair will smell damp and look terrible. Always stick to the 80 percent dry rule.
Other tutorials say you must use a silk bonnet over the wrap. I find this creates too much heat. You sweat at night and the moisture ruins the curl pattern. Let the cotton shirt breathe freely while you sleep.
Some guides say to use a heavy gel. Gel dries hard and crunchy. You want touchable soft beach waves. Always stick to a light mousse or a texture spray. Keep the heavy gels out of your heatless routine.
Final Thoughts

You now know exactly how to style your hair beautifully while you sleep. The days of spending forty minutes with a burning hot iron are completely over. You have learned how to prep the hair with the right moisture. You know how to wrap it tightly for the best hold. You know how to make it last for days.
This simple shirt method gives you back your morning free time. You can drink your coffee in peace instead of rushing in the bathroom. Your hair will thank you for removing the heat damage. Your split ends will slowly disappear.
I challenge you to try this exact method tonight. Grab an old shirt from your closet right now. Place it by your bathroom sink so you do not forget.
Try wrapping your hair before you go to sleep tonight. When you wake up tomorrow and pull the fabric out you will be amazed at how good you look. What has been your biggest struggle with heat styling in the past?

Sarah Mitchell — Founder & Editor-in-Chief
Sarah Mitchell is the founder and editorial voice behind Hair Level Up. A licensed cosmetologist with more than 15 years of experience, she has styled A-list celebrities for editorial shoots and red carpets, with work featured in Vogue, Elle, and Harper’s Bazaar. Early in her career, she trained under the legendary hairstylist Oribe in New York, an apprenticeship that still shapes her editorial eye today. Sarah founded Hair Level Up in 2020 after one bad haircut convinced her that women deserved a destination that felt like a magazine, taught like a stylist, and inspired like an art gallery. She oversees every story from concept to publication, guided by a simple belief: a good story teaches you something, but a great one makes you feel beautiful while it does.