Heatless Curls for Beginners | 5 Methods Ranked by Difficulty | Heatless Curls Tutorial
Are you tired of frying your hair every single morning? You wake up, grab the curling iron, and watch your ends split over time. I used to do the exact same thing until my hair started snapping off in clumps. That was the moment I threw away my hot tools and spent months testing every single overnight technique on the internet.
The truth is that most overnight tutorials lie. They promise effortless waves but leave you with tangled knots, flat roots, or a headache from sleeping on hard plastic rods. After experimenting with dozens of different fabrics, wraps, and tightening techniques, I found five reliable routines that actually work for normal hair.
Here is what nobody tells you about curling your hair without heat. It is not about buying the most expensive silk rod on social media. It is entirely about mastering the tension, moisture balance, and wrap angle for your specific hair type.
Executive Summary
Swapping to no-heat routines saves your hair from cuticle destruction while saving you twenty minutes every morning. This comprehensive guide breaks down the five absolute best methods for creating gorgeous curls without using hot tools. We rank each method by actual difficulty, comfort level while sleeping, and longevity of the bounce.
You will get exact, step-by-step instructions for the viral satin rod method, the casual bathrobe tie trick, classic flexi rods, the headband wrap, and sock curls. We also analyze the top tools on the market, troubleshoot flat roots, and provide an honest cost-benefit analysis. Whether you have fine shoulder-length layers or thick waist-length hair, you will find a comfortable overnight routine that delivers flawless results.
Why Should You Stop Using Hot Curling Irons?
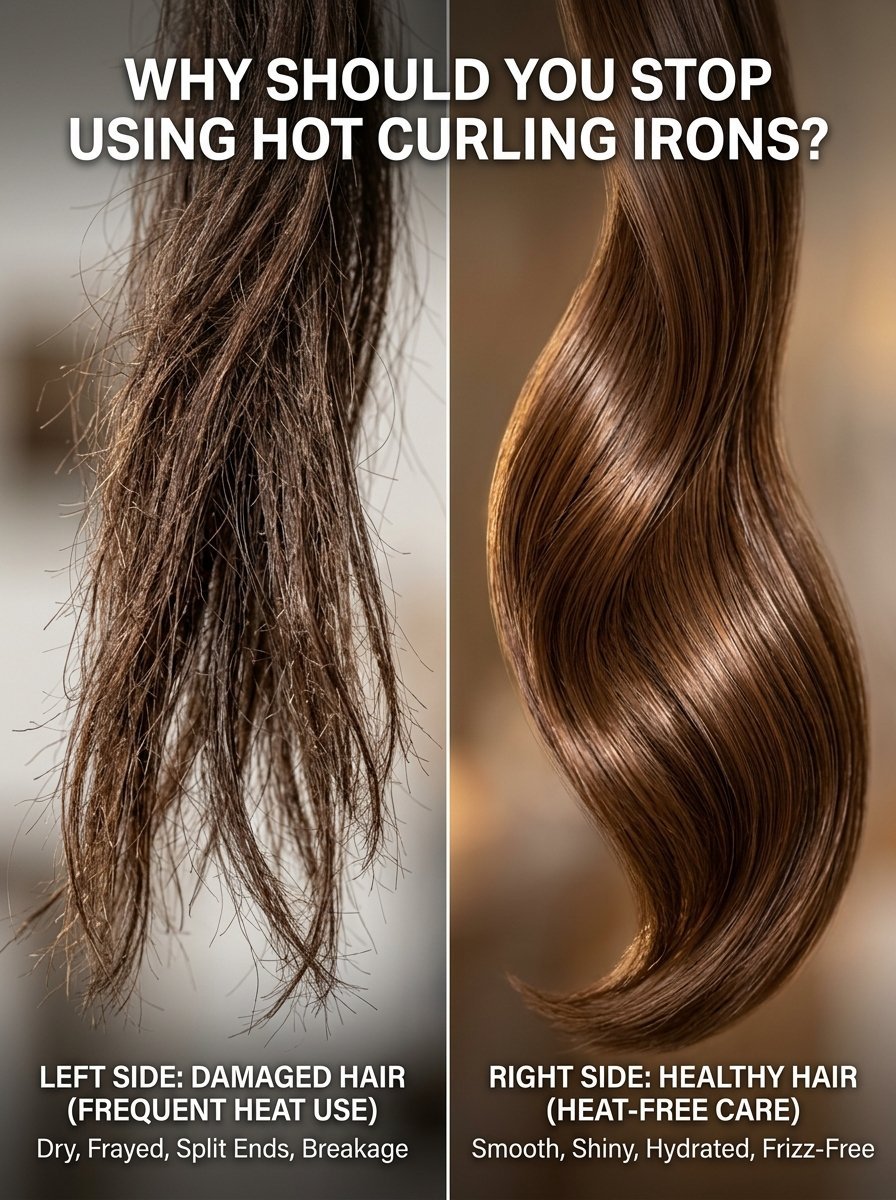
Hot tools strip the natural moisture out of your hair shaft. When you press a 400-degree iron onto your strands, you cook the proteins that keep your hair strong. Over time, this leads to rough textures, dullness, and breakage that no expensive leave-in conditioner can fix.
Going heatless preserves the outer lipid layer of your hair. This natural barrier keeps your strands shiny and smooth. My own hair split constantly when I used a traditional curling wand three times a week. Six months after switching to overnight wrapping methods, my split ends virtually disappeared, and my hair grew three inches past its usual breaking point.
The emotional relief is just as major. Instead of rushing through a sweaty styling session before work or school, you spend three minutes wrapping your hair at night. You wake up, pull out the wrap, shake out your strands, and walk out the door with salon-level volume.
1. The Bathrobe Tie Method
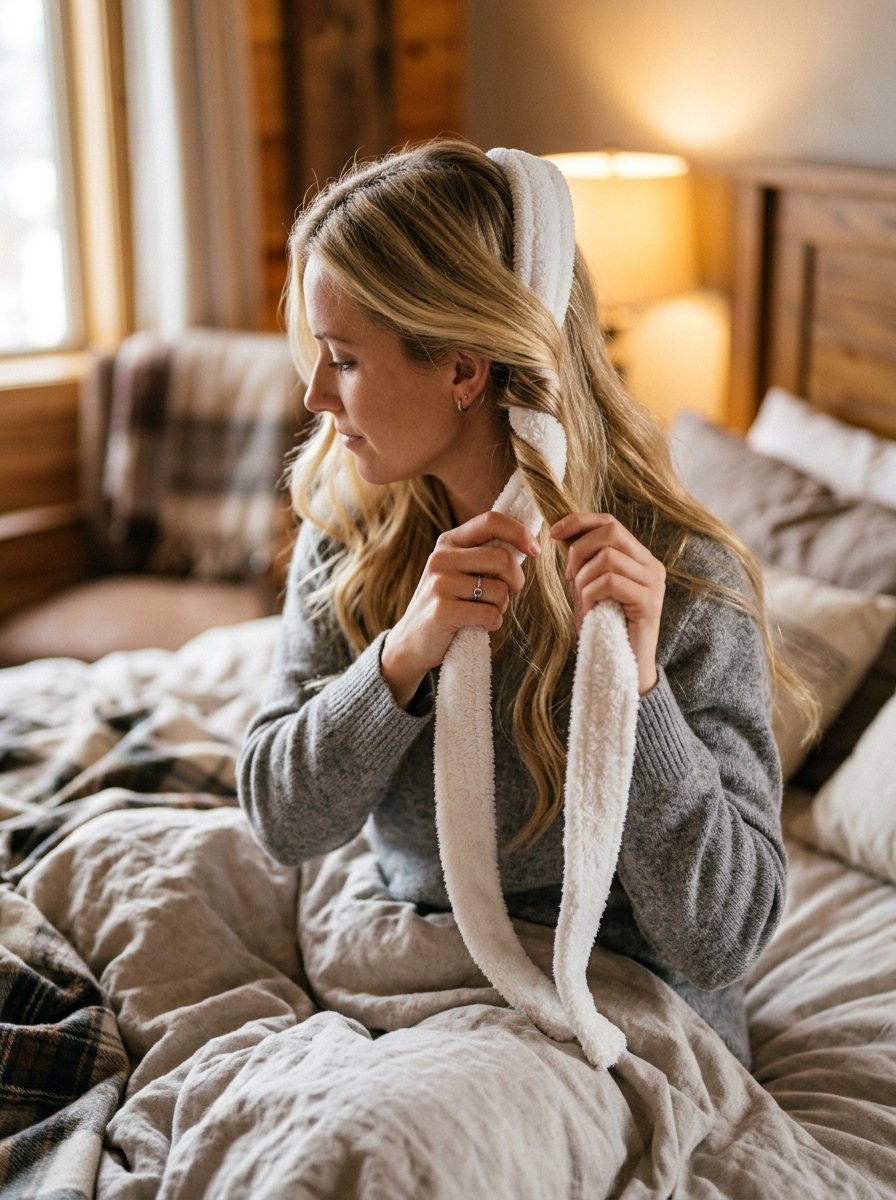
The bathrobe tie technique is the absolute easiest entry point for beginners. You do not need to buy any special equipment because you already own the tool. A plush, fleece, or cotton bathrobe belt provides the perfect thick cushion to create loose, voluminous waves that resemble a professional blowout.
Step-By-Step Bathrobe Wrap Tutorial
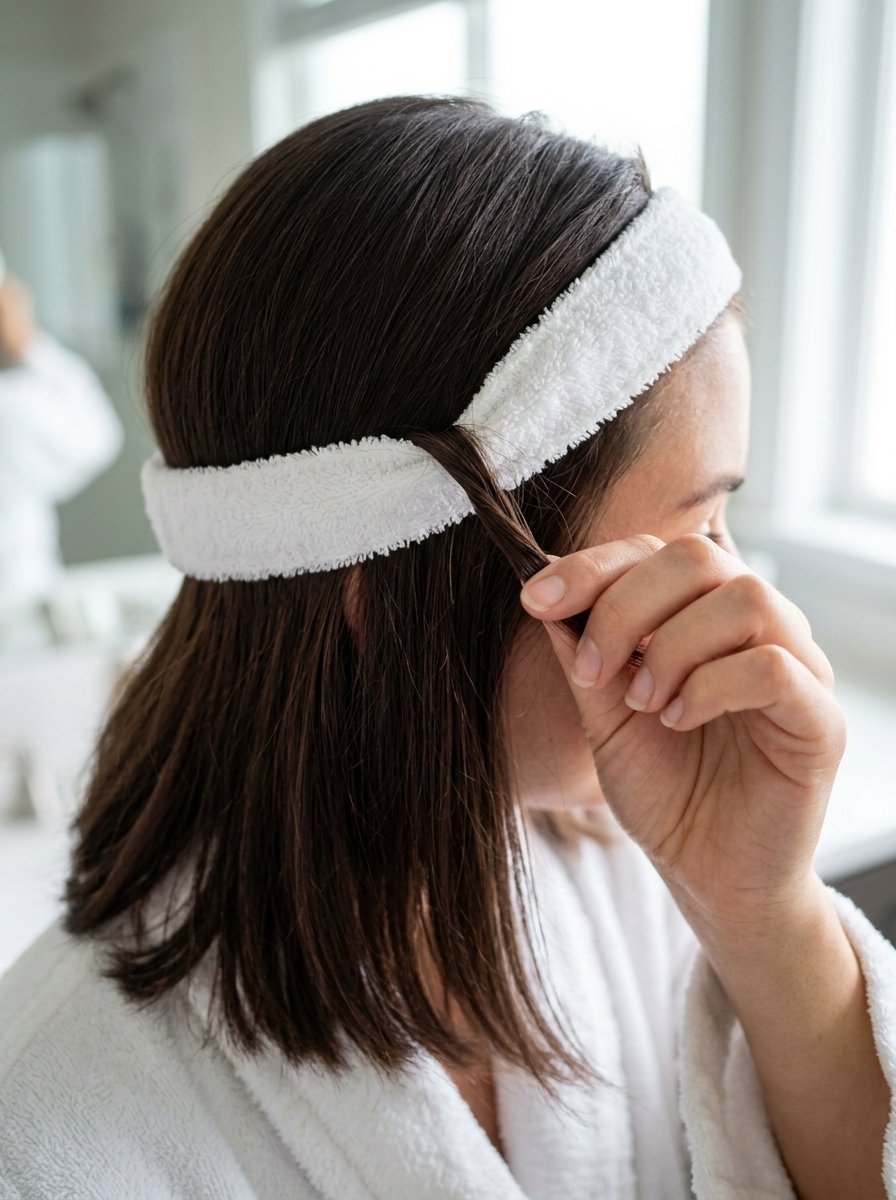
- Center the bathrobe belt across the top of your head, letting the two ends hang down evenly past your shoulders.
- Secure the belt to the very top of your head using a claw clip so it does not slide around while you work.
- Take a small two-inch section of hair from the front of your parting, near your face.
- Wrap this section backward over the bathrobe tie, looping it around once completely.
- Grab a new section of loose hair from your hairline, add it to the first strand, and wrap the combined section around the tie again.
- Continue this French-braiding motion down the length of your head, incorporating more hair with every single loop.
- Once all hair on one side is wrapped around the belt, secure the bottom end with a soft satin scrunchie.
- Repeat the exact same wrapping process on the opposite side of your head.
Performance and Comfort Analysis
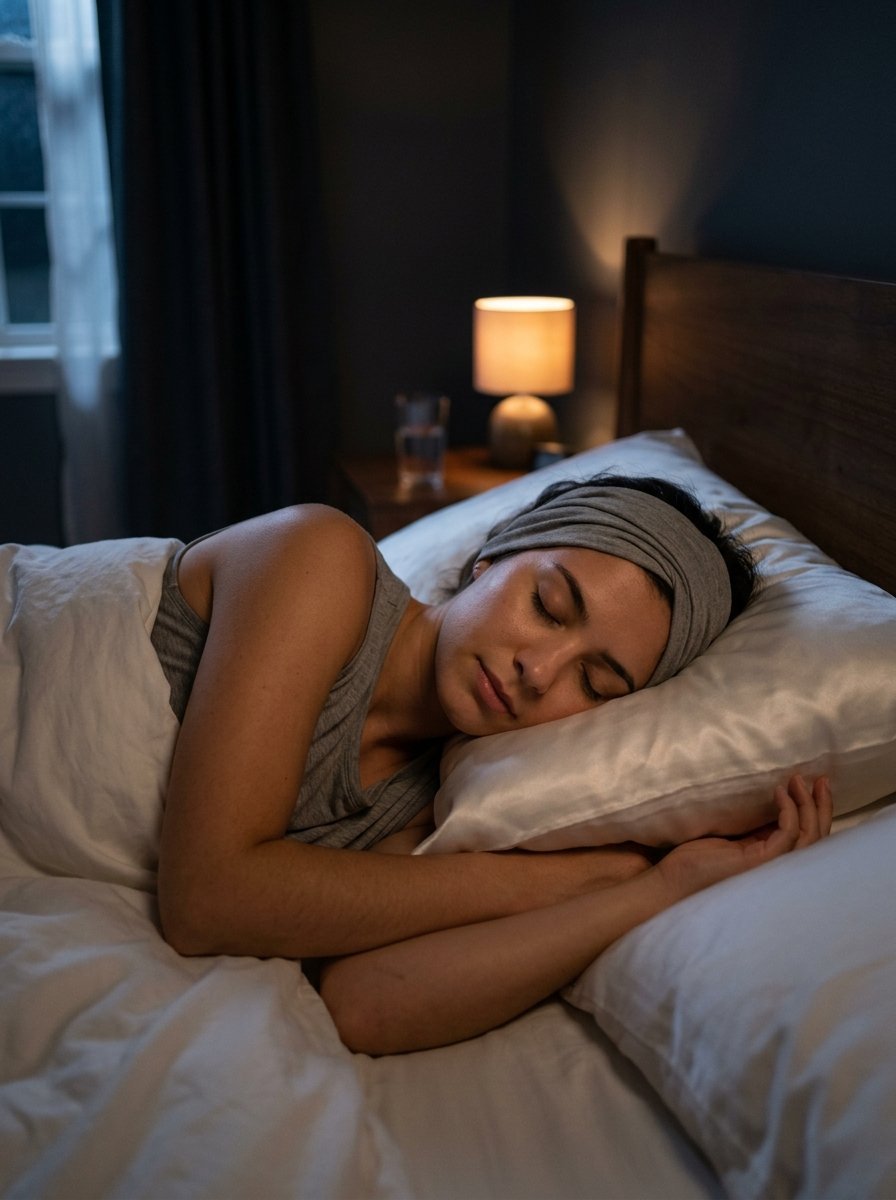
In my testing, this method scores a perfect five out of five for sleeping comfort. Because the bathrobe belt is soft and filled with air or cotton fabric, you can sleep directly on your side without feeling any hard lumps pressing into your scalp.
The waves look incredibly natural. They give you a soft, bouncy look rather than tight, spiraled coils. The only downside is that cotton or fleece can absorb a bit of moisture from your hair, so you must ensure your hair is mostly dry before wrapping to prevent frizz.
2. The Satin Heatless Curling Rod
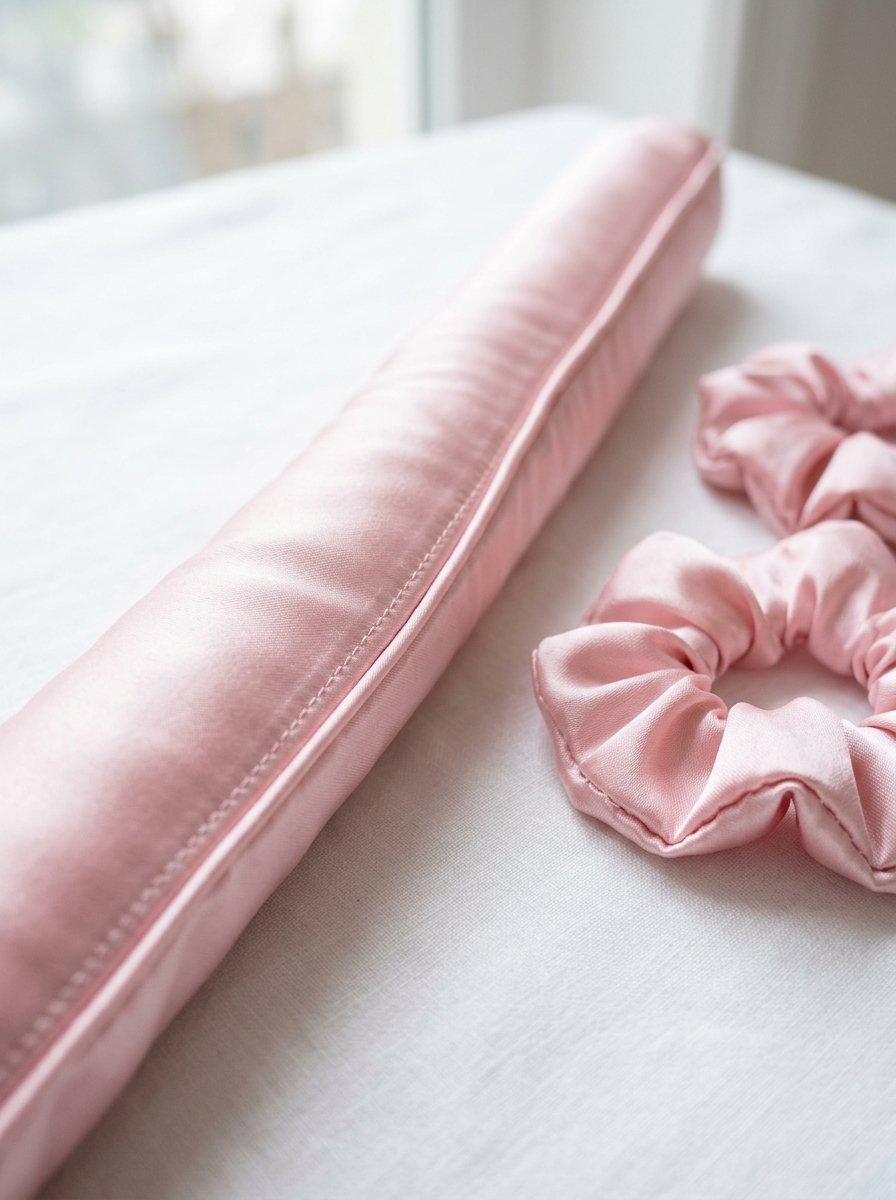
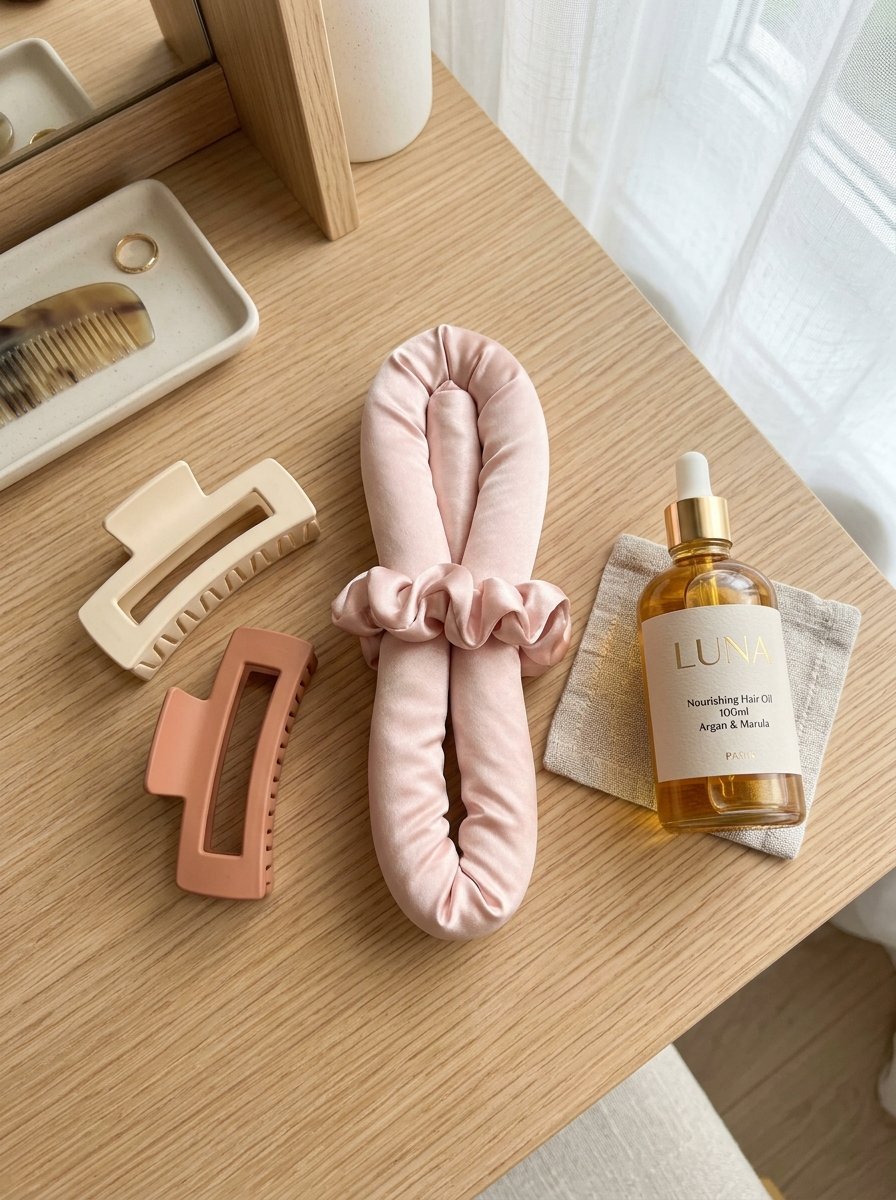
The viral satin curling rod is the reigning queen of social media tutorials. This long, foam-filled tube is wrapped in slick satin or silk fabric. It is designed to sit on top of your head like a headband, allowing you to wrap your hair tightly around it to achieve defined, uniform curls.
How To Wrap For Maximum Hold
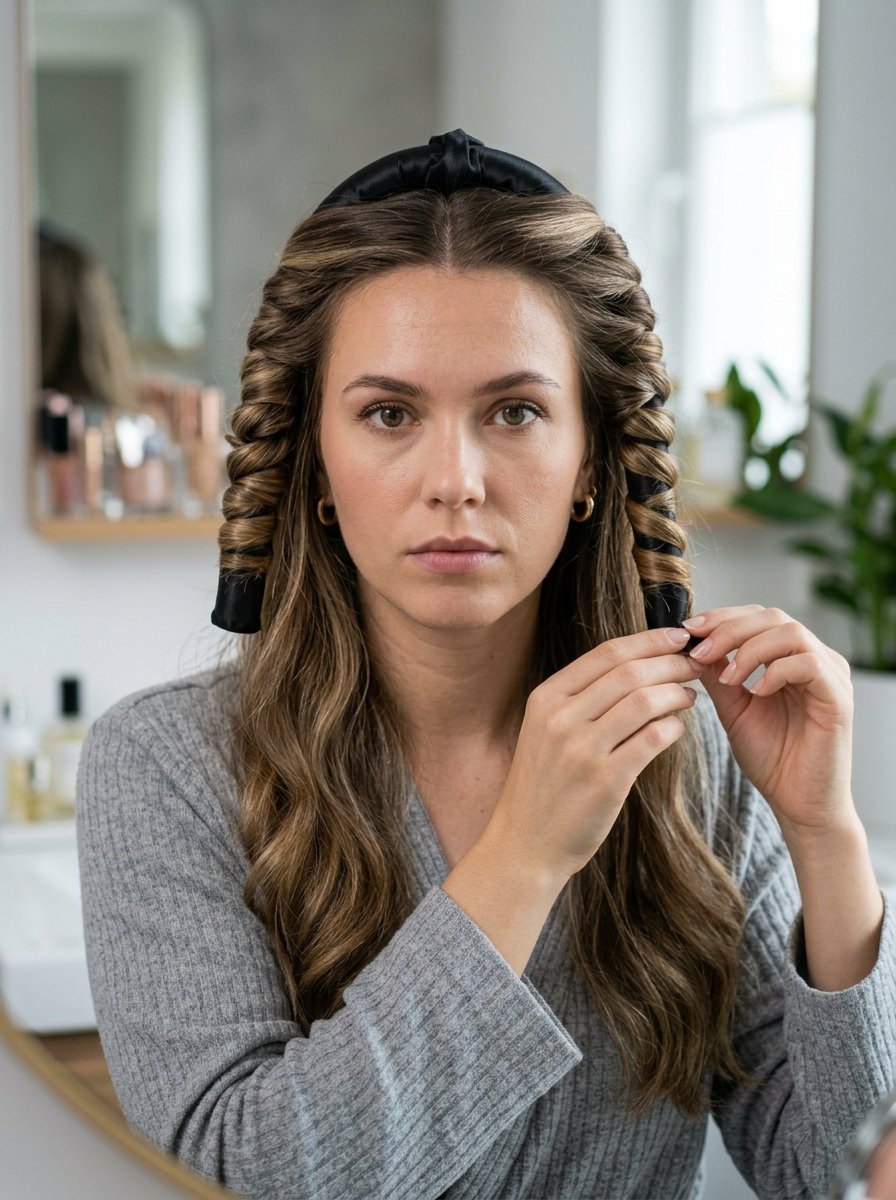
- Start with hair that is roughly eighty-five percent dry. If your hair is too wet, it will not dry inside the satin wrap overnight.
- Place the satin rod on top of your head, keeping it about one inch back from your front hairline.
- Clip the rod down firmly with a large claw clip to maintain perfect symmetry.
- Take a one-inch section of hair from your front hairline and wrap it tightly around the rod away from your face.
- Pull each loop tight against the rod. Loose wrapping creates lazy waves that fall out within an hour of waking up.
- Work your way downward, gathering hair from the back of your head and combining it into the main wrap.
- Secure the ends with the included satin scrunchies, then remove the top claw clip before heading to bed.
Real-World Testing Notes
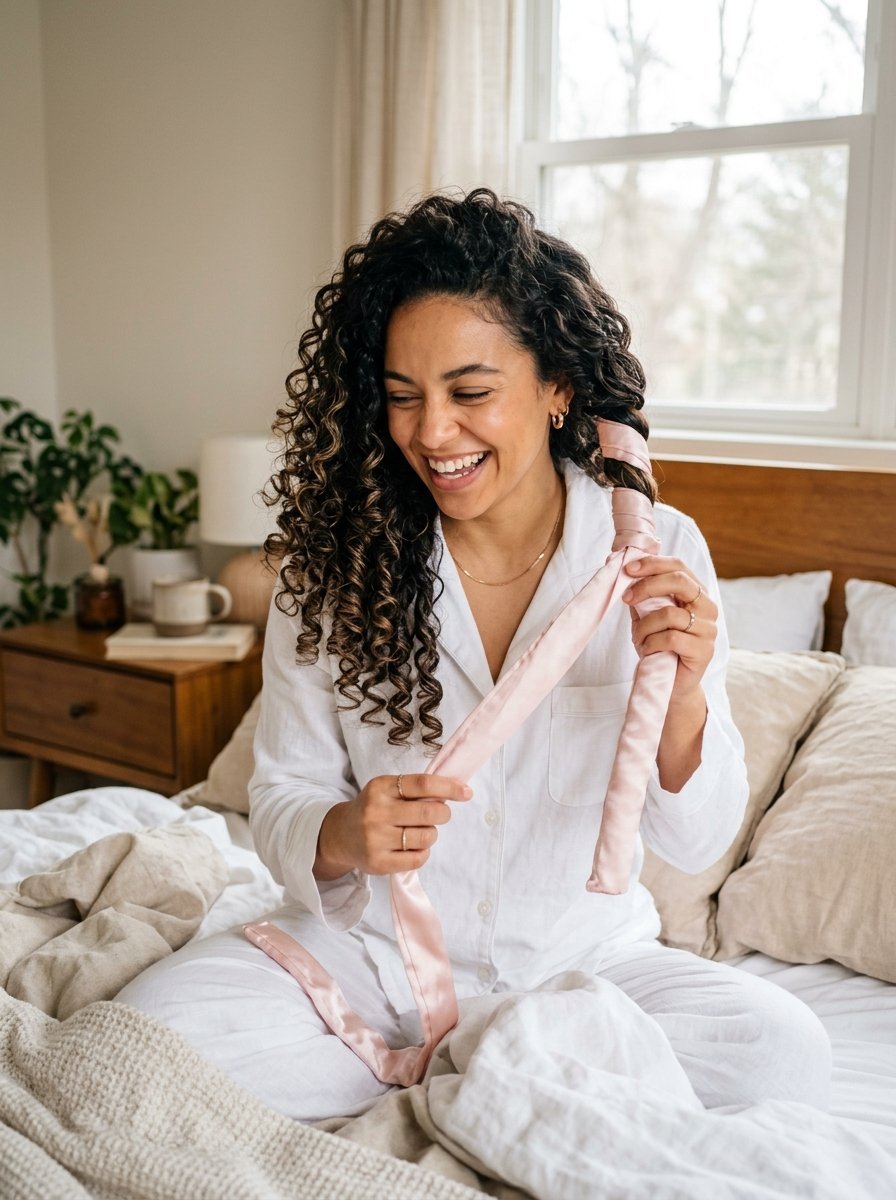
I used the Kitsch Satin Heatless Curling Set for three weeks straight to see how it holds up over time. The results are incredibly consistent, yielding polished, medium-sized curls that look identical to a one-inch curling wand style.
Sleeping on it requires some adaptation. Because the foam insert is dense, back-sleepers will have an easier time than side-sleepers. If you sleep on your side, you need to push the hanging tubes slightly behind your ears so your face rests flat on your pillowcase.
3. The Classic Flexi Rods
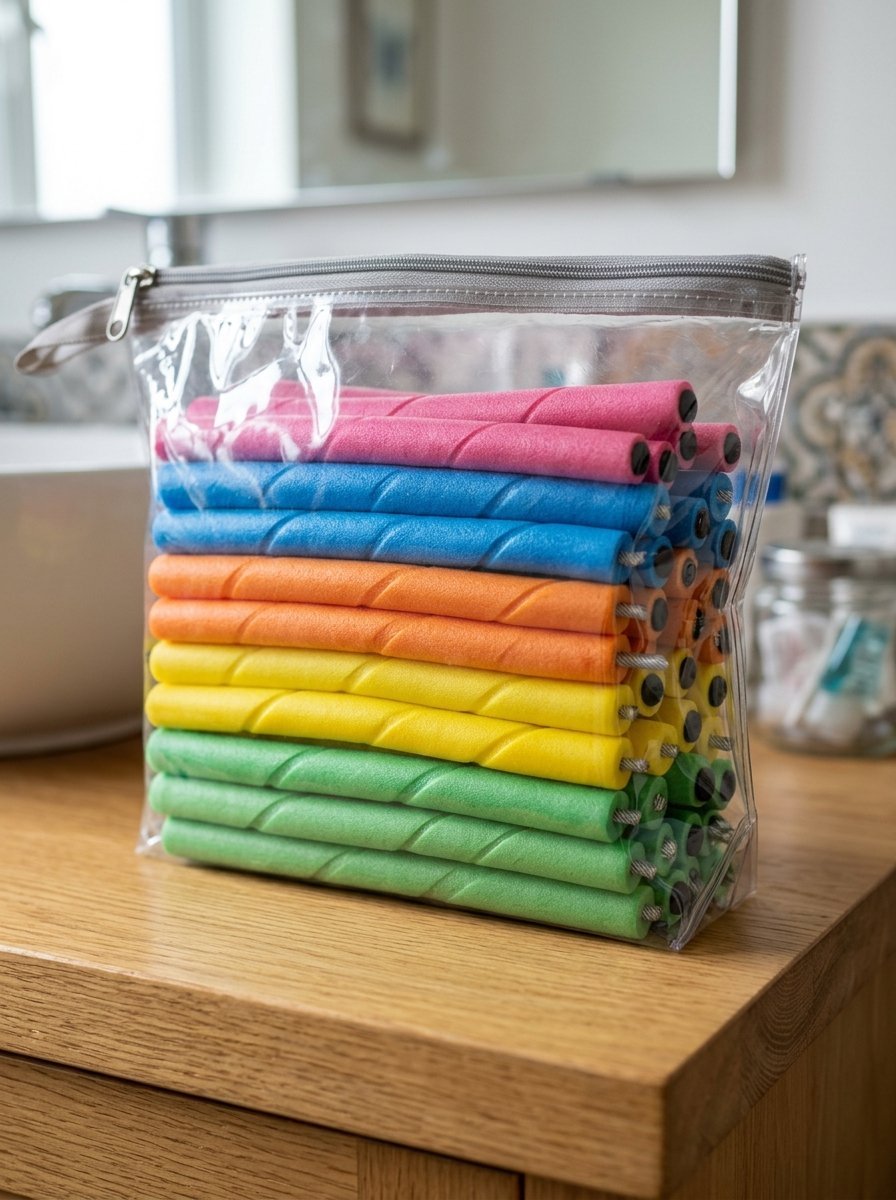
Flexi rods are long, flexible rollers made of dense foam with a bendable wire core inside. They come in various diameters, from ultra-thin sticks to thick cylinders. This method requires the most effort, but it offers the highest level of customization for any hair texture.
Mastering The Spiral Wrap Technique
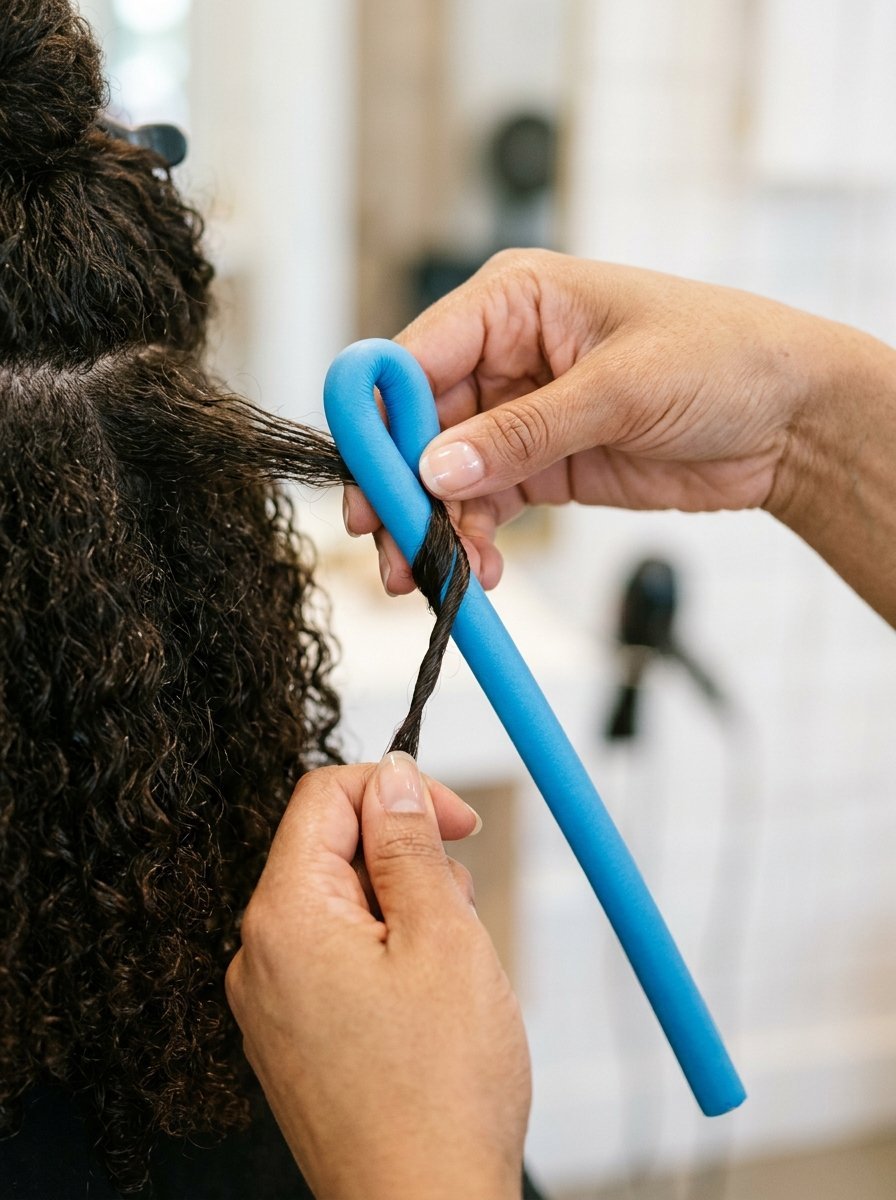
- Divide your hair into at least six to eight uniform sections. More sections mean tighter, more long-lasting curls.
- Hold a single flexi rod horizontally or vertically near the root of a hair section.
- Wrap the hair strand down the length of the rod in a spiral pattern, ensuring the hair does not overlap itself too heavily.
- Once the section is wrapped from root to tip, bend both ends of the flexi rod inward toward the center to lock the hair in place.
- Repeat this process across your entire head, focusing on keeping the tension firm and even.
Who Should Use Flexi Rods?
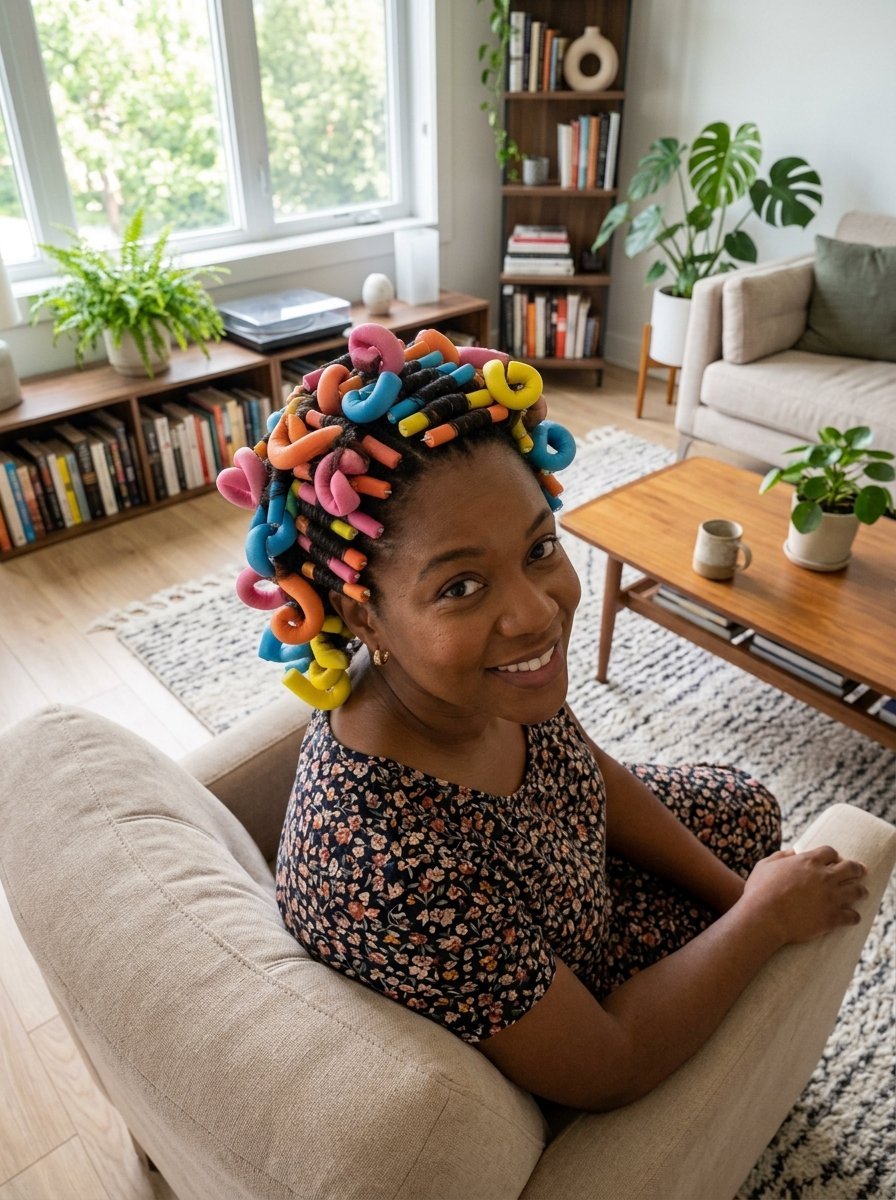
This method is ideal for anyone struggling with flat roots. Because you can place individual rods right against your scalp, you get incredible lift at the crown that other long-tube methods cannot provide.
However, sleeping in flexi rods is tough. They are lumpy, firm, and tend to clink together when you toss and turn. I highly recommend using these for daytime wear. Put them in on a Saturday morning while you clean your house or watch a movie, and leave them in for four to five hours.
4. The Elastic Headband Wrap
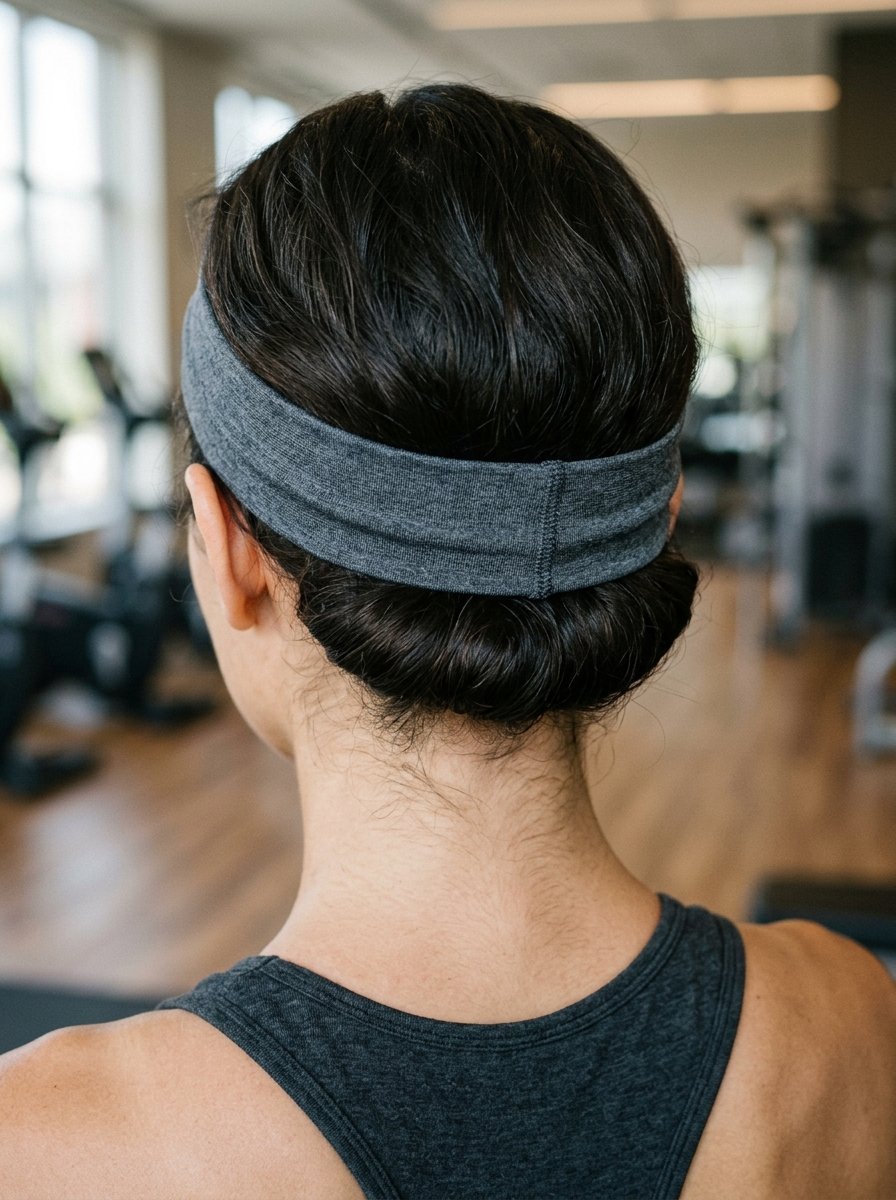
The elastic headband method is a classic trick that uses a standard, stretchy athletic or boho headband. Instead of wrapping your hair around an external object that hangs down, you tuck your hair directly into the band itself, creating a halo effect around your head.
The Halo Tucking Method Step-by-Step
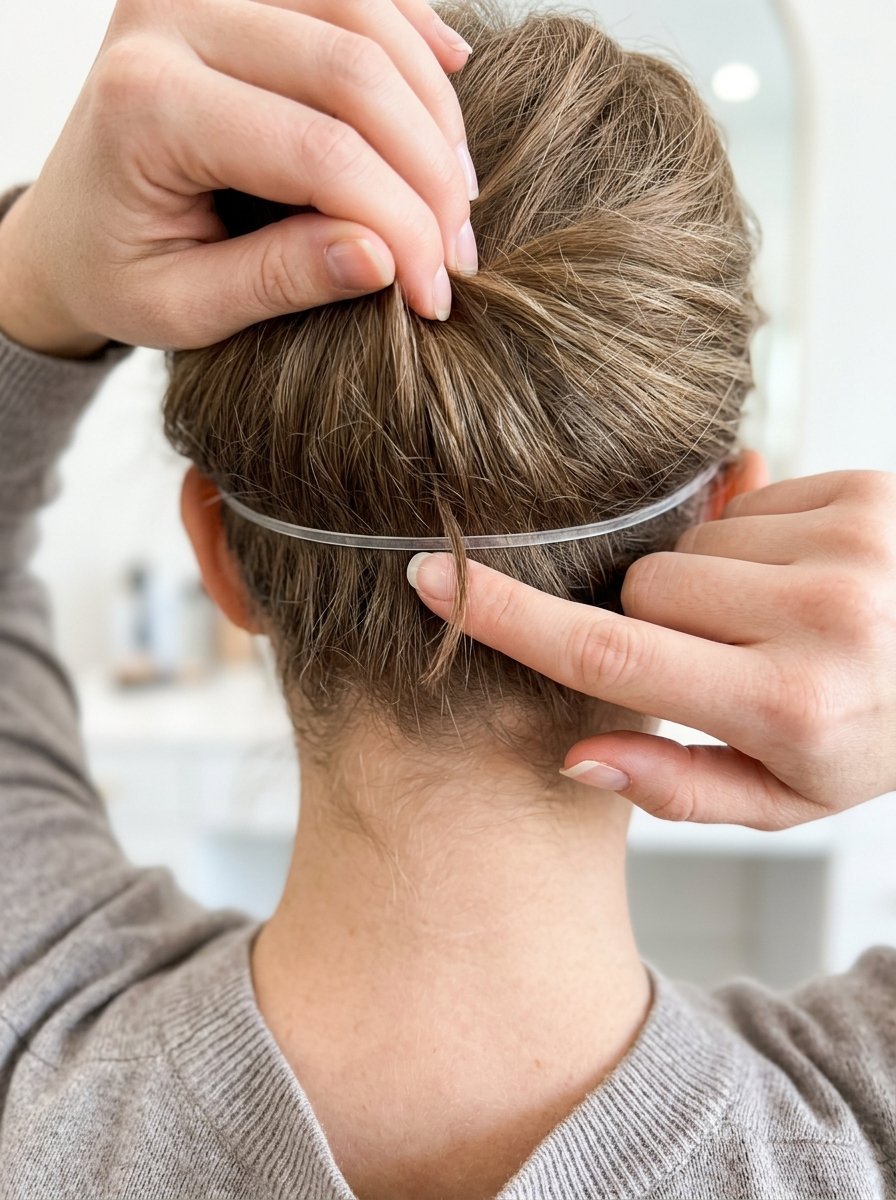
- Place a soft, stretchy elastic headband over the top of your head so it sits like a crown, resting low on your forehead and over your hair in the back.
- Take a small two-inch section of hair from the front of your face.
- Lift the strand up, loop it over the top of the headband, and tuck it down behind the elastic band.
- Pull the tail of that section down, merge it with the next section of loose hair, and loop it over the headband again.
- Continue looping and tucking all the way around your head until every single strand is tucked into the back of the band.
- If you have long layers, secure any loose protruding tips with a bobby pin to keep them from fraying while you sleep.
Results and Longevity

This is the absolute most secure method for restless sleepers. Because your hair is pinned flat against your skull in a continuous halo, it cannot pull loose or unravel when you move your head against your pillow.
The resulting curl pattern is a soft, vintage-style wave with gorgeous inward-curling ends. It is perfect for bob lengths or shoulder-length cuts. Long hair can become slightly crowded inside the headband, leading to smaller, tighter waves at the nape of the neck.
5. The Humble Sock Curls
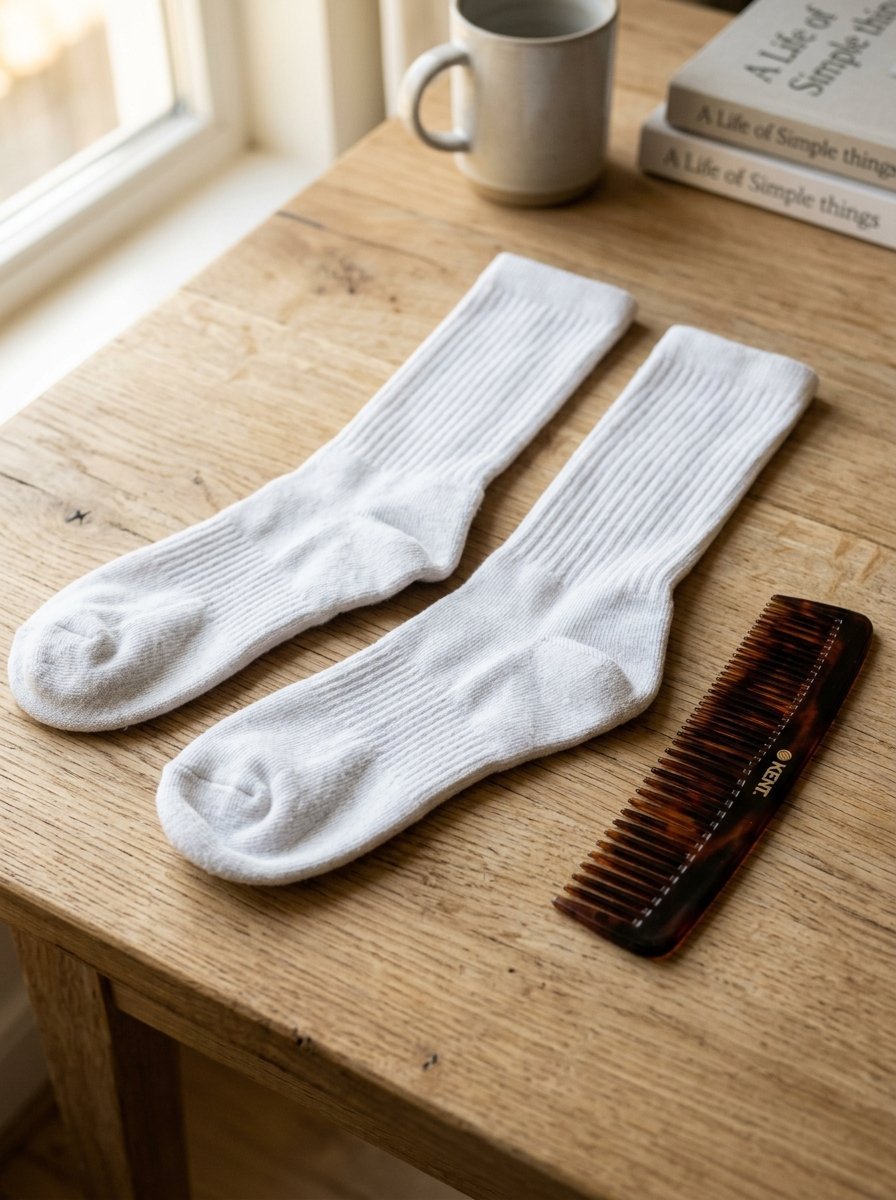
Sock curls are an old-school theater trick that has made a massive comeback. By using long tube socks, you can create soft, bouncy curls without spending a single dollar on new hair accessories. The cotton blend of clean athletic socks provides excellent grip, preventing slippery hair types from unravelling.
How to Loop Hair with Tube Socks
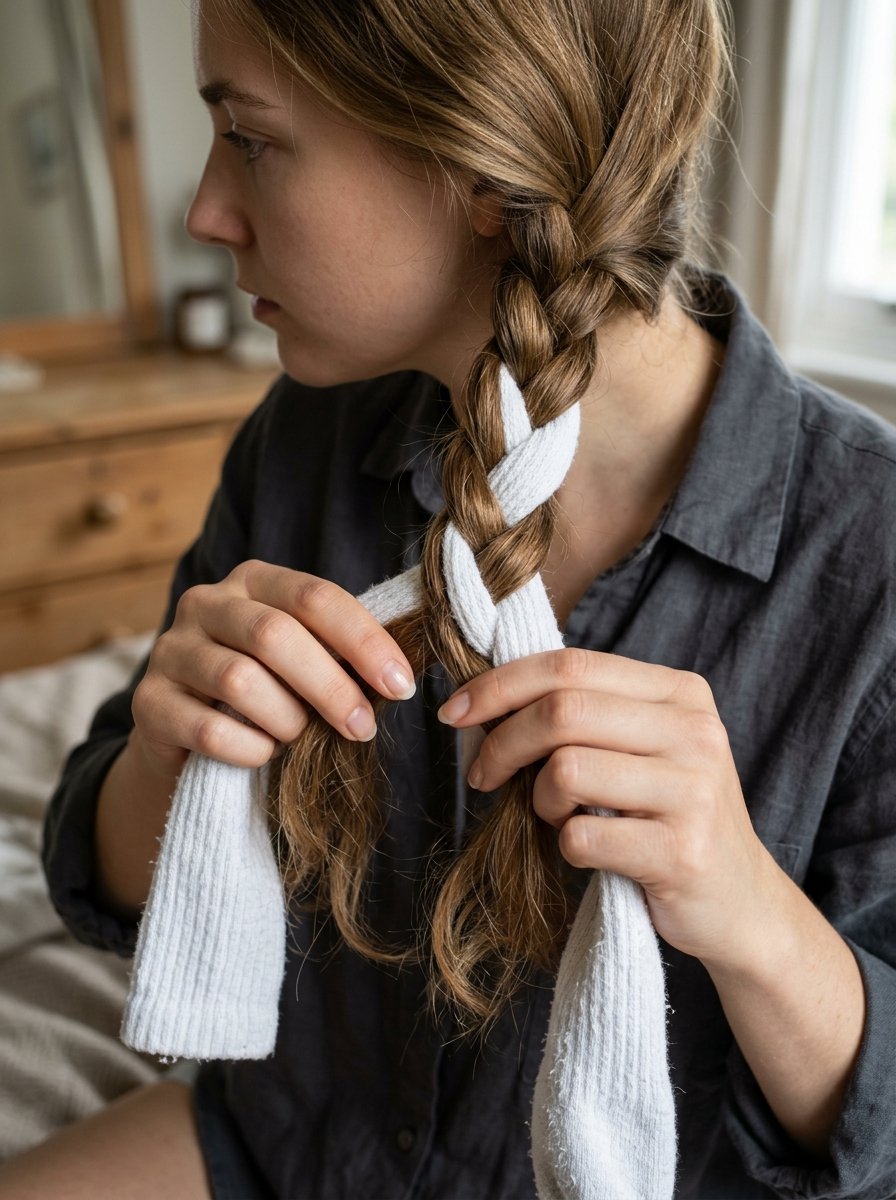
- Part your hair down the center into two or four equal quadrants, depending on how thick your hair is.
- Take a long, clean crew sock and use a small hair clip to secure the open cuff of the sock near your root parting.
- Divide one quadrant of hair into two pieces, treating the sock as a third strand to create a modified three-strand braid.
- Alternatively, weave the hair in a figure-eight pattern around the sock down to the toe end.
- Once you reach the bottom, pull the open ankle cuff of the sock up and inside out, stretching it over the gathered hair ends to lock everything into a protective pocket.
My Honest Experience with Sock Curls
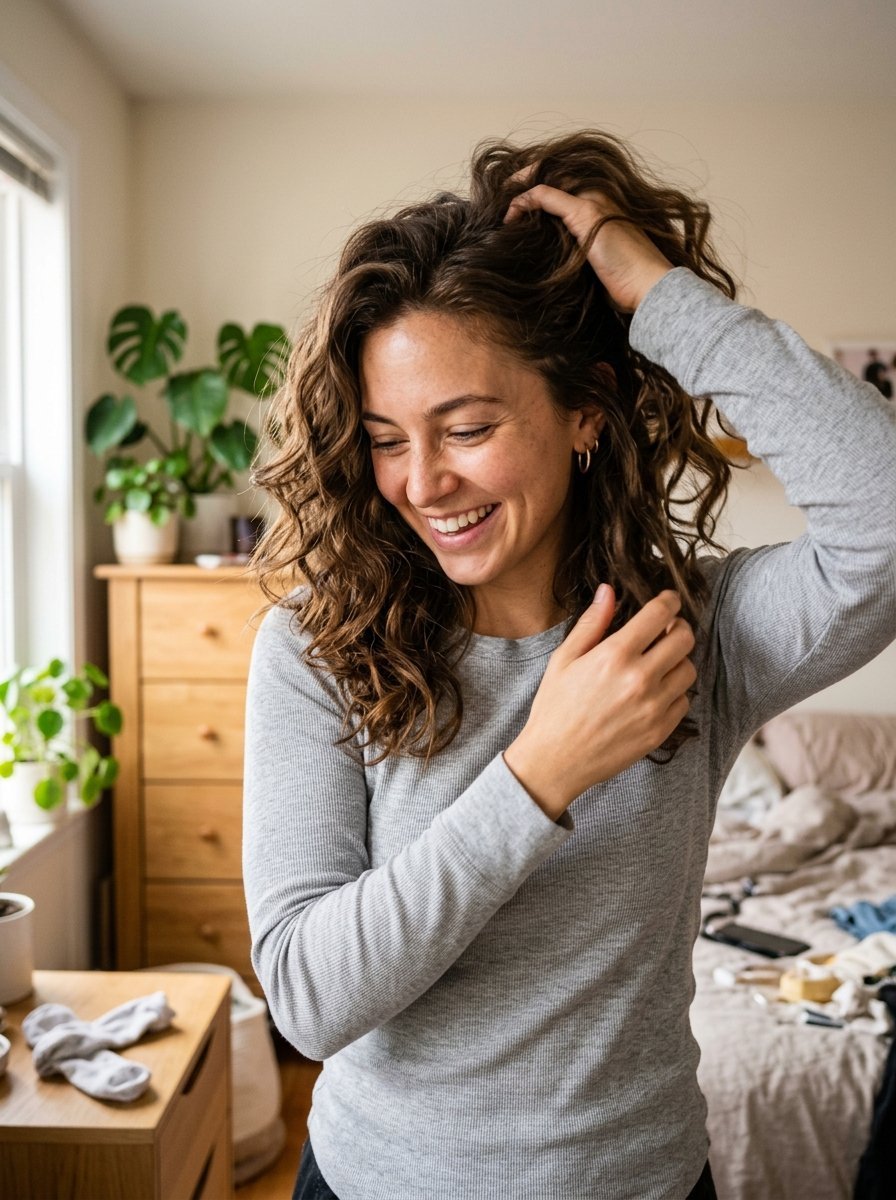
I tried this method using thick Nike athletic crew socks. The texture of the cotton fabric is excellent for gripping smooth, fine hair that usually slides right out of silk or satin wraps.
The comfort level is shockingly high because the socks are entirely pliable. The curl pattern is beachy and texturized rather than perfectly polished. It is the best option if you want a casual, textured look without distinct, formal ringlets.
Heatless Curls Method Comparison
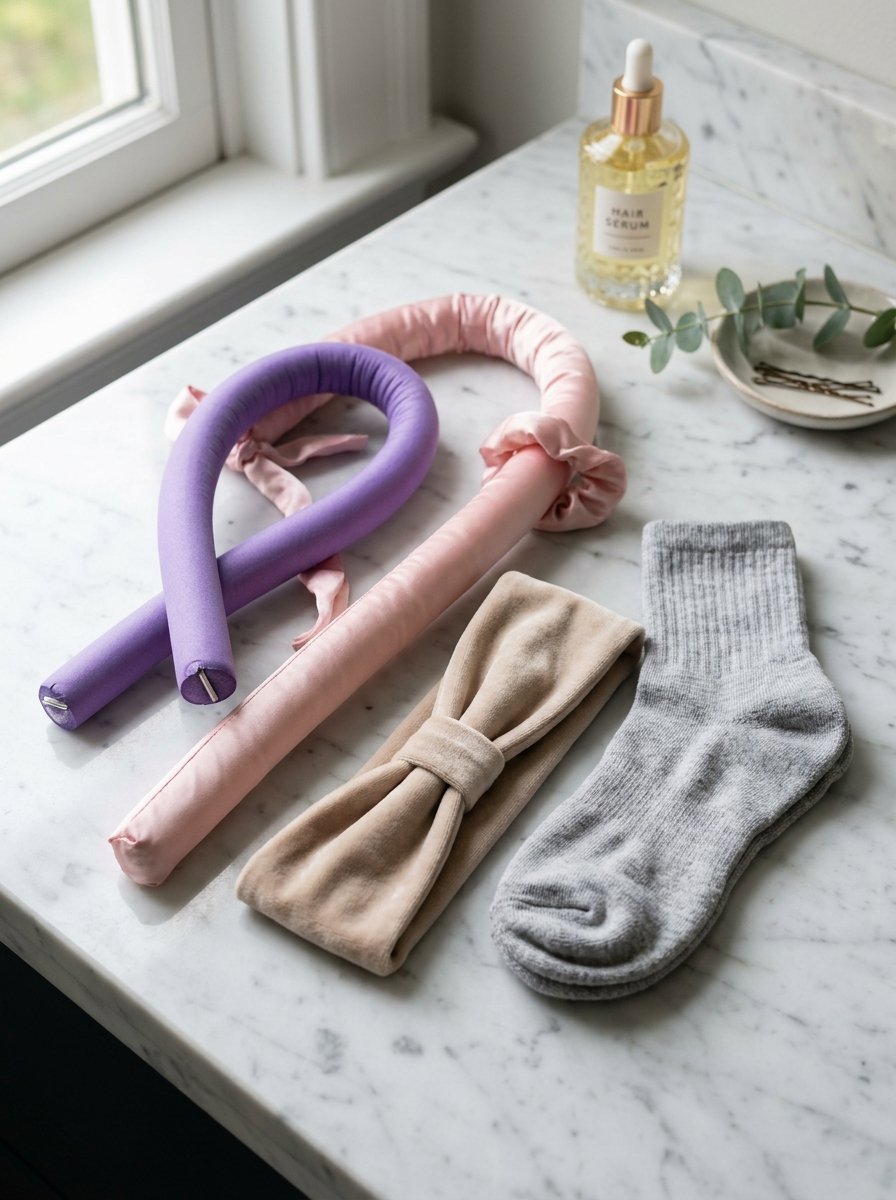
The table below breaks down the clear differences between each method based on hands-on testing across multiple hair types.
| Method | Best Hair Length | Sleep Comfort Score | Prep Time Required | Style Longevity |
| Bathrobe Tie | Medium to Long | 5 / 5 (Excellent) | 4 Minutes | 24 Hours |
| Satin Rod | Long to Extra Long | 3.5 / 5 (Moderate) | 3 Minutes | 48 Hours |
| Flexi Rods | Short to Medium | 1.5 / 5 (Poor) | 12 Minutes | 72 Hours |
| Headband Wrap | Short to Medium | 4.5 / 5 (Great) | 5 Minutes | 24 Hours |
| Sock Curls | Medium to Long | 4 / 5 (Very Good) | 6 Minutes | 36 Hours |
Three Essential Rules for Heatless Success
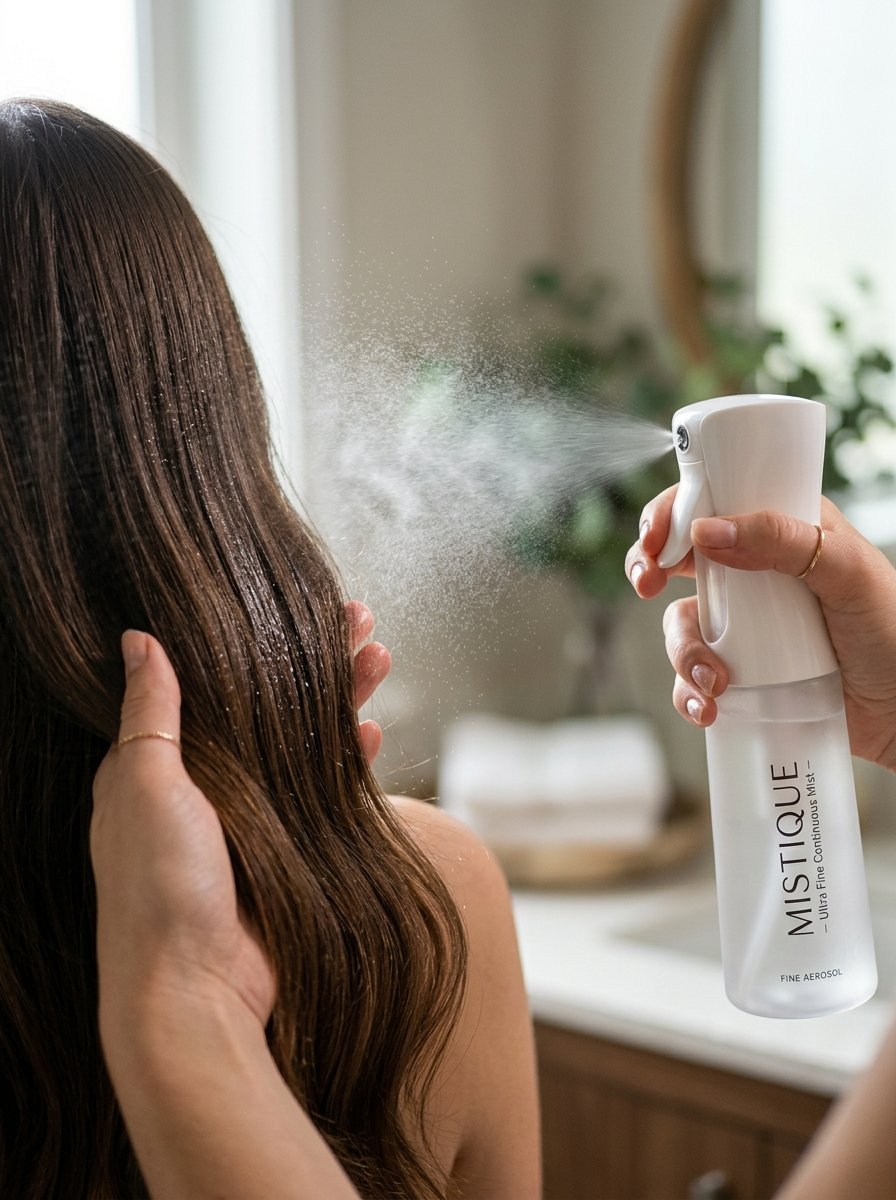
No matter which method you pick, your final look depends entirely on your preparation. Follow these three foundational rules to ensure your style looks flawless every time.
1. Perfect Your Dampness Level
The biggest mistake beginners make is wrapping bone-dry hair or dripping wet hair. Dry hair will not take the shape of the wrap, and wet hair will stay damp all night, leaving you with a soggy, frizzy mess when you take it down. Aim for eighty to eighty-five percent dry. Your strands should feel cool to the touch but not wet.
2. Choose Your Styling Products Wisely
Satin wraps reduce friction, but they do not provide hold. You need a product that sets the hair memory as it dries overnight.
- For Fine Hair: Apply a golf-ball-sized dollop of a lightweight styling mousse through your damp lengths before wrapping.
- For Thick or Coarse Hair: Work a quarter-sized amount of a light-hold cream or gel through your strands to control flyaways.
3. Master the Direction of the Wrap
Always wrap your hair away from your face. Wrapping hair forward toward your nose creates an outdated look that closes off your facial features. For the most modern, flattering lift, pull the front sections back over the rod or fabric tube, mimicking the motion of a round brush styling away from the cheekbones.
Troubleshooting Common Heatless Curl Failures
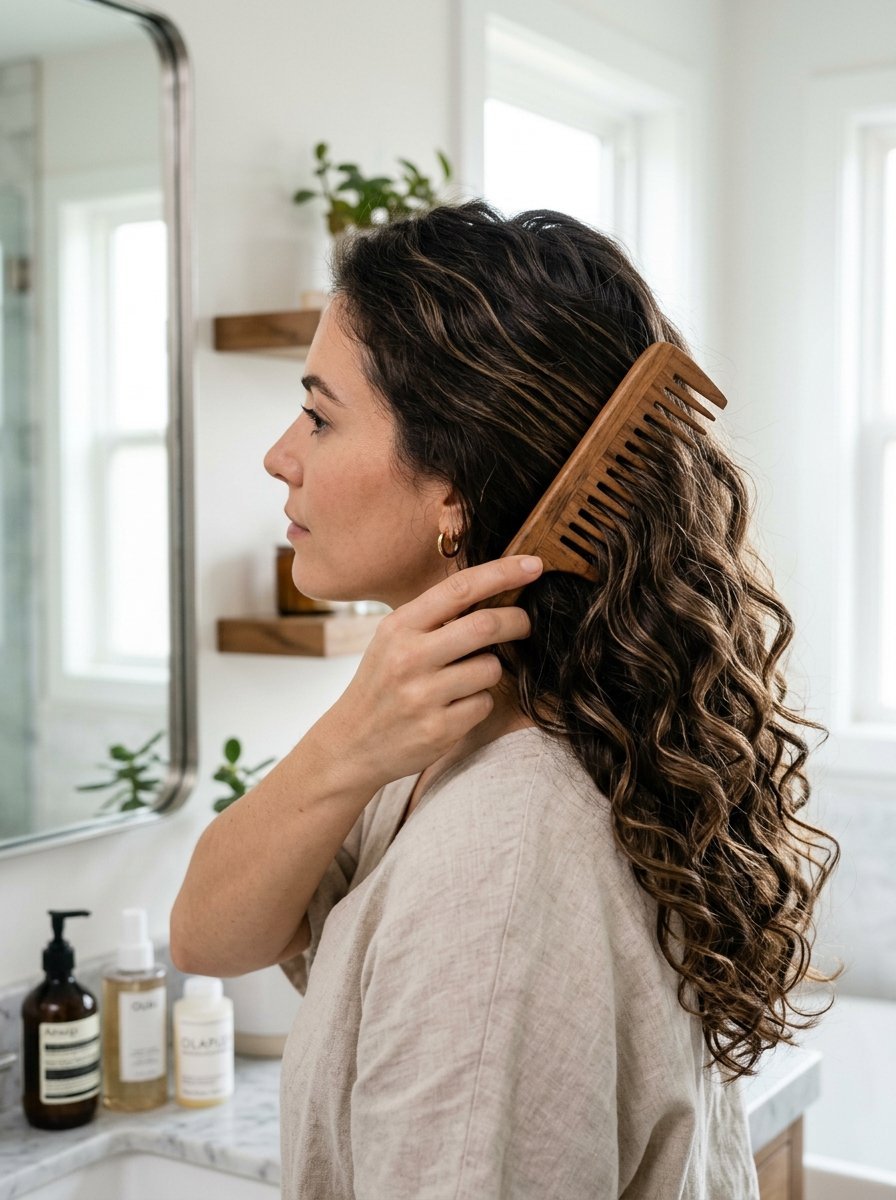
If your first attempt does not look perfect, do not worry. Heatless styling is a mechanical skill that takes a few tries to master. Here is how to fix the most common complaints.
Flat Roots and Big Ends
This happens when you wrap too loosely at the top of your head. To fix this, keep your hands close to your scalp when starting the initial wraps. You can also spray a volume-boosting root lifter at your parting before placing the rod down.
Frizzy, Unravelled Sections
If your ends look bent, fried, or fuzzy, look at how you secured the scrunchie. Never fold the very tips of your hair backward under the elastic band. Keep the ends perfectly straight against the rod as you wrap the scrunchie around them. Switching to a silk pillowcase also prevents your nighttime movements from fuzzing up the sides of your wrap.
Curls Drop Within Two Hours
If your waves vanish almost immediately, your hair was likely completely dry when you wrapped it. The water bonds in your hair must be damp so they can reset into the new curled shape as they dry. Alternatively, try using smaller sections of hair next time to ensure the curl structure is tighter and more resilient.
Recommended Tools for Your Heatless Journey
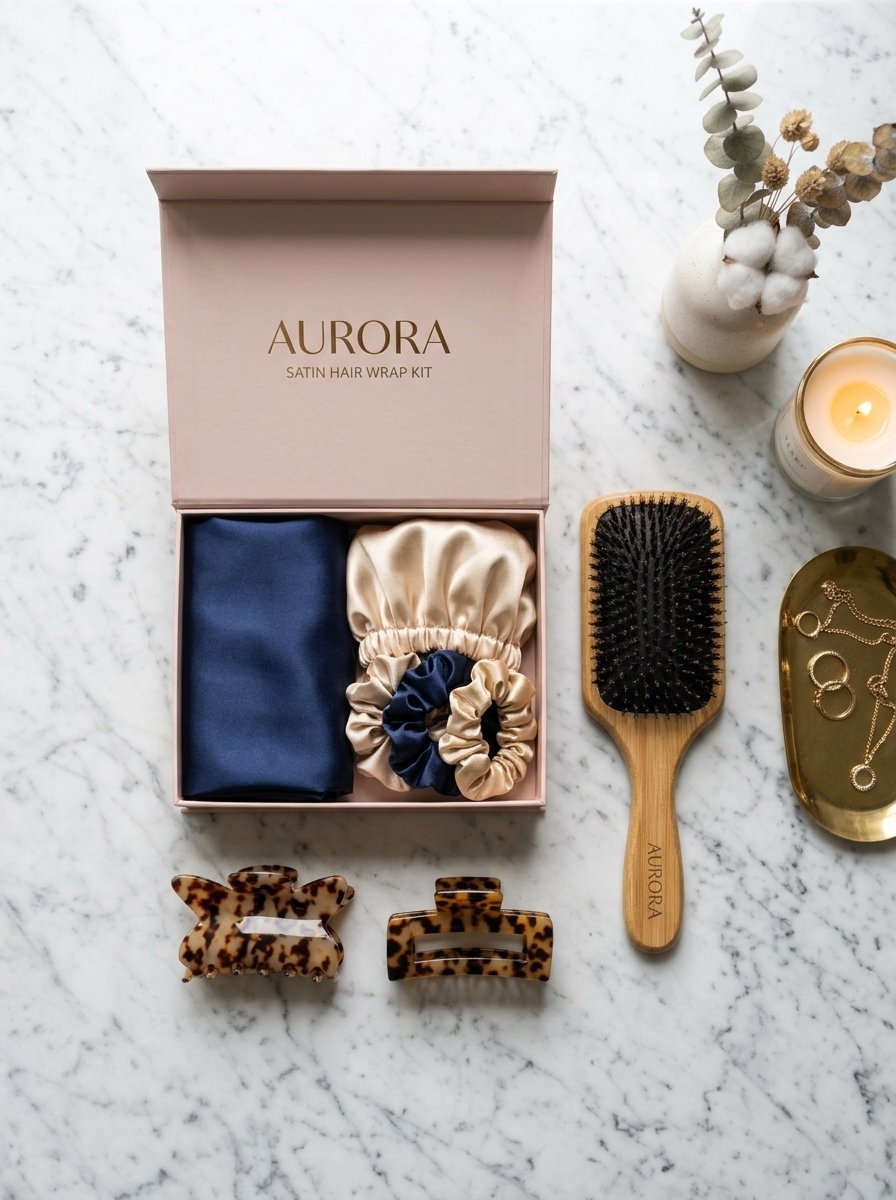
Investing in a few high-quality, inexpensive accessories makes this daily routine much smoother and more enjoyable.
- Satin Wrap Set: The Kitsch Satin Heatless Curling Set is the industry standard. The foam core is durable and retains its shape after months of compression.
- Flexi Rod Selection: Tifara Beauty Flexible Curling Rods offer a fantastic multi-size pack that lets you experiment with different ringlet diameters.
- Detangling Tool: A wide-tooth comb or a wet brush is essential for combing through your damp hair with styling product before you begin wrapping.
- Securing Clips: Standard three-inch plastic claw clips hold your top sections firmly in place while you coordinate your side braids.
Frequently Asked Questions
Can you do heatless curls on completely dry hair?
In my experience, wrapping completely dry hair yields very poor results. The hair needs a tiny bit of moisture to break the hydrogen bonds so they can reform into the curled shape. If you do not want to wash your hair, simply use a continuous mist spray bottle to dampen your lengths slightly before wrapping.
How long do heatless curls actually last?
When done correctly on slightly damp hair with a light mousse, heatless curls can easily last forty-eight hours. On day one, you get tight, bouncy ringlets. By day two, they drop into a gorgeous, casual beach wave.
Will heatless curls work on short hair cuts?
The headband wrap and small flexi rods work beautifully on short hair, including chin-length bobs. The long satin rods and bathrobe tie require longer strands to wrap around the diameter of the tube effectively, so avoid those if your hair is above your shoulders.
How do I prevent a headache while sleeping in hair wraps?
Avoid securing the top claw clip tightly against your skull overnight. Always remove the stabilizing clip before your head hits the pillow. Keep the tension of the wraps firm but do not pull so tightly that it drags your scalp backward.
Do heatless wraps cause hair breakage?
If you use soft satin or silk wraps paired with silk scrunchies, they cause zero breakage. In fact, they protect your hair from the nightly friction caused by rubbing against cotton sheets. Avoid using rubber bands or rough elastics to secure the ends of your styles.
Can thick, coarse hair types use these methods successfully?
Yes. Thick hair types actually hold heatless styles incredibly well because the hair has more natural structure. You just need to split your hair into smaller, more manageable sections so the airflow can dry the damp inner layers completely overnight.
Final Thoughts on Skipping the Heat

Transitioning away from hot styling tools is the kindest thing you can do for your hair. It requires patience during the first few attempts, but the payoff is healthier, shinier, and longer hair that styles itself while you sleep. Start tonight with the bathrobe tie method to practice your wrapping technique, and see how much easier your morning routine becomes.

Sarah Mitchell — Founder & Editor-in-Chief
Sarah Mitchell is the founder and editorial voice behind Hair Level Up. A licensed cosmetologist with more than 15 years of experience, she has styled A-list celebrities for editorial shoots and red carpets, with work featured in Vogue, Elle, and Harper’s Bazaar. Early in her career, she trained under the legendary hairstylist Oribe in New York, an apprenticeship that still shapes her editorial eye today. Sarah founded Hair Level Up in 2020 after one bad haircut convinced her that women deserved a destination that felt like a magazine, taught like a stylist, and inspired like an art gallery. She oversees every story from concept to publication, guided by a simple belief: a good story teaches you something, but a great one makes you feel beautiful while it does.