The Ultimate Guide to Heatless Hair Methods Going Viral on Pinterest This Year
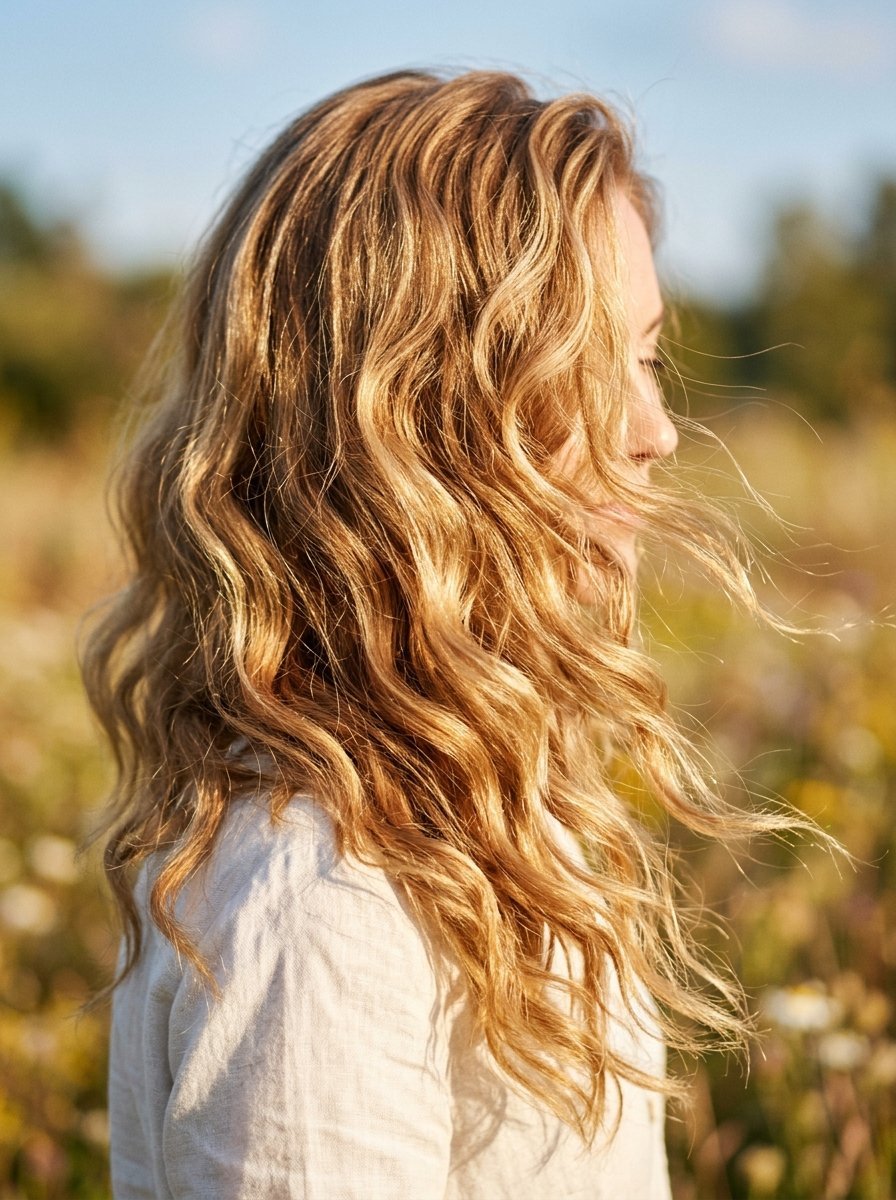
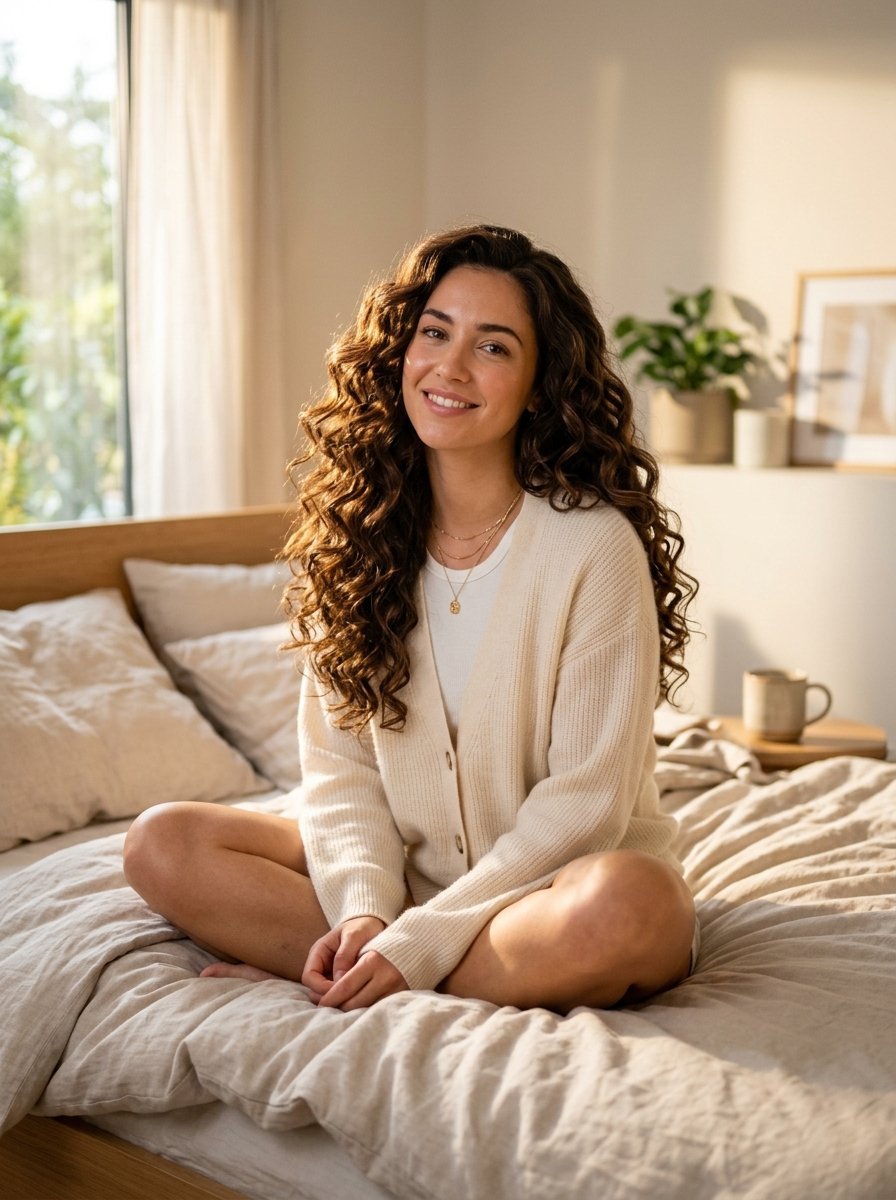
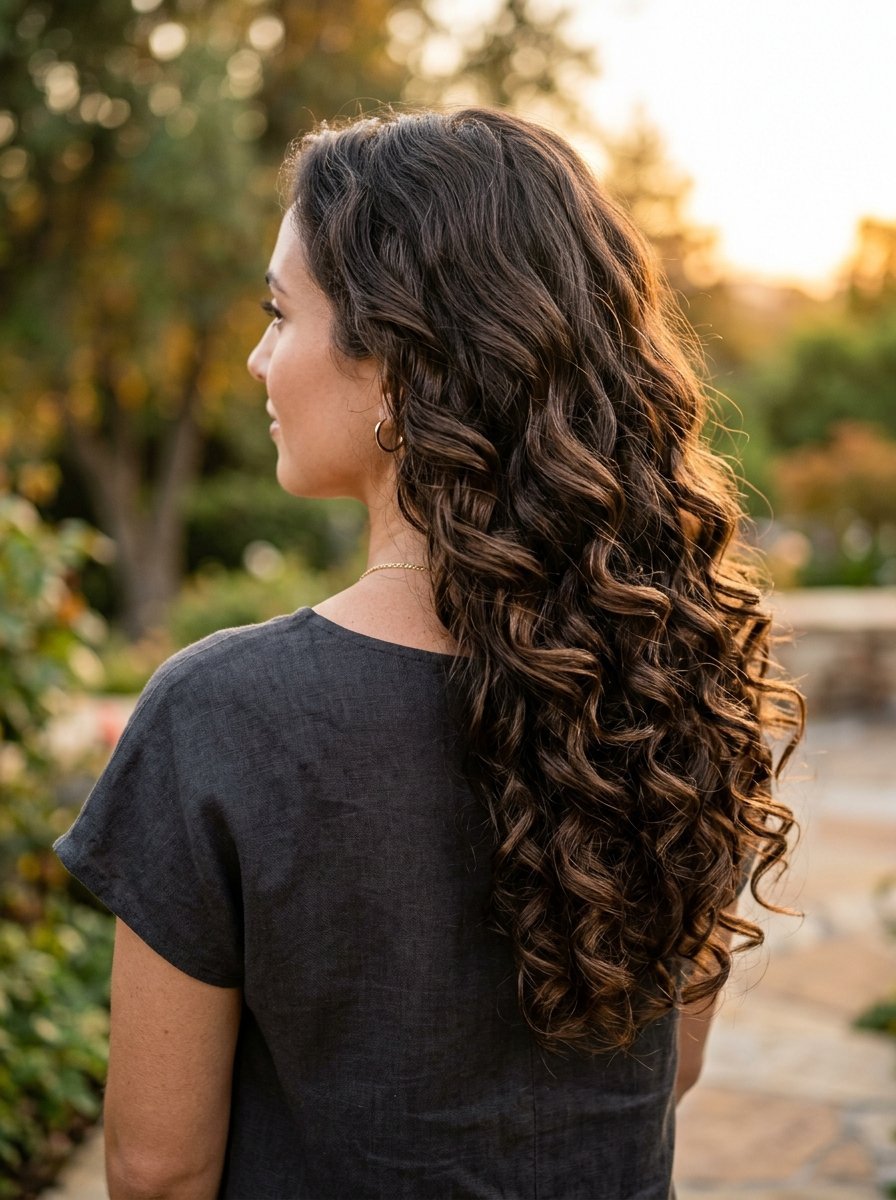
Waking up with bouncy, voluminous curls without touching a single hot tool used to feel like a distant dream. In my experience, spending forty-five minutes with a curling iron every morning is exhausting and leaves strands dry, brittle, and prone to breakage. That explains why millions of people are turning to Pinterest to save, share, and obsess over heatless curling methods. The shift toward hair health is real, and the newest overnight techniques deliver results that rival an expensive salon blowout.
Finding a method that actually stays intact while you sleep and works for your specific hair texture can require some trial and error. I have spent months testing the most talked-about viral techniques on different hair types, analyzing everything from comfort levels to curl longevity. Whether you have long, fine layers or thick, stubborn textures, this comprehensive guide breaks down the absolute best heatless curl methods dominating social media right now.
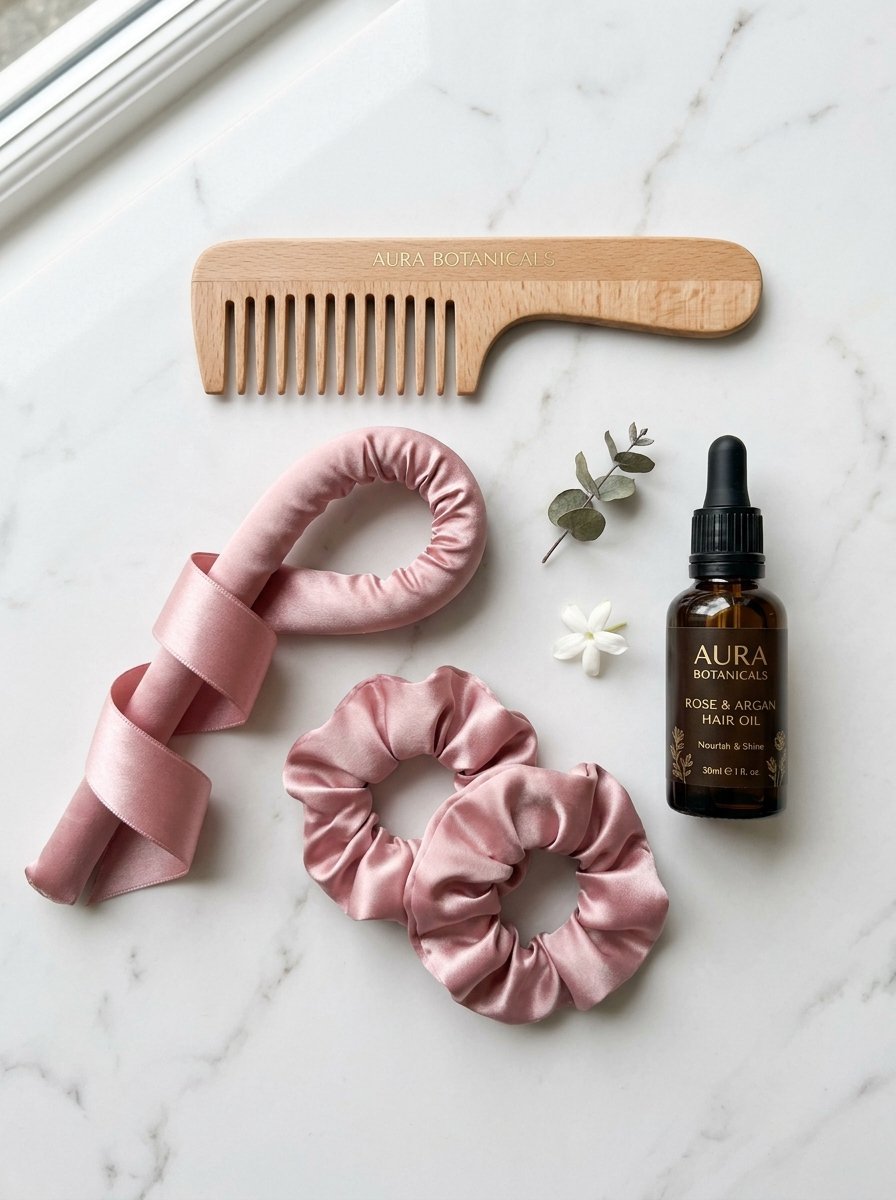
An overnight hair routine saves precious time during busy mornings while completely eliminating thermal damage. The secret to success lies in the science of hydrogen bonds, which temporarily reshape when your hair transitions from wet to dry. By wrapping lightly damp strands around soft, fabric-based tools, you can lock in beautiful, frizz-free shapes that last for days.
This breakdown covers the most effective overnight methods, essential styling tools like the Kitsch Satin Curling Set and RobeCurls, and crucial troubleshooting tips for straight, wavy, and layered hair. You will discover exactly how to prep your hair, avoid common friction mistakes, and choose the right method for your sleep style so you can achieve effortless body and shine.
Why are heatless curls taking over your feed?
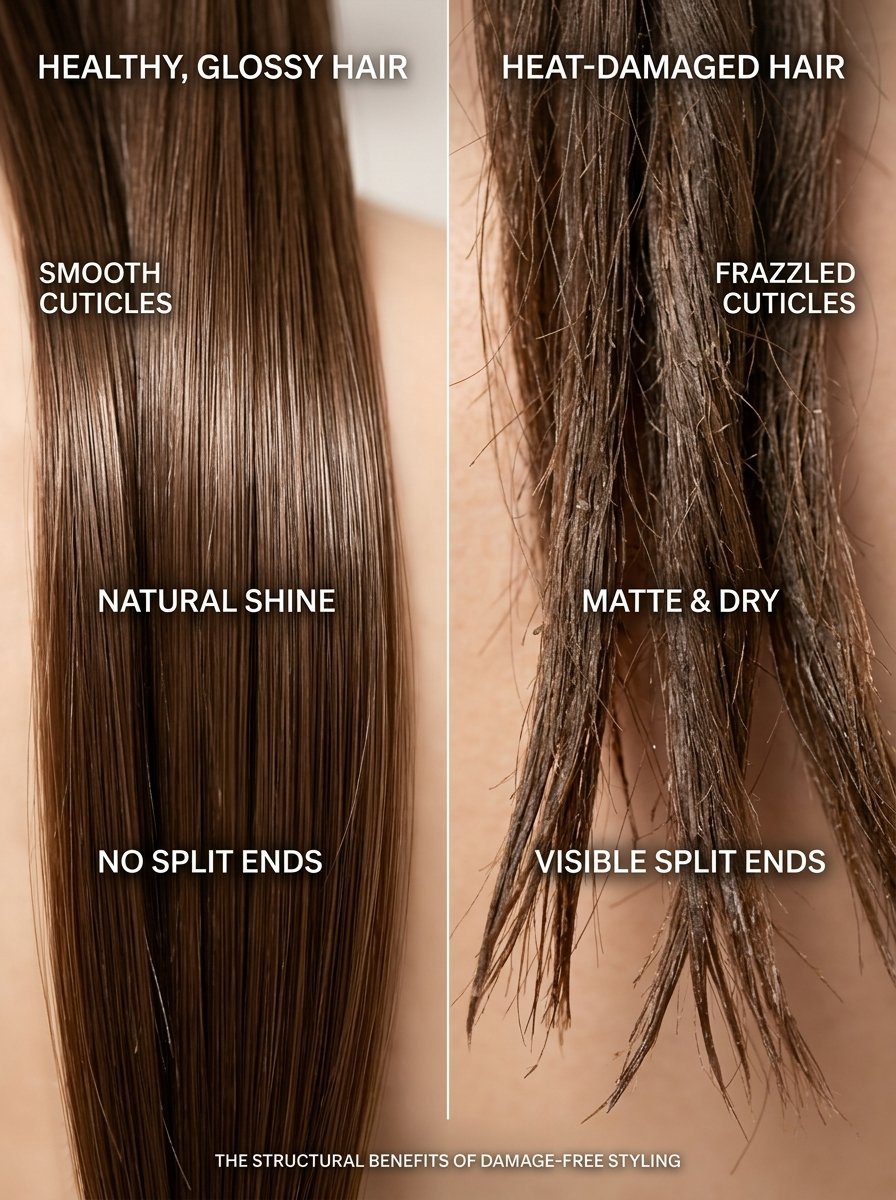
The sudden obsession with heatless styling is a direct response to years of structural hair damage caused by traditional curling irons and flat irons. Standard hot tools heat up to over 400 degrees Fahrenheit, which actively strips the natural moisture barrier from your hair shafts, lifts the outer cuticles, and cracks the internal protein structure. Waking up with a beautifully styled mane using zero heat is a game-changer for anyone trying to restore shine, elasticity, and health to their strands.
When you wrap damp hair around a soft, fabric-based tool, you allow the hair cuticles to dry smoothly around a pre-determined shape. The slow, ambient drying process gives the style a much sturdier hold than a rapid blast from a curling iron. In my experience, curls set through air-drying retain their shape significantly longer because the internal bonds are not shocked into place by extreme heat.
The classic satin curling ribbon method
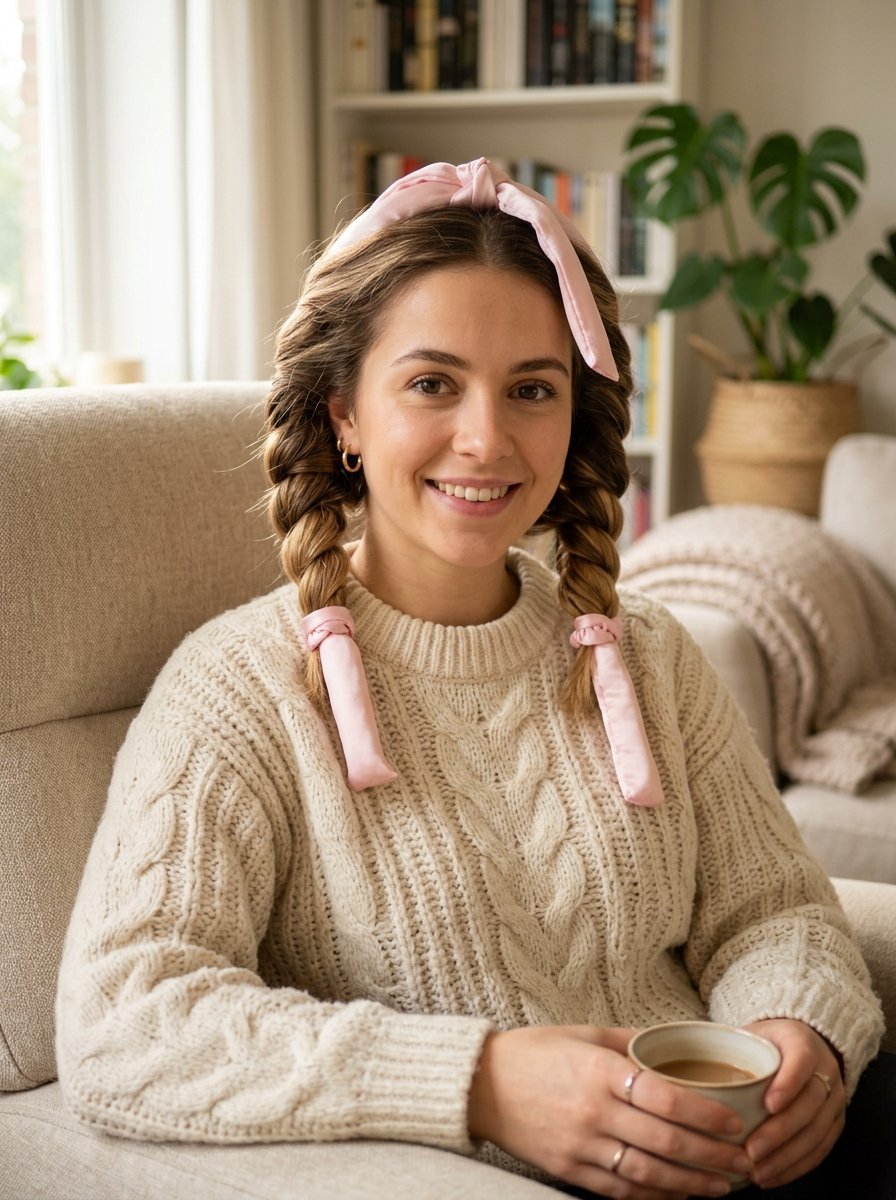
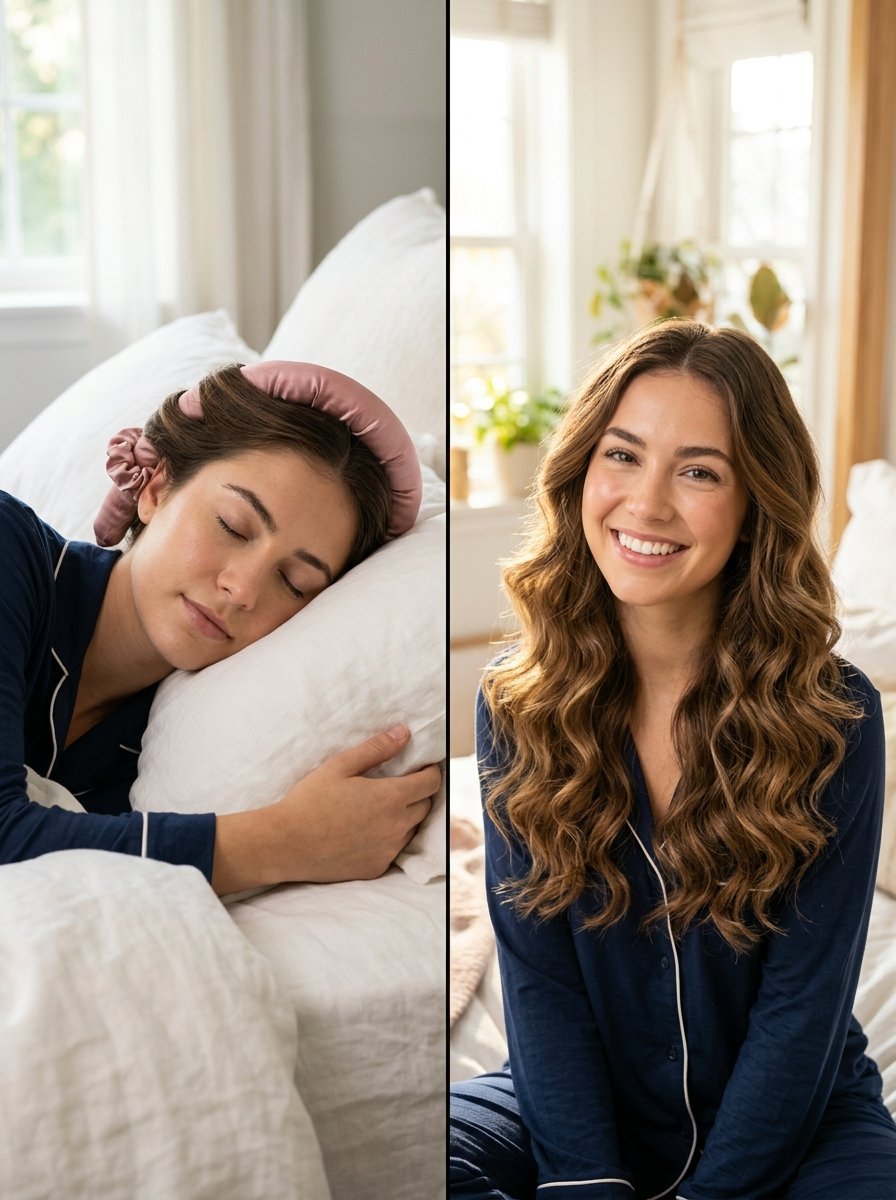
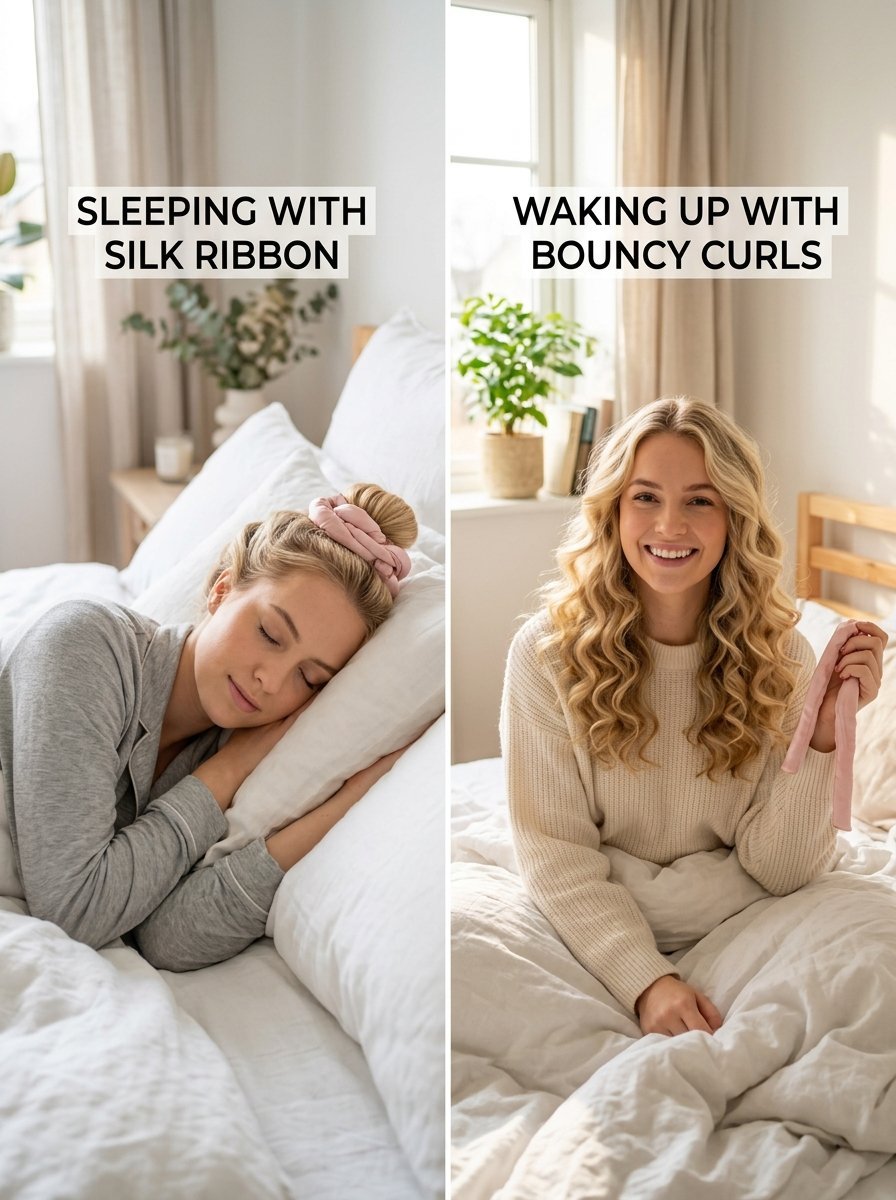
The satin curling ribbon is arguably the most famous heatless styling tool in the world right now, and for good reason. This single long, foam-filled rod sits across the top of your head like a headband, allowing you to wrap your hair away from your face on both sides. It creates large, bouncy, romantic waves that perfectly mimic a classic 1.25-inch curling iron.
- Best for: Medium to extra-long hair lengths.
- Comfort level: Ideal for back sleepers, though side sleepers may need to adjust the rod placement slightly forward.
- Average setup time: Less than five minutes once you master the wrapping technique.
To get the cleanest look, start with clean hair that is roughly 85% dry. If your strands are soaking wet, the core of the wrapped section will not dry completely by morning, resulting in a frizzy, fallen mess. Secure the center of the ribbon to the top of your head using a sturdy claw clip. Take a small, two-inch section of hair near your parting, wrap it around the ribbon away from your face, and pull in a new section of hair with every subsequent turn, much like creating a French braid. Secure the very ends with soft satin scrunchies.
The unicorn wrapping method for side sleepers
One major complaint about standard curling ribbons is that they can press uncomfortably into the ears of side sleepers. The viral unicorn method solves this exact problem by shifting the entire construction to the absolute center of your head. Instead of split sides, the curling rod runs directly down the middle of your scalp, from your front hairline straight back toward the crown.
- Best for: Side sleepers, layered haircuts, and shoulder-length hair.
- Comfort level: High, leaving both sides of your face completely free from bulky foam.
- Key benefit: Creates exceptional volume right at the roots of your hair.
I tried this method after struggling to sleep comfortably on my side with traditional ribbons, and the difference in comfort was remarkable. To execute it, position the ribbon right at your forehead hairline and wrap your hair upward and back, gathering sections from both the left and right sides simultaneously. Because the hair is pulled directly upward during the wrapping process, the tension lifts your roots away from the scalp. When you take it out the next morning, you are left with massive crown volume and continuous, uniform waves across the back of your head without any awkward flat spots.
Flexible foam rods for tight structured curls
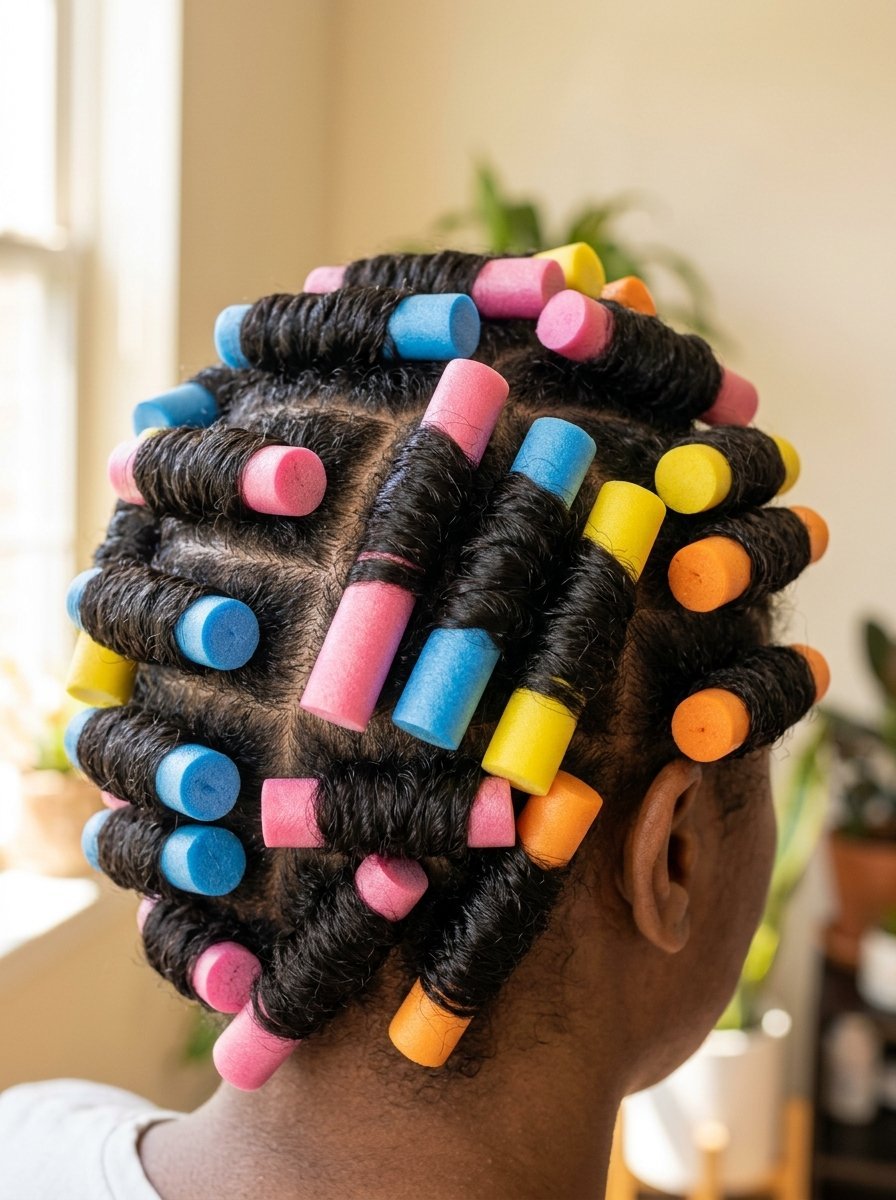
If you want defined, bouncy ringlets rather than loose beach waves, traditional flexible foam rods are your absolute best option. Often called flexi rods, these long, bendable tubes contain a flexible wire core wrapped in soft sponge or smooth satin. They come in various diameters, allowing you to customize the exact size of your curls.
When using flexi rods, section your hair into at least six to eight equal parts. Roll each section from the very tips of your hair up to the scalp, wrapping the rod securely around itself at the base to lock it in place. Because you are working with smaller sections of hair, this method ensures that thick or coarse hair dries completely overnight. The result is a highly structured, long-lasting curl pattern that resists humidity beautifully.
The classic bathrobe tie trick
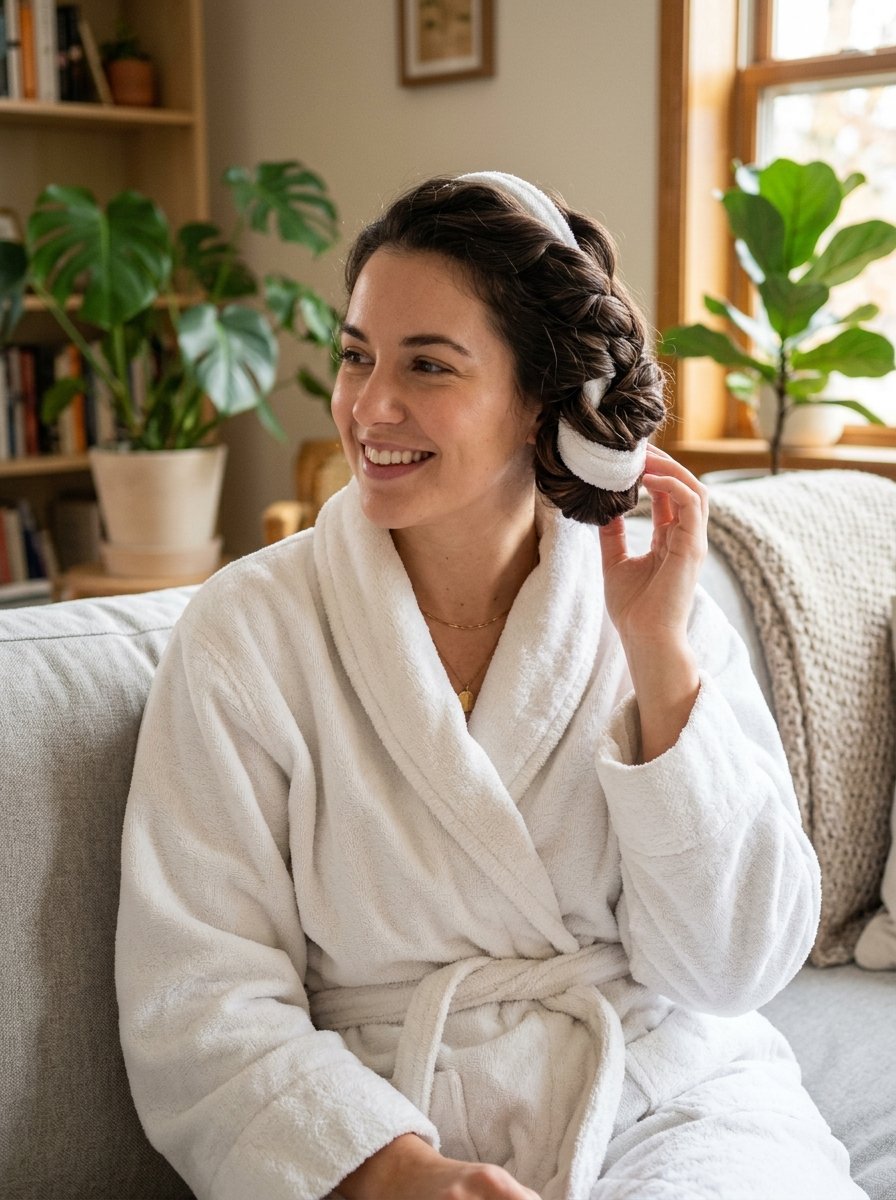
You do not need to buy expensive, specialized beauty tools to get incredible heatless curls. The humble bathrobe tie remains one of the most effective and accessible methods shared across Pinterest. Because a thick cotton or fleece bathrobe belt is flat and wide rather than perfectly round, it molds your hair into gorgeous, loose, effortless beach waves.
- Tool requirements: A standard, clean fabric belt from a bathrobe or a long silk scarf.
- Hair type suitability: Works beautifully on fine, medium, and coarse hair lengths alike.
- Expected outcome: Wide, casual waves with beautifully straight, modern ends.
Simply drape the bathrobe tie over your head, leaving equal lengths hanging down on each side. Wrap your hair tightly around the fabric using the basic over-under twisting technique. The wider surface area of the flat fabric belt prevents the hair from bunching too tightly, creating a relaxed texture. For a soft, lived-in look, leave the bottom two inches of your hair straight and unwrapped before securing the ends with a soft hair tie.
The innovative sleepy tie method for long hair
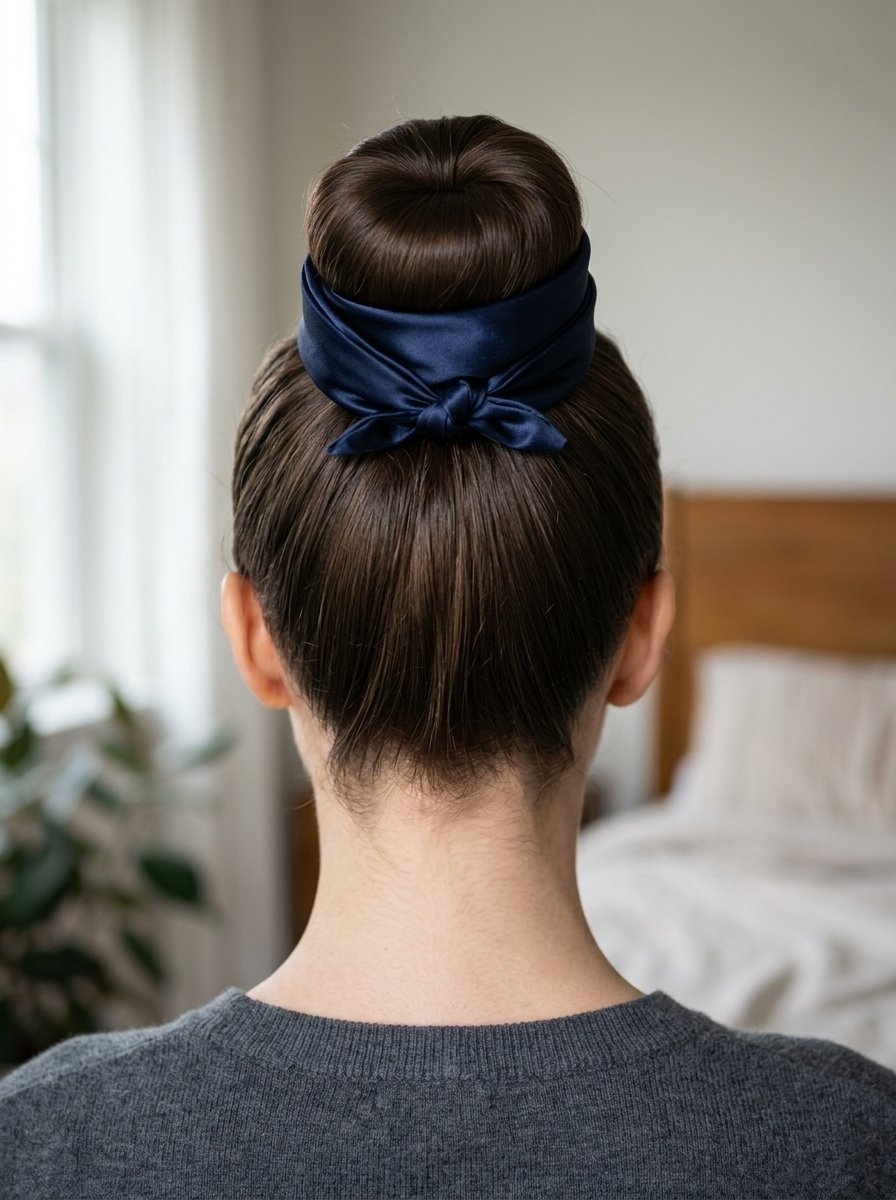
For individuals with long hair who want to preserve an existing blowout or add soft, subtle movement to their ends, the sleepy tie is an exceptional approach. This compact, arched satin tool is designed to bundle your hair into a single high ponytail on top of your head, keeping your lengths safe from overnight friction.
- Best for: Preserving day-old styles, long hair, and fine textures.
- Application time: Roughly two minutes before heading to bed.
- Sleeping comfort: Maximum, as all hair is secured directly on top of the head.
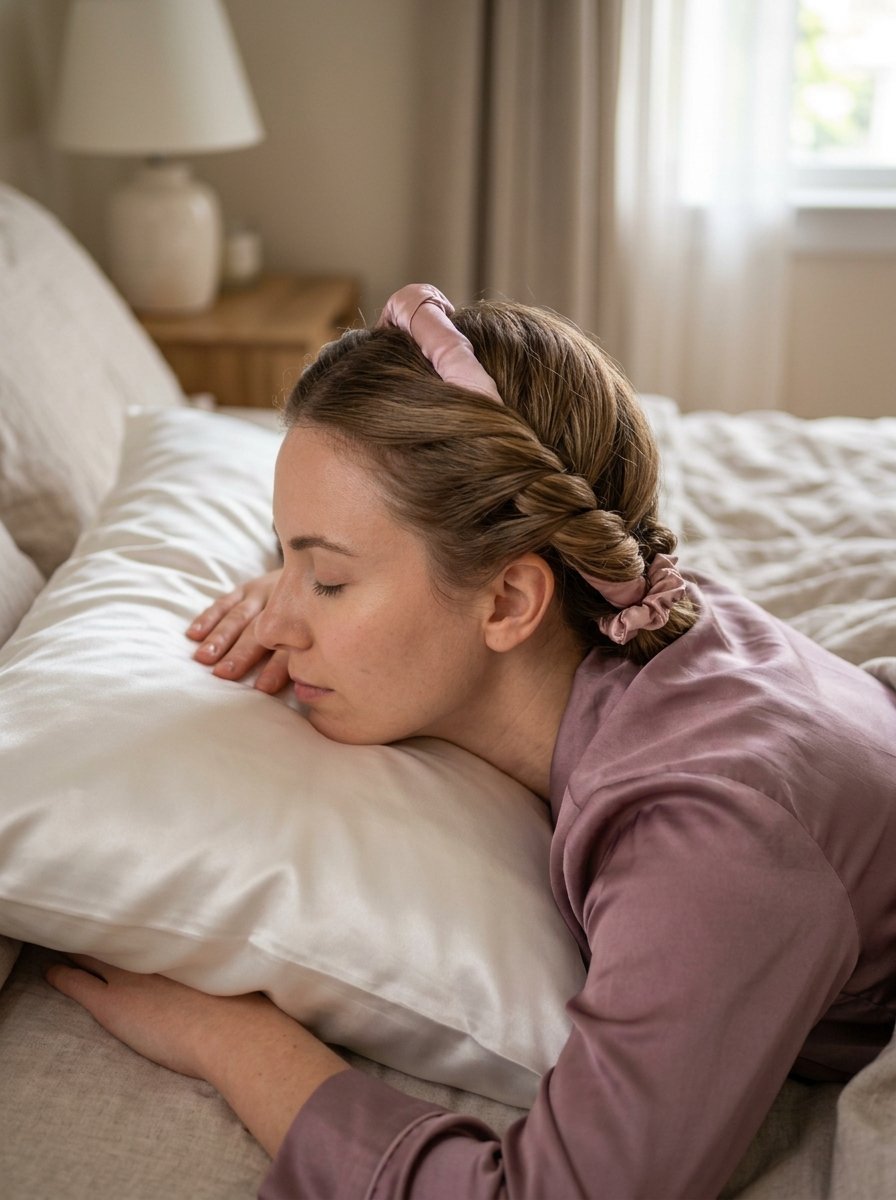
Instead of wrapping your hair down the sides of your face, you pull everything into a high, loose ponytail. Place the arched tool at the base of the ponytail, wrap the long tail of hair smoothly around the padded form, and fold the fabric over to secure it. This keeps your hair completely off your pillow, eliminating the harsh tossing and turning friction that causes morning frizz. It is an ideal maintenance routine that keeps your ends looking polished and smooth without requiring a full set of tight curls.
Comprehensive comparison of viral heatless methods
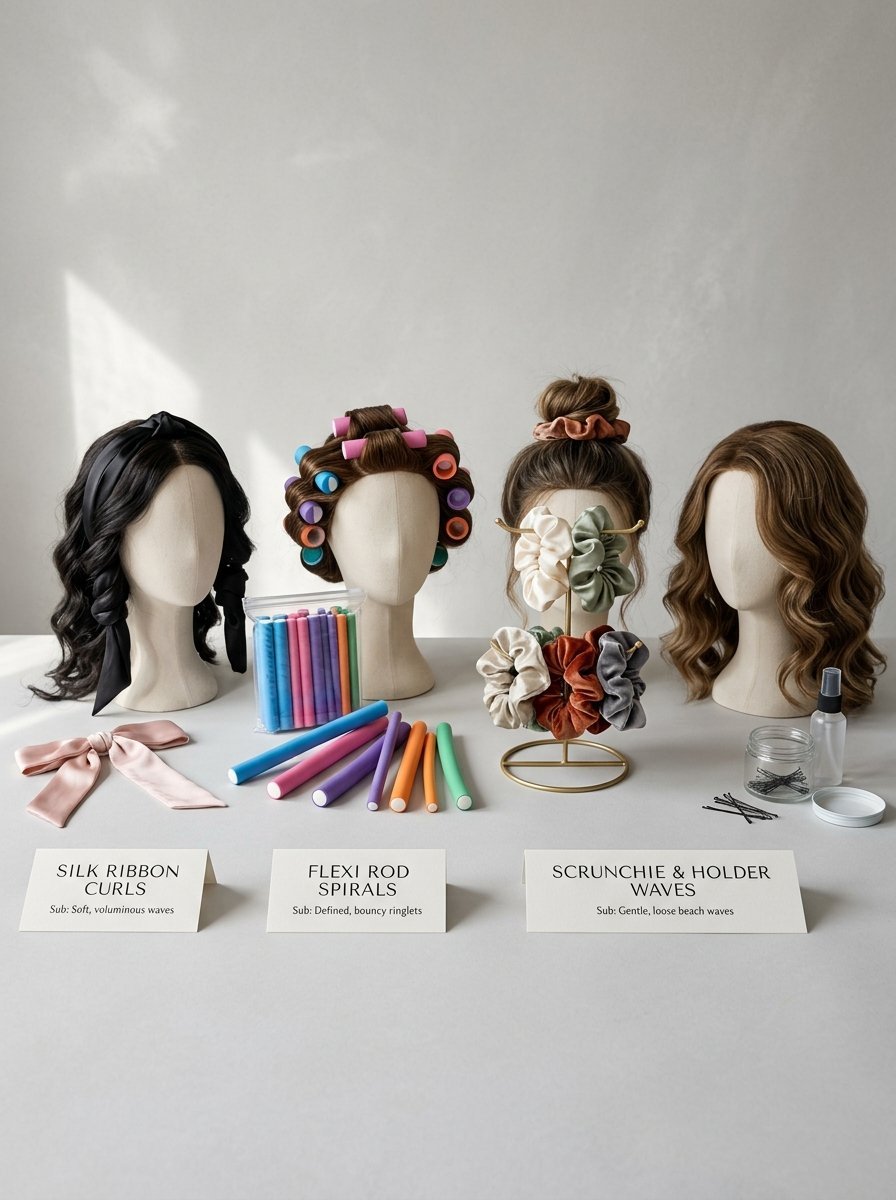
Choosing the right heatless styling system depends heavily on your specific hair goals, your lifestyle, and how you prefer to sleep. This detailed comparison table breaks down the top tools on the market to help you find your perfect match.
| Method Name | Target Wave Style | Ideal Hair Length | Comfort Rating | Setup Time |
| Satin Ribbon | Classic Iron Waves | Medium to Long | 7 out of 10 | 4 Minutes |
| Unicorn Method | Crown Volumizing | Short to Long | 9 out of 10 | 5 Minutes |
| Flexi Rods | Structured Ringlets | Short to Medium | 5 out of 10 | 12 Minutes |
| Bathrobe Tie | Relaxed Beach Waves | Medium to Long | 8 out of 10 | 3 Minutes |
| Sleepy Tie | Soft Blowout Ends | Long Only | 10 out of 10 | 2 Minutes |
Step by step blueprint for flawless execution
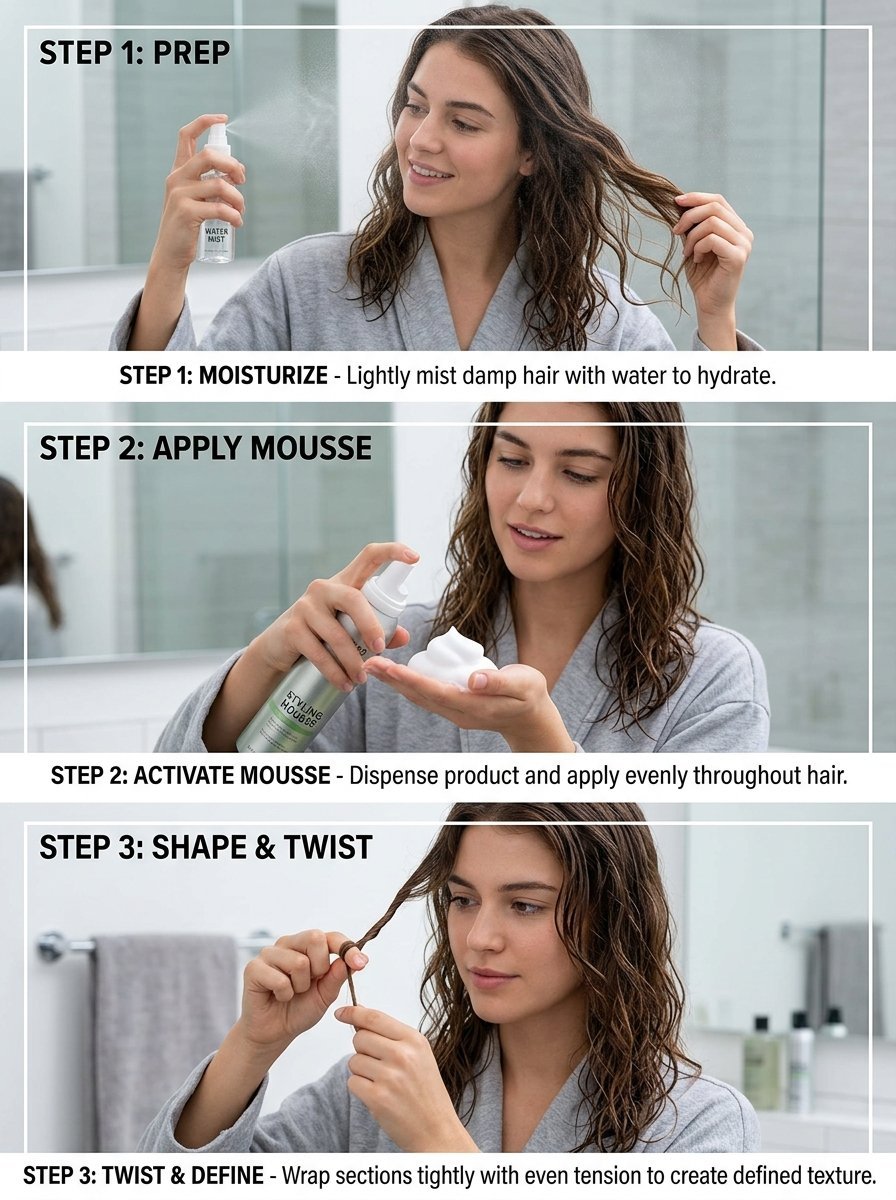
To get consistent, beautiful results every time you wrap your hair, you must follow a structured application process. Skipping essential prep steps or wrapping the hair with the wrong amount of moisture will lead to uneven results.
1. Prep with the right moisture balance
Never attempt to wrap completely bone-dry hair, and never wrap soaking wet hair. Wash your hair and let it air-dry until it feels cool to the touch but not wet, targeting roughly 80% dry. If you are working with day-old dry hair, use a fine misting spray bottle to evenly dampen your strands.
2. Apply a lightweight setting product
Your hair needs a small amount of hold to lock in the shape overnight. Work a nickel-sized amount of lightweight styling mousse, setting lotion, or a gentle texturizing spray evenly from your mid-lengths down to the tips. Avoid heavy oils or thick silicone serums at this stage, as they can weigh fine strands down and make the finished curls look greasy.
3. Maintain consistent wrapping tension
As you wrap each section of hair around your chosen tool, maintain firm, even tension. Wrapping too loosely causes the hair to slip out during the night, creating messy frizz. Wrapping too tightly can cause scalp discomfort and prevent the inner core of the section from drying completely.
4. Protect your style while you sleep
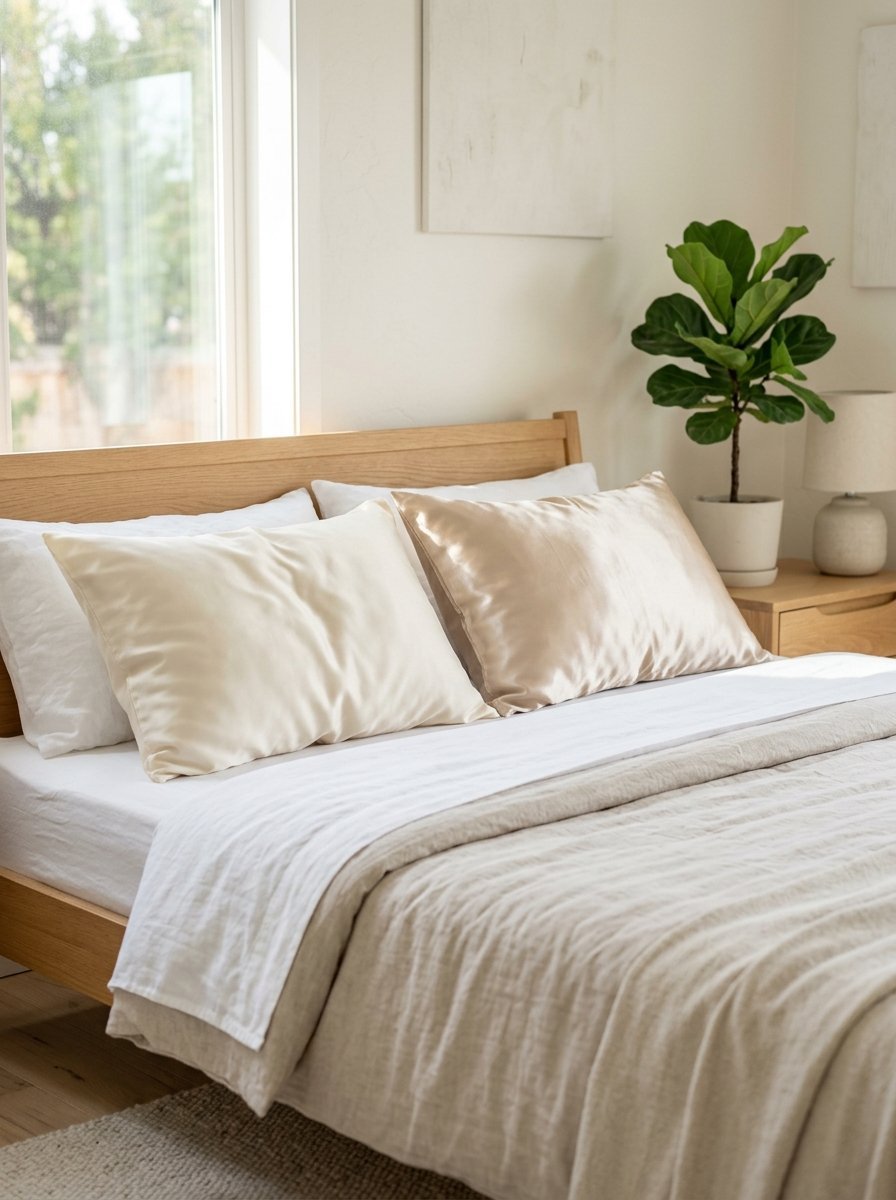
Even with high-quality satin tools, your head shifts against your pillowcase throughout the night. To guarantee your wraps stay perfectly intact, cover your head with a smooth silk bonnet or sleep on a high-grade satin pillowcase. This simple step eliminates friction, prevents static, and keeps the wrapped sections tight and secure until morning.
Product review and honest tool assessments
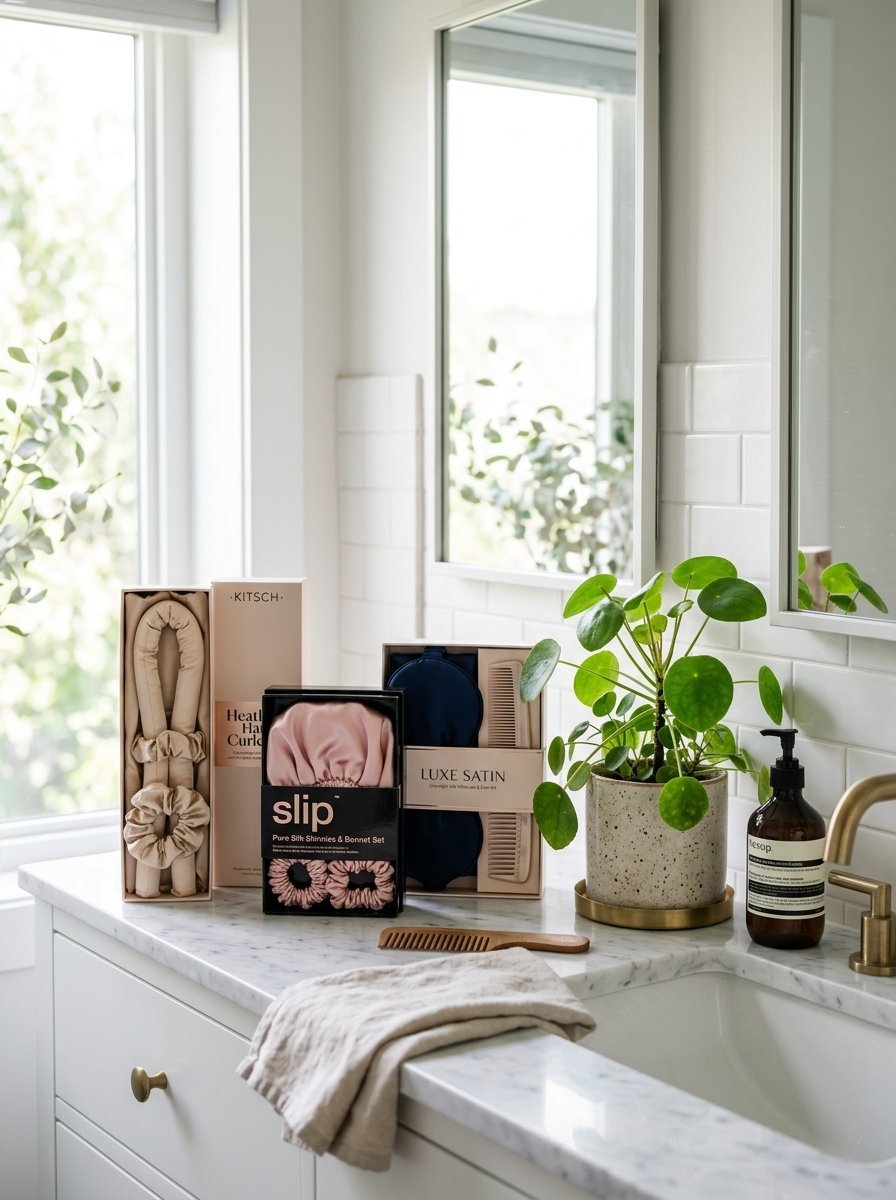
Navigating the crowded hair care market can be tricky, as many cheap imitations flood online marketplaces. Here is an honest, experience-based assessment of the most popular brands and tools available today.
- Kitsch Satin Heatless Curling Set: This remains an industry favorite for good reason. The high-quality satin fabric minimizes friction beautifully, and the internal foam rod is soft enough to sleep on comfortably. It holds up exceptionally well to regular washing.
- RobeCurls Curling Headband: An excellent premium option featuring an integrated wire core wrapped in plush microfiber fleece and satin. The hidden wire allows you to bend the ends securely around your head, completely eliminating the need for awkward jaw clips.
- Octocurl Heatless Curling System: This unique tool features multiple hanging fabric strips, resembling an octopus. It looks slightly wild when applied, but it is one of the absolute best options for thick, heavy hair because it distributes the bulk into several small, highly manageable sections.
Frequently Asked Questions
Do heatless curls work well on completely straight hair?
Yes, but straight hair requires proper product support to hold a new shape. I have noticed that straight hair wrapped without any product tends to fall flat within a couple of hours. To prevent this, always apply a light-hold volumizing mousse or a sea salt setting spray to damp strands before wrapping. Leave the tool in place for at least seven hours to ensure the hydrogen bonds lock in completely.
How damp should my hair actually be before wrapping?
Your hair should be damp to the touch, roughly 10% to 15% wet, but it should never drip or feel saturated. If your hair is too wet when you wrap it, the tight layers of fabric will trap the moisture, preventing air from circulating. You will wake up with cold, damp strands that turn into a mass of frizzy waves the moment you brush them out.
Can heatless styling methods cause breakage or hair loss?
Heatless methods are incredibly safe, but tension damage can occur if you pull your hair too tightly against your scalp. Avoid pulling the roots aggressively when securing your tools, especially around the delicate hairline. If you experience scalp pain, headaches, or a pulling sensation while lying down, your wrap is too tight and should be loosened immediately.
How do I brush out my heatless curls without ruining them?
When you remove your curling ribbon or rods, your hair will initially look like tight, ringlet curls. Do not panic or immediately brush them with a fine-tooth comb. Instead, apply two drops of lightweight hair oil to your palms, rub your hands together, and gently rake your fingers through the lengths to separate the sections. For a soft, voluminous blowout look, use a wide-tooth comb or a classic boar bristle brush to smooth the waves into place.
Can individuals with short or bob-length hair use these methods?
Yes, though traditional long satin ribbons can be clumsy on shorter cuts. If you have a bob or lob haircut, opt for the unicorn wrapping method or use smaller flexi rods. Wrapping your hair forward around a soft fabric headband also works beautifully for shorter layers, creating a classic curled-under finish that frames your face perfectly.
The ultimate takeaway for your hair journey

Embracing heatless curling methods is one of the most loving, effective decisions you can make for your hair journey. By stepping away from high-heat styling tools, you give your strands a real opportunity to repair, retain natural moisture, and grow long and strong. It takes a tiny bit of practice to master the perfect wrapping tension for your specific hair type, but the payoff of waking up to beautiful, healthy, effortless curls every single morning is worth every second of the learning process.

Sarah Mitchell — Founder & Editor-in-Chief
Sarah Mitchell is the founder and editorial voice behind Hair Level Up. A licensed cosmetologist with more than 15 years of experience, she has styled A-list celebrities for editorial shoots and red carpets, with work featured in Vogue, Elle, and Harper’s Bazaar. Early in her career, she trained under the legendary hairstylist Oribe in New York, an apprenticeship that still shapes her editorial eye today. Sarah founded Hair Level Up in 2020 after one bad haircut convinced her that women deserved a destination that felt like a magazine, taught like a stylist, and inspired like an art gallery. She oversees every story from concept to publication, guided by a simple belief: a good story teaches you something, but a great one makes you feel beautiful while it does.